
We are back to keep on the steady progress of this instrument. Since the finish is already done, it's time to start making the last 3 pieces of wood. Today, we'll focus on the shape of the bridge, one of the most important pieces that go in the outside of the instrument.
Let's get to it!
Dimensions
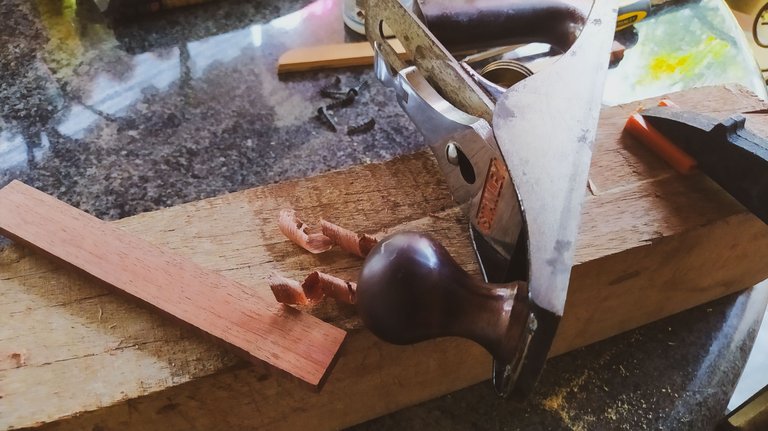
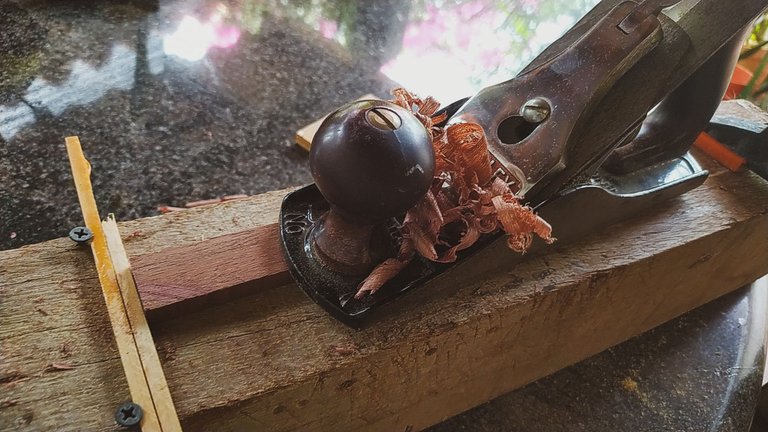
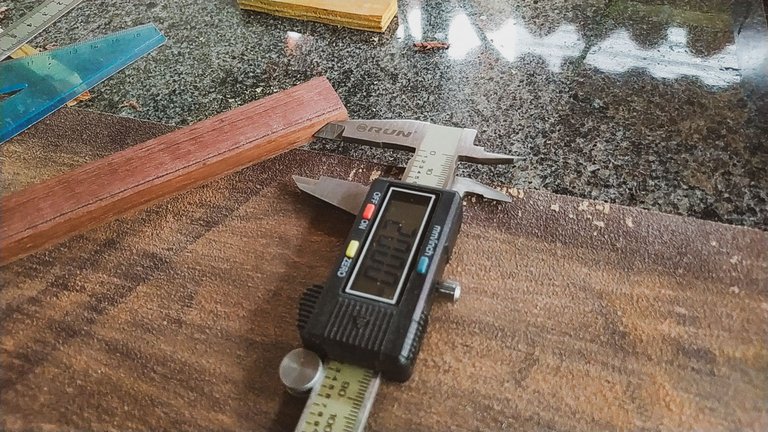
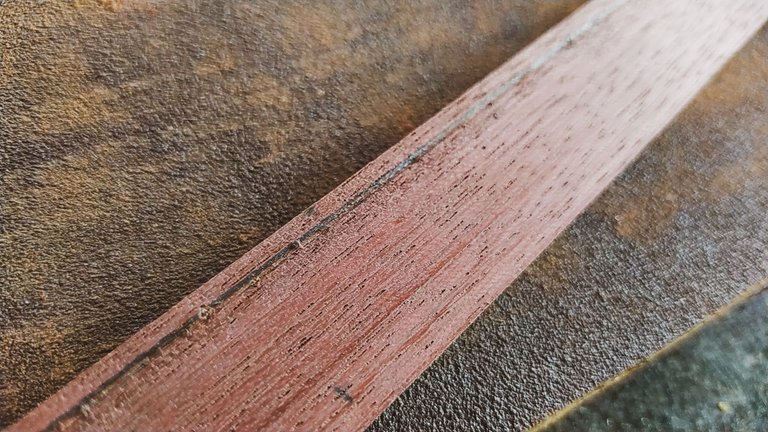
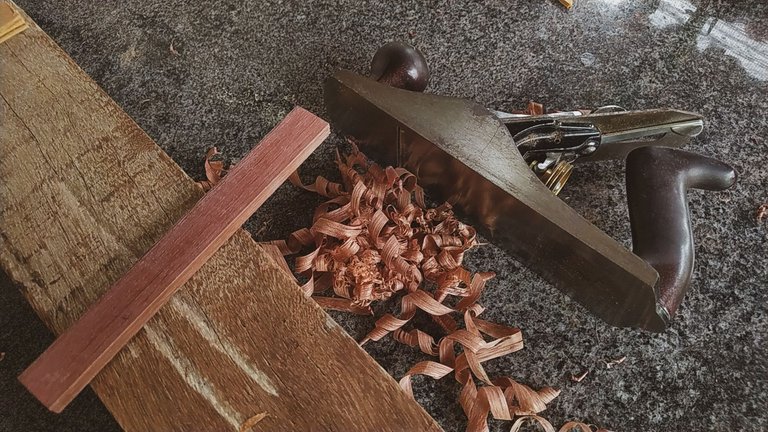
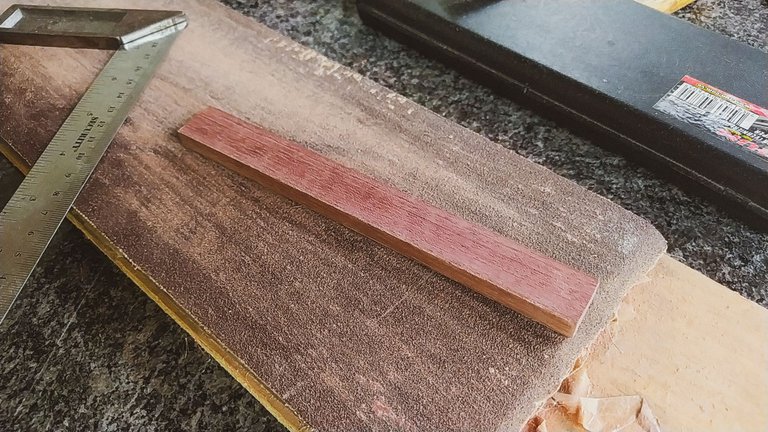
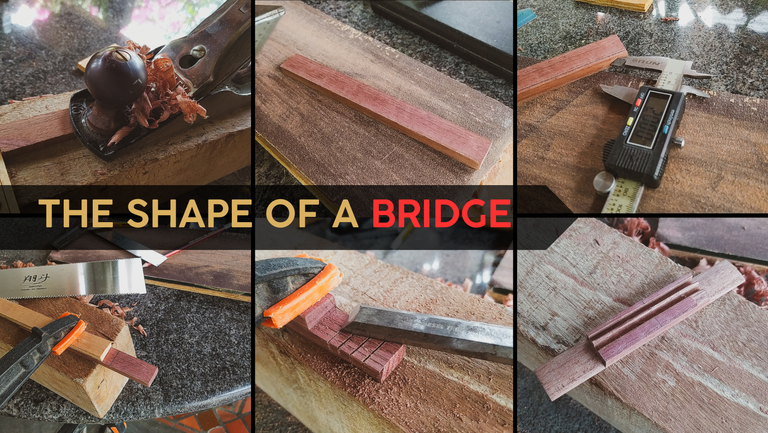
Starting off with some of the purple heart blanks we have in store, we need to make one face squared so we can take the measurements needed for the dimensions of the bridge. This is some fine work done with the plane and sanding block. Once we have a face squared off, we can use our calipers to start taking the measures we need. To begin, the total width of the bridge needs to be around 2cm; its length, 13cm.
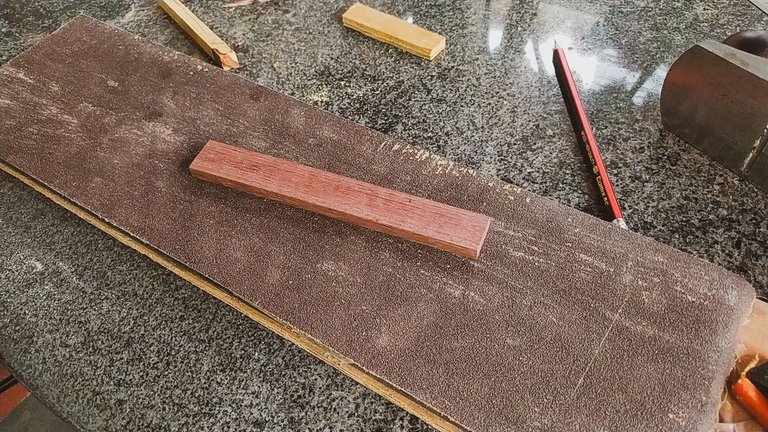
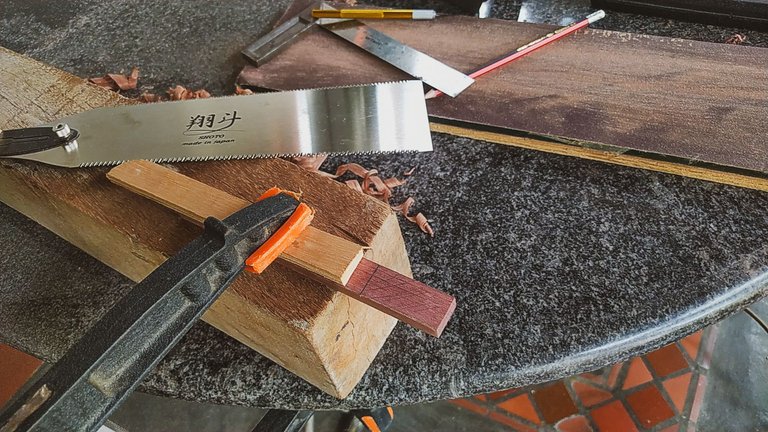
After removing more shavings and making a cut with our trusty Japanese saw, we can start sanding the bottom part since it's not one that will have anything to do with the rest of the build.
With a blank looking more like a bridge now, we move onto the next step.
Markings
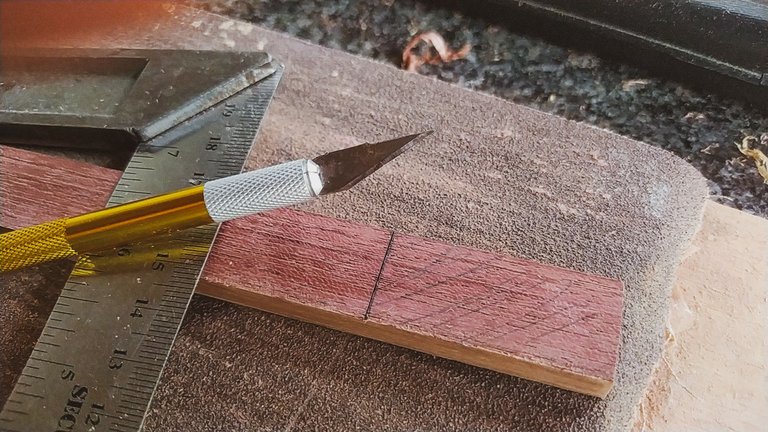
There's a world of difference in 1 millimeter. That's a phrase we could get onto a shirt. The next step is using the calipers to make markings so we divide the areas of the bridge. We need markings widthwise to get the space for the wings. This also gives us the total area where the strings will pass over. And in this are we have the saddle slot and the are to tie our strings. Then, we also have the space in between all these things.
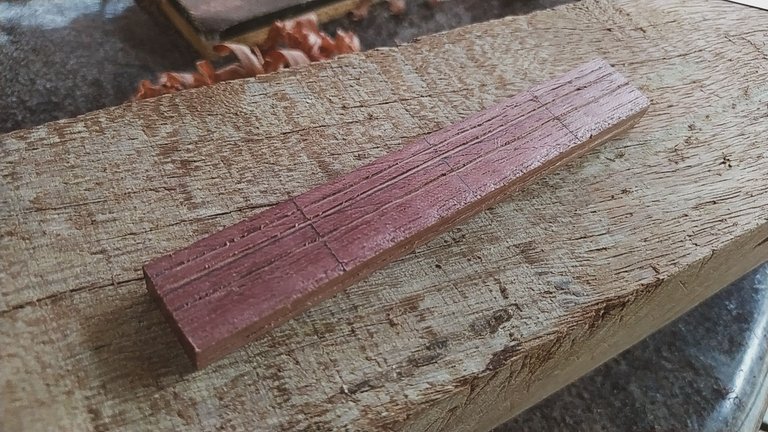
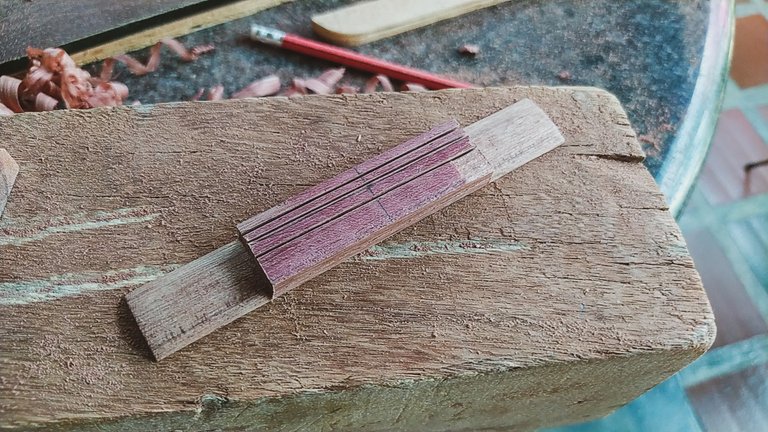
The calipers work as a marking gauge as well. That's why it needs to be a metal tool. That way it can mark wood without any problems. And it for sure saves a lot of time and mistakes using a tool that can be fixed at certain lengths and does not move at all. Around these markings we also need one that goes on the base of the bridge. That usually goes around 3mm. Since purple heart is a really dense wood, we need to balance out its sturdiness and a low mass to prevent this piece from reducing the vibrations of the sound board.
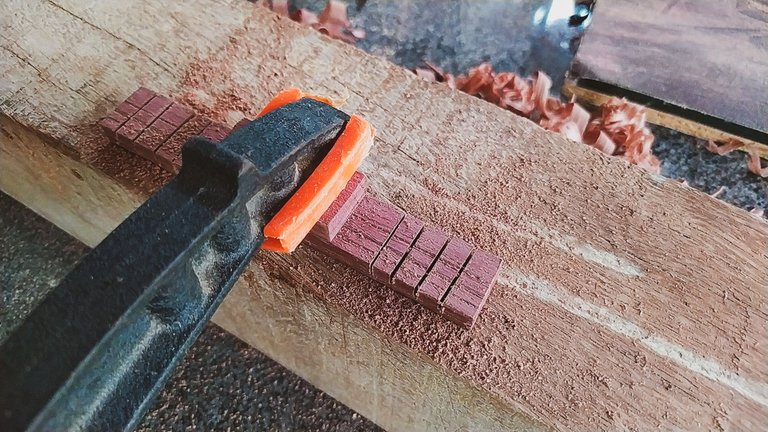
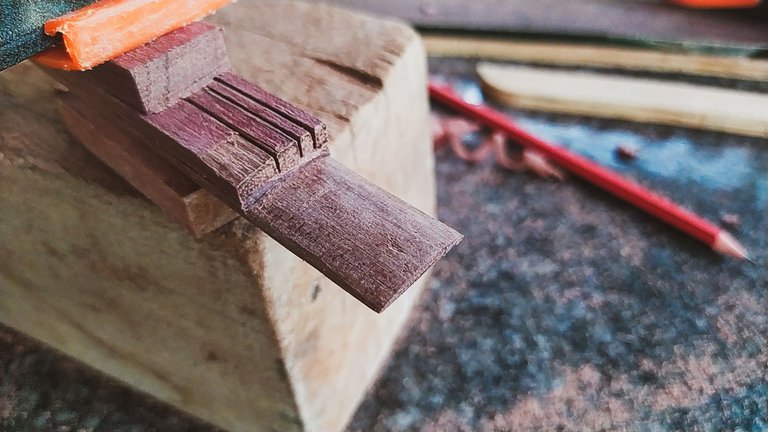
With all the markings in place, we make some cuts to start the process of chiseling the wings. These are several cuts on the borders of the bridge so we can then remove the excess material with a chisel.
Carving
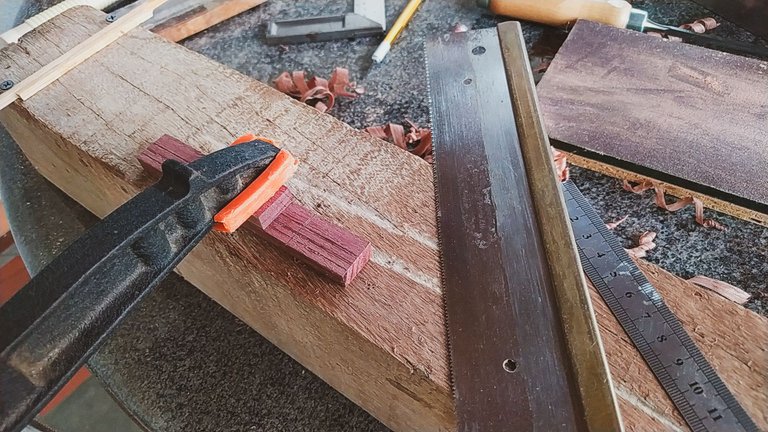
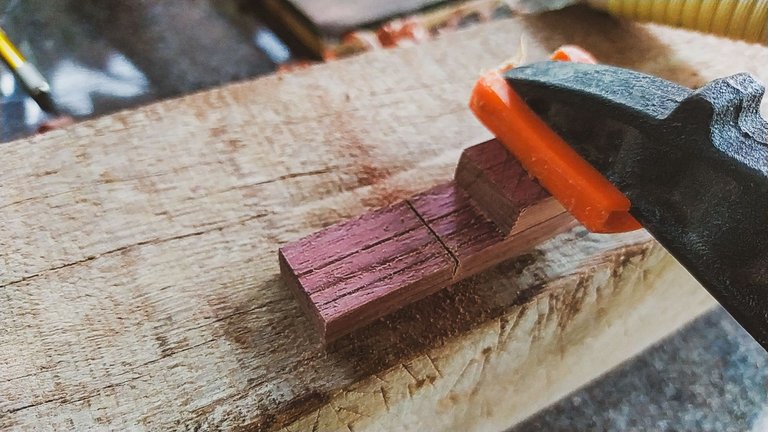
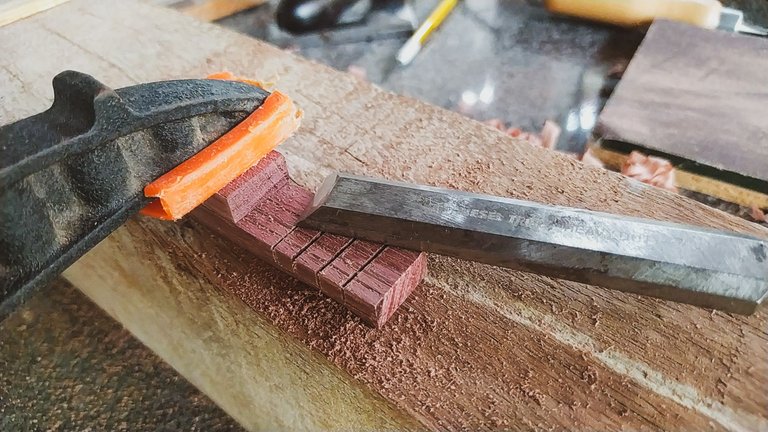
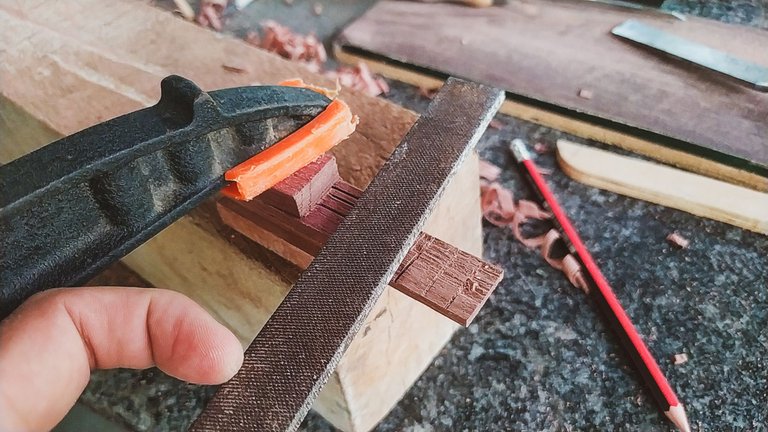
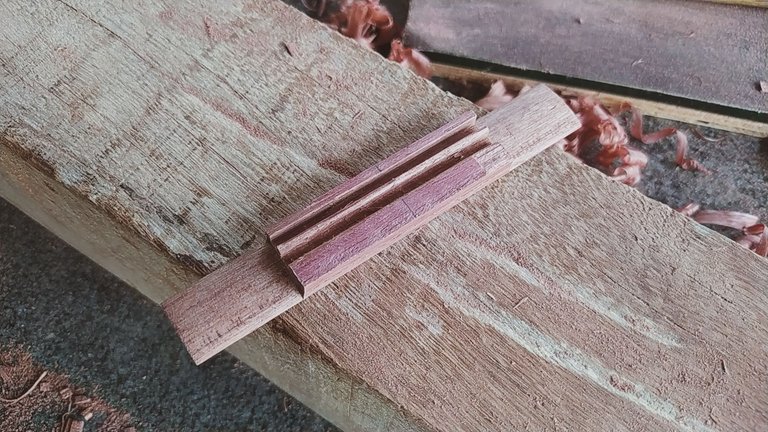
Now we get to the interesting bits. When we start to carve, we take out the bridge from the blank. So we start by making the rough shape of the wings. By having all the cuts, braking the wood to the height we need is a piece of cake. We can use the chisel so remove some of the extra material. This last step makes it easier to file away everything else and give the wings a rounded top.
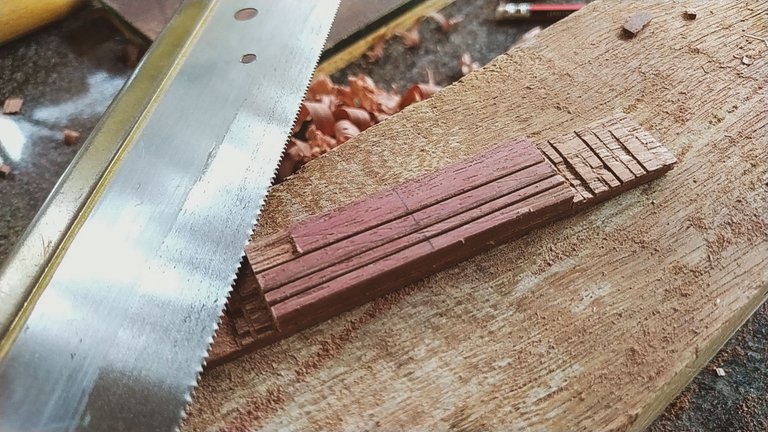
Next, we use a saw to make the slots on the rest of the markings, the ones that go lengthwise. Now, we have the marks for everything we need to chisel away to put the saddle and have the space for the strings to fall into their knot. After this, we can start filing the wings to give them their rounded shape. Finally, we can use a small chisel to open the saddle slot and the slot of the strings.
But this whole lot of shaping is only one part of the work. Next time, we'll finish the bridge by opening the holes for strings and giving it some nice finish.
Thanks for reading!

Fotos/Photos 📷: taken by me (Redmi Note 8)
Portada/Thumbnail 🖼️: by me, created with Canva.
Edición/Editing 🎬: by me, made with Adobe Photoshop Lightroom.


Follow me on Instagram for enquires and commission.
If you'd like to help the workshop grow, you can make a donation here. You can find me at discord as bertrayo#1763
