
Welcome back to another entry on this build. Last time, we had some work on getting the first assembled parts on the solera and making the end block. We finished the entry with the work on the thickness of the sides and cleaning them. Now, it is time to bend them and glue them in place.
Let's get to it!
Bending
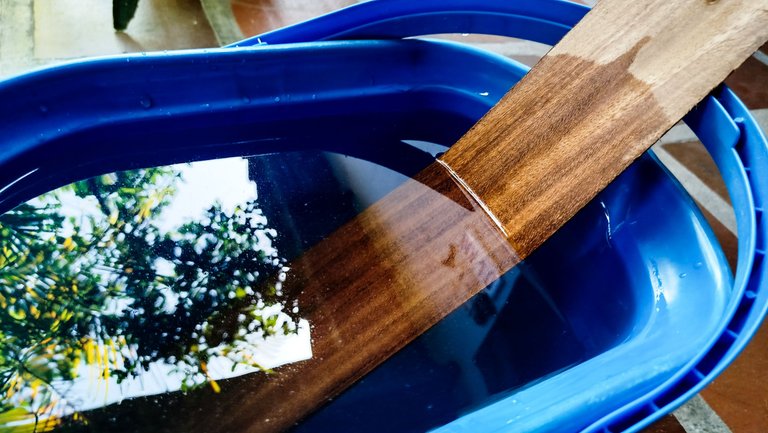
Doing the prep work beforehand is a key component on getting this done quickly. To bend the sides we need to soak them in water for some time to give the fibers of wood some extra flexibility and prevent them from burning when heated. And even before soaking them, we have to make some marks that serve as guides to the bending portions. For example, where will the waist of the instrument go? What's the space for the curve of the bouts.
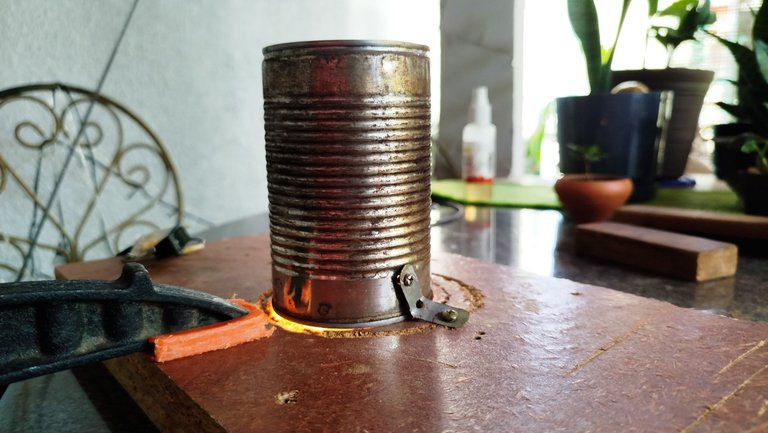
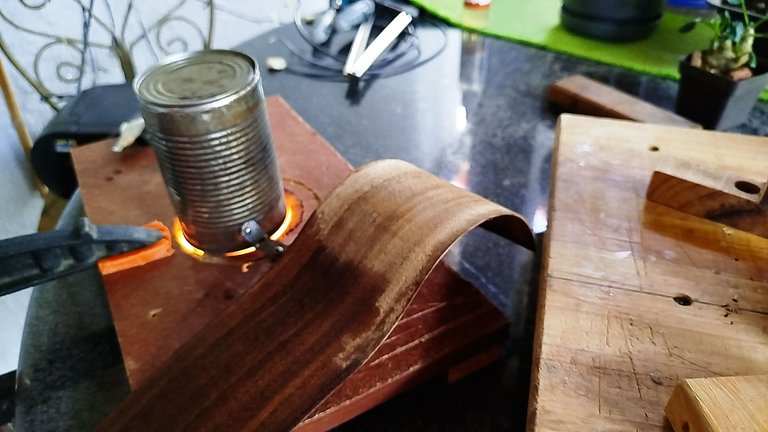
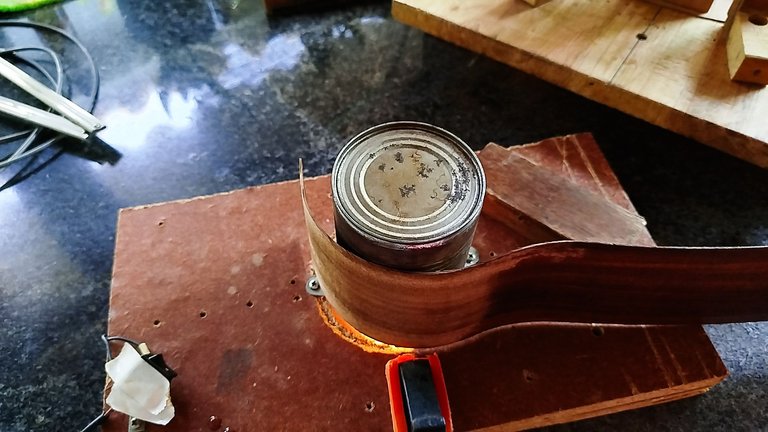
While the sides soak, we heat up the bender. Since it is made with an incandescent light bulb, it doesn't take too long. To make sure it is really hot, we throw a few drops of water on the can and see if they evaporate or the drops dance on the top. If the second happens, we are ready to go.
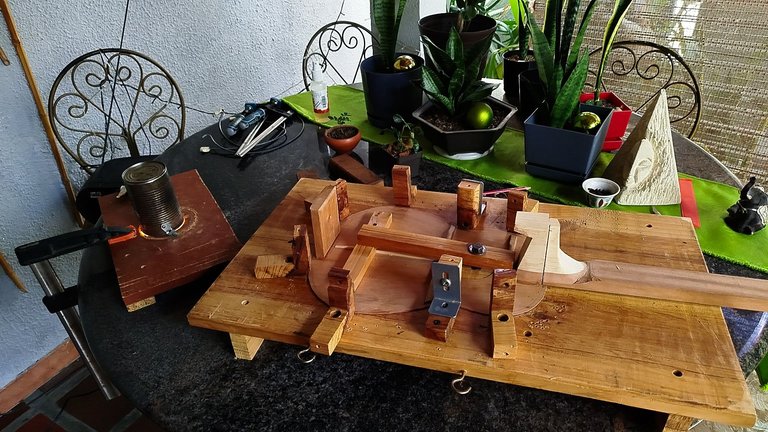
Then, with patience and helping ourselves with some blocks of wood, we start bending the sides. We can always stop to make sure we are on the right curve by measuring the curves to the sound board on the solera. The lower bout of the sides is the easiest part since we don't need to bend too much. As the sides are always longer than the length we actually need, there will be an excess of material.
Cutting
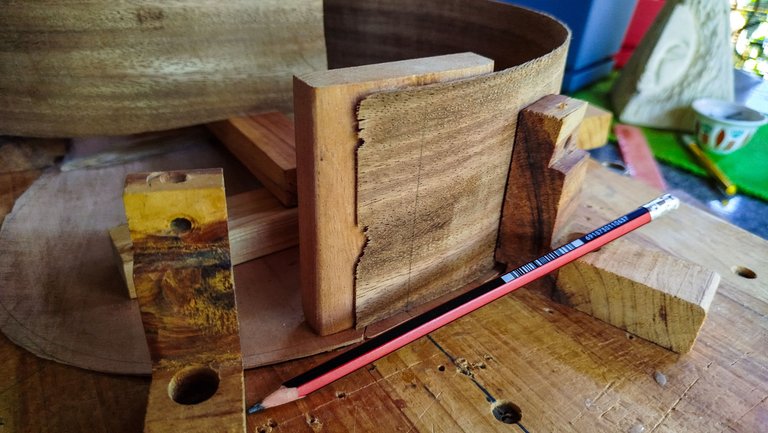
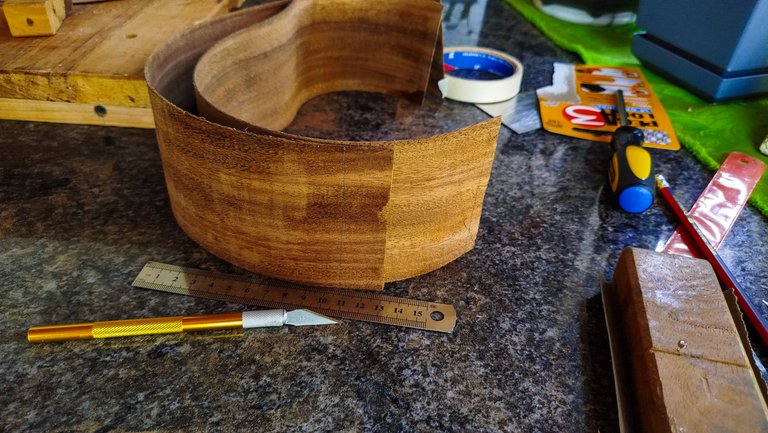
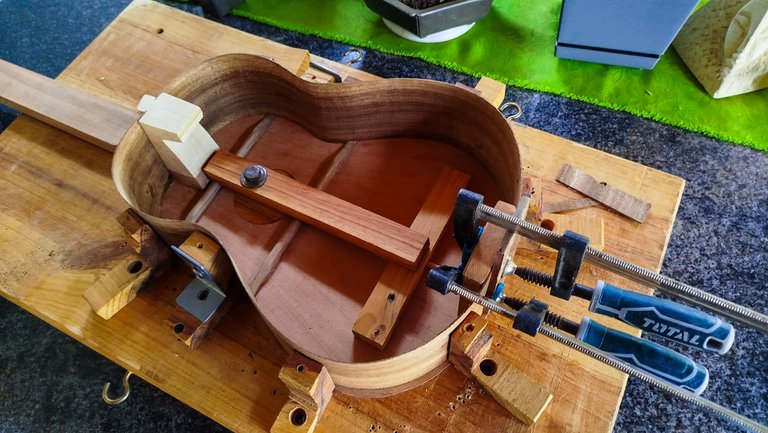
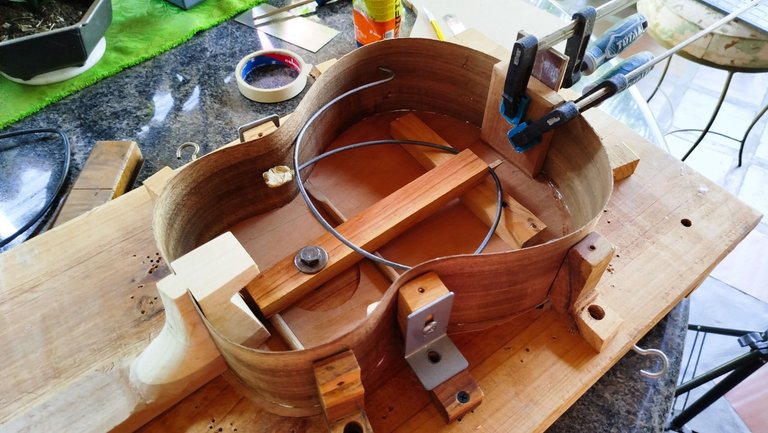
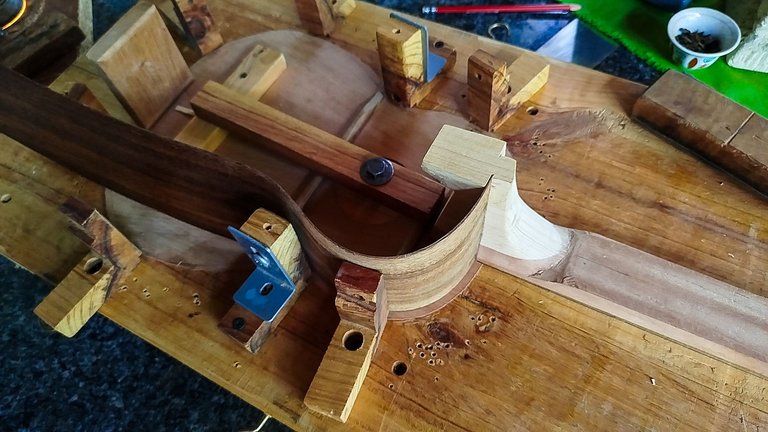
The excess material will be cut when both sides are bent and we have given them some time to rest pressed to the angles of the mould. That way we can prevent wood from trying to return to its original form. Once we have given them enough time, it is time mark the cut. We can use the center line of the sound board to mark the cut on both sides.
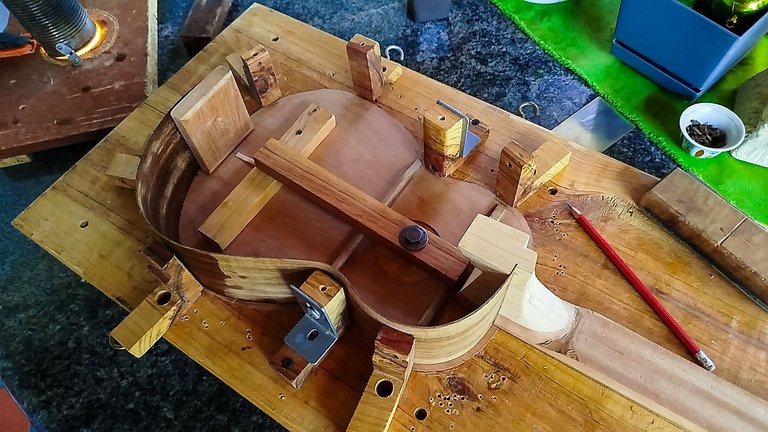
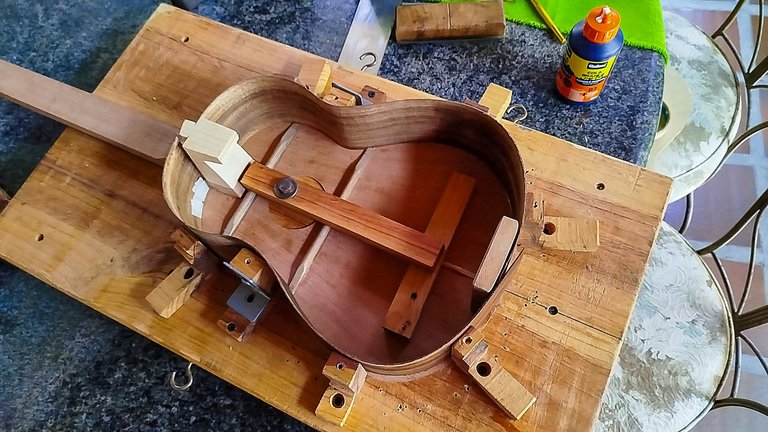
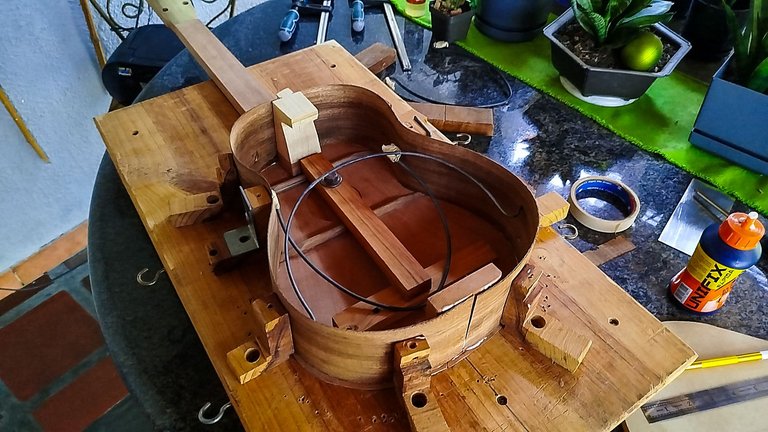
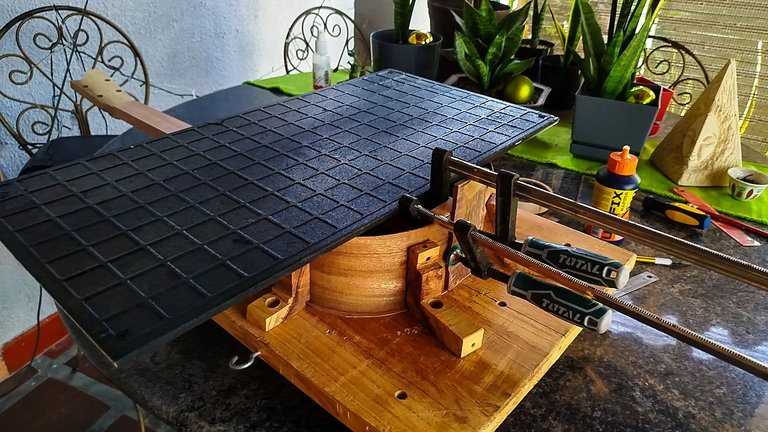
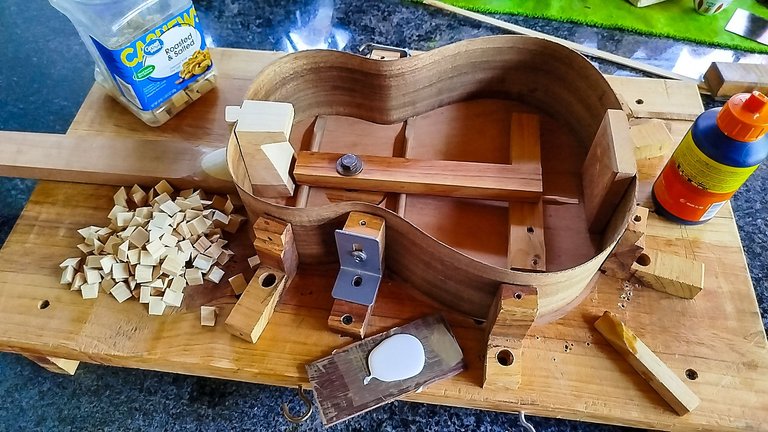
The cutting part is a bit tricky since the pieces are not flat anymore. But making slow progress on the cut, we can manage to remove the leftover piece and have a good match up from each side. The last step is applying glue. We use clamps to glue the sides to the end block. But we use a weight to glue the sides to the perimeter of the sound board.
That way we can leave this be for some time until the glue dries up and we can start adding the reinforcements.
Kerfs
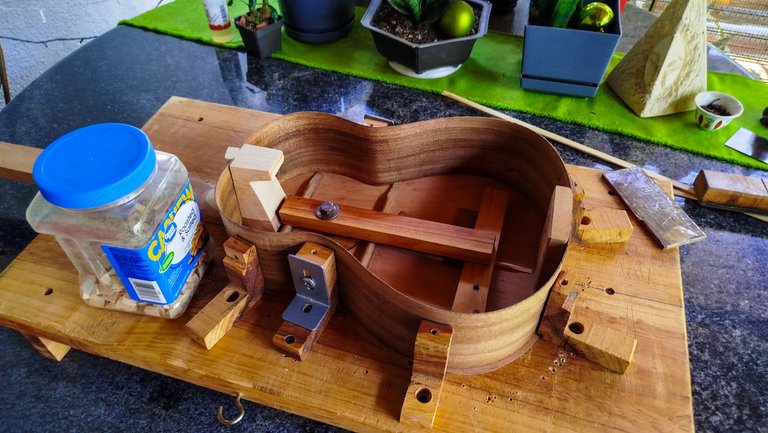
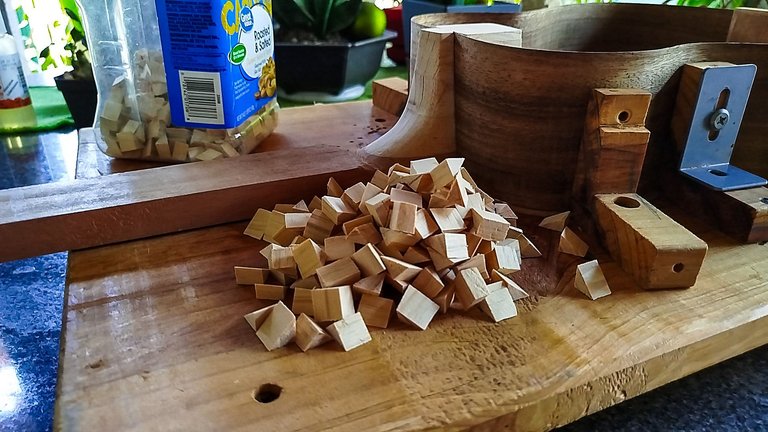

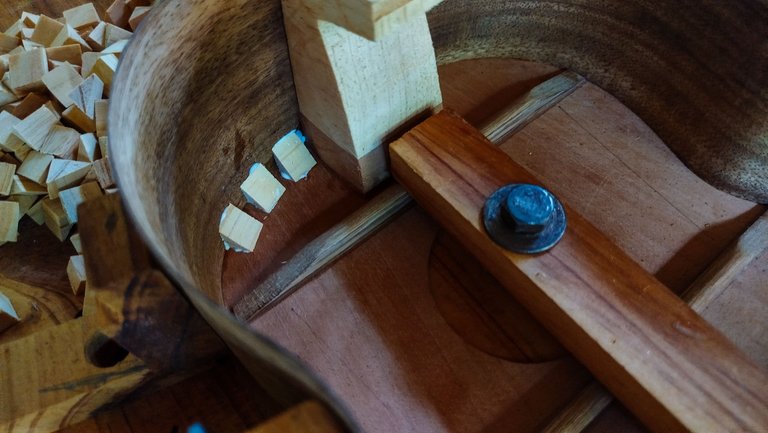

Again, having done much of the work beforehand saves a lot of time. We can place the first section of the kerfing before the day is over. These are the wedges that glue the sides to the sound board. There are lot. Cutting some of them is usually a really relaxing task.
We take a few out and get something to pour glue. And we go wedge by wedge. Dip it in the glue. Remove the excess. Place it inside the instrument. Apply pressure. Rinse and repeat. The only difficult part of this specific process is keeping the kerfs to the same distance. But there's a trick to it. If we take a piece of wood, we can use it as the separation between the kerfing. That way all of them are at the same distance from each other. We can also eyeball it. It is a skill that develops over time and time of repeating this process.
That's all for this entry. Next time, we'll add the other kerfing and also close the instrument by putting the back on top as a lid. That way, we can have a first impression of the sound it will have.
Thanks for reading. See you next time!
| Project milestones | Title |
|---|---|
| 1 | First Steps |
| 2 | Hints of a Sound Board |
| 3 | Sound Board Ends, Neck Begins |
| 4 | Head Stock and Heel |
| 5 | Carving the Heel |
| 6 | Flush Head Stock |
| 7 | Neck and Back |
| 8 | Reinforced Back |
| 9 | Assembling Starts |
| 10 | Get on the Mould |
Photos 📷: Redmi Note 13
Thumbnail 🖼️: Canva.
Editing 🎬:Adobe Photoshop Lightroom.

Follow me on Instagram for enquires and commission.
If you'd like to help the workshop grow, you can make a donation here. You can find me at discord as bertrayo#1763