
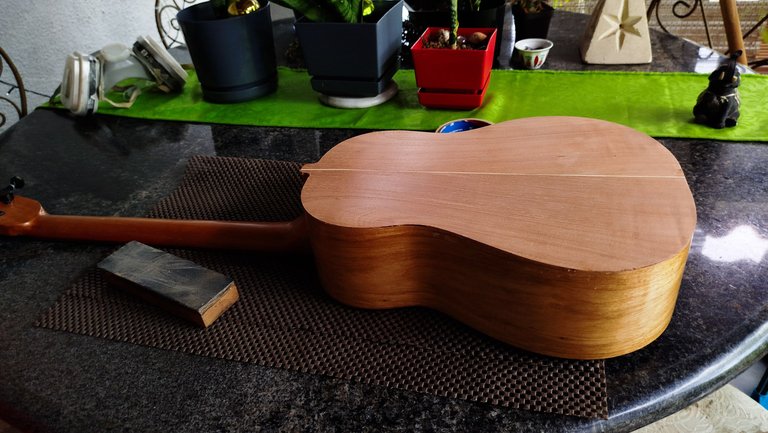
Welcome to the series on repairs for my instruments. On this entry, we'll be leaving Embla resting aside while we focus on Ask and the new back it needs. On the previous post, we applied some tricks to get that back off the instrument and now it is time to put a new one on it.
Fortunately, there's usually one extra piece already in shape for these tasks. So without further a due, let's jump to it!
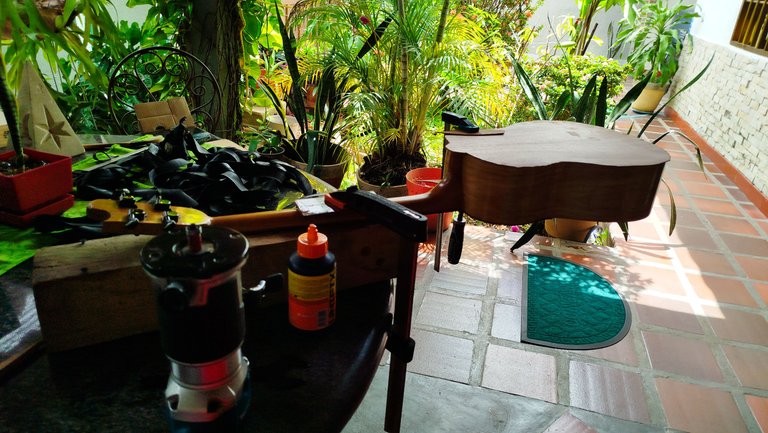
Get It Ready
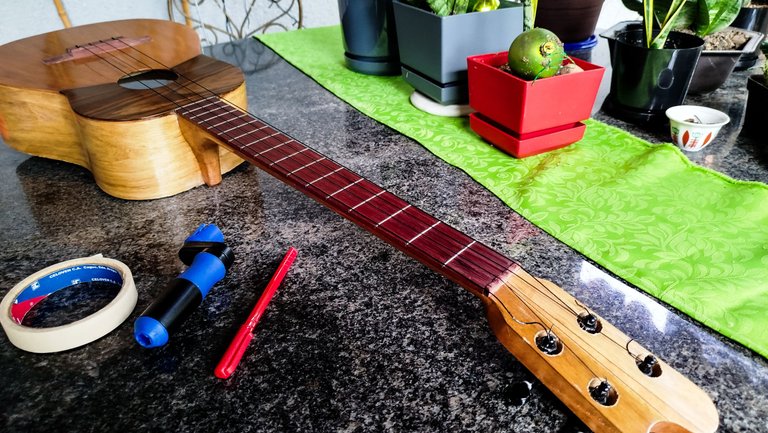


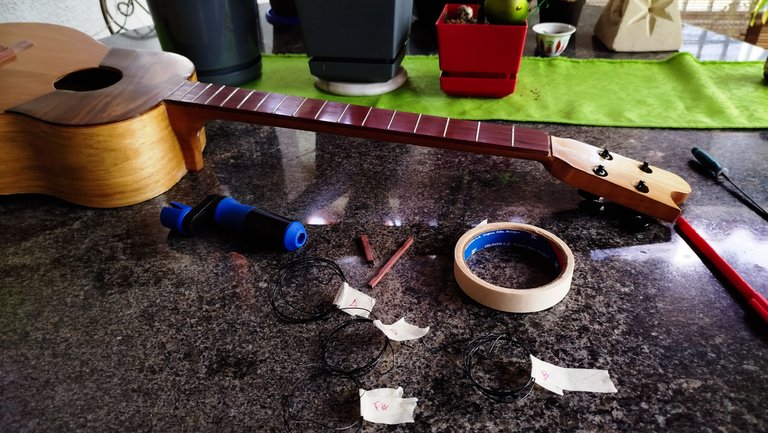

As a reminder to anyone doing repairs on stringed instruments, it's always good to remove the strings before you start doing your work. Not only it removes tension from the wood, but it also protects the strings. You can always get them off and them put them back on once the job is finished. It's a good thing to have a winder. That way moving the tuning machines is really easy. It's also nice to use tome tape to identify the strings. I do it here since some of the strings have the same thickness.
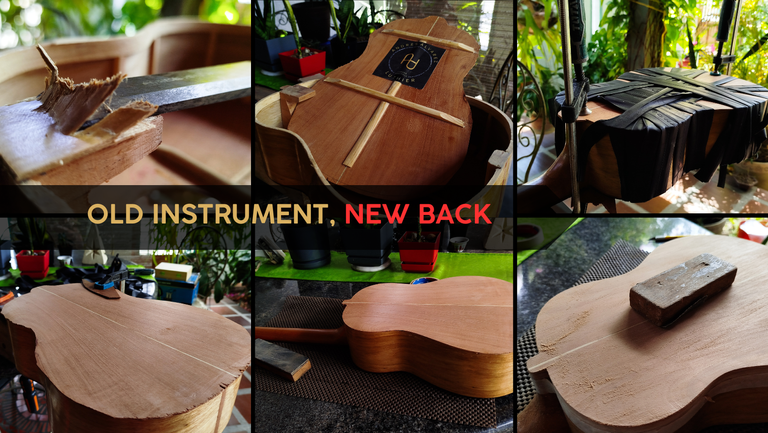
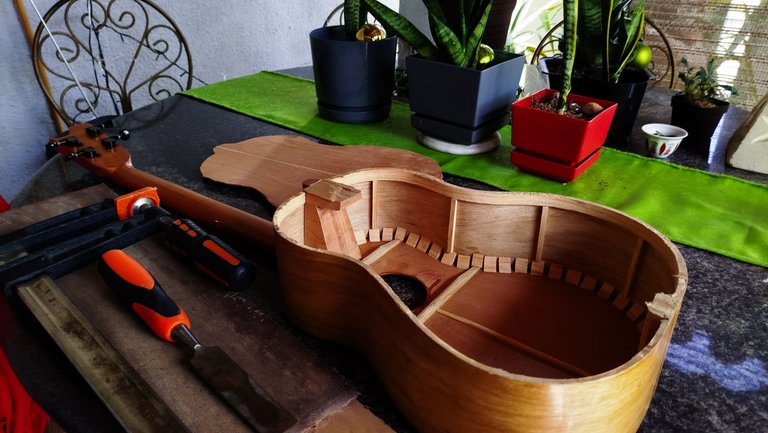
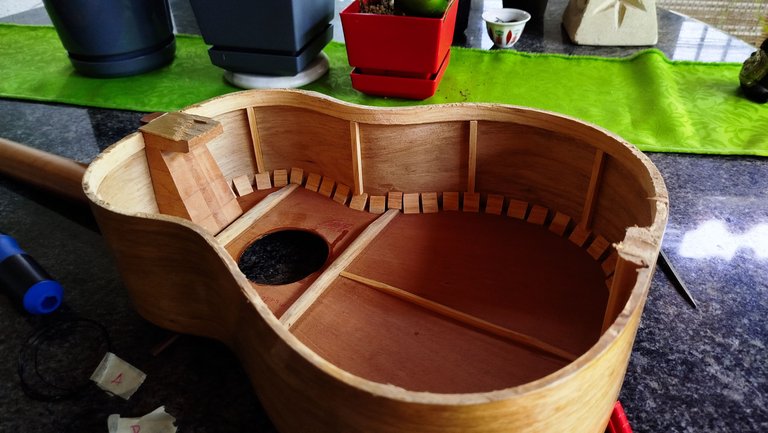
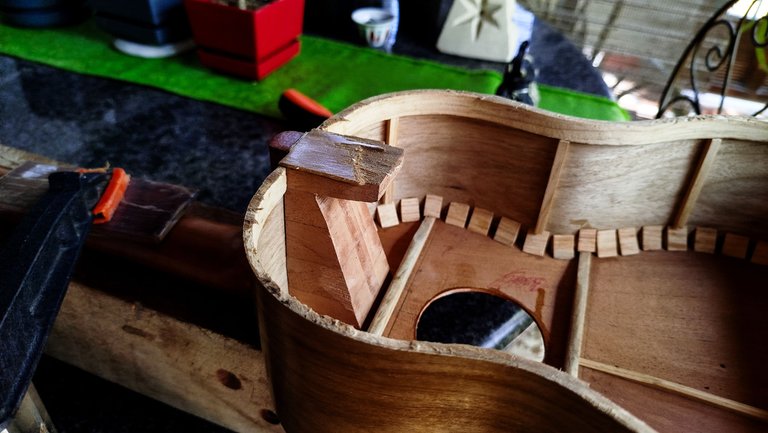
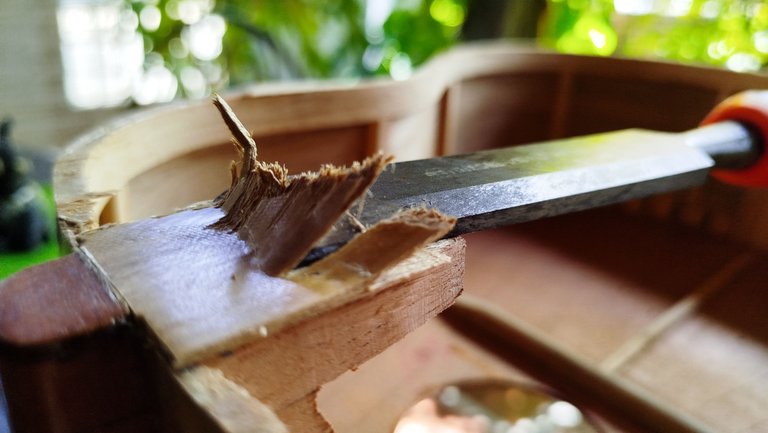
With at out of the way, we can focus on using a chisel to remove any residue from the previous ungluing job. This is extremely important since we want the new glue to adhere to the wood not to damaged glue. It is a very methodical process and we need to work slowly removing anything that resembles the previous color of wood and glue stains. The biggest portion of this job is on the heel. There we have a chunk of the old back.
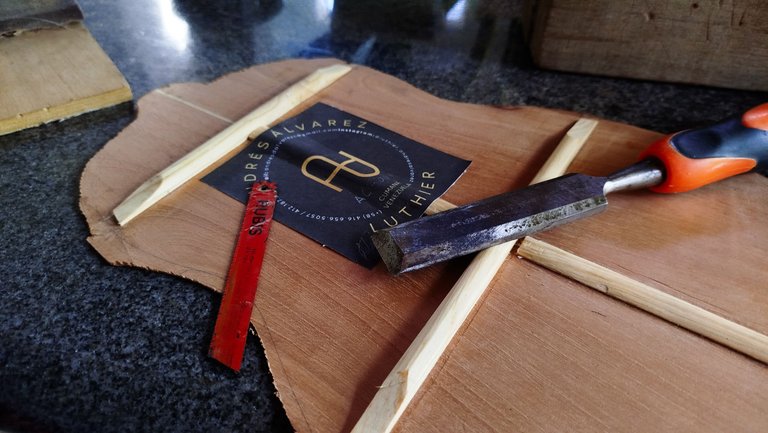
Once we have remove as much as we can with the chisel, we can move to sand paper to refine it a bit. We can't sand much or we would alter the shape of the instrument. Then, we can grab the new back and make a few tweaks if needed. In this case, some of the bars need to be shortened at the edges so it can fit properly on the instrument.
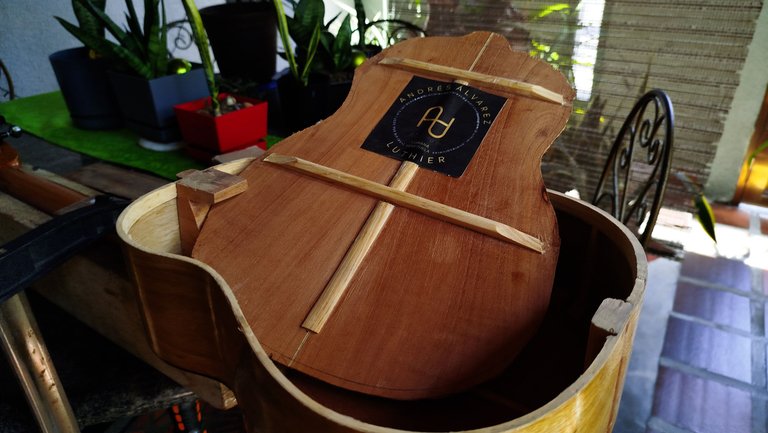
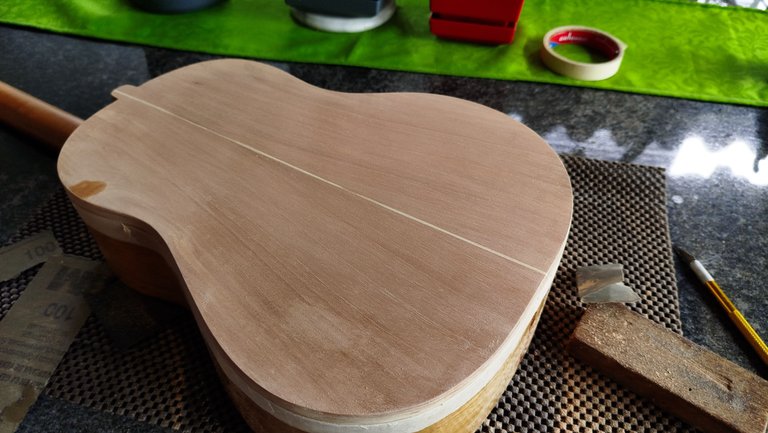
New Back and Trim

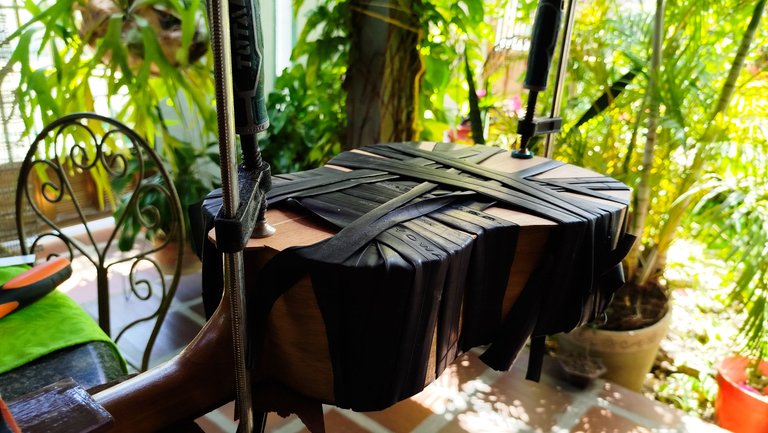
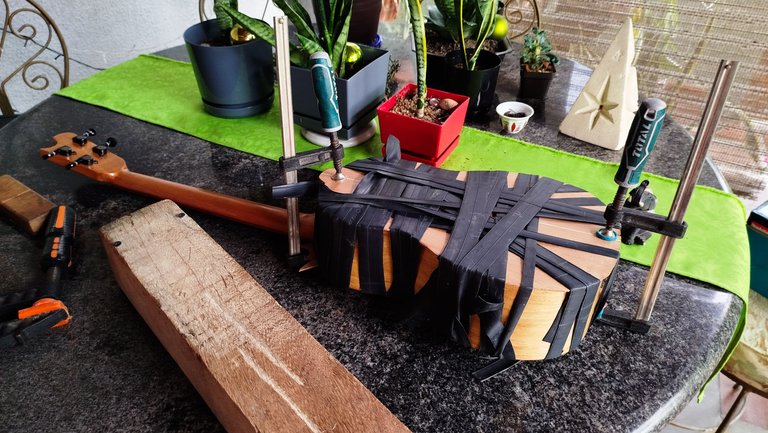
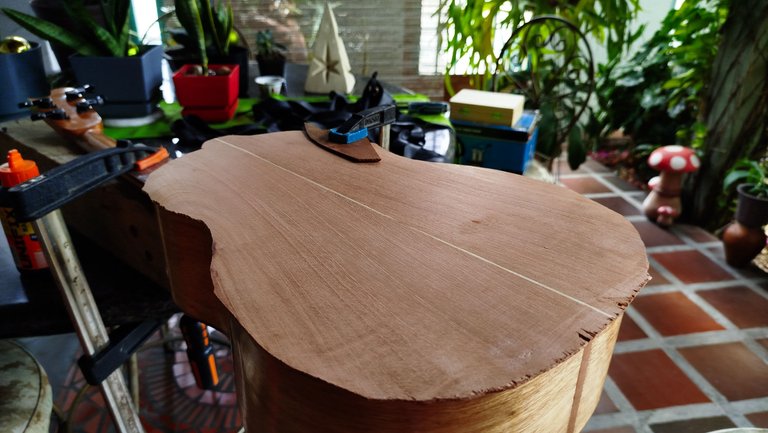


Gluing a back is always an interesting process, applying the glue, spreading it, finding the right amount of pressure to hold it fast while we make turns to the clamps. And then, the best part which it to make the whole rubber-band weave. Once we have it secured in place and with all rubber bands holding it in place, we can leave for a moment to let glue do its magic.
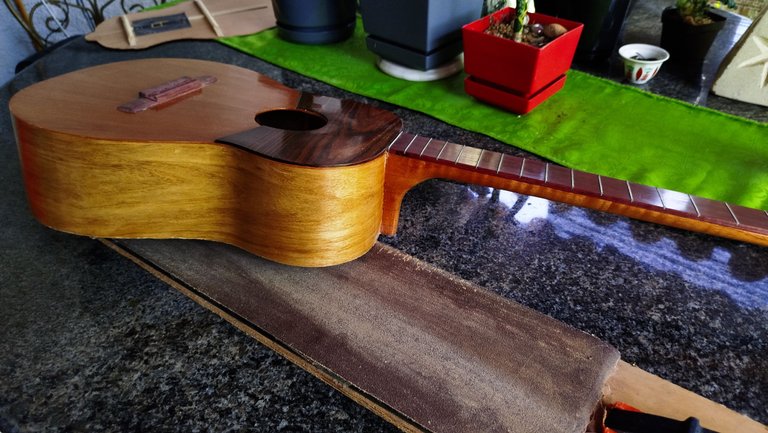
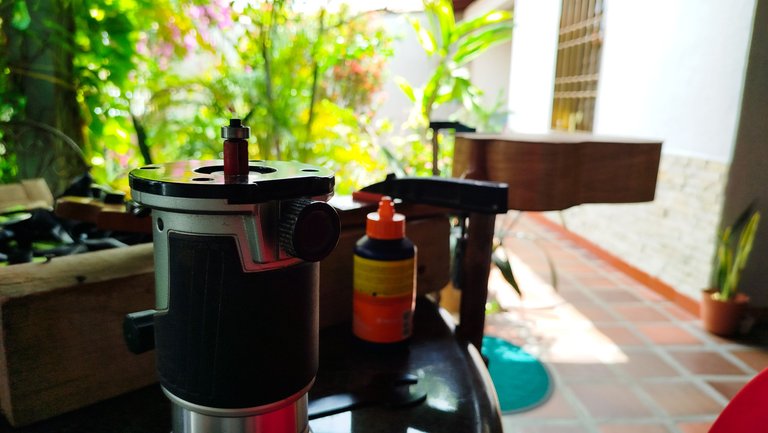
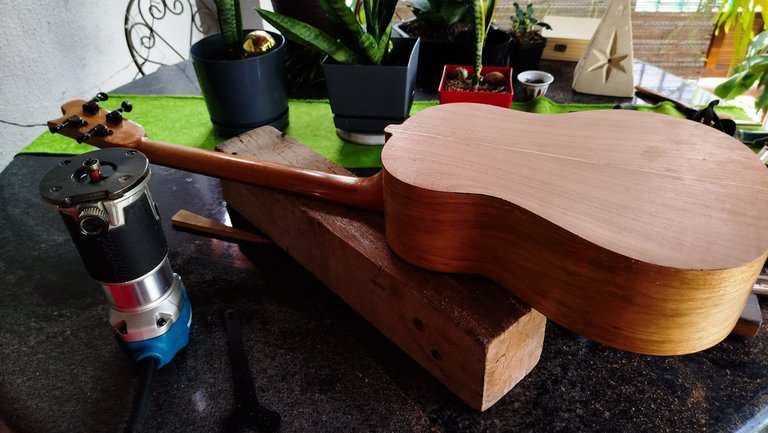
Once some time has gone by, we can remove the bands and starting the trimming process. This is part is a breeze with a router and a flush trim bit. So, it's just a matter of using the router carefully and moving in the direction of the grain to avoid chipping anything. After a few passes, we can sand the edges and move along with an instrument that has a new back.
All Roads Lead to Sanding
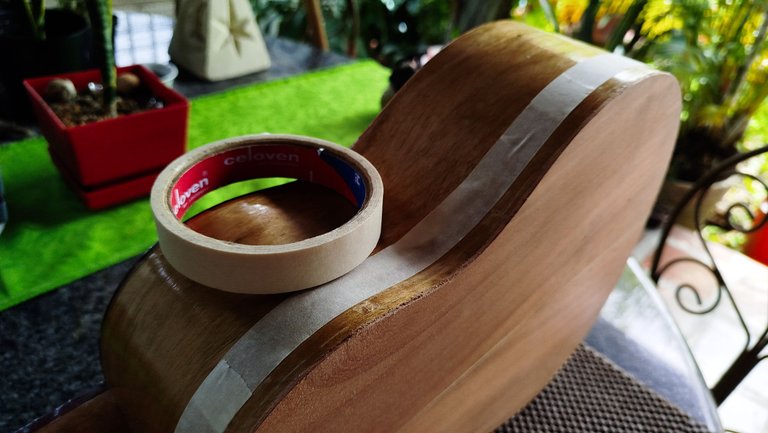


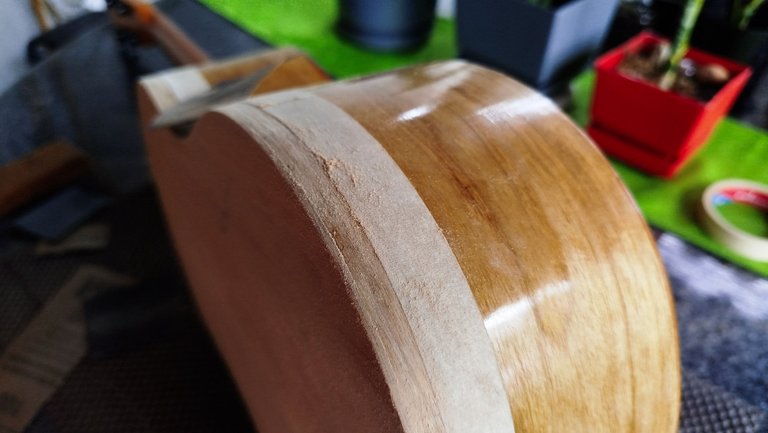
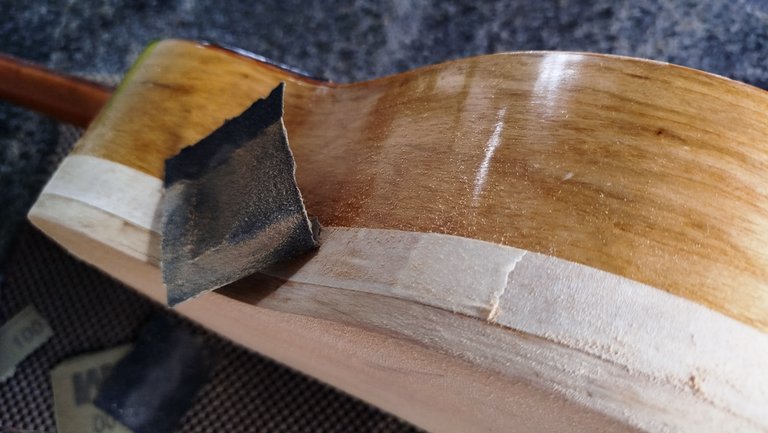


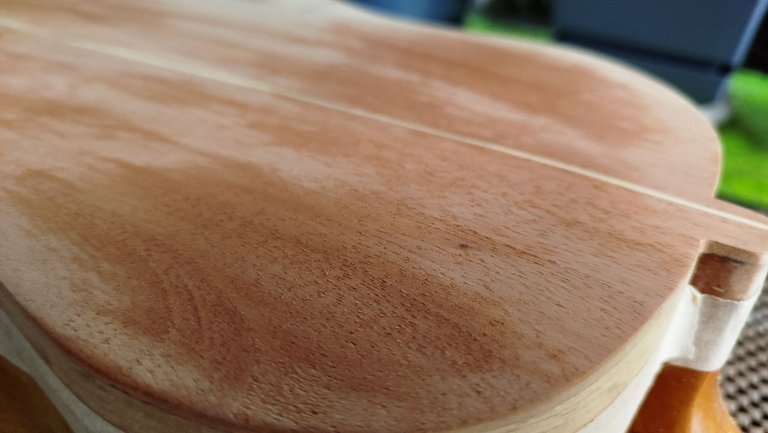


As it is the norm with woodworking projects, we have to do a lot of sanding. This time we need to prepare before we do it. So, we use some masking tape to make a margin in the area of the sides where we will sand. This is important as the finish on the sides is almost all ok from the fall the instrument took.
After making the mark, we can starting doing the whole sanding. We begin by removing the finish from the portion of the sides and them we move on to the back. Here we go through the usuals of preparing a piece for finish. We go with a heavy sanding in 100-grit sandpaper. Then, we move on to 220-grit. And then, the last part includes several passes of the same grit after passing a damp cloth and letting the wood fibers arise. This is to have a better surface for finish.
Once we like the results of these steps, we can start cleaning and setting our minds to the long process of applying finish to this back and part of sides and a whole other instrument. That will be the last bit of these repairs and maintenance.
Thanks a lot for reading! See you next time!
Fotos/Photos 📷: taken by me (Redmi Note 13)
Portada/Thumbnail 🖼️: by me, created with Canva.
Edición/Editing 🎬: by me, made with Adobe Photoshop Lightroom.

Follow me on Instagram for enquires and commission.
If you'd like to help the workshop grow, you can make a donation here. You can find me at discord as bertrayo#1763