
I thought the whole part of maintenance on my instruments was ready until some weeks after it was done, something happened to one of the tuning machines. I had to wait until there was enough things to buy and do with the monthly budget to get new ones from Mercado Libre.
Fortunately, I did found some nice ones and got them. Then, it was a thing of changing the tuners for the new ones.
Let's jump right to it!
Out with the old
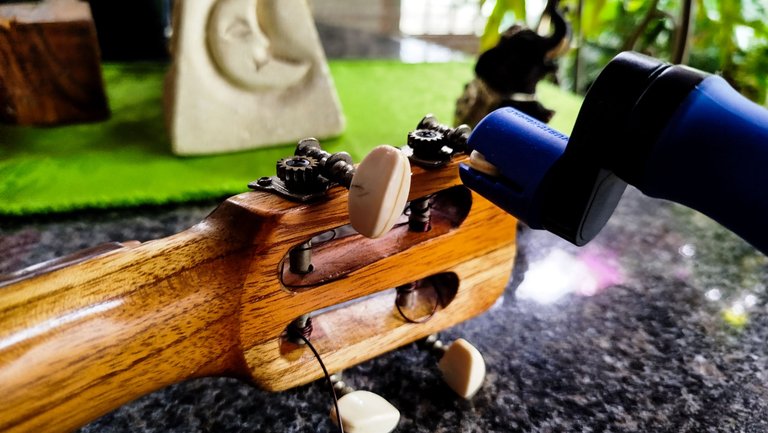
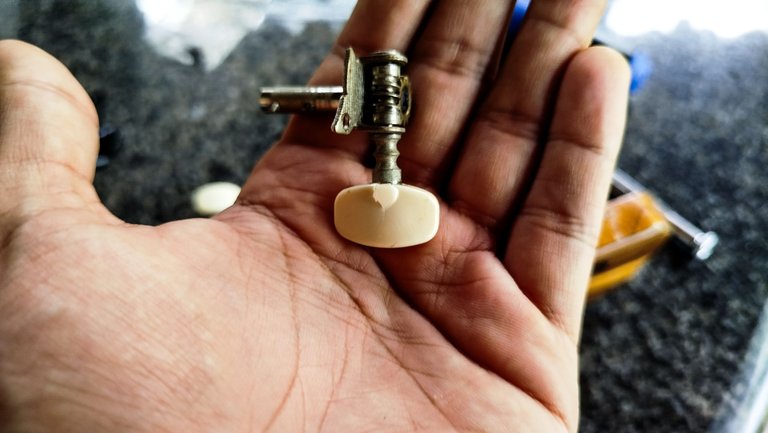
One of the tuners on Embla was always troublesome. I did changed it to the string that was going to be the lowest pitch in tuning. If only that were a solution. Once I tried tuning the instrument the plastic head of the tuner broke. It was a pain finding a way to release the string. But there's nothing you can't achieve without a bit of trial an error.
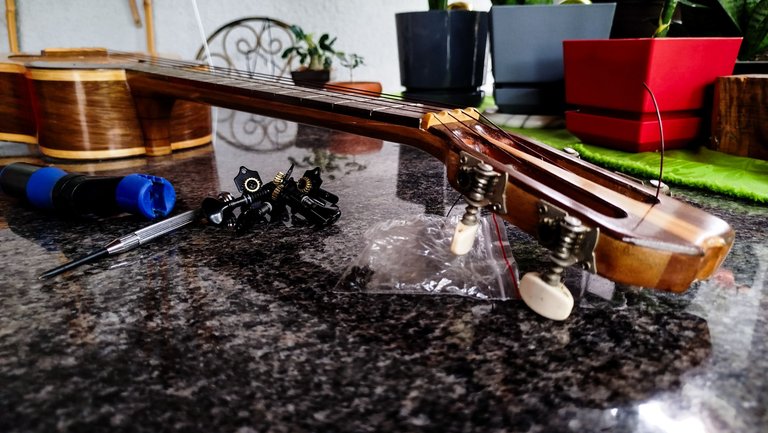
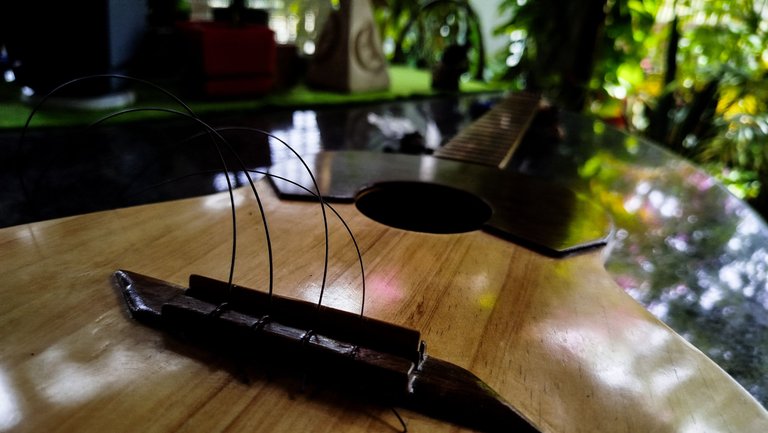
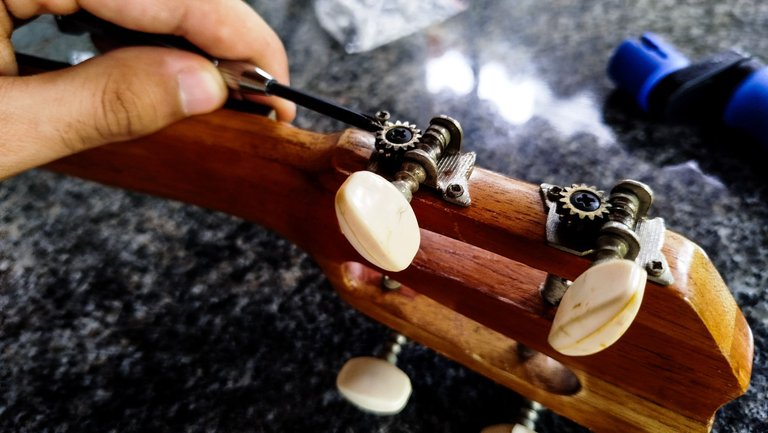
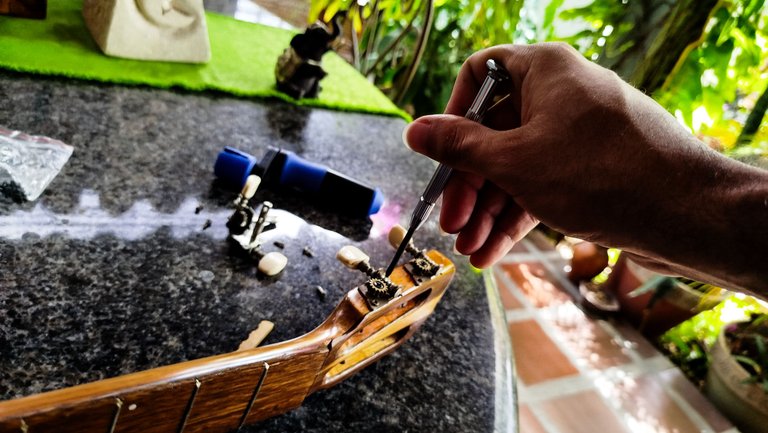
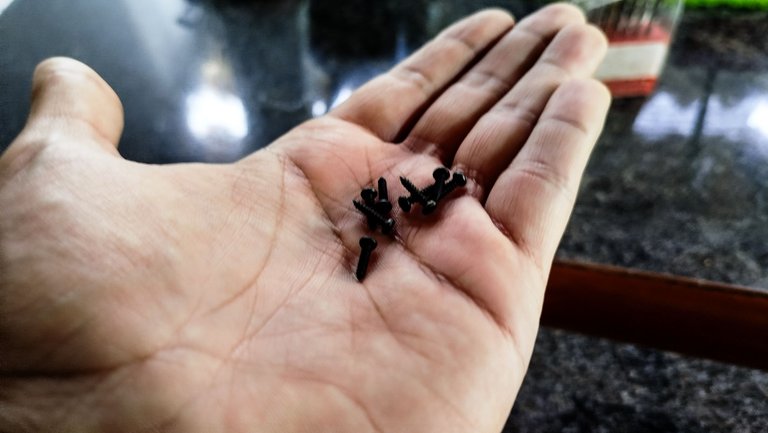
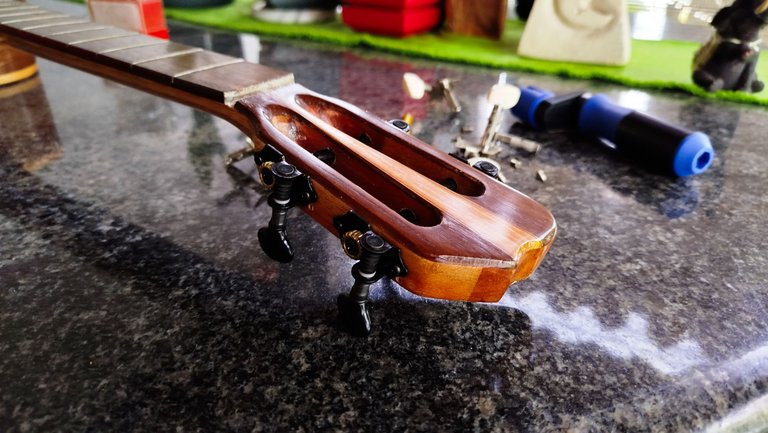
Once the tuners came by on the mail, I started to do this easy job. The first step is releasing all the tension and getting the strings out of them. Then, we get to remove the screws that hold the tuners in place. I'm actually glad to be doing this since the screws' heads were damaged. That's another thing not to worry about!
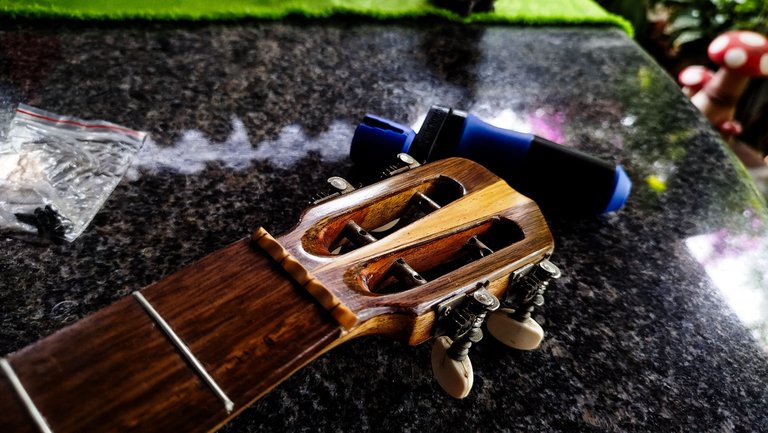
After getting the screws out, we can remove the old tuners.
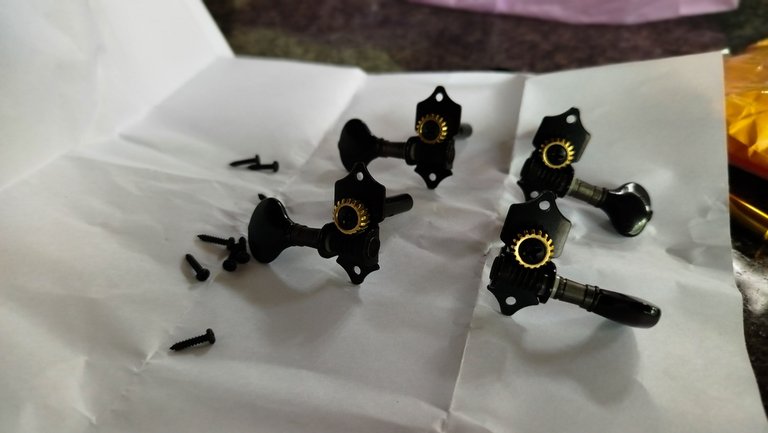
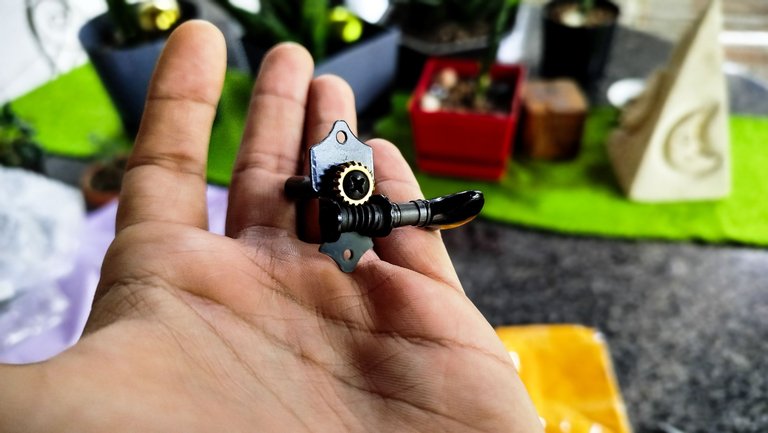
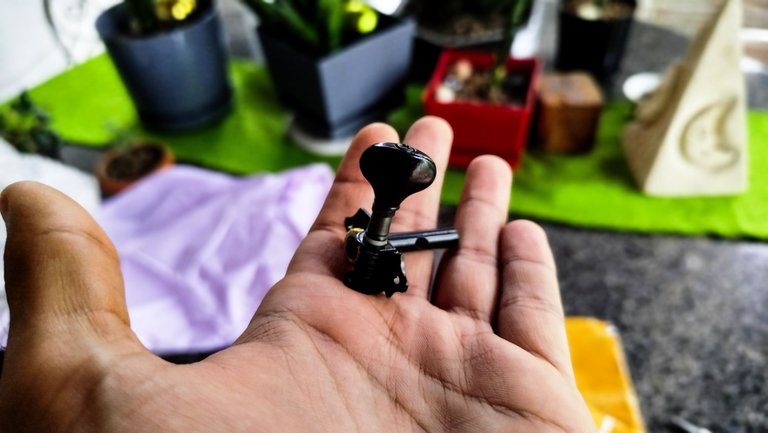
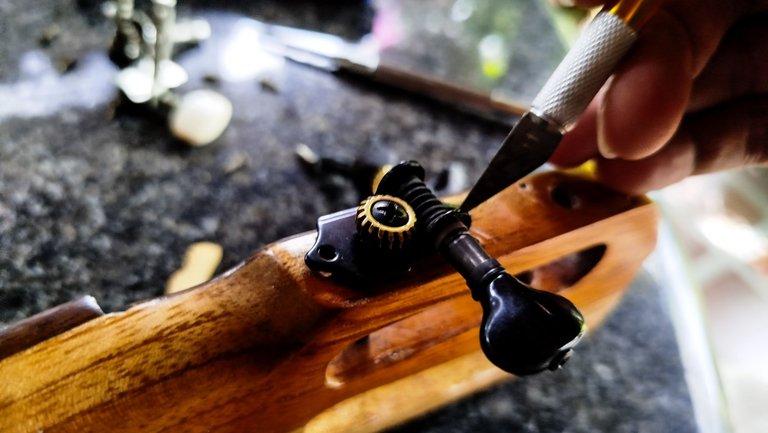
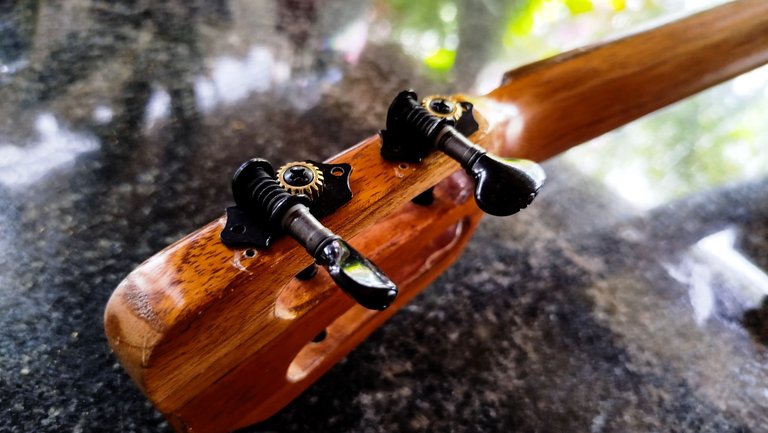
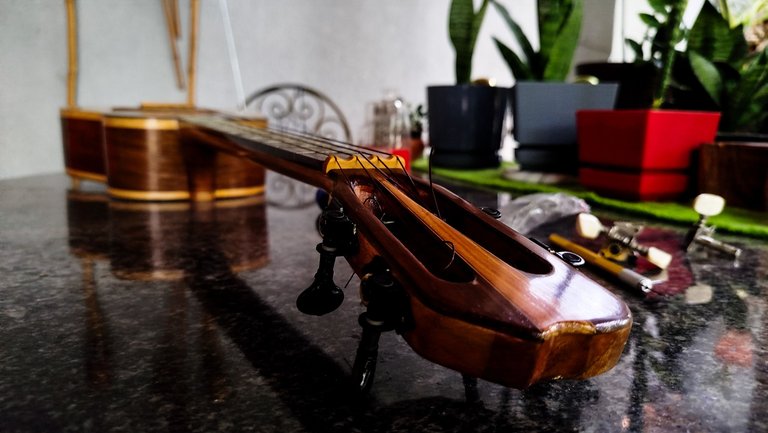
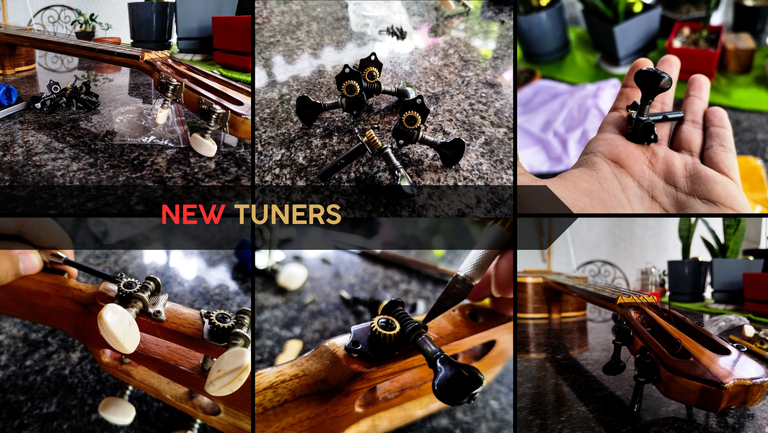
Take a look at the beautiful and elegant black tuners. These are not expensive. And they are advertised as Ukulele tuners. That's good since they are not heavy. And their design is pretty cool. Since they are on the same type of the previous one, we just need to make a modification on the screw holes and that's it.
Placement
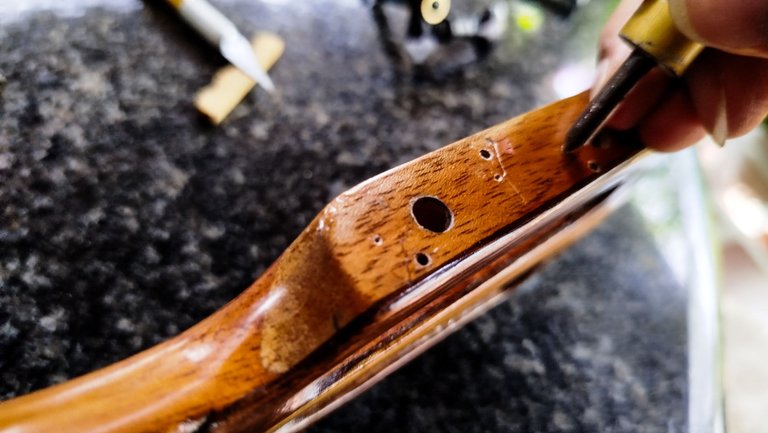
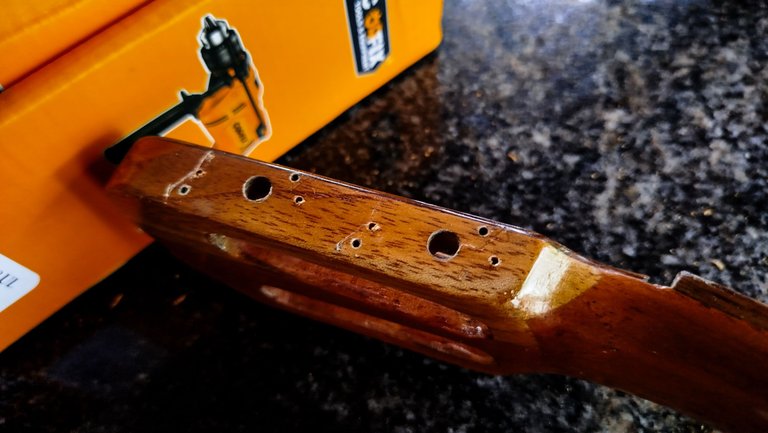
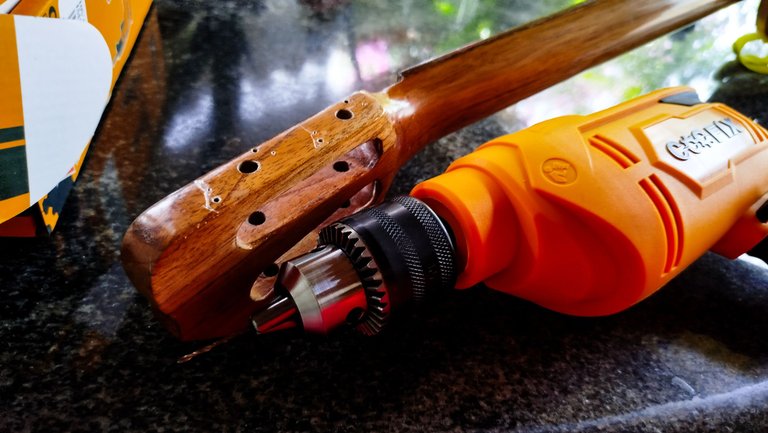
This is also the first project where I get to use the new drill. It worked perfectly. To get the new holes for the tuners in the right place. We need to put them on and mark where we want to place the screw. Then, we make the mark a bit bigger with a tool.
The next step is drilling the new holes for the screws. We do this to avoid giving to much work to the head of the screws. That way we can prevent damaging them. Small pieces like this tend to wear down easily.
The last step on the installation is to use the screwdriver on each tuner to fix them in place.
String it up
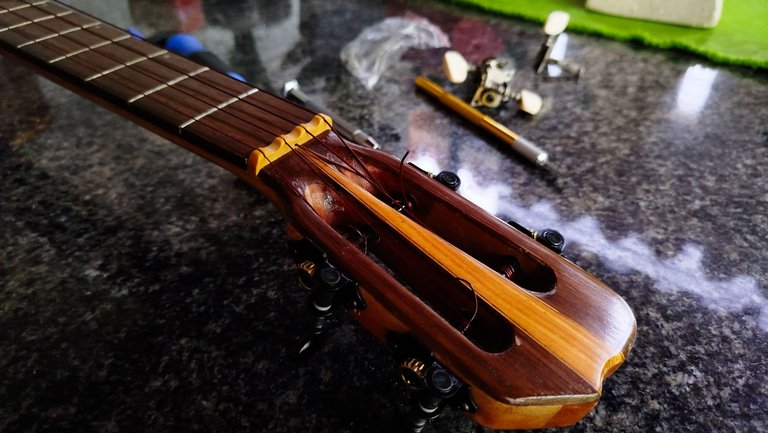
We finish by doing the whole string up process but only on the tuners. And once we have the strings on them, we proceed to tune them. It will take time for the strings to retain their tuning; however, these new tuning machines are smooth as silk. They move without having any sort or issues and retuning the instrument is really easy.
They might not go with the whole aesthetics of this instrument, but they do the job and that's more than enough for this kind of issue. Besides, I was already thinking about changing the old tuners. The accident just made the decision come to be faster than expected.
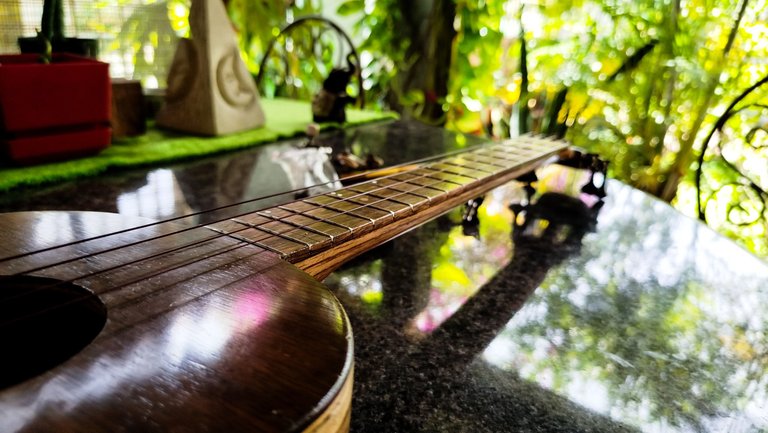
And thus, I have something new on my old instrument. Perfect timing as the tuning chosen for Embla right now is also a new terrain to explore.
Thanks for reading!

Photos 📷: taken by me (Redmi Note 13)
Thumbnail 🖼️: by me, created with Canva.
Editing 🎬: by me, made with Adobe Photoshop Lightroom.


Follow me on Instagram for enquires and commission.
If you'd like to help the workshop grow, you can make a donation here. You can find me at discord as bertrayo#1763
