
Welcome back to another entry on this project. Last time, we finished the back and started the assembly process by gluing sound board and neck together. That is what we call the Spanish method. Today, we follow up some details by mounting the pieces we have put together on the mould and working the sides.
Let's get to it!
Onto the Solera Mould
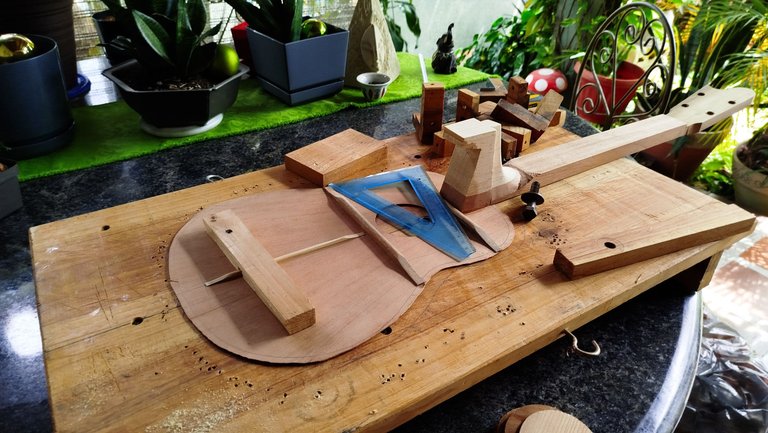
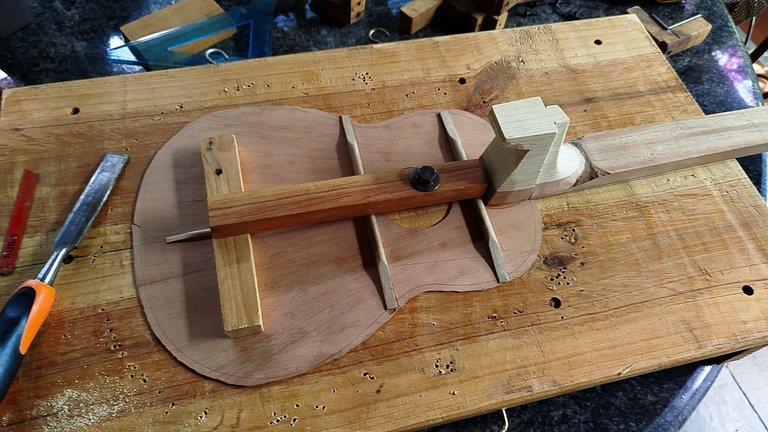


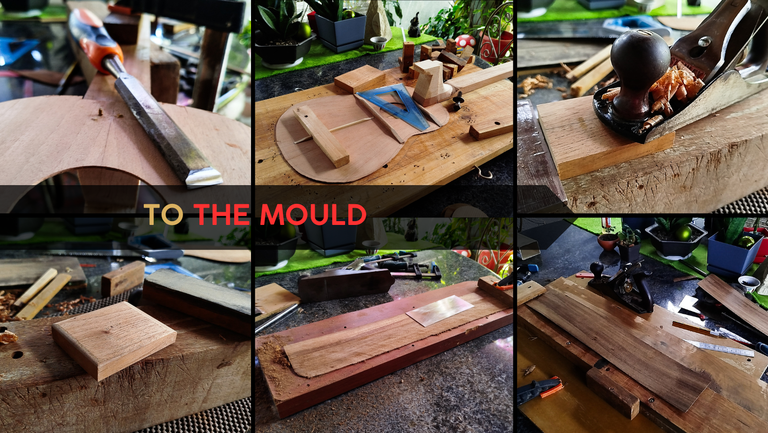
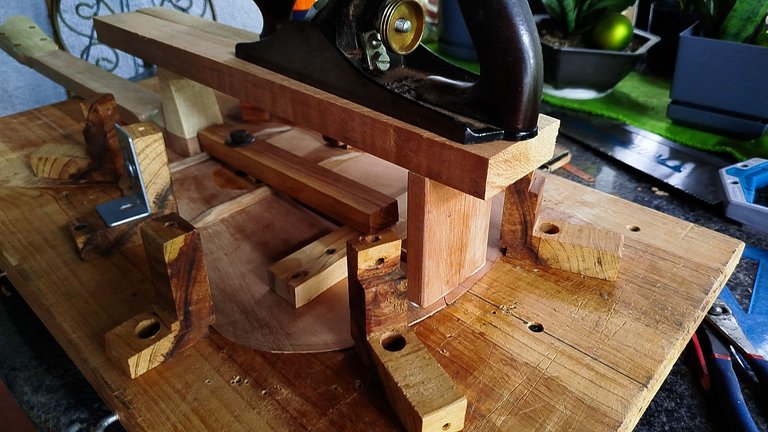
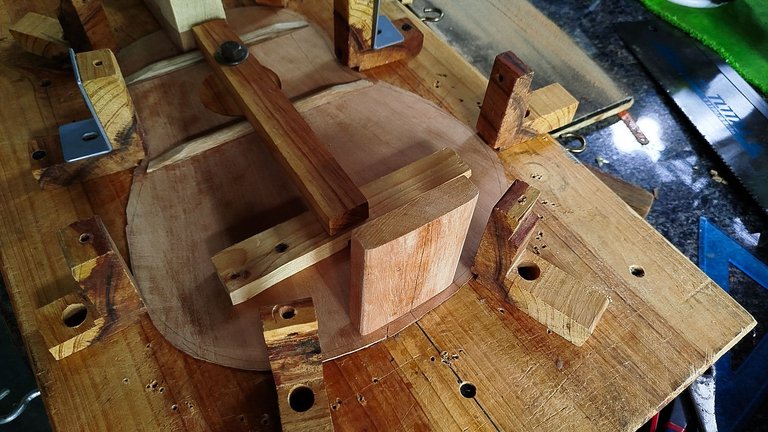
We finally have the first stage of the assembly process on the mould. Here we have to secure the pieces using some strips of wood. That way we keep the center of instrument always align with the mould. That is not to have a bigger right side or a bigger left side.
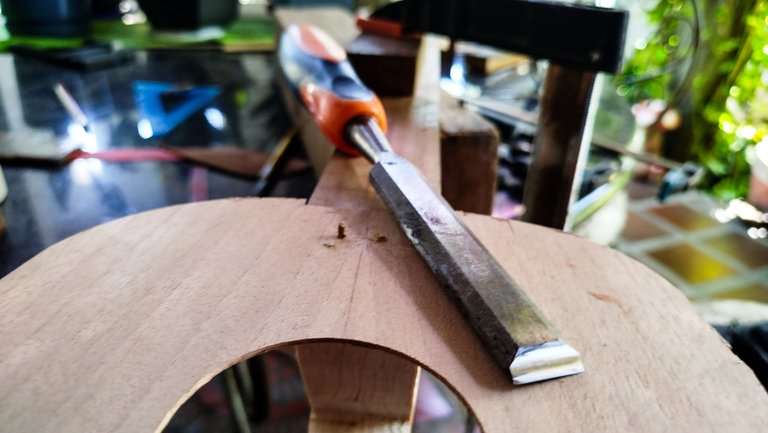
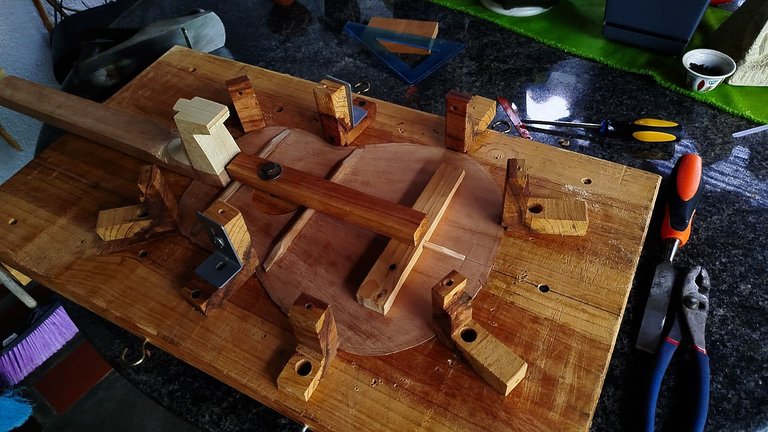
Once we fix the sound board in place, we can remove some excess from the bars. This is to make room for the sides of the instrument. We need to get off some excess from the the far side of each bar so the line we had marked previously is visible. That line is the guide for the sides.
We use a piece of a hacksaw to cut until we can use a chisel to get off the cuts. We need to use the chisel a bit more to also remove any dried up glue that might be stuck between bar and sound board.
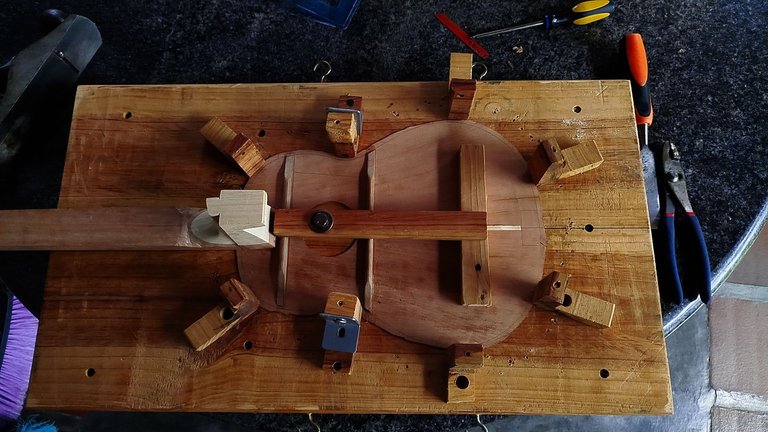
To finish our work on the mould for the time being, we get the wooden angles in place. These are also to help with the shape of the instrument. That way we have something to hold the sides in place.
End block
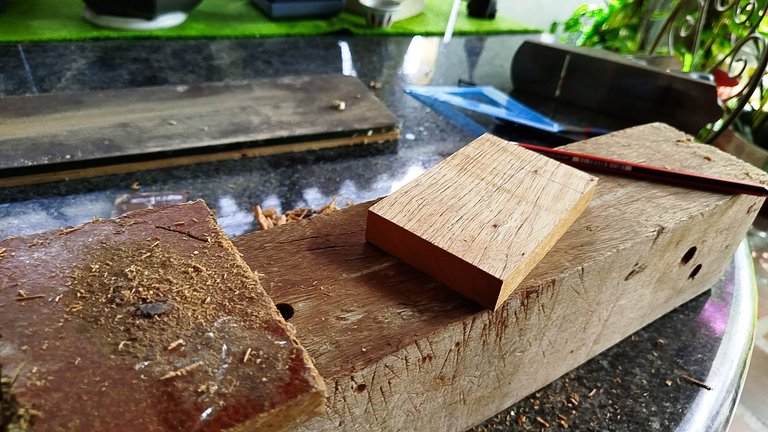
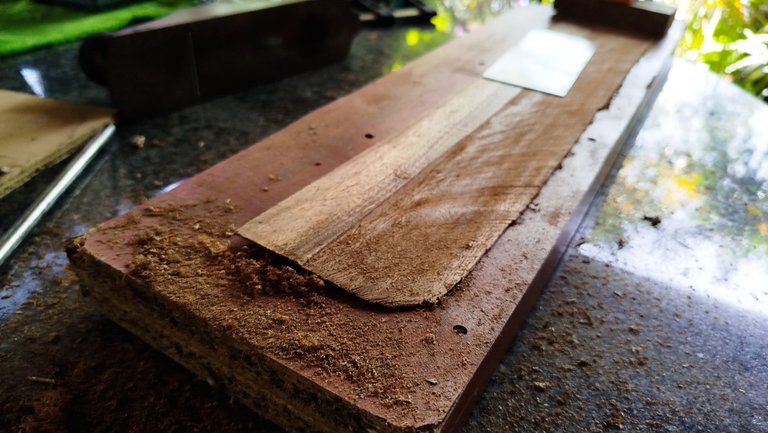
The second piece to add to this assembly is the end block. This is the basically a block that goes at the end of the instrument. It is a sort of building block where all the parts of the body of the instrument meet. It also goes on the lower bout of the body, thus the name.
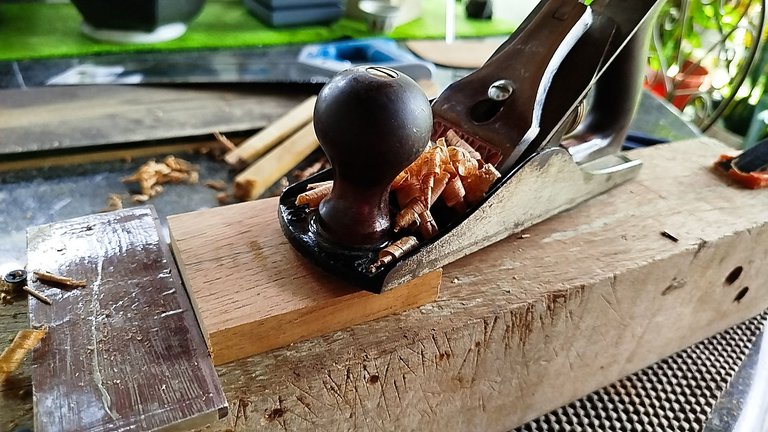
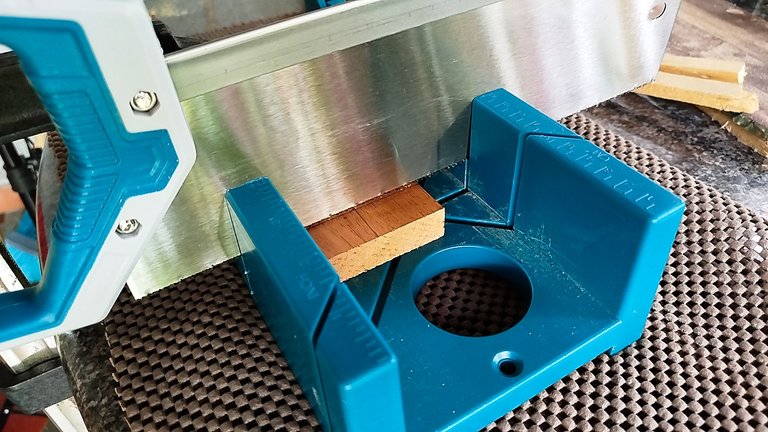
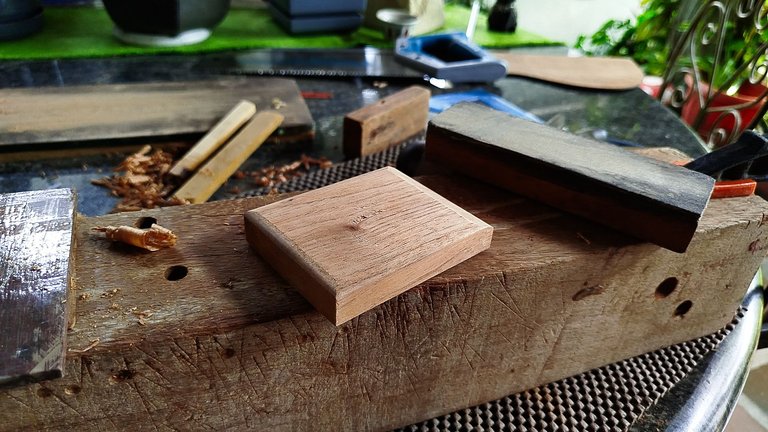
We grab a piece of cedar and clean its sides using the smoothing hand plane. Then, we cut it to the length needed for the build. The next step is to make the part that will be facing the sides a bit round to complete the curve of the instrument. The inner sides will have a bevel on its borders. And it also gives it a nice look. Once we are done making the modifications to the block, we sand it and prepare to glue it in place.
To help the glue up, we take another pieces of wood and use something heavy that we can balance on top of the wood. Since we already have a heel, we can use that part to hold the weight as the rest will go on top of the end block. Now, we let glue work its magic.
Thicknessing the sides
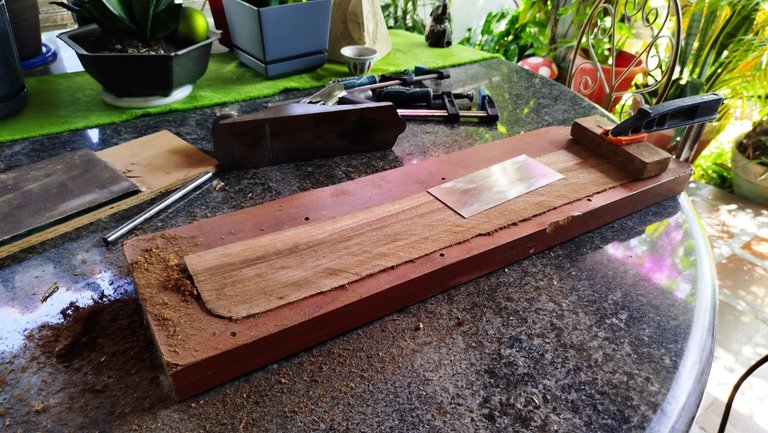
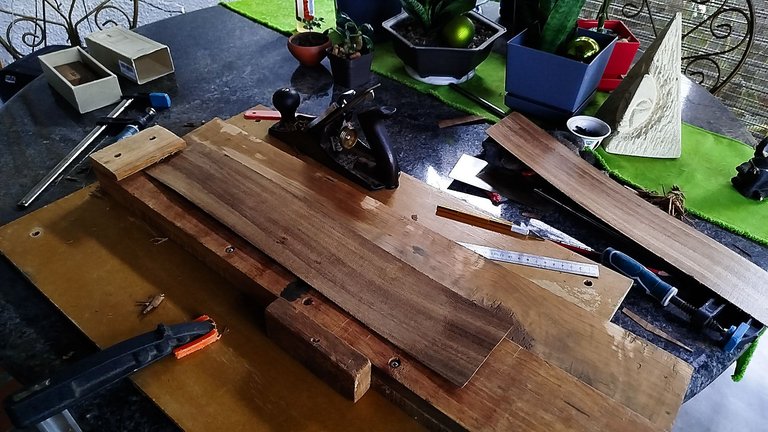
Time to start working on the sides. Since all is done by hand, it is a lot of work to remove the marks from the sides and also have them to the proper thickness so they can bend without problems.
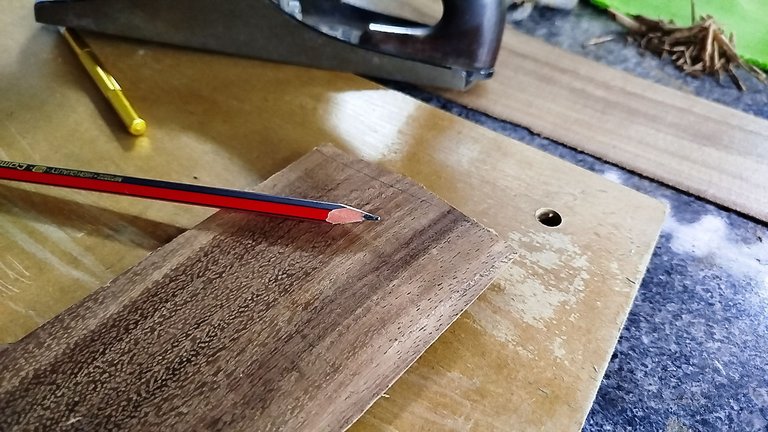
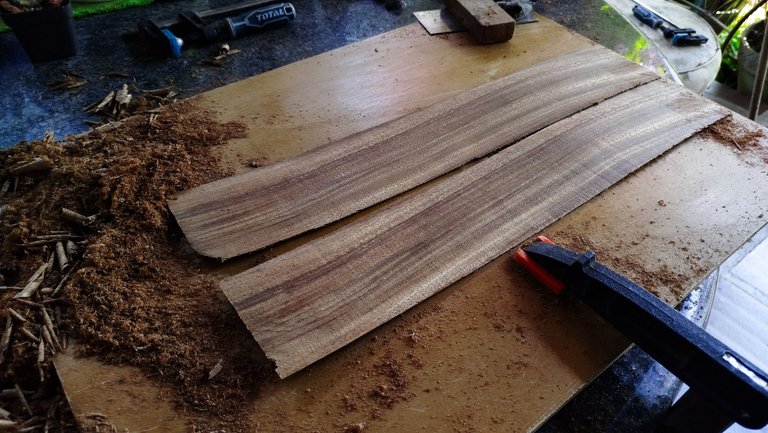
So this is a long grind using the card scraper to get a smooth surface. During the process, I finally learned how to sharpen the tool properly. It turns out you need to use a burnisher, but you do not need to use it a lot. Like a few passes on each side do wonders. This also sped up the process. In no time, we had the pieces ready for sanding.
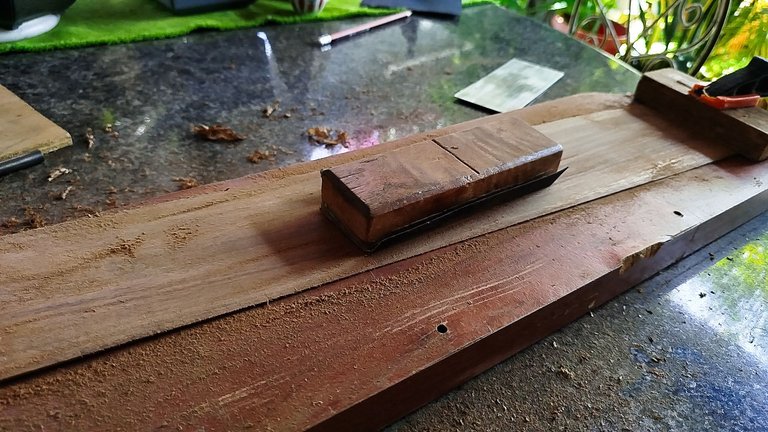
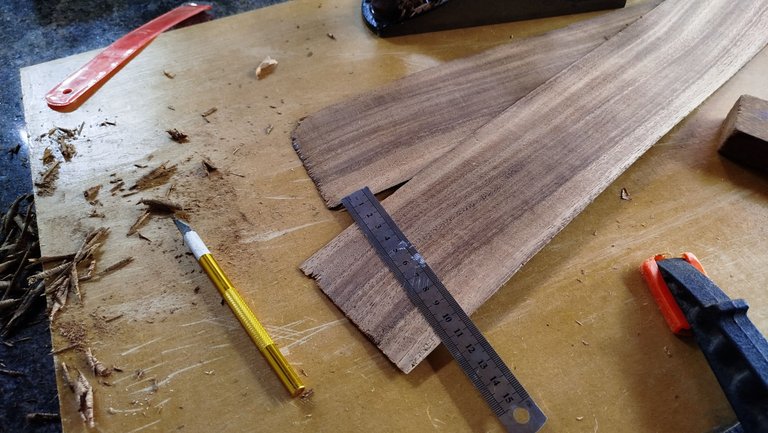
The other step is to remove some material to reduce the width of the sides. We need enough to make the body of the instrument 9cm wide. To finish the work on the sides for the moment, we trim some bits from the ends. As you can see there was some mild tear out in these parts.
On the next entry, we'll get to work on bending the sides and gluing them in place. Then, we'll start adding all the reinforcements to the inside.
Thanks for reading! Until next time!
| Project milestones | Title |
|---|---|
| 1 | First Steps |
| 2 | Hints of a Sound Board |
| 3 | Sound Board Ends, Neck Begins |
| 4 | Head Stock and Heel |
| 5 | Carving the Heel |
| 6 | Flush Head Stock |
| 7 | Neck and Back |
| 8 | Reinforced Back |
| 9 | Assembling Starts |
Photos 📷: Redmi Note 13
Thumbnail 🖼️: Canva.
Editing 🎬:Adobe Photoshop Lightroom.

Follow me on Instagram for enquires and commission.
If you'd like to help the workshop grow, you can make a donation here. You can find me at discord as bertrayo#1763