
Welcome back to another entry on this series. As I have come to understand in the gallery, there are no more photos of the project since it was put onto the bin of errors of the workshop. Some pieces are safe. The neck and the fretboard will be used in another project down along the line, but the issue here was a bad angle between body and neck. It is a reminder to keep an eye on these details and knowing when to stop and start over. Besides, there are some other jobs that I've been doing that need showcasing.
On this last entry, we're going over the fretboard. So without further a due, let's get to it!
Blank
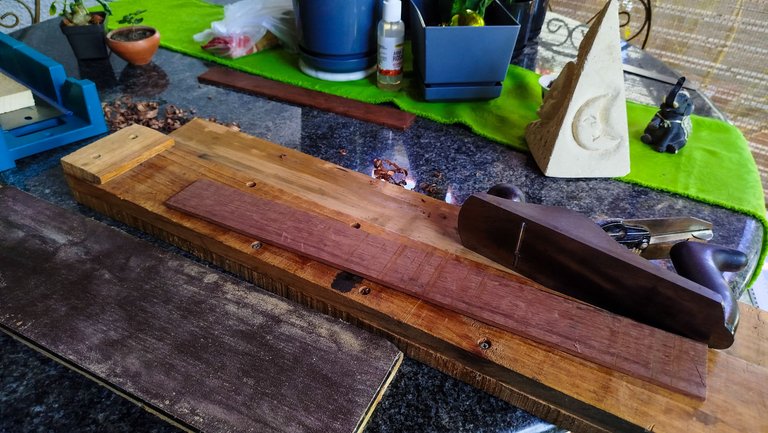
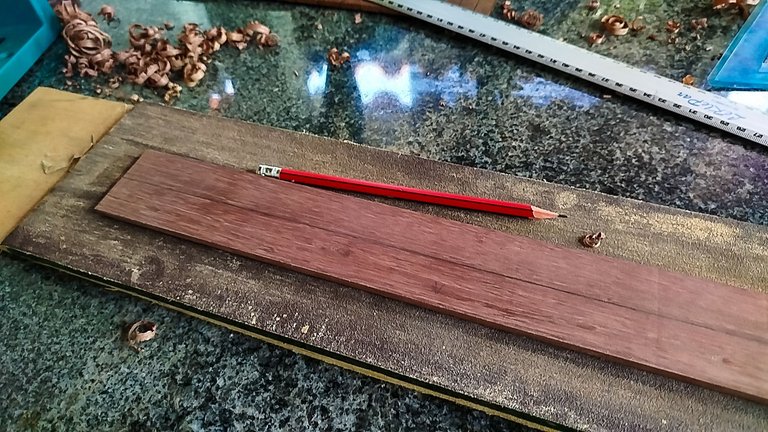
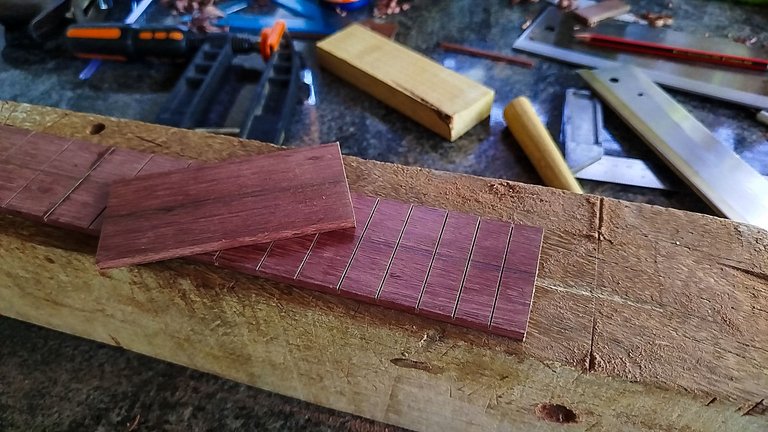
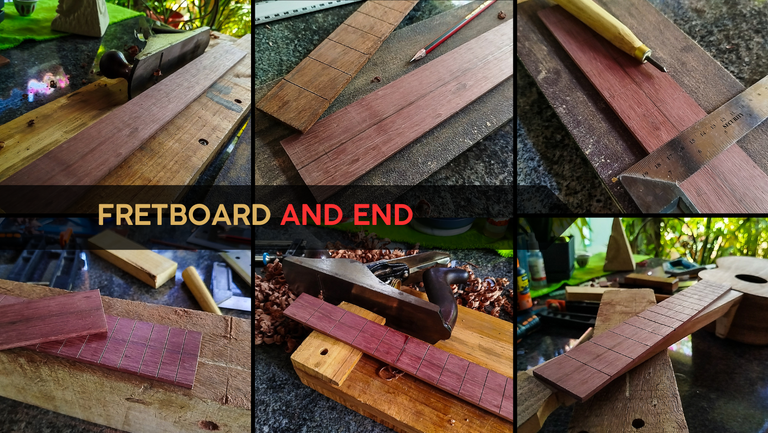
Many of these projects starts with blank pieces. That big plank of purple heart has come almost to an end. I think there are only two fretboard blanks left. Anyways, we need to work this pieces to remove some of the cut marks from the surface. With a hand plane, we can work all 4 faces to also make them even. Afterwards, using the sanding block we can make sure the rest of the surface is actually even.
We can even use the trick of pencil lines; however, this wood is special since the oxidation process gives us a hint on whether we are hitting the low spots on the surface while we sand. As purple heart gets exposed to air, it starts getting this vibrant purple color. That's why it has that name. This color stays for some time, but it is also photosensitive, so as it gets more and more exposed to light, the color will get more brown and darker.
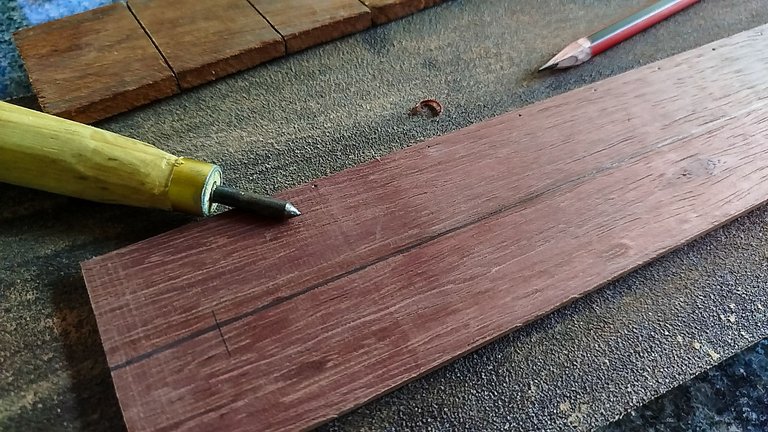
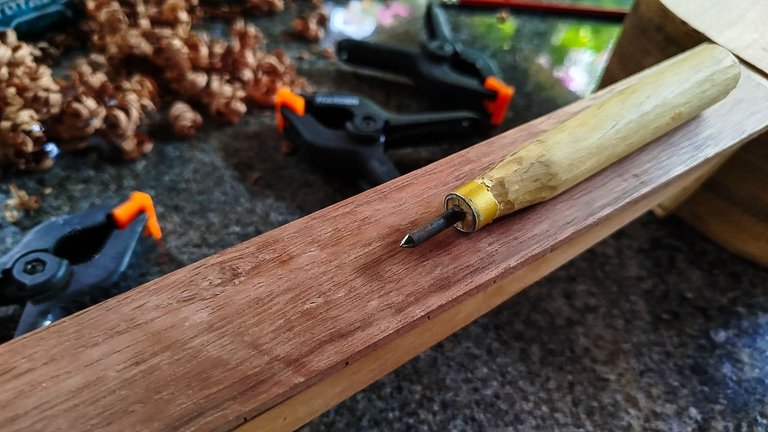
After we have made good work on the faces, we will use the fretboard template to transfer the positions of the frets onto the black. We need something with a sharp point to make the marks. When we have all the marks ready, we need to use the square extend the marks on the whole surface of the fretboard. This way we have made the marks for the fret slots.
Slots
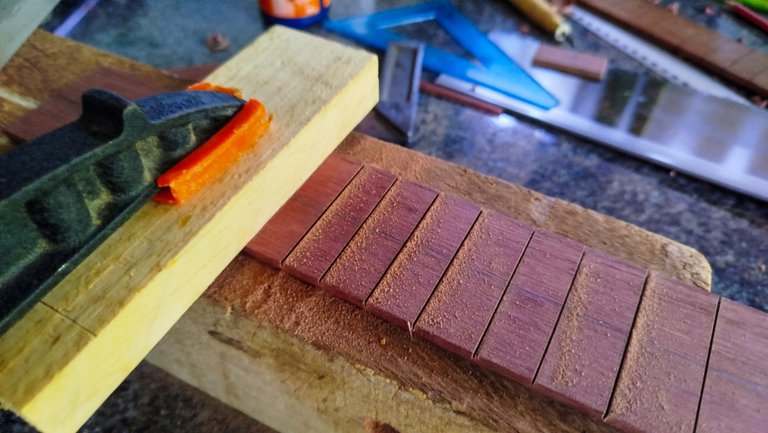
The next step is to cut the length of the fretboard. We can use the miter box for this task. Then, we are going onto some precision work with the slots for the fretboard. To male these we are using a block we have prepared as a guide for the saw. The slots don't need to be too deep, but they have to be perpendicular to the edge of the fretboard. That way, we can make sure the frets will be in the right position and the tuning won't be affected.
So, the job is going over each slot at a time. Unfasten the clamp. Align the block. Clamp it. Saw the slot. Rinse and repeat. That until we have made 16 slots. The last one we'll make once the instrument has its strum guard in place.
When you screw the work on a slot, you need to fill it up with the same kind of wood and the, try to make it right. It is an interesting process. It implies using cyanoacrylate to make it quick and also making sure the slot gets the right position.
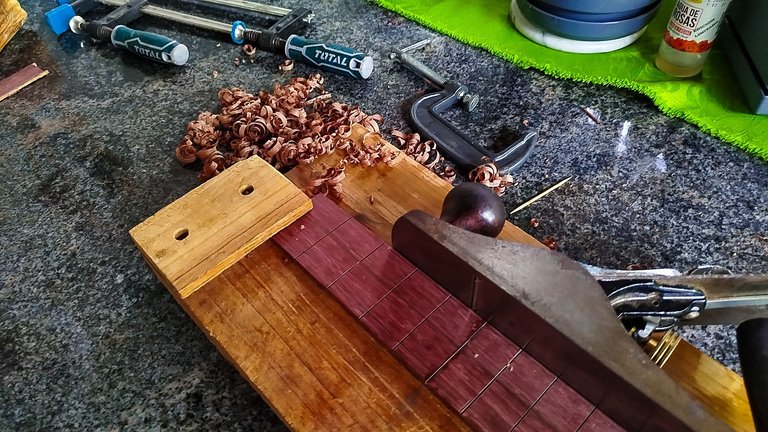
Once the slots are in place, we need to give the fretboard the same shape as the neck. For that we make the lower portion of it thicker and the upper portion thinner. We make some pencil lines to guide us and then we use the hand plane to complete the work.
Glue up prep work
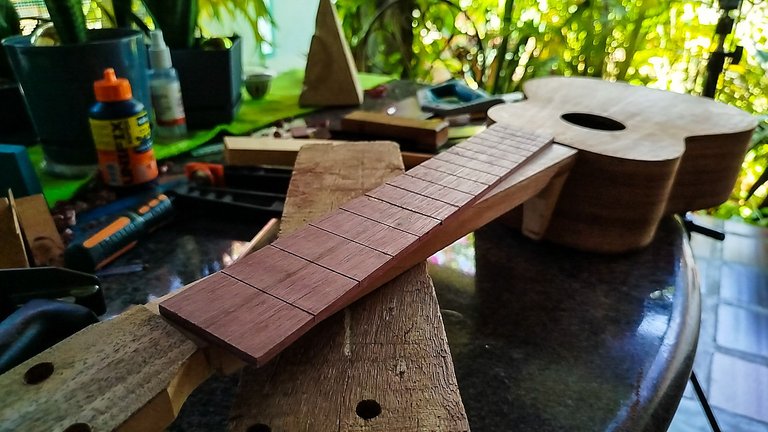
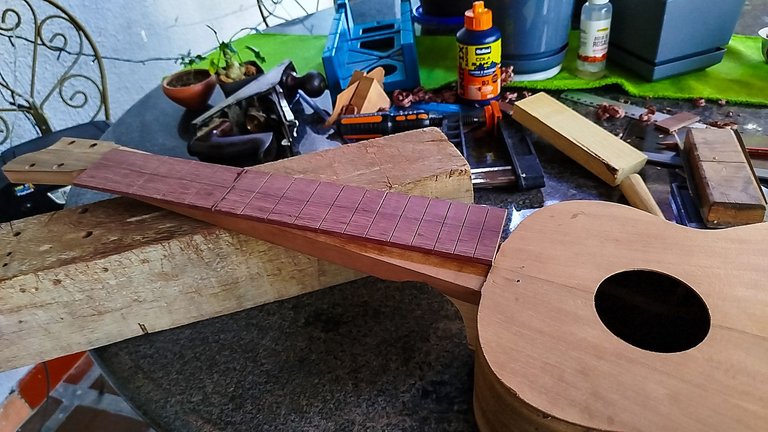
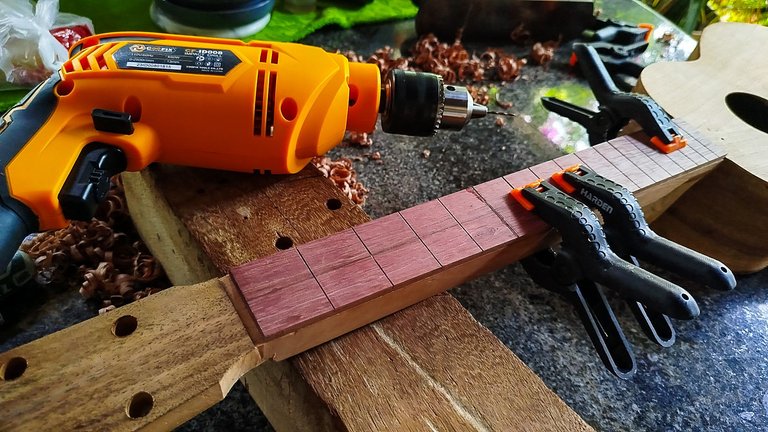
Before gluing the fretboard in place we need to make some anchors to hold it in place and have a proper glue up. First, we clamp it to the neck. Then, we use the drill to make small holes at frets 1 and 12. Then, we make an anchor out of a toothpick. We make a test run for a dry fit. This is to make sure everything is aligned.
The next step is to make a scratch pattern on the neck and the face of the fretboard that will be attached to it. And lastly, we apply glue. Then, we press it with clamps and let it dry for a whole day.
Once it is ready, we'll be ready to salvage the neck from this failed project and from another one that was in the closet for quite some time.
Thanks a lot for following this project until this step. I'll make sure to let you know when the rebuilding projects will start. For now, I'll be focused in some maintenance and repairs that have gotten into my hands.
Until next time!

Photos 📷: Redmi Note 13
Thumbnail 🖼️: Canva.
Editing 🎬:Adobe Photoshop Lightroom.


Follow me on Instagram for enquires and commission.
If you'd like to help the workshop grow, you can make a donation here. You can find me at discord as bertrayo#1763

