
Welcome back to another entry of Woodworking Wednesdays. Today, we move on to finish adding internal reinforcements to the inside of this instrument. We are missing the other part of the kerf, the one that joins the sides with the back, and some reinforcements for the sides. Cutting, bending, scraping and more in the photos to show the process.
Let's get to it!
Scrape it
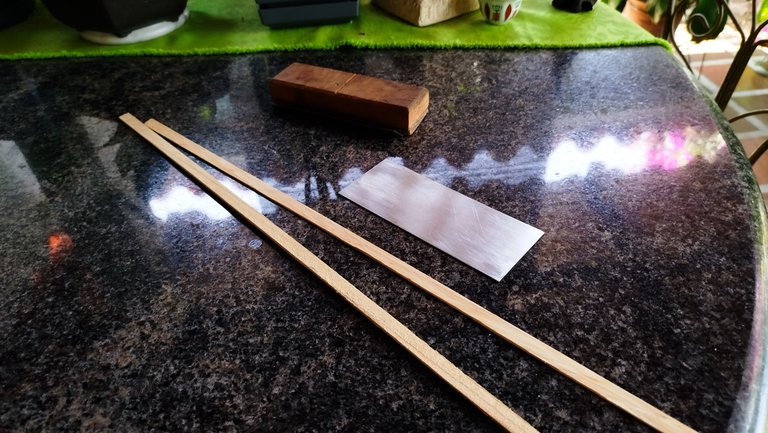
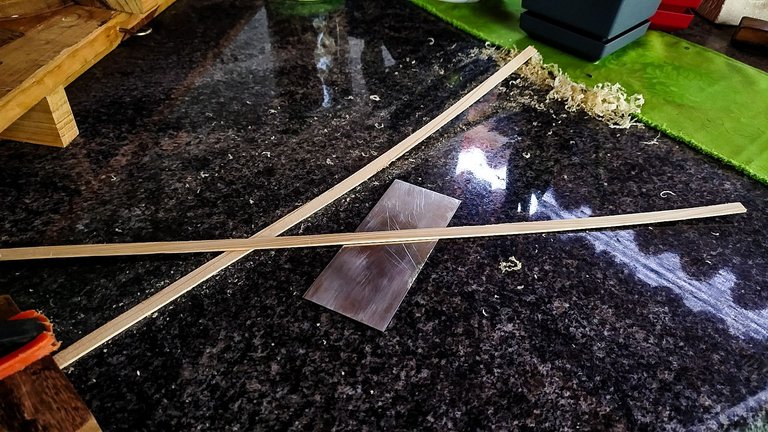
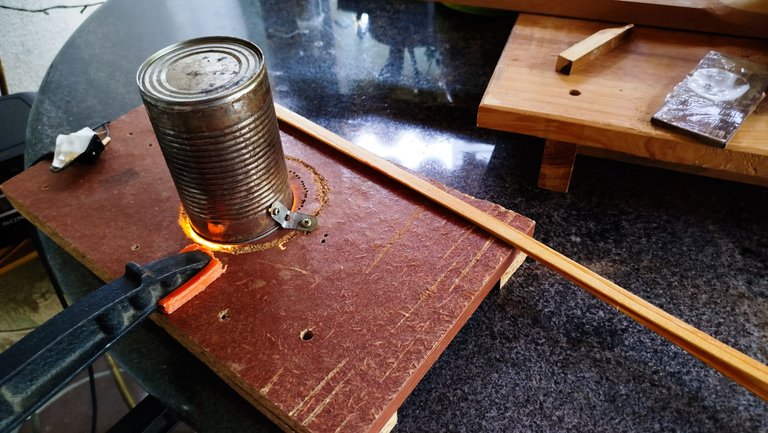
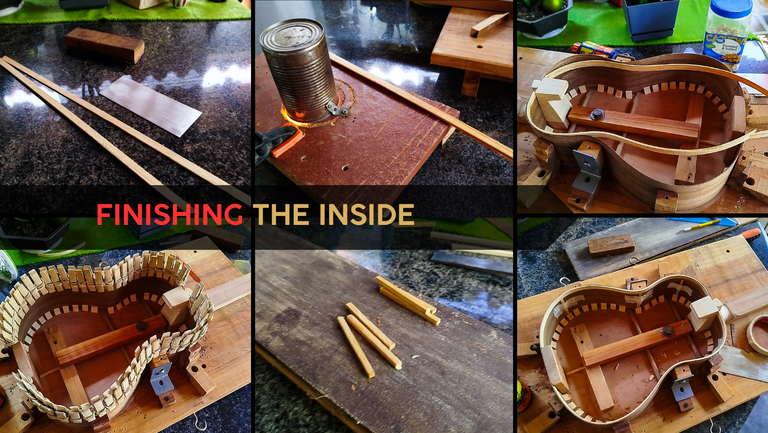
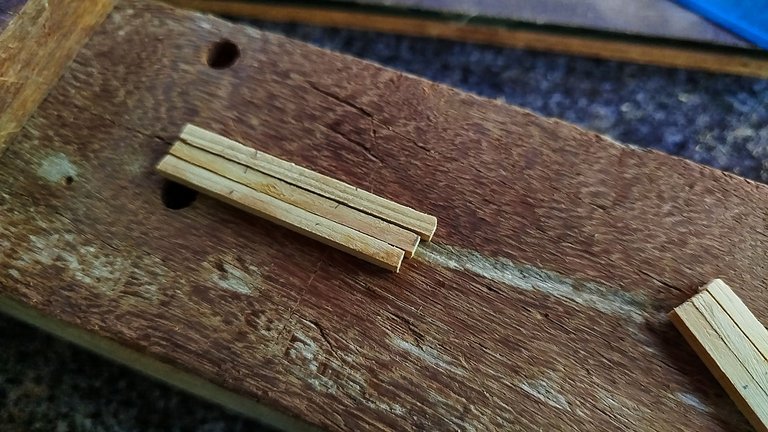
This is the wood for the other kerf. It is usual to have strips of wood for the kerfing in a project. Sometimes, luthiers use all wedges, like the ones you can see in the sound board. But that depends on your tools, the build and many other things. Here we have a mix of both. The reason is that it is easier to add a kerf like this to the back, but it is harder to to it for the sound board. It also depends on the method of construction.
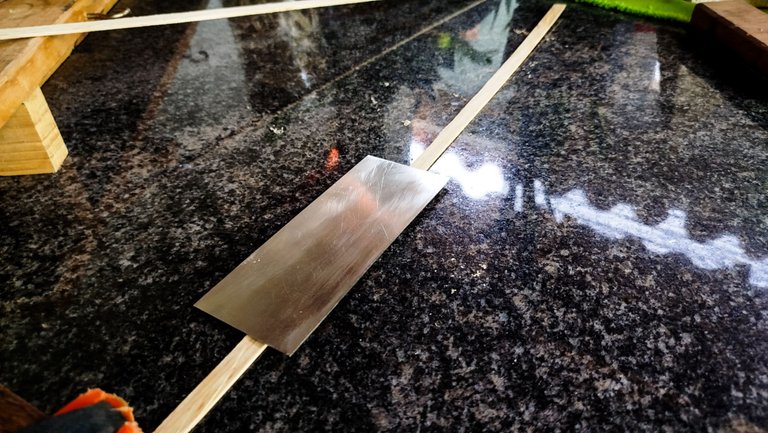
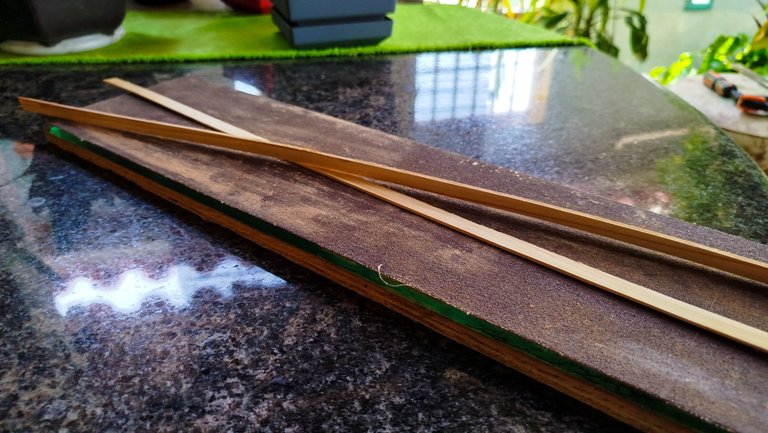
These strips of wood need some scraping to remove the marks of cuts and other things that make their surface ugly. The use our trusty card scraper plus some sand paper to give them a smooth finish. Then, in the same fashion that we did with the sides, we are going to bend them. Why? They need the same shape of the sides. That way they can be place inside the body and their same movement will help us glue them in place.
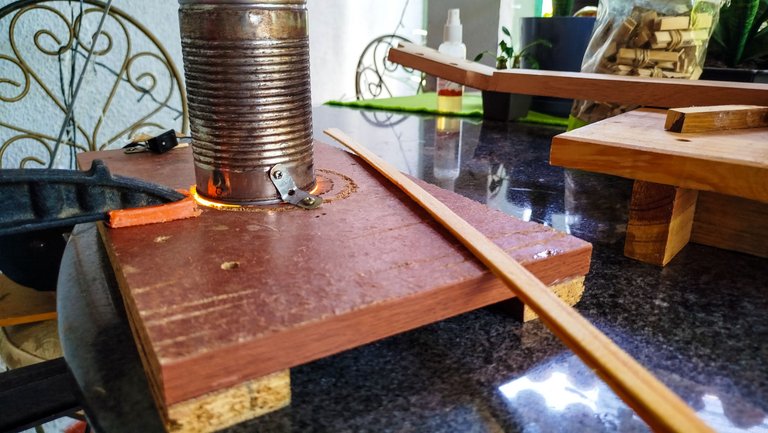
We leave them soaking for a while. In the meantime, we heat up the bender. Once it is hot enough to perform the task, we take the kerf and start bending it. We have to be careful as the smaller surface area means it is easier for the kerf to break. With a lot of care and using a block to aid us since there's not much space for out hands, it is easy to finish this task.
Cut and Glue up
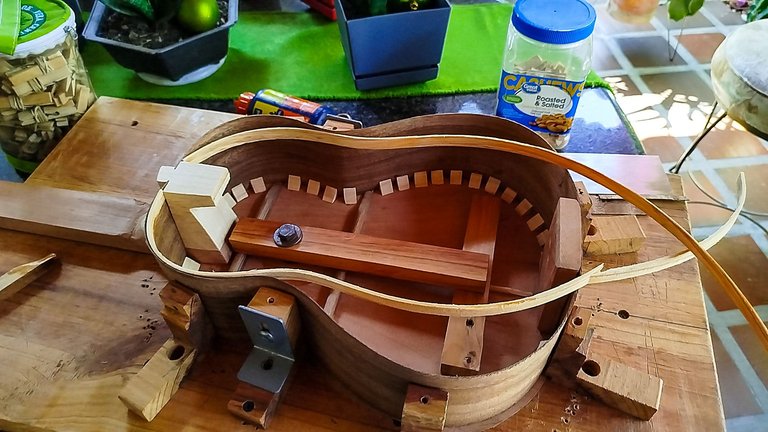


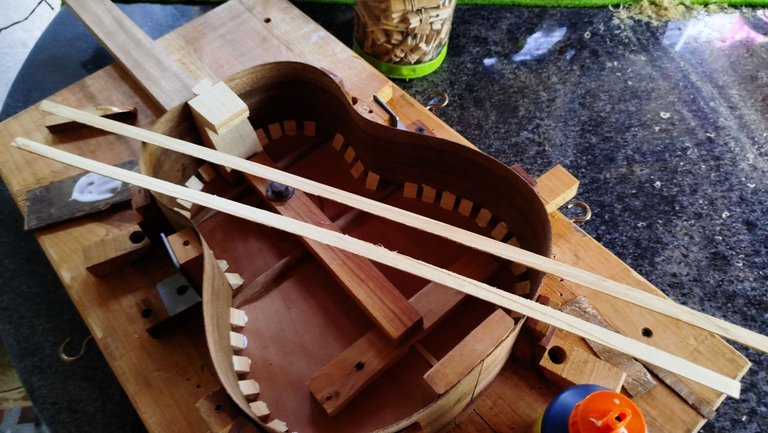
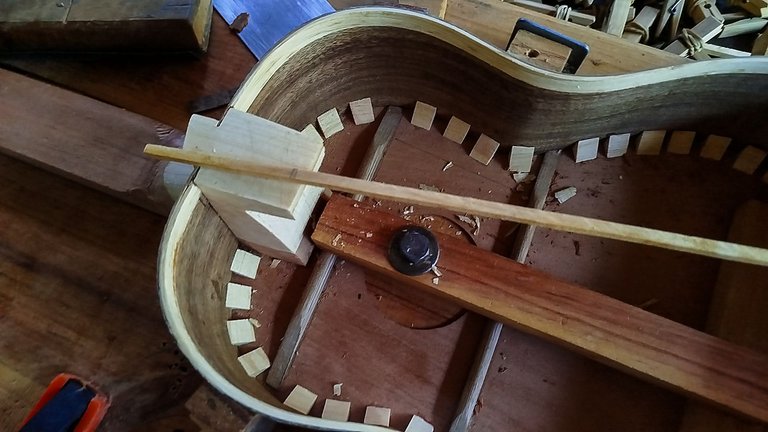
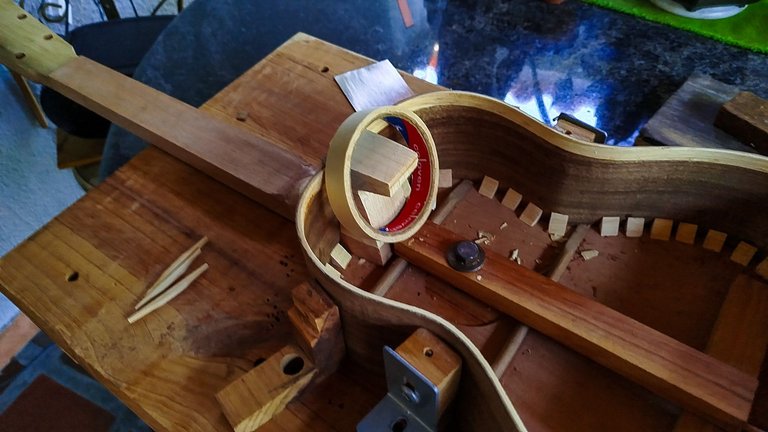
As you may notice, the kerf is longer than it needs to be. Before cutting it, we have to make sure it will keep its new shape. For this reason, we use wooden pegs to hold it to the sides of the instrument. Yes, they go exactly in the same position where we need to glue them. They will stay there until the rest of the moisture we added is gone. That way, the fibers of wood will keep this shape.
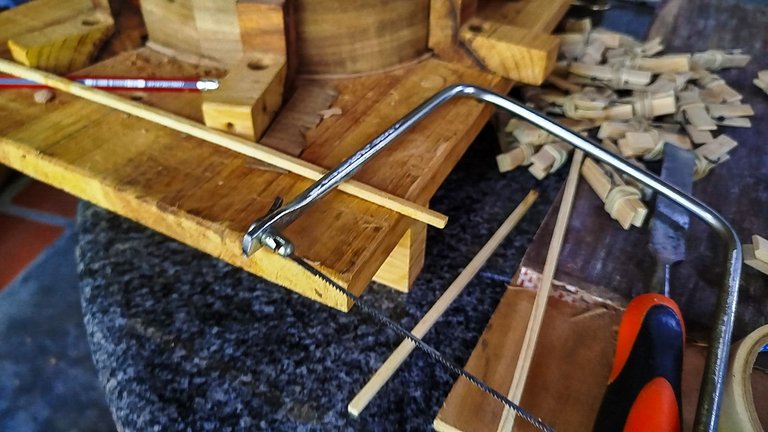
Once this is ready, we can finally cut to length. The trick is to cut a bit more than we actually need. Why? Because once we start gluing the kerf without the extra material, we might find out we had cut it short. It is difficult to keep an exact measure of how the curves affect the total gluing surface; so it is always better to have some room for error. Besides, we can always cut, but we can't never add. At least, that's not how wood works.
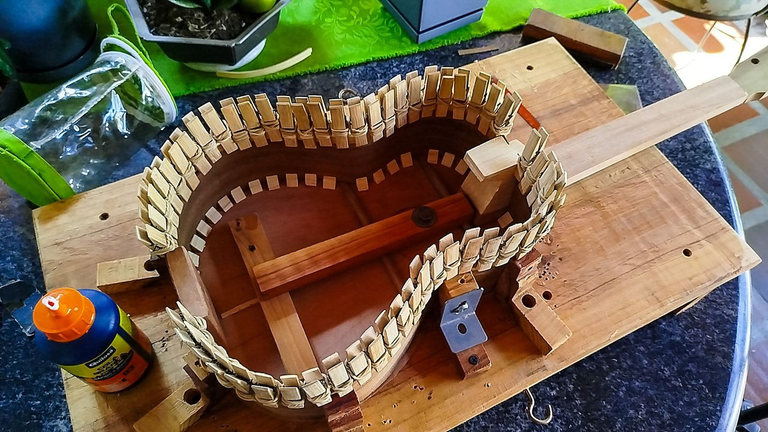
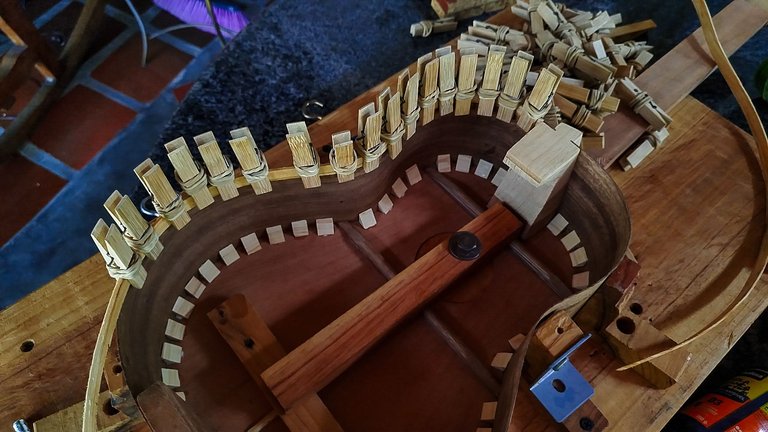
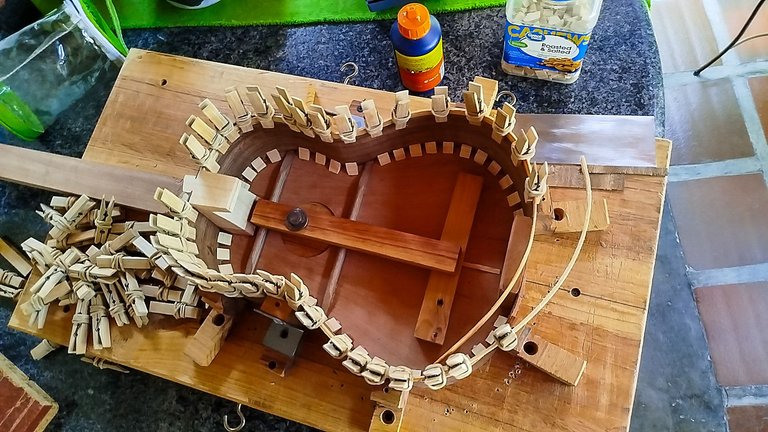
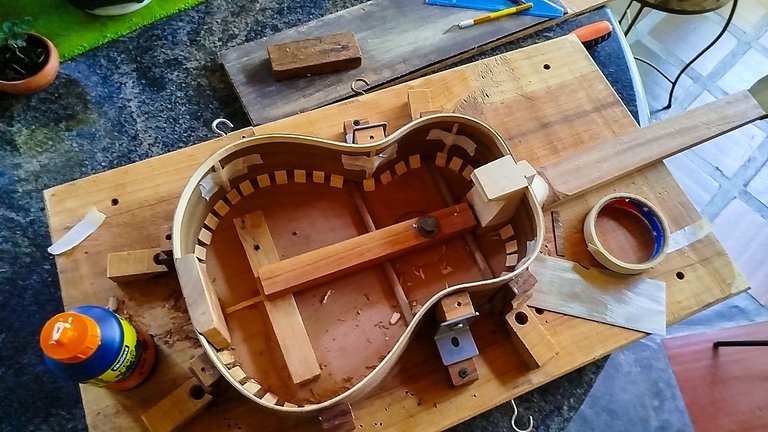
After applying glue, we go on adding the wooden pegs again and securing the kerf where it needs to go. We'll address anything that goes above the line of the sides once we are ready to glue the back of the instrument to close it.
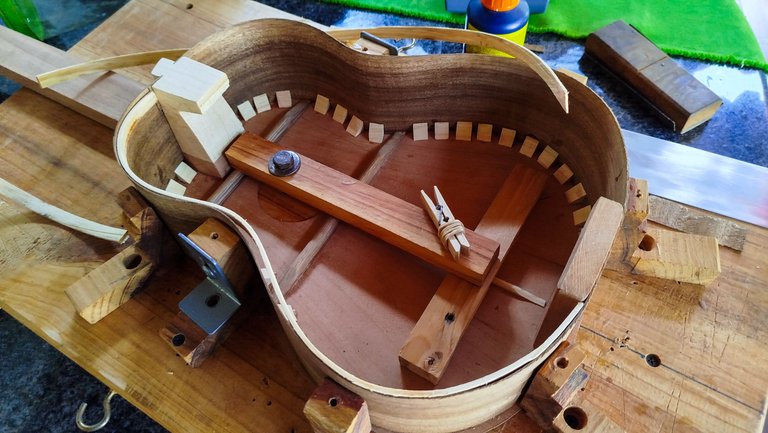
More Reinforcements
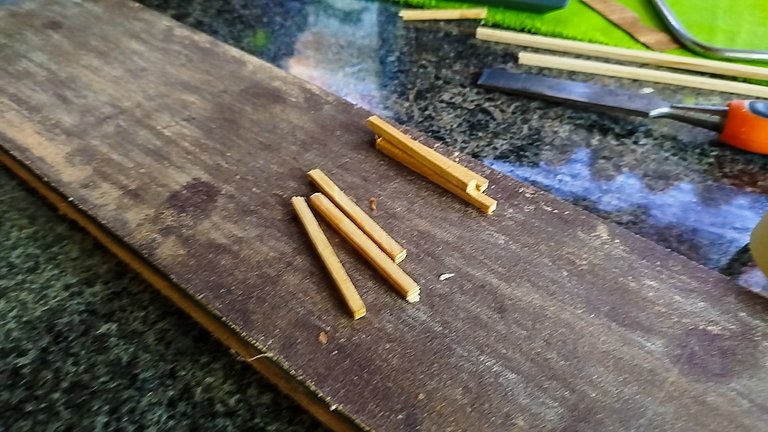

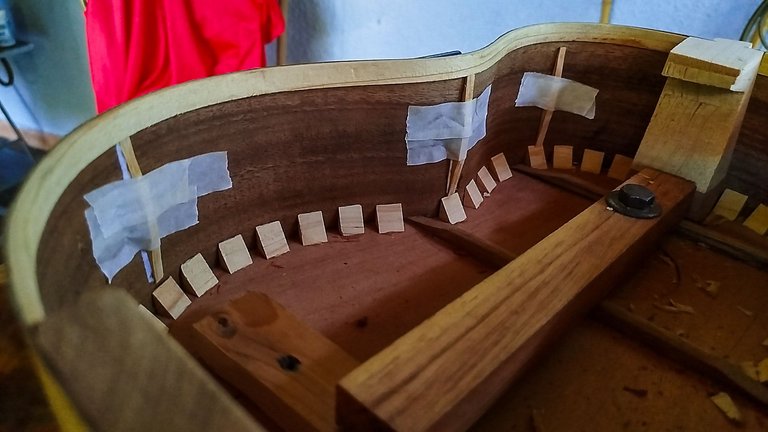
To finish adding reinforcements to the inside of the instrument, we need some strips of wood running across the grain of the sides. This is to reinforce a piece that is actually quite fragile. We measure the length we need. Then, we get some wood and start cutting it to the length we need.
Then, we sand the reinforcements. We can add some sort of details similar to the bars we have in both sound board and back using a chisel to remove material from the edges of the wood. We sand again to finish giving it shape.
To glue this, people usually use rings that work as clamps. Since there isn't any around, we're using masking tape. This is enough to hold the reinforcements is place while the glue does its magic. And we go once by one, adding glue and tape to the wood. We do this until all the reinforcements are placed and then we can leave the instrument rest while we rest as well.
In the next entry, we'll be ready to close the instrument up and get it off the solera. Then, the other part of the work begins, trimming the edges, making the external pieces and else.
Thanks for reading! See you next time!
| Project milestones | Title |
|---|---|
| 1 | First Steps |
| 2 | Hints of a Sound Board |
| 3 | Sound Board Ends, Neck Begins |
| 4 | Head Stock and Heel |
| 5 | Carving the Heel |
| 6 | Flush Head Stock |
| 7 | Neck and Back |
| 8 | Reinforced Back |
| 9 | Assembling Starts |
| 10 | Get on the Mould |
| 11 | Sides and Kerf |
Photos 📷: Redmi Note 13
Thumbnail 🖼️: Canva.
Editing 🎬:Adobe Photoshop Lightroom.

Follow me on Instagram for enquires and commission.
If you'd like to help the workshop grow, you can make a donation here. You can find me at discord as bertrayo#1763