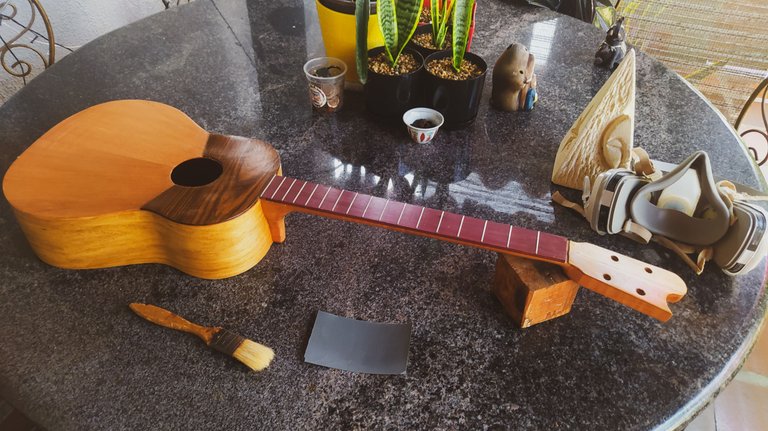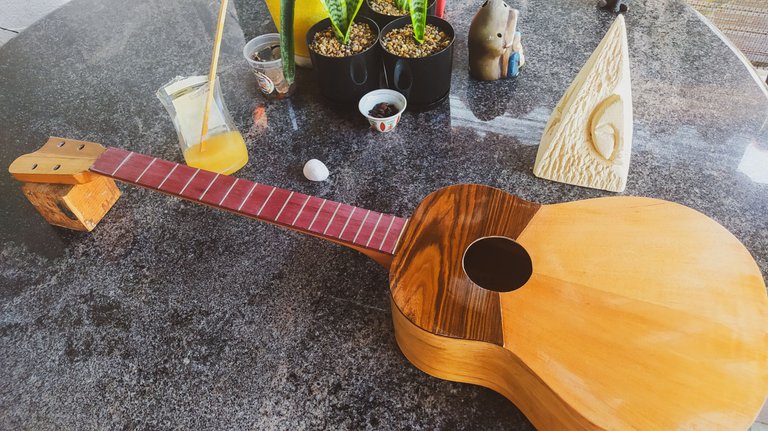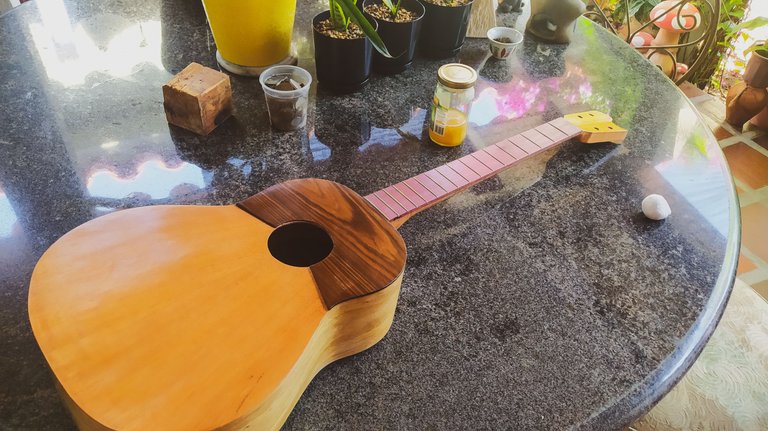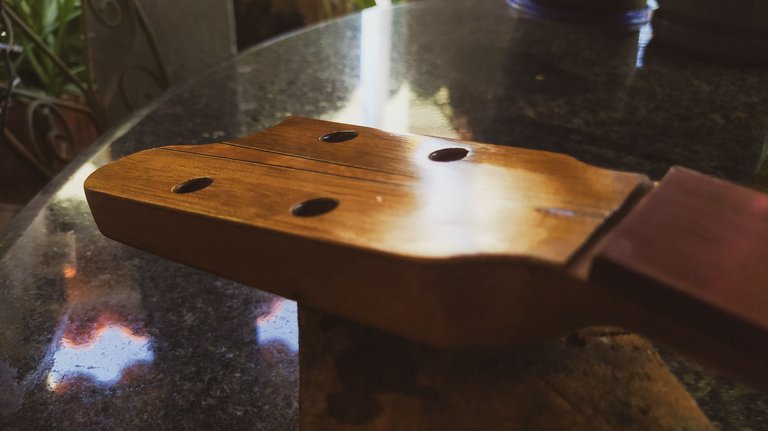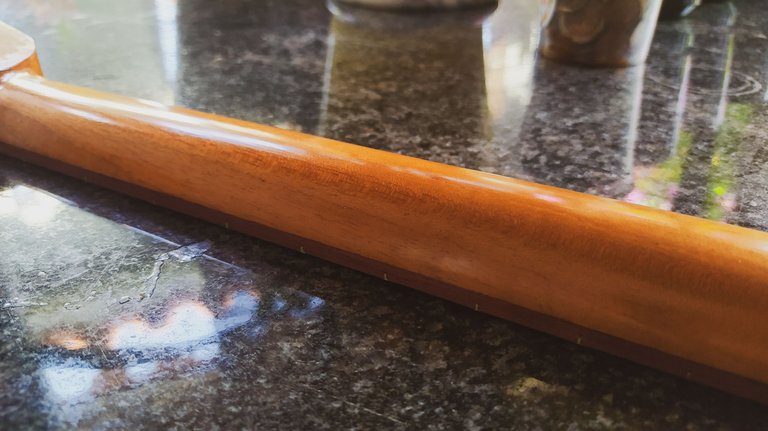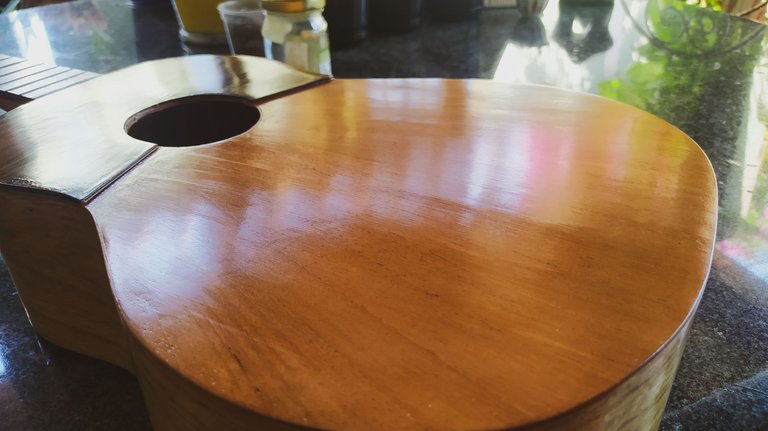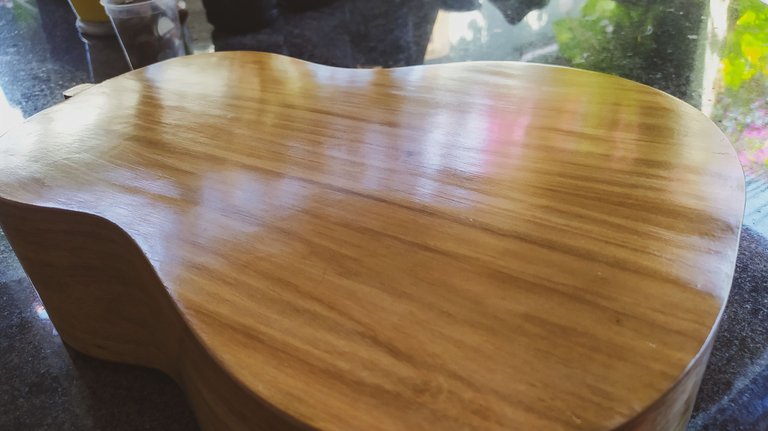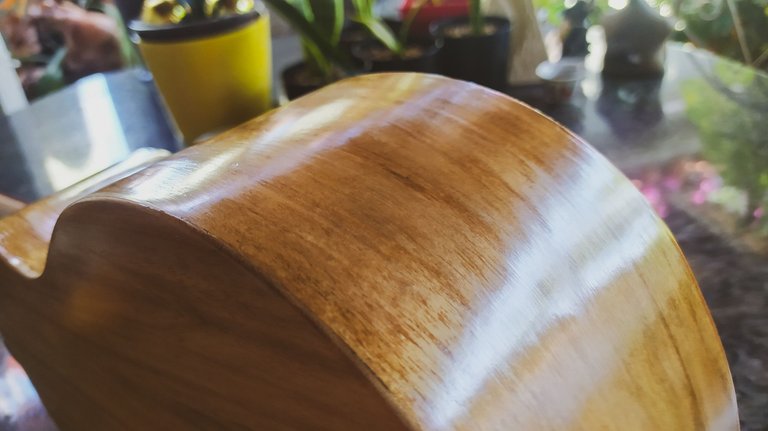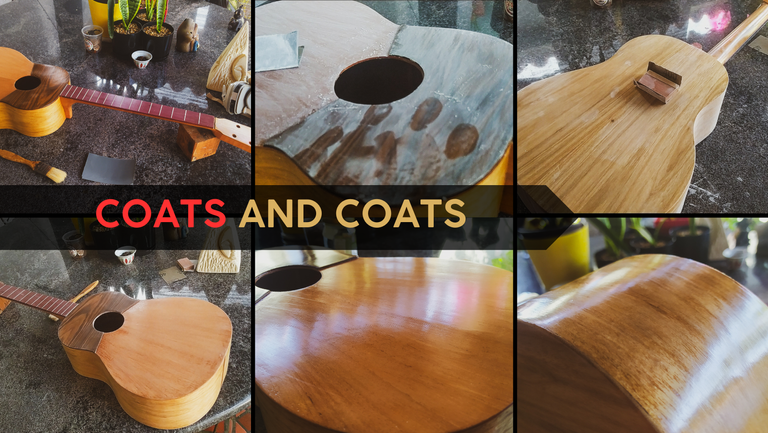

We have finally reached the stage of working on the finish of this instrument. It is a long process that requires several coats and sanding. But here you'll a summary of what happens. With this out of the way we only have some small pieces to work before the instrument is ready to play.
Let's jump to it!
Sanding and more sanding
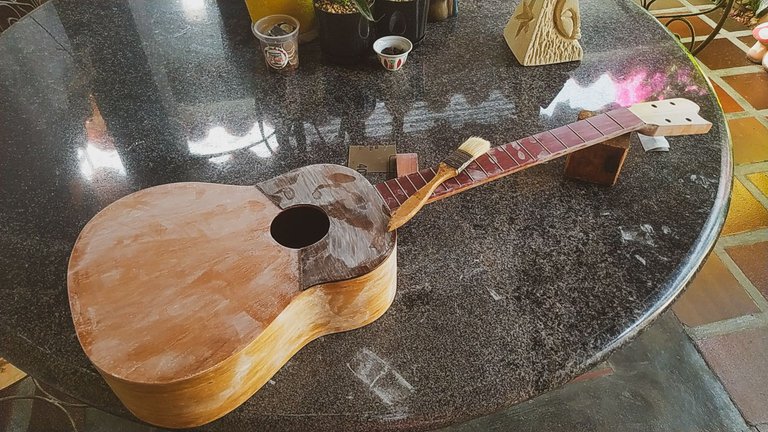
After getting the initial coat of sealant on the wood, we need to let it dry for at least 12 hours to start sanding it. This is the inner layer of finish. The idea is to start filling the pores of the whole instrument so it becomes resistant to humidity and sort of waterproof.
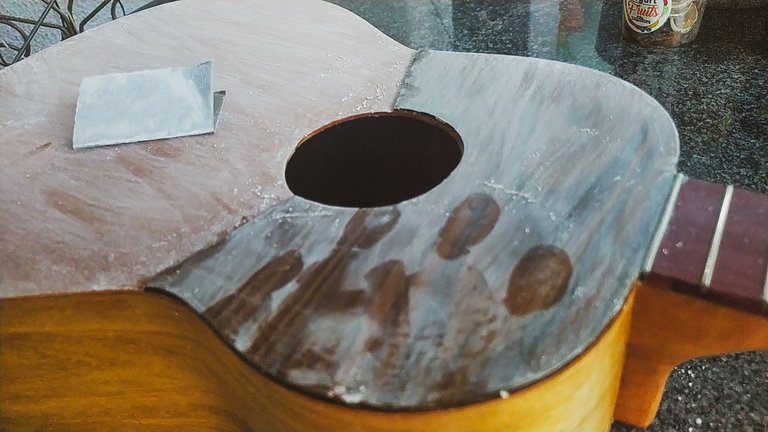
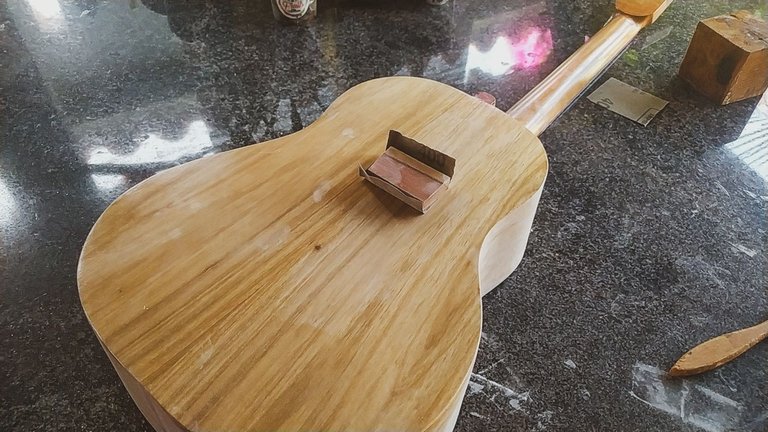
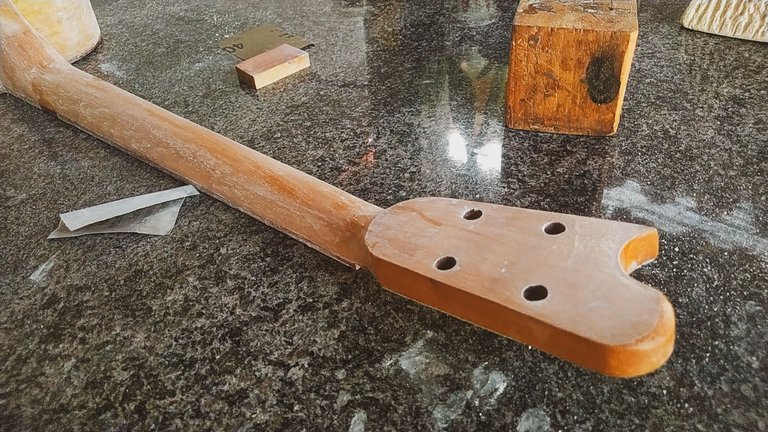
Once we have given it proper time to dry, we can start sanding the whole thing. For this, we'll use a 400-grit piece of sandpaper. We want to sand the whole sealant coat until it is even but trying not to get to the wood. Otherwise, we'd be working for nothing. To help us with the evenness of the sanding, we use a block of wood to hold the sandpaper flat to the surface of the instrument.
It's really important to wear protection during this process. The dust generated from this sanding is extremely abrasive. You won't feel it in your hands, but for sure your lungs could be damaged if you inspire some of this. Use a mask and don't take it off near the are of work. When finished, use cloth to remove some of the dust from the instrument. In places where the dust can't be removed by a cloth, use a brush to take it off. Once we have all that pesky white dust off, we can use another cloth soaked on a bit of thinner to smooth out the sealant coat.
Second layer
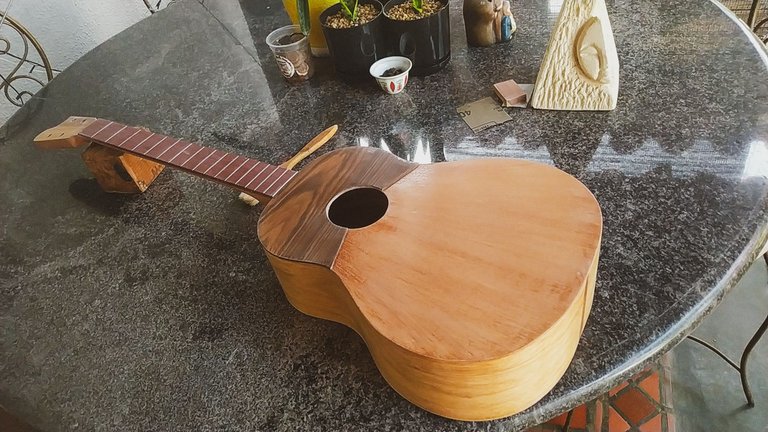
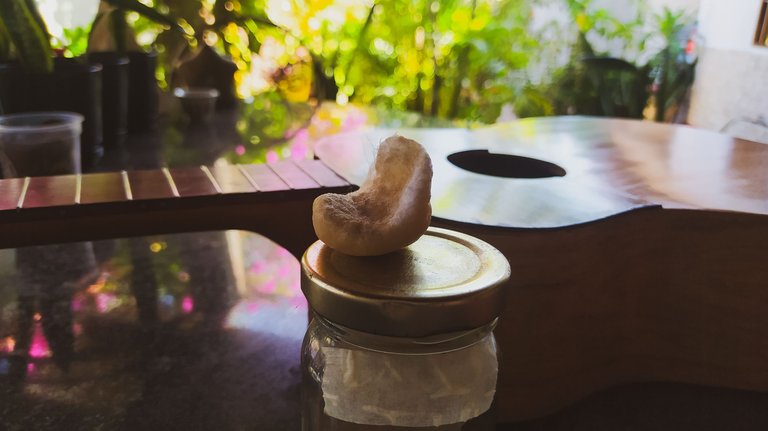
A recurrent idea for these builds has been the necessity of learning how to make the finish by hand. After watching many videos and thinking about it, this was the instrument selected for that process. The idea is to use always a cotton ball to apply the sealant. And the motions are simple. The first layer always goes with the grain and the next ones go in circles. This motion helps fill in the pores quicker than going with the grain or against it.
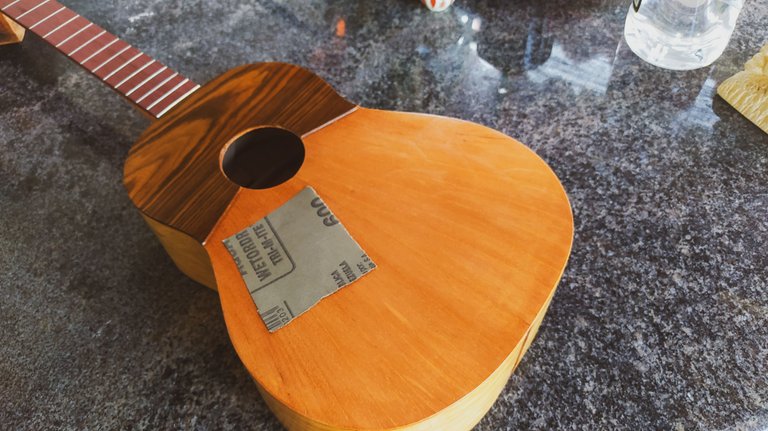
The second layer is a repetition of the previous work. Once all the sealant has been applied, we let it rest and then sand it all. This time, using a 600-grit sandpaper. This progression of grits helps develop a brighter finish of each layer.
Looks shiny
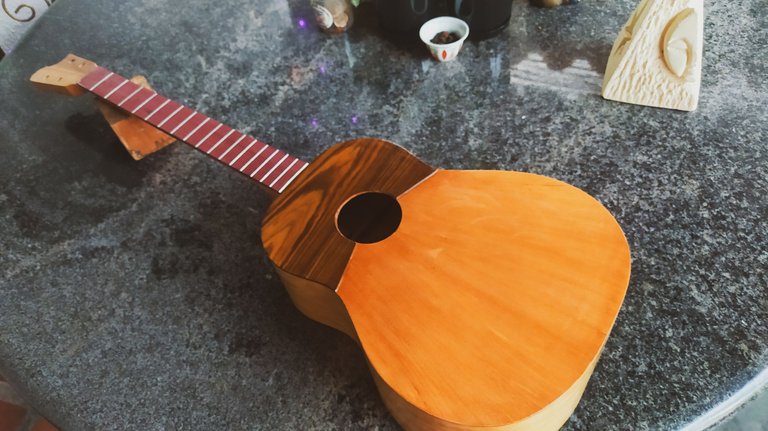
Getting onto the third coat of sealant, we can see the results of this slow process. It takes time but the looks on the instrument talk by themselves. And this is only sealant which isn't a material that's known for being bright. Just look what can be achieved by the proper technique. As we keep building on these layers of protection, the instrument gets a better look. And the fact that it's all made by hand makes it even more interesting.
However, we can't apply lots of it since each coat takes from the volume of the instrument. So, we'll stop at 3 and then comes time to sand with water and apply polish. But those are things for another entry. Be sure to check that out.
Next time, we'll have a look at the instrument after the whole polishing work and it'll be time to start work on bridge, nut and saddle.
Thanks for reading!

Fotos/Photos 📷: taken by me (Redmi Note 8)
Portada/Thumbnail 🖼️: by me, created with Canva.
Edición/Editing 🎬: by me, made with Adobe Photoshop Lightroom.


Follow me on Instagram for enquires and commission.
If you'd like to help the workshop grow, you can make a donation here. You can find me at discord as bertrayo#1763
