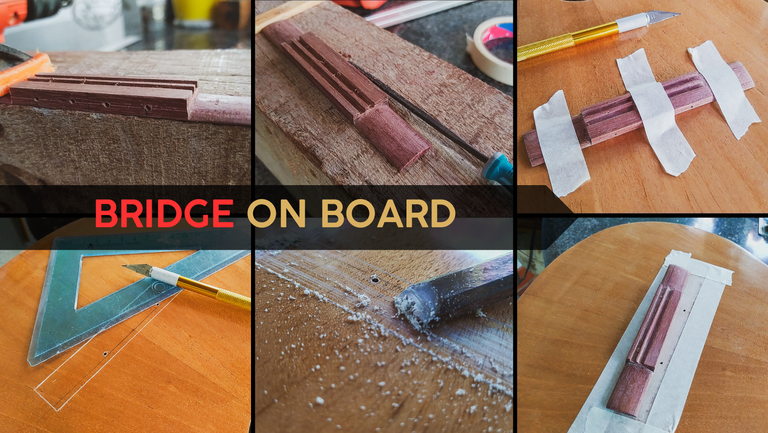

Welcome back, last time we saw the whole process of making a bridge from a blank. Now, it's time to make the bridge functional and glue to the instrument. After doing this, only two pieces will be missing, but we'll get to that soon enough. Placing the bridge is a tough process as the whole tuning depends on it.
Let's jump right to it!
Holes and finish


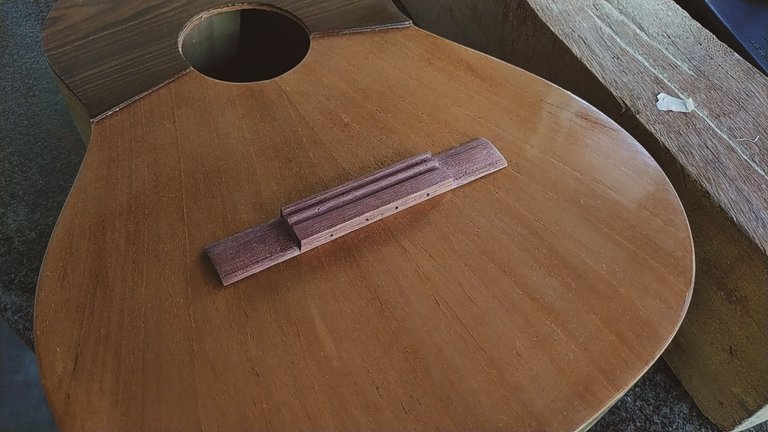
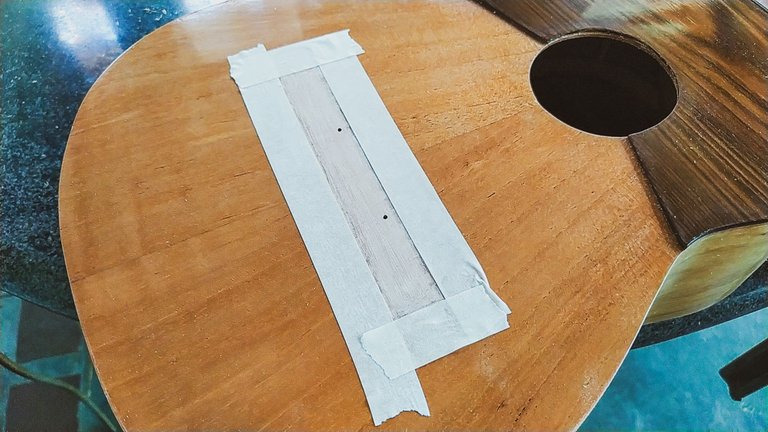
Our bridge is missing two things, its holes to tie the strings and its finish. We start with the former. To measure where we need to get these done we already have a guideline from the whole shaping process. This one gives us the height on the face of the piece. We are missing the spacing between the strings. To calculate this, we need to make a line that will represent the placement of the saddle on the bridge. Once we have the line, we will make sure to have its center marked and that it coincides with the center of the sound board.
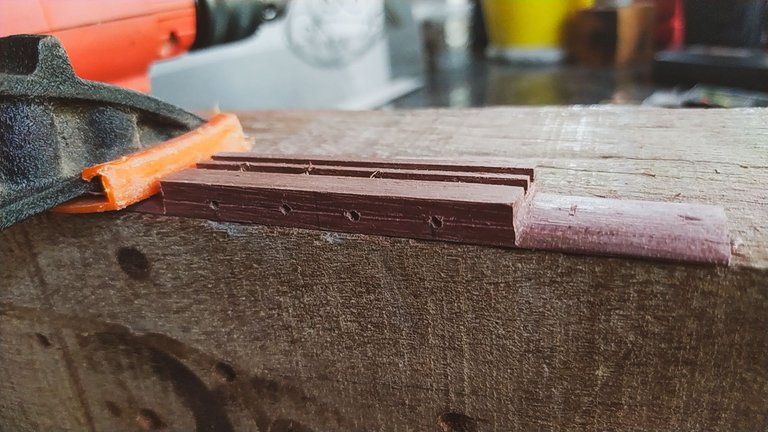
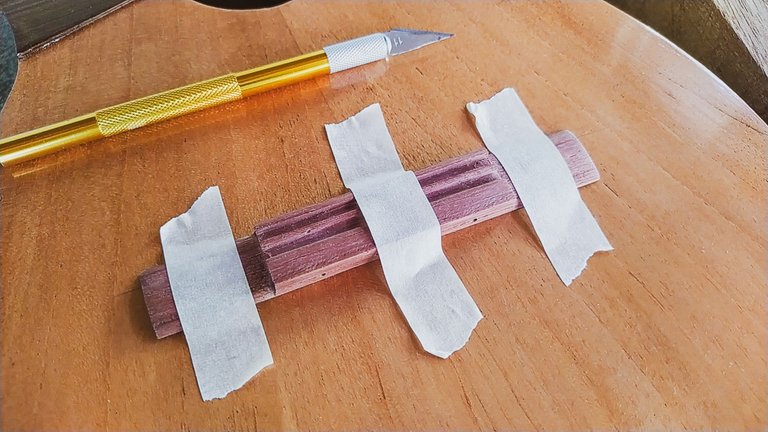
Now, we project the placing of the strings from the upper side of the fretboard towards this line on the sound board. As a rule of thumb, we take a measure of 3 - 4 millimeters and try to keep the same spacing to the border of the fretboard. We only need to measure the outer strings with this step. Once we have the projection marked on our saddle line, we can measure how much space we have between the marks. To determine the spacing of the strings we divide this number by 3. So, if the projection has 4.2 mm (this was the case), the spacing between the strings at the bridge will be 1.4 mm. To make sure we transfer this measure to the bridge, we use our caliper. Then, we make the starting marks for the wholes with our gauge.
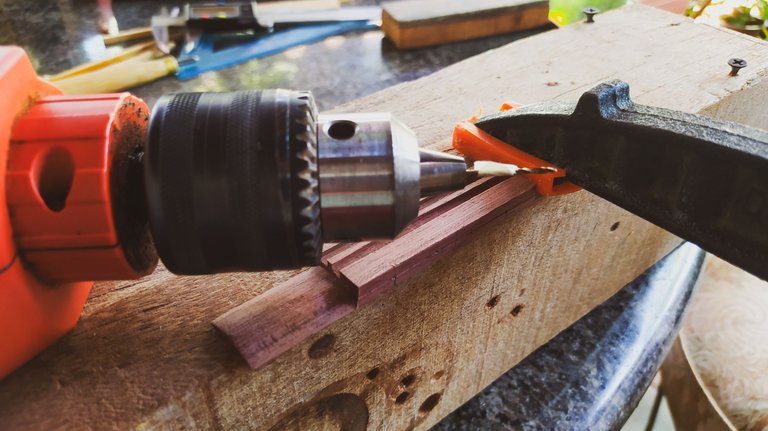
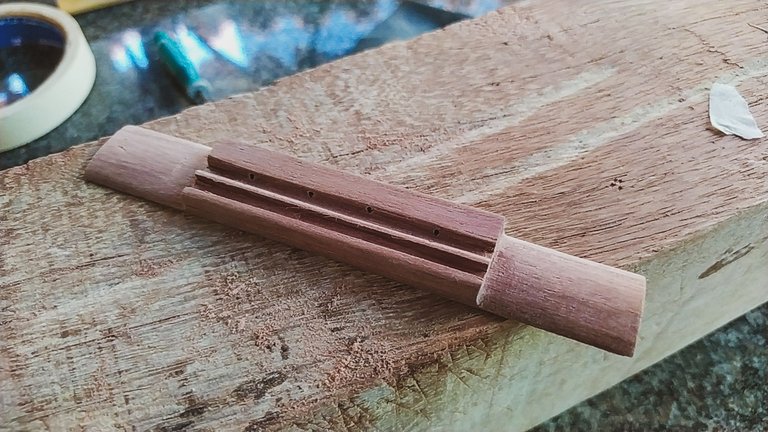
With these steps ready, we use the drill to make the holes. And with the holes ready, we finally can file and sand everything thoroughly until we have a smooth surface. To top it off and add a layer of protection, we apply some teak oil and give the bridge some burnishing with 1500-grit sandpaper.
Adrenaline dose
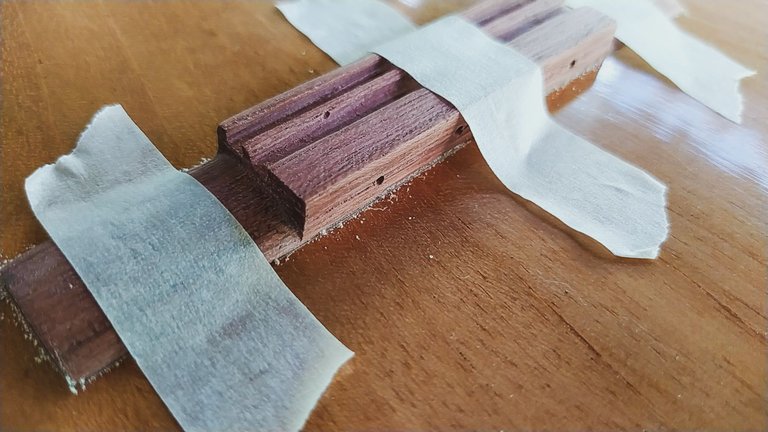
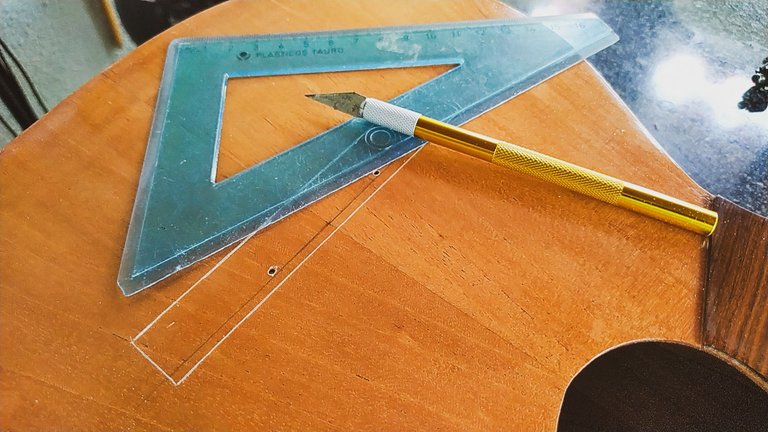
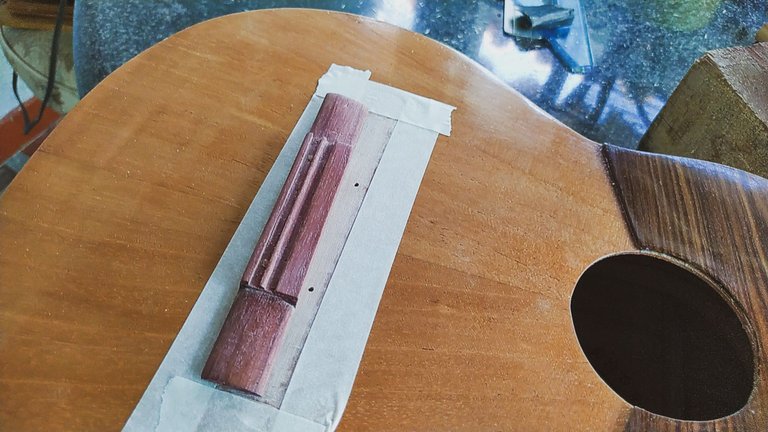
Now, comes the adrenaline dose of the build. It's time remove the finish from the bridge's seat. This requires a lot of precision. First, we need to fix the bridge to the sound board with tape. Then, we use a knife to mark the outline of the bridge onto the finish. We don't need it to be so deep as to cut the wood.
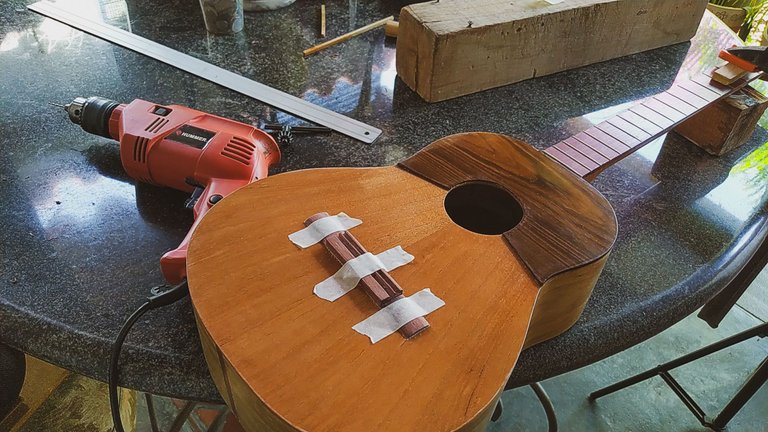
Time to follow this up with the holes for the anchors. Since we have the bridge already secured with tape, we use the drill to make holes through both pieces. The holes are placed on the saddle rest, so they will be covered once we put that piece on the bridge.
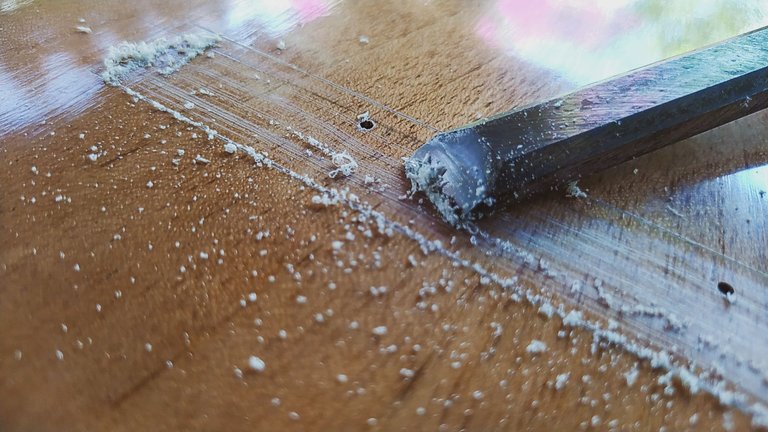
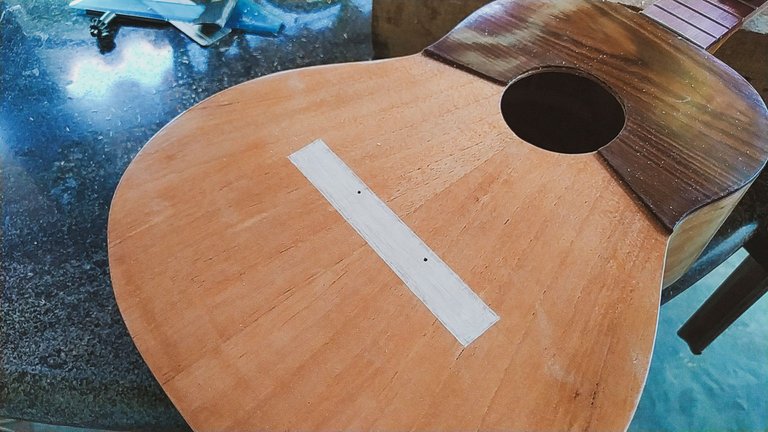
We can now remove the tape and get the bridge off to start scraping the finish. First, we have to finish the outline. Then, we use a chisel to remove the finish little by little. To end this step, we use some sandpaper to make sure the surface has some texture and the bridge can glue properly.
Glue up
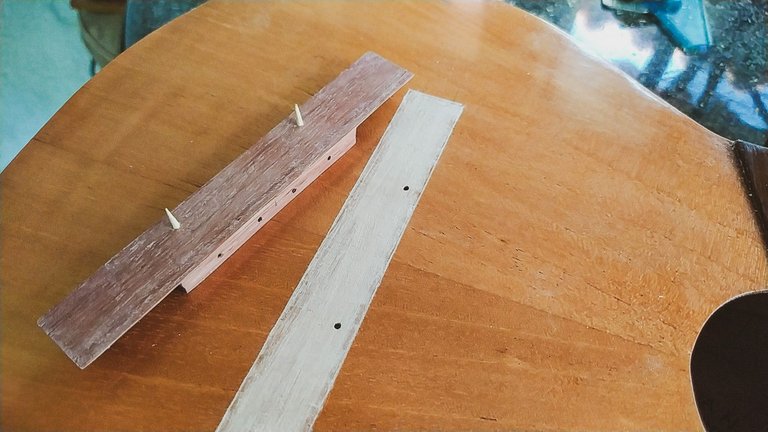

With the sea ready, we apply some tape around this new area to help us catch any spread from the glue we'll apply. If you're wondering what are the anchors for the bridge, they are just some pieces of a toothpick. Once we have everything ready, we apply glue and place the bridge on its seat.
To apply the pressure we need we use this special clamp and a piece of wood to distribute the pressure alongside the bridge. We can add some other smaller pieces to get some of this pressure onto the wings of the bridge. The clamp will remain on the instrument for 24 hours. Then, it will need another 24 hours before we can get the strings on.
Next time, we'll go ahead and finish this project once and for all. We are only missing the nut, the saddle, the tuning machines and the strings. Once all these are on the instrument it will be ready to make music.
Thanks for reading. Until next time!
Fotos/Photos 📷: taken by me (Redmi Note 8)
Portada/Thumbnail 🖼️: by me, created with Canva.
Edición/Editing 🎬: by me, made with Adobe Photoshop Lightroom.

Follow me on Instagram for enquires and commission.
If you'd like to help the workshop grow, you can make a donation here. You can find me at discord as bertrayo#1763

