
Introducción
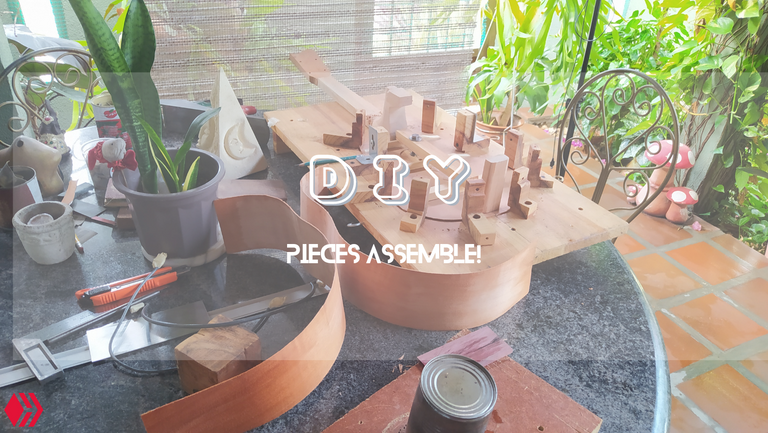
Bienvenidos a otro miércoles de carpintería. Si piensan que terminar un proyecto significa que puedo tomar un descanso, se equivocan. Esto de ser tu propio jefe es un trabajo constante. Por el momento, quiero mostrarles el progreso de este instrumento que se encuentra en su fase de espera por el laqueado. Este proyecto comenzó en noviembre del año pasado. Es un regalo de un padre a su hija. Eso lo hace aún más especial.
Summary
Welcome back to Woodworking Wednesdays! If you think for one seconds that finishing a project means getting a rest, you're wrong! Being your own boss means there's no rest for the wicked. So, I want to show you some of the process of this instrument that has reached one of its final stages. It's waiting for its lacquer. This project started last November. And it's a gift for father to daughter. That makes it even more special.

Comienza el ensamblaje
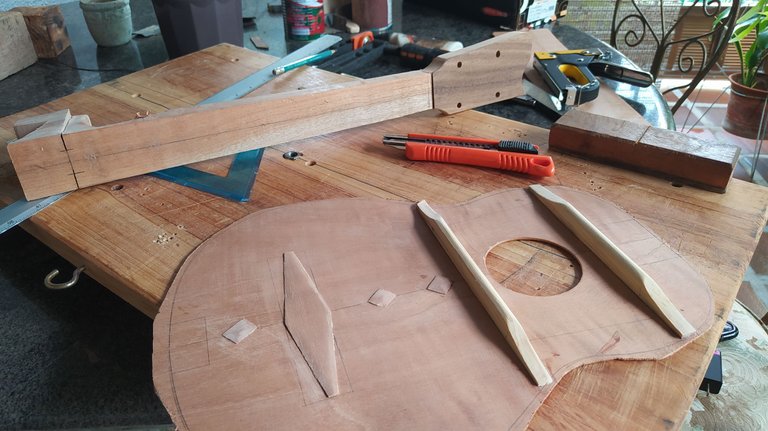
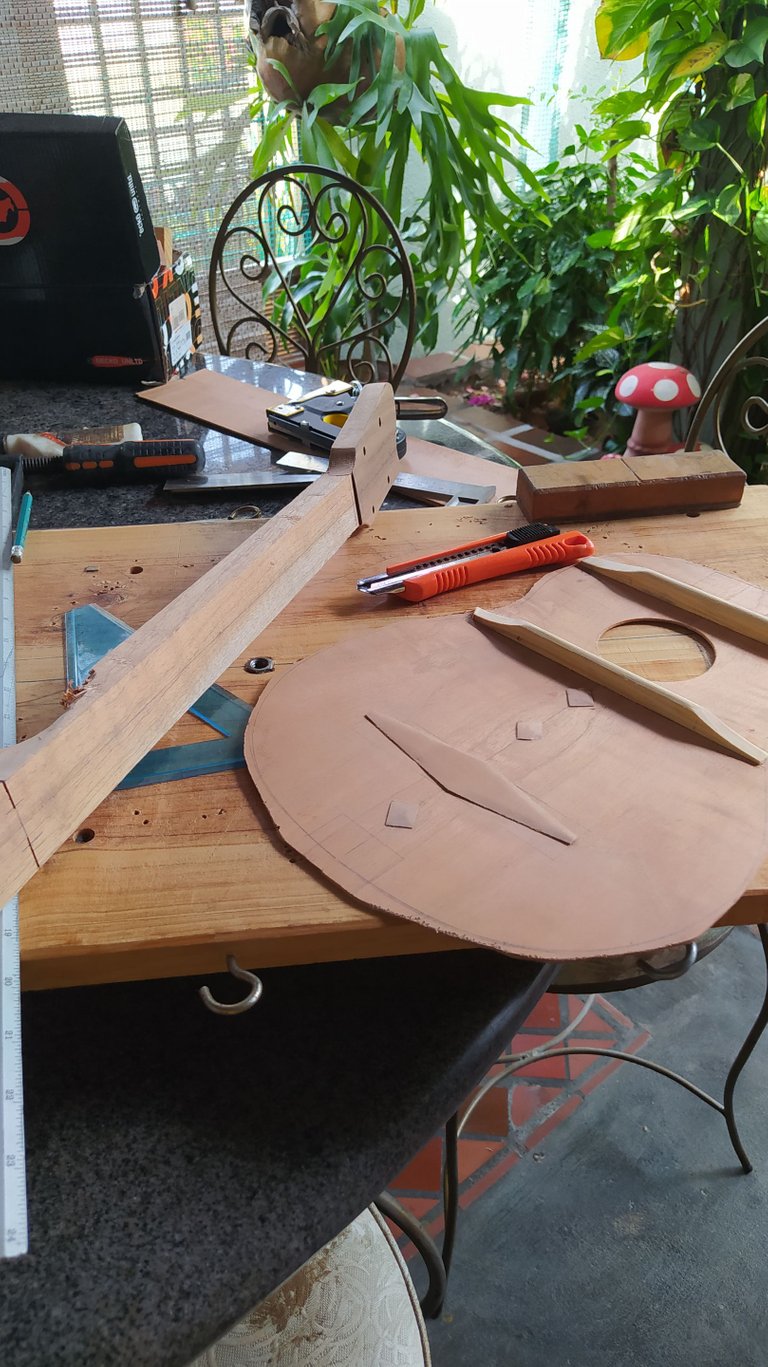
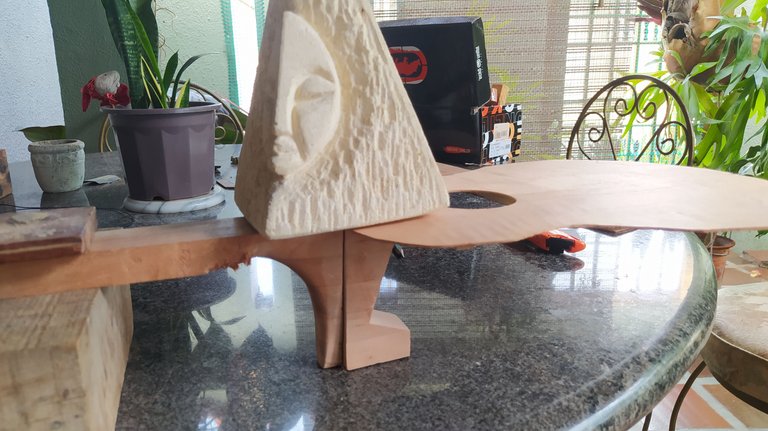
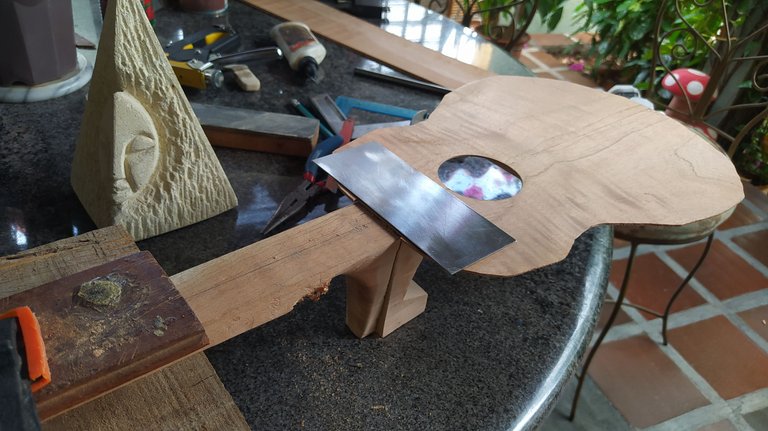
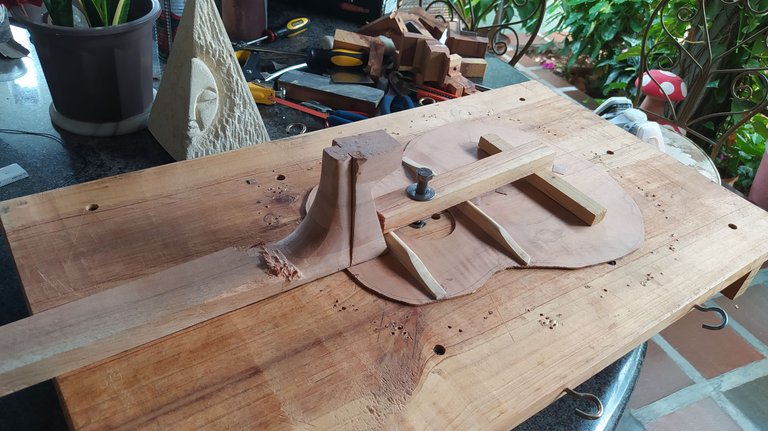
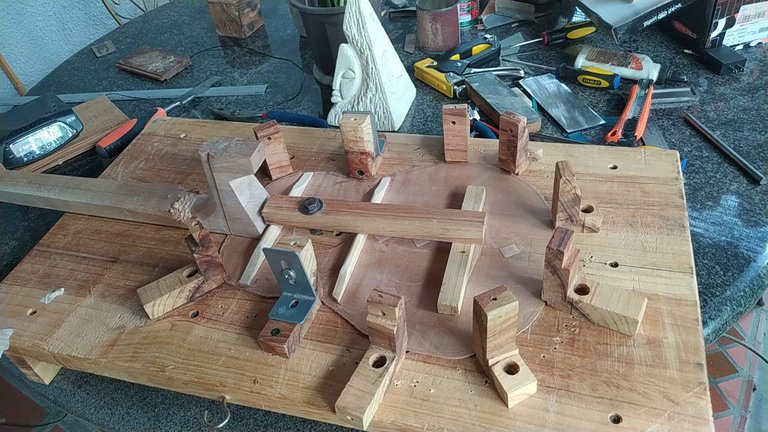
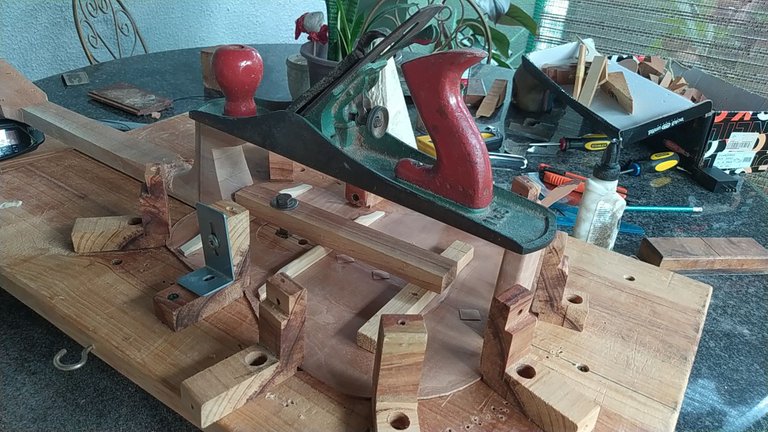
Al tener las piezas listas, es hora de ensamblar. Cuando montamos el instrumento en la solera hay muchas formas de proceder. Por mi parte, busco alinear la tapa armónica y el mástil antes de de fijarlo en el molde. No es la forma más fácil de hacerlo, pero es lo que me permiten las herramientas y experiencia que tengo hasta ahora.
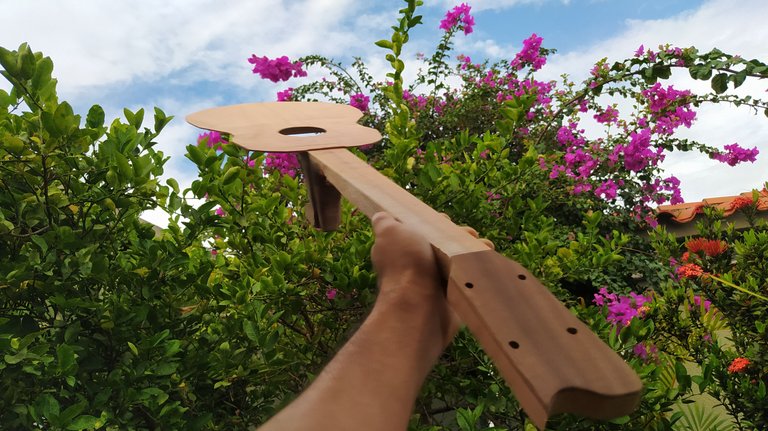
Está foto en con las flores moradas en el fondo se está convirtiendo en una marca del taller. Mientras siga en este lugar, tendré alguna foto con los instrumentos cerca de ellas.
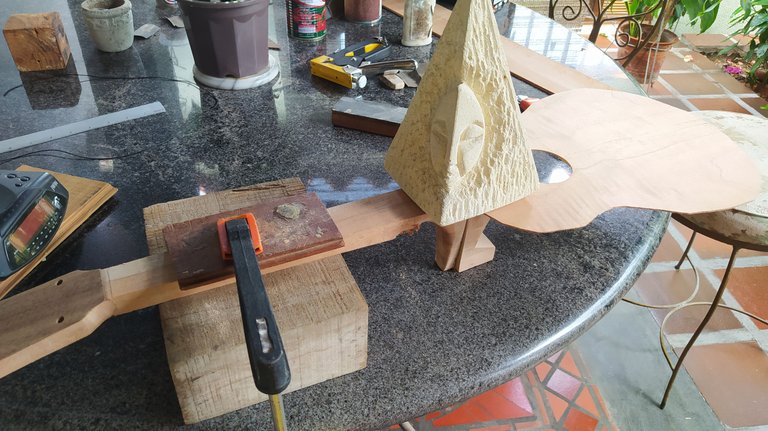
Para fijarla tapa sobre el mástil utilizamos pegamento para madera y una grapas de tapicería. Así nos aseguramos de que el pieza se sostenga y pegue correctamente. Una vez que esté fija, podemos remover las grapas. Los agujeros que queden, se rellenan con masilla y luego se taparán con el golpeador del instrumento.
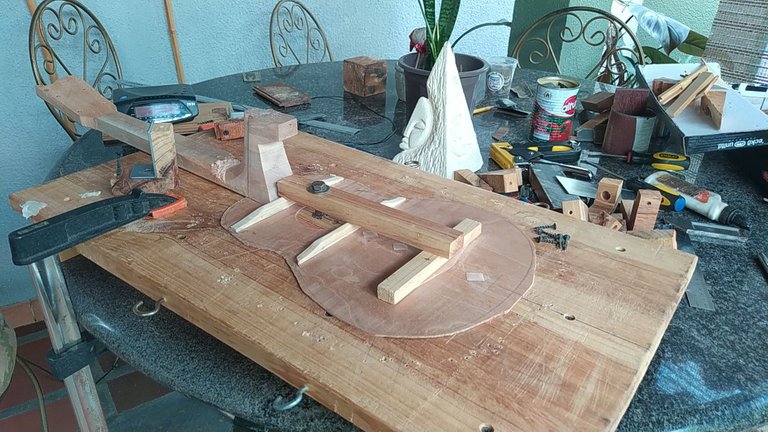
Con esto listo, podemos colocar la tapa y mástil sobre la solera. Luego, colocamos las escuadras y las fijamos por todo el perímetro del instrumento.
Assembling
When all the pieces are ready, it's time to get everything on the mold. There are many ways to proceed here. My method consists in aligning the neck and sound board before mounting them. It's harder to achieve, but I can't do it in any other way for the moment.
This photo with the purple flowers is now a staple of the workshop. As long as I stay in this house, I'll always make some time to take a similar photo when I'm working on a build.
To glue the neck and sound board together, we use wood glue and a stapler. The staples will help us fix the top in place and allow it to glue properly. Once this is done, the staples can be remove and we can make a paste of sawdust and glue to fill in the holes. These will then be covered by the strum guard.
The next step is to take our contraption and put in on the mold. Hold it in place and then get the angles around the perimeter of the instrument.
 |  |  |  |  |
|---|
 |  |  |
|---|

Tacón Interno
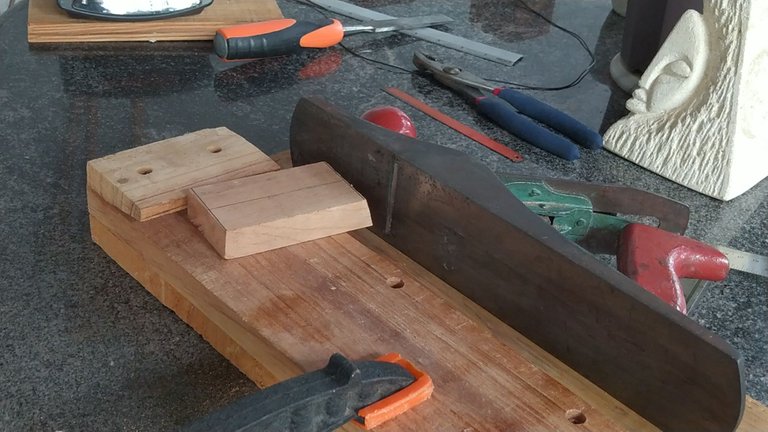
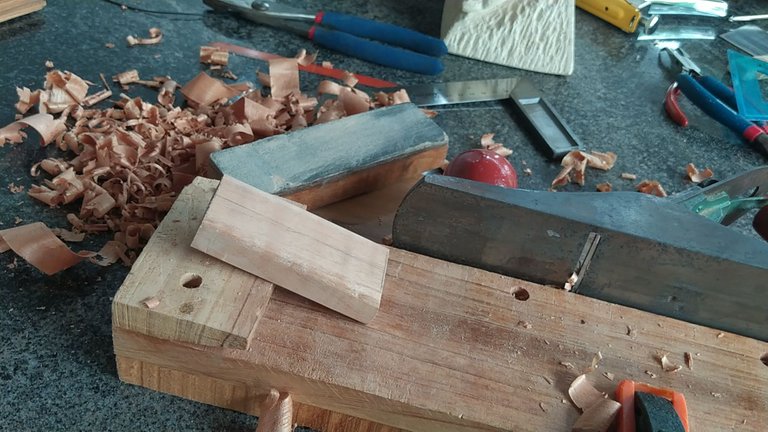
La última vez que vimos el proyecto, se estaba trabajando en el tacón externo. Ahora hay que preparar el interno. Aquí se unen los aros, la tapa y el fondo. Basta con tomar un taco de madera y prepararlo. Se corta a la medida de la altura de los aros y se coloca en el extremo inferior de la tapa armónica. Luego, se fija con un poco de pegamento y se le coloca un peso encima.
Algo que no he mencionado antes es que esta pieza es un contrapeso dentro del instrumento. La idea es que el instrumento se sienta balanceado. Es decir, que el mástil. No sea más pesado que la caja. De lo contrario, tocar el instrumento nos va a cansar el brazo izquierdo (o derecho si somos zurdos).
End Block
Last time we saw the project, we were working on the heel. Now, it's time to work on the opposite piece, the end block. There is where sound board, sides and back meet each other. We need a peoxe of wood cut to the height of the sides and that will be glued in the lower end of the sound board (thus, it's name). We apply some glue to it and fix it in place using a weight.
Something I had always forgotten to mention is that this piece works as a counterbalance in the instrument, i.e., it helps us maintain balance between the neck and the body. If the neck is heavier, the instrument will always tilt to that side. This means our left arm (right if you're left-handed) would always get tired while playing it.
 |  |  |
|---|

Aros
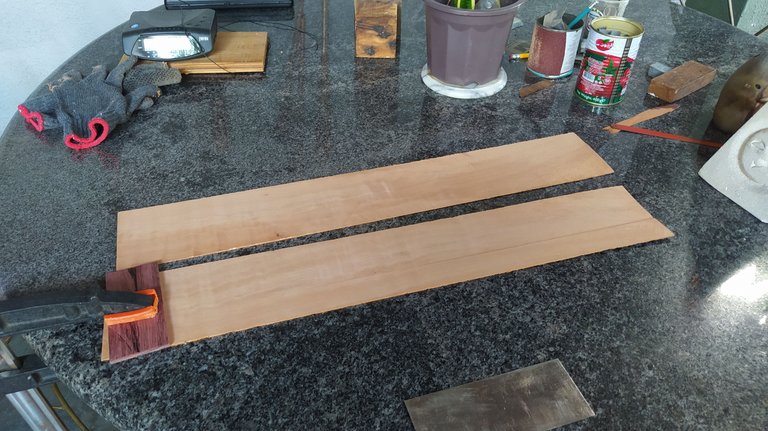
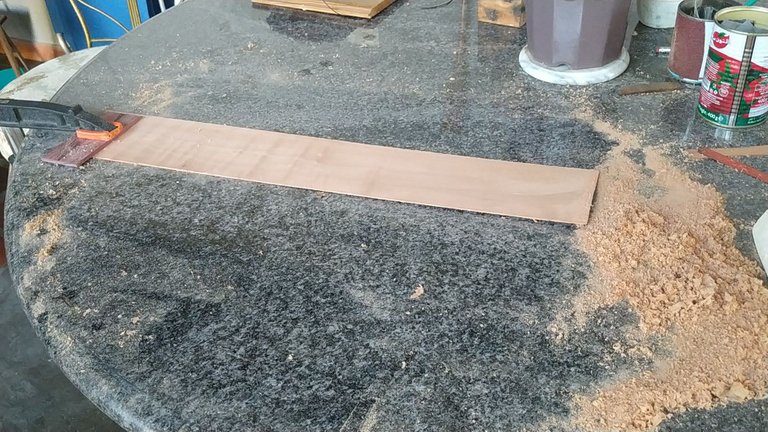
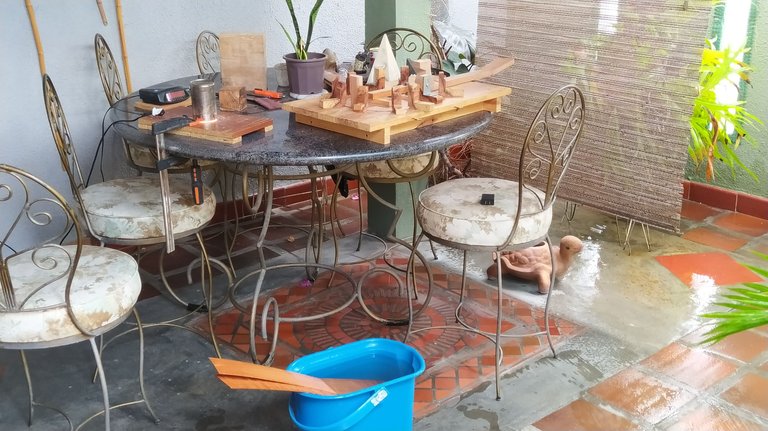
Es el momento de rebajar y doblar los aros. Estás son las piezas que nos dan la curvatura del instrumento. Aquí tengo estos de cedro criollo (cedrela odonata). Con ayuda de la rasqueta, procedenos a adelgazarlos. Esto nos permitirá doblarlos con más facilidad. De todas maneras, el cedro es una madera blanda con buena elasticidad en sus fibras.
Después de rebajar los aros, es tiempo de sunergiemos en agua por un tiempo. Hidratar las fibras de la madera las hace más flexibles y evita que se queme durante el proceso de doblado.
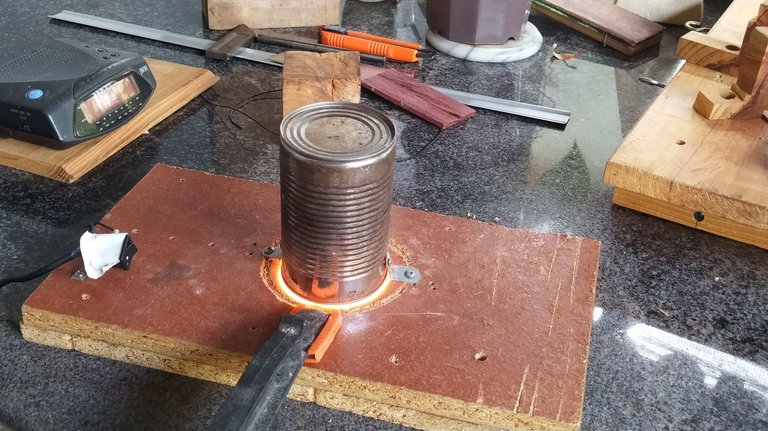
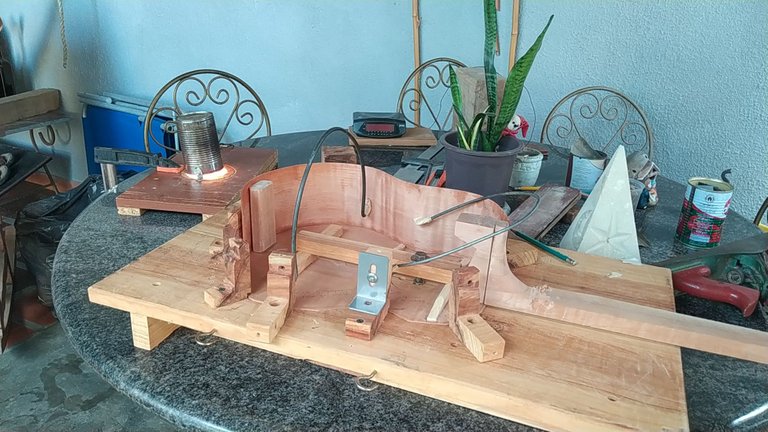
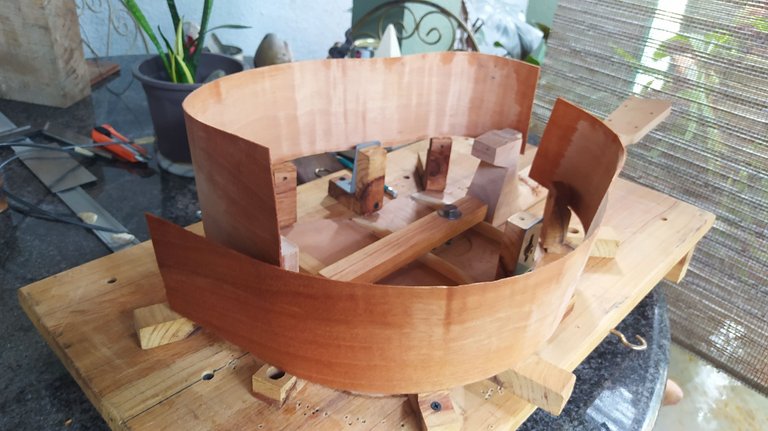
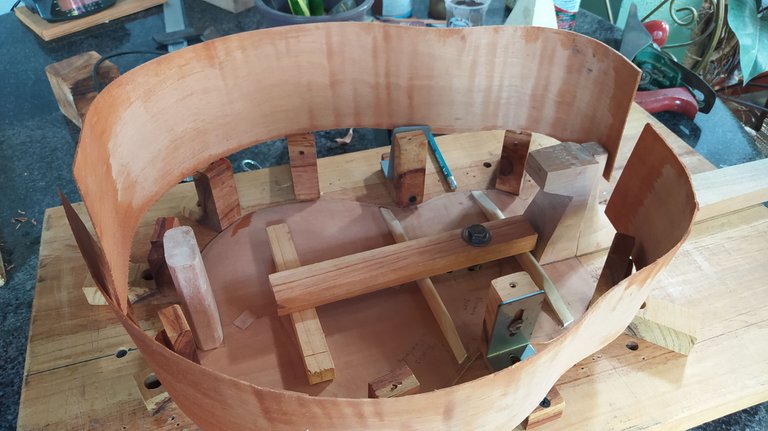
Para doblar, utilizamos este aparato casero compuesto por una lata y un bombillo incandescente. Con mucho cuidado, utilizamos la curvatura de la lata para darle forma a los aros y lograr la curvatura que deseamos. Podemos rectificar cualquier cosas si comparamos el aro con la silueta del instrumento sobre la solera.
Sides
It's time work on the thickness and shape of the sides. These are the ones that gives us the curvature of the instrument. Here, I'm using these cedar (cedrela odonata) sides. With the help of a card scraper, we can remove material from the top to achieve the desired thickness. This well help is bend them with ease. However, cedar is a very soft and flexible wood.
After thicknessing them, we can address the bending part. First, we soak the sides in water for a while. Hidrating the fibers of wood makes them flexible and will help us prevent burnts as well.
To bend the sides, we use this contraption made of a can and a incandescent light bulb. With care and a lot of patience we coax the sides into shape using the can. We can fix any spot by comparing the sides to the silhouette of the instrument on the solera mold.
 |  |  |
|---|
 |  |  |
|---|

Esto ha sido todo está ocasión. Hay más trabajo pendiente por hacer. En la próxima entrega, seguimos con el ensamblaje pegando los aros, refuerzos internos y el fondo.
Cualquier duda o comentario es bienvenido. Espero tengan un buen día.
Manténgase creativos
That's been all for now. Next time, we'll continue with the assembly process gluing the sides, reinforcements and the back.
Any questions or comments are welcome in the section below. I wish you all a great day!
Stay creative!

- Fotos/Photos 📷: @bertrayo (Redmi Note 8 smartphone).
- Portada/Thumbnail 🖼️: made by me in Canva.

Follow me on Instagram for enquires and commission.
If you'd like to help the workshop grow, you can make a donation here. You can find me at discord as bertrayo#1763
