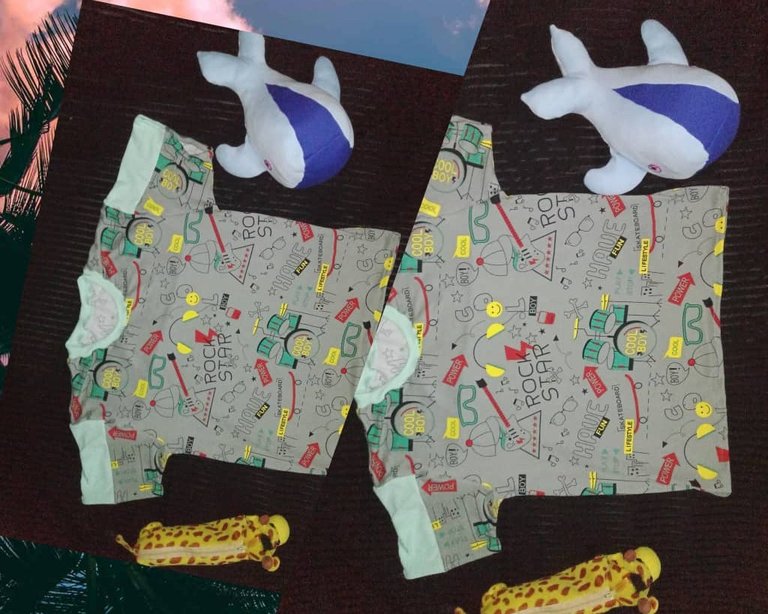
Hello creative friends I wish you an excellent and productive day with God's blessing, today I share with you the elaboration of a flannel in micro peach fabric 180, I must say that it is the fabric I have used the most in my latest projects and I like it because besides being fresh it is easy to sew; when it comes to saving scraps are a great option by combining leftover fabrics from different projects you get beautiful and unique designs, although it requires a little more work to join the fabrics the result is worth every minute invested.
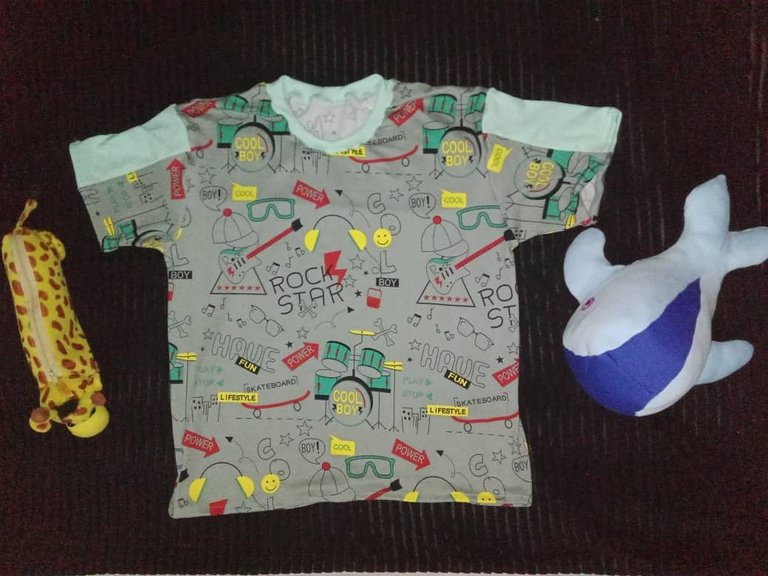
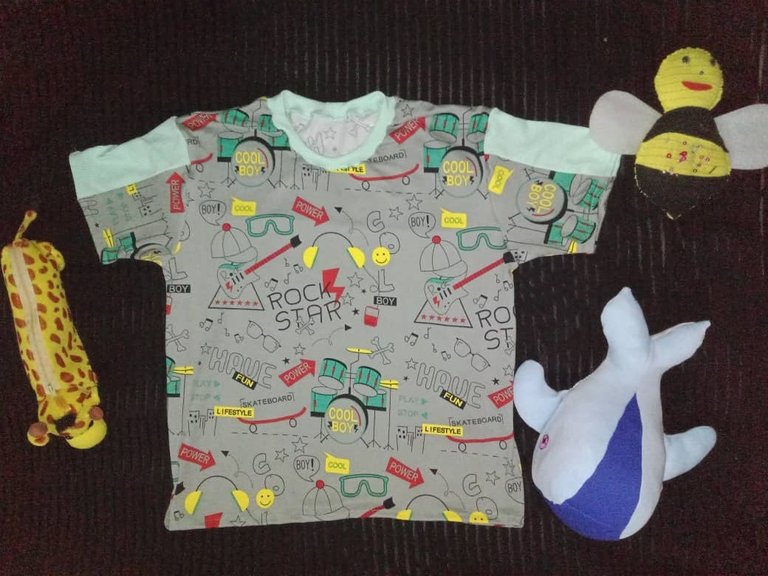
From a flannel I made for my son there was a piece of fabric left over and I could not leave it in the super patchwork bag, so I got down to work and cut a new basic flannel, the front and back I cut it without problems, the most difficult cut was the sleeves; since the fabric was not enough, with several scraps I tried which would be better to assemble the sleeves and I liked a light green, besides being soft contrasts with the printed fabric, I also made the fabric in green color, the necklace was also in green.
Hola amigos creativos les deseo un excelente y productivo día con la bendición de Dios, hoy comparto con ustedes la elaboración de una franela en tela micro durazno 180, debo decir que es la tela que más he usado en mis últimos proyectos y me gusta porque además de ser fresca es sencilla de coser; cuando se trata de ahorrar los retazos son una gran opción combinando las telas sobrantes de diferentes proyectos se obtienen hermosos y únicos diseños, aunque requiere un poco más de trabajo para unir las telas el resultado vale cada minuto invertido.
De una franela que hice para mi jo sobró un retazo de tela y no podía dejarlo en la súper bolsa de retazos, así que me puse manos a la obra y corté una nueva franela básica, la parte delantera y trasera la corté sin inconvenientes, el corte más difícil fue las mangas; ya que la tela no era suficiente, con varios retazos probé cual quedaría mejor para armar las mangas y me gustó uno verde claro, que además de ser suave contrasta con la telas estampada, el cuelo lo hice también en color verde.

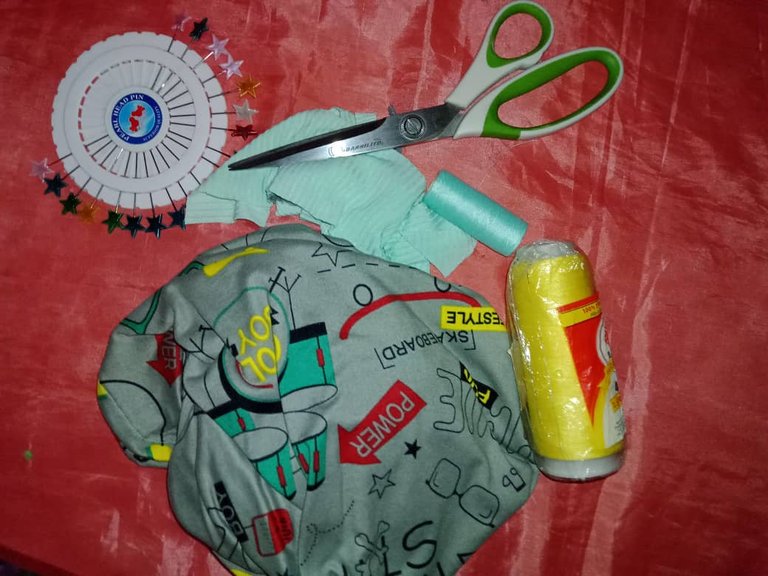
The materials used were
Micro peach fabric scraps 180 Y rib
Yarn
Scissors
Molds
Sewing machine
Pins
Mold
Chalk
Los materiales usados fueron:
Retazos de tela micro durazno 180 Y rib
Hilo
Tijera
Moldes
Máquina de coser
Alfileres
Molde
Tiza

ELABORATION
The first step was to cut the back, front and a bias for the neck, then I cut the pieces for the sleeves and glued a rectangle in the center with straight stitch to form the sleeve.
ELABORACIÓN
El primer paso fue cortar la parte trasera, delantera y un sesgo para el cuello, luego corté las piezas para las mangas y pegué un un rectángulo en el centro con puntada recta para formar la manga.
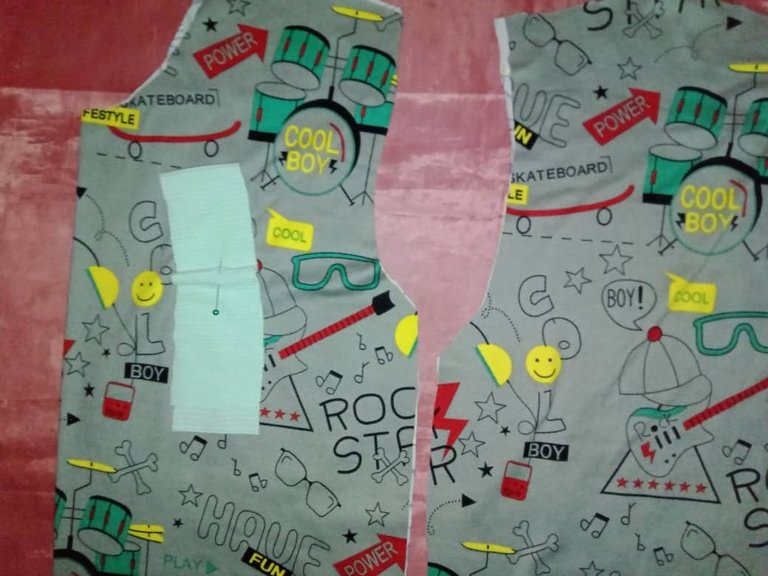
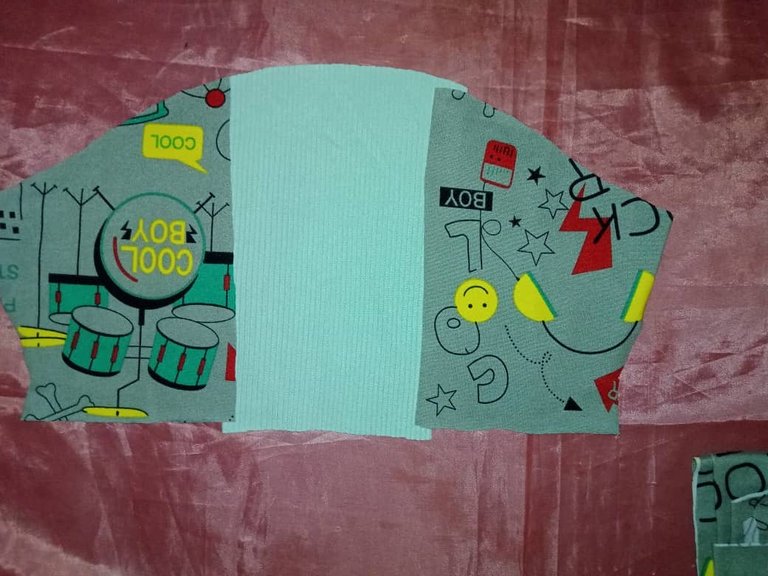
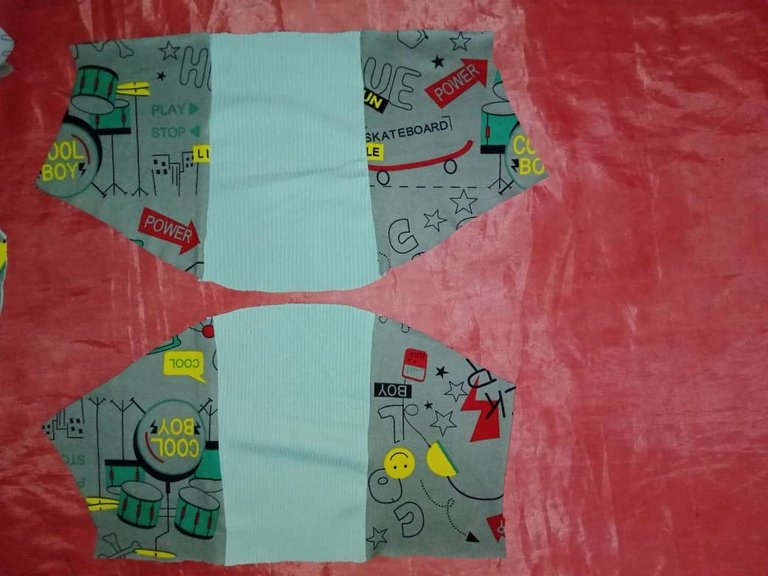

Then I faced front and back and joined at the shoulders with a straight stitch.
Luego enfrenté trasero y delantero y uní por los hombros con puntada recta.
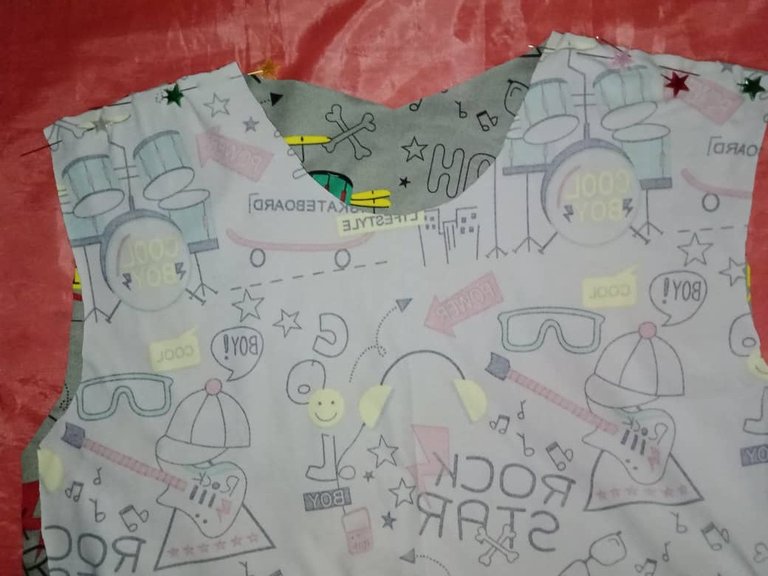

The next step was to attach the sleeves, I pinned and sewed with straight stitch, at this point I like to zig zag stitch to secure the seam, as the sleeves stretch a bit when the flannel is put on and the zig zag stitch helps to protect the seam and prevent the thread from breaking as the fabric stretches many times.
El siguiente paso fue pegar las mangas, sujeté con alfileres y cosí con puntada recta, en este punto me gusta pasar zig zag para asegurar la costura, ya que las mangas estiran un poco al ponerse la franela y la puntada de zig zag ayuda a proteger la costura y evitar que se rompa el hilo al estirarse la tela muchas veces.
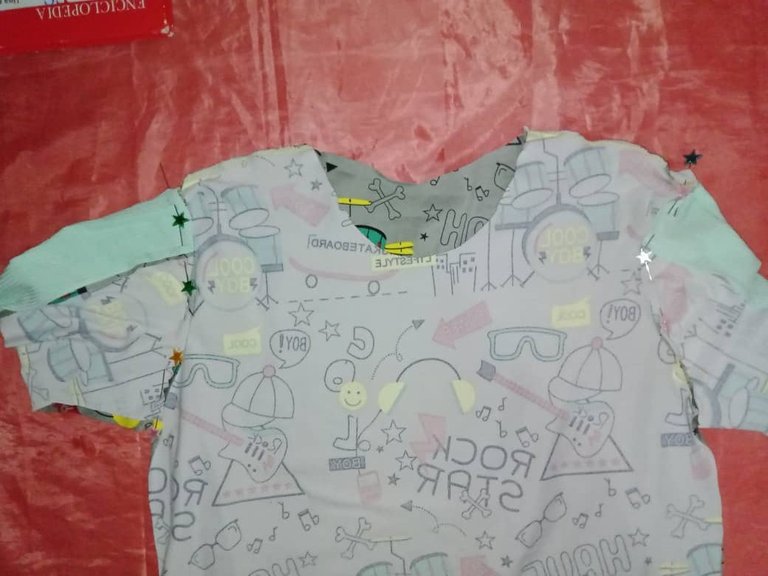
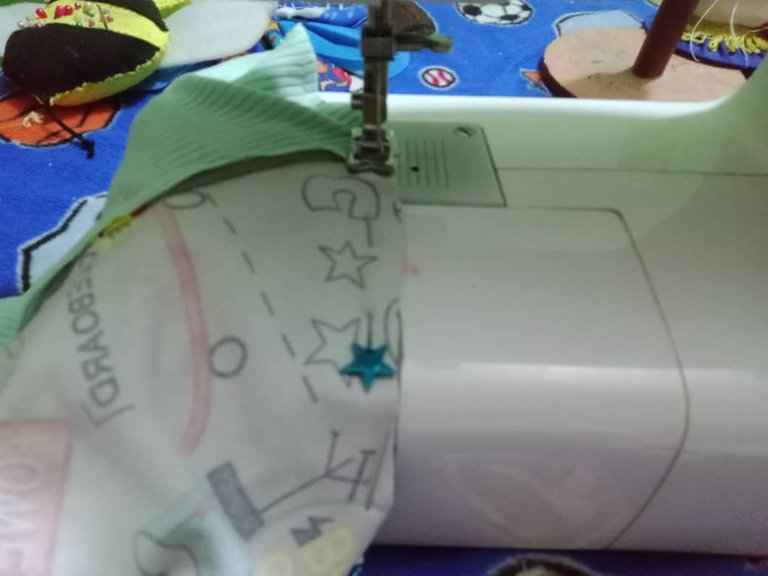
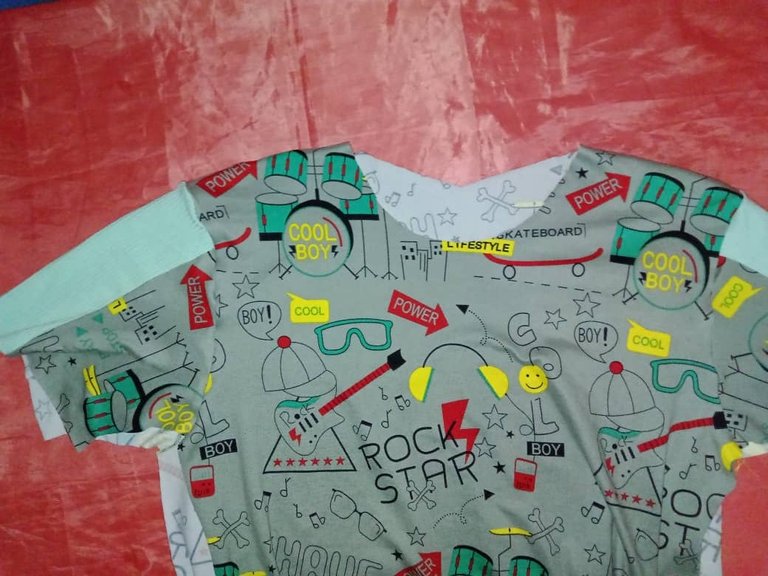

Once the sleeves were attached, I closed the sides and sewed a hem on the hem and sleeves of approximately one (1) centimeter.
Pegadas las mangas cerré los laterales y cosí un dobladillo en el ruedo y las mangas de aproximadamente un (1) centímetro.
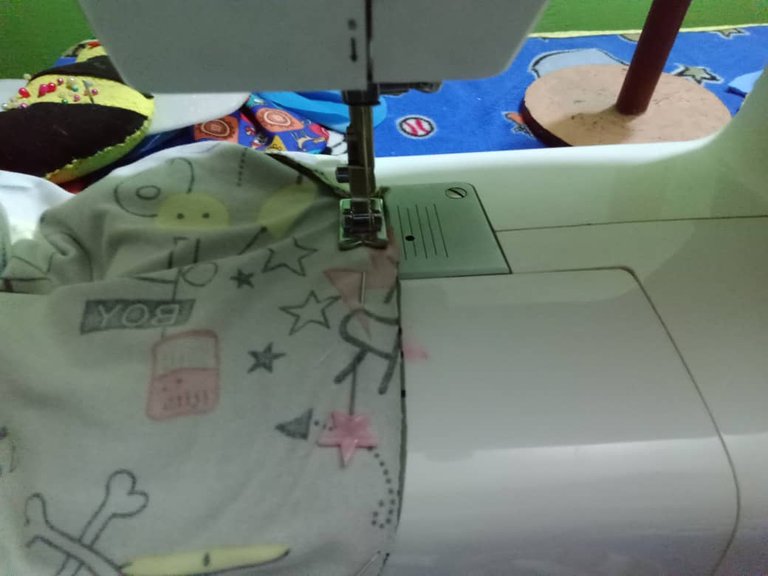
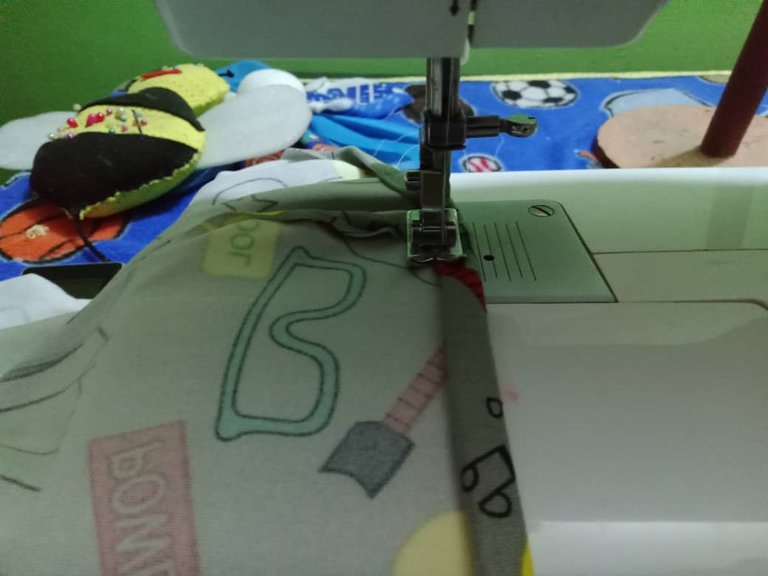
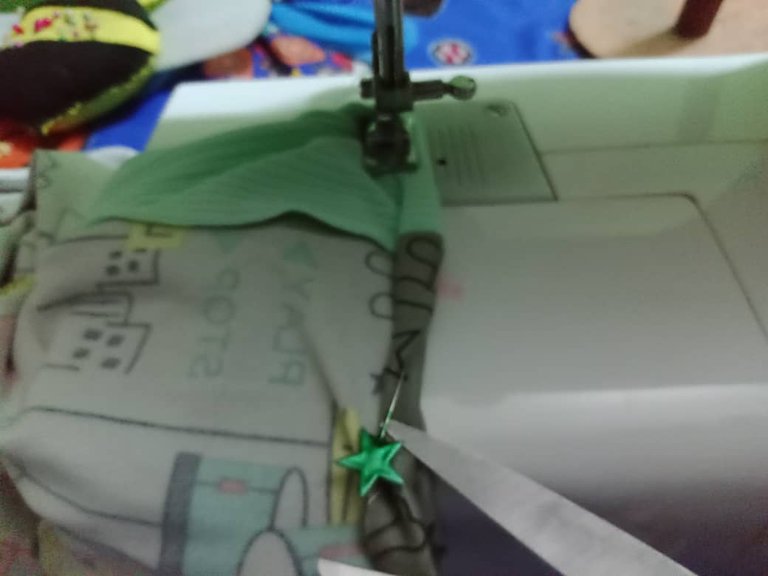

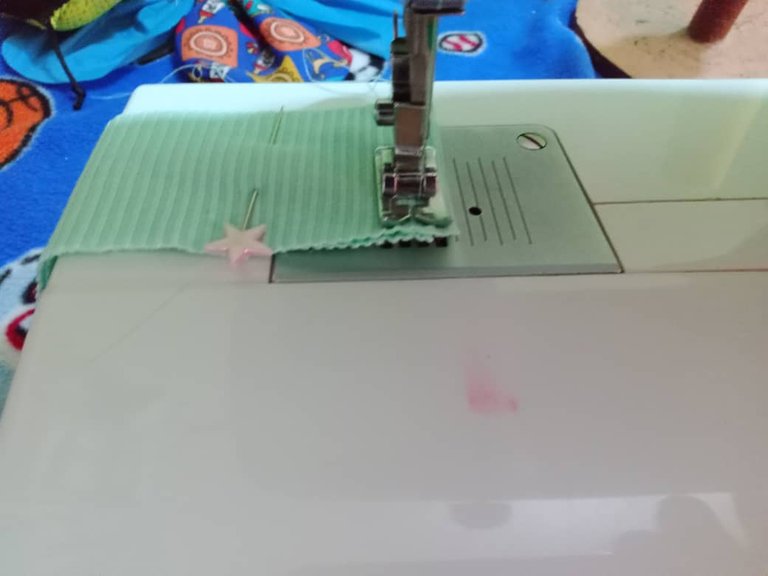
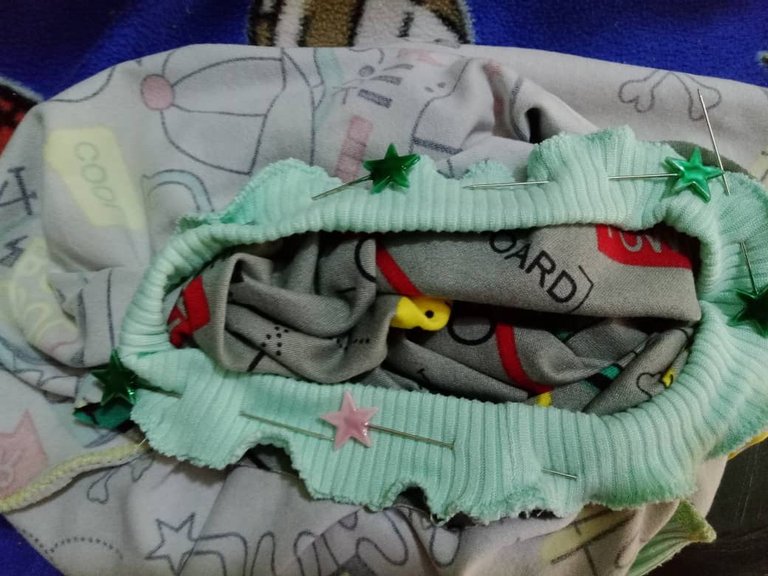
The last step is to make the collar, I sewed the bias binding the ends with straight stitch, then folded, sewed the edges with zig zag stitch, with pins I pinned the flannel collar, sewed with straight stitch, then zig zag stitch and re-stitched, this is how the flannel is finished.
El último paso es hacer el cuello, cosí el sesgo uniendo los extremos con puntada recta, luego doblé, cosí los bordes con puntada de zig zag, con alfileres sujeté al cuello de la franela, cosí con puntada recta, luego zig zag y repisé, así está terminada la franela.

This is the second flannel I made with this fabric and I am satisfied with the result, I like the print and the background color, my son is happy with his new flannel, definitely the micro peach 180 fabric is perfect for making flannels and other projects such as robes, pajamas and clothes for the little ones.
Es la segunda franela que hago con esta tela y me siento satisfecha con el resultado, me gusta el estampado y el color de fondo, mi hijo está feliz con su nueva franela, definitivamente la tela micro durazno 180 es perfecta para hacer franelas y otros proyectos como batas, pijamas y ropita para los chiquitines.


Blessings!
Bendiciones!

Hasta luego!

Translated with https://www.deepl.com/translator
              All images are my own, captured by a Síragon LC-3000 camera.

Todas las imágenes son de mi autoría, capturadas por una cámara Síragon LC-3000. 