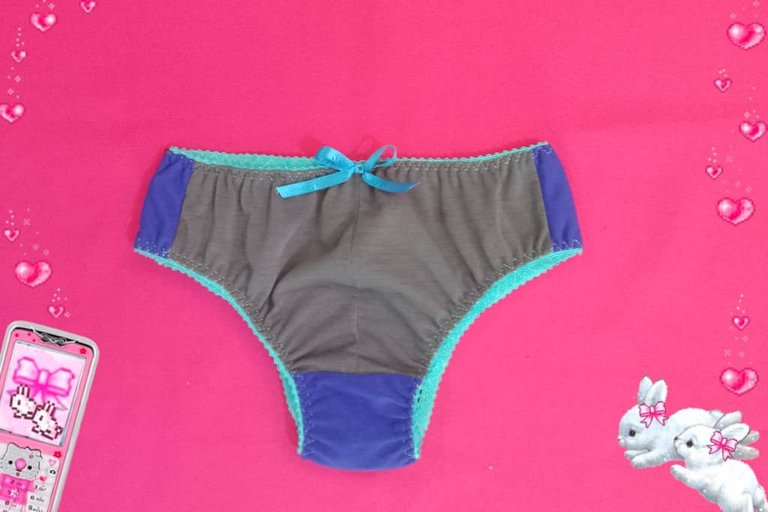

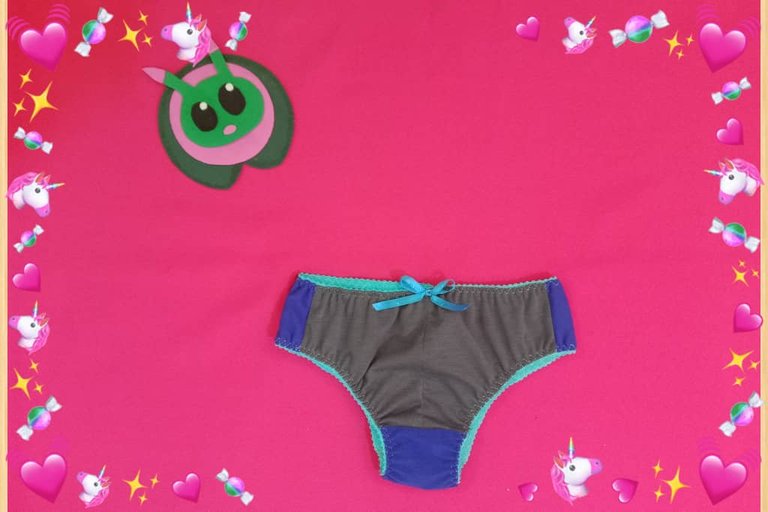
Greetings creative friends I wish you are healthy and happy and have an excellent day with God's blessing, this time I share the elaboration of a youth tricolor panty, it is a gift for my niece, it is a set of top and panty, first I made the top and according to my calculations with the remaining fabric I would make the panty, finished the top I kept the scraps of royal blue fabric with the idea of making the panty in the following days; while I was cleaning and organizing my sewing space without realizing I threw away the bag where I kept the panty fabric, looking in the scraps I got some royal blue fabric.

Saludos amigos creativos deseo se encuenten sanos y felices y tengan en excelente día con la bendición de Dios, en esta ocasión comparto la elaboración de una panty tricolor juvenil, es un obsequio para mi sobrina, se trata de un conjunto de top y panty, primero hice el top y según mis cálculos con la tela restante haría la panty, terminado el top guardé los retazos de tela azul rey con la idea de hacer la panty en los siguientes días; mientras limpiaba y organizaba mi espacio de costura sin darme cuenta boté la bolsa donde guardaba la tela de la panty, buscando en los retazos conseguí un poco de tela azul rey que combiné con gris y me puse manos a la obra.


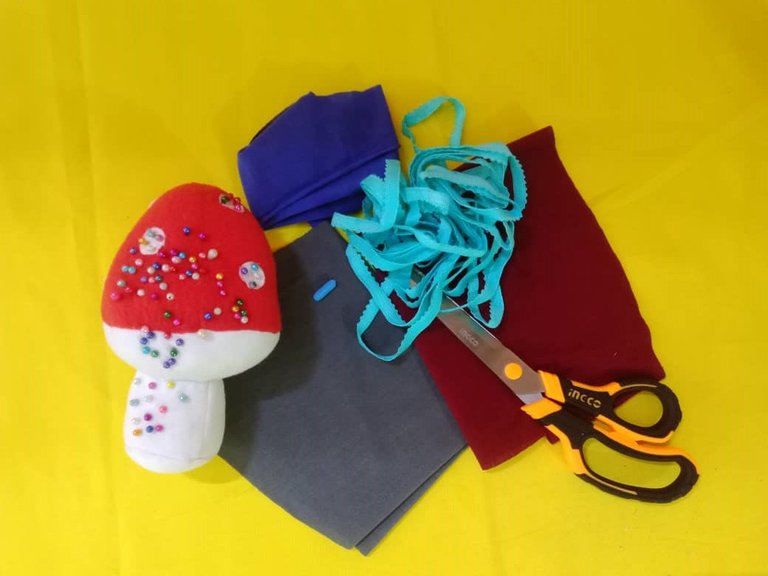
The materials used were:
Jersey fabric (grey, vinotint and royal blue)
Elastic bias (with blackberries)
Chalk
Molds
Pins
Scissors
Sewing machine
Los materiales usados fueron:
Tela jersey (gris, vinotinto y azul rey)
Sesgo Elástico (con moritas)
Tiza
Moldes
Alfileres
Tijera
Máquina de coser

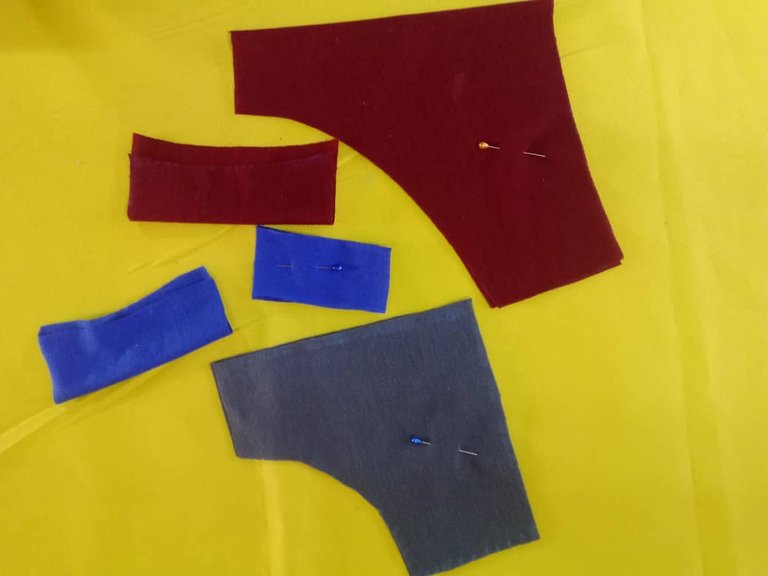
Elaboration
The first step was to mark the panty pieces; backside, center front and two rectangles completing the front at the top.
Elaboración
El primer paso fue marcar las piezas de la panty; trasero, delantero centro y dos rectángulos que completan el delantero en la parte superior.
Once the pieces were cut I sewed the front piece (I cut it in two parts), I also joined the rectangles at the ends of the upper front part.
Cortadas las piezas cosí la piezas del delantero (la corté en dos partes), también uní los rectángulos en los extremos de la parte superior delantera.
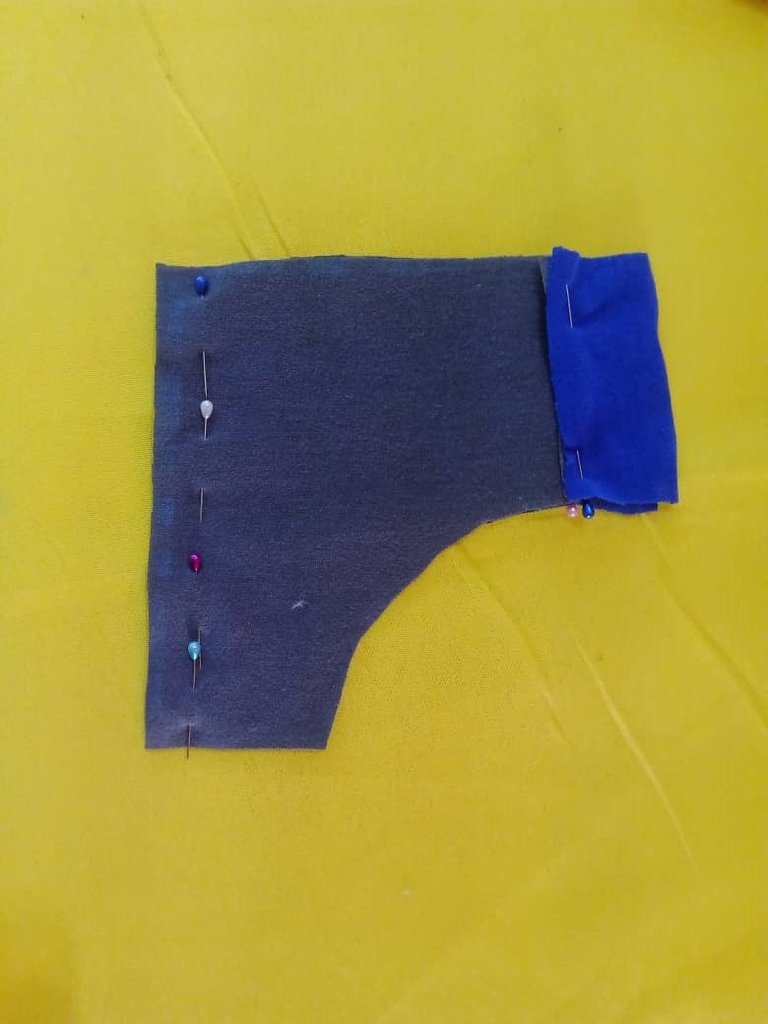
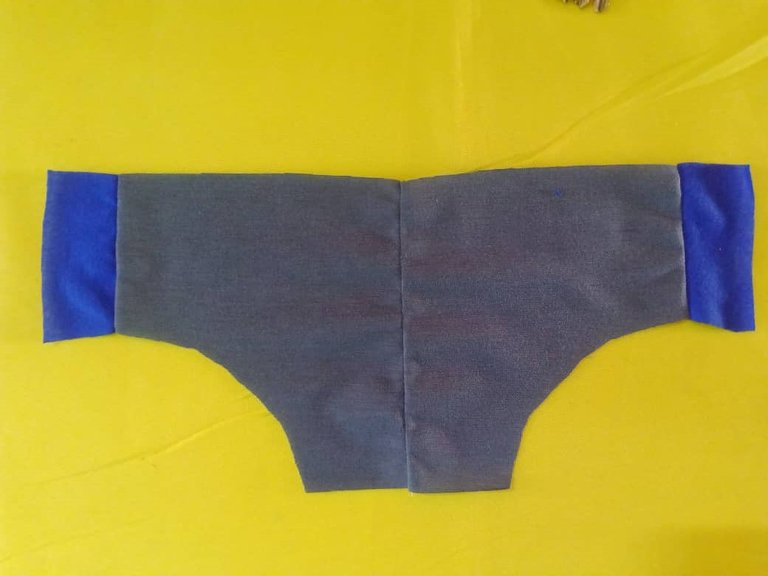

Then I joined the center pieces to the front, facing the blue one right side and the vinotint one front to back, pinned and sewed with a straight stitch. The idea is to have the blue one facing out and match the top rectangles.
Luego uní las piezas centrales al delantero, enfrenté por el derecho la de color azul y la de color vinotinto delantero con revés, sujeté con alfileres y cosí con puntada recta. La idea es que la de color azul quede hacia afuera y combine con los rectángulos superiores.
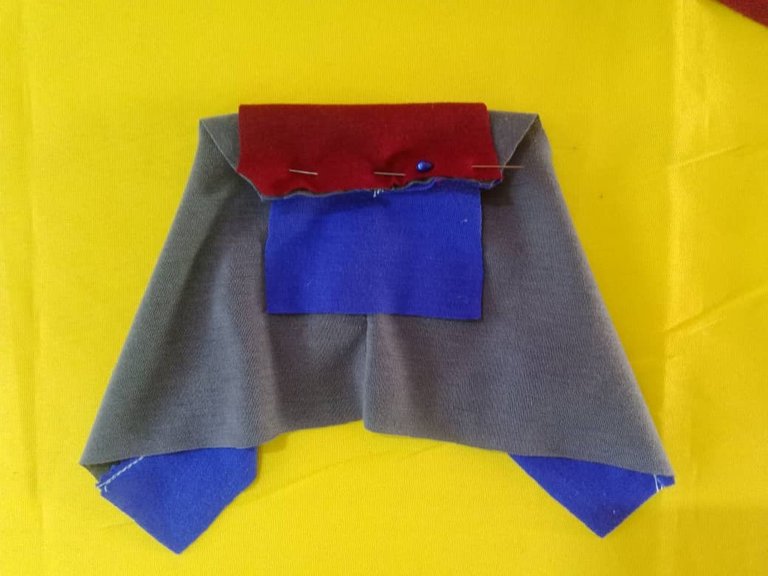
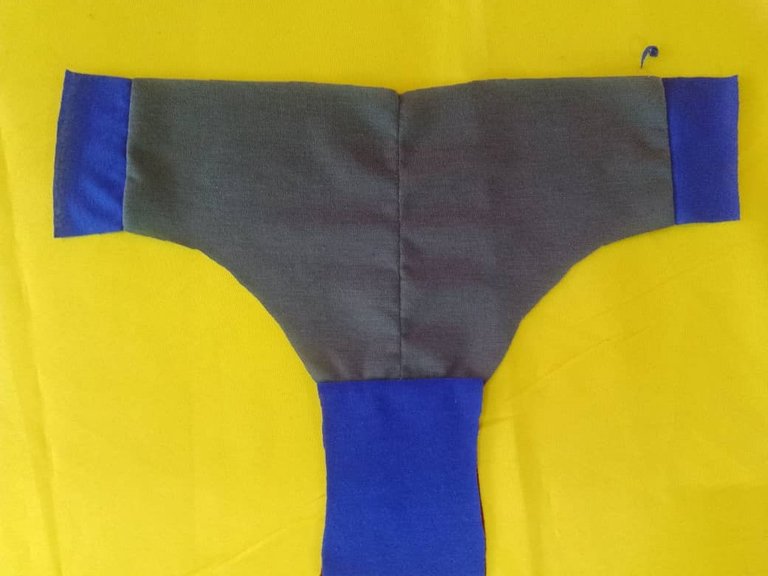

The next step was to glue the back part to the central pieces, for this I faced the blue one with the right side of the back and passed the bottom piece through the top forming a kind of “tube”, I pinned, sewed and took the garment out through one of the holes, this way the seams are hidden and with a better finish.
El siguiente paso fue pegar la parte trasera a las piezas centrales, para ello la enfrenté la de color azul con el derecho del trasero y pasé la pieza inferior por la parte de arriba formando una especie de "tubo", sujeté con alfileres, cosí y saqué la prenda por uno de los orificios, de esta forma las costuras quedan escondidas y con mejor acabado
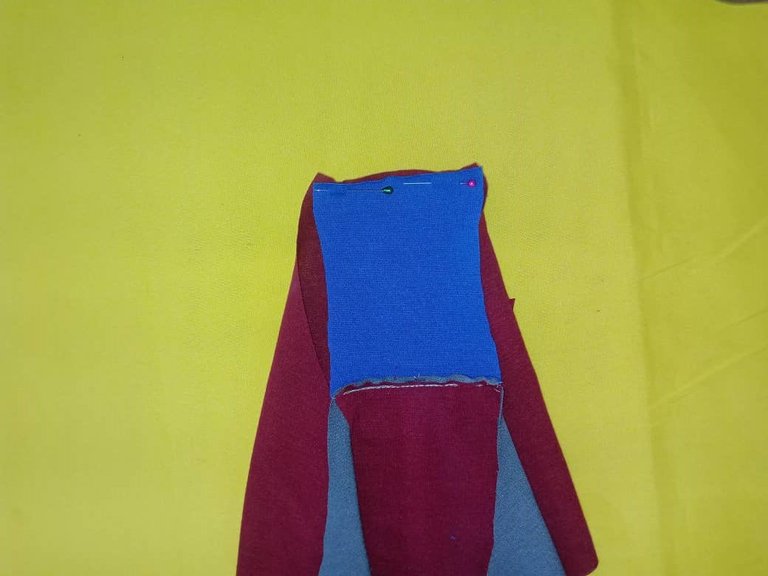
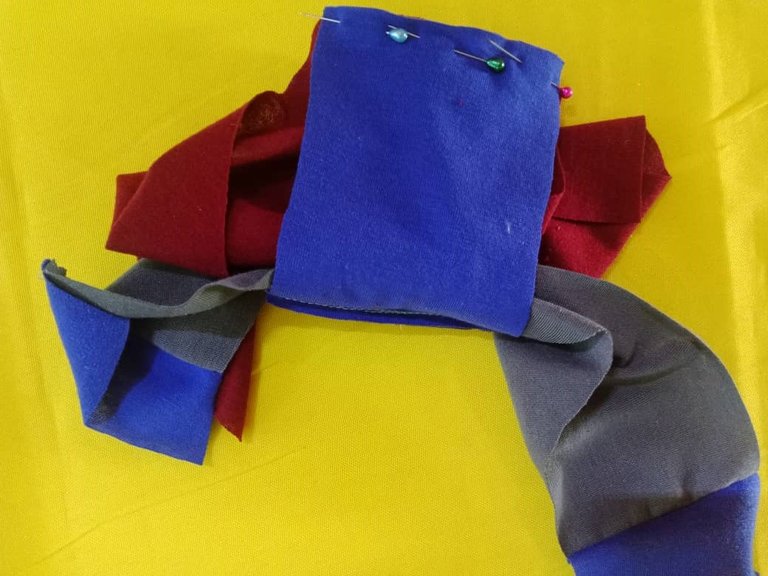
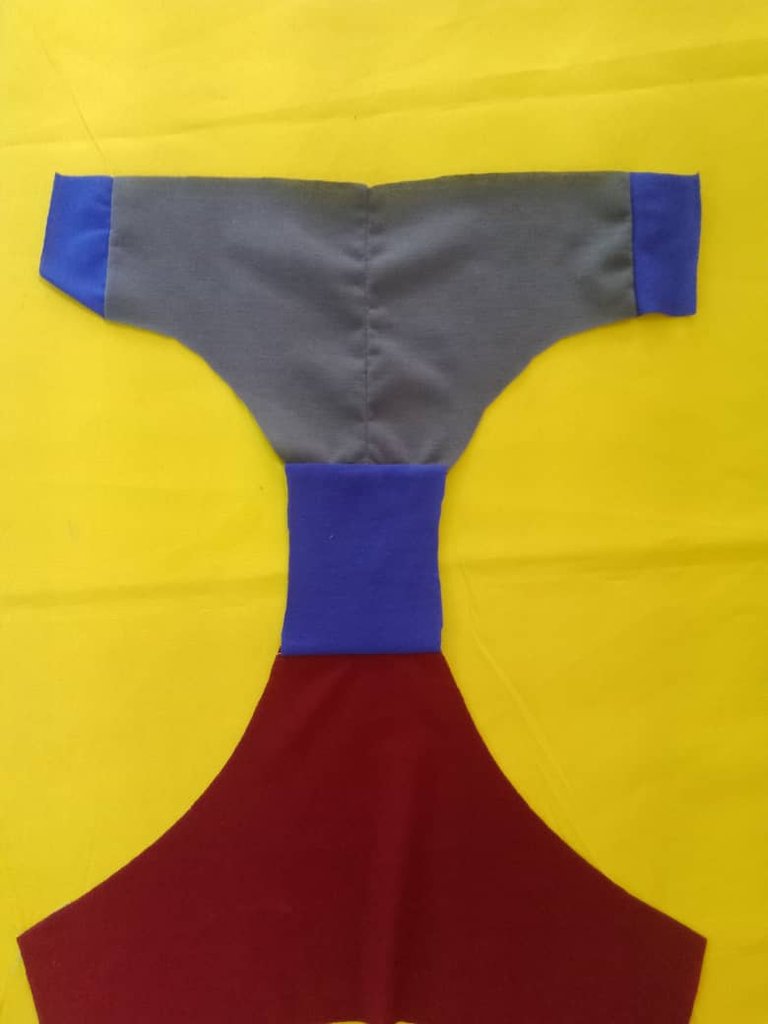

Joining the front and back, I closed the sides with a straight stitch.
Unidas la parte delantera y posterior, cerré los laterales con puntada recta.
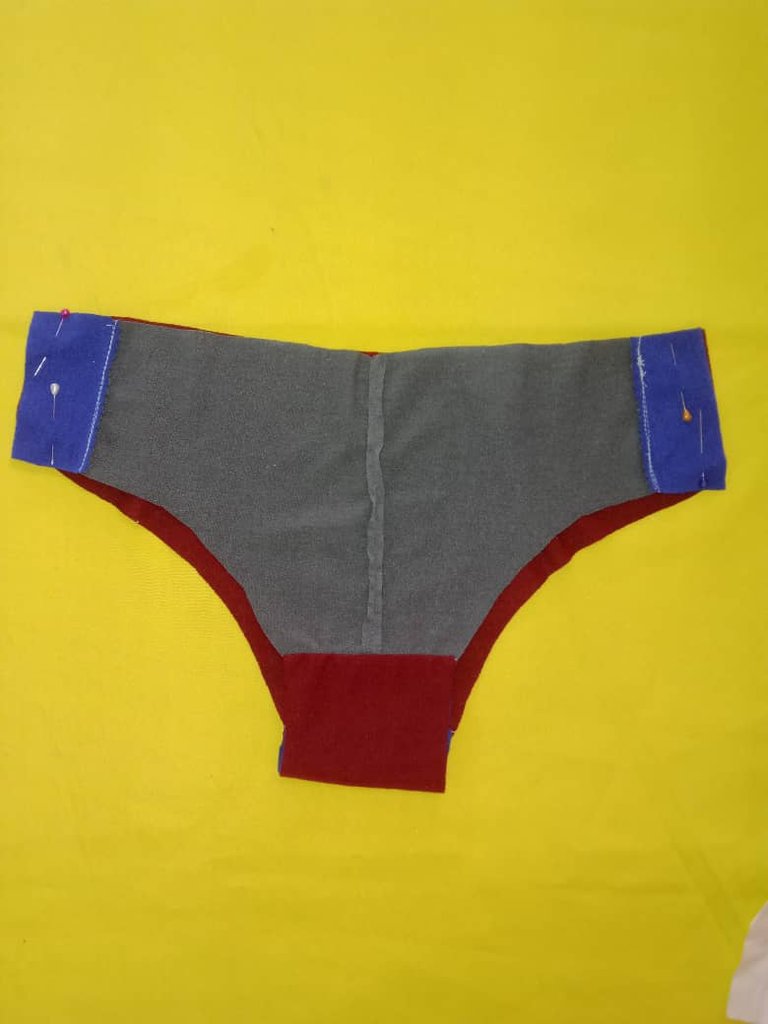

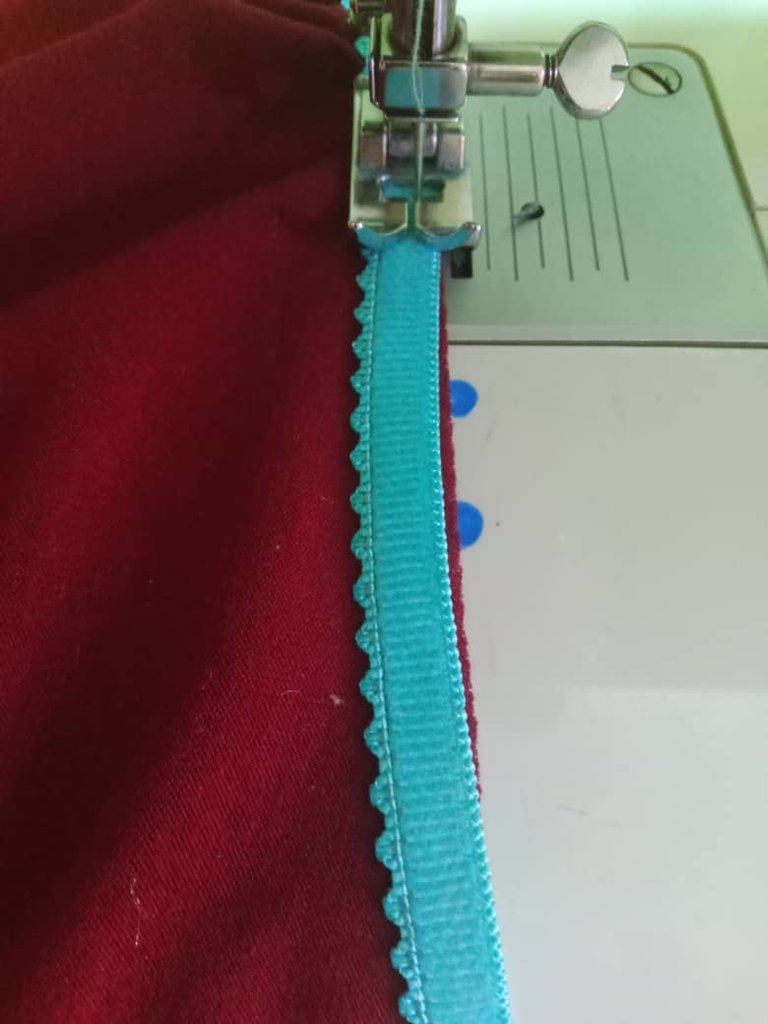
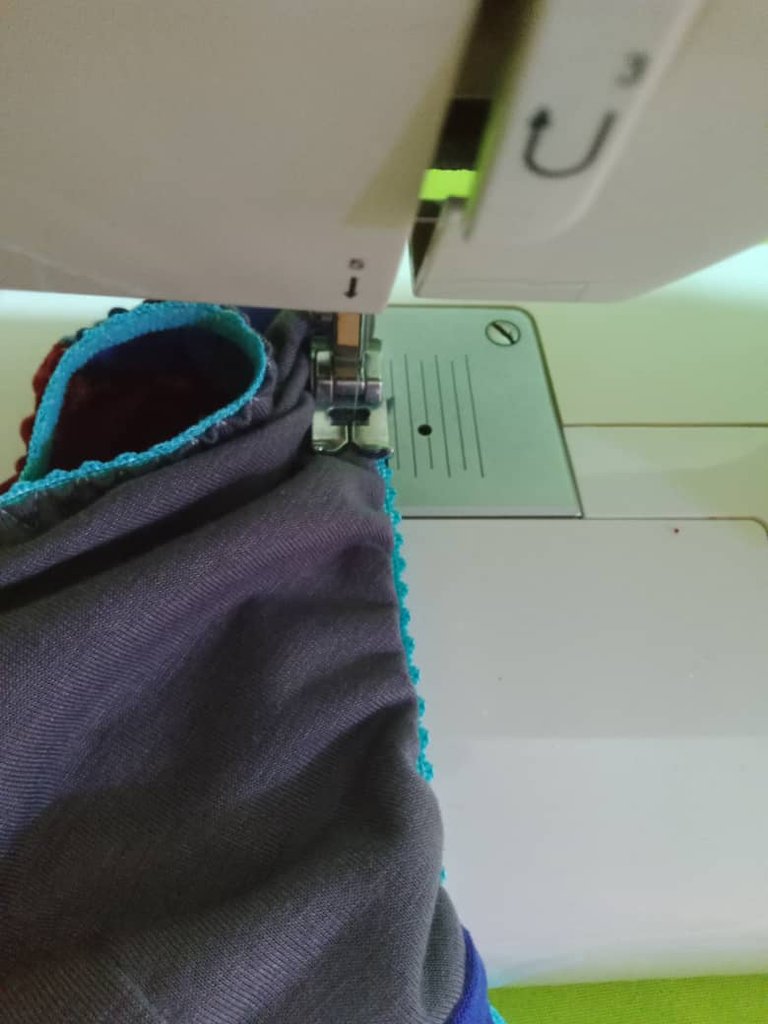
The last step was to glue the bias binding on the legs and waist, I faced the right side of the bias binding with the fabric on the right side, stretching one (1) centimeter every four (4) centimeters, then I turned the previous seam inside out and sewed again on top to smooth with decorative lingerie stitch, with these simple steps the panty is finished.
El último paso fue pegar el sesgo en las piernas y cintura, enfrenté derecho del sesgo con la tela por el derecho, estirando un (1) centímetro cada cuatro (4) centímetros, luego volteé la costura anterior por el revés y nuevamente cosí por encima para repisar con puntada decorativa de lencería, con estos sencillos pasos está terminada la panty.
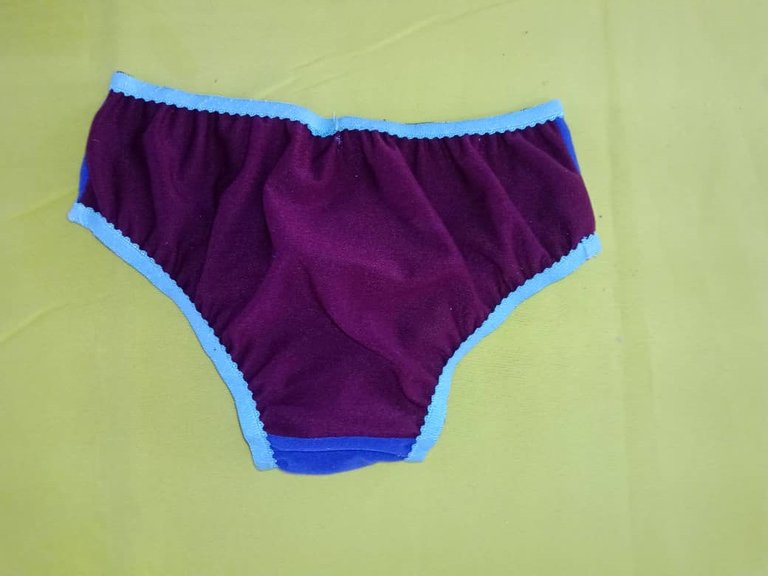

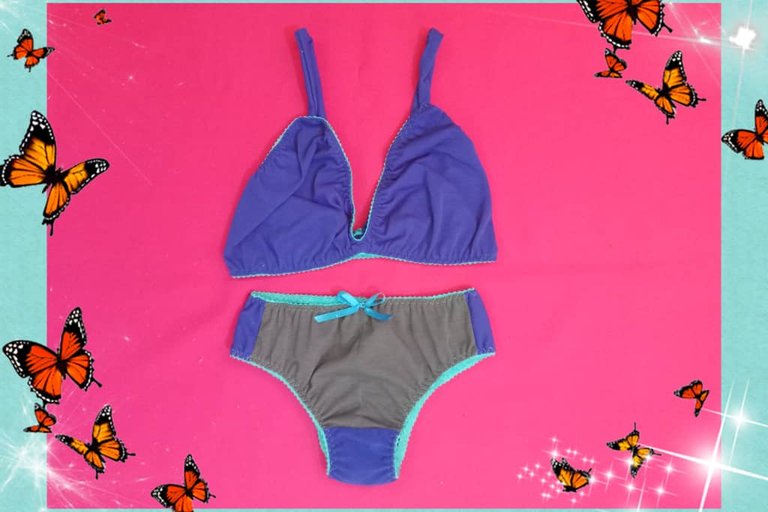
I liked the result of the panty and also the combination of grey and royal blue, the idea was to make the panty totally blue, but these colors look good and I think they combine in something with the top heh, heh, I hope my dear niece likes this game of colors in her set of top and panty, she always appreciates the gifts she receives. The scraps are very useful to create cute, original and colorful designs, maybe at first they don't seem to match the colors, also joining the scraps takes more time but the result is well worth it, the garment looks beautiful and unique.
El resultado de la panty me gustó y también la combinación de gris y azul rey, la idea era hacer la panty totalmente azul, pero estos colores se ven bien y creo que combinan en algo con el top je, je, espero que a mi querida sobrina le guste este juego de colores en su conjunto de top y panty, ella siempre aprecia los regalos que recibe. Los retazos son de gran utilidad para crear lindos, originales y coloridos diseños, tal vez al principio no parecen combinar los colores, además unir los retazos requiere más tiempo pero el resultado bien lo vale, la prenda se ve hermosa y única.


Blessings!
Bendiciones!

Hasta luego!
Translated with https://www.deepl.com/translator
              All images are my own, captured by a Síragon LC-3000 camera. Dividers courtesy of @kattycrochet.


   Todas las imágenes son de mi autoría, capturadas por una cámara Síragon LC-3000. Divisores cortesía de @kattycrochet.