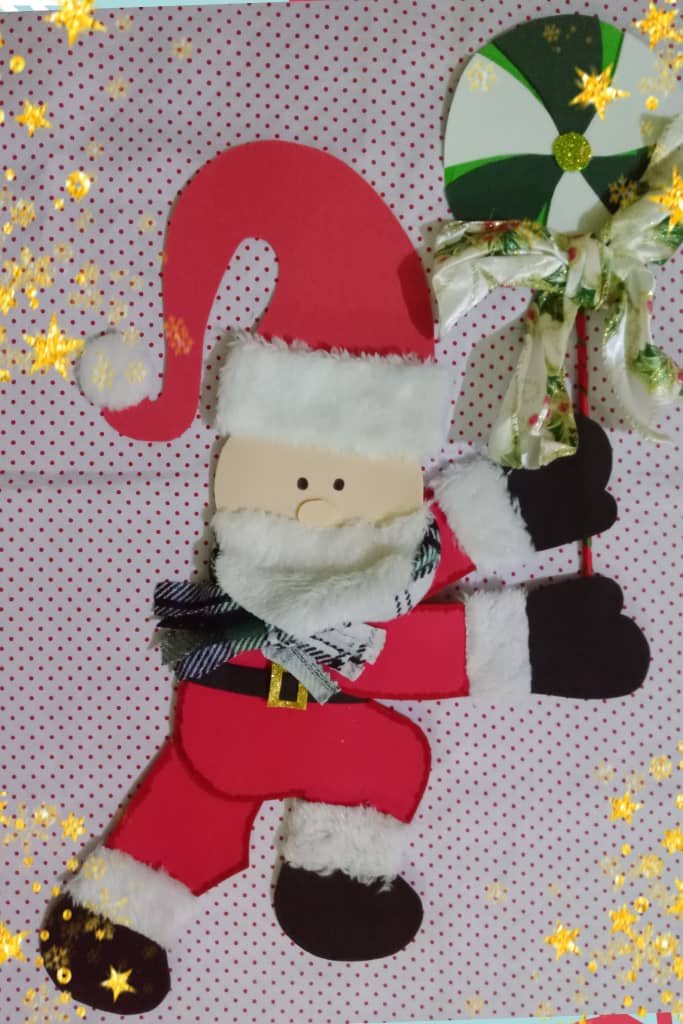
Hello, Hello friends crafters and Hivediy community, it is a pleasure to greet you and share a new project with Christmas motif, the days are definitely moving very fast and Christmas is closer, so I continue to take advantage of the time to make Christmas decorations in this opportunity I continue working with foami, as it is a simple material to handle and allows us to obtain excellent results, today's project is about a Santa that we can place on the door, windows, walls or anywhere we like in our house, it is simple to make and like other pending projects I am doing in the sewing course, but replacing foami for fabric, although in this case I combined both, foami and fabric for the beard, cuffs, scarf, among others.
Hola, Hola amigos artesanos y comunidad Hivediy, es un placer saludarles y compartir un nuevo proyecto con motivo navideño, los días avanzan definitivamente muy rápido y la Navidad está más cerca, por ello sigo aprovechando el tiempo para hacer los adornos navideños en esta oportunidad continuo trabajando con foami, ya que es un material sencillo de manejar y nos permite obtener excelentes resultados, el proyecto de hoy se trata de un Santa que podemos colocar en la puerta, ventanas, las paredes o en el lugar que más nos guste de nuestra casa, es sencillo de hacer y al igual que otros proyectos pendientes los estoy realizando en el curso de costura, pero sustituyendo foami por tela, aunque en este caso combiné ambos, foami y tela para la barba, los puños, la bufanda, entre otros.

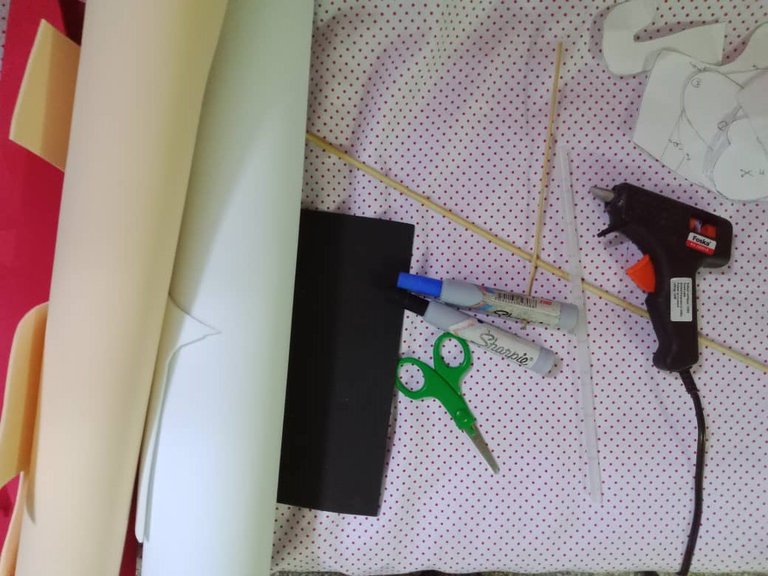
Materials
Foami (black, white, skin, green and red)
Molds
Scissors
Height stick
Silicone stick
Ribbons
Markers
Silicone gun
Plush fabric
Materiales
Foami (negro, blanco, piel, verde y rojo)
Moldes
Tijera
Palillo de altura
Silicón en barra
Cintas
Marcadores
Pistola de silicón
Tela de peluche
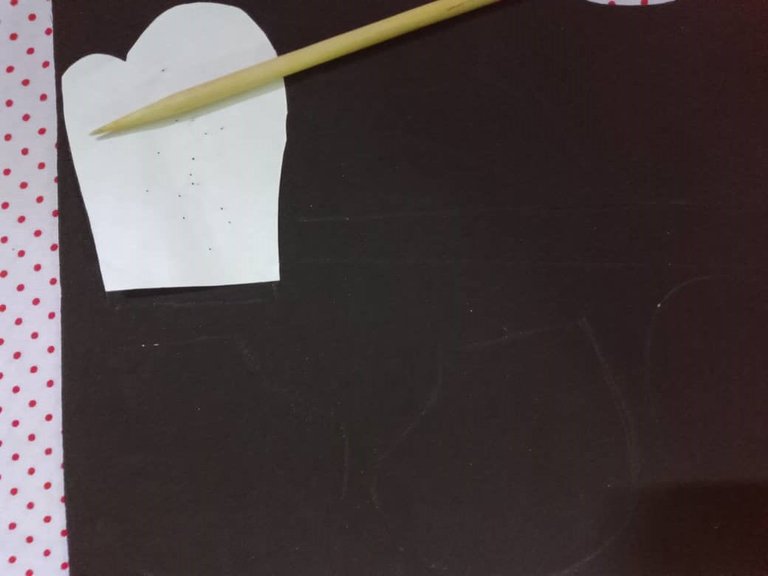
Elaboration
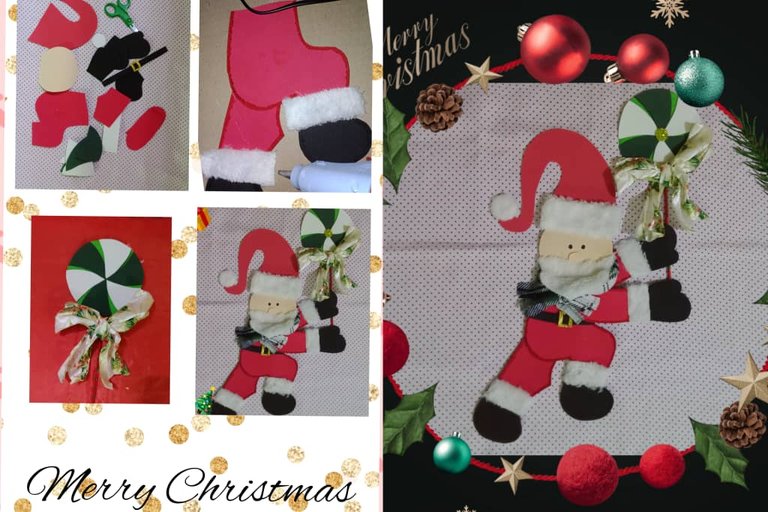
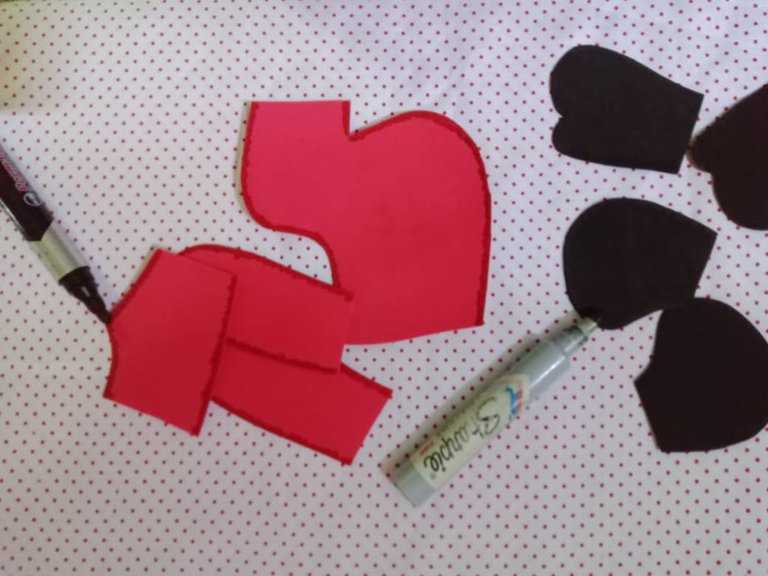
The first step to make this project was to mark and cut the pieces that make up the Santa; arms, body, boots, gloves, hat, face, pacifier and more; for marking I used a height stick, which is perfect when working with foami, as it does not leave a stain and facilitates the cutting process.
Elaboración
El primer paso para realizar este proyecto fue marcar y cortar las piezas que forman el Santa; brazos, cuerpo, botas, guantes, gorro, cara, chupeta y más; para marcar usé un palillo de altura, que es perfecto al trabajar con foami, pues no deja mancha y facilita el proceso de cortado .
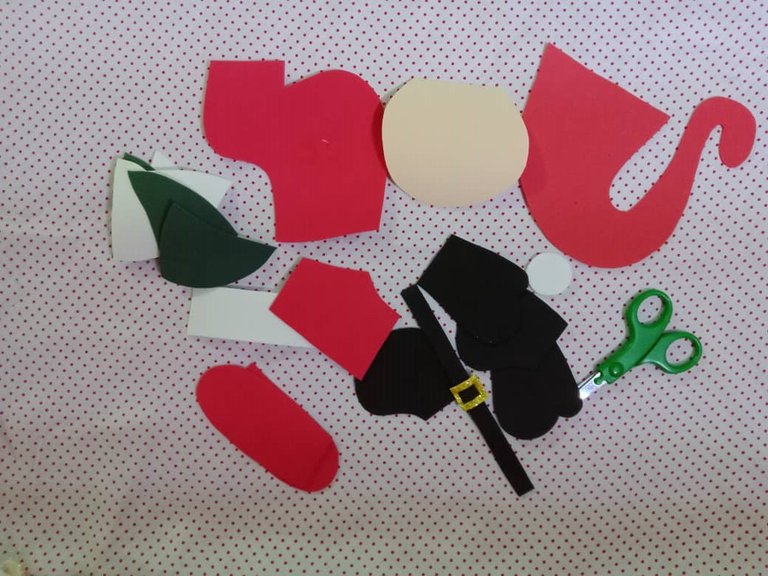
Once the pieces were cut I blurred the edge, the body, legs and arms, the Santa is walking so only one leg is placed, the other is already attached to the body.
Cortadas las piezas difuminé por el borde, el cuerpo, las piernas y brazos, el Santa va caminando por ello solo se le coloca una pierna la otra ya viene unida al cuerpo.

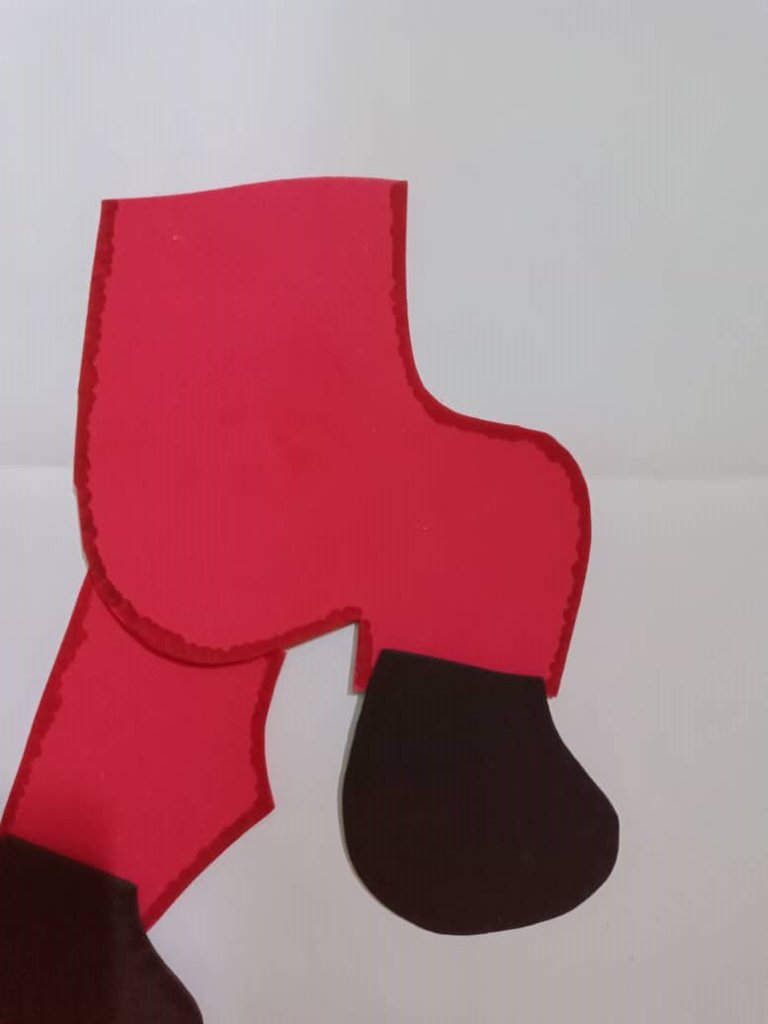
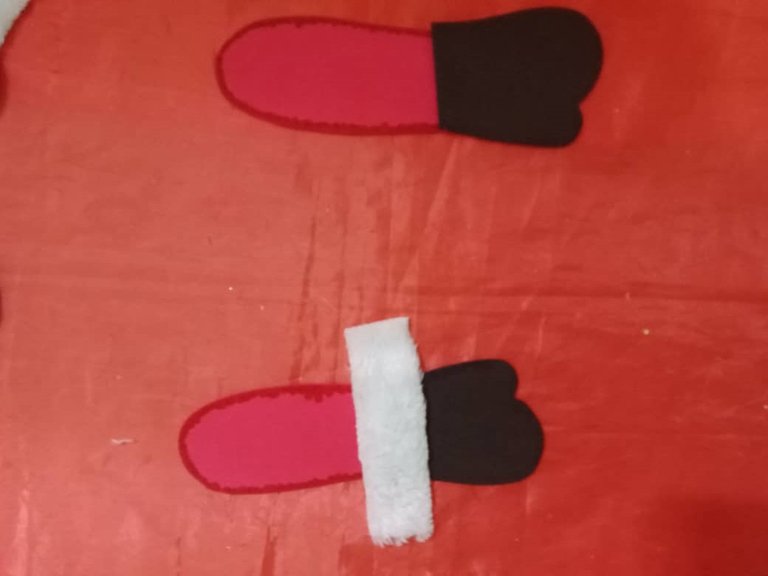
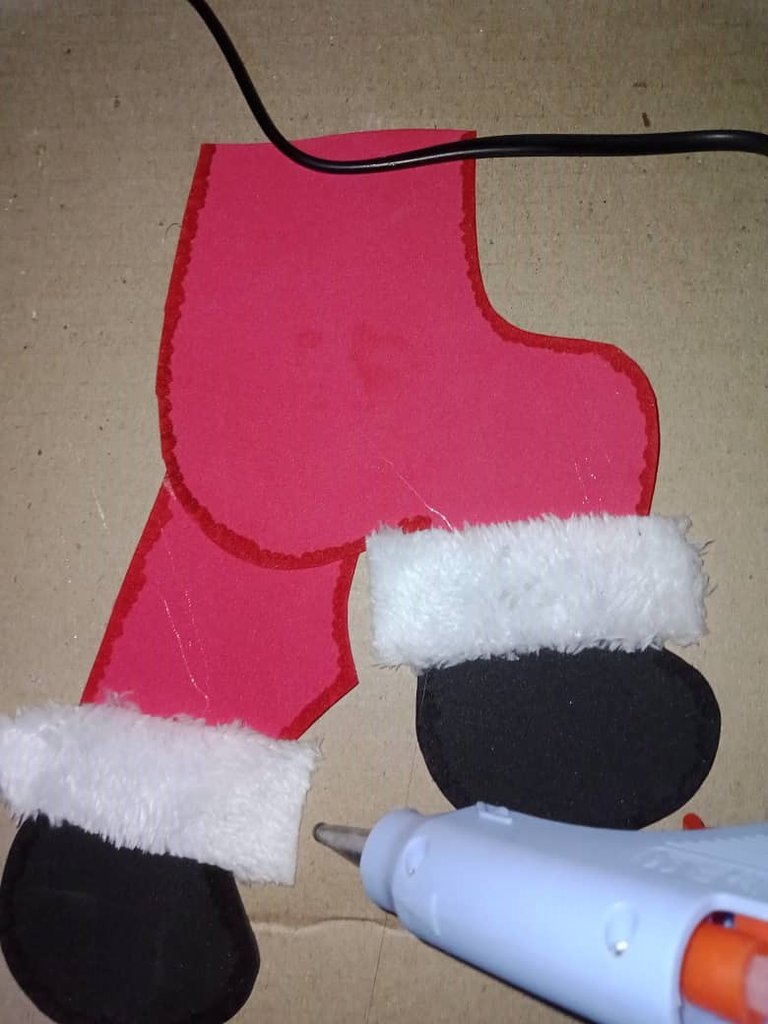
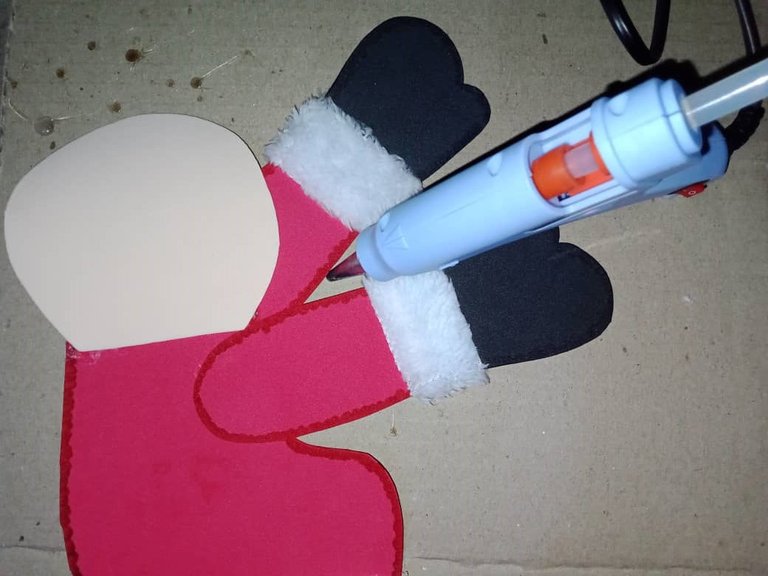
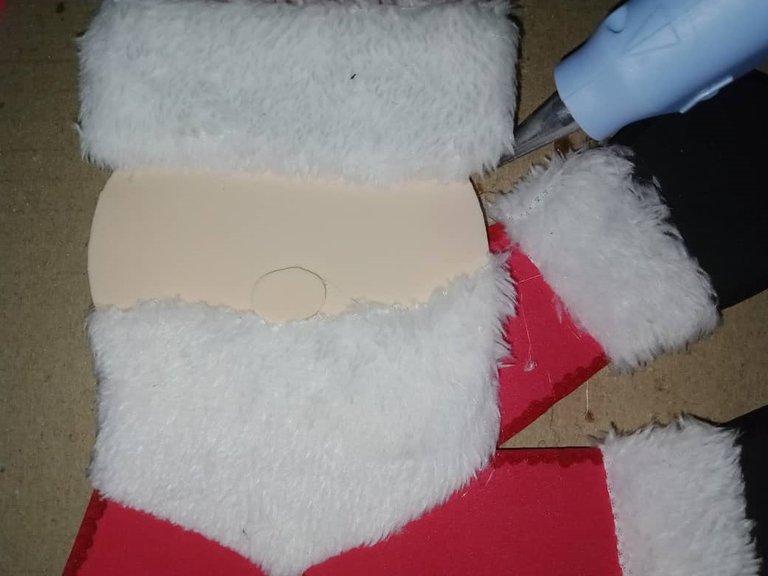
With the pieces already blurred to achieve a better effect I assembled the legs gluing the boots and a white band in plush fabric, then I assembled the arms in the same way gluing the gloves to the white fabric.
Con las piezas ya difuminadas para lograr un mejor efecto ensamblé las piernas pegando las botas y una banda blanca en tela de peluche, luego de esto armé los brazos de igual manera pegando los guantes la tela blanca
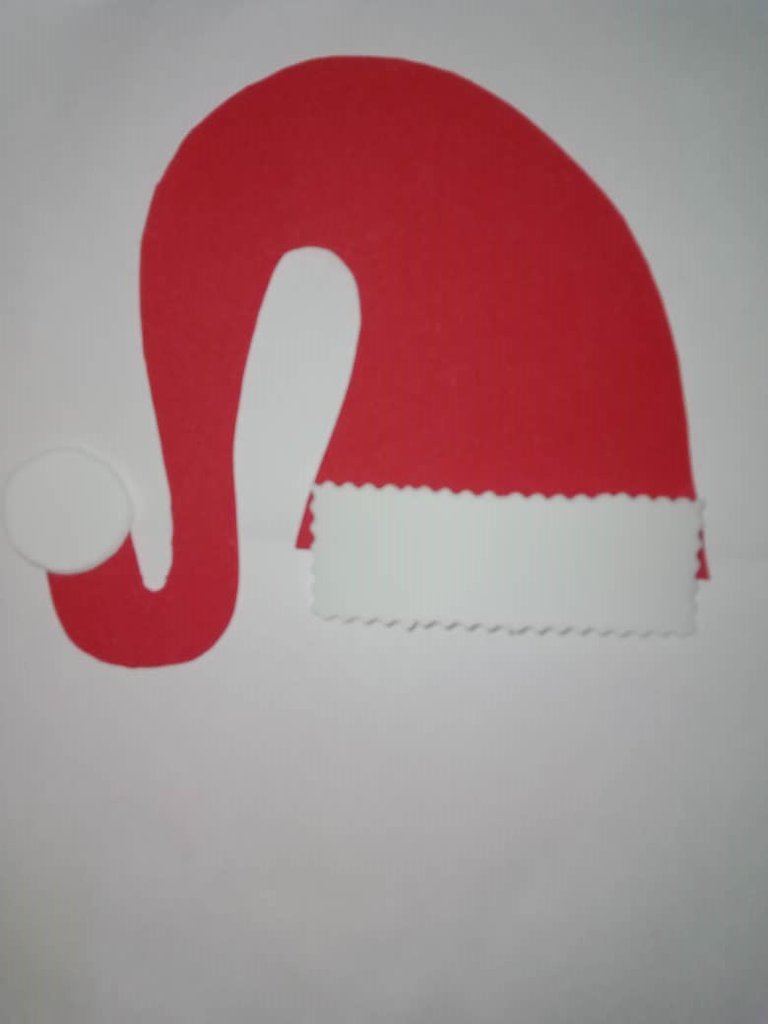
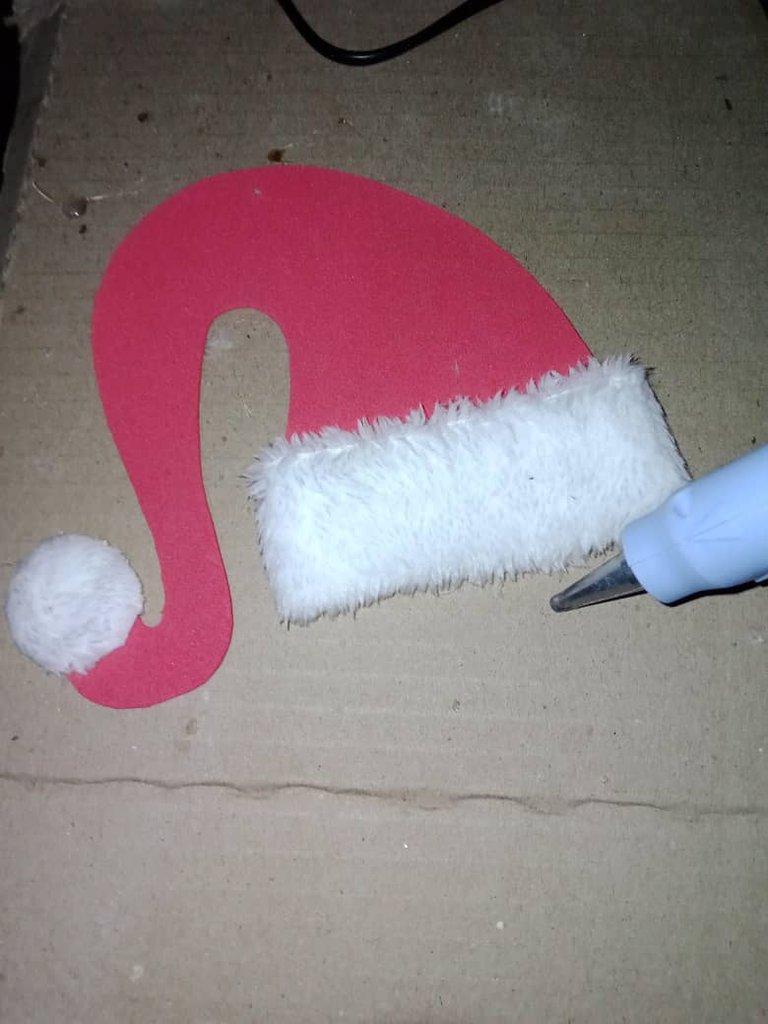
To assemble the hat I placed a base of white foami then I placed the white stuffed fabric also at the end of the hat, a white ball in foami and fabric.
Para ensamblar el gorro coloqué una base de foami blanco luego coloqué la tela blanca de peluche igualmente en el extremo del gorro, una bola de color blanco en foami y en tela.
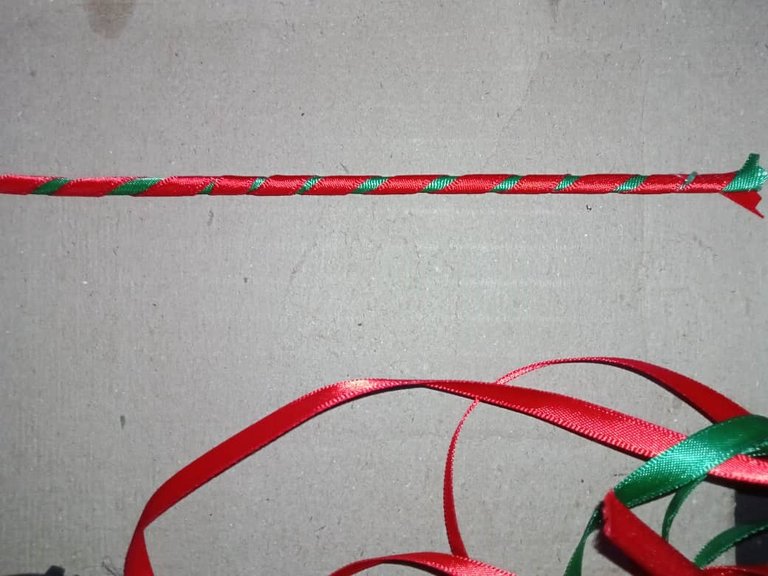
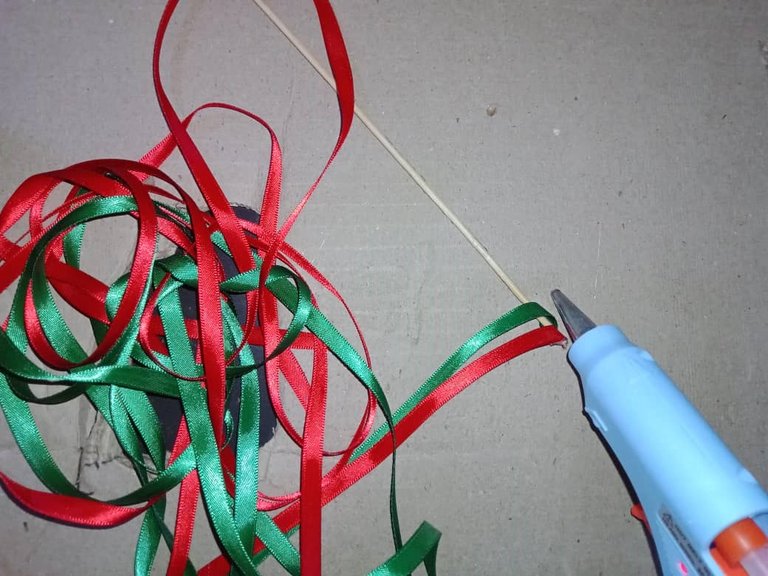
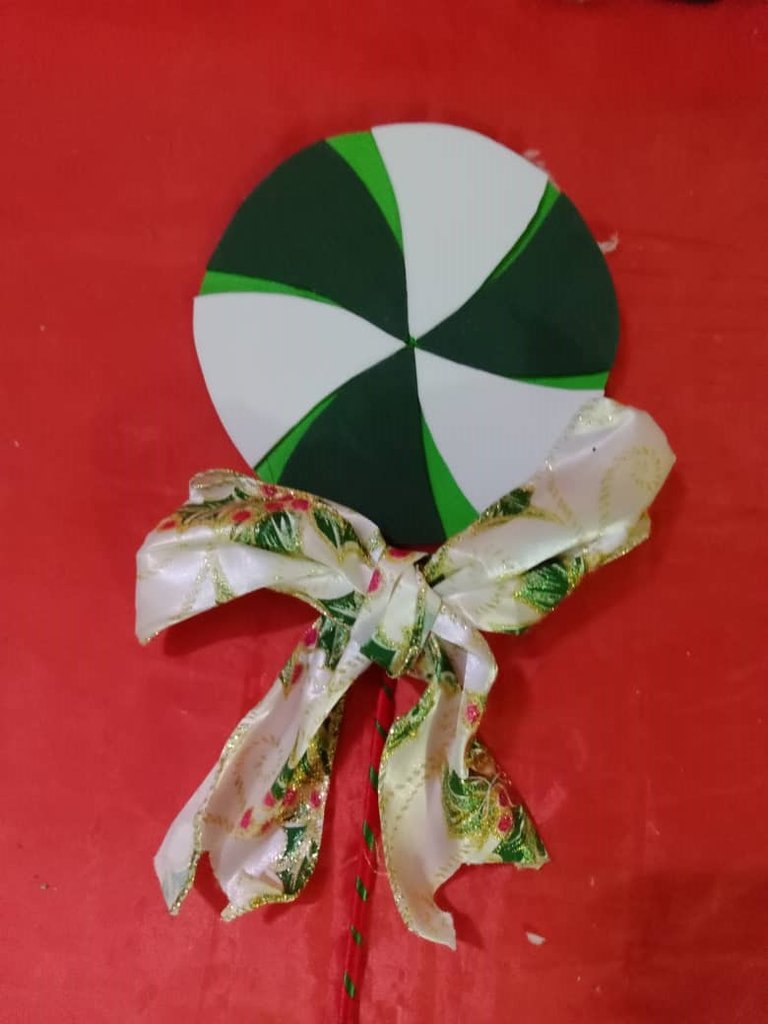
To assemble the lollipop I placed the green and white triangles in a green circle, lined the stick with green and red ribbon and added a small green circle in the center of the lollipop.
Para armar la chupeta coloqué los triángulos de color verde y blanco en un círculo de color verde, forré el palillo con cinta verde y roja y agregué un pequeño círculo verde en el centro de la chupeta.

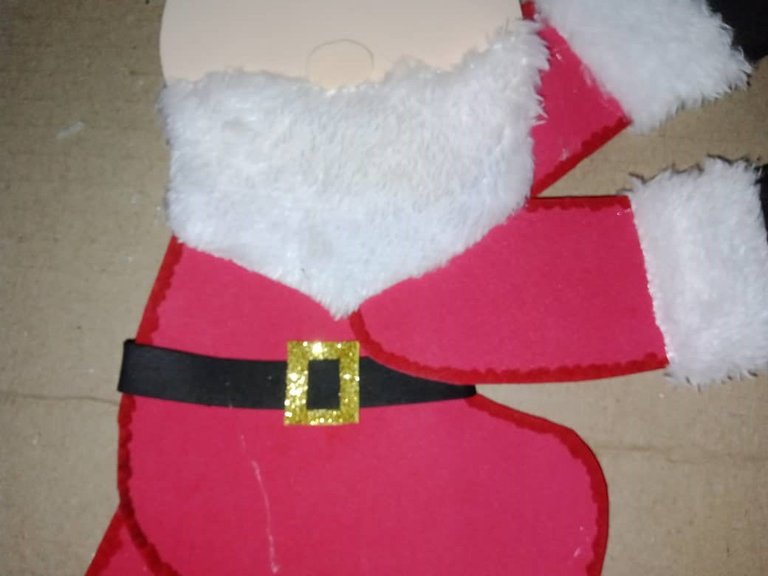
Ensambladas las piezas, el siguiente paso fue armar el Santa, unir los brazos al cuerpo, uno se coloca en la parte delantera, el otro en la parte trasera, luego pegué la cabeza a esta le añadí el gorro y dejé secar.
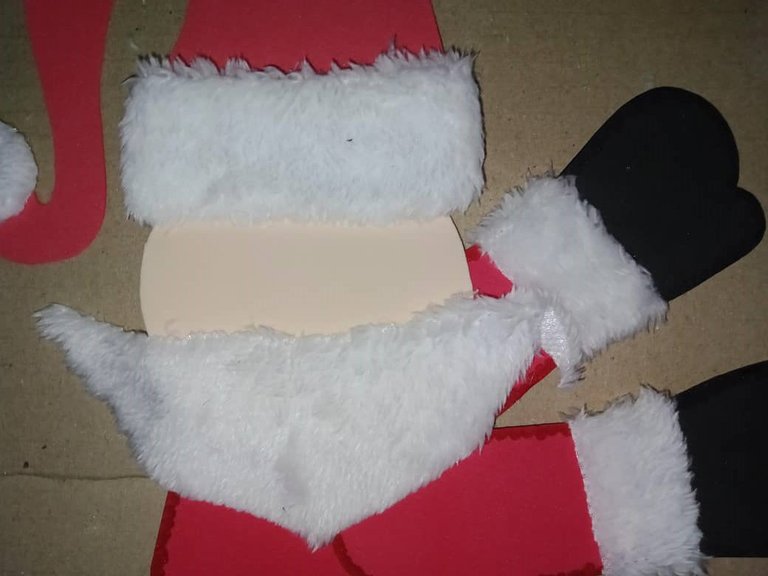
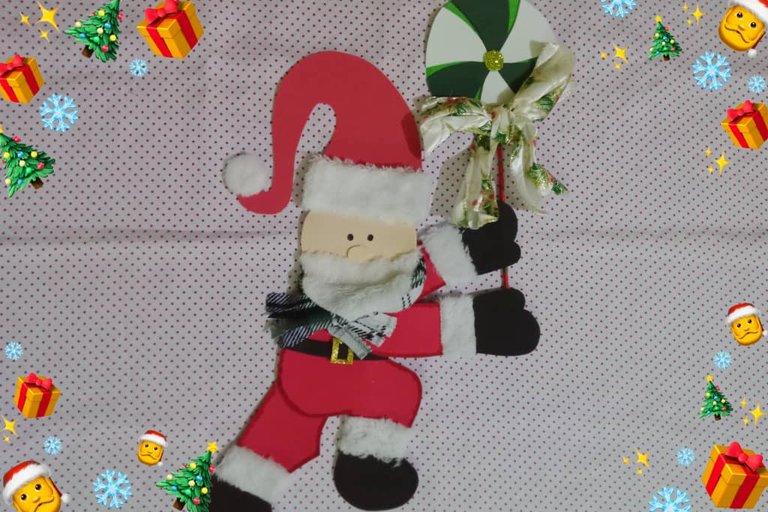
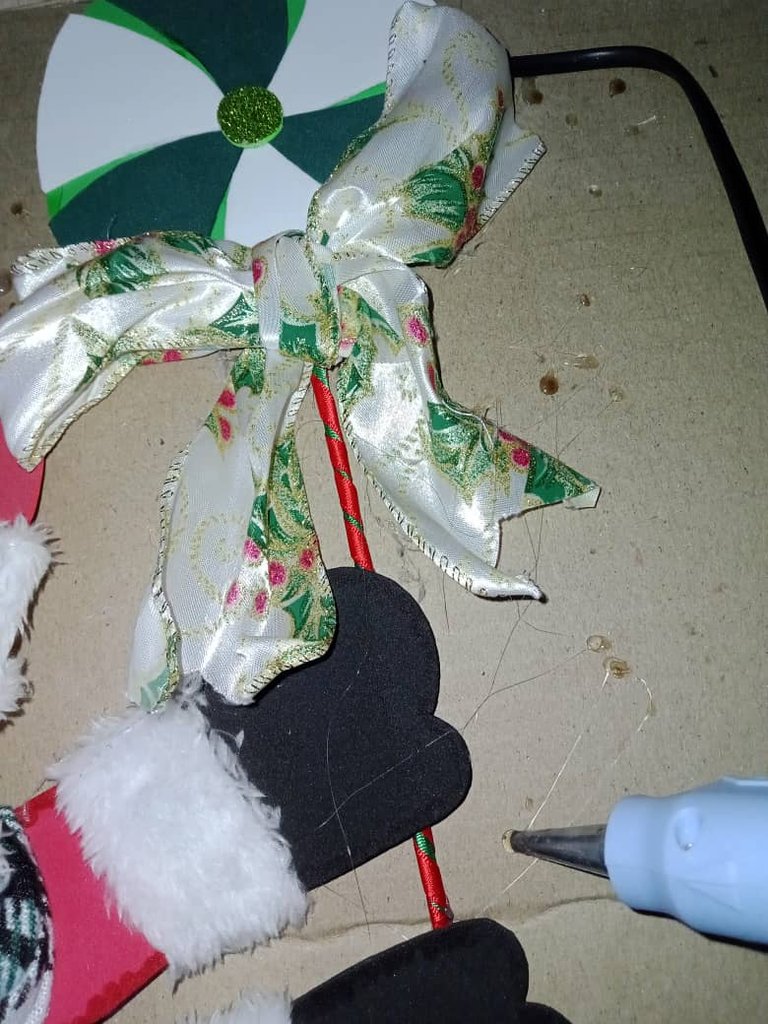
To finish I added the scarf, the belt, the nose, painted the eyes and glued the lollipop, with these simple steps we have finished a beautiful Santa to decorate the house for Christmas.
Para finalizar agregué la bufanda, el cinturón, la nariz, pinté los ojos y pegué la chupeta, con estos sencillos pasos tenemos terminado un hermoso Santa para decorar la casa en Navidad.
Christmas is that time of year where color and brightness adorns the house and main avenues of the city, nothing like making our ornaments and decorate it to our liking to place the colors and accessories that we like to beautify the house; I am satisfied with the result of this Santa, it was very beautiful and will look great adorning the door of the house, I hope this tutorial will be useful and encourage you to do it.
La Navidad es esa época del año donde el color y brillo adorna la casa y principales avenidas de la ciudad, nada como hacer nuestros adornos y decorarlo a nuestro gusto colocar los colores y accesorios que más nos agraden para embellecer la casa; me siento satisfecha con el resultado de este Santa, quedó muy hermoso y se verá muy bien adornando la puerta de la casa, espero que este tutorial les sea de utilidad y se animen a realizarlo.


¡Bendiciones!
Blessings!

Translated with https://www.deepl.com/translator
          All images are my own, captured by a Síragon LC-3000 camera.

   Todas las imágenes son de mi autoría, capturadas por una cámara Síragon LC-3000.
Posted Using InLeo Alpha
