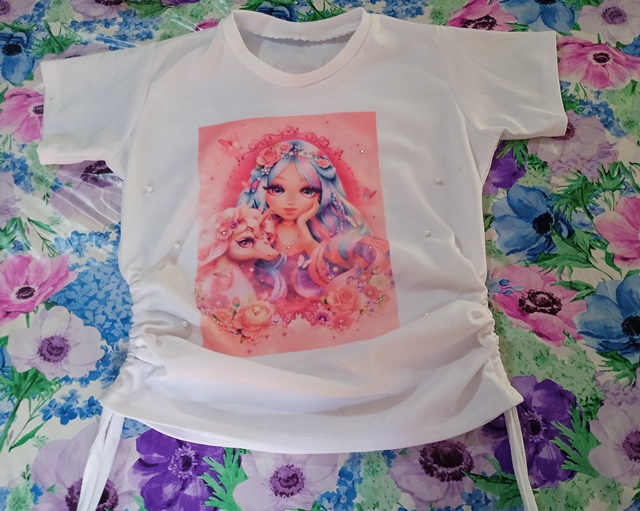
Hellooooo and welcome to a new publication, I hope you are very well :D, I am happy to publish a new diy. Today I want to share the making of a decorated flannel❤️. I tell you that sewing is my job, my hobby and my therapy hehe (I know that is the case for many people). From experience I know that if we don't practice the techniques they are forgotten; This project, like many others, can be done regardless of whether you are just starting or if you do not have a sewing machine yet, the main thing we need is our perseverance, discipline to improve, and a lot of love for what we do. Let's get started!
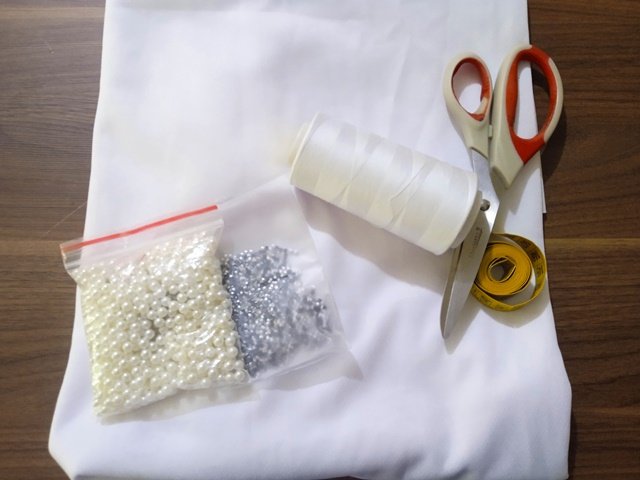
• Tela Atlética
• Hilo de coser
• Cinta métrica
• Tijera
• Perlas blancas 6 mm
• Pedrería hotfix 3 mm
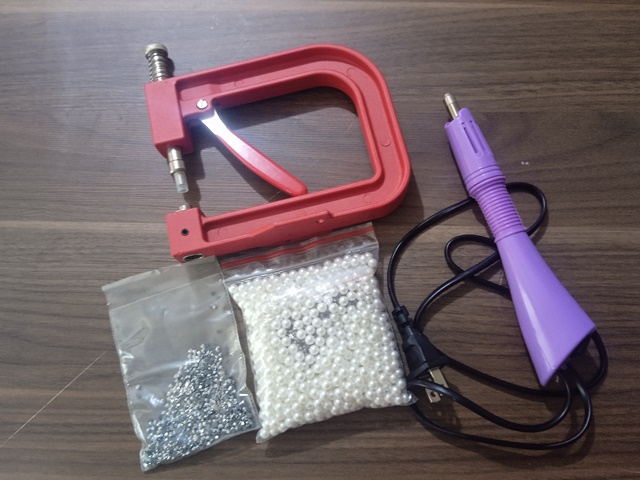
• Remachadora de perlas
• Plancha de pedrería
• Athletic fabric
• Sewing thread
• Measuring tape
• Scissors
• White pearls 6 mm
• 3 mm hotfix rhinestones
• Pearl riveter
• Plate of rhinestones
Procedimiento
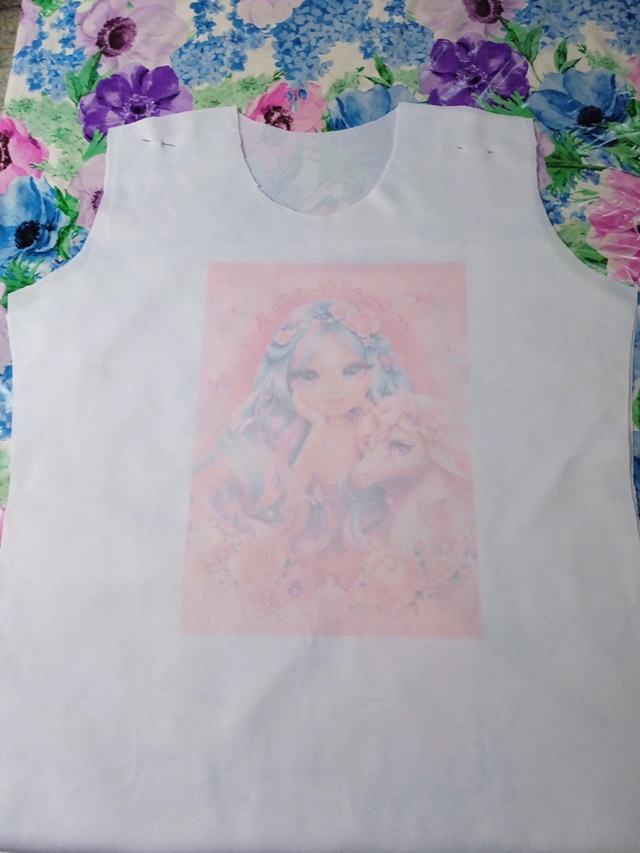
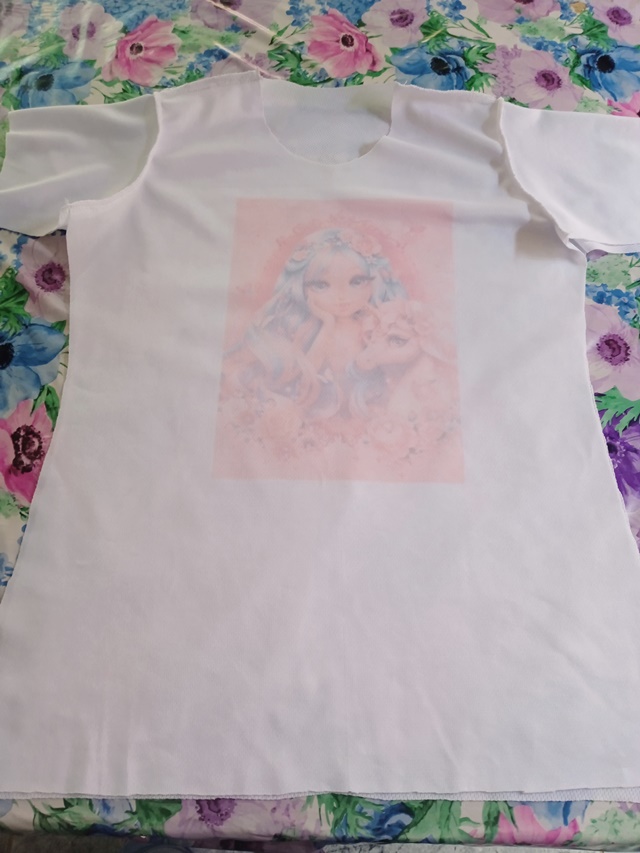
Step 1. The first thing we have to do is cut the flannel pieces: the front piece, back piece and sleeves. In this case, since I used a white fabric, I wanted to add color and I sublimated a design that I bought.
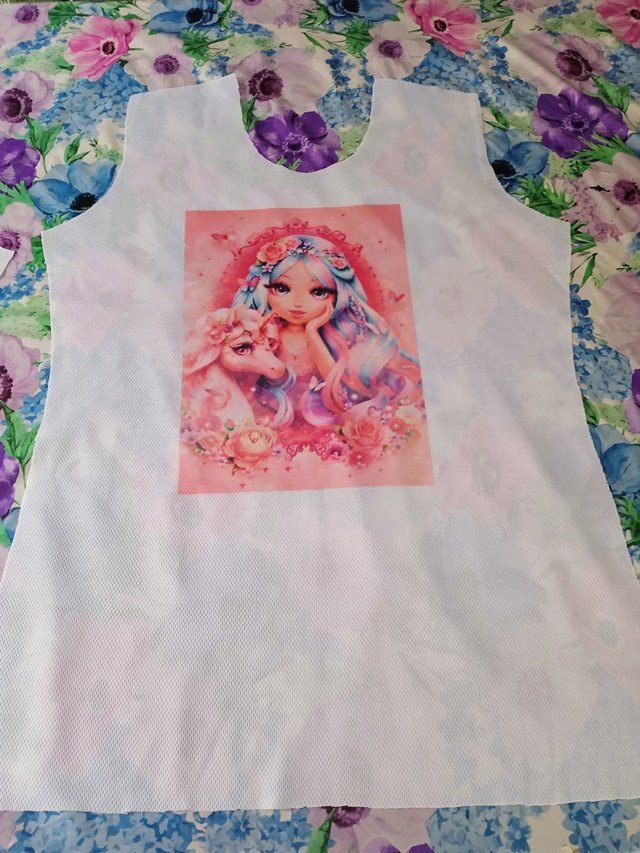
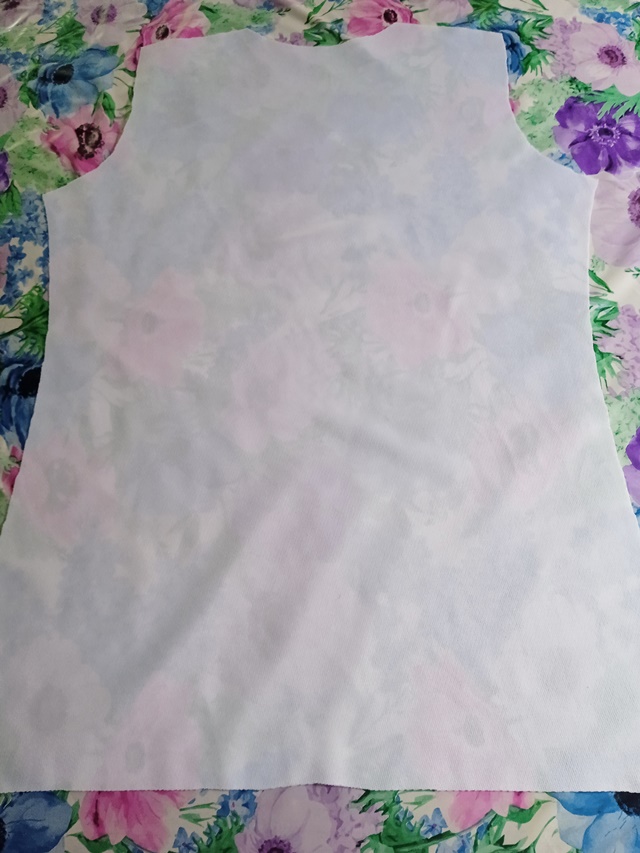
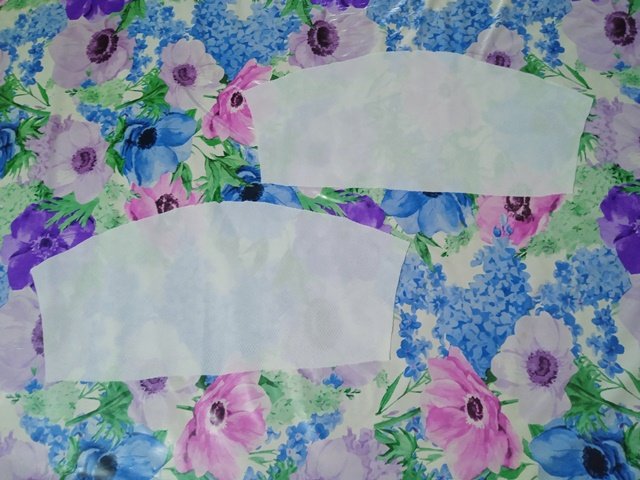
The sublimation process at home is very simple, you only need the design printed on the sheet to sublimate (obviously), an iron without steam or without that option turned on because the water damages the sheet and therefore the design, and last but not Less important, you will also need a white paper larger than the size of the sheet where the design is, which will go on top to prevent the sublimation sheet from burning.
It is time to sew, remember that you can use a sewing machine or you can also sew by hand with "backstitch", both options are valid, the important thing is to strive so that our work is as clean as possible and always with practice and perseverance It can improve. We start by sewing the shoulders and then the sleeves.
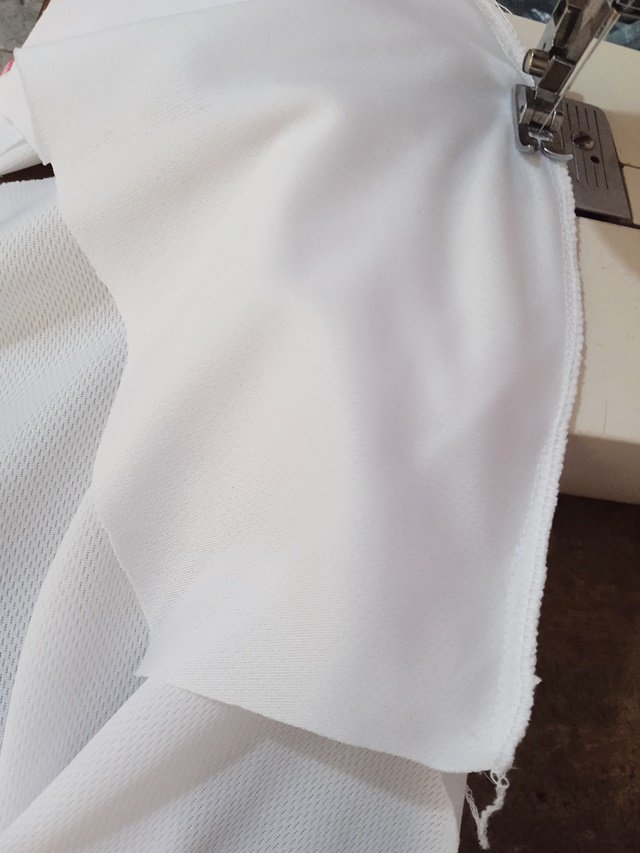
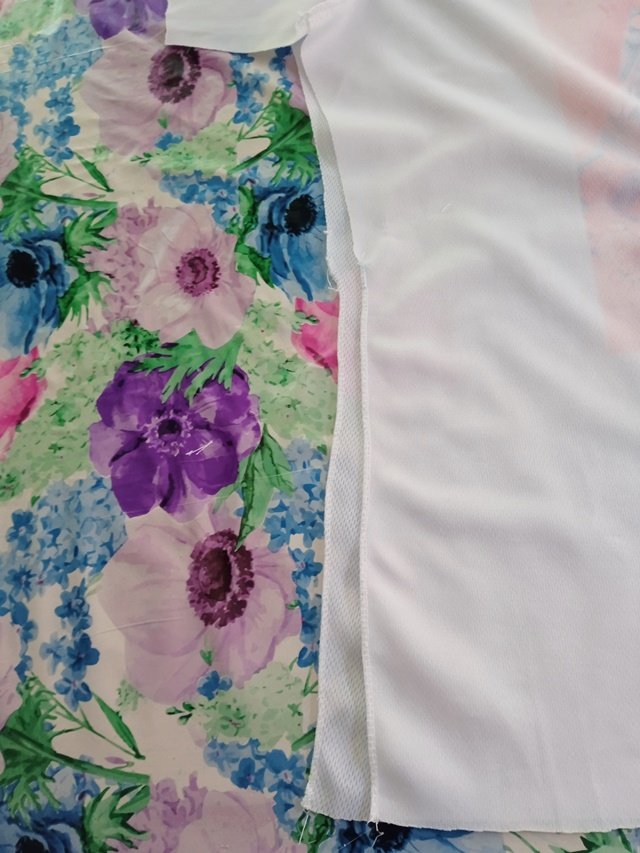
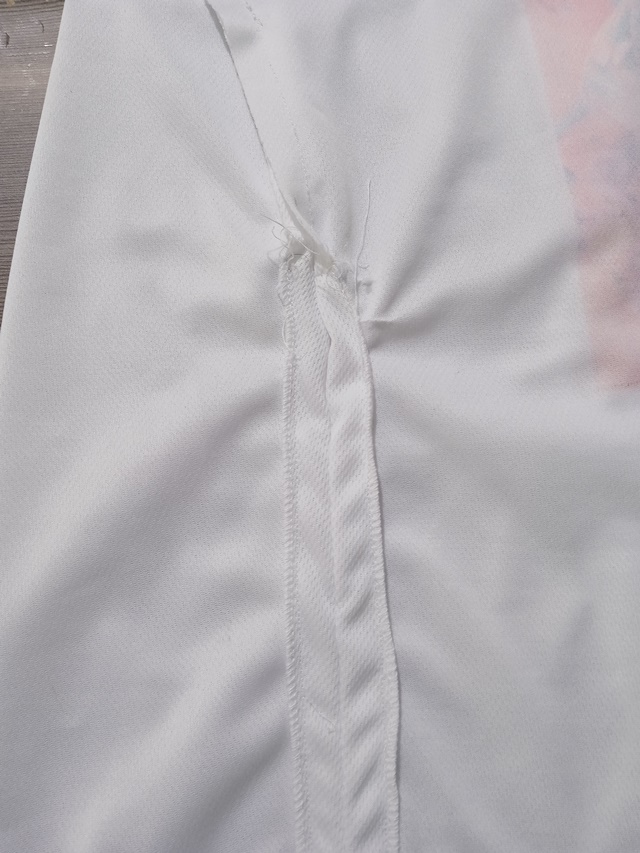
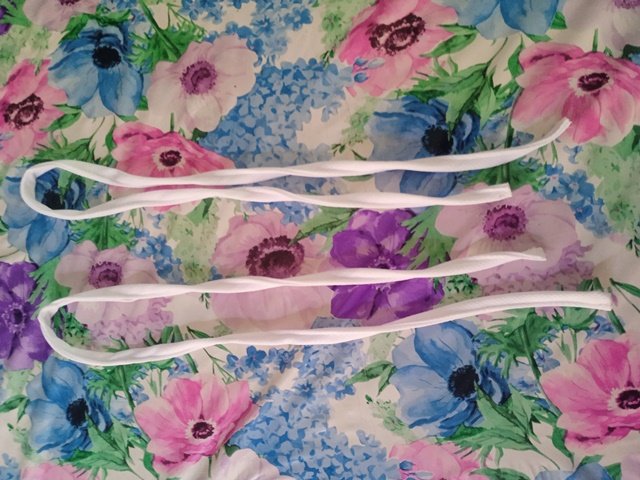
I tell you that I measured the flannel and I knew that it would be a little wide and I wanted it to fit tight, so what occurred to me was to make the flannel some ruches on the sides🤔, it really is the first time that I do it and I know that There are many ways to perform this technique, I am going to teach you the one that best occurred to me. Ok, the first thing we must do is measure on the sides how long we want the ruching to be, then we sew a seam to that measurement, it can be using zig zag sewing or using the overlok machine. Then we sew that fragment with a straight stitch leaving approx. 2cm of seam and then to create the channels where the strip will go, we are going to settle the 2cm margin that we left towards the sides and we are going to sew it along the edge. I promise you that it is easier than it seems
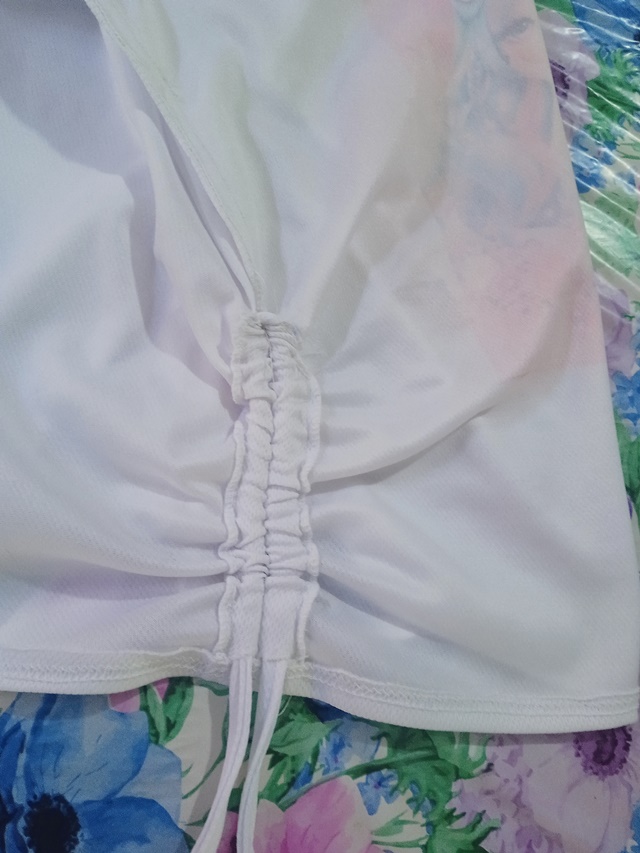
Es momento de decorar - It's time to decorate 😊
Step 4.This is my favorite moment😍. Well friends, the decoration is to our liking, to decorate I used pearls with rivets and thermo-adhesive rhinestones, for its application I used two tools that facilitate the work: Riveter and hotfix applicator, however if you do not have them, nothing happens, you just have to try buy pearls with holes to apply them by hand sewing, and you can apply hotfix or iron-on rhinestones with a clothes iron without steam, taking the necessary precautions
.jpg)
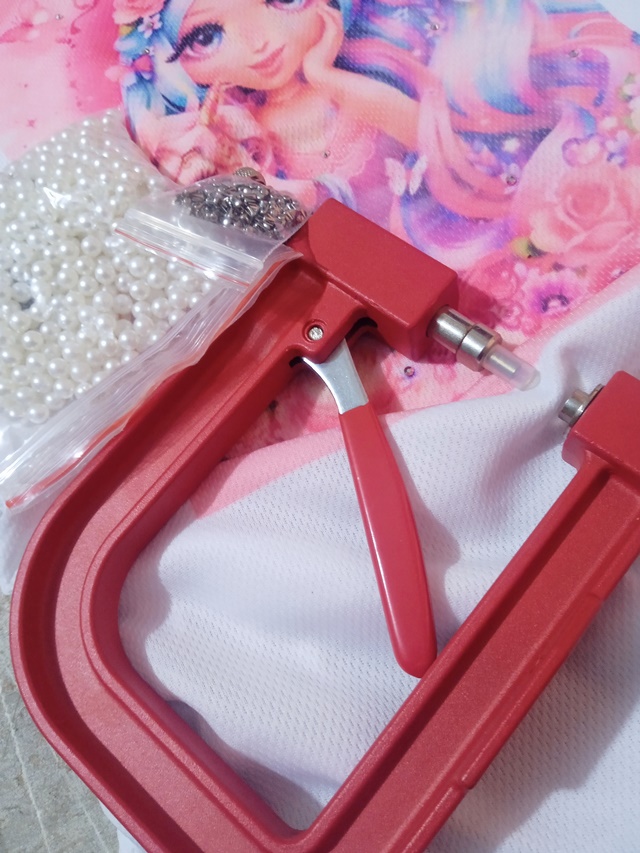
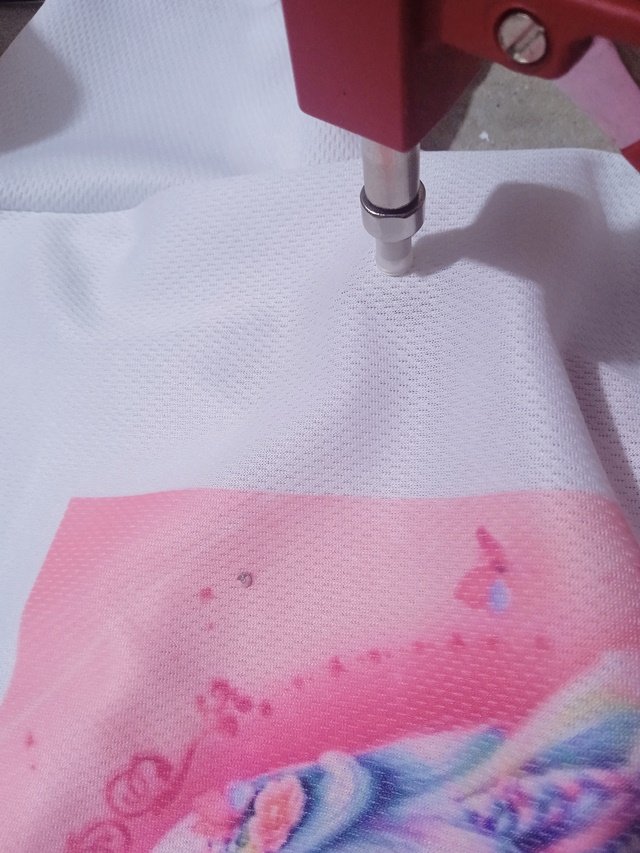
🌺🌺🌺
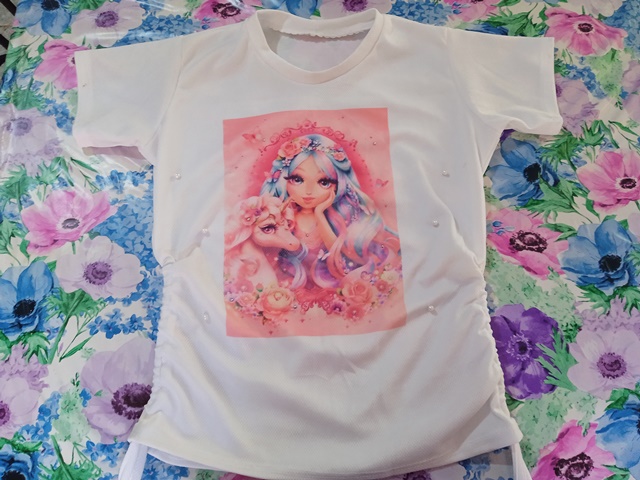

Thank you for visiting my publication, I hope you liked it and above all that it is useful to you, blessings and until next time💖
The images were taken by me with Redmi 10 :). The translation is thanks to google translator


