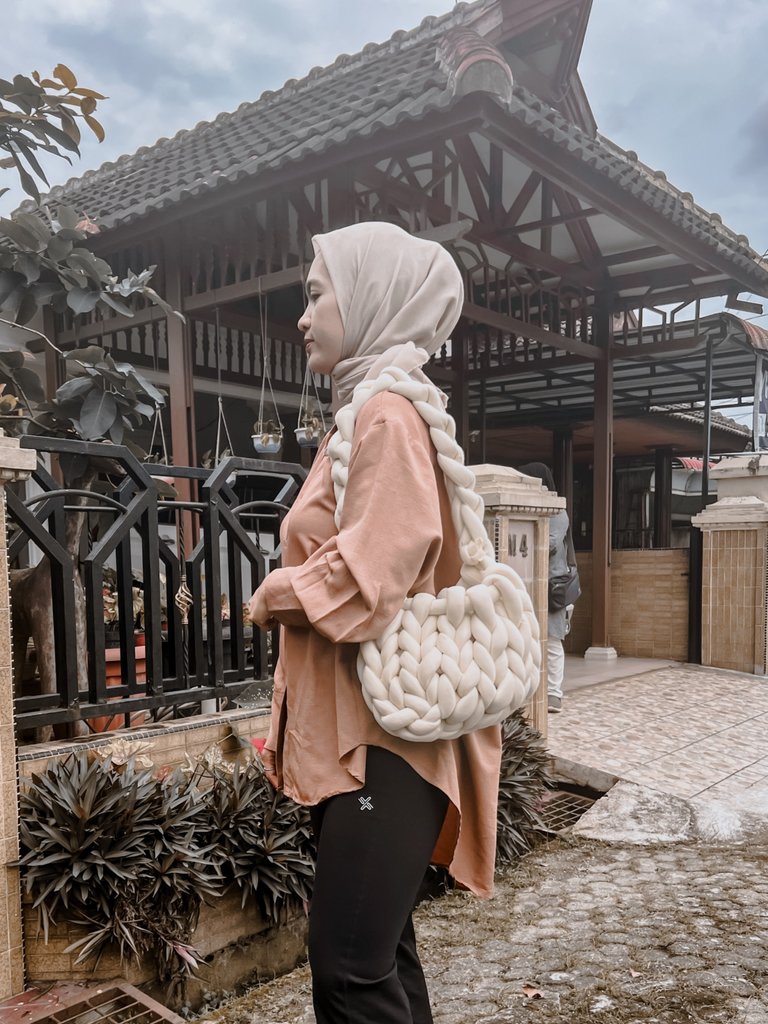
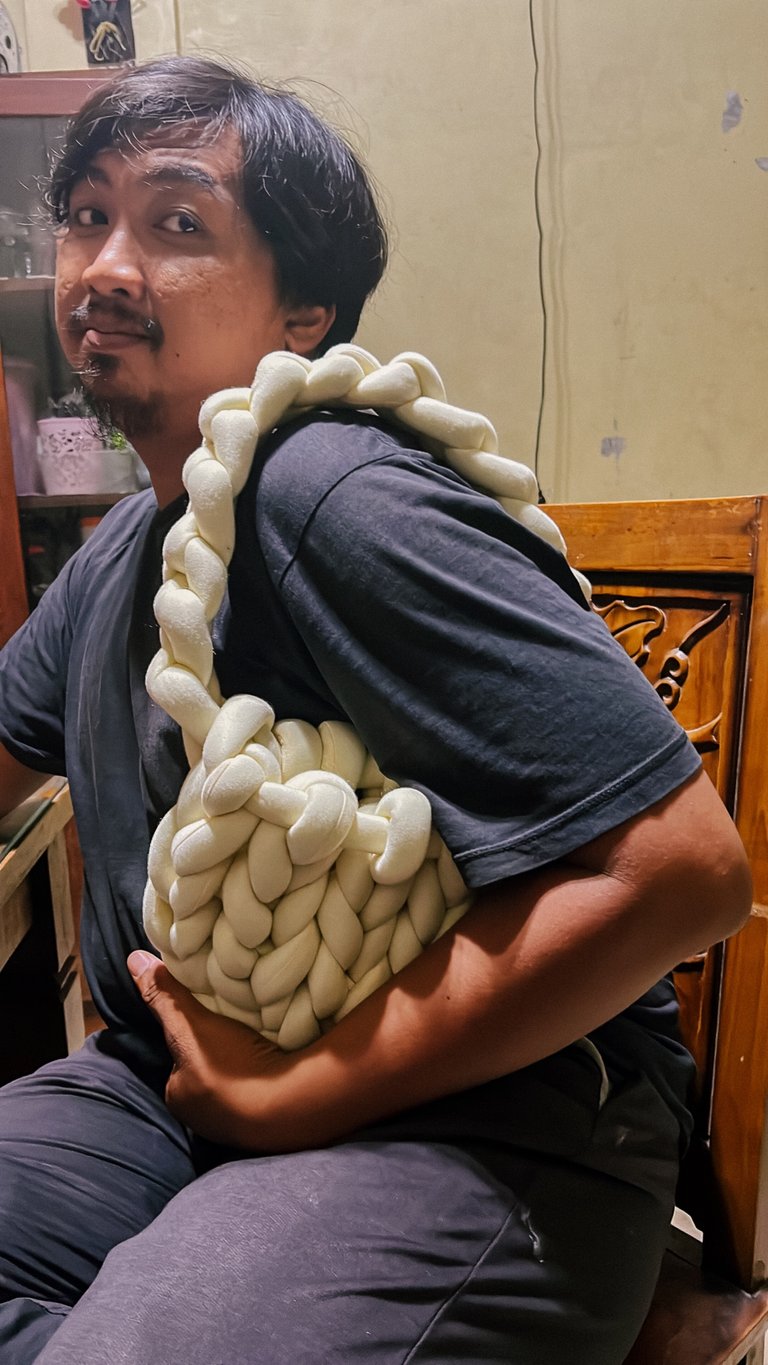
Spent a long night making a bag I never imagined before. I saw several people's posts on social media, so I was interested in learning and making my own chunky yarn bag which was going viral. Initially he was interested because there were several stylish fashion pieces that showed him eating this unique bag. So, this could be your fashion reference.
I bought it online, 18 meters of chunky yarn, 7 cm thick and filled with dacron. So, even though it looks very thick, believe me that this chunky yarn is not as heavy as you think. Of the 18 m of chunky yarn I bought, this is no more than 600 gr. Which means it only looks thick like the name 'chunky'.
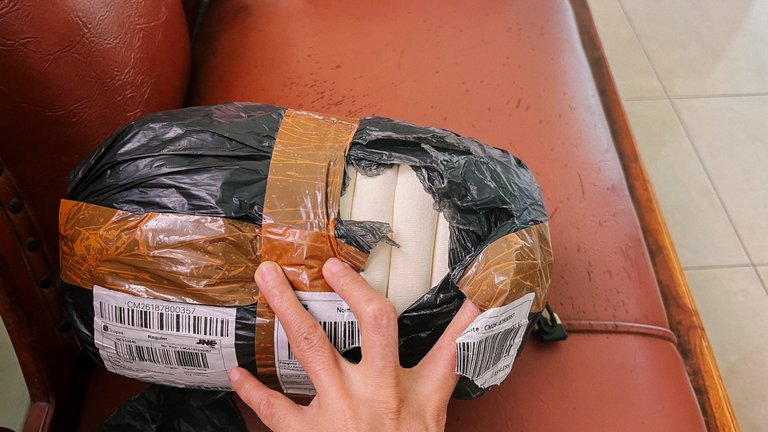
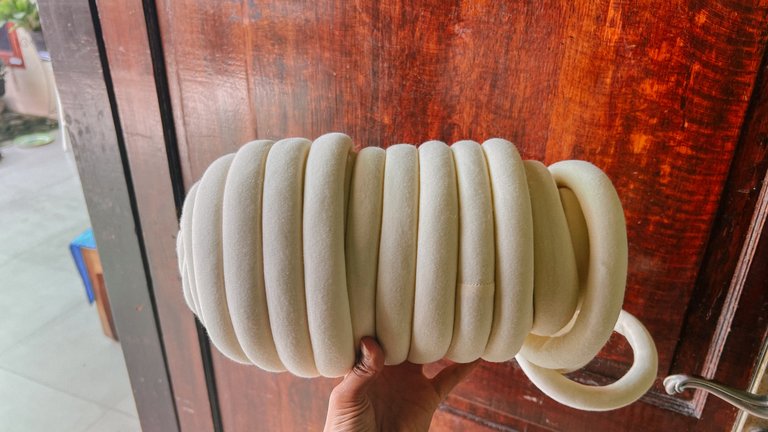
I chose cream because it is a color that goes with all clothing colors and styles, I can wear it even when wearing casual clothes. Very suitable for hanging out with friends and you will look different. So, I decided to increase my knowledge of making bags which I can learn in just 30 minutes. It's very simple, even if you're lucky you can make it by closing your eyes.
Seeing how someone made it on a YouTube channel, he was very thorough and gave me a lot of positive things, didn't bother conveying the message and I could make everything in one try. Initially I made a bag consisting of 7 chains and 5 links. I want to make it a medium size, so it can fit a lot of things and I can carry it in 1 bag.
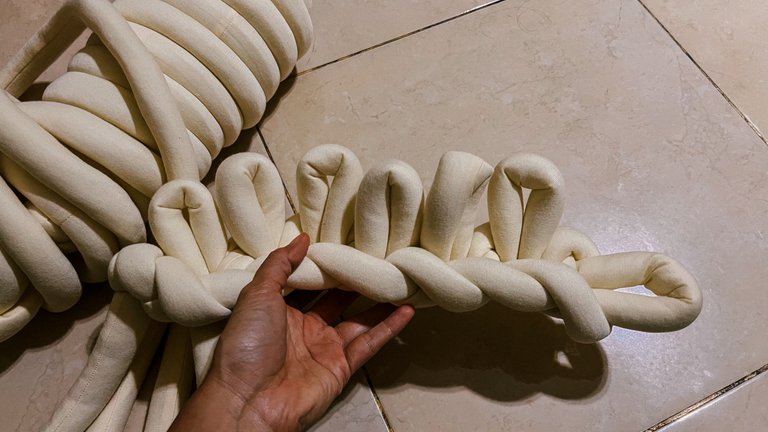
I suggest that if this is your first time trying, then you should take it slow. Even though it doesn't look neat like someone who is an expert, I'm addicted to buying chunky yarn in different colors. Even my friends liked it and wanted to buy the one I had made. But unfortunately I don't accept orders for this bag, because honestly I don't want the essence of the knowledge I have gained to become a commercial thing. But I don't know what the future holds. LOL.
Very slowly and carefully at every step, I made it very seriously. I don't want to fail and everything looks messy. My husband with good support even took this very serious photo of me. he said I had to learn a lot to embroider like this. Maybe I have talent in making embroidery, but maybe I'm not patient enough to make it.

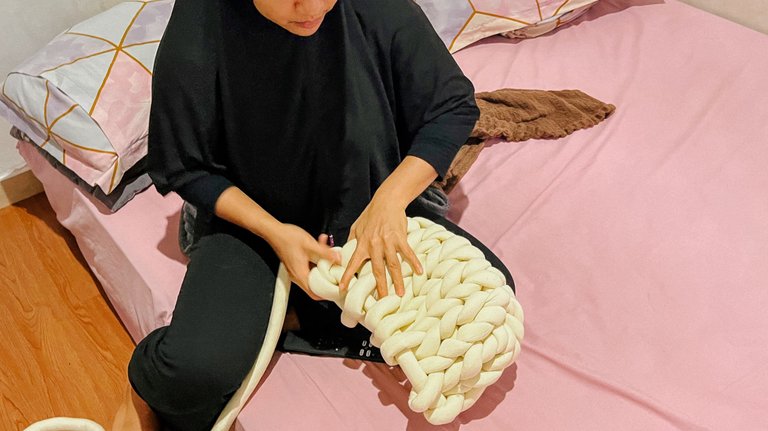
After making the bag part, enter the session to make the bag strap. I decided to make it a shoulder bag. In fact, I made this consideration for a very long time, because basically I rarely have a shoulder bag. I thought it was very uncomfortable, having 1 strap on one part of the body. I didn't really like it, but suddenly I changed my mind about making it a shoulder bag.
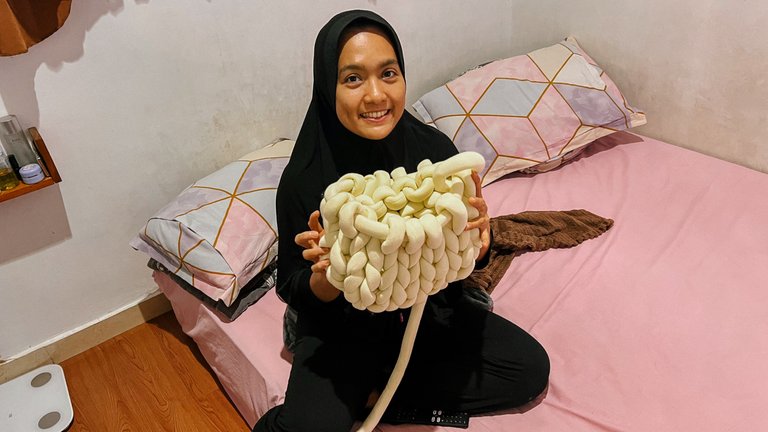
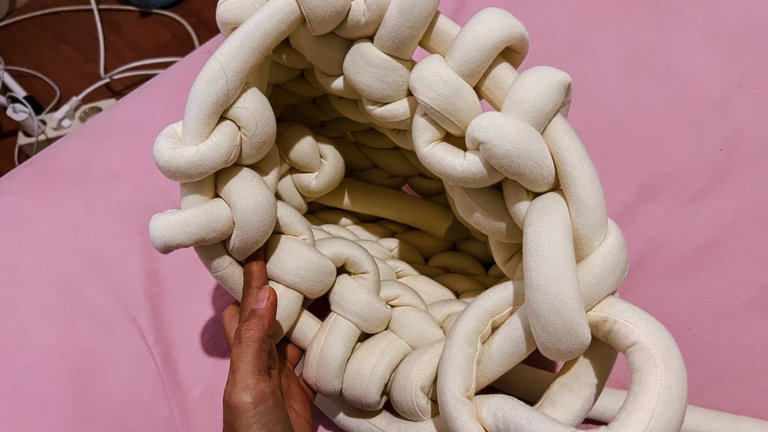
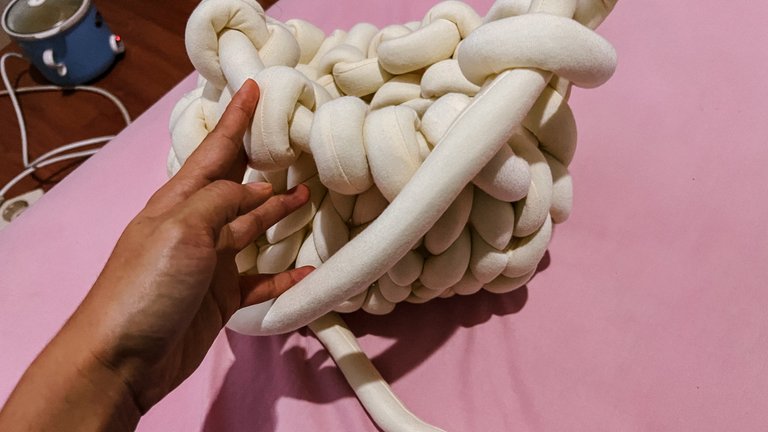
Because the size of this bag is quite chunky, what's wrong with this being my first shoulder bag? It looks very interesting and I will make it a good method. Believe me, you can edit this bag again, in fact I have changed the strap several times, in the end I chose to make it a shoulder bag.
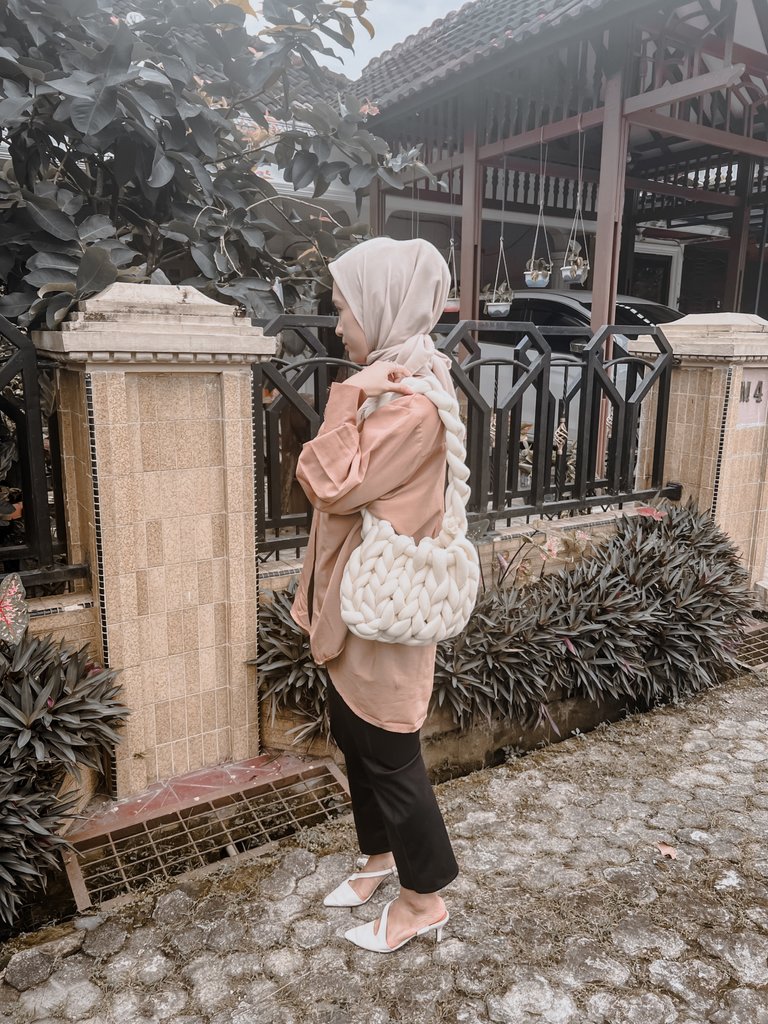
It's quite simple and makes many people curious about this bag. but I suggest adding thin cloth so that your small details don't get spilled because this bag has several holes which are quite risky to lose. Especially lipstick and small keys.
I plan to just add drawstring fabric later, because I made this bag my favorite bag, which was the first bag I made with my own hands.
See you the next time hive friends!
Editing by Lightroom and VN iphone 11
Annyeong yorobun! Welcome to wita’s corner. Author is a full time housewife who loves to eat while writing. Enthusiasm to gardening and cooking. Like the exploration of new things and have many dream is unlimited. Always vote and give suggestions to advance this author.
If you like his content, don't forget to support me and leave a comment below. Make sure to keep read and watch my content. Thankyou so much :)