
Hi Hive DIY friends
Today I want to make a beautiful and cute craft from origami paper, what I will make today is a very beautiful and cute baby bird.
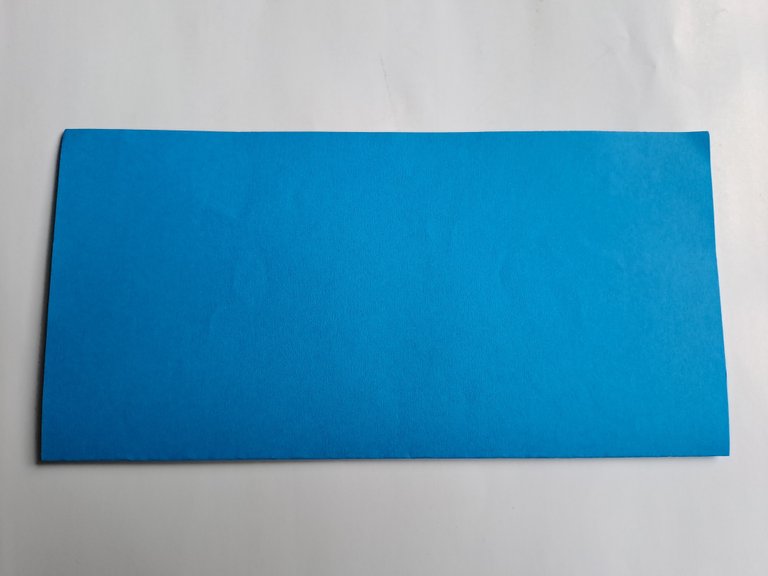
For the origami paper, I chose blue origami paper because the baby bird is depicted identically with the color blue as in the Twitter logo which has now changed to X.

Here is a tutorial on making a baby bird from origami paper.
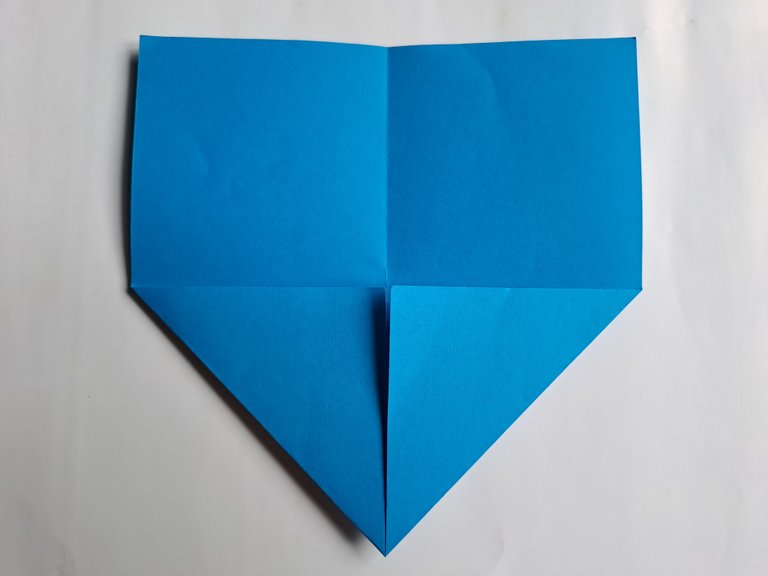
First, fold the origami paper into two parts parallel and neatly, then reopen the origami paper and now fold the origami paper once again from the opposite direction.
 |  |
|---|
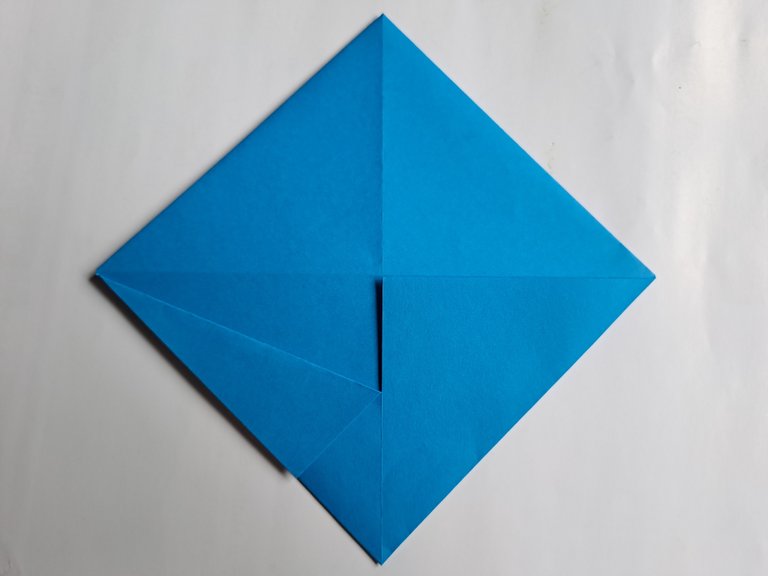
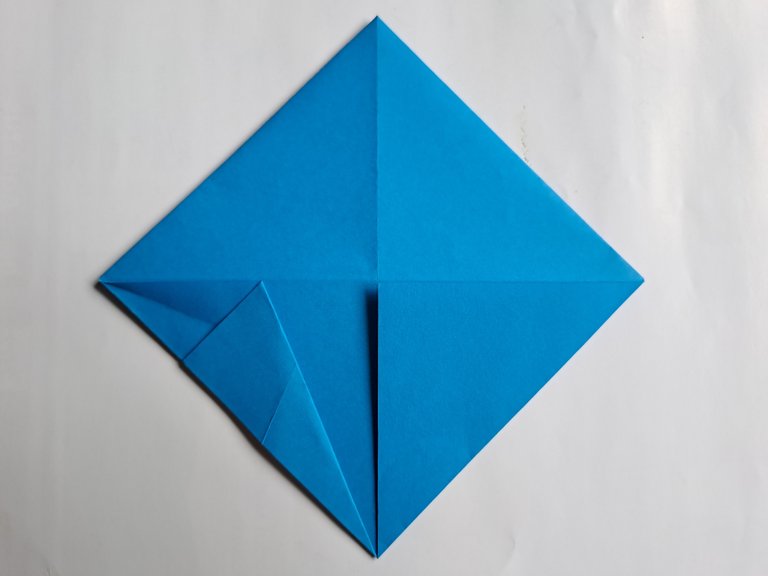
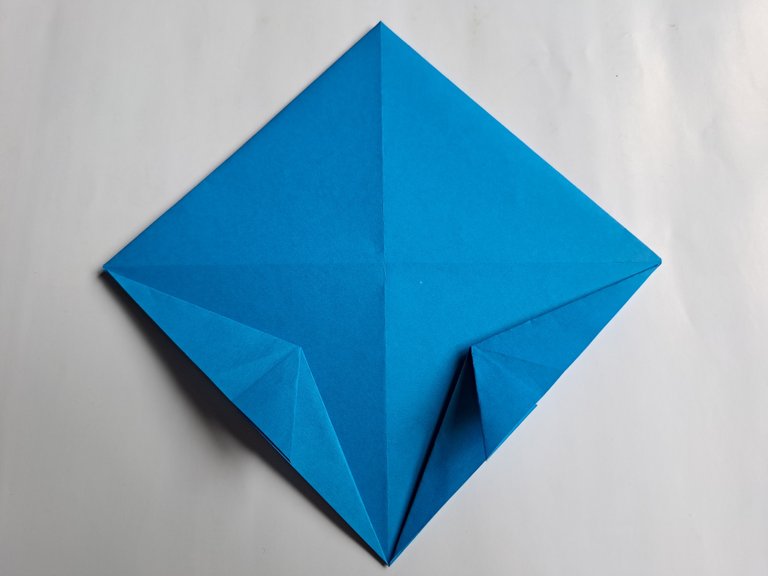
After that, reopen the origami paper and now fold the bottom right corner of the origami paper towards the middle, then also fold the left corner of the origami paper towards the middle as shown in the picture below.

 |  |
|---|
Then turn the origami paper over, then fold the right and left corners of the origami paper towards the middle again so that the origami paper folds are parallel and neat.

 |  |
|---|
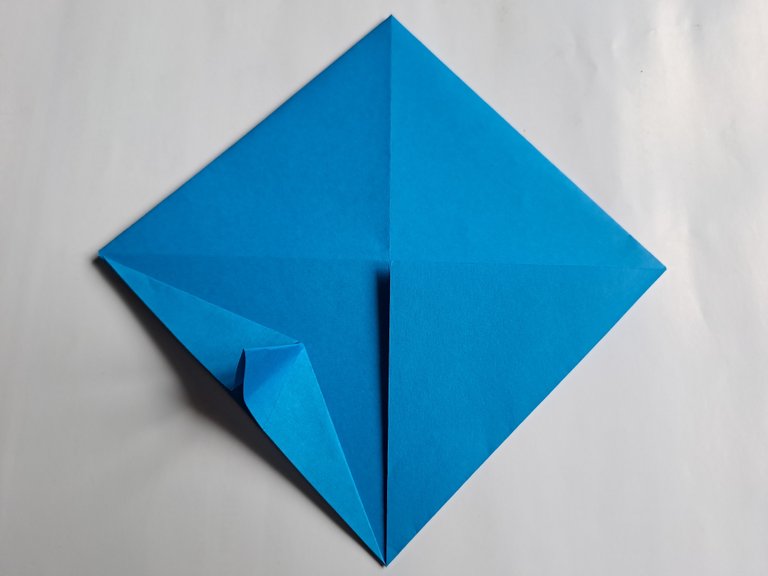
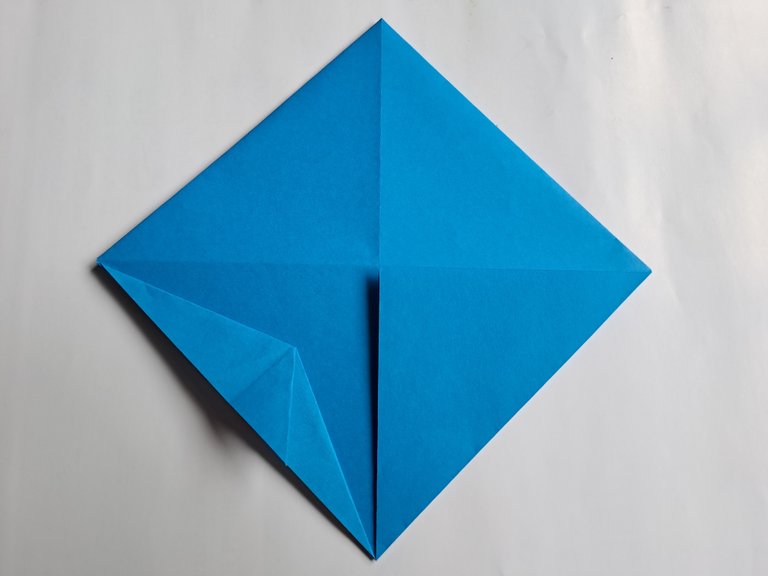
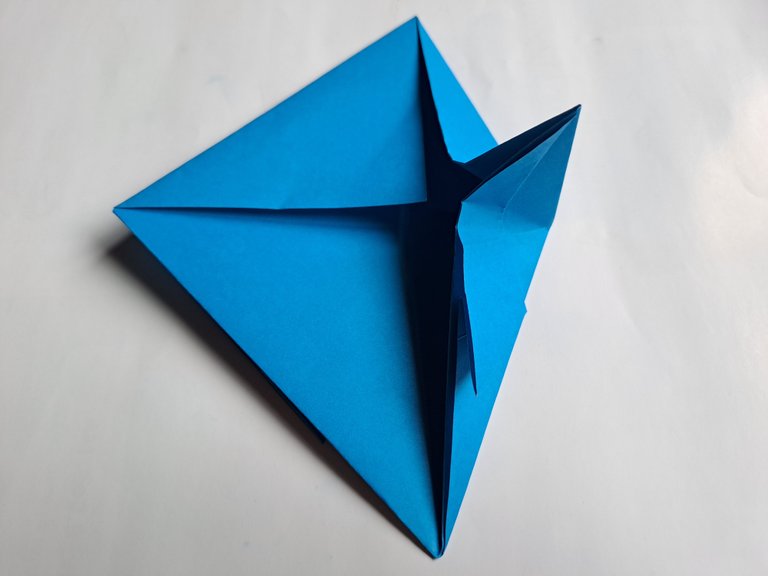
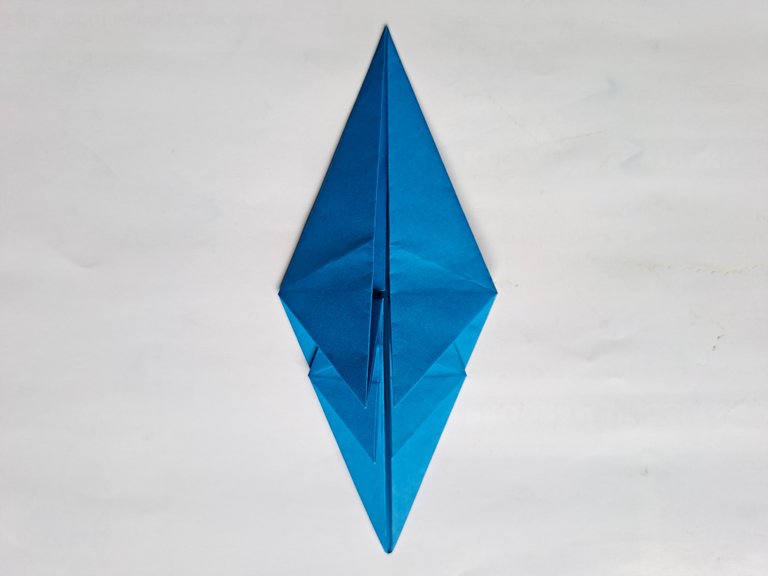
Then fold the bottom of the left side outwards again, then unfold it and fold the bottom of the left side outwards once more, then unfold it again and now fold the folds together so that the middle part sticks out like the picture below.
 |  |
|---|
 |  |
|---|
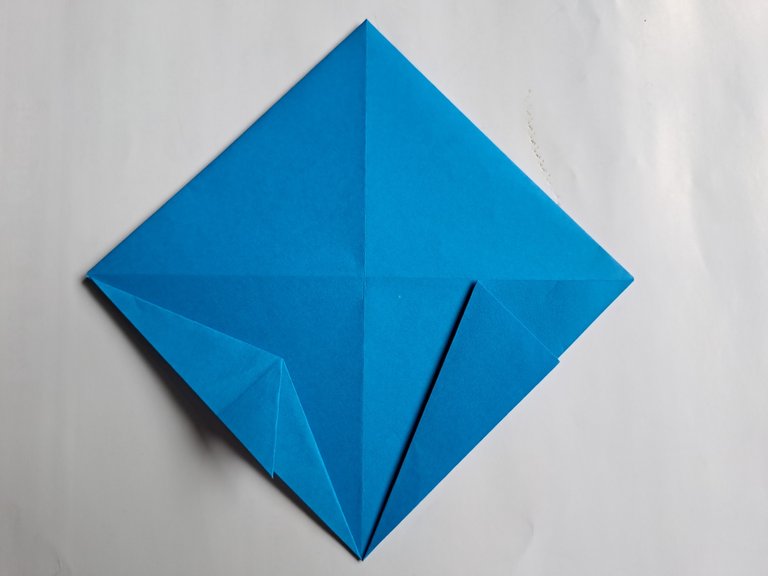
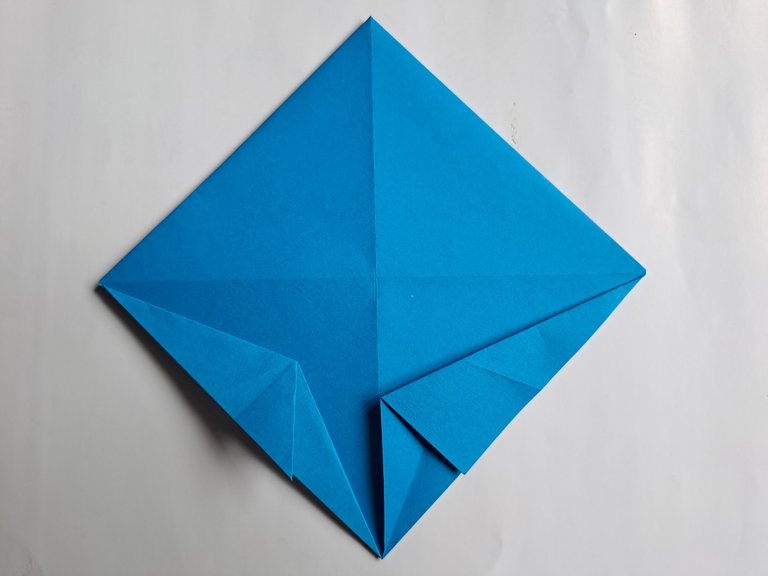
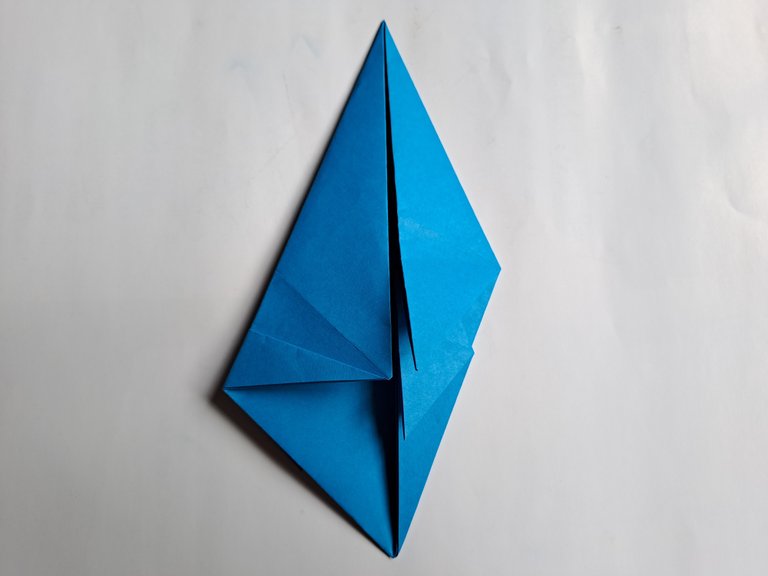
Then also fold the bottom of the right side outwards, then unfold it again and fold it once more outwards from the opposite direction, then fold the folds together so that the middle part of the paper sticks out like the picture below.
 |  |
|---|
 |  |
|---|
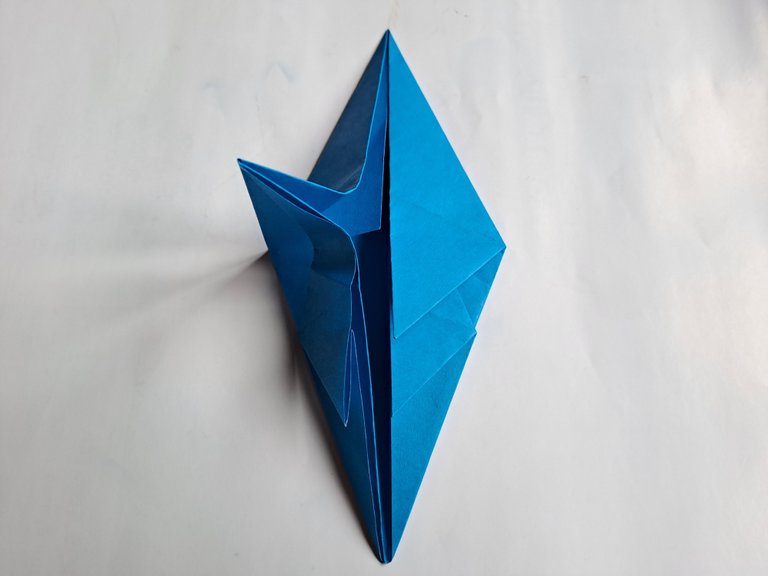
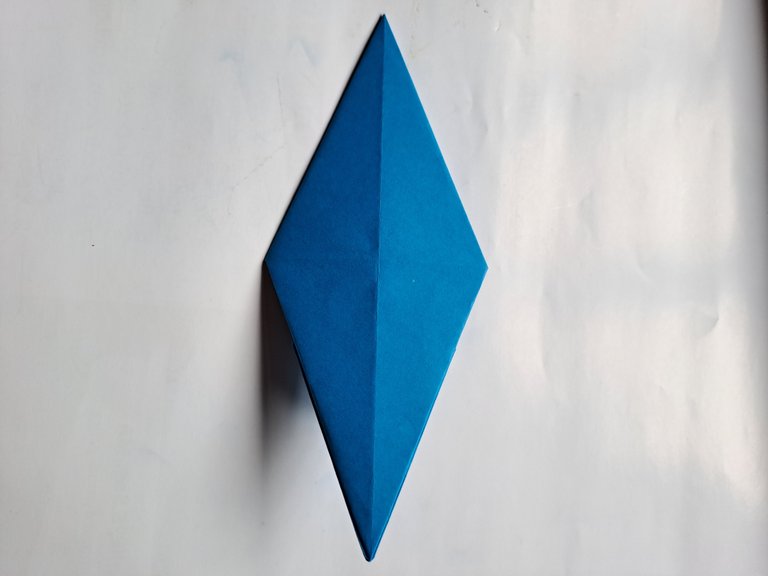
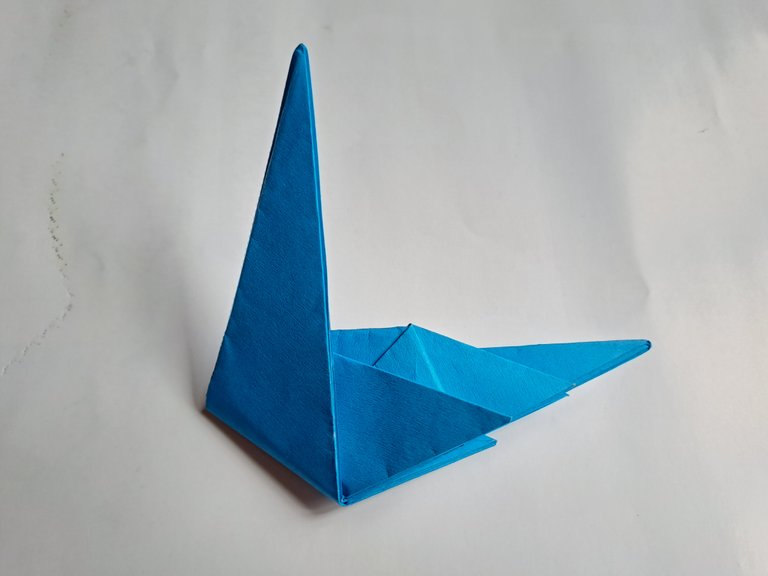
Then turn the paper over and now fold the right and left sides of the paper towards the middle, then unfold it again and now fold the right side of the paper towards the middle from the bottom, then fold the folds again towards the middle so that the middle part of the paper sticks out.

 |  |
|---|
 |  |
|---|
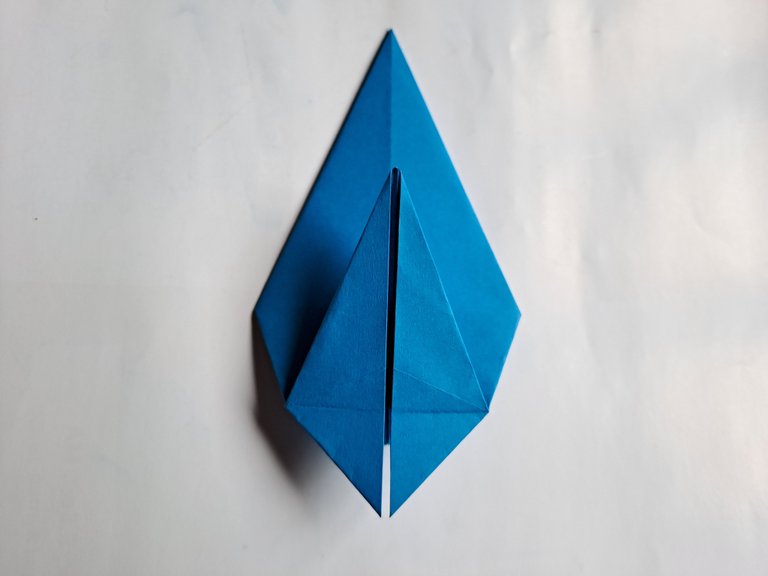
Then also fold the left side of the origami paper towards the middle, then unfold it again and now fold the bottom left side towards the middle once more, then unfold it again and now fold the folds again towards the middle so that the middle part of the paper sticks out.
 |  |
|---|
 |  |
|---|
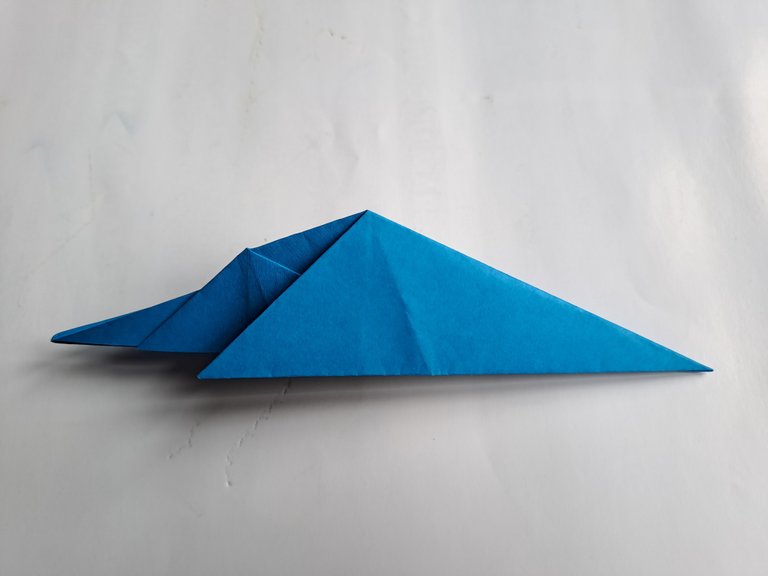
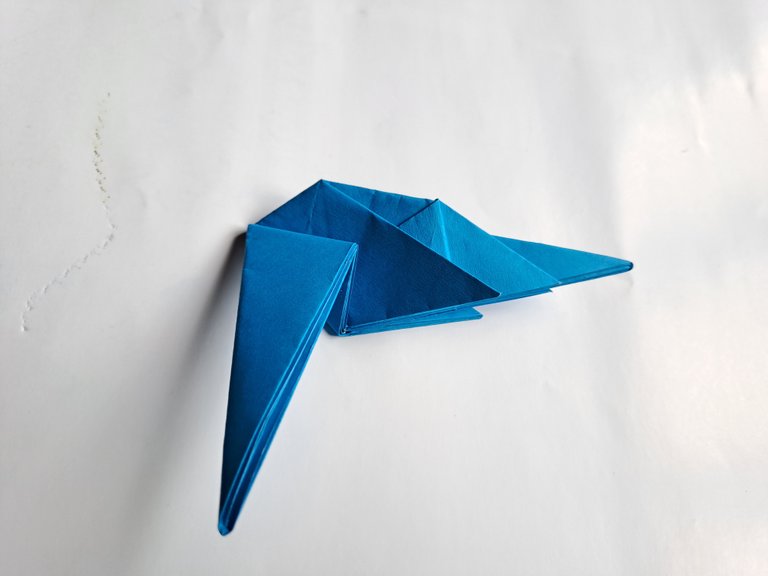
After that, turn the origami paper over, then fold the bottom up a little, then fold the end of the paper down again, then fold the origami paper in half as shown below.
 |  |
|---|
 |  |
|---|
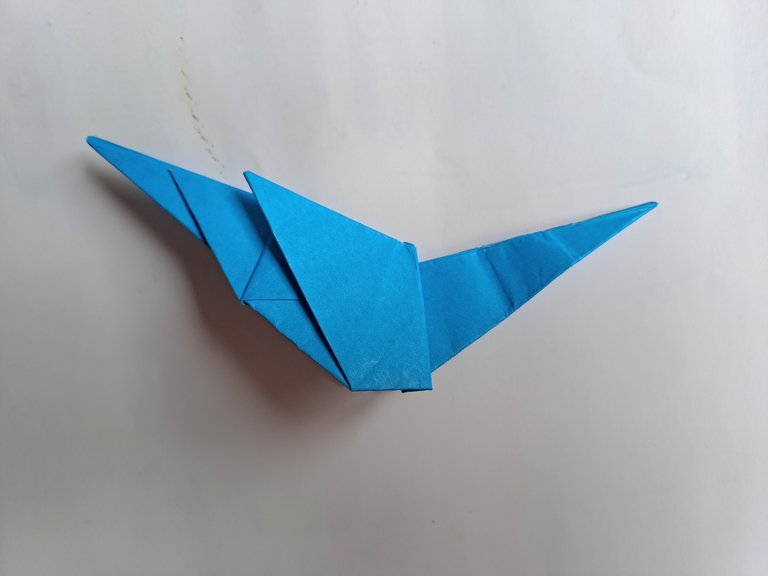
Then fold the front end of the origami paper up and then fold the front end down once as shown below, then open the middle of the origami paper to bend it down a little from the previous fold and then fold the origami paper in half again as shown below.
 |  |
|---|
 |  |
|---|
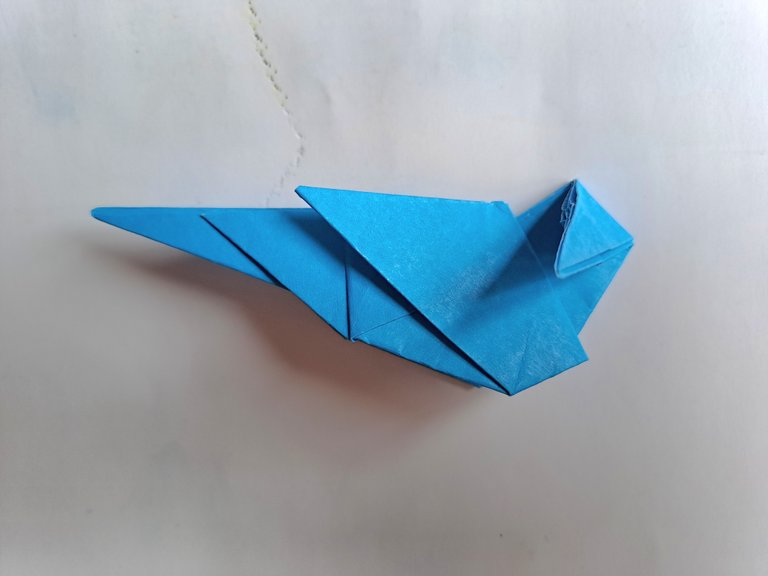
Then fold the end of the origami paper down, then fold the end of the origami paper forward once more as shown below. Then fold it once more on the previous fold with the fold inward so that the fold is more perfect and the bird's head and beak look perfect.
 |  |
|---|

And the last step is to bend the top of the bird's head inward a little so that the bird's head is more perfect and beautiful, after all the steps have been followed properly and correctly, the beautiful little bird from the origami paper has been perfectly finished.


This is the result of my handicraft today from origami paper, thank you for my friends who have visited my handicraft post today, see you in my next handicraft post.
