Hi Hive DIY friends
Today I want to share origami paper crafts with my friends, what I will make from origami paper today is an Owl.
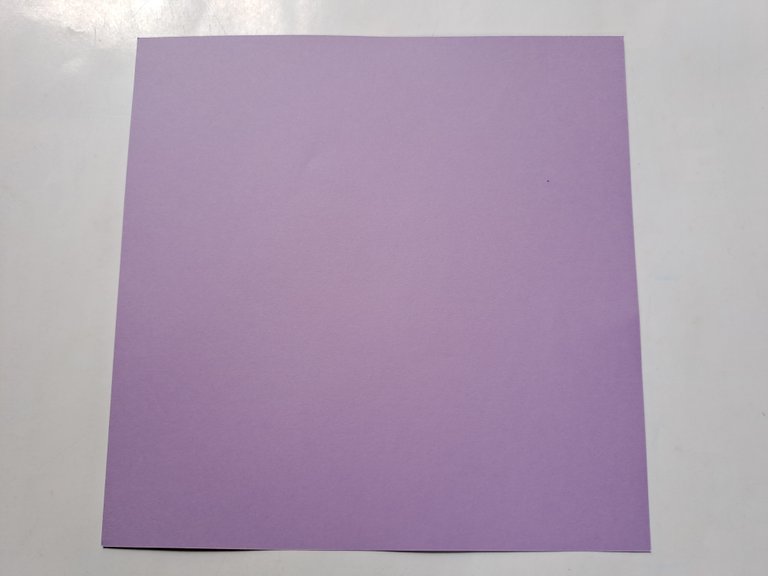
To make an owl from origami paper we only need a piece of origami paper, and the reason I want to make an owl today is because owls are very beautiful animals and are one of my favorite animals.
Here is a tutorial on how to make an owl from origami paper.
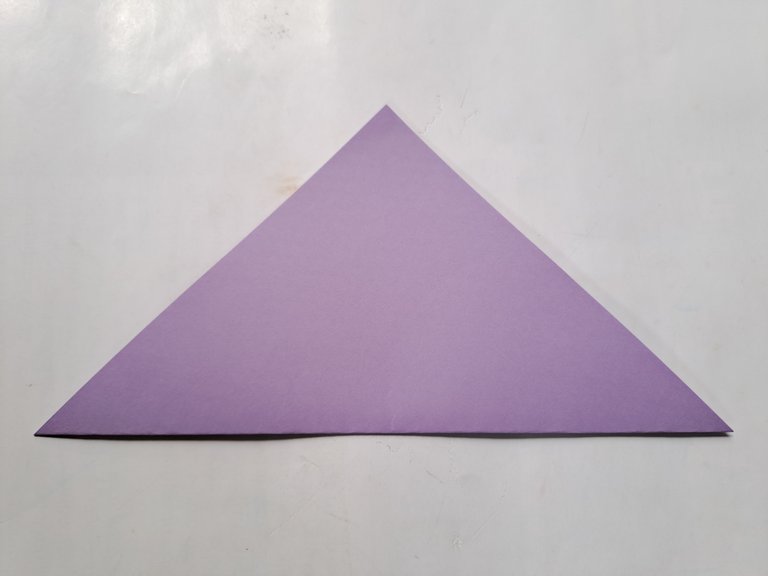
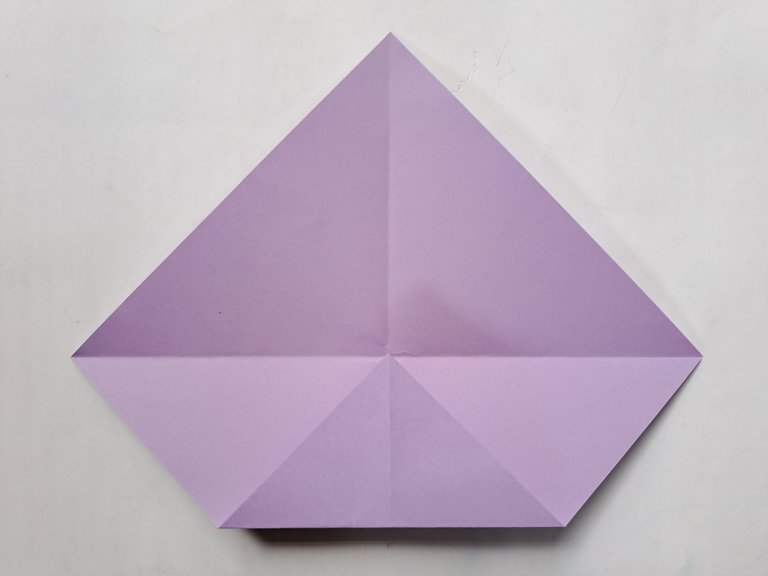
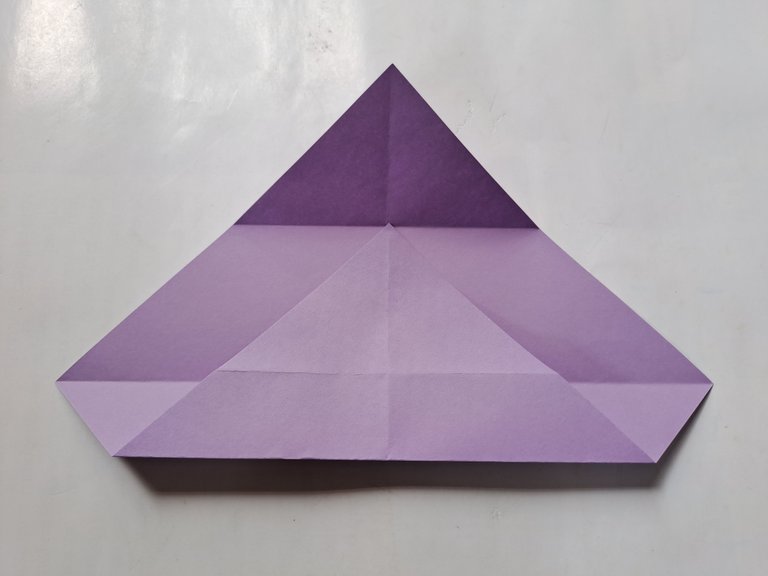
First, fold the origami paper into a triangle shape, then unfold it again and fold it once again into a triangle from a different direction.
 |  |
|---|
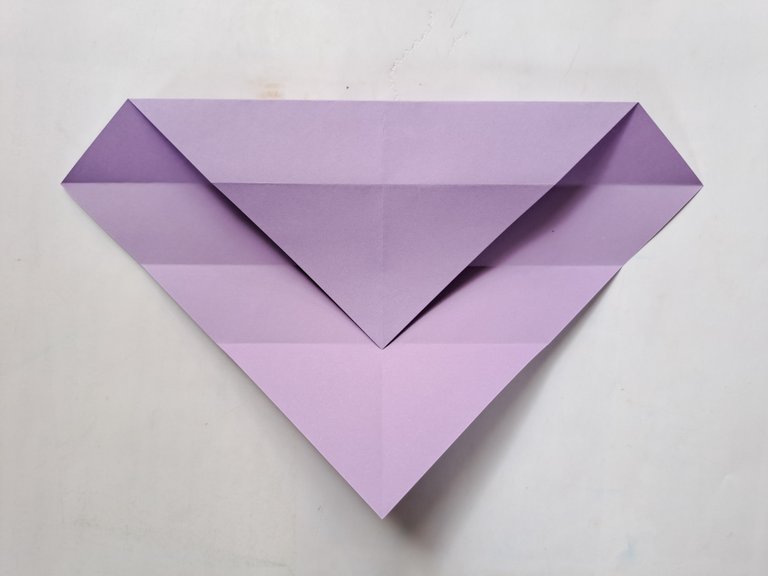
After that, fold the bottom half of the paper up, then fold the top half down as shown in the picture below.
 |  |
|---|
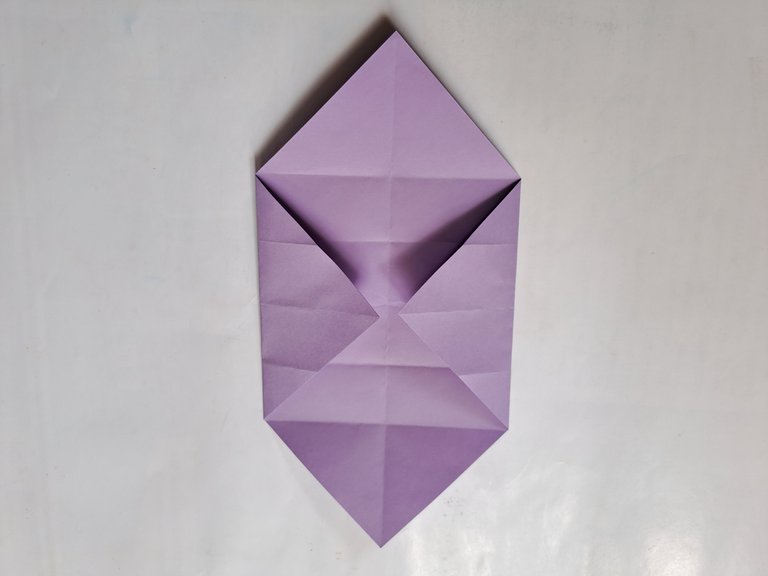
Then unfold it and fold it once more up until the end reaches the top fold, then unfold it again and now fold the paper once again in the opposite direction with the same fold as shown in the picture below.
 |  |
|---|
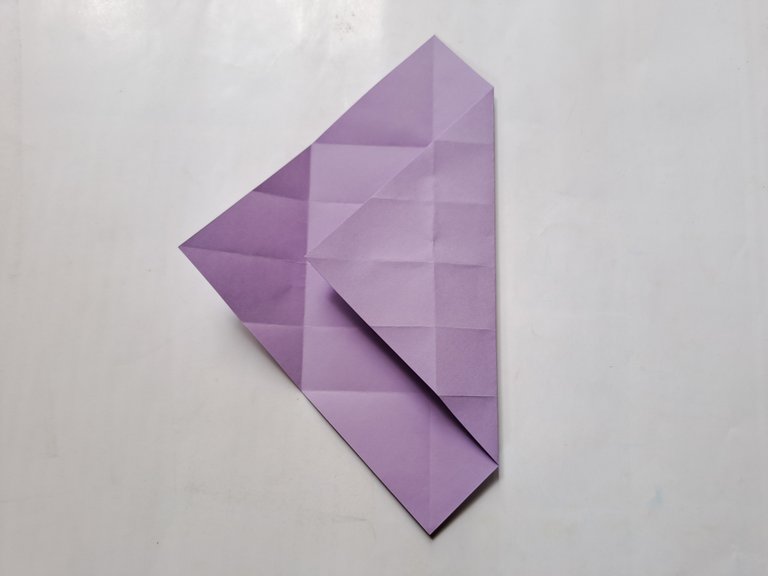
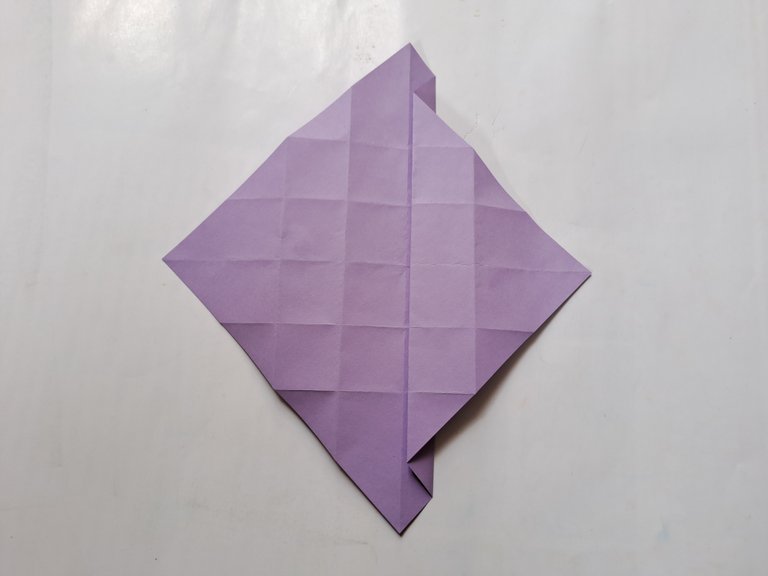
Then fold the right side and the side of the paper towards the middle, then unfold it again and now fold the right side of the paper once to the end of the left side of the paper fold, then unfold it again and now fold the left side of the paper with the same fold as the picture below.
 |  |
|---|
 |  |
|---|
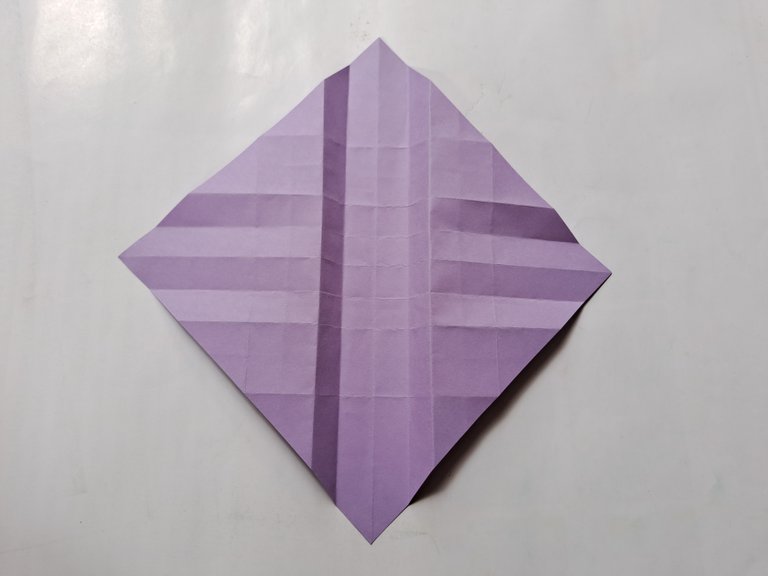
After the fold is reopened, the paper now has many striped patterns, then fold the right side and left side of the paper again to the middle with the fold as shown in the picture below.

 |  |
|---|
Then turn the paper over and now fold the right side and the side of the paper once again like the folds in the picture below.

 |  |
|---|
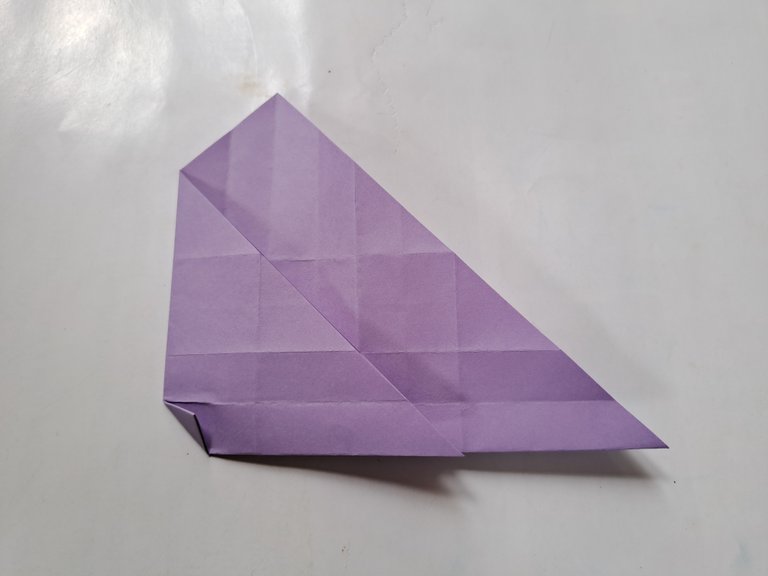
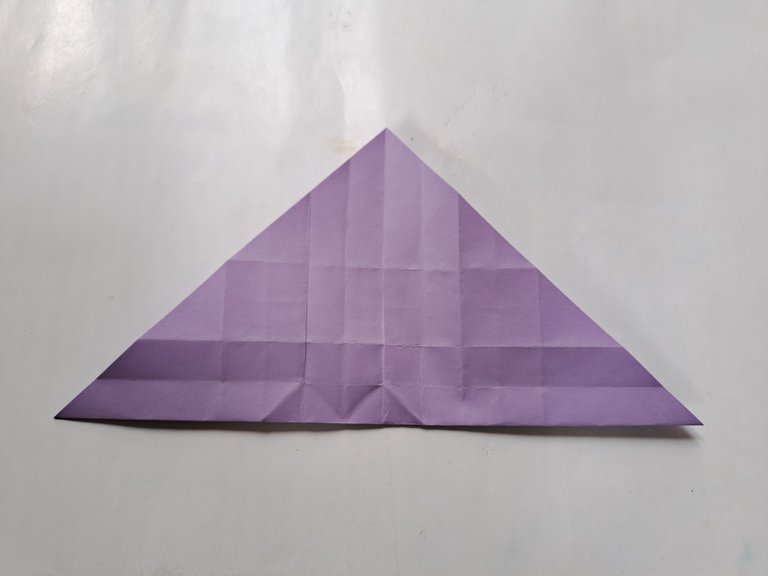
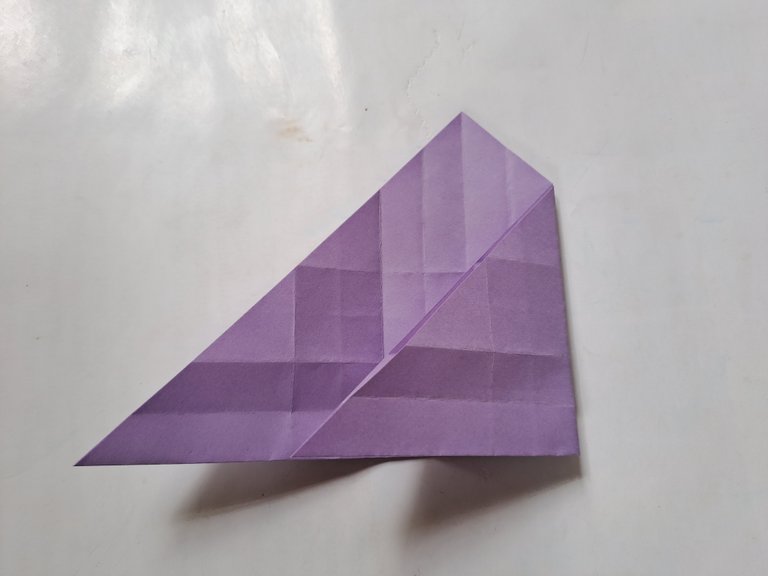
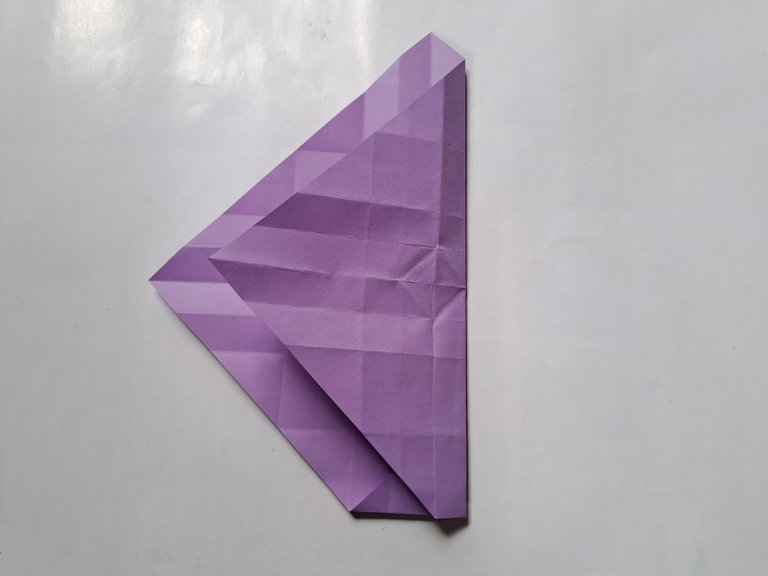
After the folds are opened again, now fold the paper into a triangle shape, then fold the triangle to the left and fold the bottom right side of the triangle a little inward like the picture below.
 |  |
|---|
 |  |
|---|
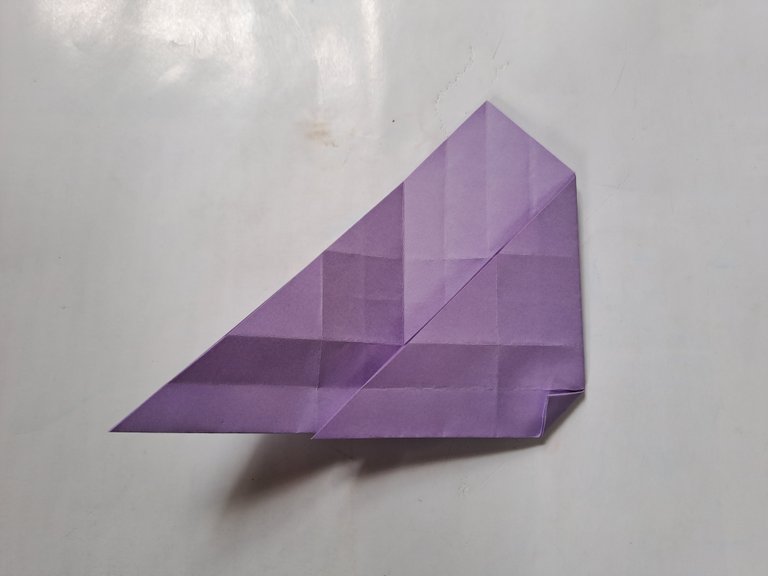
After that, reopen the paper until it forms a triangle, then fold the triangle half to the right again and fold the bottom left end of the triangle inward a little.

 |  |
|---|
Then open the folds again and now fold the triangle half to the left again and fold the bottom right end of the triangle inward a little like the picture below.
 |  |
|---|
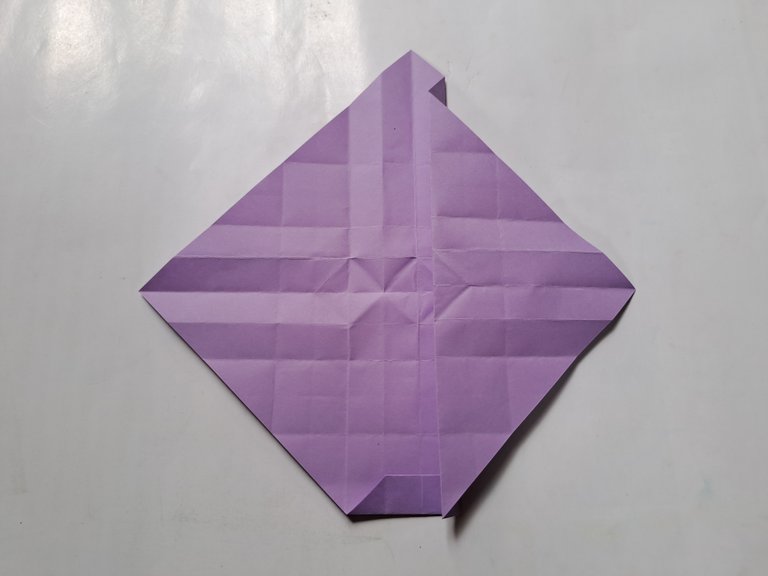
After that, reopen all the folds of the paper again, then fold the bottom end up a little, and fold the tip of the fold down a little again, then fold the tip of the fold inward again like the picture below.
 |  |
|---|
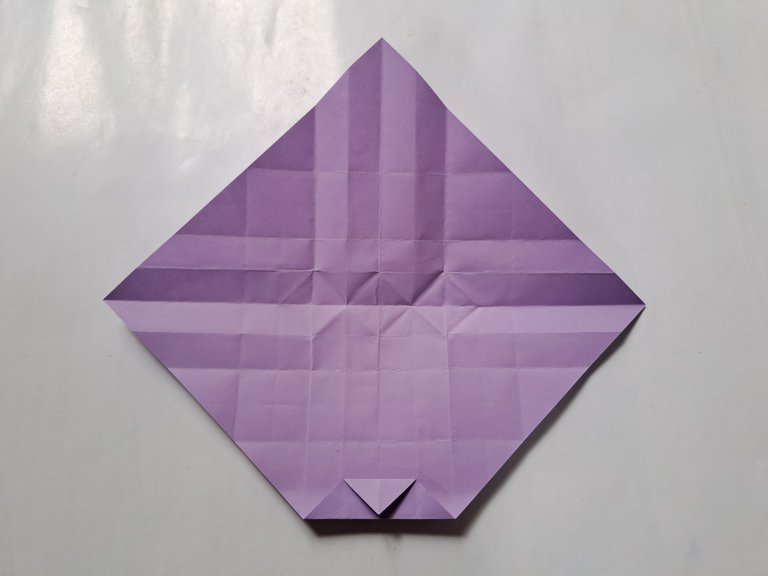 |  |
|---|
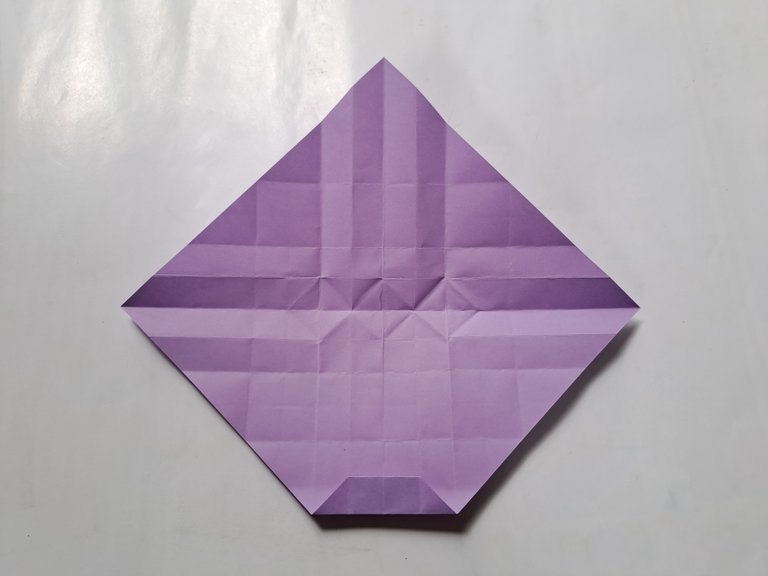
Then fold the right side half to the left of the paper, then open it back to the right, then fold the paper half to the right again and fold the paper to the left again like the picture below.
 |  |
|---|
 | 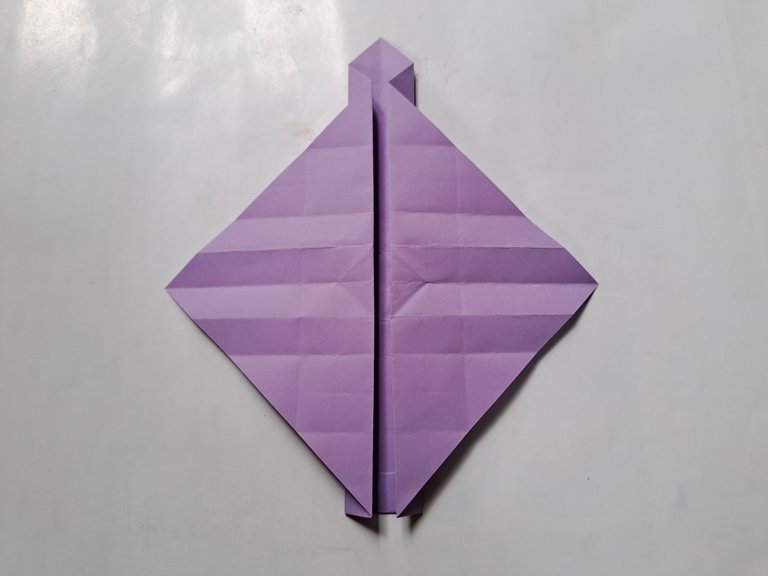 |
|---|
Then bend the right and left sides of the paper inward, then fold the paper into two parts like the picture below.
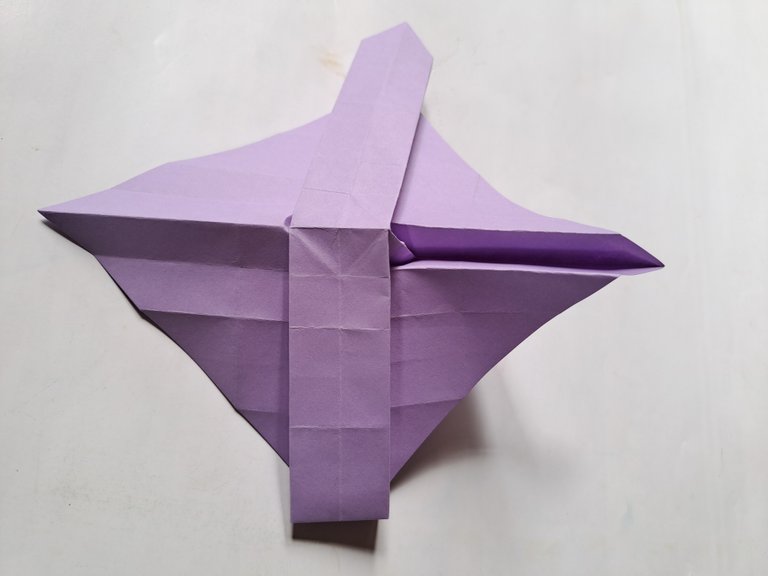 |  |
|---|
Then open the middle of the paper again and fold the top of the paper down.
 |  |
|---|
Then bend the right and left sides of the top of the paper inward a little so that the shape becomes like the picture below.
 |  |
|---|
Then fold the middle of the paper up and fold the top of the paper down again like the picture below.
 |  |
|---|
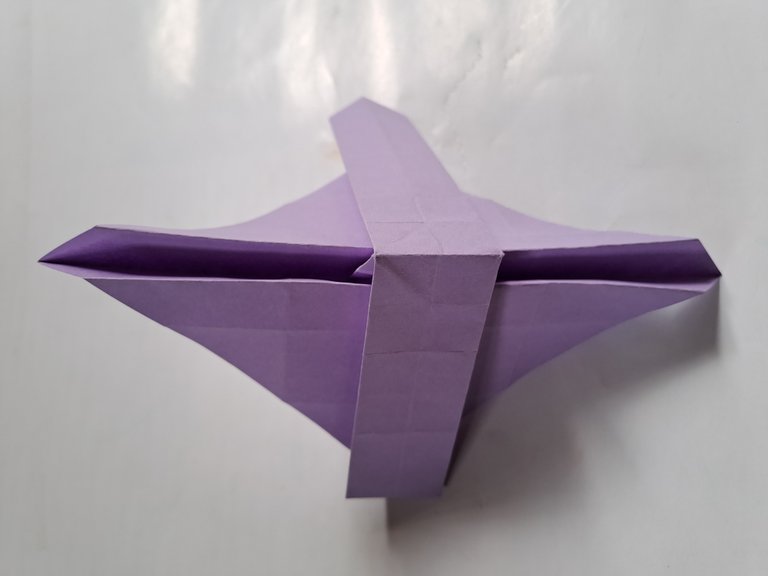
After that, fold the middle of the top and also fold the bottom of the paper up like the picture below.
 |  |
|---|
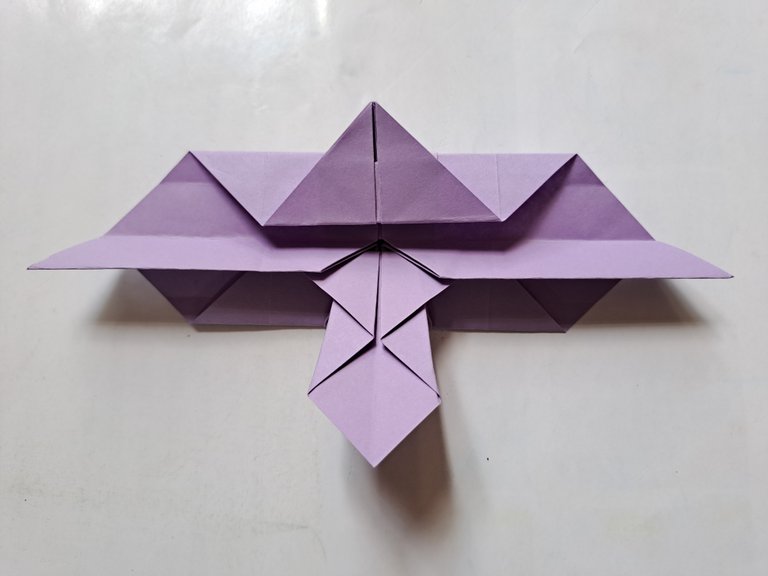
Then fold the paper again in half down, then open the middle up again and now fold the right side and the side of the paper slightly towards the middle like the picture below.
 |  |
|---|
 |  |
|---|
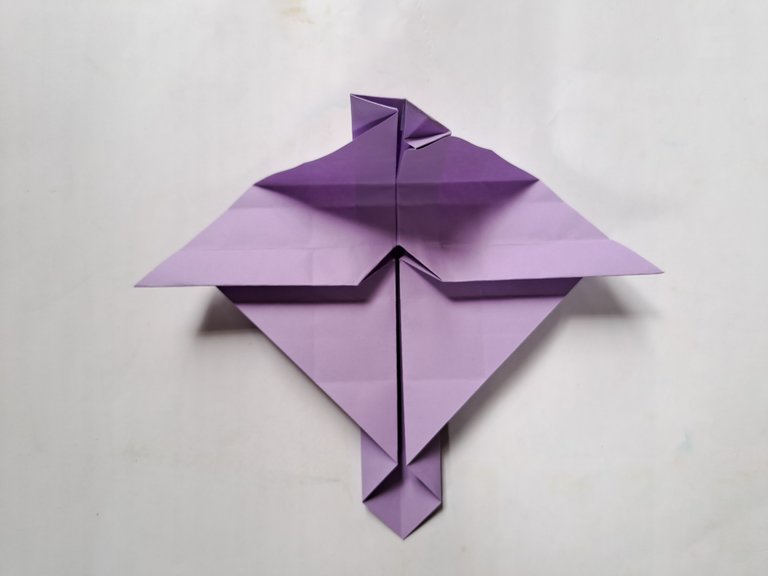
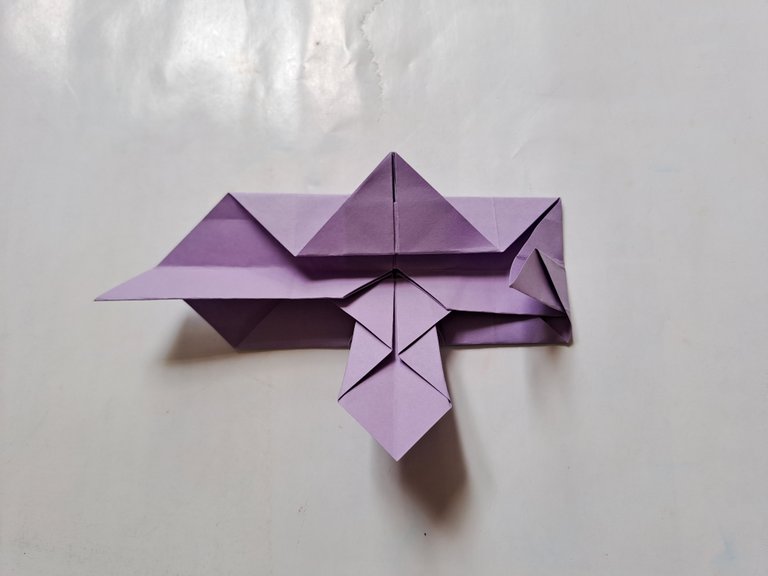
Then turn the paper over and now fold the right side of the paper inward, then reopen the fold and fold the inside of the paper up. Then also fold the left side of the paper inward and also fold the middle of the paper up.
 |  |
|---|
 |  |
|---|
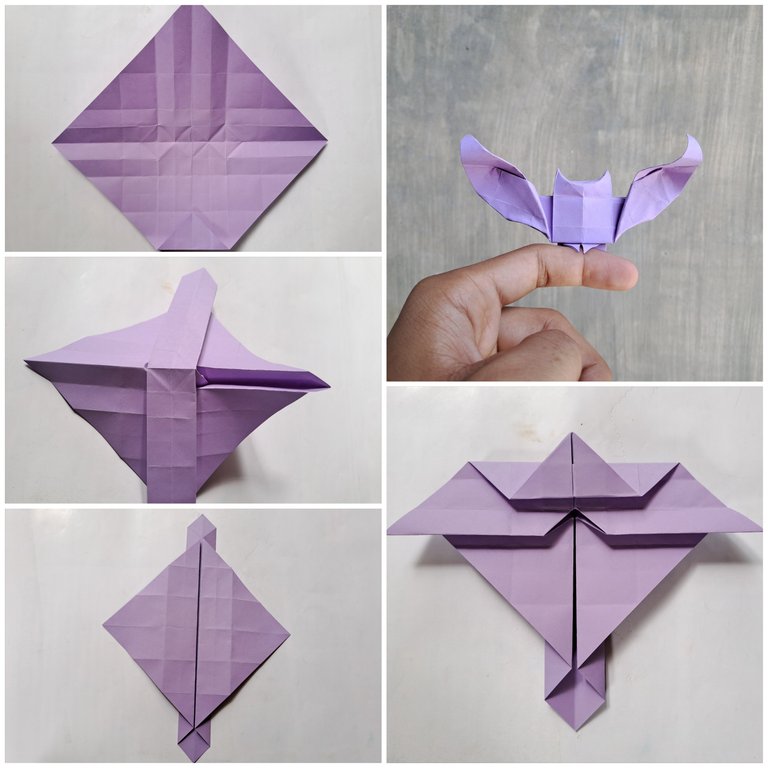
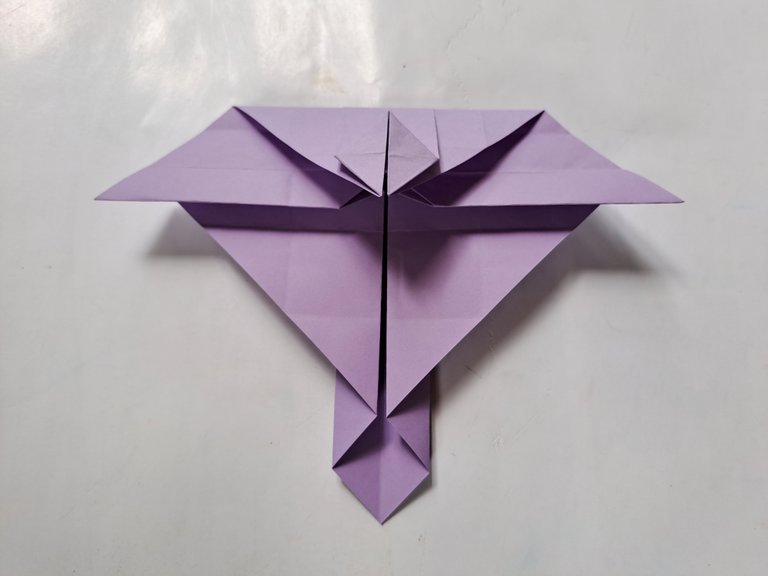
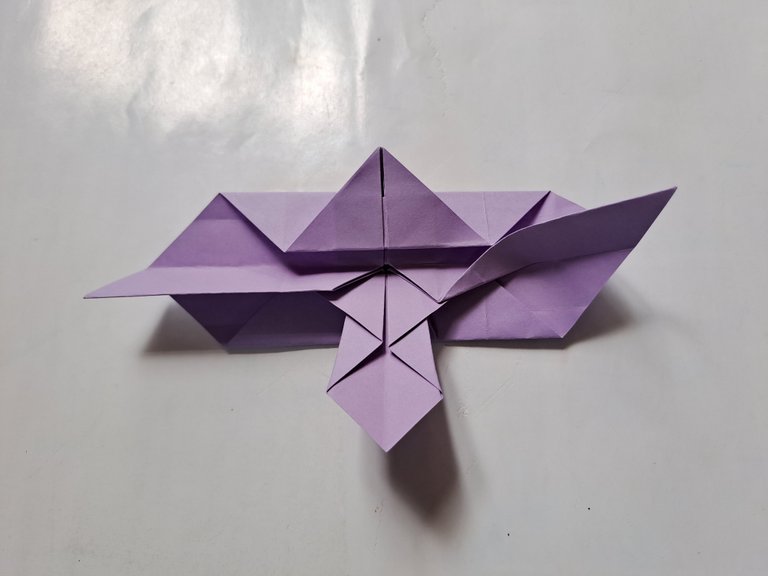
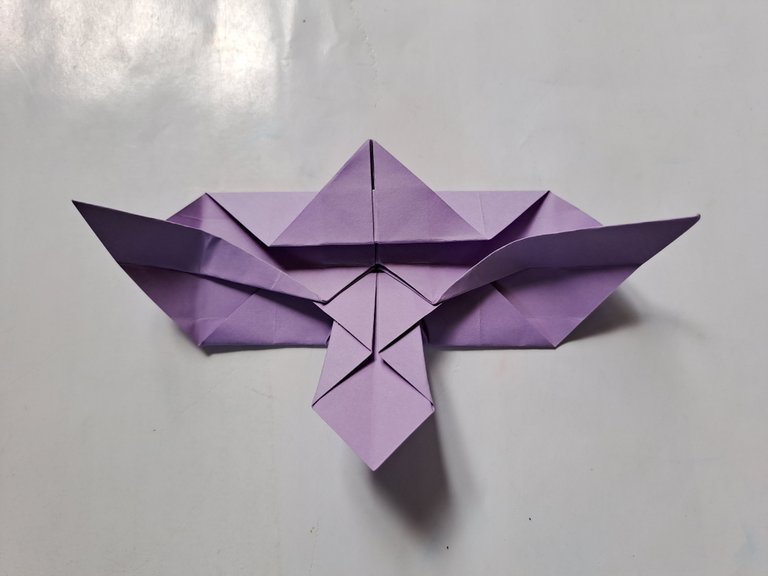
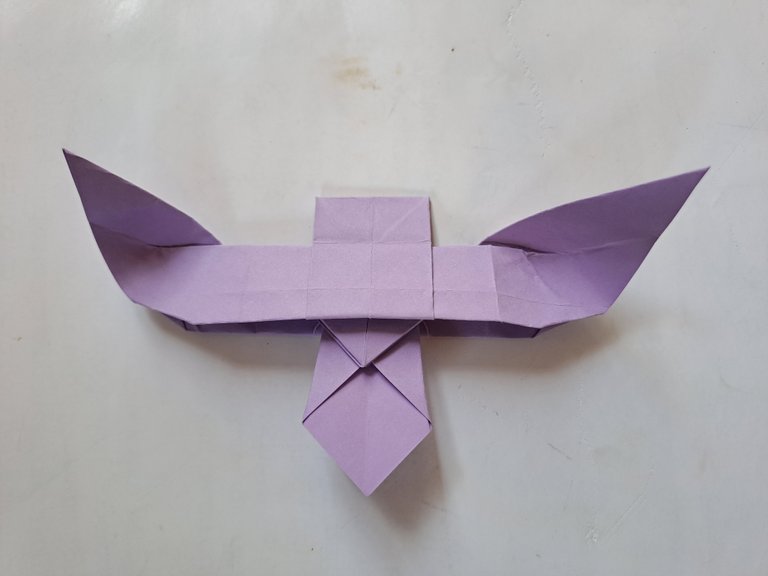
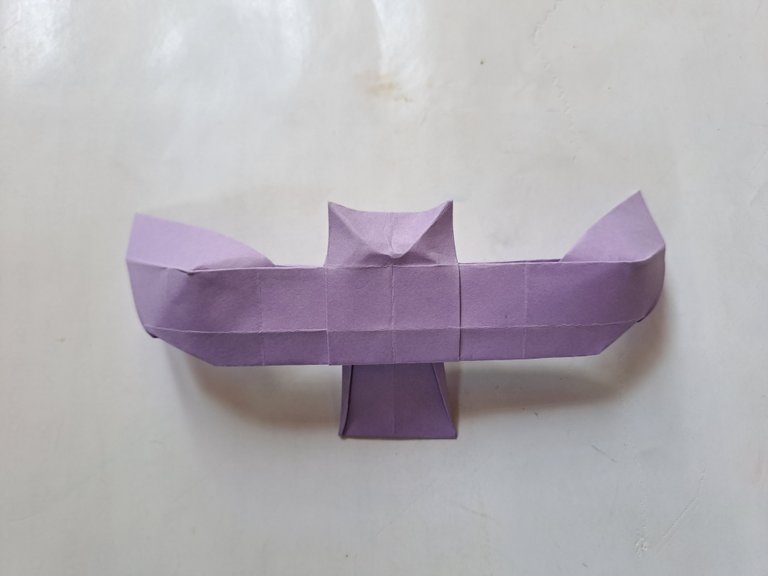
Then fold the origami paper in half and open the middle right part of the paper and fold it thinly inward to make the owl's right wing, then also open the middle left part of the paper and bend it thinly inward to make the owl's left wing, and now the wings are starting to look perfect.
 |  |
|---|
 |  |
|---|
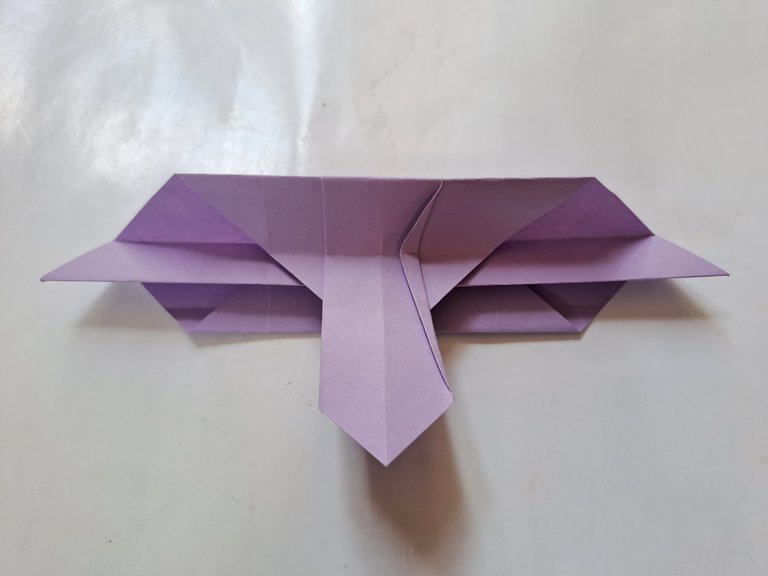
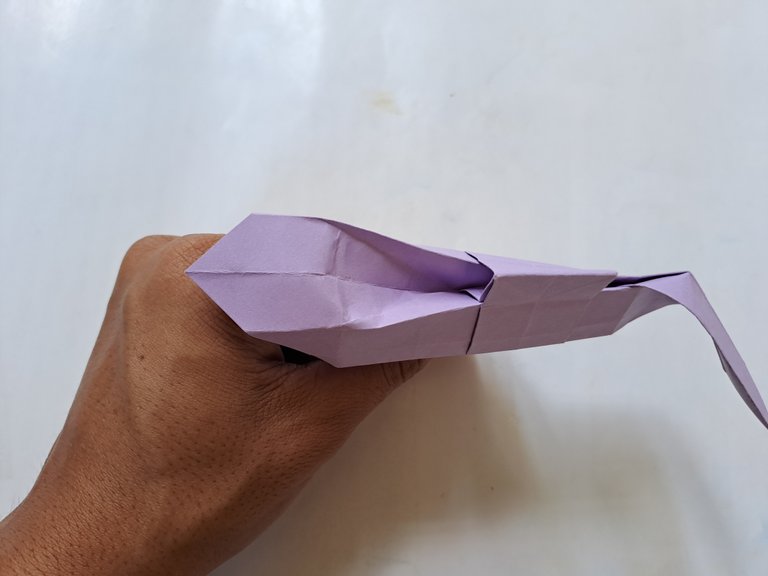
And now fold the bottom of the paper up a little, then turn the owl over and poke your finger into the middle of the paper to make the owl expand while also making a pattern for the ears on the right and left sides of the head so that they stick out a little.
 |  |
|---|
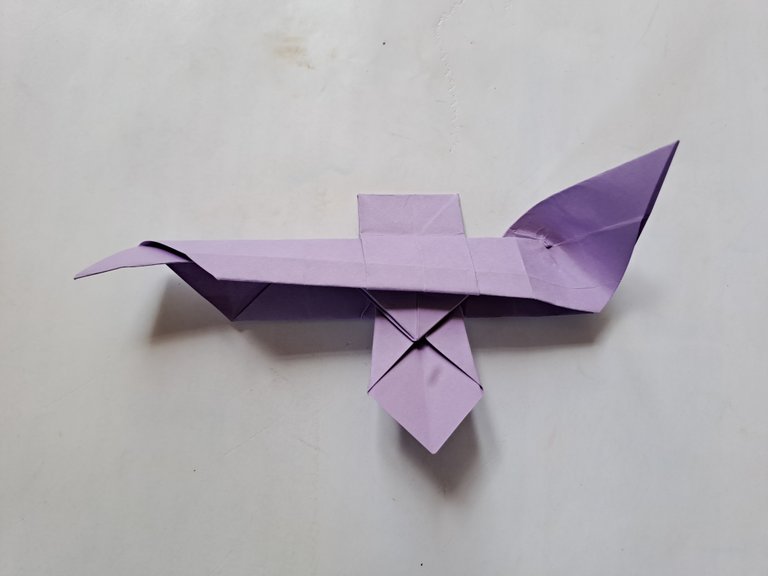
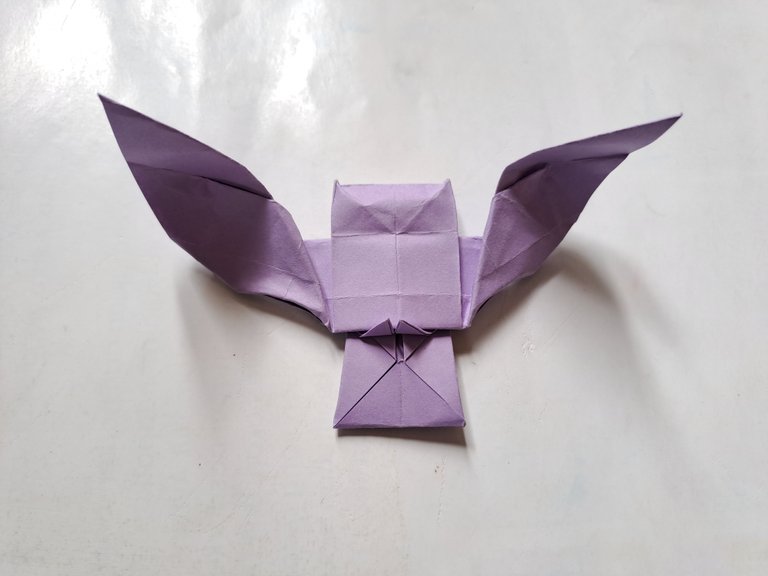
Then fold both of the owl's wings back, then fold the wings forward again and bend the bottom of the owl's wings inward a little so that the shape of the wings becomes more dashing.
 |  |
|---|

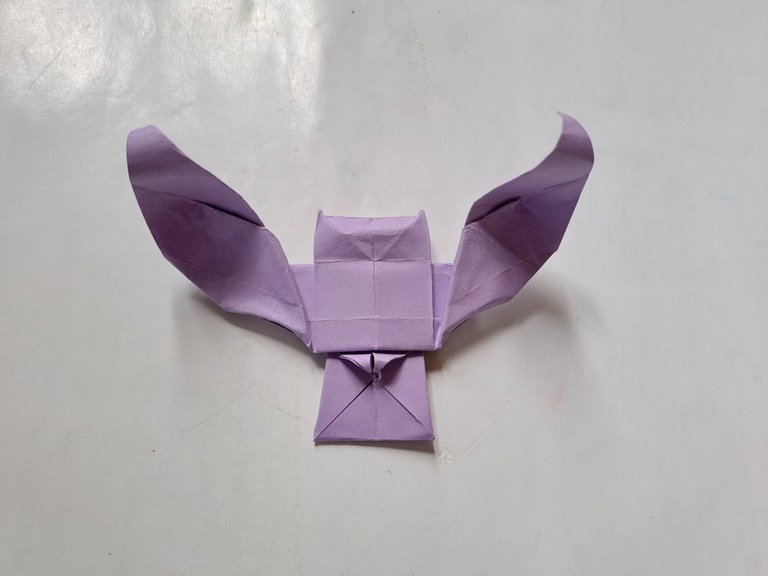
Then bend the owl's leg pattern up and down a little, then fold the tips of the owl's wings back a little so that the wings become more beautiful.
 |  |
|---|
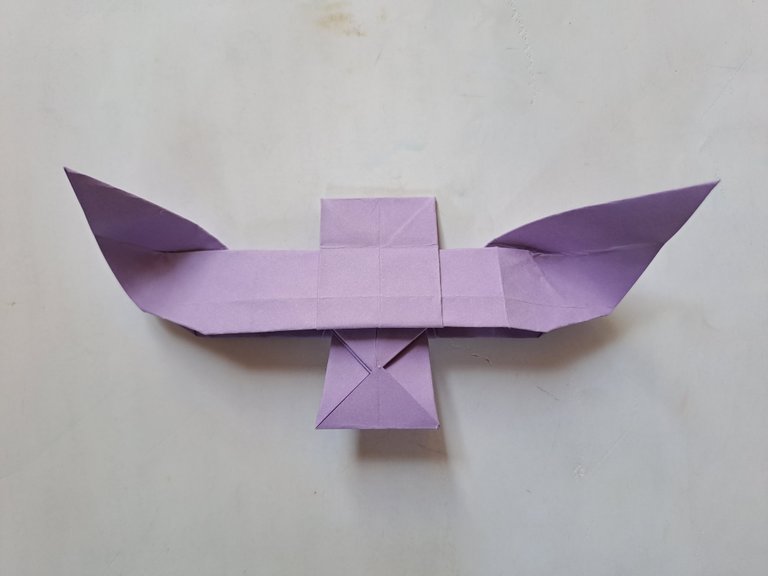
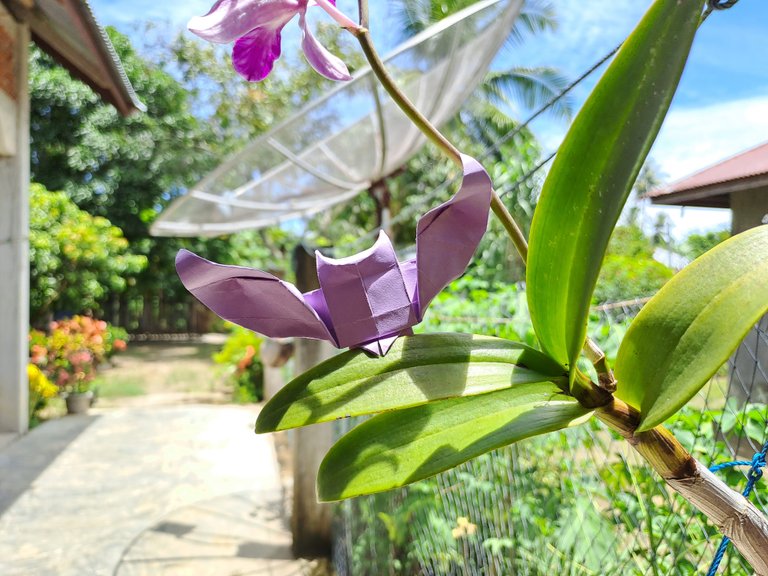
After all the steps have been followed properly, the origami paper owl has been made perfectly and can stand on our hands or on other media.

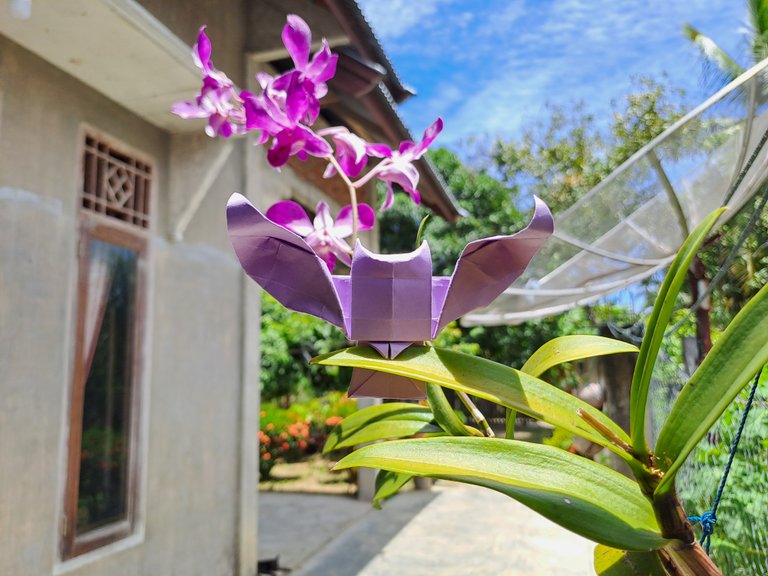
This is my craft work today, thank you for my friends who have visited my craft post again, see you in my next craft post.
