
Hola chicos, estoy nuevamente por aquí para presentarles mi nuevo trabajo hecho especialmente para mi clase de química y para presentarlo en esta Comunidad.
Hace varias semanas comenzaron las clases y bueno yo estoy estudiando 4to año de bachillerato y en la materia de química nos mandaron a hacer un foldable relacionado a la formulación de óxidos, hidróxidos y sales, el cual es uno de los temas de este primer lapso.
Y hoy vengo a compartir con ustedes la realización del mismo.
Para la realización del foldable utilizaremos los siguientes materiales:
- Hojas blancas
- Tijera
- Lápiz grafito
- Borrador
- Sacapuntas
- Colores
- Marcadores
- Pega
- Regla
- Compas
- Celular
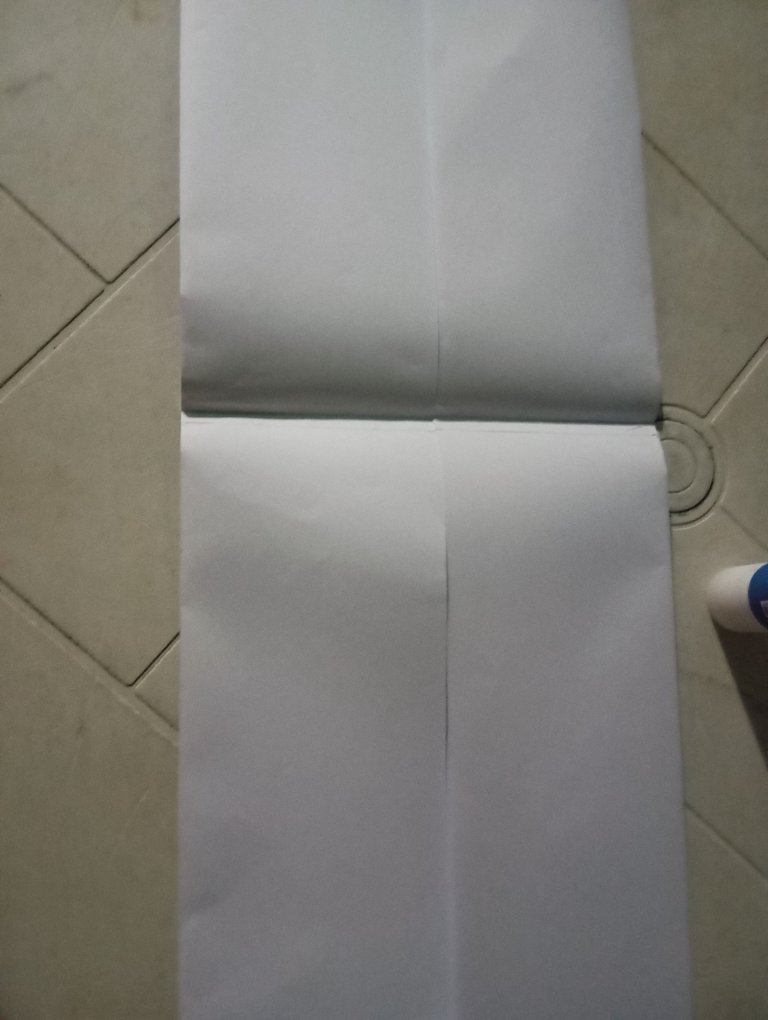
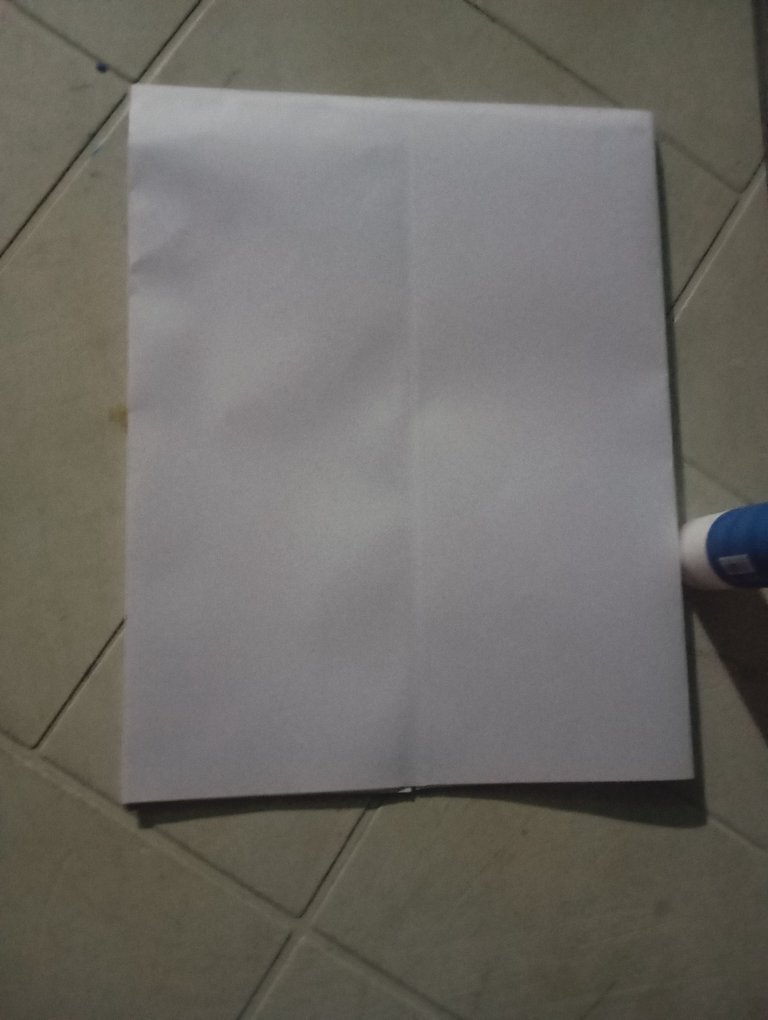
Tomé 4 hojas blancas , las pegué en forma vertical, hice dos dobles:
Al pegar las cuatro hojas en forma vertical las doble a la mitad y posteriormente doblé de manera horizontal solo una cuarta parte de arriba y de abajo ( jjjeee creo que es así, no sé como explicar)
Aquí les muestro como lo hice para que me puedan entender mejor, la profesora nos tuvo que explicar con calma porque muchos de nosotros no entendíamos.
 |  |
|---|
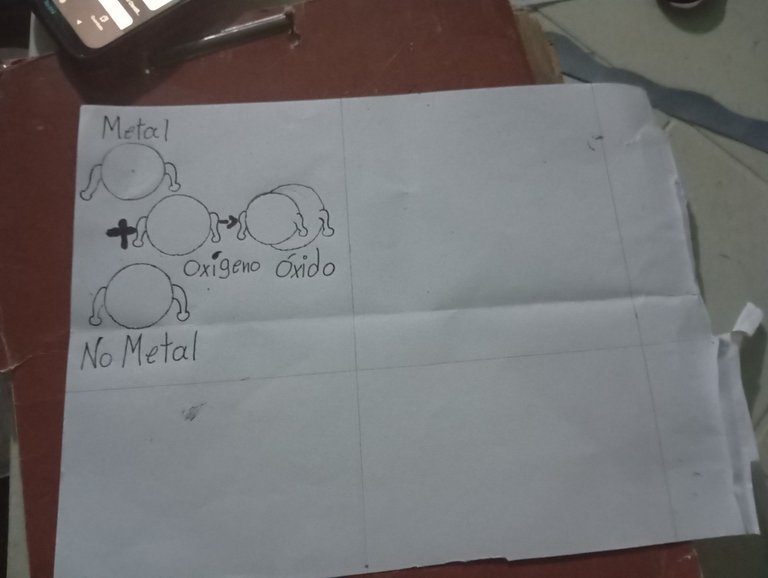
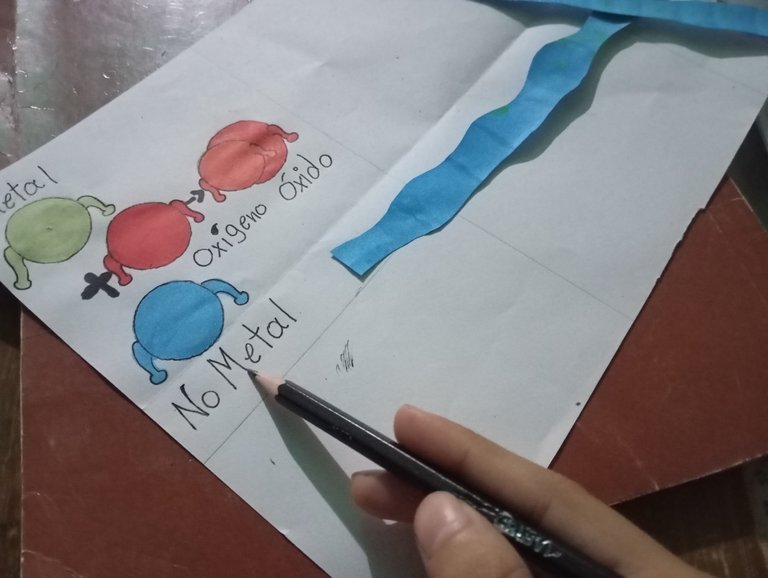
Después que organicé cada espacio, donde debía colocar la información, procedo a hacer los dibujos que colocaré en el foldable.

Los pinto cuidadosamente, esta es una de mis partes favoritas porque utilizo mis marcadores especiales y los cuales me encantan.
 |  |
|---|
Utilicé recortes de hojas para colocar la información que tenía que pegar en el foldable. Previamente ya había buscado toda la información relacionada con el tema. La mayoría de la información nos la proporcionó la profesora de química durante las clases y nosotros teníamos que hacer la parte práctica, la cual es la realización del foldable.
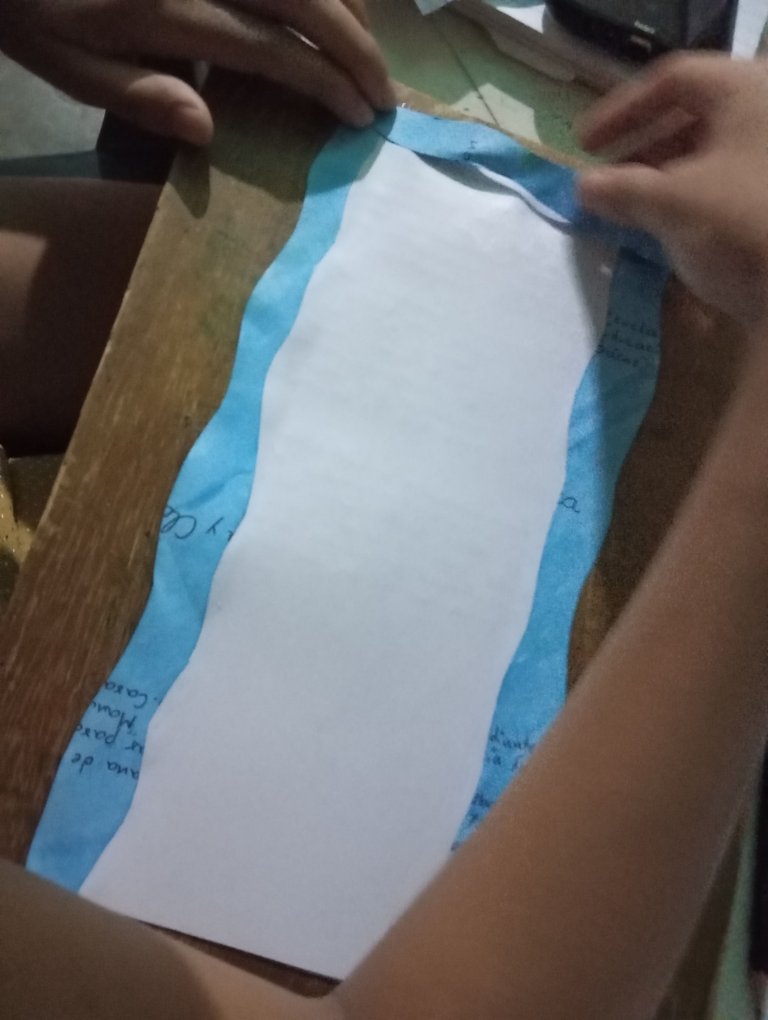
La portada obviamente la colocaría delante y la conclusión detrás del foldable y la información sobre formulación de óxidos hidróxidos y sales,y los dibujos en la parte interna del foldable. La profesora nos sugirió que colocáramos información detallada y que los dibujos estuvieran relacionados con el tema, porque muchos compañeros a veces hablan de las células y colocan un avión como dibujo, por supuesto ese no es mi caso, yo le estoy haciendo caso a la profesora y estoy colocando dibujos que guarden relación con el tema de química de cual estamos hablando.
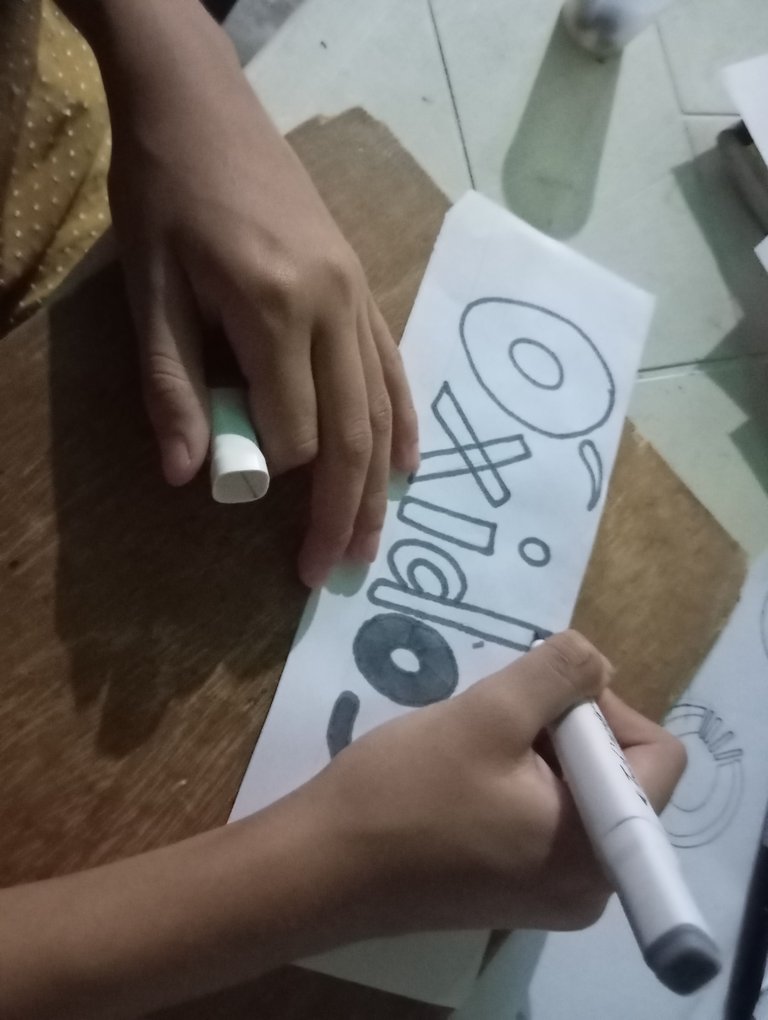
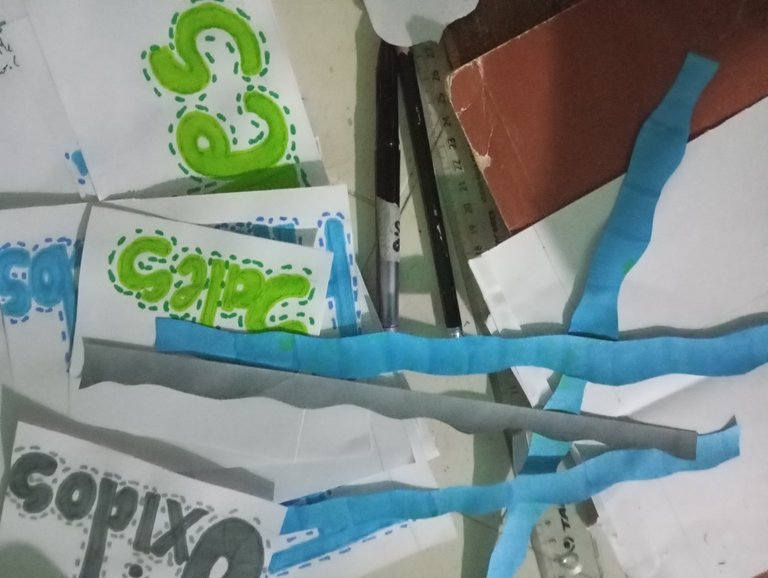
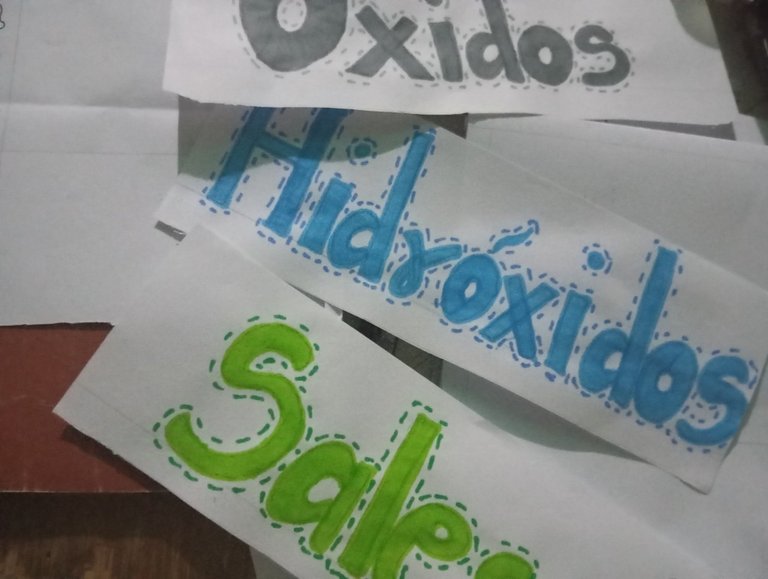
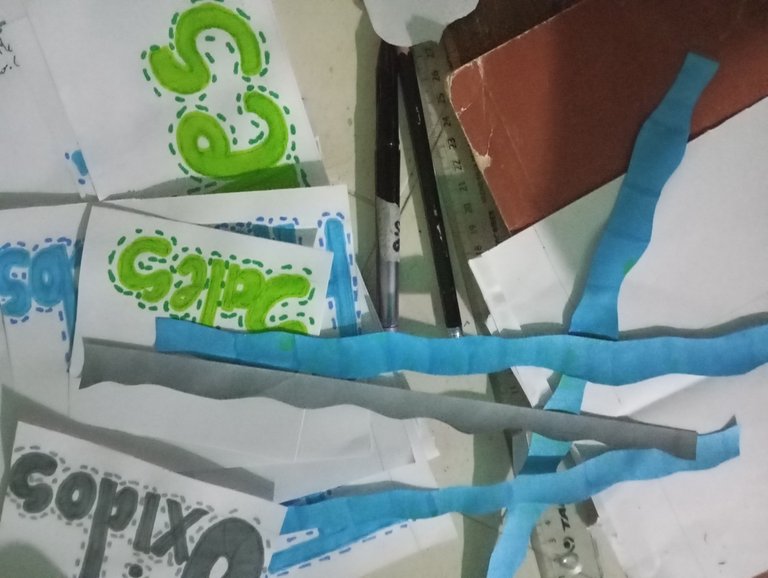
Empecé a hacer los títulos y subtítulos del tema, ya le estaba dando forma al foldable que pidió la profesora, ella no nos dejó escoger el modelo; ya previamente nos había dicho que lo quería de esa forma; yo hubiese preferido hacer otro más bonito, pero la profesora dijo que lo quería formal y que todos tuvieran el mismo estilo.
 |  |
|---|
 |  |
|---|

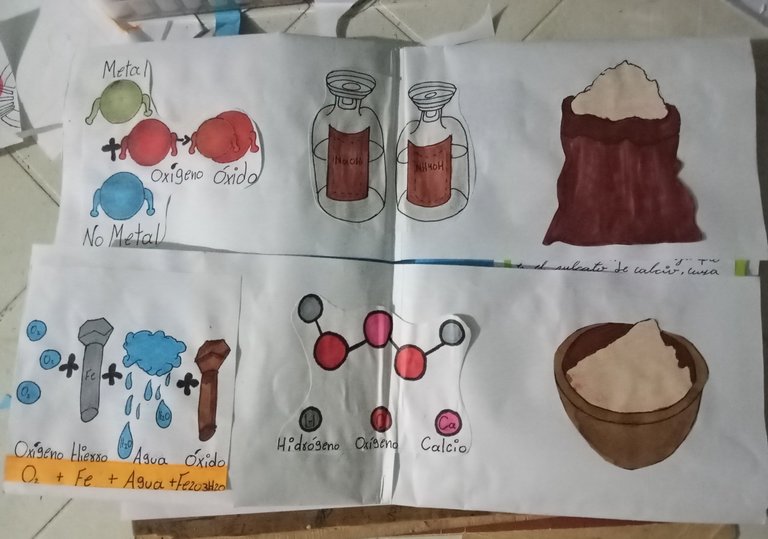
Al abrir el foldable se verían los dibujos
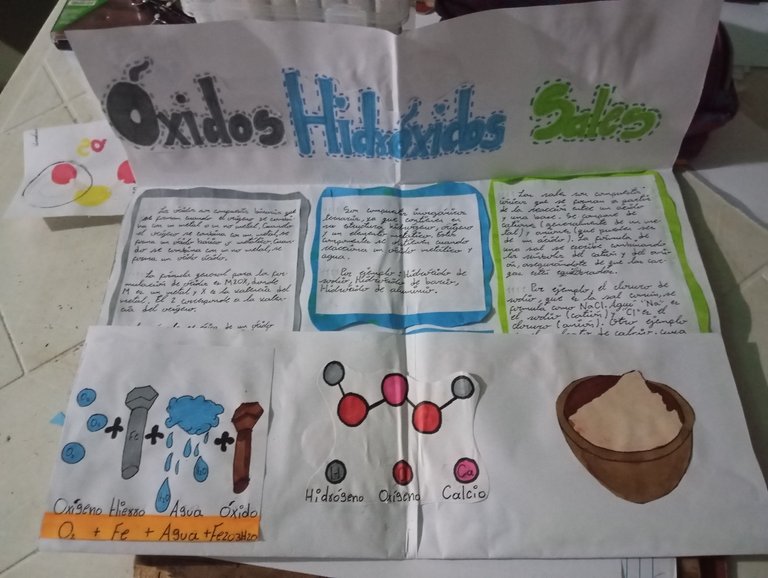
Miren la información dentro del foldable
 |  |
|---|
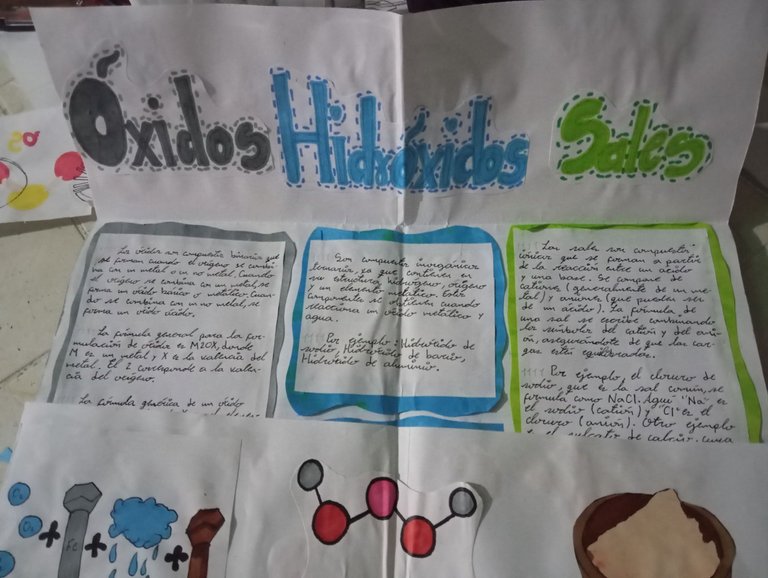
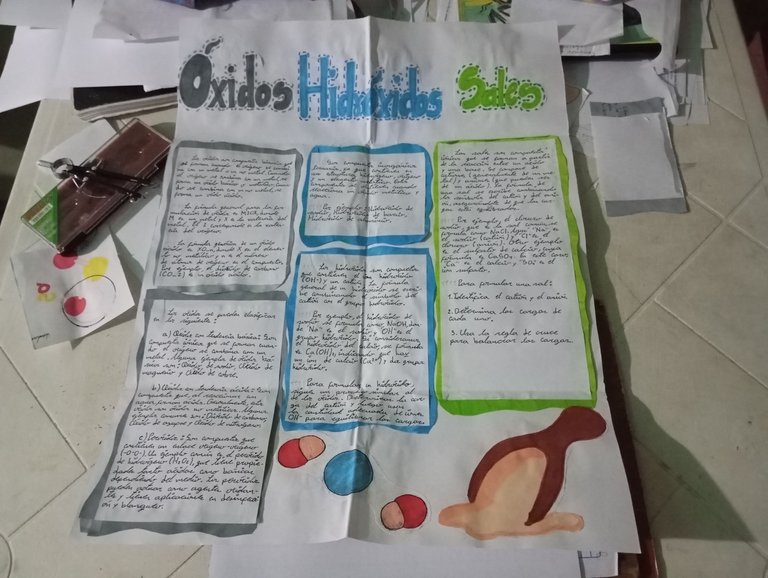
Y aquí tenemos completamente abierto nuestro foldable
Sé que pudo haber quedado mejor pero a mí me gustó mucho y espero que a ustedes también les guste.
Chao chicos y nos vemos en otro próximo post donde compartiré más actividades escolares con ustedes.
Por cierto estoy usando @commentrewarder para recompensar a todos aquellos que dejen valiosos comentarios en mi post.
Imagenes tomadas con mi celular Redmi Note 8
Miniatura editada en CapCut
Traducido con Hive Translator por @noakmilo.

Inglés
- White sheets
- Scissors
- Graphite pencil
- Eraser
- Sharpener
- Colors
- Markers
- Glue
- Ruler
- Compass
- Cell phone
I took 4 white sheets, glued them vertically, made two folds:
When gluing the four sheets vertically I folded them in half and then folded horizontally only a quarter of the top and bottom (jjjeee I think that's how it is, I don't know how to explain)
Here I show you how I did it so you can understand me better, the teacher had to explain it calmly because many of us didn't understand.
 |  |
|---|
After I organized each space, where I should place the information, I proceed to make the drawings that I will place in the foldable.

I paint them carefully, this is one of my favorite parts because I use my special markers which I love.
 |  |
|---|
I used leaf clippings to place the information that I had to paste on the foldable. I had previously looked for all the information related to the topic. Most of the information was provided to us by the chemistry teacher during class and we had to do the practical part, which is making the foldable.

The cover would obviously be placed in front of the foldable and the conclusion behind it, and the information about the formulation of oxides, hydroxides and salts, and the drawings on the inside of the foldable. The teacher suggested that we put detailed information and that the drawings be related to the topic, because many classmates sometimes talk about cells and put an airplane as a drawing, of course that is not my case, I am listening to the teacher and I am putting drawings that are related to the chemistry topic we are talking about.
I started to make the titles and subtitles of the topic, I was already shaping the foldable that the teacher asked for, she did not let us choose the model; she had previously told us that she wanted it that way; I would have preferred to make a prettier one, but the teacher said that she wanted it formal and that everyone had the same style.
 |  |
|---|
 |  |
|---|

When opening the foldable you would see the drawings

Look at the information inside the foldable
 |  |
|---|
And here we have our foldable completely open
I know it could have been better but I really liked it and I hope you like it too.

Bye guys and see you in another upcoming post where I will share more school activities with you.
By the way, I'm using @commentrewarder to reward all those who leave valuable comments on my post.
Images taken with my Redmi Note 8 cell phone
Thumbnail edited in CapCut
Translated with Hive Translator by @noakmilo.

Posted Using InLeo Alpha
