🇪🇸 ESPAÑOL
Hola a todos mis queridos Hive amigos
Hoy quiero enseñarles como recuperé el color de unos pantalones negros en casa de una forma muy sencilla y económica.
Se trata de unos pantalones negros míos y uno gris de mi novio que ya tienen unos años con nosotros, pero que por su mismo color oscuro habían perdido su tono inicial de tanto uso, y ya que aun cuando se conservaban muy bien, no están rotos y todavía nos quedan perfectos, decidí teñirlos para revivirlos y no tener que hacer la compra de unos pantalones que los sustituyeran.
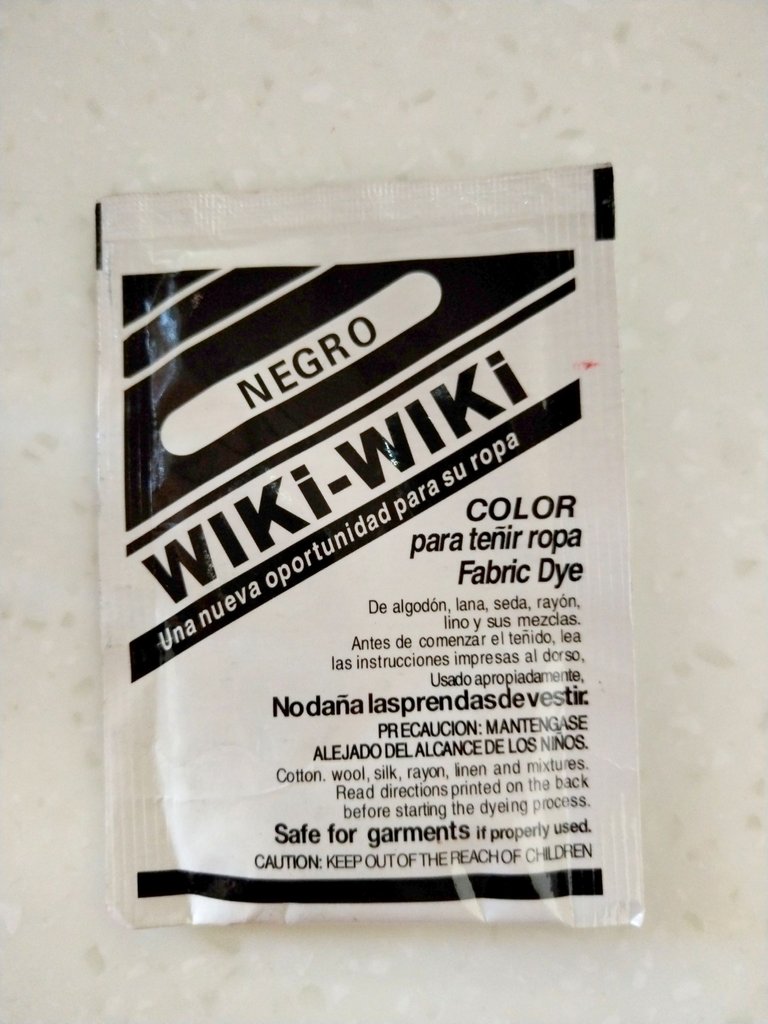
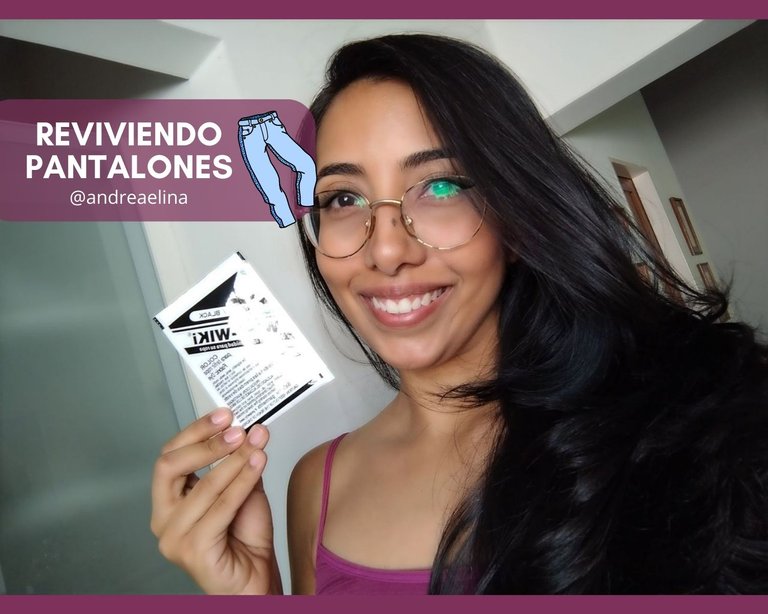
El teñido de estos pantalones lo hice con un producto que se consigue fácilmente en los comercios populares y actualmente hasta en la cadena Farmatodo se puede conseguir, su nombre es "Wiki Wiki" y viene de muchísimos colores.
Hoy en día se consigue hasta blanco, es súper útil porque no solo sirve para revivir el color de tus prendas, sino también para cambiarlas de color, es un producto súper económico, cuesta menos de $1 y es súper versátil.
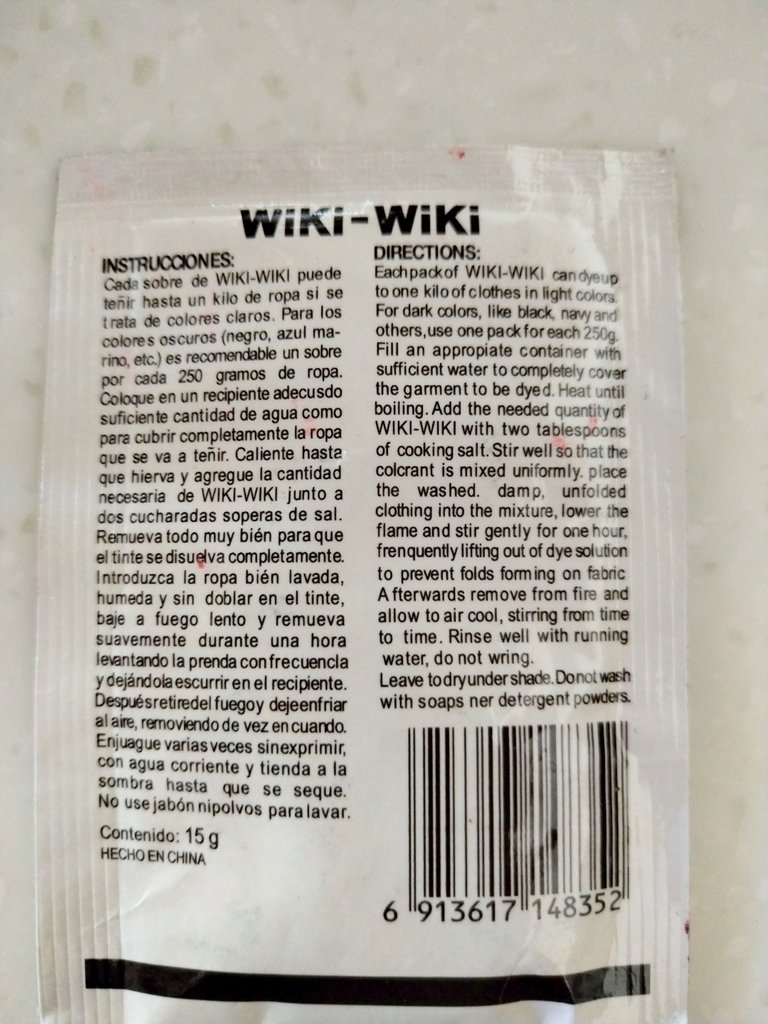
Pará hacer este trabajo pedí consejos a personas que ya lo habían hecho antes como mi papá y la señora que trabaja en mi casa, sin embargo, también leí detenidamente las instrucciones que aparecen en el reverso del paquetico y comencé a seguir tanto las instrucciones como completarlas con los consejos paso a paso.
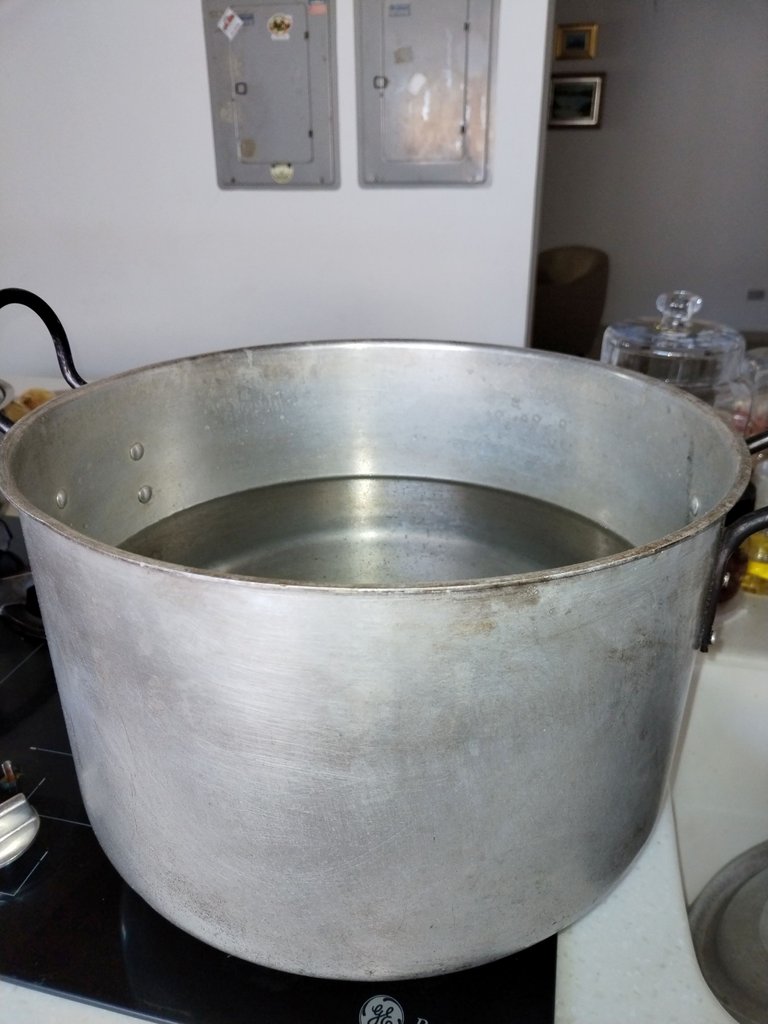
Comencé poniendo a hervir agua en una olla lo suficientemente grande donde pudieran caber todas las prendas al mismo tiempo.
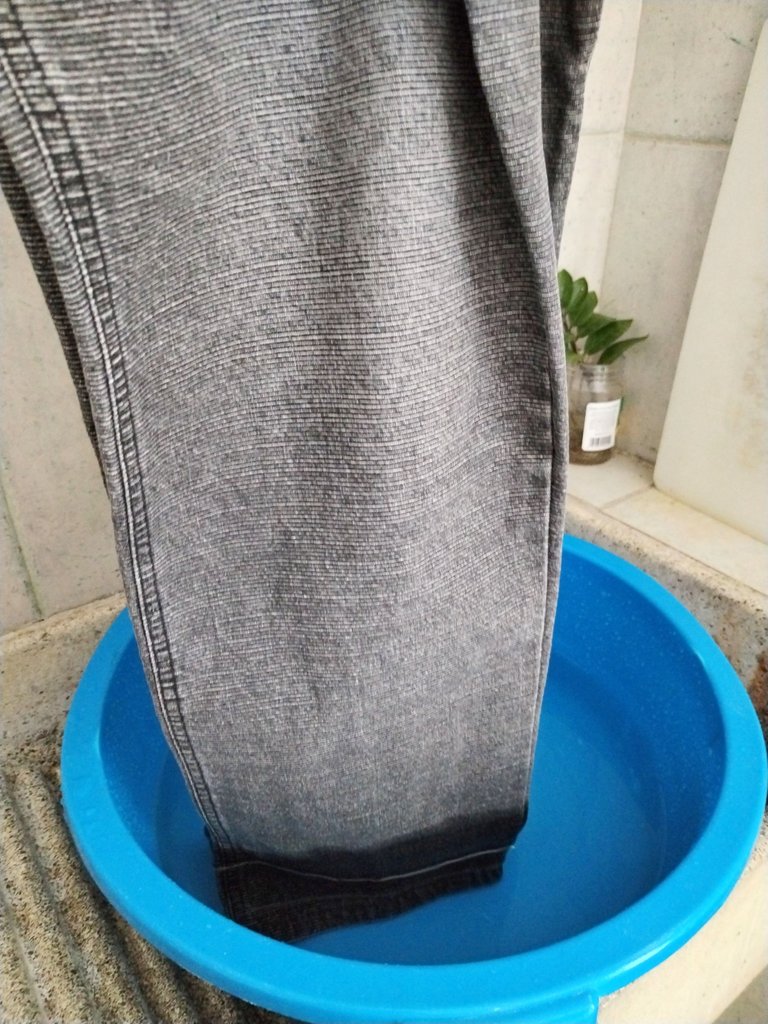
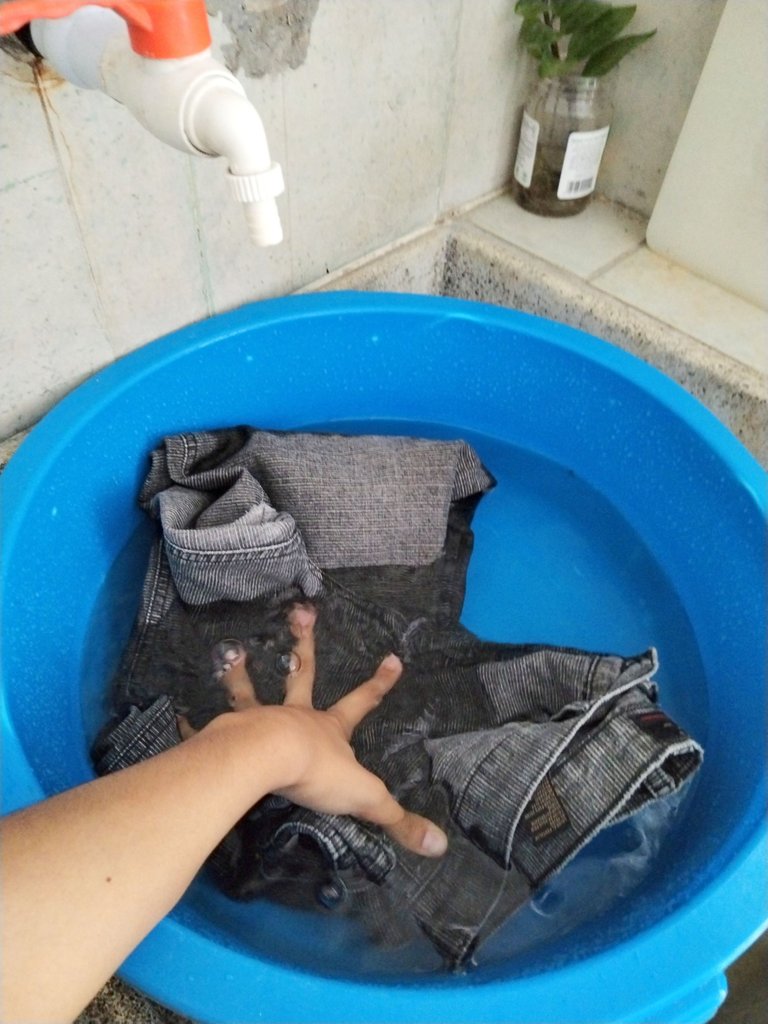
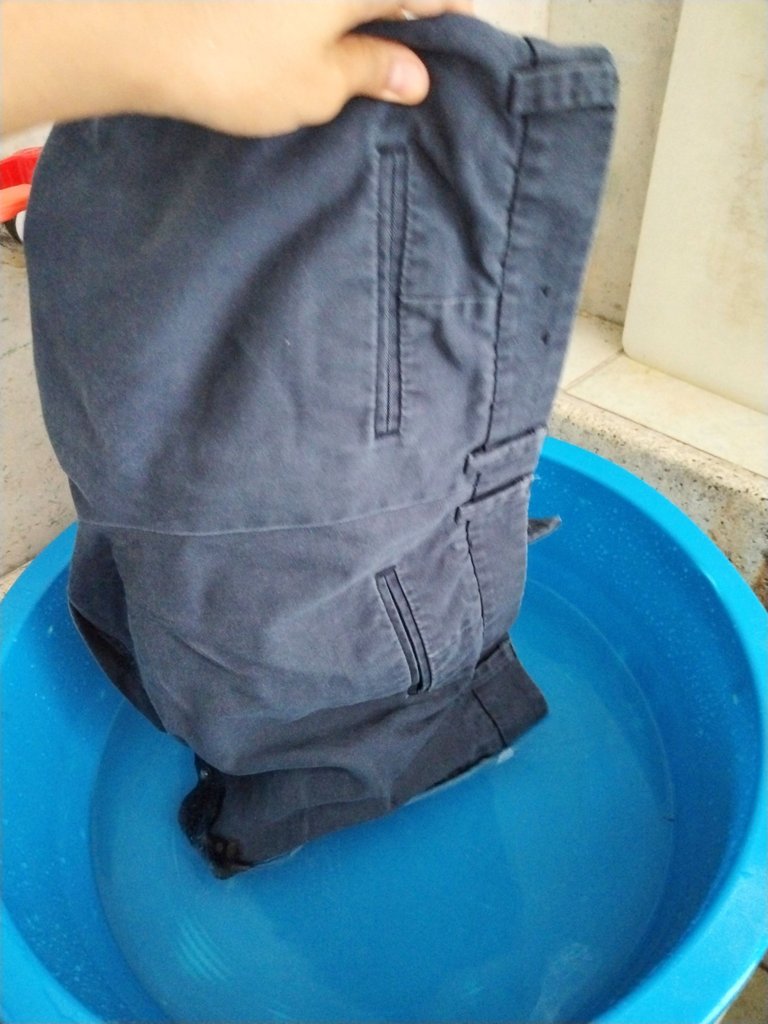

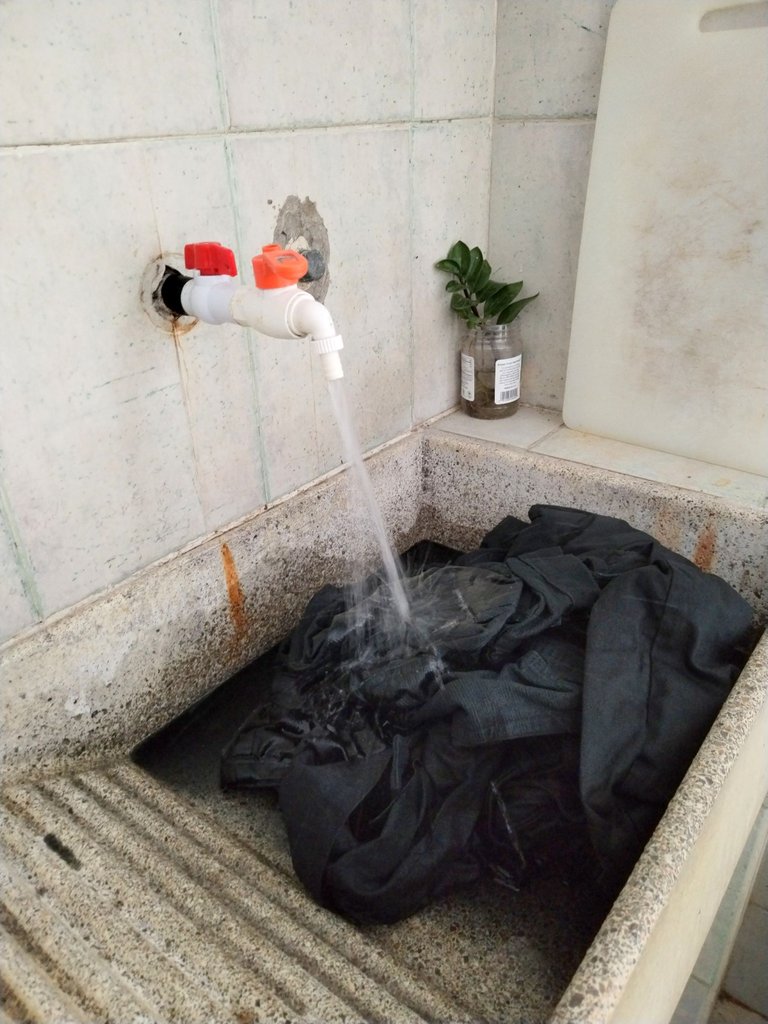
Luego remoje los pantalones, previamente limpios, con agua fría del chorro.
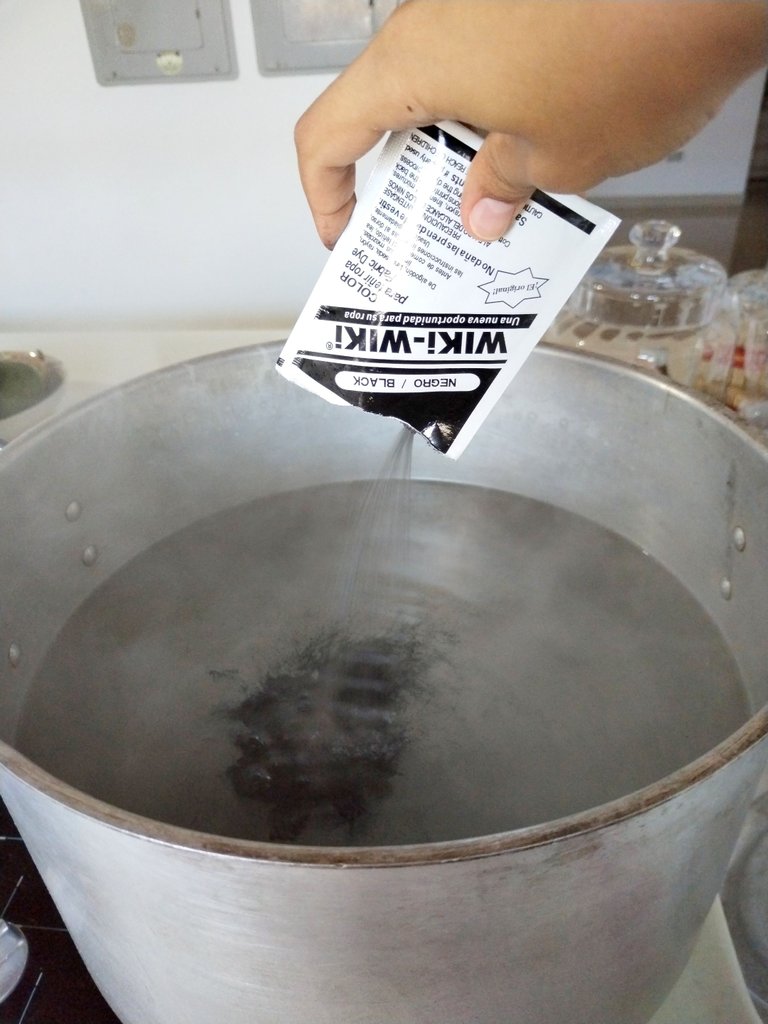
Una vez el agua de la olla empezó a hervir, coloque dos (2) sobres del colorante "wiki-wiki" negro en el agua (Yo utilice dos sobres porque tenía muchos pantalones y quería que me quedarán bien oscuros).
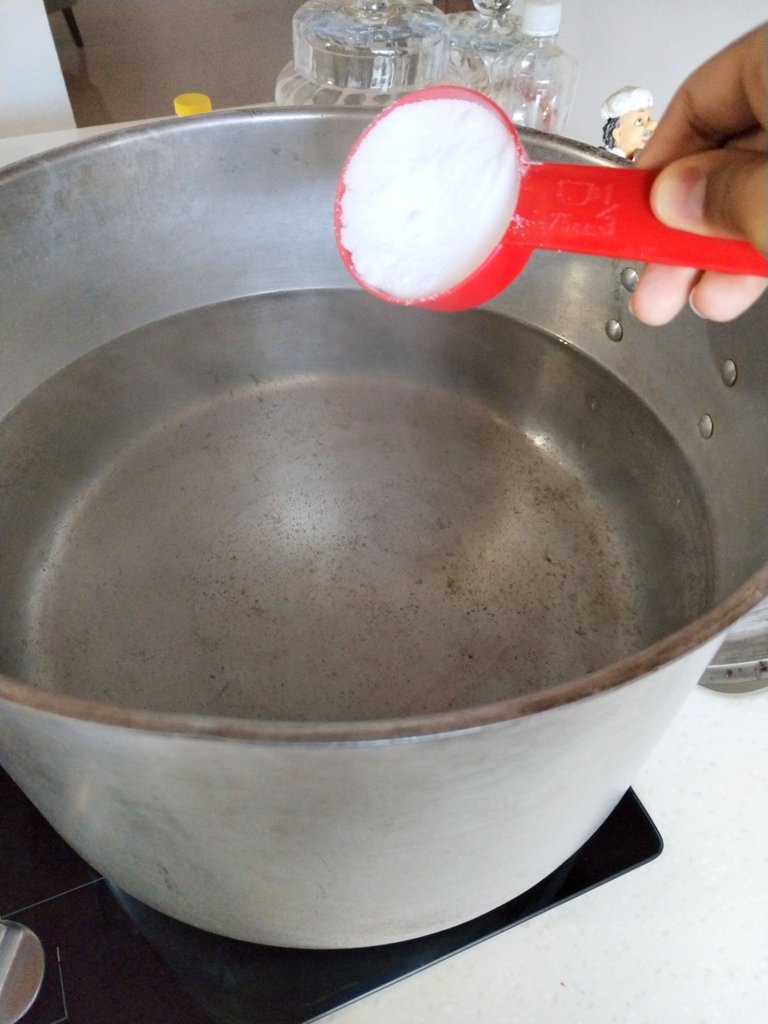

A esa agua con colorante le agregué 1/3 de taza de sal y otro 1/3 de taza de bicarbonato, removí todo muy bien hasta crear una mezcla homogénea, la sal y el bicarbonato son los que te ayudarán a fijar el color en la ropa.
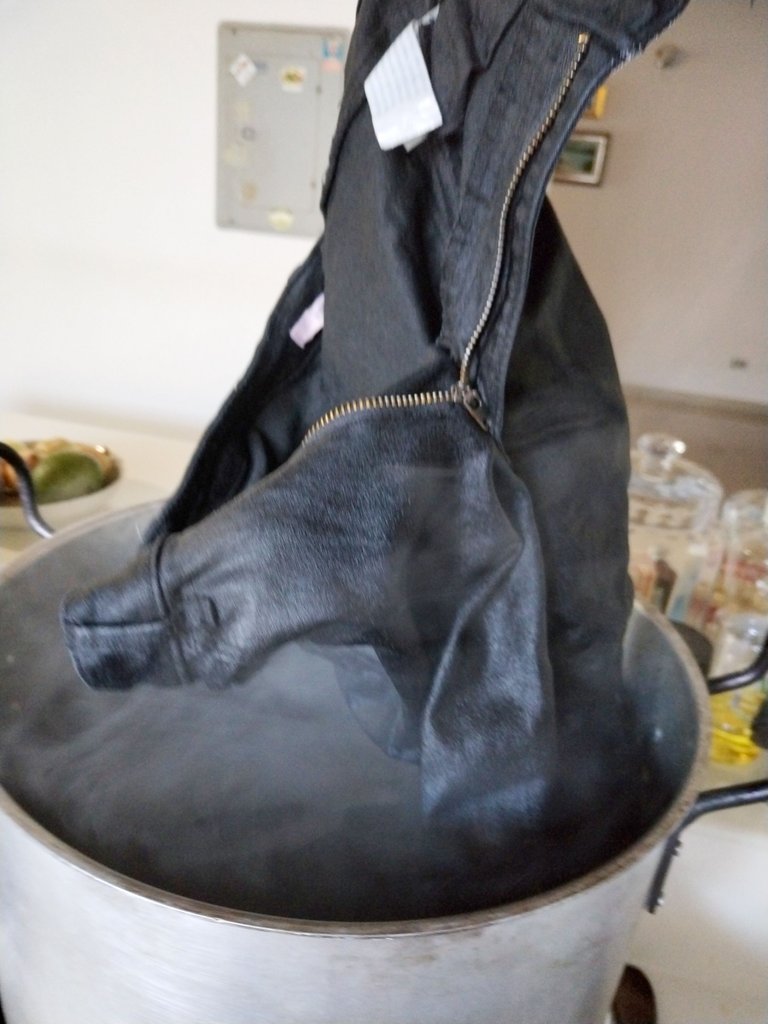
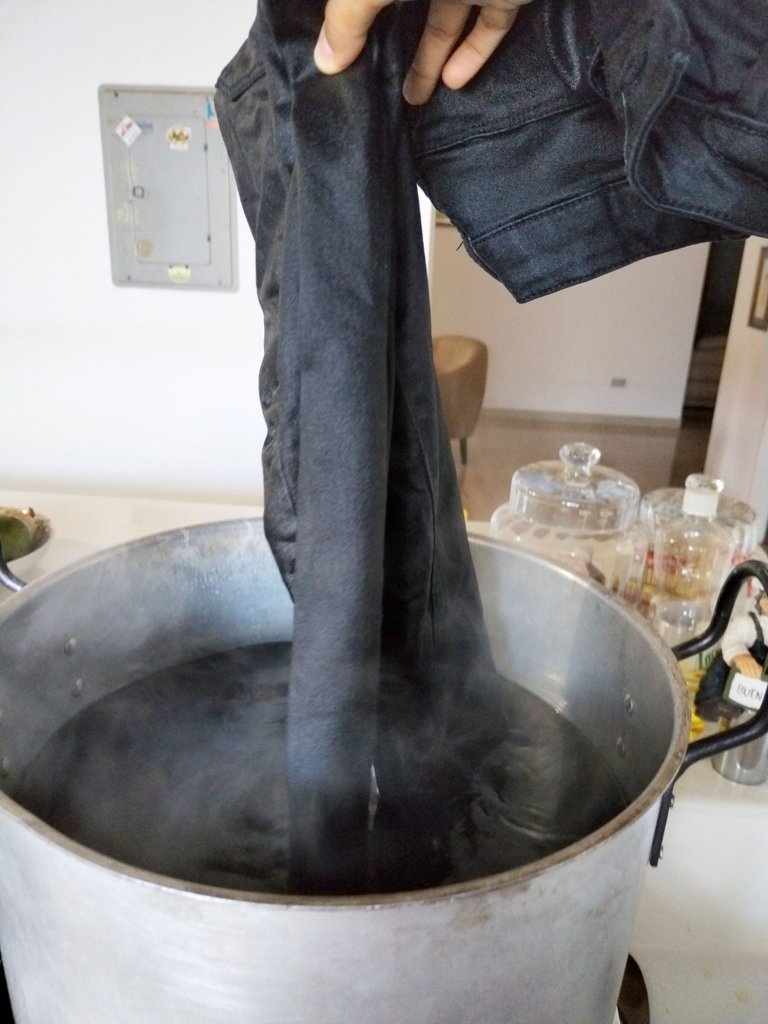
Después de mezclar todo bien se comienza a introducir pieza por pieza previamente humedecida y sin doblarlas para que vayan absorbiendo lo más uniformemente el tinte.
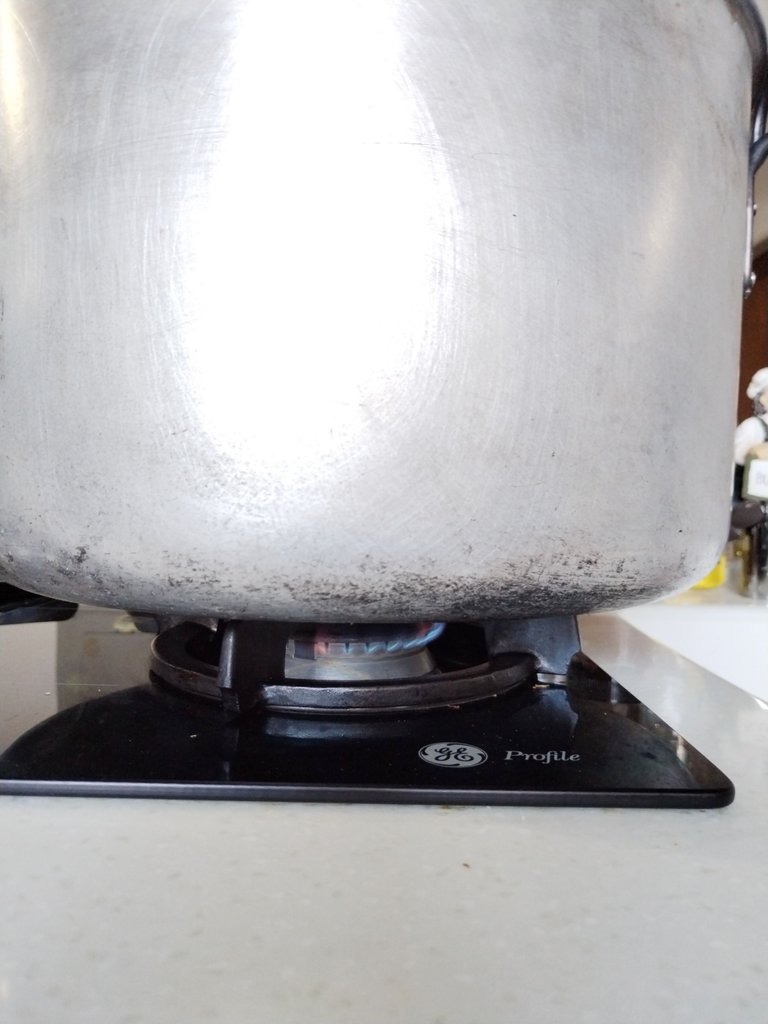
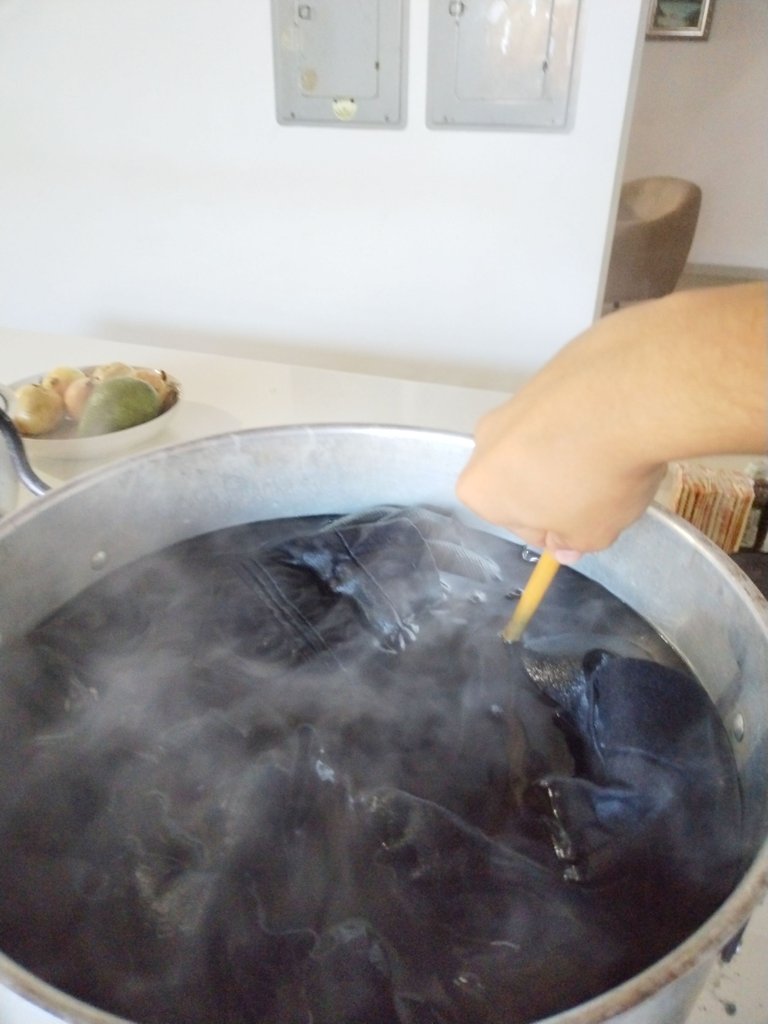
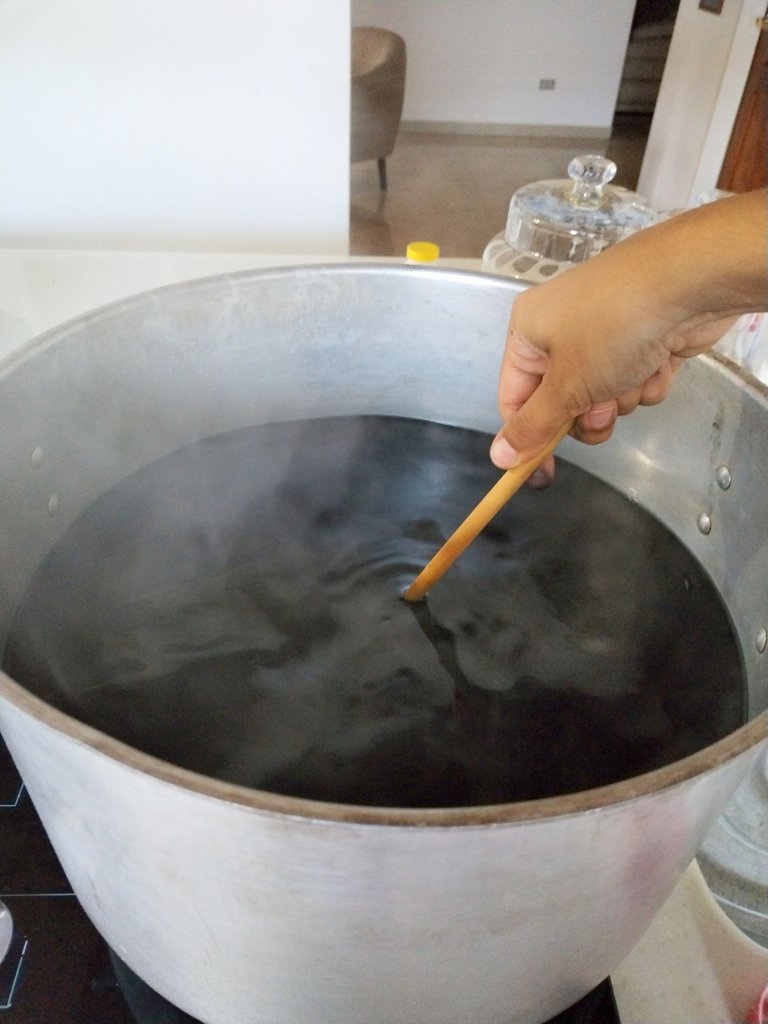
Luego que tienes todas las piezas metidas en tu agua caliente con tinte, bajas la candela de la estufa, la pones a fuego lento y se comienza a remover cada 10 min las piezas con cuidado hasta completar una hora de hervido.
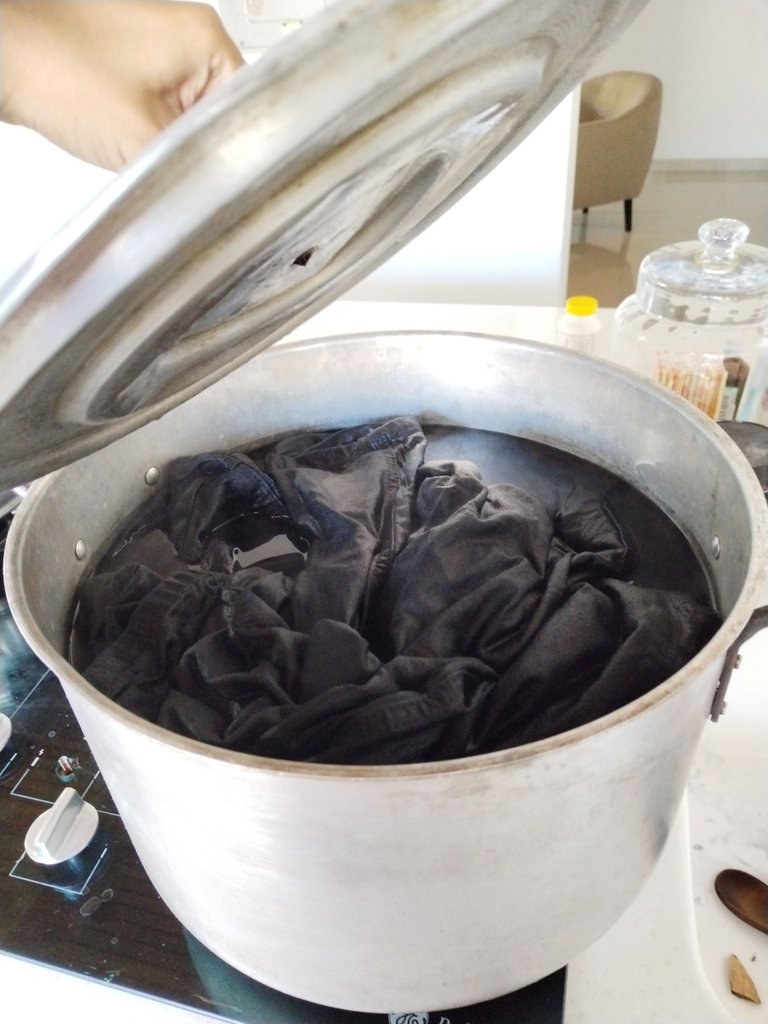
Luego de que pase esta hora de calor, apagas el fuego, mueves una vez más todas tus piezas y esperas que enfríe esa agua.
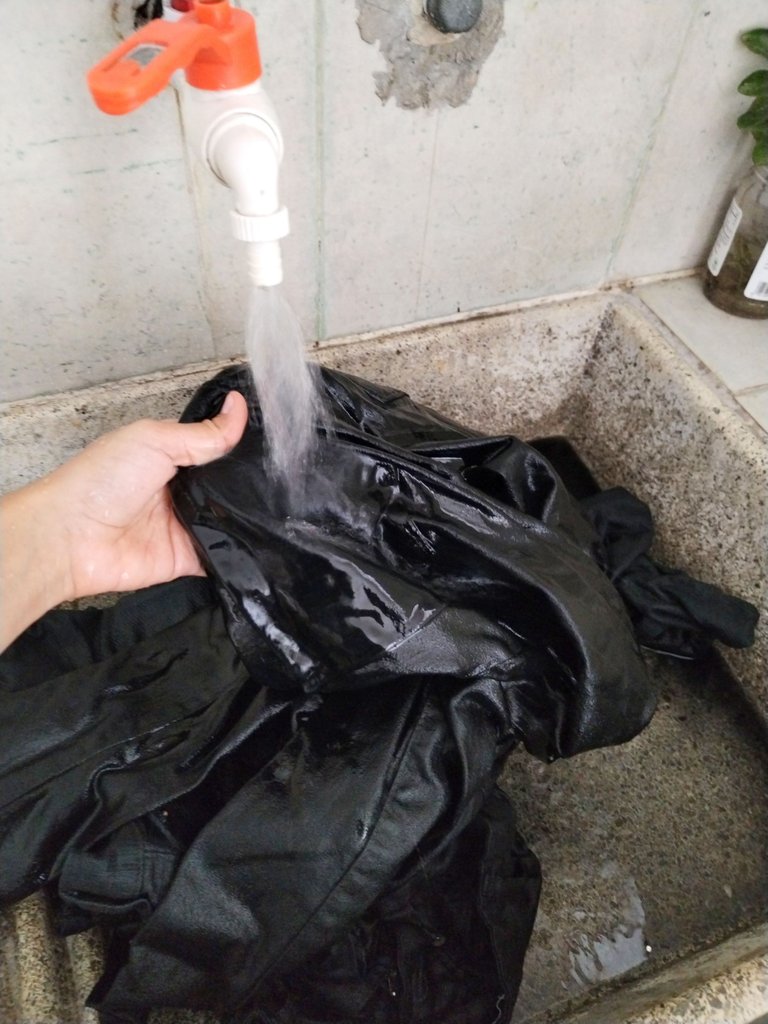
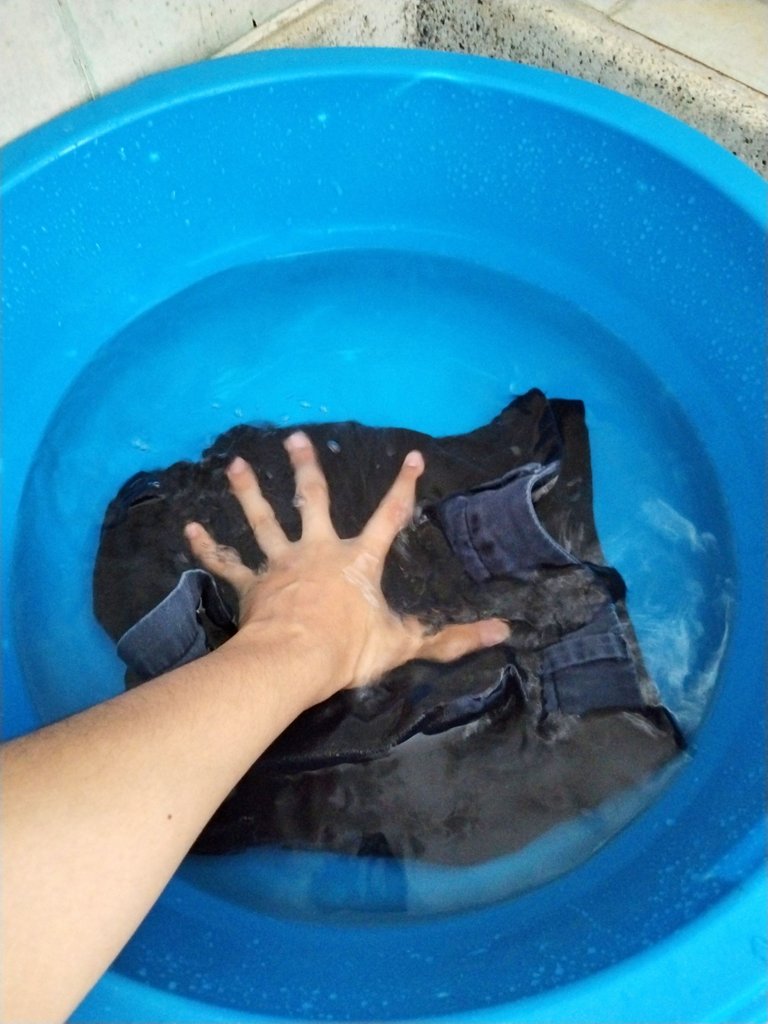
Después las llevas a tu chorro de agua más cómodo y las enjuagas muy bien hasta sacarle la mayor cantidad de tinta residual posible, todo este enjuague se hace solo con agua sin aplicar jabón ni ningún otro químico.
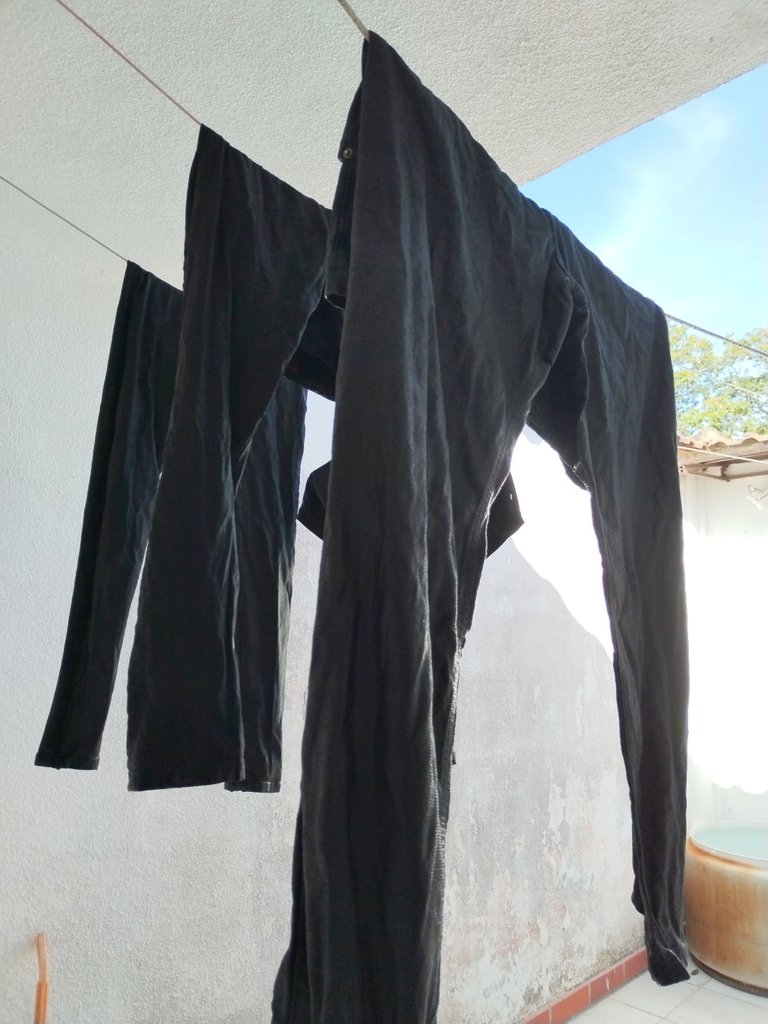
Y finalmente se ponen a secar las prendas bajo sombra.
Una vez secas es que podrás observar el tono que agarraron tus prendas y podrás proceder a lavarlas o si aún deseas, volver a iniciar el proceso para oscurecerlas todavía un poco más.
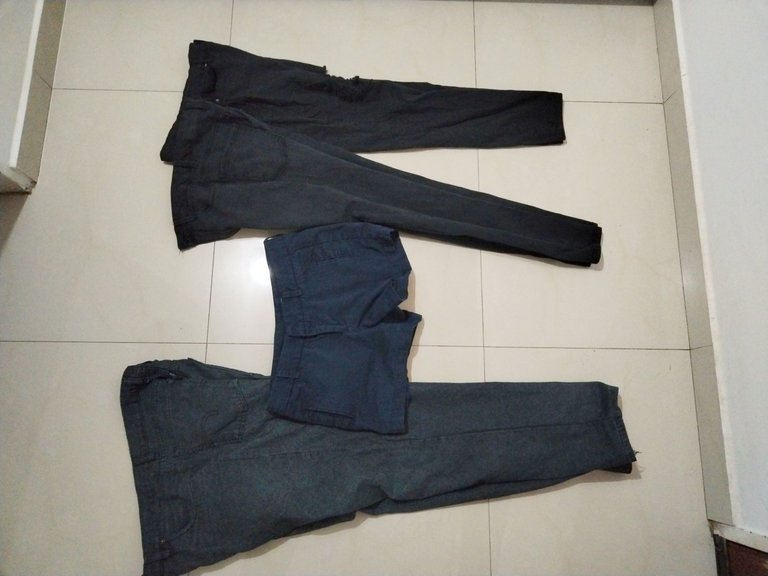
A mí con un solo proceso me quedaron bastante bien, me gustó mucho el tono en que quedaron, la verdad las reviví bastante y me siento súper contenta.
Espero que a ustedes también les guste el resultado y quieran probar luego con sus prendas de vestir. Como pueden ver, aunque el proceso se lleva su tiempito es algo bastante sencillo de hacer y es una solución bien práctica para siempre estar impecable y bajo costo.
Saludos a todos, hasta una próxima ocasión ❤️😁🙌🏽
🇺🇸 ENGLISH
Hello to all my dear Hive friends
Today I want to show you how I recovered the color of black pants at home in a very simple and economical way.
These are some black pants of mine and a gray one of my boyfriend that have been with us for a few years now, but due to their very dark color they had lost their initial tone from so much use, and since even when they were very well preserved, they are not torn and they still fit us perfectly, I decided to dye them to revive them and not have to buy pants to replace them.
I dyed these pants with a product that is easily available in popular stores and currently can be found even in the Farmatodo chain, its name is 'Wiki Wiki' and it comes in many colors.
Today you can even get white, it is super useful because it not only serves to revive the color of your clothes, but also to change them, it is a super cheap product, it costs less than $1 and it is super versatile.
To do this work I asked for advice from people who had already done it before like my dad and the lady who works in my house, however, I also carefully read the instructions that appear on the back of the package and I began to follow the instructions as well as complete them. with step-by-step advice.
I started by boiling water in a pot big enough to hold all the clothes at the same time.
Then soak the previously cleaned pants in cold tap water.
Once the water in the pot started to boil, place two (2) packets of the black 'wiki-wiki' food coloring in the water (I used two packets because I had a lot of pants and wanted them to be dark).
I added 1/3 of a cup of salt and another 1/3 of a cup of bicarbonate to that water with dye, I stirred everything very well until creating a homogeneous mixture, the salt and the bicarbonate are the ones that will help you to fix the color in the clothing.
After mixing everything well, begin to introduce it piece by piece, previously moistened and without bending them so that they absorb the dye as evenly as possible.
After you have all the pieces put in your hot water with dye, lower the stove candle, put it on a slow fire and begin to stir the pieces carefully every 10 minutes until completing an hour of boiling.
After this hour of heat has passed, you turn off the fire, move all your pieces once more and wait for the water to cool down.
Then you take them to your most comfortable water jet and rinse them very well until you remove as much residual ink as possible, all this rinsing is done only with water without applying soap or any other chemical.
And finally the garments are put to dry in the shade.
Once dry, you will be able to observe the tone that your garments took on and you can proceed to wash them or if you still want, start the process again to darken them a little more.
With just one process they turned out quite well, I really liked the tone they turned out in, the truth is that I revived them quite a bit and I feel super happy.
I hope that you also like the result and want to try it later with your clothes. As you can see, although the process takes a little time, it is quite simple to do and it is a very practical solution to always be impeccable and low cost.