ESP/ENG- Bricolaje: Linda mini-mochila para muñecas, elaborada con material de provecho/DIY: Cute mini backpack for dolls, made from scrap materials

in #hive-1305603 years ago

¡Buenos días querida comunidad!

Good morning dear community!

Espero tengan un hermoso día, hoy les muestro mi pequeño trabajo creativo de como realice una pequeña mochila para las muñecas de las niñas con material de provecho vamos a los materiales y luego al tutorial

241694263_649776862592256_9030780891010335908_n.jpg

I hope you had a beautiful day, today I show you my little creative work of how I made a small backpack for the girls dolls with useful material, let's go to the materials and then to the tutorial
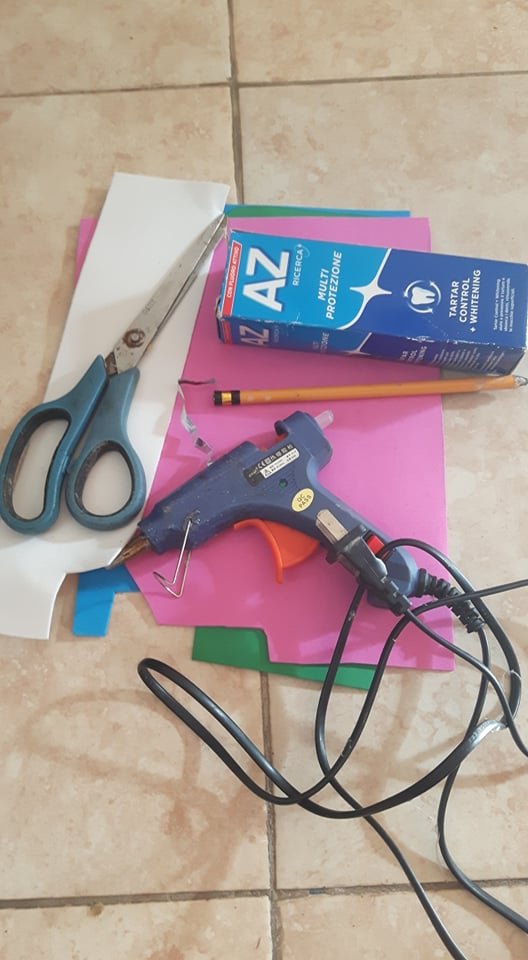
Materiales:
Caja de crema dental
Tijeras
Retazos de foami
Lapiz
Silicon caliente o frío

Materials:
Box of toothpaste
Scissors
Pieces of foami
Pencil
Hot or cold silicon

241782584_2944771352427763_5739481350684765558_n.jpg

Tutorial

Lo primero que haremos será cortar la caja de crema dental por la mitad, luego lo forraremos con el foami del color que prefieran para sus niñas, dejaremos el extremo de atrás un poco abierto en la parte de arriba para así colocarle lo que será la parte para cerrar la mochila

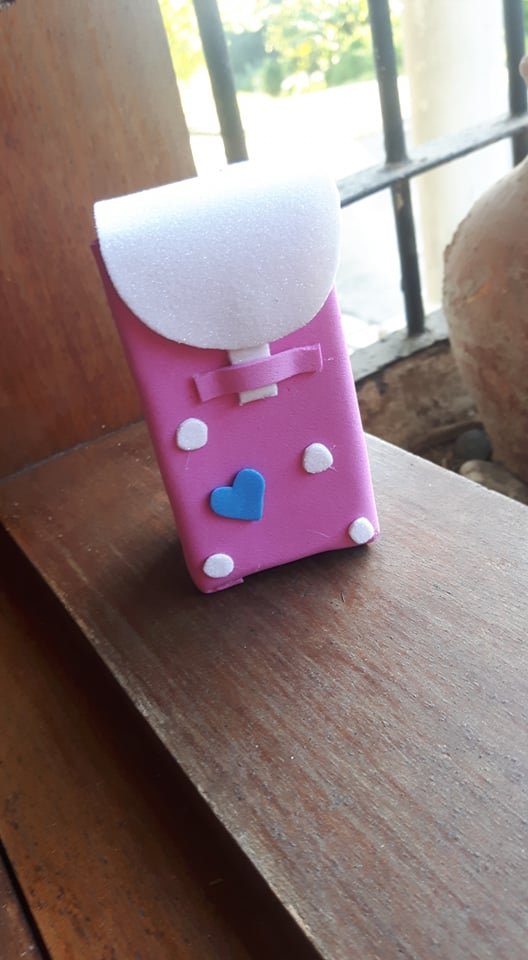
The first thing we will do is cut the toothpaste box in half, then we will cover it with the foami of the color you prefer for your girls, we will leave the back end a little open at the top to place what will be the part to close the backpack

Diseño sin título.png

Cortaremos con un pedazo de rectangulo lo que será para cerrar el bolso le damos una forma redondeada, ahora la pegaremos en el extremo que dejamos abierto y lo pegamos al final

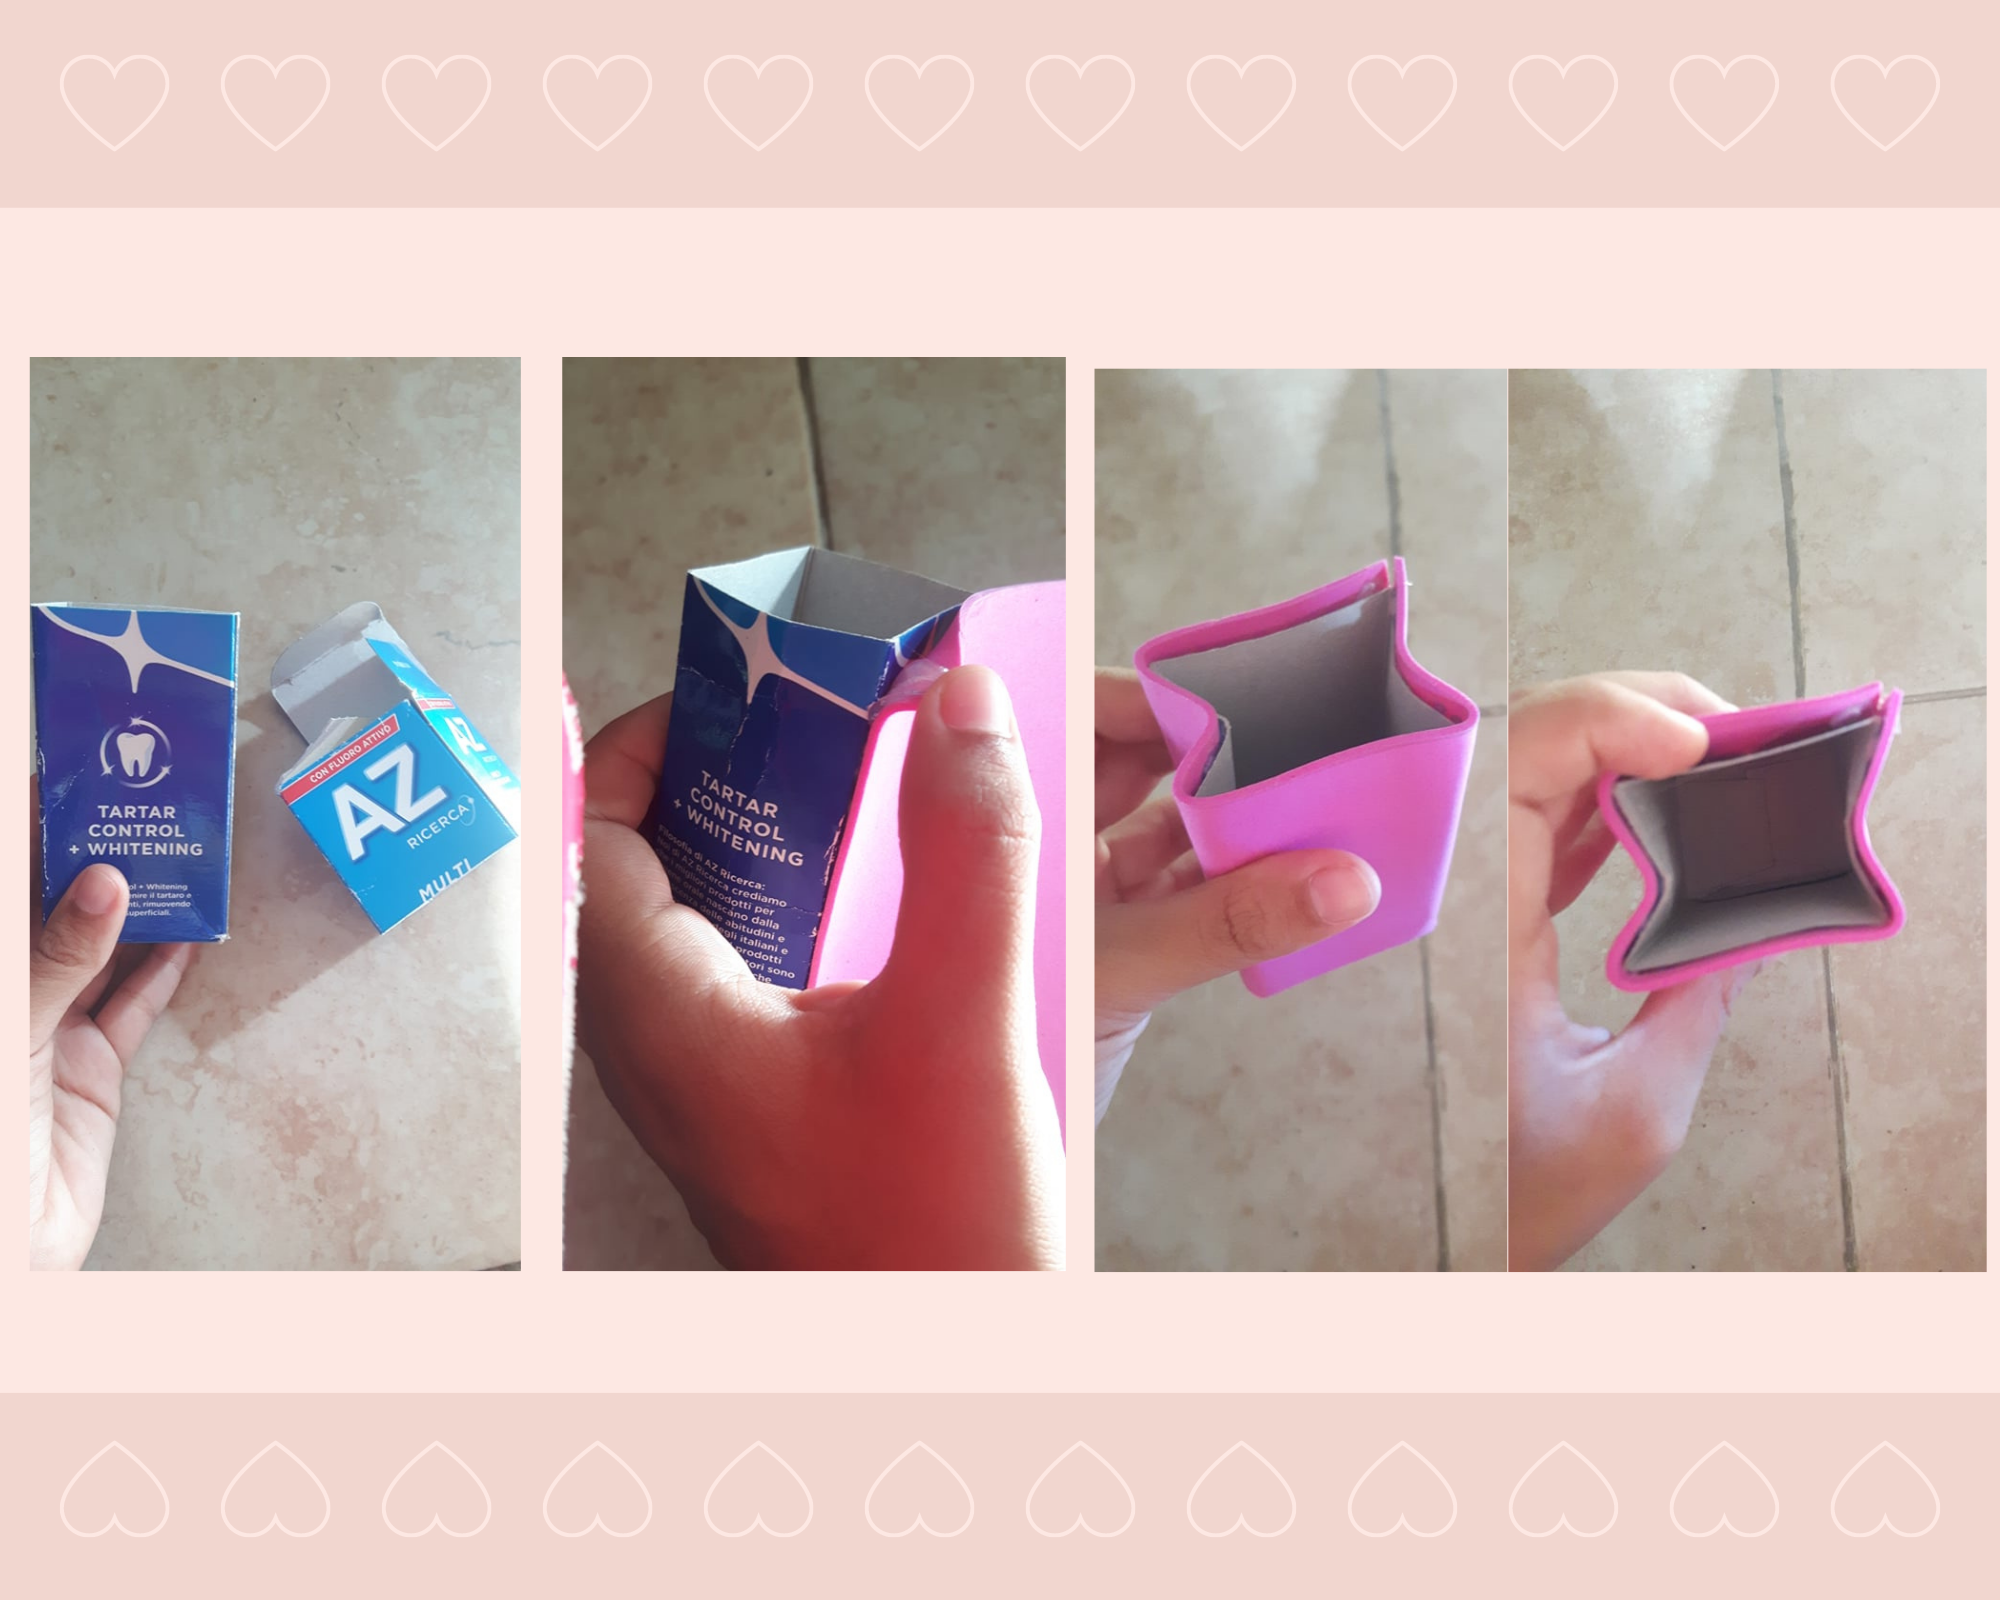
We will cut with a piece of rectangle what will be to close the bag we give it a rounded shape, now we will glue it at the end that we left open and glue it at the end

Diseño sin título (1).png

241729472_377740980478985_6066575128774444009_n.jpg

(Ayuda extra de Café/Extra help of Coffee)

Ahora cortaremos dos trozos de foami rectangulares, lo cuales serán las cuerdas para colgar la mochila y se lo pegamos atrás, ahora recortamos un pequeño rectangulo y se lo pegamos debajo de lo que es la tapa de la mochila, esto será para que pueda cerrar el bolso

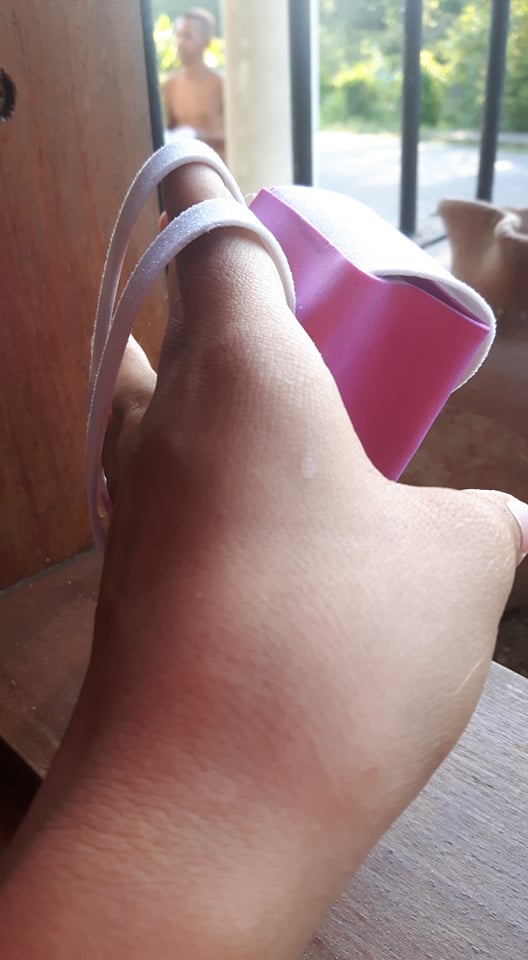
Now we will cut two rectangular pieces of foami, which will be the strings to hang the backpack and glue it at the back, now cut a small rectangle and glue it under what is the lid of the backpack, this will be so you can close the bag

Diseño sin título (2).png

Ahora para cerrar el bolso cortaremos otro rectangulo pequeño y lo pegamos a la distancia que corresponda para cerrar la mochila, para decorar cortamos unos pequeños círculos y un pequeño corazón, y lo pegamos donde mas nos guste

Now to close the bag we will cut another small rectangle and glue it at the distance that corresponds to close the backpack, to decorate cut some small circles and a small heart, and glue it where we like

Diseño sin título (3).png

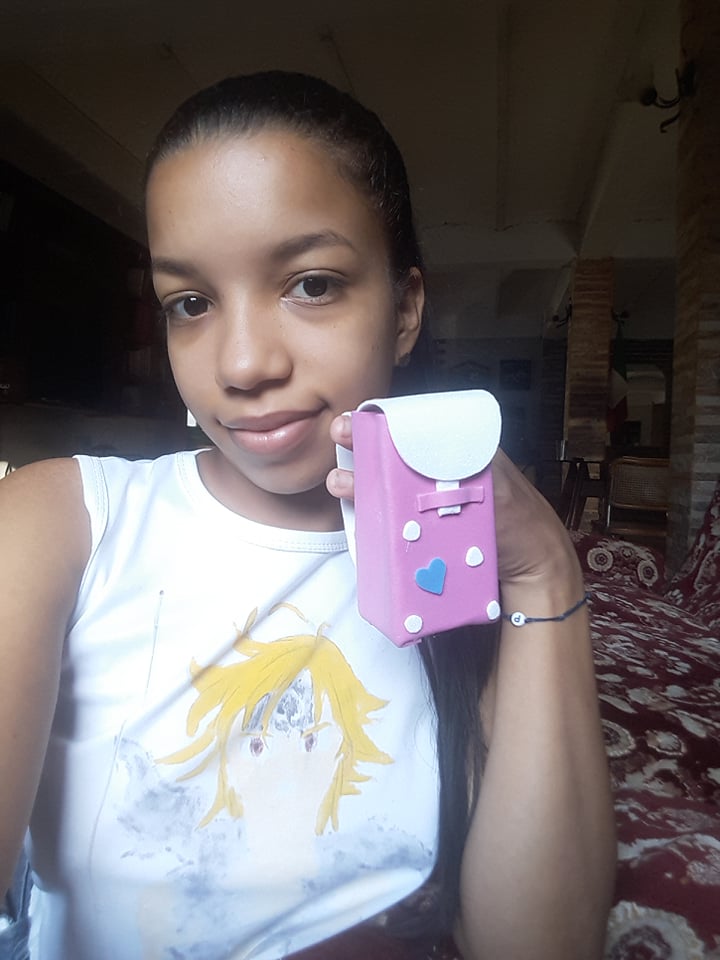
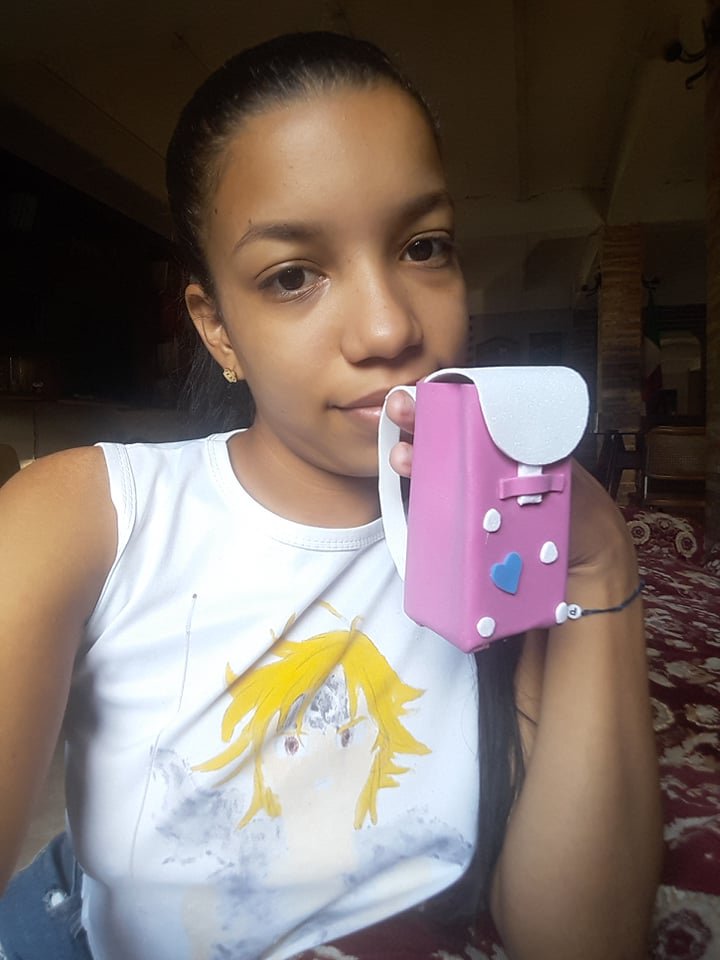
Y así quedó la mini mochila para las muñecas de las niñas en casa, espero les haya gustado y les sirva de mucho, no leemos la próxima

And so was the mini backpack for the dolls of the girls at home, I hope you liked it and serve you a lot, do not read the next
.

241706089_367659744826643_5306262947610328125_n.jpg

241549510_1012685876246553_5985729649263686729_n.jpg

241770814_536339587435288_1042282898655550780_n.jpg

Imagen hecha en Canva (1).gif