Hello my friends!
¡Feliz y bendecida noche para todos mis amigos de hive diy! Que bueno saludarles nuevamente y compartir un momento agradable con todos ustedes😁😊💖
Happy and blessed night to all my hive diy friends! It's good to greet you again and share a pleasant moment with all of you😁😊💖
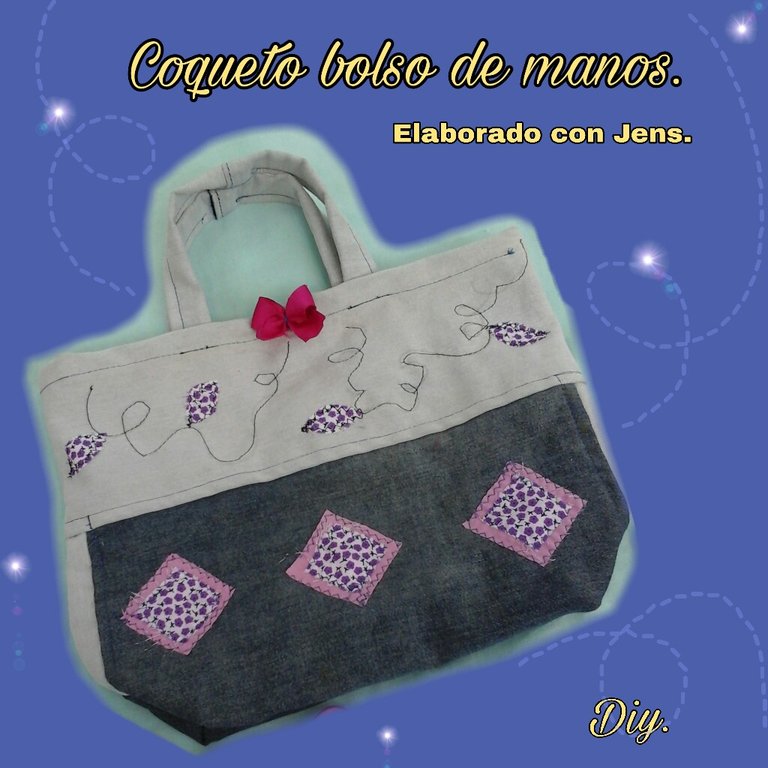
A few days ago I wanted to make a cute jeans bag, on Sunday I set aside some time to do it using some scraps that are never missing from our things, I know that the friends who sew know very well what I am talking about hehe!😃. Whenever I had the opportunity, I would make a jean bag or any other fabric, the truth is that I love making them, I think it's one of the things I love making the most, a bag was never missing at home but unfortunately they suffered the same fate as this one , suddenly someone came to my house, fell in love with my bag and I ended up giving it to them, hehe!😁. When I finished this bag, my mother-in-law liked it a lot and as usual I ended up giving it as a gift😃😂. These bags are very useful and we can carry our personal things when going out. So if you like this project, I invite you to follow me in this procedure until the end.

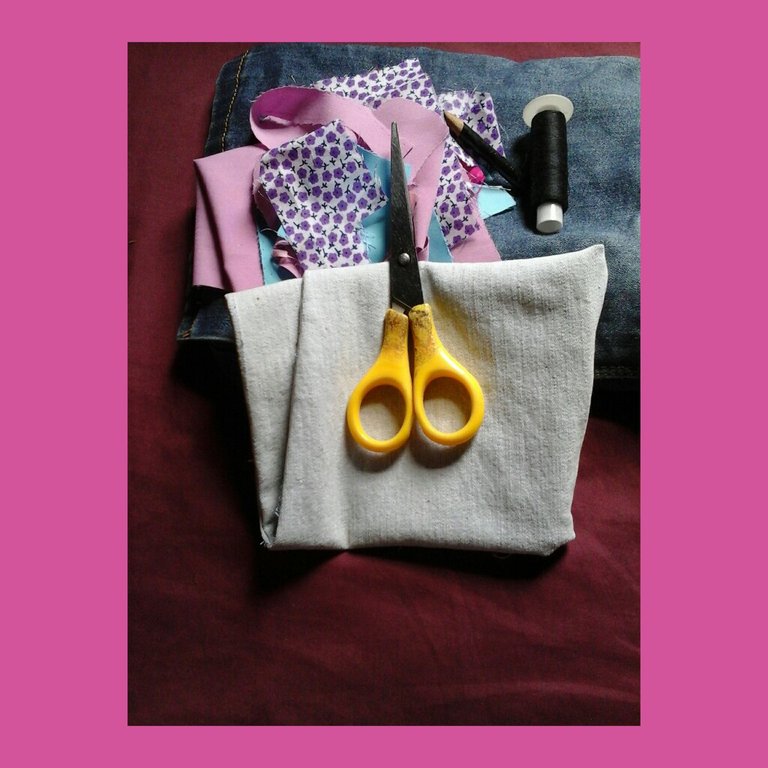
- Tela blue jens, claro y oscuro.
- Lápiz para marcar.
- Patrones.
- Tijera.
- Hilo y aguja.
- Cinta métrica o alguna regla.
- Blue jens fabric, light and dark.
- Pencil to mark.
- Patterns.
- Scissors.
- Thread and needle.
- Tape measure or some ruler.
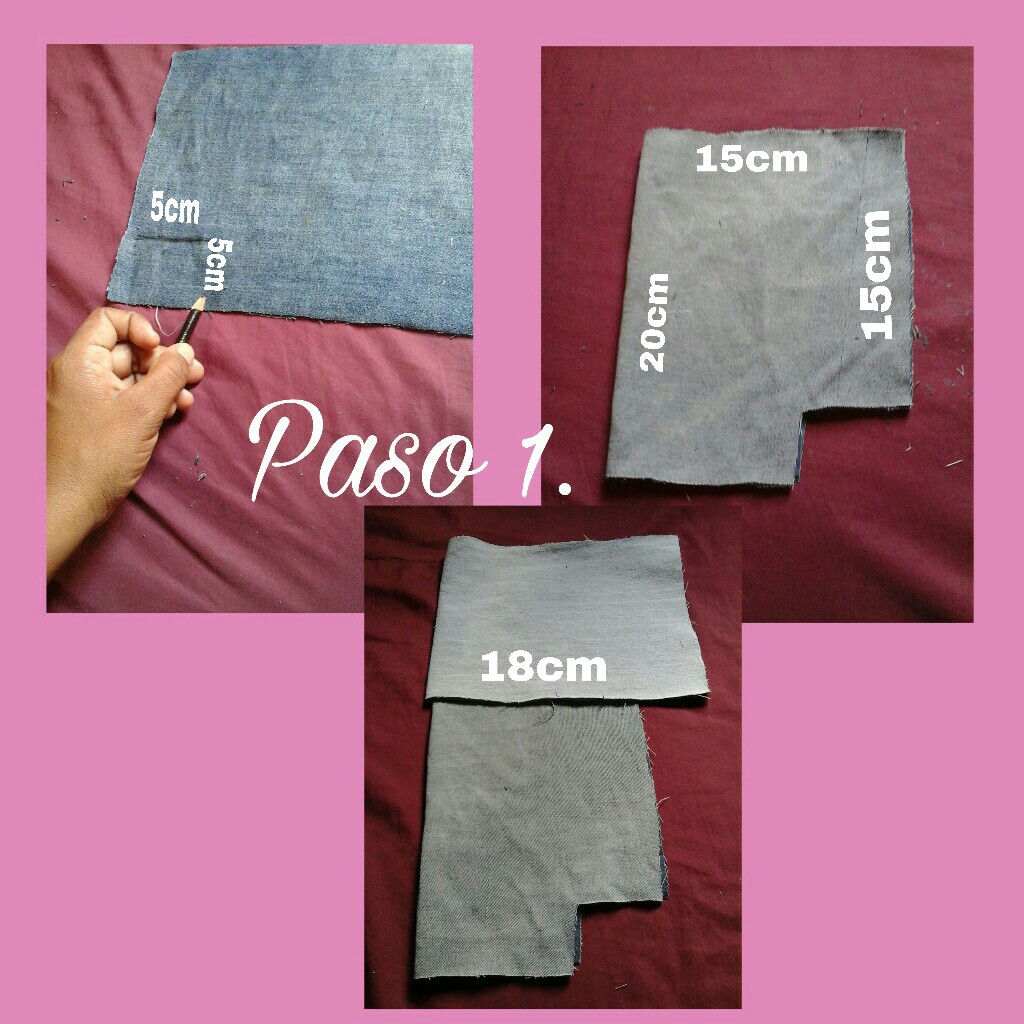
Before starting to make the bag, we must make the patterns on sheets of paper with their respective measurements, we take the darkest blue jeans fabric and cut two pairs of rectangles approximately 20cm long by 15cm wide in the fold, we measure 5cm inwards and go down with the same 5cm, see the image. Once we have finished, we take the lightest fabric and cut 2 pieces of 10cm long by 18cm wide, folded. These pieces will be the upper part of the bag, finally we are going to cut four rectangular pieces of 3cm wide by 15cm long.
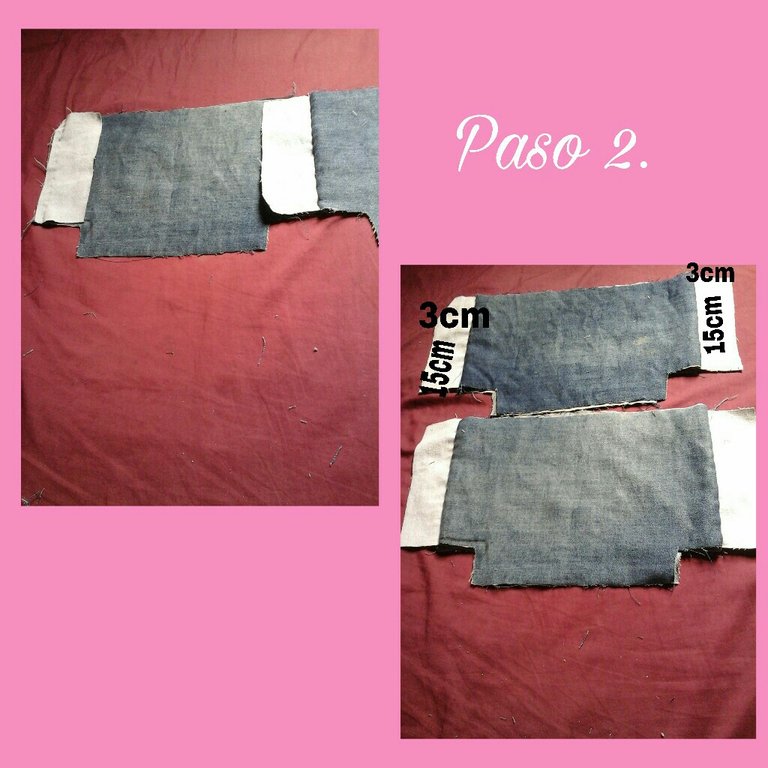
We take the pieces in the shape of rectangles (15cmx3cm) we place them on the darker ones, we take the piece that will go inside the bag, we sew only on the sides and on the back of the bag fabric. Observe how it turned out when turning the pieces over, no seam will be noticeable since they will remain on the inside.
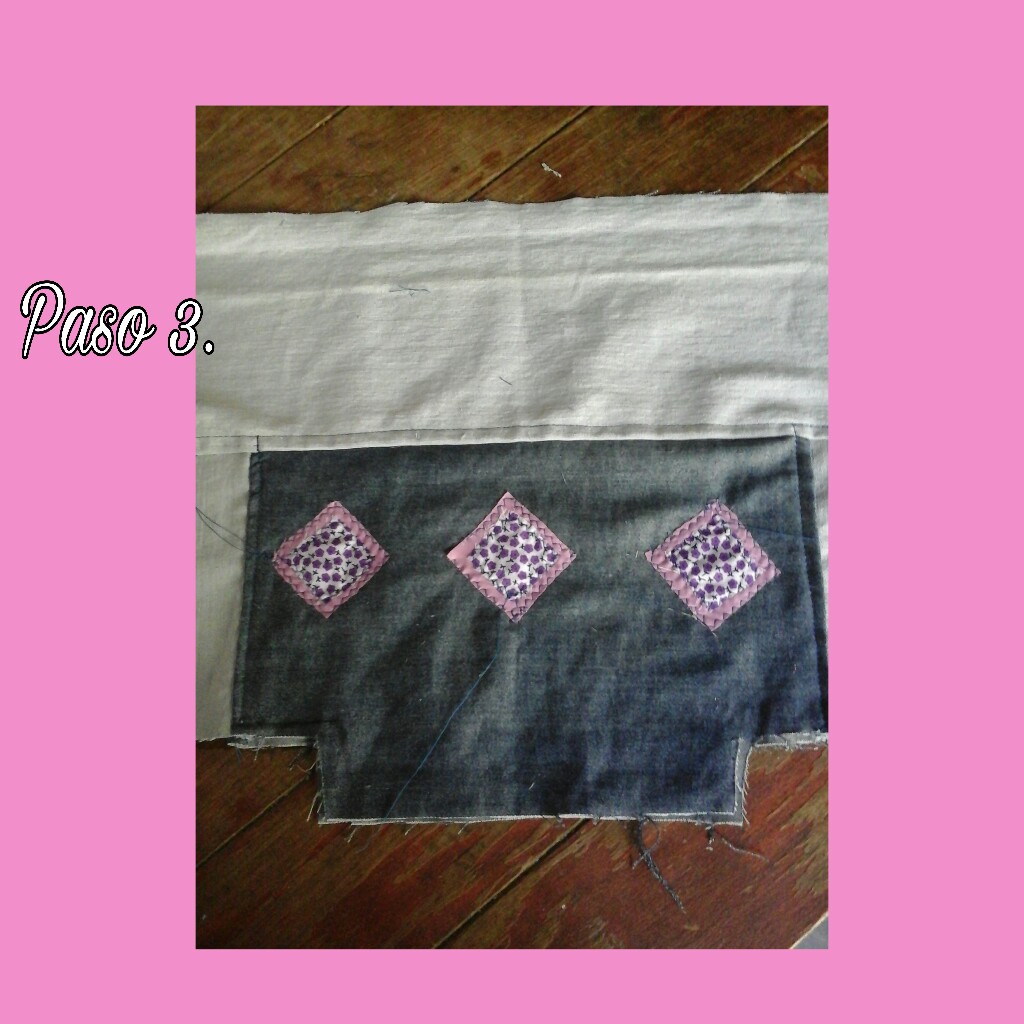
Sew the top to the bottom, sew a straight seam on the outside to reinforce the inside seam, it will also look very pretty. To decorate, cut out a few small squares of fabric and sew to the front of the bag, use a zigzag seam since I don't have the appropriate machine to do this type of seam. This is how the back of the bag should look, only do not put the appliqués on it.
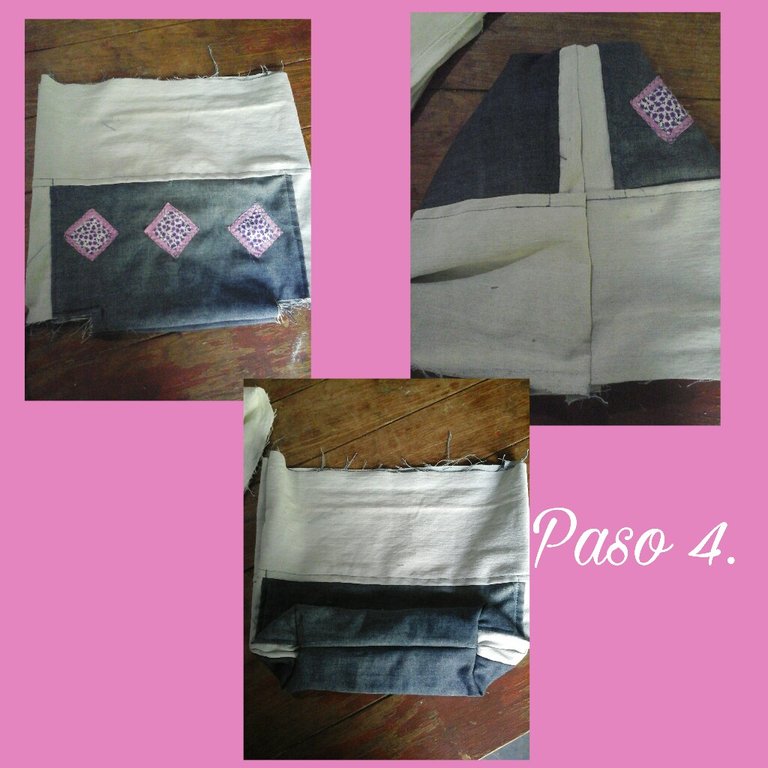
In this step we join the pieces on the sides and the bottom, if you can see there is an opening in each corner, we sew so that our bag has a base, and a very pretty There are many simple bags that don't have this shape, but I didn't want to make them straight and simple; Personally, I really like bags with a base like this one.
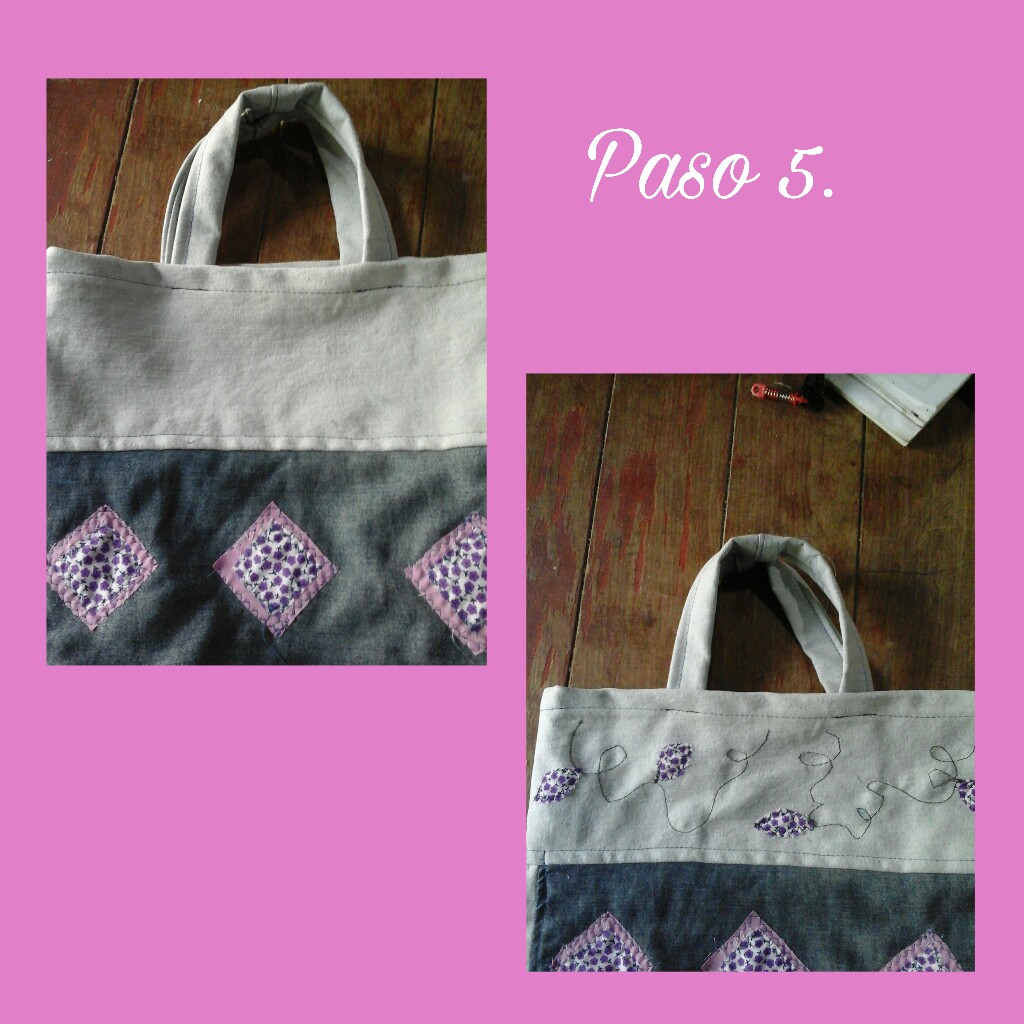
Sew the hem, cut some strips of approximately 25cmx6cm, these will function as pendants where we are going to hold the bag. Finally I marked with a pencil I made some curved lines and then passed the machine and made a nice design on top.

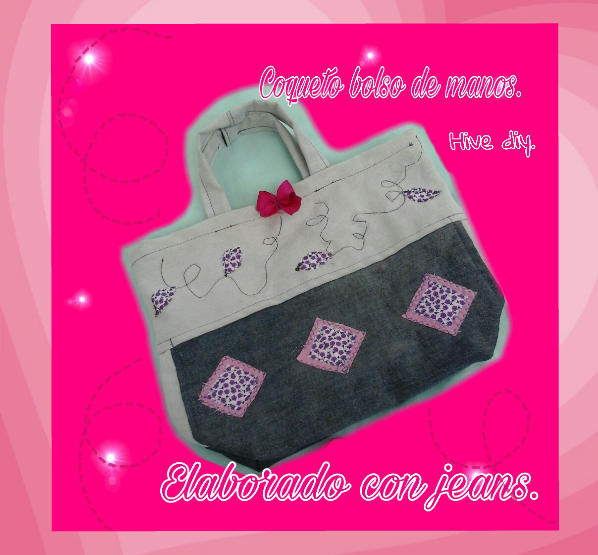
Friends, this is the result we have obtained, this is how we can make our own handbag that we can take anywhere. I hope you like the result.
What a joy to have shared with all of you this beautiful sewing project, I hope to share another one with all of you. Grateful to everyone for the support and for each comment. I only have to wish you a HAPPY AND BLESSED NIGHT! See you soon with more seams.!!.
Se trabaja con mucho amor.💖💖
You work with a lot of love.💖💖

Créditos.
Todo el contenido es de mi autoria.
Fotos capturadas por mi tablet Samsung galaxy, editadas por Picsart.
Traductor utilizado Esp/Ing (Google).
Credits.
All content is my own.
Photos captured by my Samsung galaxy tablet, edited by Picsart.
Translator used Esp/Eng (Google).
