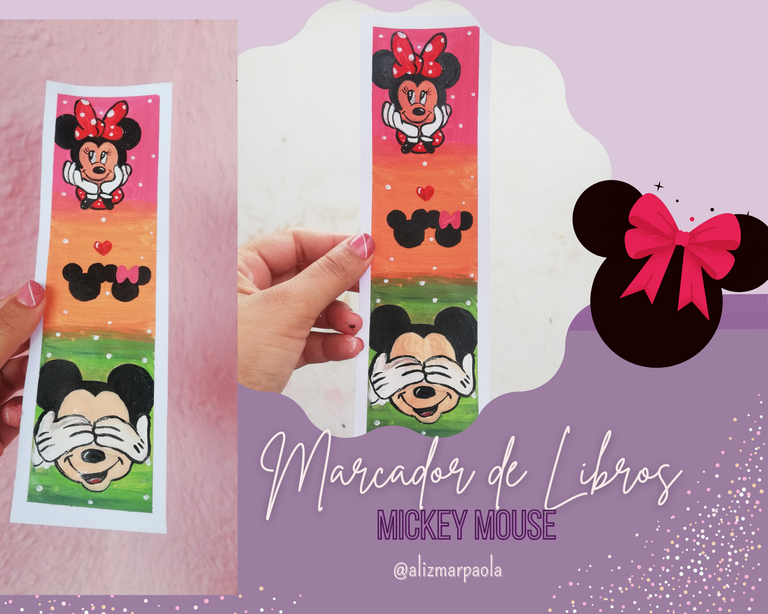
Espero se encuentren muy bien, mis mejores deseos. El dia de hoy les quiero mostrar un lindo marcador de Libros al estilo de Mickey Mouse, hecho con materiales faciles de conseguir..
I hope you are doing well, best wishes. Today I want to show you a cute Mickey Mouse bookmark, made with easy to get materials.

Materiales | Materials
•Retazo de Cartulina blanca
•Pinturas y Pinceles
•Cinta adhesiva
•Piece of white cardboard
•Paints and brushes
•Adhesive tape

Paso a Paso | Step by Step
➟Paso N°1:
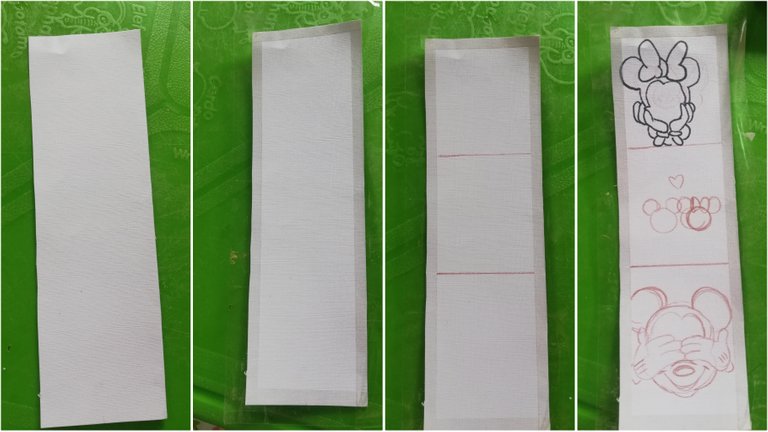
Tomé un retazo de cartulina con medidas de 6,25cm × 21cm. Luego coloque cinta adhesiva a su alrededor calculando un ancho de 0,5cm (exactamente no tome medida) y procedi a dividir en tres cuadros pequeños en los cuales hice los bocetos de los dibujos que quería.
➟Step N°1:
I took a piece of cardboard measuring 6,25cm × 21cm. Then I put masking tape around it calculating a width of 0,5cm (exactly I did not take measure) and proceeded to divide it into three small squares in which I made the sketches of the drawings I wanted.

➟Paso N°2:
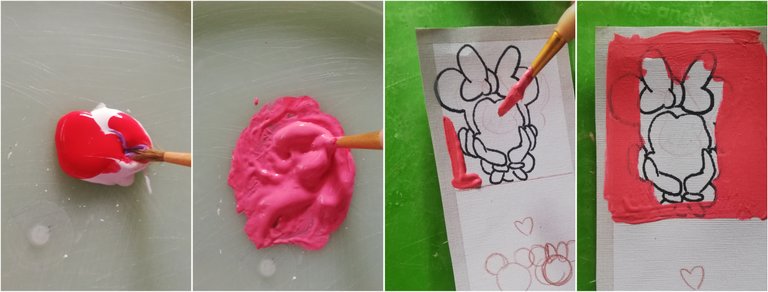
Mezcle un poco de rojo con blanco para obtener rosado, luego con esta pinte el fondo del primer cuadro.
➟Step N°2:
Mix a little red with white to obtain pink, then with this paint the background of the first painting.

➟Paso N°3:
Con el mismo rosado mezcle un poco de amarillo, obteniendo un naranja el cual utilicé para pintar el fondo del segundo cuadro, o cuadro del medio.
➟Step N°3:
With the same pink mix a little yellow, obtaining an orange which I used to paint the background of the second or middle square.
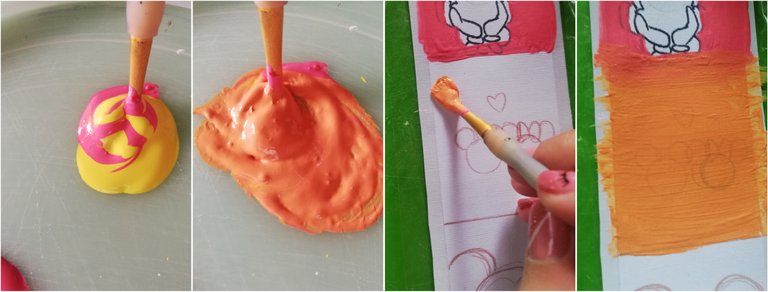

➟Paso N°4:
Con una tonalidad verde pinte el último cuadro.
➟Step N°4:
With a shade of green paint the last square.
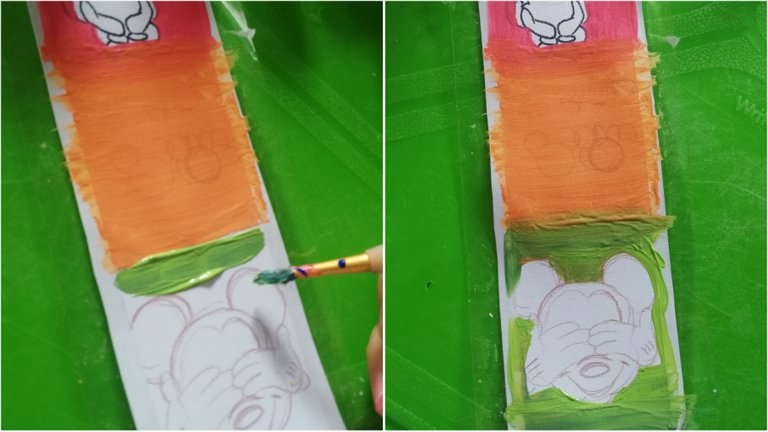

➟Paso N°5:
Teniendo listo los fondos de cada uno de los cuadros, comence a pintar la minnie que correspondía a este primer cuadro. Utilizando pintura roja, mezcla para obtener color piel y negro.
➟Step 5:
Having the backgrounds of each of the pictures ready, I started to paint the minnie that corresponded to this first picture. Using red paint, mix to obtain skin color and black.
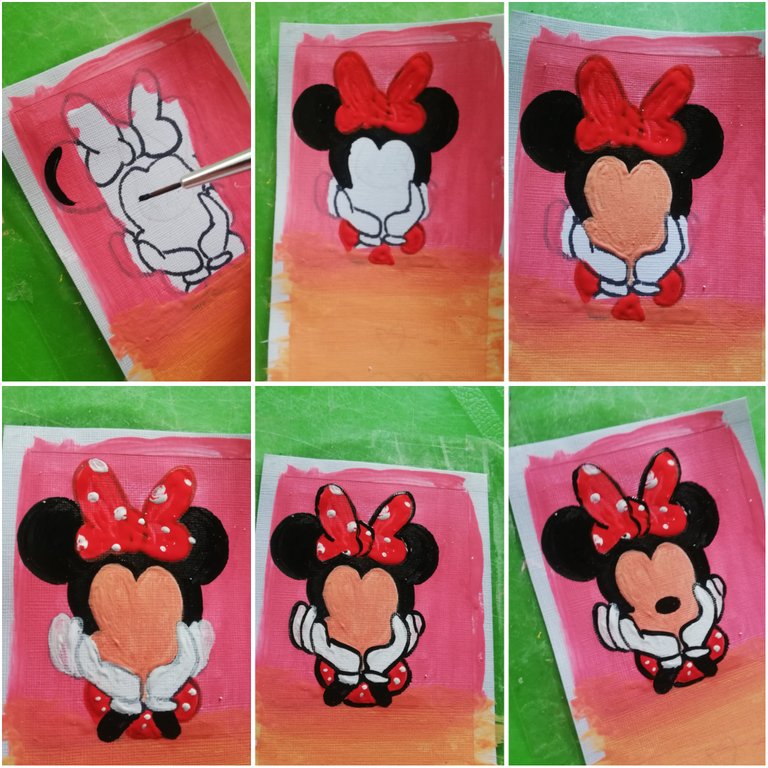

➟Paso N°6:
Le hice los ojos a la minnie, la nariz y boca. Culminando así este primer cuadro.
➟Step 6:
I made the minnie's eyes, nose and mouth. This is the end of this first painting.
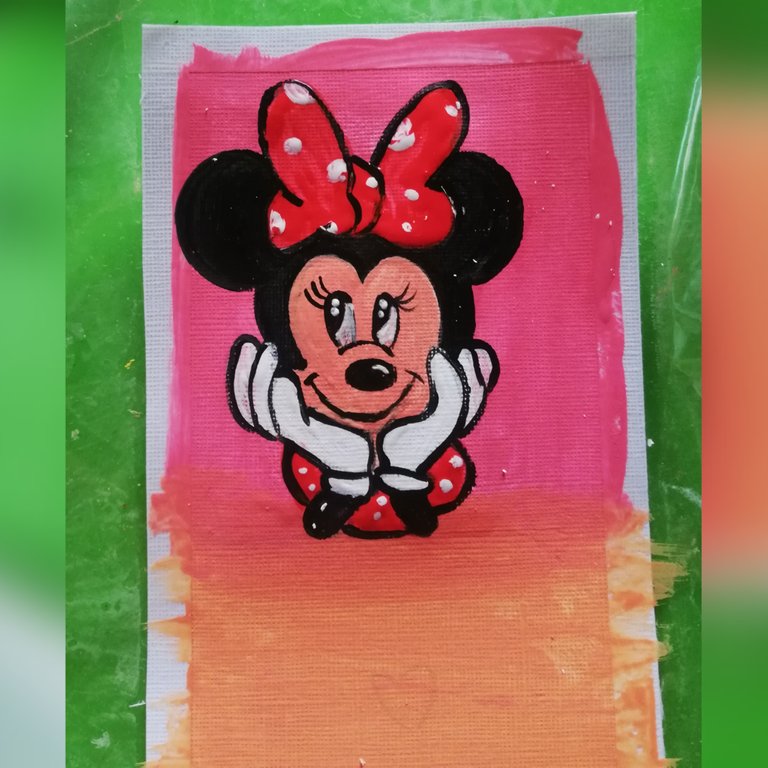

➟Paso N°7:
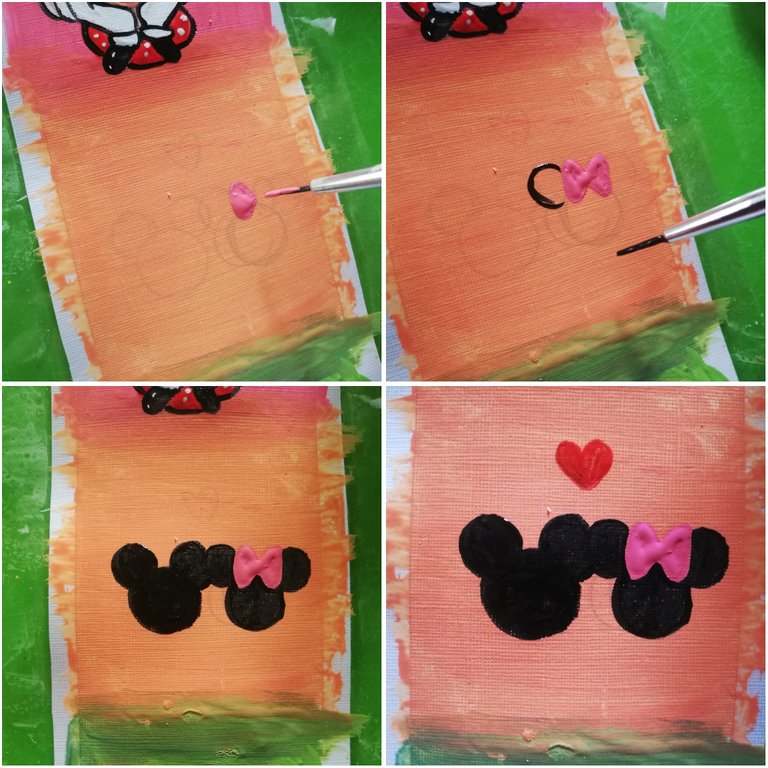
Para el segundo cuadro, el dibujo que realice fueron las siluetas de Mickey y Minnie Mouse, los cuales pinte con el pincel delineador y pintura negra.
➟Step 7:
For the second picture, I drew the silhouettes of Mickey and Minnie Mouse, which I painted with the eyeliner brush and black paint.

➟Paso N°8:
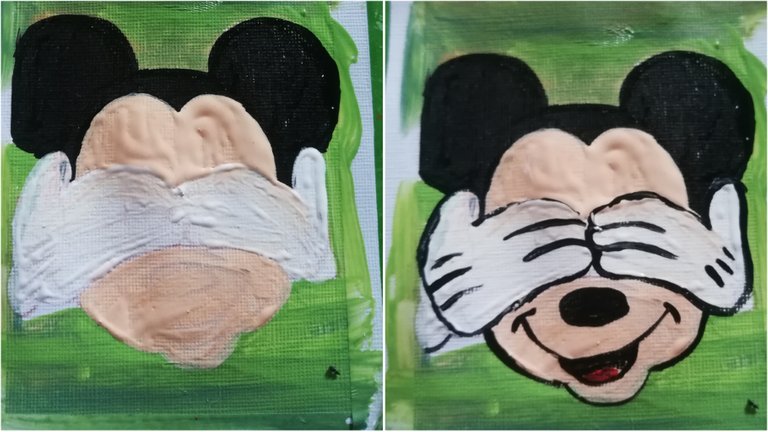
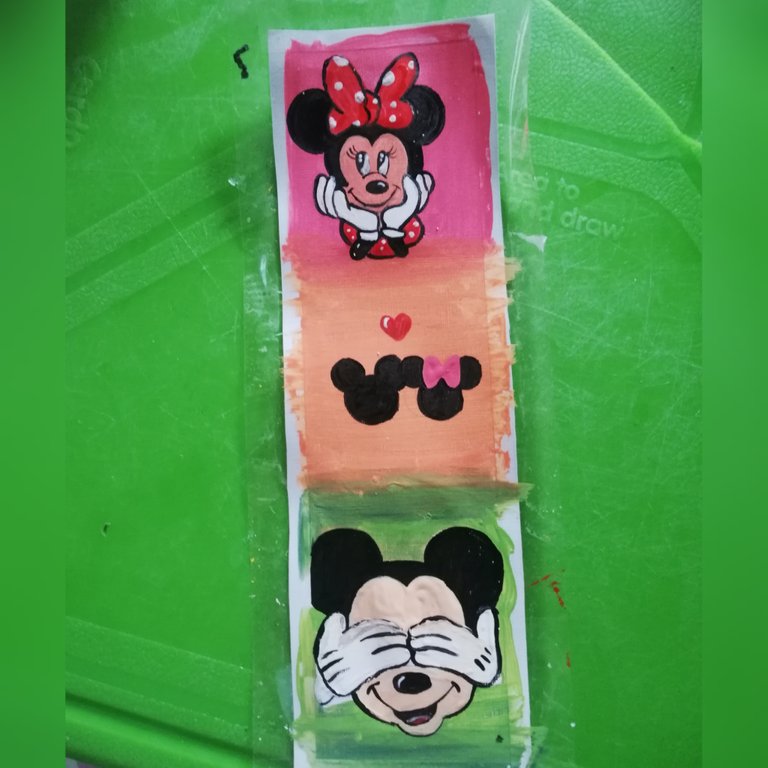
En el último cuadro fue turno de pintar y delinear al Mickey Mouse.
➟Step N°8:
In the last painting it was the Mickey Mouse's turn to be painted and outlined.

➟Paso N°9:
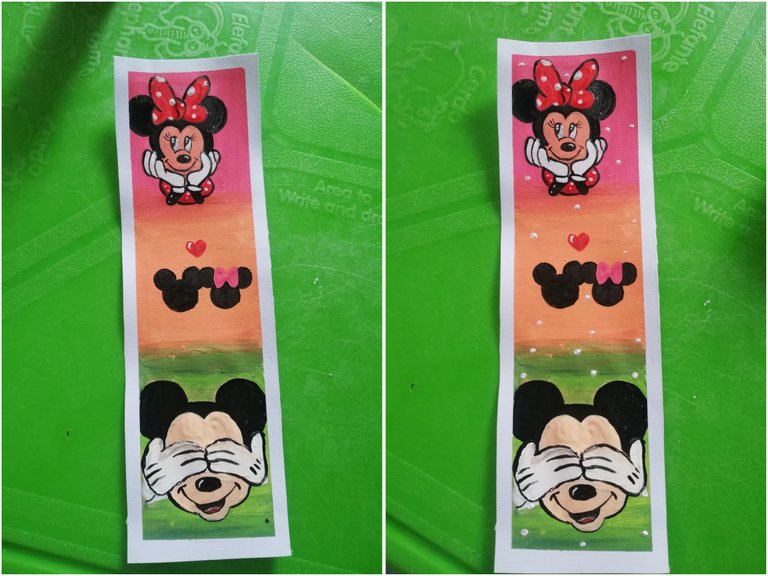
Para finalizar, retire la cinta adhesiva quedando así un borde limpio y perfecto. Luego solo decore con algunos puntos en blanco.
➟Step 9:
To finish, remove the adhesive tape, leaving a clean and perfect edge. Then just decorate with a few blank dots.

Resultado Final | Final Result
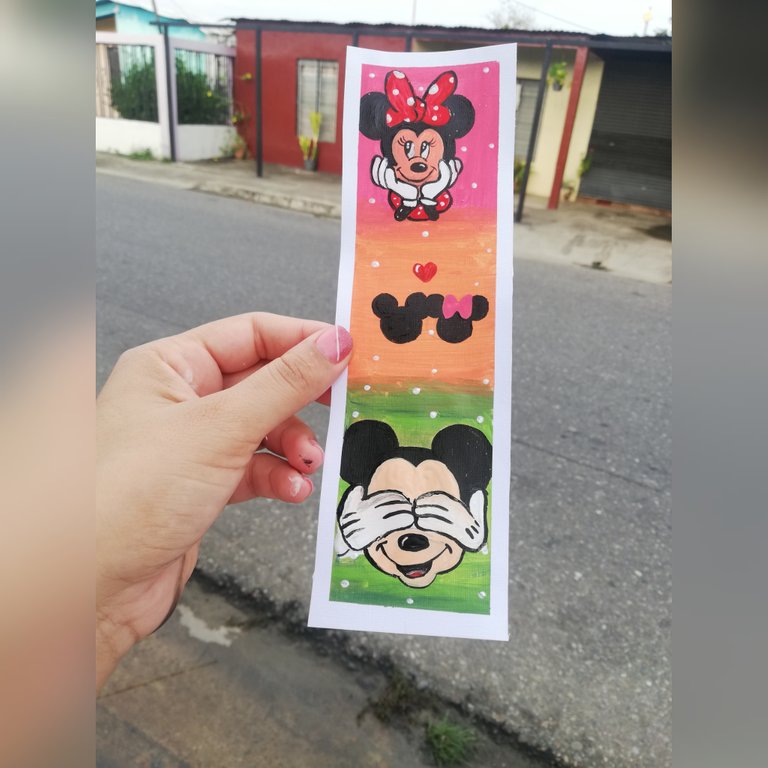
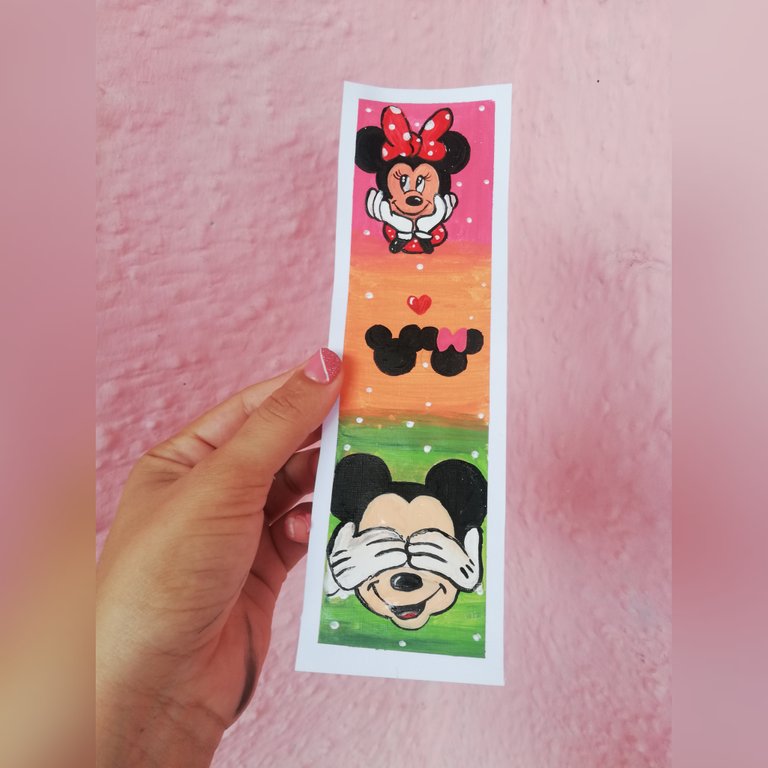
Espero les guste esta publicación amigos, hasta la próxima🌼
I hope you like this publication friends, see you next time🌼

Ediciones en Canva y Photogrid
Traducciones en Deepl.com
Editing in Canva and Photogrid
Translations in Deepl.com
