Hola Hola, apreciados amigos de Mundo Hive🌼
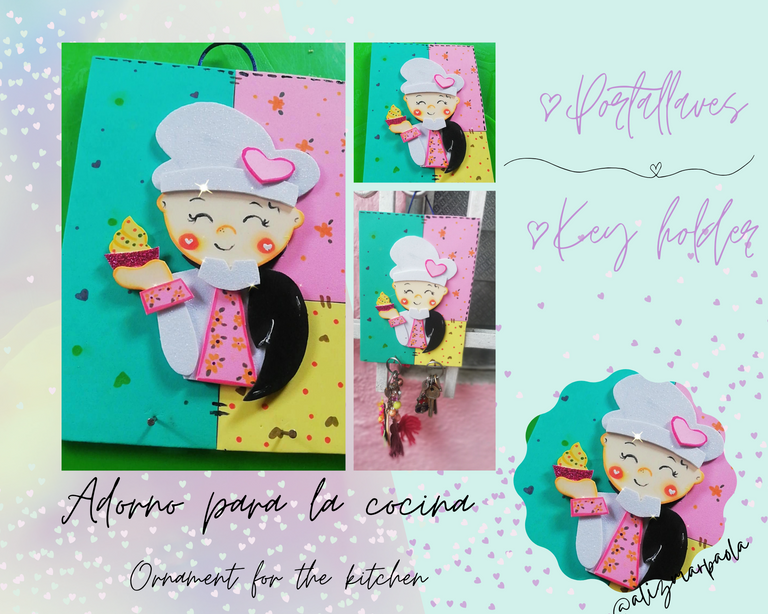
En mi paso el dia de hoy por esta grandiosa comunidad creativa #HiveDiy les muestro un lindo adorno que realice para la cocina, el cual tiene doble funcionalidad: adornar y ser de utilidad como un portallaves o bien un portapaños. Tu decídes el uso que quieras darle.
Hello Hello, dear friends of Hive World.🌼
In my passage today by this great creative community #HiveDiy I show you a nice ornament that I made for the kitchen, which has dual functionality: decorate and be useful as a key holder or a holder. Tu decídes el uso que quieras darle.

•Materiales• | •Materials•
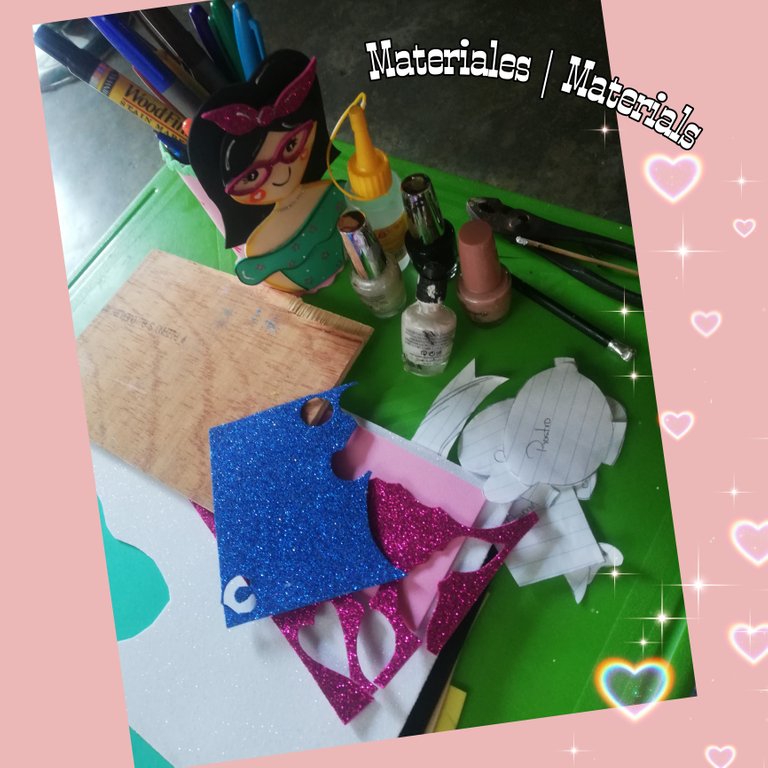
🌼Foami de diversos colores
🌼Retazo de una tabla fina
🌼Silicon liquido
🌼Esmalte de uñas negro y blanco
🌼Dos clavos pequeños
🌼Retazo de cinta
🌼Marcadores
🌼Foami of various colors.
🌼Slice of a thin board
🌼Liquid silicon
🌼Black and white nail polish
🌼Two small nails
🌼Strip of tape
🌼Markers

•Paso a Paso• | •Step by Step•
🌼Primero realice el dibujo, saque los patrones por separados y recorte. Procedi a marcar cada uno en el foami del color correspondiente.
🌼First make the drawing, take out the patterns separately and cut out. I proceeded to mark each one on the foami of the corresponding color.
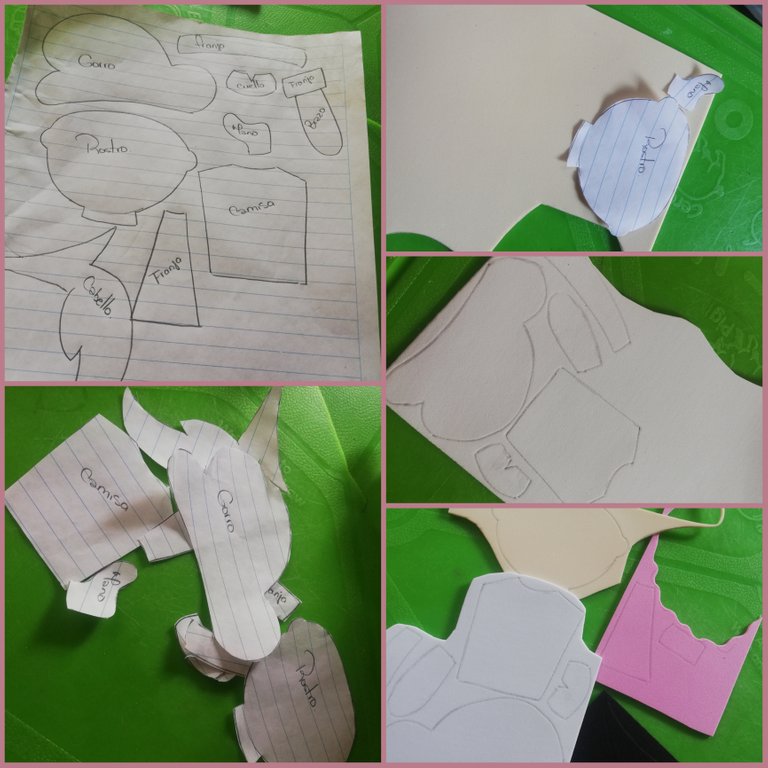
🌼Recorté todas las piezas.
🌼I cut out all the parts.
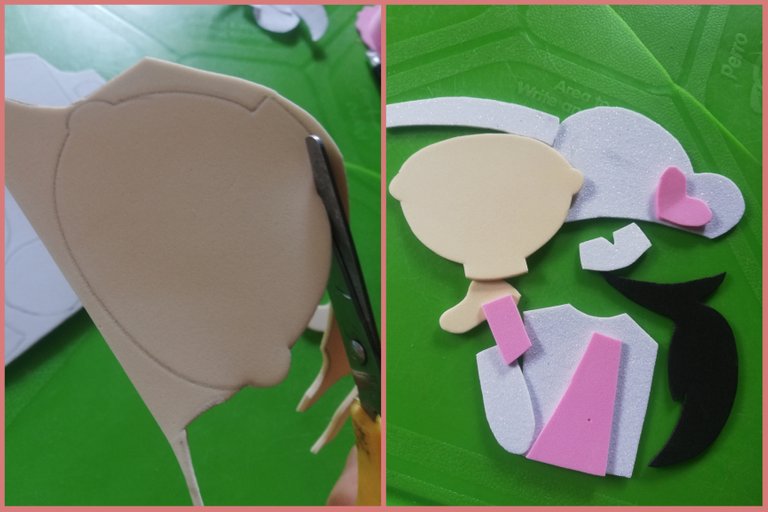
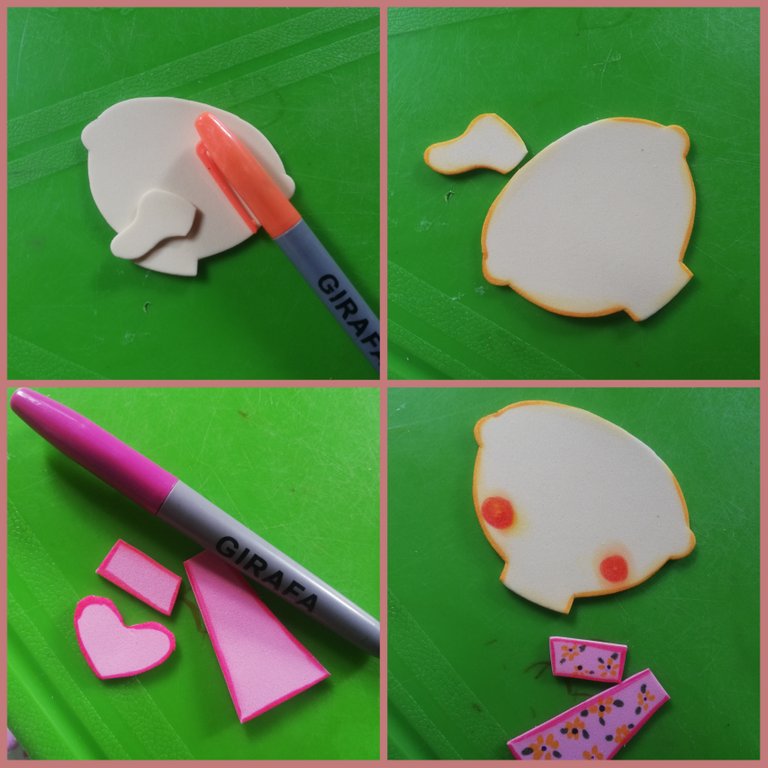
🌼Con marcador naranja difumine las piezas que conforman la piel de la muñeca y con marcador fucsia difumine las piezas que adornan la camisa e hice algunos detalles (florecitas) con marcador amarillo y verde. También le hice las mejillas☺️
🌼With orange marker I blurred the pieces that make up the doll's skin and with fuchsia marker I blurred the pieces that adorn the shirt and made some details (little flowers) with yellow and green marker. I also made the cheeks☺️
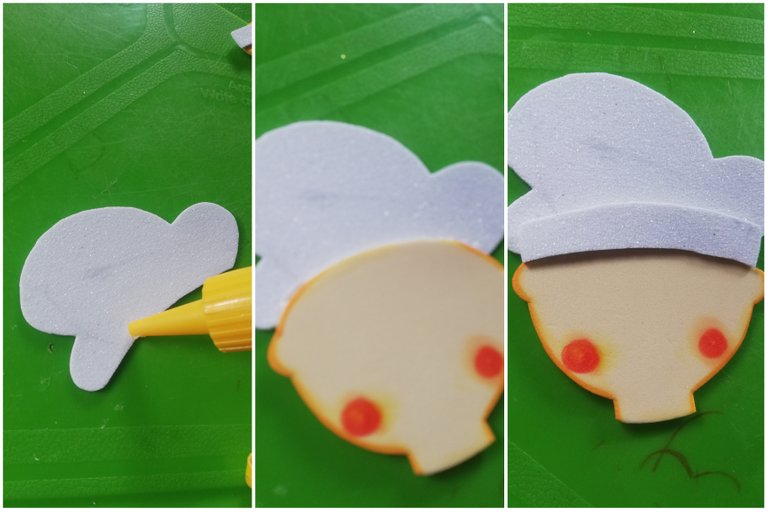
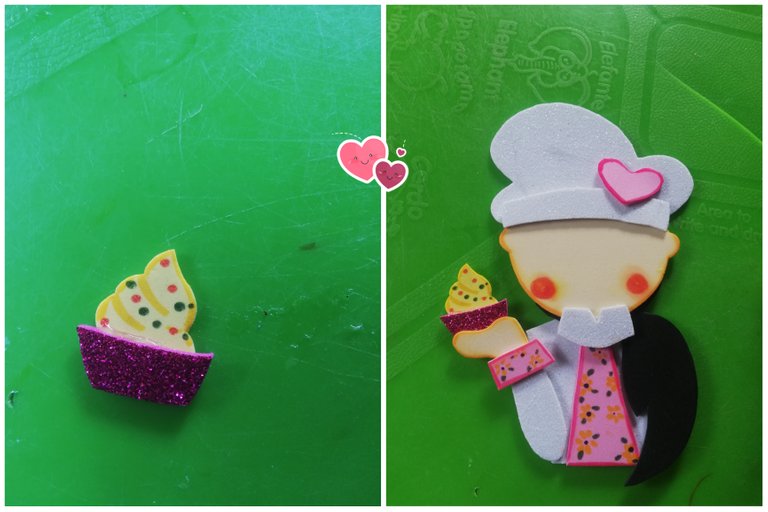
🌼Comencé armar la muñeca, pegando el rostro sobre el gorro y sobre este la franja que complementa al gorro.
🌼I started to assemble the doll, gluing the face on the cap and on this the fringe that complements the cap.
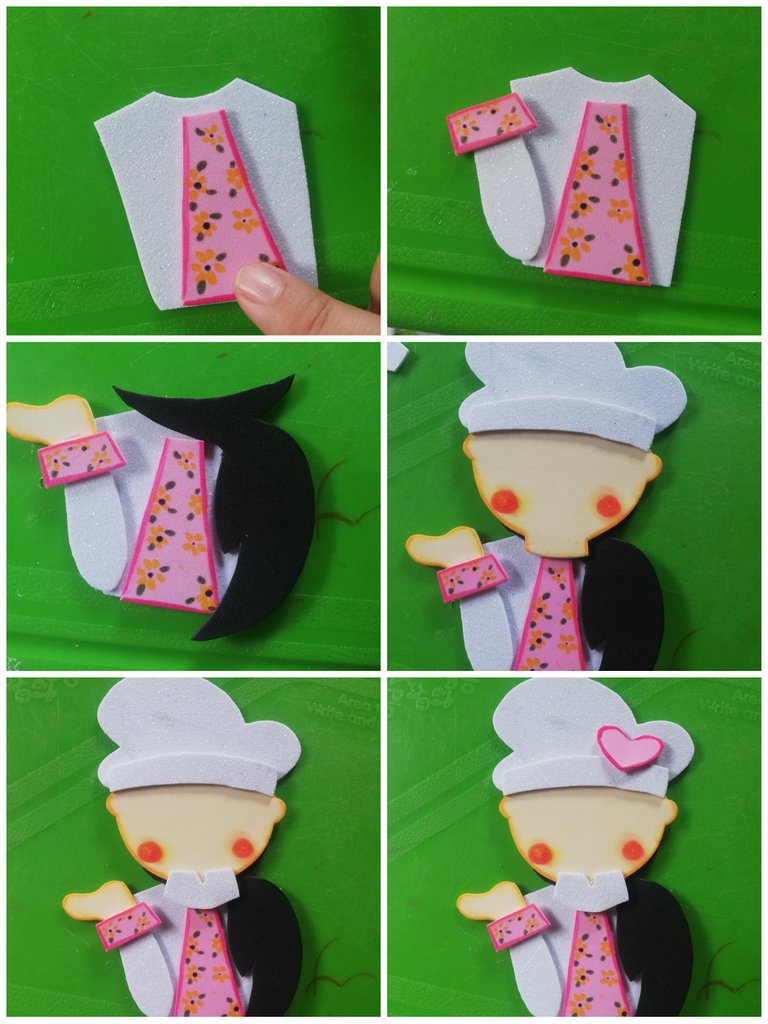
🌼Para armar el resto de la muñeca, pegue sobre la camisa los detalles que anteriormente había hecho, pegue sobre el brazo la mano, por el otro costado pegue el cabello y luego teniendo lista la pieza del cuerpo uni a éste el rostro y en la unión pegue el cuello de la camisa.
🌼To assemble the rest of the doll, glue on the shirt the details I had previously made, glue on the arm the hand, on the other side glue the hair and then having ready the body piece I attached the face to it and at the junction I glued the collar of the shirt.
🌼Con dos retacitos de foami hice un mini cupcake el cual pegue sobre la mano..
🌼With two small pieces of foami I made a mini cupcake which I glued on the hand....
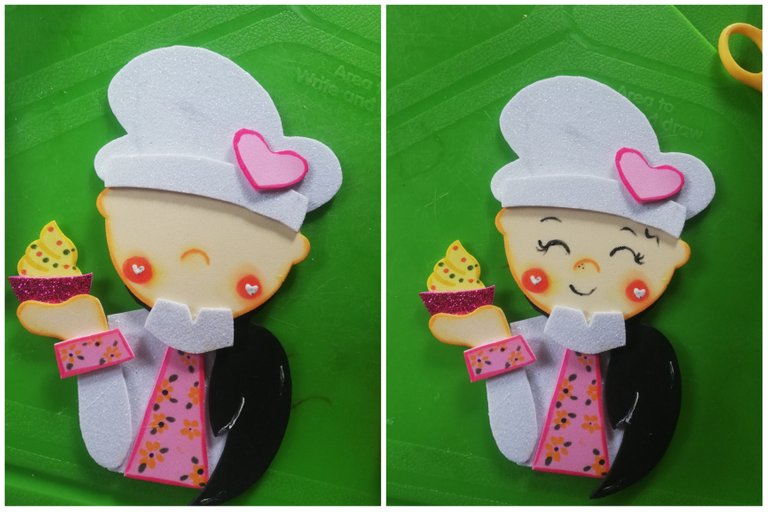
🌼Con esmalte de uñas blanco di luz a las mejillas y un poco al cabello y con esmalte negro realice los ojos y cejas.. La nariz la realice con marcador naranja y difumine.
🌼With white nail polish I gave light to the cheeks and a little bit to the hair and with black nail polish I made the eyes and eyebrows. The nose I made it with orange marker and blur.
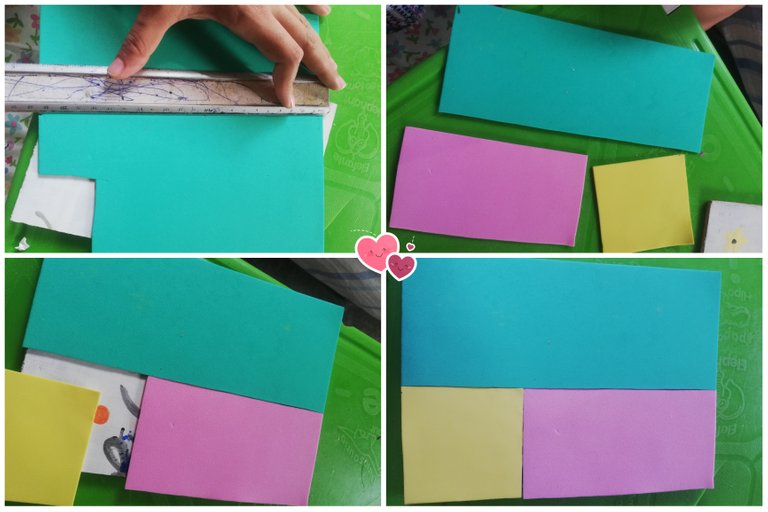
🌼Para cubrir la tabla dispuse de un rectangulo de foami de 21cm x 8cm. Otro rectangulo de 13cm x 8cm y in cuadrado de 8cm x 8cm. Luego los pegue en la tabla.
🌼To cover the board I used a rectangle of foami of 21cm x 8cm. Another rectangle of 13cm x 8cm and a square of 8cm x 8cm. Then I glued them on the board.
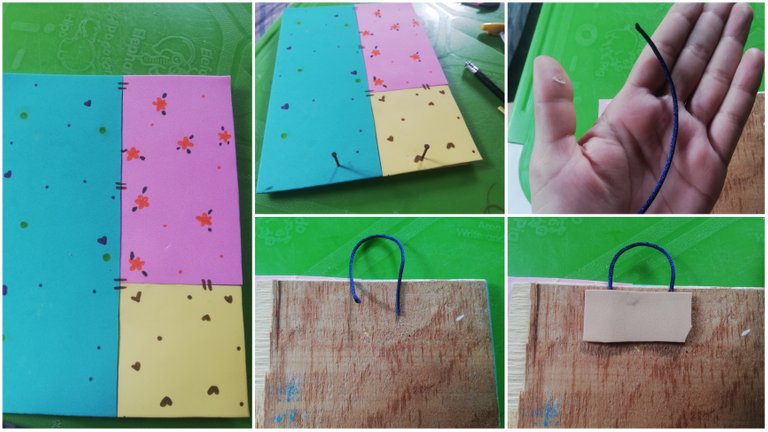
🌼Con Marcadores hice detalles a cada cuadro y rectángulo. En la parte inferior coloque los clavos (para colocar alli mis llaves) y Para sujetar dispuse de un retazo de cinta el cual pegue por la parte de atrás y reforce con un retazo de foami.
🌼With markers I made details on each square and rectangle. At the bottom I placed the nails (to place my keys there) and to hold it I had a piece of tape which I glued on the back and reinforced with a piece of foami.
🌼Luego pegue sobre la tabla ya decorada la muñeca ¡Y LISTO!
🌼Then glue on the already decorated board the doll AND THAT'S IT!
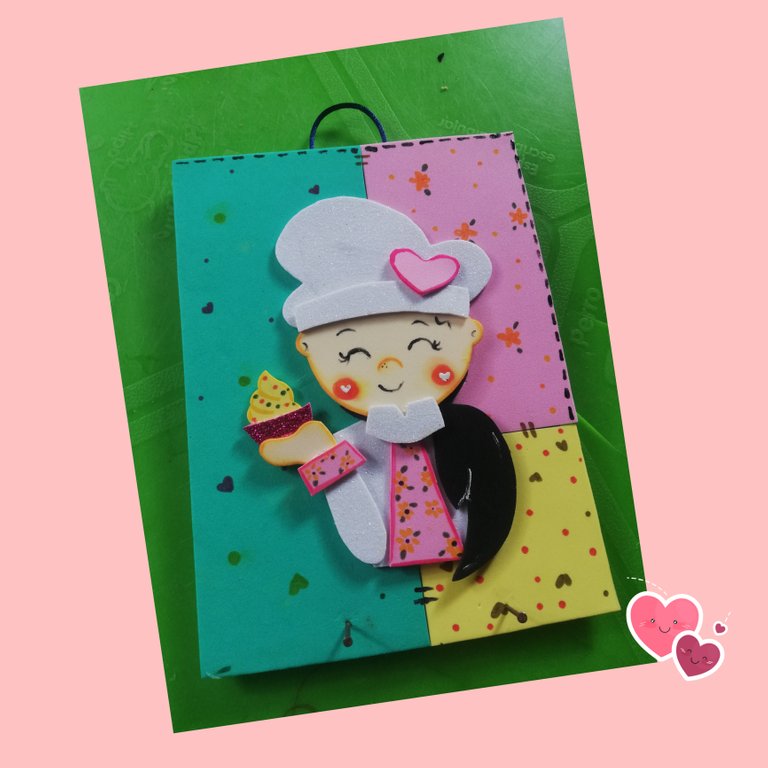
🌼AMEEEEE CON LOCURA EL RESULTADOOO
🌼AMEEEEEE MADLY THE RESULTOOO
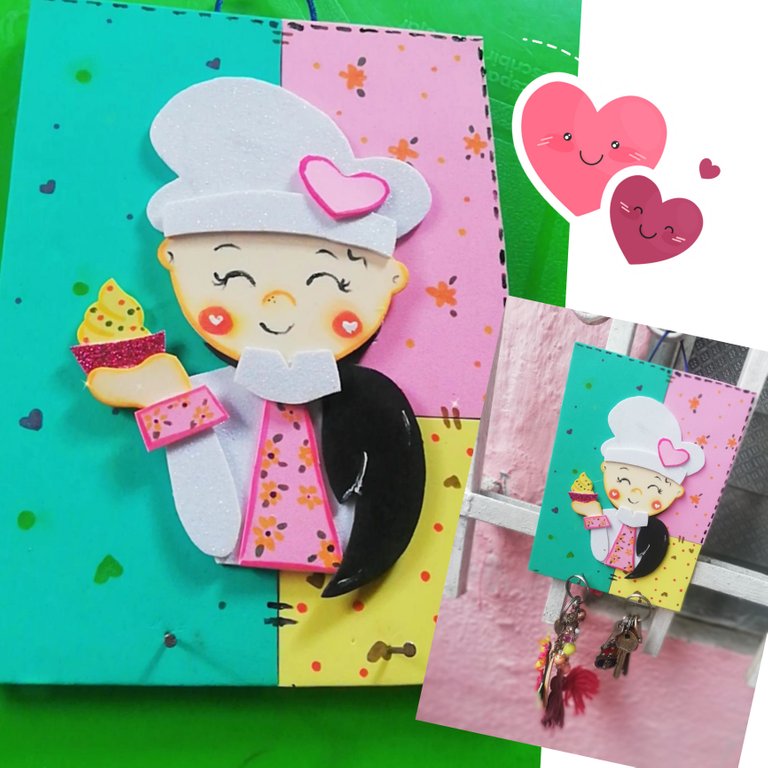
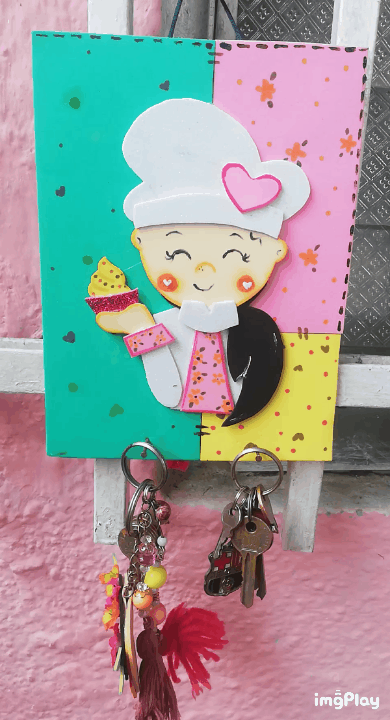

🌼Pictures of my authority.
🌼Imagen principal creada en Canva
🌼Edición de fotos en Picstar
🌼Traducciones en Deepl.com
🌼Main image created in Canva.
🌼Photo editing in Picstar
🌼Translations in Deepl.com
