No sé, si yo sea la única que cada vez que tiene que dar algún detalle lo piensa una y otra vez a modo que la otra parte quede a gusto, así como también muchas veces queremos obsequiar algo de dinero y que esta persona pueda cubrir alguna necesidad o bien, comprar algo de su gusto.. Si este es el caso, hoy te muestro una linda opción para obsequiar dinero, y que además será un lindo detalle. Se trata de una tarjeta en forma de cupcake❣️
Greetings creative friends✨! How nice to be around again, I hope you are feeling great and that your day is wonderful.
I do not know if I am the only one that every time you have to give some detail think it over and over again so that the other party is comfortable, as well as many times we want to give some money and that this person can cover some need or buy something to your liking ... If this is the case, today I show you a nice option to give money as a gift, and it will also be a nice detail. It is a card in the shape of cupcake❣️
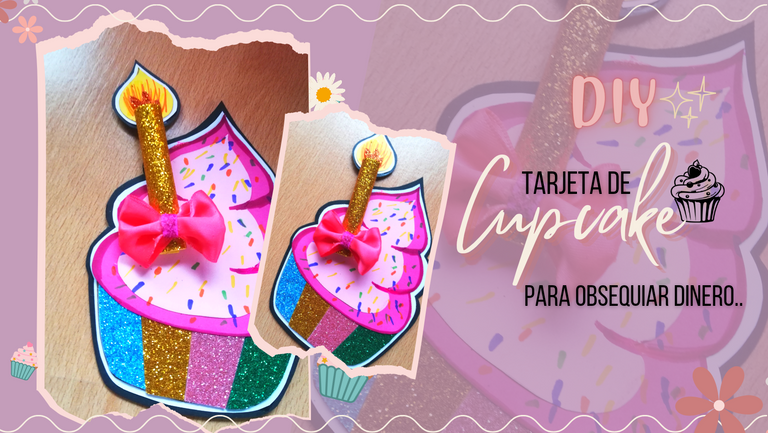

Materiales:
- Cartulina (rosado, fucsia, blanco, negro)
- Retazos de foami escarchado (colores de tu gusto)
- Marcadores
- Retazo de cinta
- Silicón al frio
Materials:
- Card stock (pink, fuchsia, white, black).
- Pieces of frosted foami (colors of your choice)
- Marker pens
- Piece of ribbon
- Cold glue

Paso a Paso | Step by Step
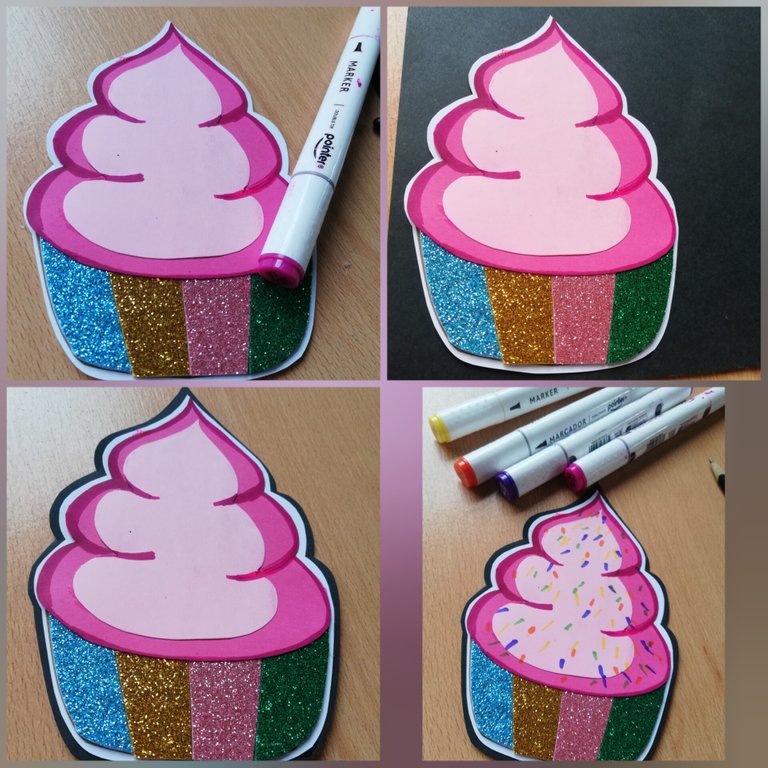
✨ Lo primero que hice (como todas mis manualidades) fue realizar un patrón, así me resulta mas fácil. Luego recorté y plasme las dos piezas principales en las cartulinas correspondiente al color que quería..
📍 Debo mencionar que la parte del capacillo del cupcake puede ser de cualquier color, debido a que solo lo usaremos como soporte para armar nuestra base colorida.
✨The first thing I did (like all my crafts) was to make a pattern, so it is easier for me. Then I cut out and shaped the two main pieces on the cardboard corresponding to the color I wanted.
📍 I should mention that the cupcake layer part can be of any color, because we will only use it as a support to build our colorful base.
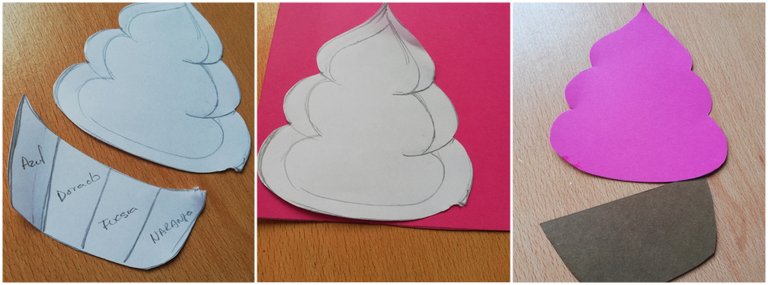
✨ Luego corte la otra parte superior para el cupcake en un tono más claro que el anterior, y en retazos de Foami escarchado corte y arme la base o capacillo..
✨ Then cut the other top for the cupcake in a lighter shade than the previous one, and in pieces of frosted Foami cut and assemble the base or layer....
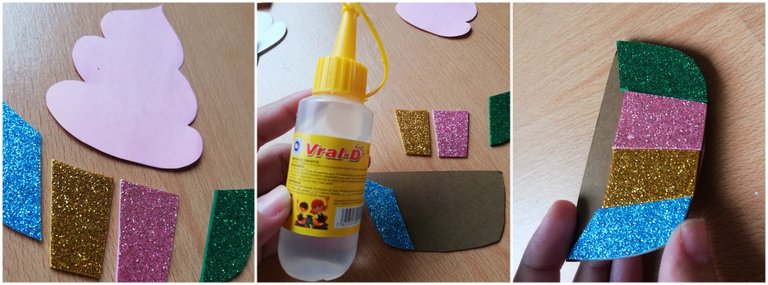
✨ Seguidamente arme el cupcake, pegando la parte superior sobre el colorido capacillo y sobre esta, pegue el tono rosa claro (esto como para jugar con las sombras).
✨ Una vez armado, pegue sobre la cartulina blanca, para luego recortar dejando un borde mínimo.
✨Next assemble the cupcake, gluing the top part on the colorful layer and on top of it, glue the light pink tone (this as to play with the shadows).
✨ Once assembled, glue on the white cardboard, then cut out leaving a minimal border.
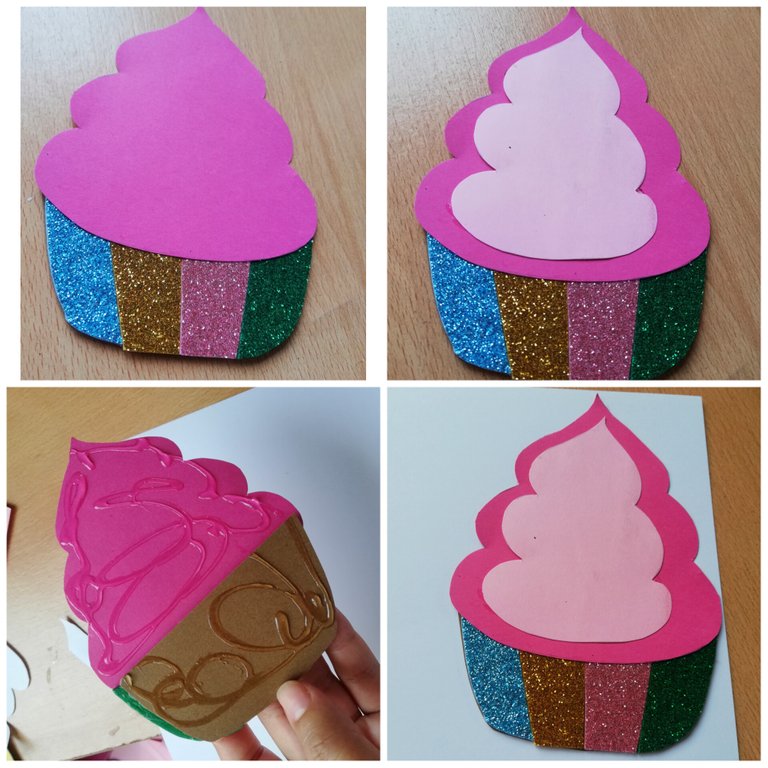
✨ Con marcador fucsia delinee e hice detalles en lo que sería la crema del cupcake y con demás colores, le hice lo que sería la lluvia de colores.
✨ Pegue nuevamente sobre una cartulina negra, para recortar nuevamente dejando un borde. (siento que de esta forma relataba mucho más todos sus colores).
✨With fuchsia marker I outlined and made details in what would be the cream of the cupcake and with other colors, I made what would be the rain of colors.
✨ Glue again on a black cardboard, to cut out again leaving a border (I feel that in this way I related much more all its colors).
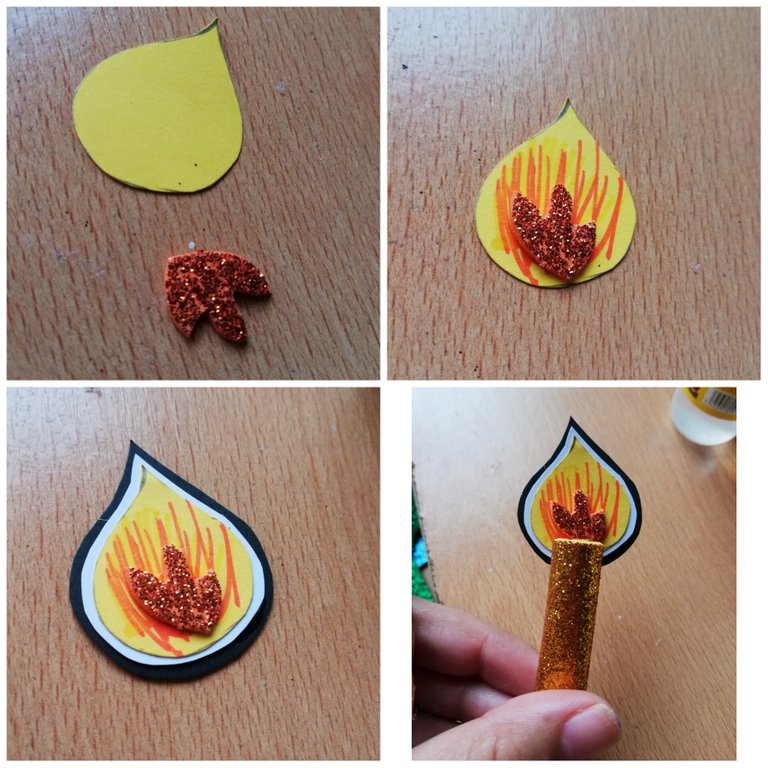
✨Recorté un rectángulo de Foami dorado de 3,5cm × 7cm, y con ayuda de un lápiz pegue a modo de quedar un cilindro.. (esta sería la vela del cupcake y justo aquí en este cilindro insertaremos el dinero).
✨I cut a rectangle of golden Foami of 3.5cm × 7cm, and with the help of a pencil I glued a cylinder (this would be the candle of the cupcake and right here in this cylinder we will insert the money).

✨ Toda vela necesita una llama, y eso fue lo que hice, en cartulina amarilla recorté como una especie de gota y en Foami escarchado naranja una especie de fuego. Le hice detalle con marcadores naranja y amarillo, para luego repetir el proceso del cupcake es decir, pegar sobre la cartulina blanca y negra dejando un borde mínimo en cada una de ellas, para luego pegarlo al cilindro dorado.
✨Every candle needs a flame, and that's what I did, in yellow cardboard I cut out a kind of drop and in orange frosted Foami a kind of fire. I made detail with orange and yellow markers, and then I repeated the process of the cupcake, that is, I glued on the white and black cardboard leaving a minimum border on each of them, and then glued it to the golden cylinder.
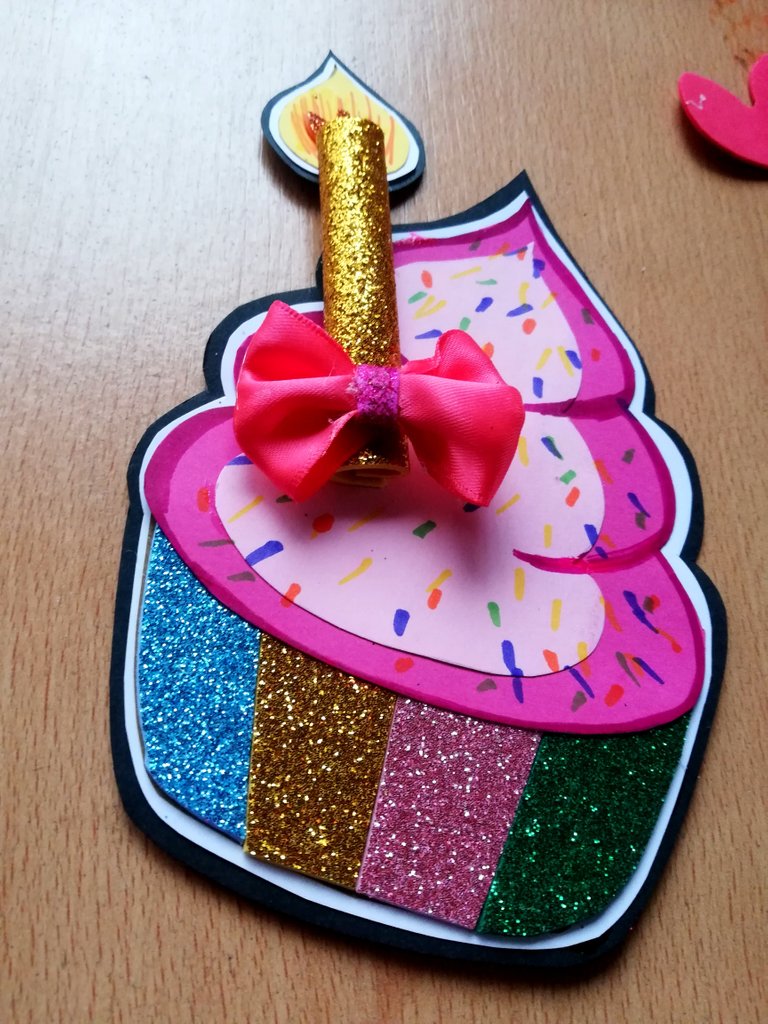
✨ Pegue la vela al cupcake, y como detalle extra, con cinta color rosa, hice un pequeño lazo y pegue sobre el final de la vela, finalizando así esta linda tarjeta.
✨ Glue the candle to the cupcake, and as an extra detail, with pink ribbon, I made a little bow and glued over the end of the candle, finishing this cute card.


Resultados | Result
¡Aún y cuando es dinero que vayamos a obsequiar, podemos hacerlo de una linda forma!❣️
Espero que este post sea de su agrado amigos, gracias por quedarse a leer hasta el final..
Even if it is money we are going to give away, we can do it in a nice way!❣️
I hope this post is to your liking friends, thank you for staying to read to the end.

📷Ediciones | Editing in Canva and Picstar
✨Traducciones | Translations in Deepl
