¡Saludos Amigos de Hive DIY ! | Hello Hive Friends DIY!
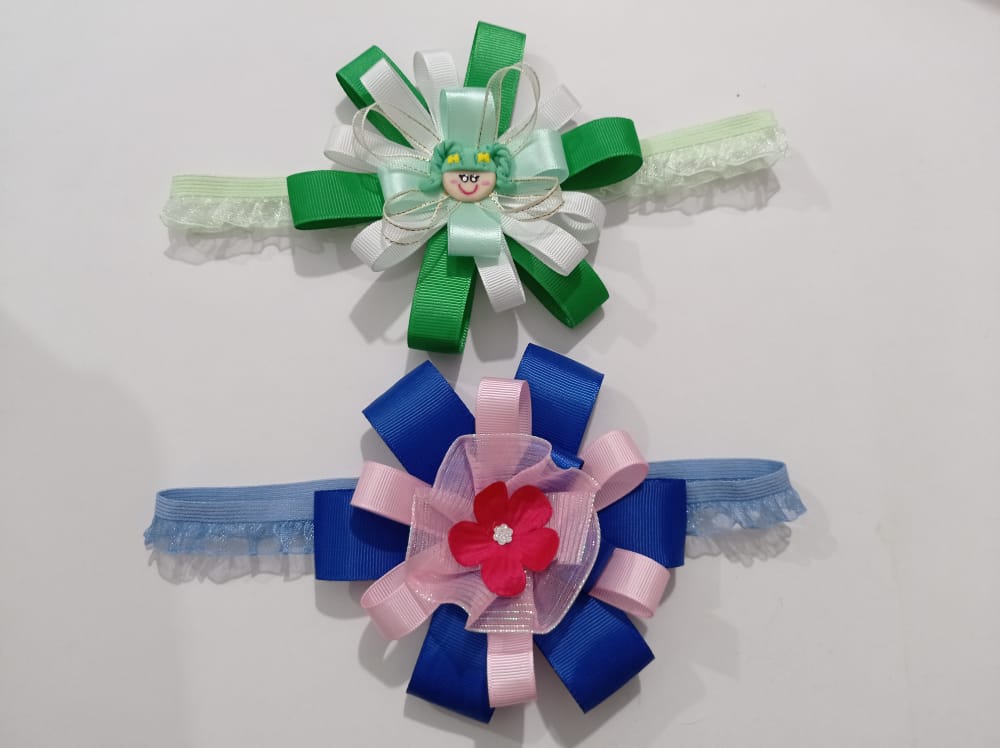
Saludos amigos hoy les presento como hacer unos lindos y tiernos cintillos para niñas con cinta elástica de encaje, en esta oportunidad decidi preparar un cintillo donde el color principal es el verde claro y otro resaltando el color azul y fucsia, estos tonos son muy tiernos y podrían ser combinados con la vestimenta de las niñas. He usado cintas de diferentes medidas de anchos y diferentes texturas, pero todas bien combinadas para hacer el arreglo de cada cintillo y tener una bella vista.
Greetings friends, today I present to you how to make cute and tender headbands for girls with elastic lace ribbon, this time I decided to prepare a headband where the main color is light green and another highlighting the color blue and fuchsia, these tones are very tender and They could be matched with girls' dress. I have used ribbons of different widths and textures, but all well combined to make the arrangement of each headband and have a beautiful view.

Materiales | Materials

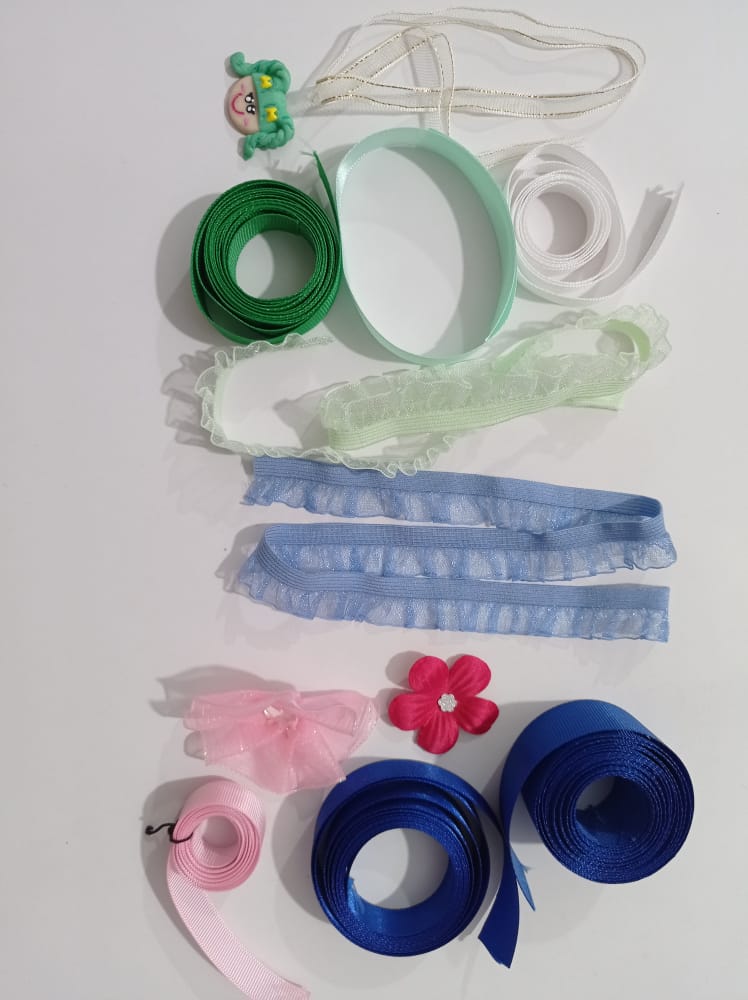
- Cinta color verde oscuro (1,5 cm de ancho)
- Cinta color verde claro (1,5 cm de ancho)
- Cinta color blanco (1 cm de ancho)
- Cinta blanco borde brillante (0,5 cm de ancho)
- Cinta elástica con encaje color verde. (42 cm)
- Adorno de masa flexible en forma de niña.
- Cinta color azul oscuro (2,5 cm de ancho)
- Cinta color azul oscuro (1,5 cm de ancho)
- Cinta color rosado claro (1,5 cm de ancho)
- Cinta rosada borde brillante (1,5 cm de ancho)
- Cinta elástica con encaje color verde. (42 cm)
- Flor color fucsia con brillante el centro.
- Silicon líquido
- Tijera
- Regla
- Dark green ribbon (1.5 cm wide)
- Light green ribbon (1.5 cm wide)
- White ribbon (1 cm wide)
- White shiny edge ribbon (0.5 cm wide)
- Elastic band with green lace. (42cm)
- Flexible dough ornament in the shape of a girl.
- Dark blue ribbon (2.5 cm wide)
- Dark blue ribbon (1.5 cm wide)
- Light pink ribbon (1.5 cm wide)
- Pink glitter edge ribbon (1.5 cm wide)
- Elastic band with blue lace. (42cm)
- Fuchsia flower with bright center.
- Liquid silicone
- Scissors
- Ruler

Procedimiento | Process

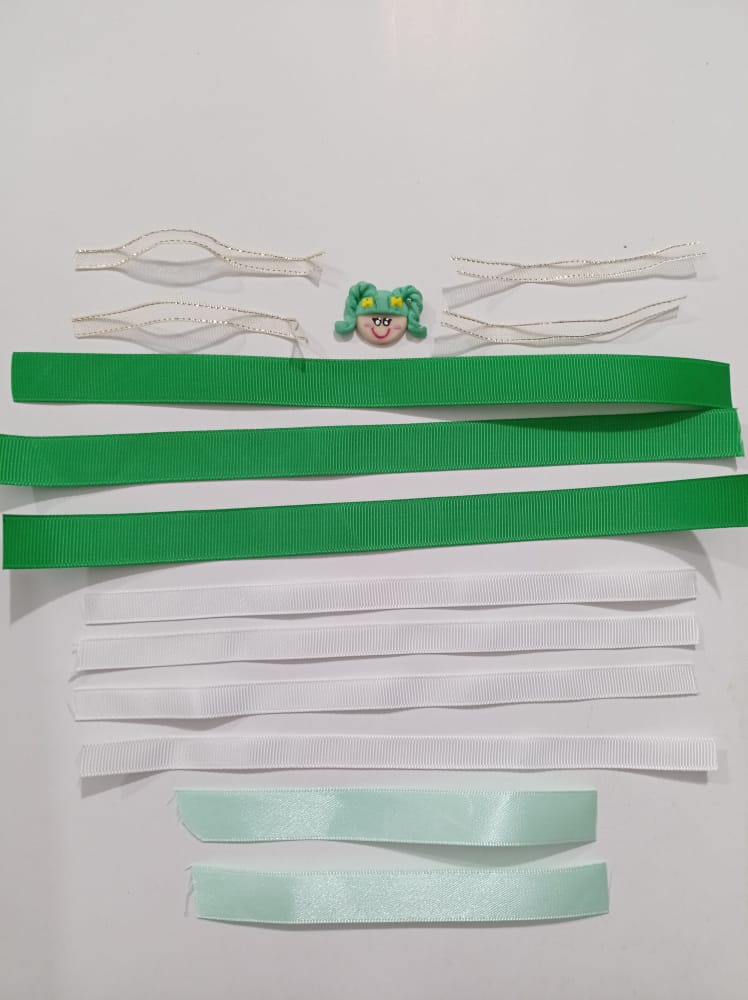
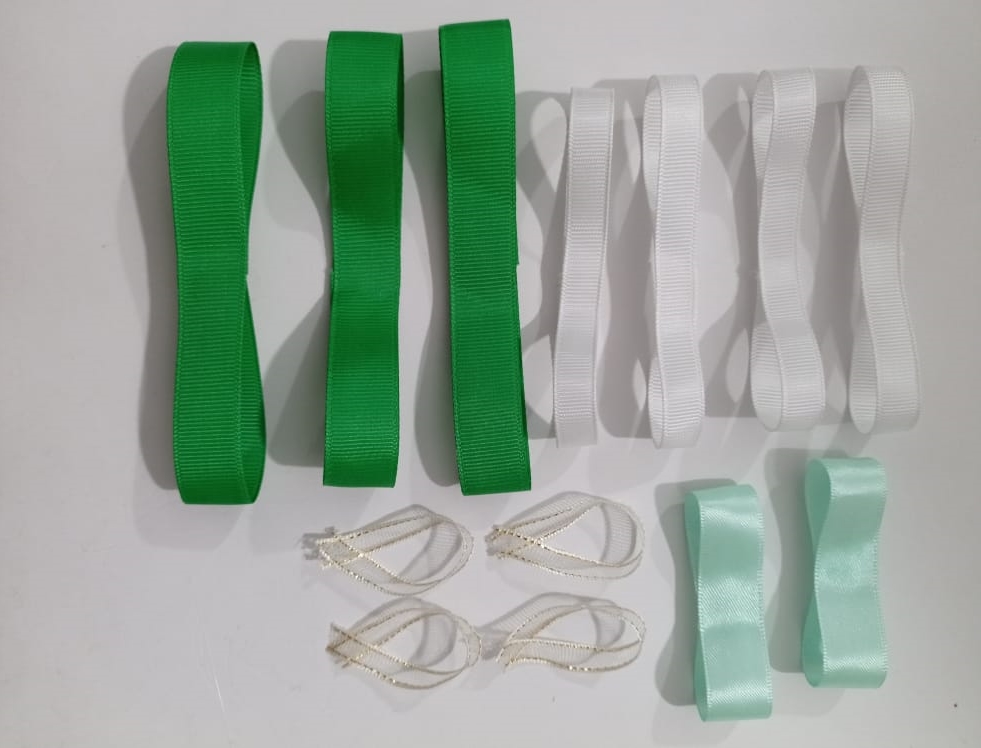
PASO 1. Iniciaré con el cintillo de color verde, entonces tomé la regla para medir cada cinta y realizar los cortes para preparar el lazo del cintillo. Corte tres tiras de la cinta color verde oscuro con una medida de 24 cm cada una. De la cinta verde claro corte dos tiras de 12 cm cada una. De la cinta color blanco corte cuatro tiras de 10 cm cada una. De la tira blanca con borde blanco corte cuatro tiras de 9 cm cada una. Organice todo para imaginar la combinación del lazo de mi cintillo verde.
STEP 1. I will start with the green headband, so I took the ruler to measure each ribbon and make the cuts to prepare the bow of the headband. Cut three strips of the dark green ribbon measuring 24 cm each. From the light green ribbon cut two strips of 12 cm each. From the white ribbon cut four strips of 10 cm each. From the white strip with white border cut four strips of 9 cm each. Organize everything to imagine the combination of the bow of my green headband.

PASO 2. El siguiente paso era hacer lazos con cada tira. Entonces con ayuda de unas pinzas aplique con un palillo un poco de silicon líquido y fui formado los lazos inicie con la cinta de color verde oscuro.
STEP 2. The next step was to make loops with each strip. Then, with the help of tweezers, I applied a little liquid silicone with a toothpick and formed the bows, starting with the dark green ribbon.
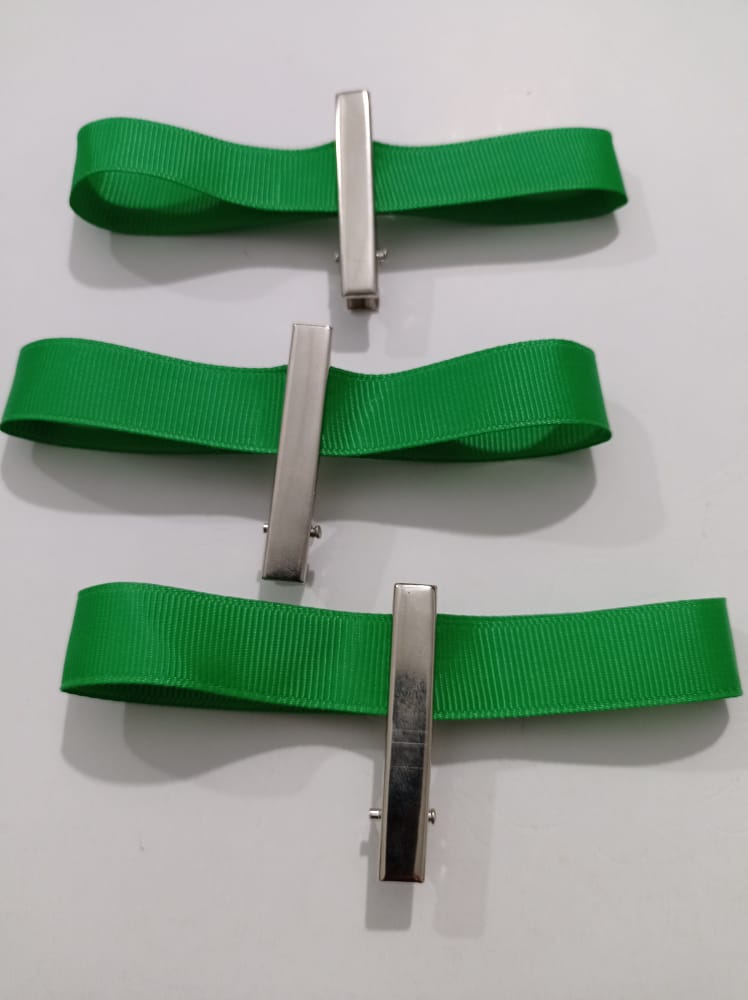

PASO 3. Después de pegar cada cinta y formar los lazos, quedaron de las siguientes medidas 12 cm las de color verde oscuro, 6 cm color verde claro, 5 cm de color blanco, y 4,5 cm los de blanco brillante.
STEP 3. After gluing each ribbon and forming the bows, the following measurements remained: 12 cm for dark green, 6 cm for light green, 5 cm for white, and 4.5 cm for bright white.

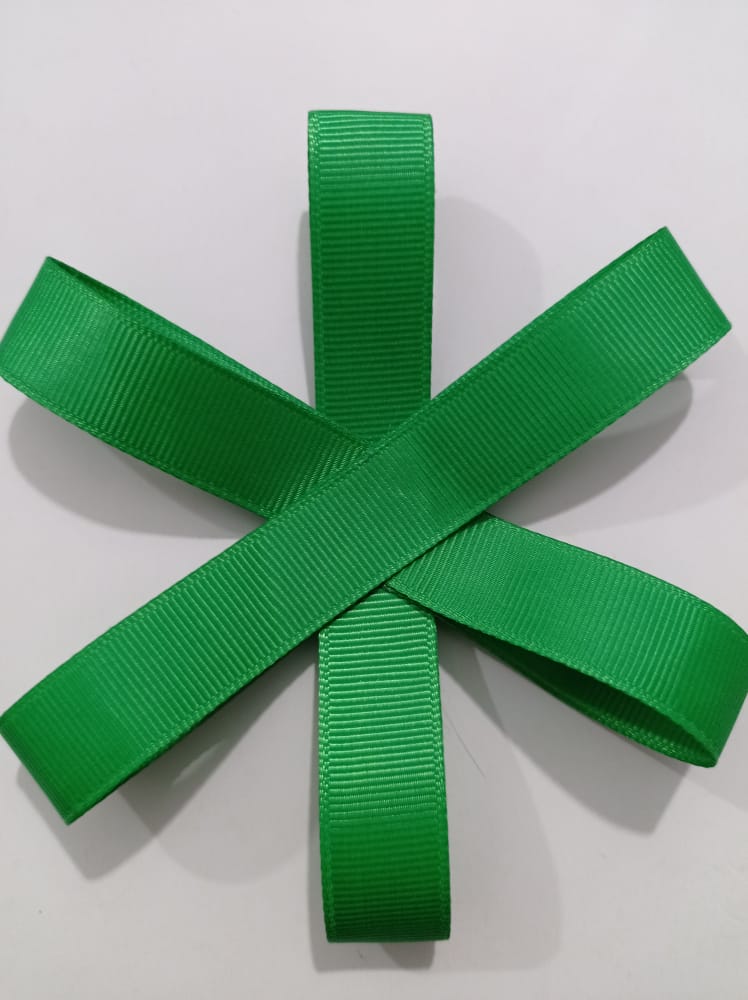
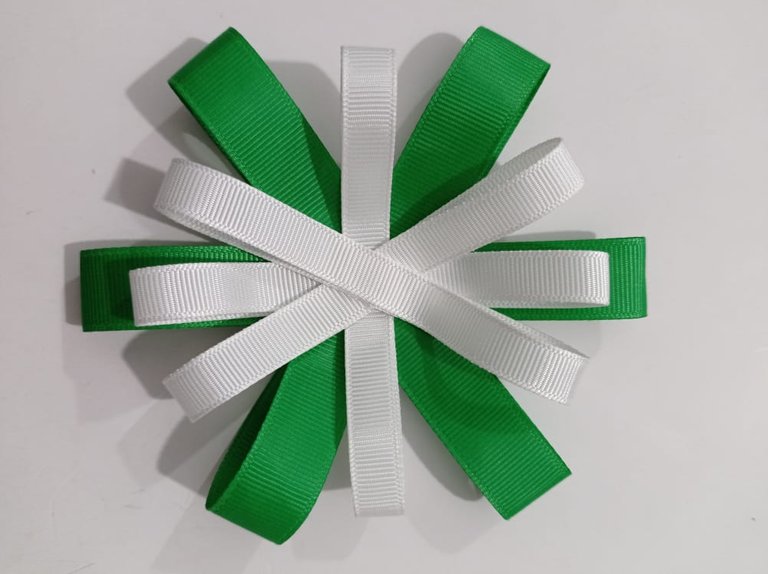
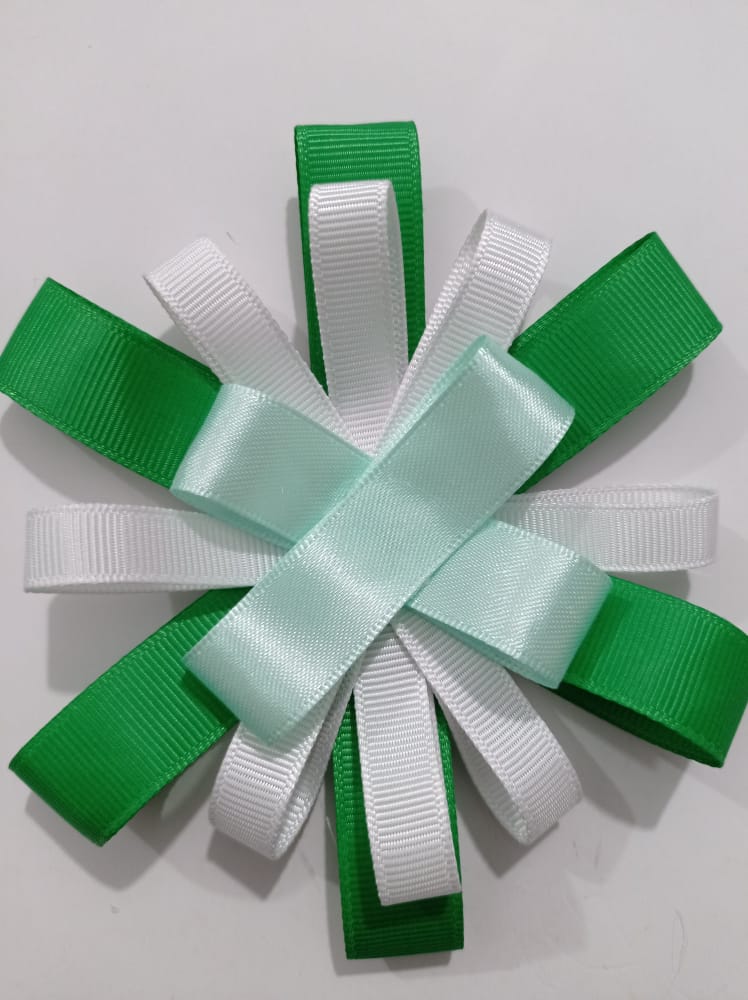
PASO 4. Pegue en el centro los lazos de color verde oscuro para formar una estrella. Luego pegue encima los lazos de color blanco y le pegue la cinta color verde claro, y por último la cinta blanca brillante. Para culminar el lazo le pegue en el centro el adorno de masa flexible.
STEP 4. Glue the dark green ribbons in the center to form a star. Then glue the white bows on top and glue the light green ribbon to it, and lastly the bright white ribbon. To complete the bow, glue the flexible dough ornament in the center.
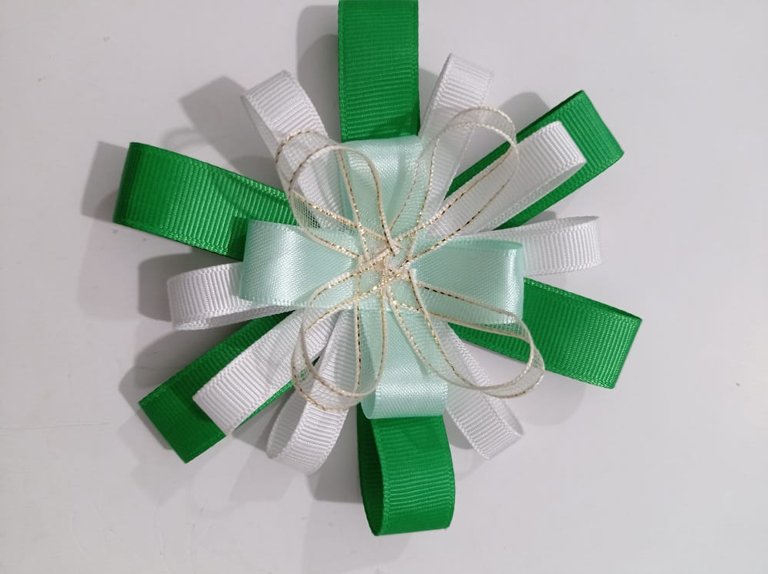


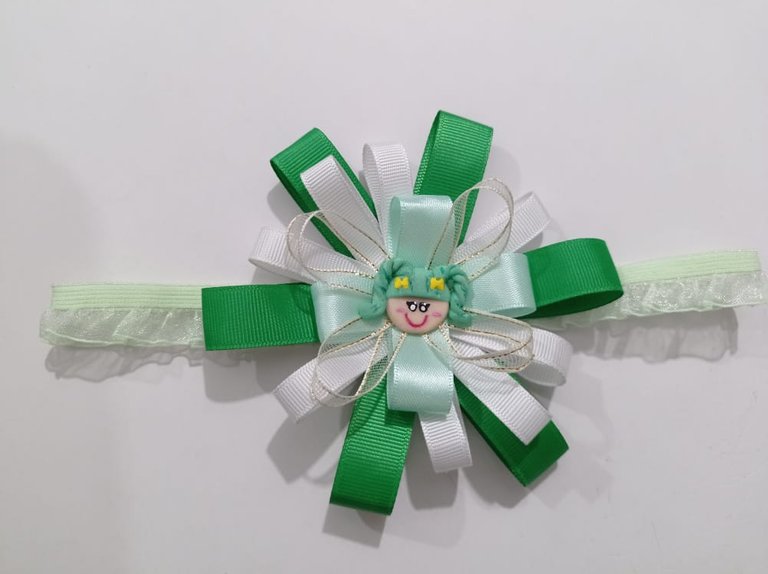
PASO 5. Luego pegue la cinta elástica que es la base del cintillo y al doblarla mide 14 cm. Después de pegar procedo a pegar el lazo y tengo listo este tierno cintillo de color verde.
STEP 5. Then glue the elastic band that is the base of the headband and when folded it measures 14 cm. After gluing, I proceed to glue the bow and I have this cute green headband ready.
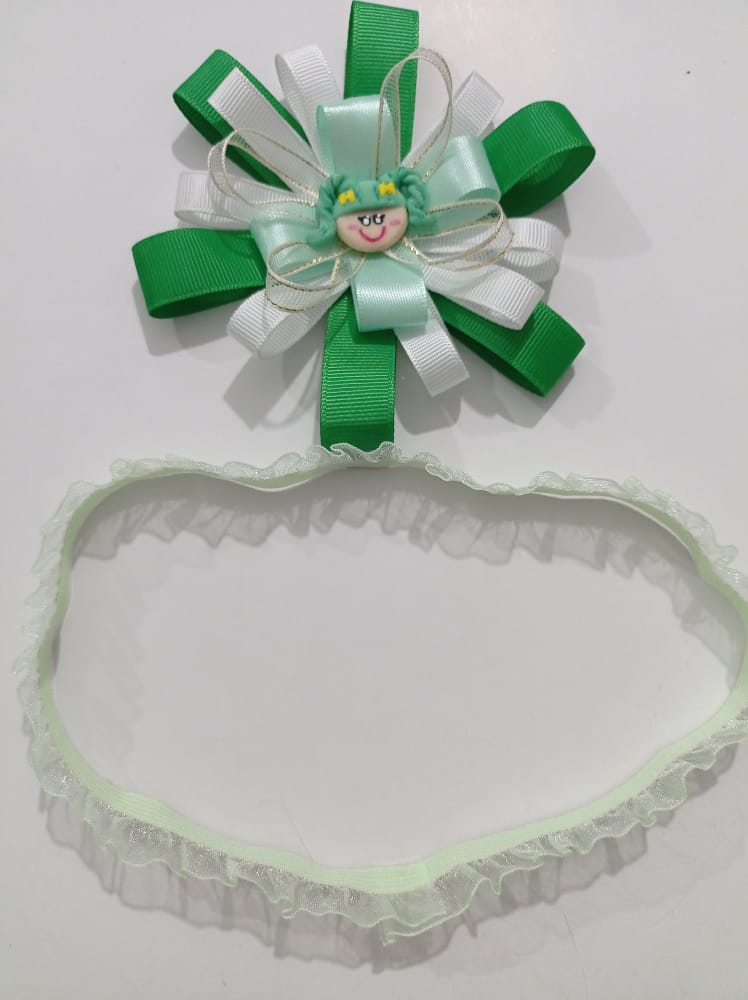

PASO 6. Ahora inicio la elaboración del cintillo color azul. Entonces inicie cortando la cintas, de la azul con 2,5 cm de ancho corte 3 tiras de 24 cm cada, de la cinta rosado de ancho de 1,5 cm corte cuatro tiras de 10 cm cada, de la tira de azul de ancho 1,5 cm dos tiras de 8 cm cada una.
STEP 6. Now I start the elaboration of the blue headband. Then start cutting the ribbons, from the blue ribbon with a width of 2.5 cm cut 3 strips of 24 cm each, from the pink ribbon with a width of 1.5 cm cut four strips of 10 cm each, from the blue strip of width 1.5 cm two strips of 8 cm each.
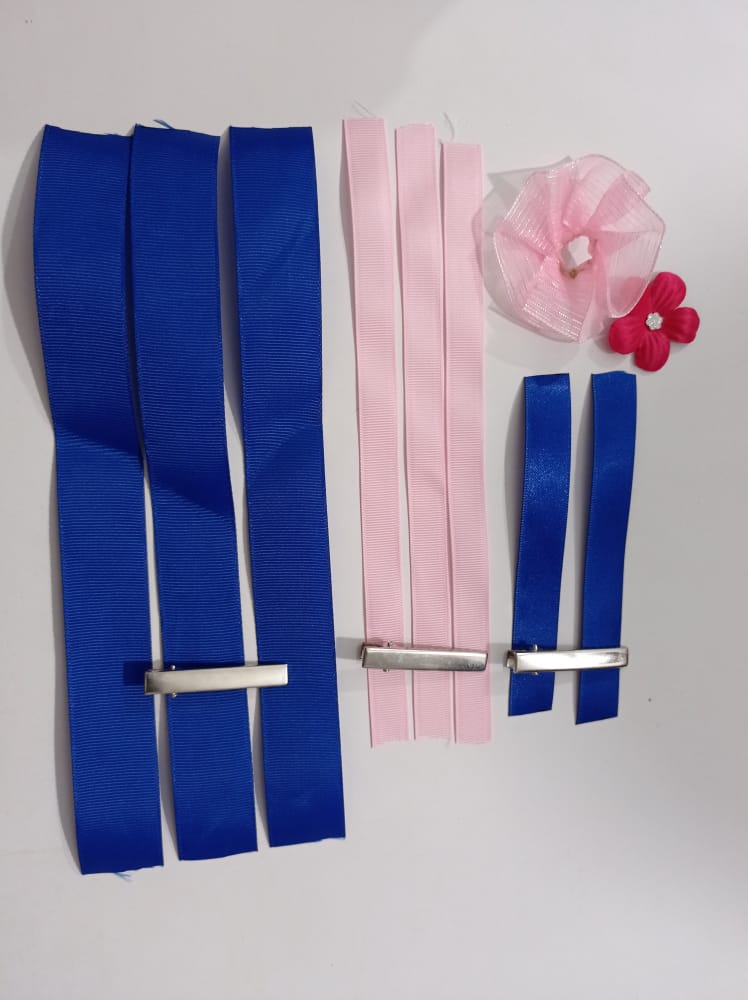
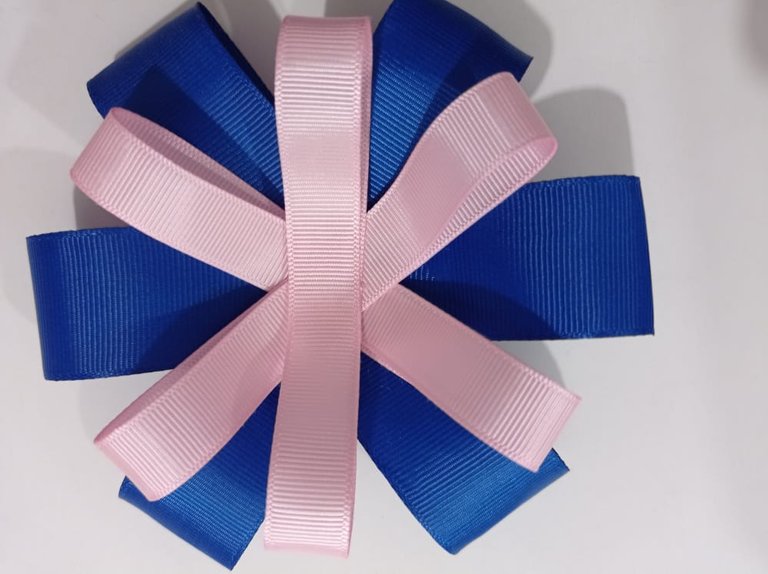

PASO 7. Luego las organice para ir pegándolas con el silicon y armando los lazos. Al igual que con el lazo color verde después de pegar la tira de cinta y armarlos fui conformando el lazo, primero pegue los lazos de color azul grueso y encima los lazos de color rosado claro.
STEP 7. Then organize them to go sticking them with the silicone and assembling the ties. As with the green bow, after gluing the strip of tape and assembling them, I shaped the bow, first glue the thick blue bows and on top the light pink bows.
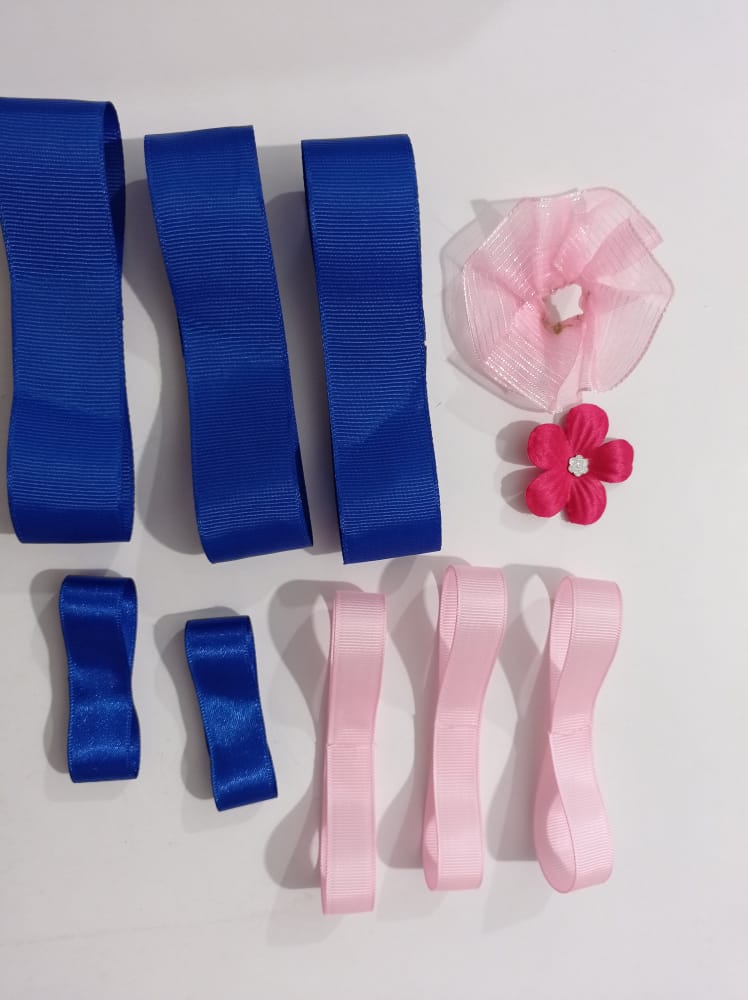


PASO 8. Continúe pegando los lazos de color azul de cinta delgada, para pegar encima la el centro de color rosado que ya tenía previamente elaborado.
STEP 8. Continue gluing the blue bows of thin ribbon, to stick on top of the pink center that you had previously made.
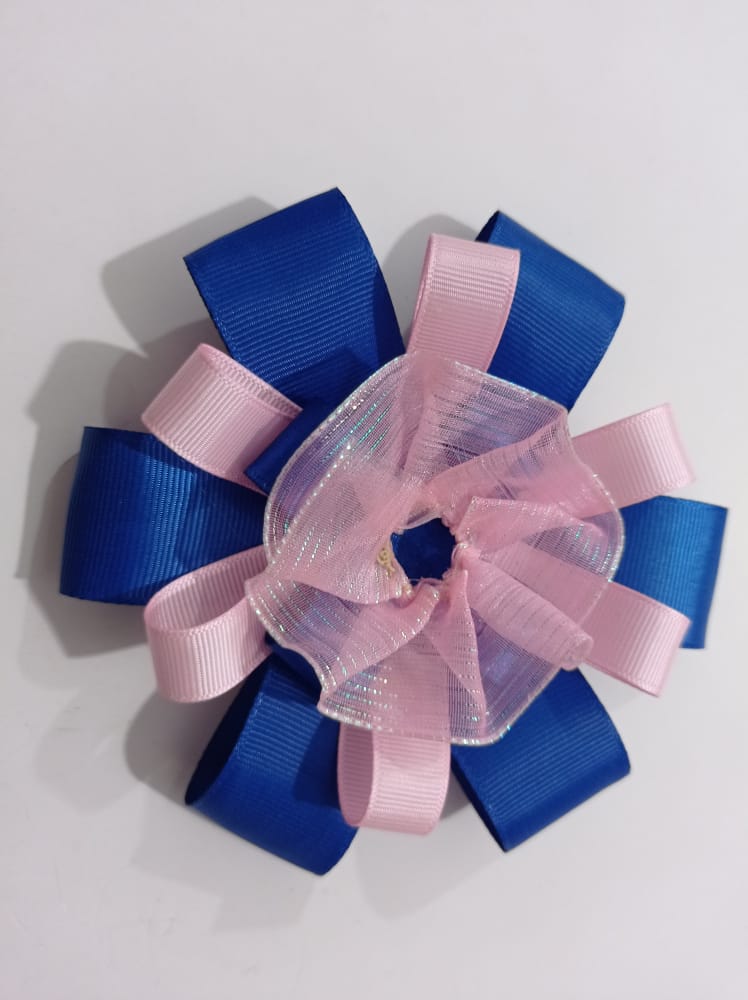

PASO 9 . Para culminar el lazo le pegue en el centro la flor de color fucsia y también pegue la cinta elástica base del cintillo. Y listo tengo el cintillo color azul terminado.
STEP 9. To complete the bow, glue the fuchsia flower in the center and also glue the base elastic band of the headband. And ready I have the blue headband finished.
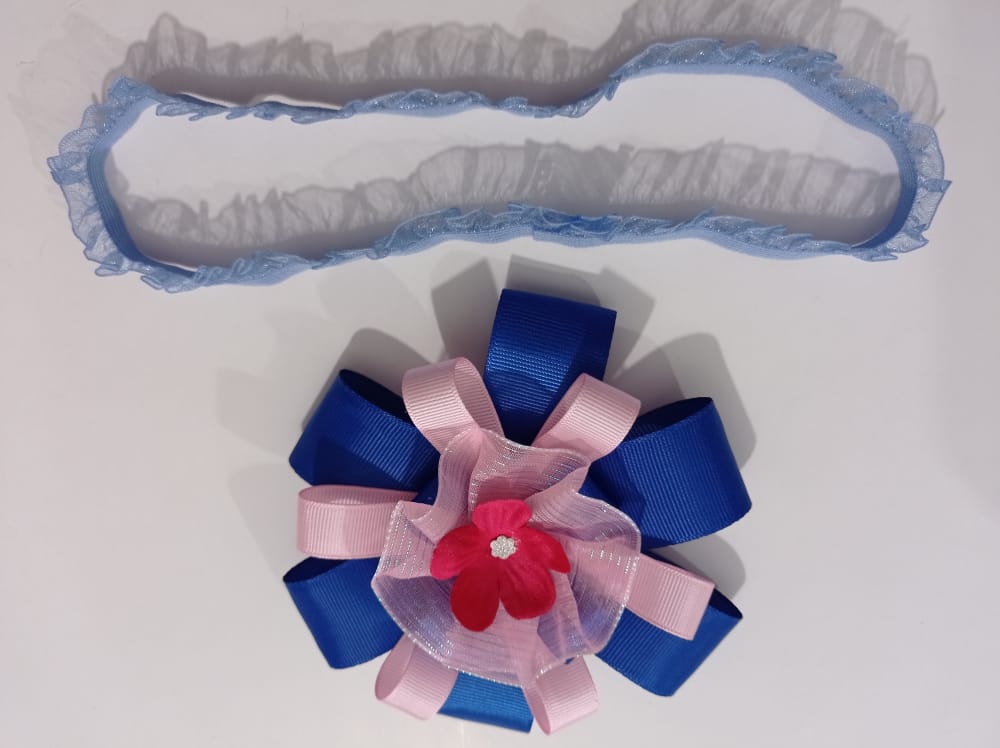
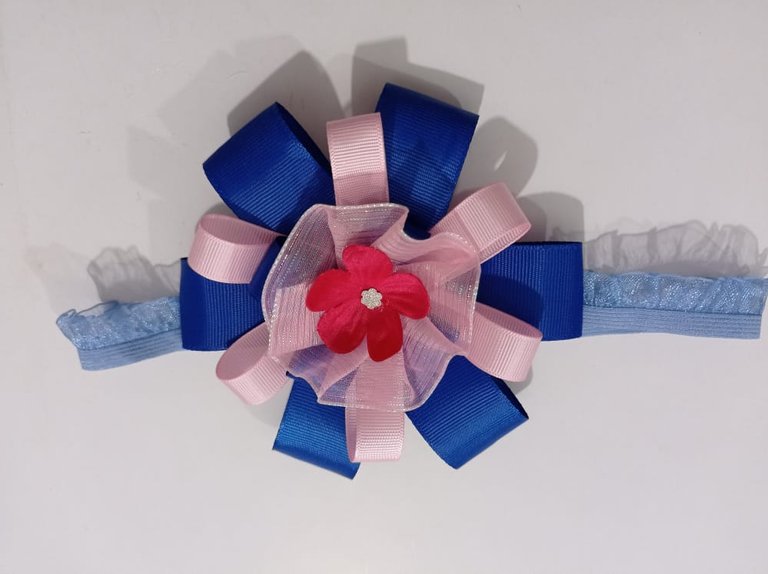

Los cintillos terminados. / The finished headbands.
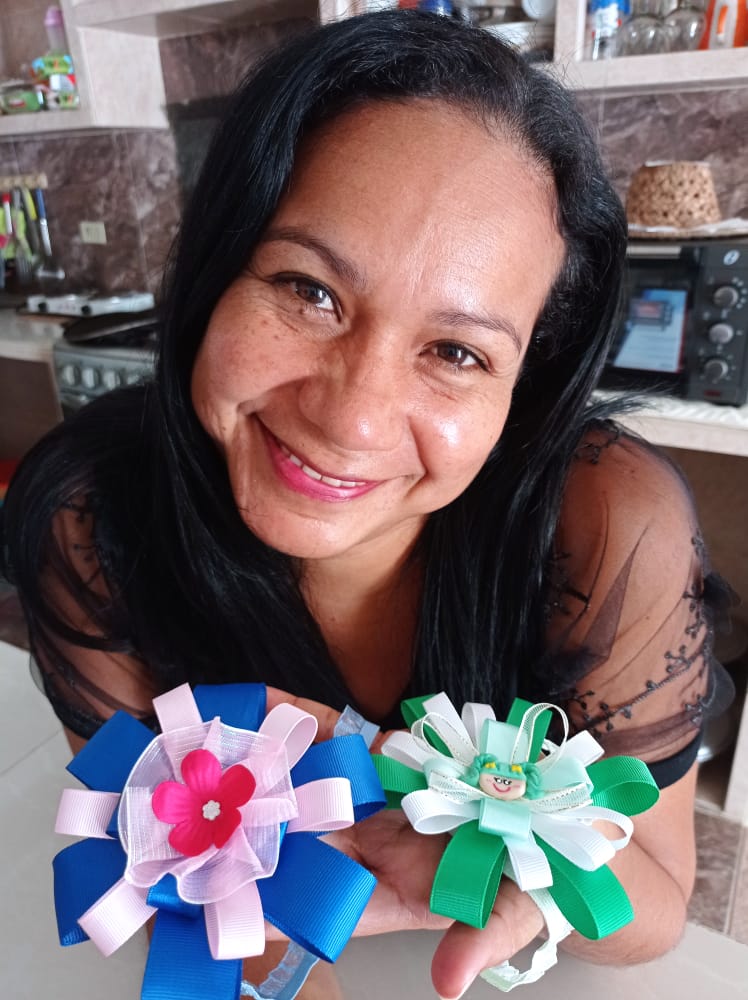
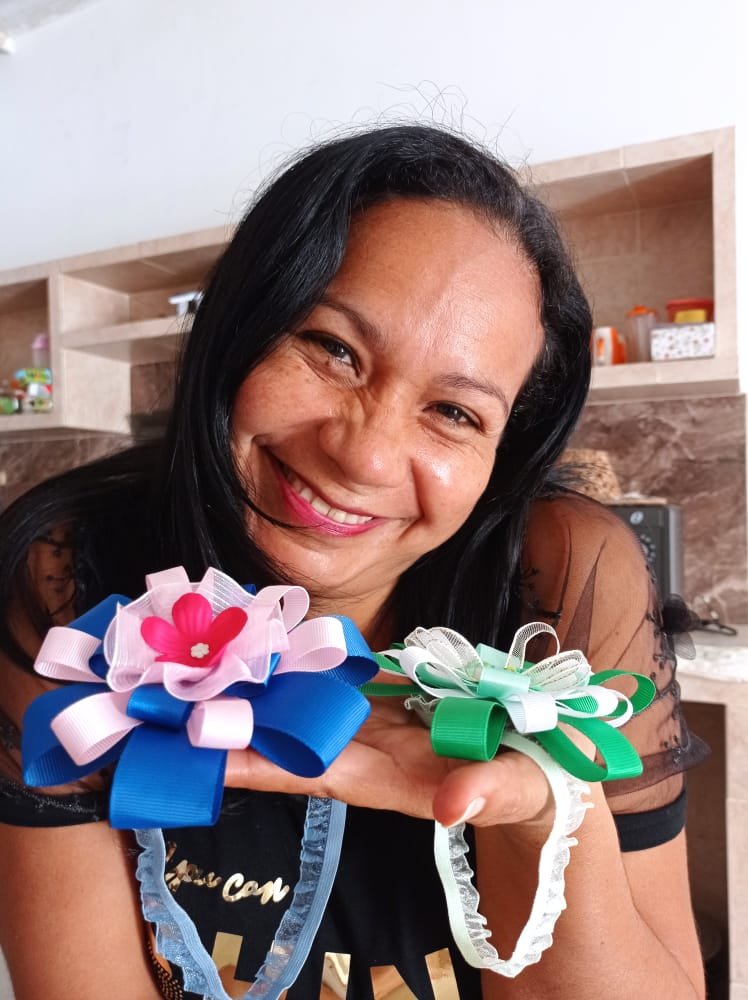

Todas las fotografías son propias y tomadas con mi Redmi Note_9
¡Espero su visita en mi próximo post!
All photographs are my own and taken with my Redmi Note_9
I look forward to your visit in my next post!


