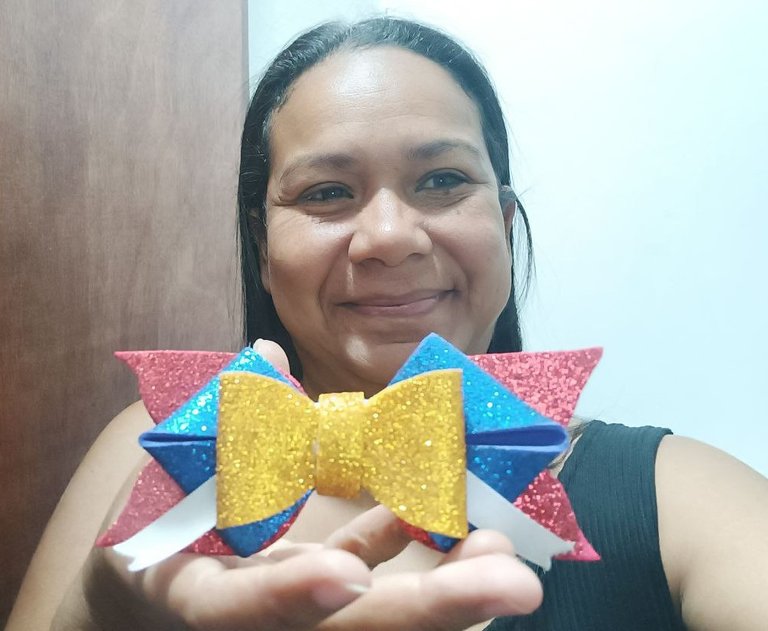
Saludos amigos de #Hivediy hoy estoy con ustedes para mostrarles como realice este hermoso lazo tricolor con foami. Si me preguntan por qué use estos colores es porque será usado por una niña en un evento de baile folklórico y sin duda le combina muy bien los colores de la bandera. Use los tres colores de foami brillante y una cinta de color mate para que sirva para armonizar el brillo.
Greetings friends of #Hivediy today I am with you to show you how I made this beautiful tricolor ribbon with foami. If you ask me why I used these colors is because it will be used by a girl in a folk dance event and certainly combines very well the colors of the flag. Use the three colors of shiny foami and a matte ribbon to harmonize the brightness.
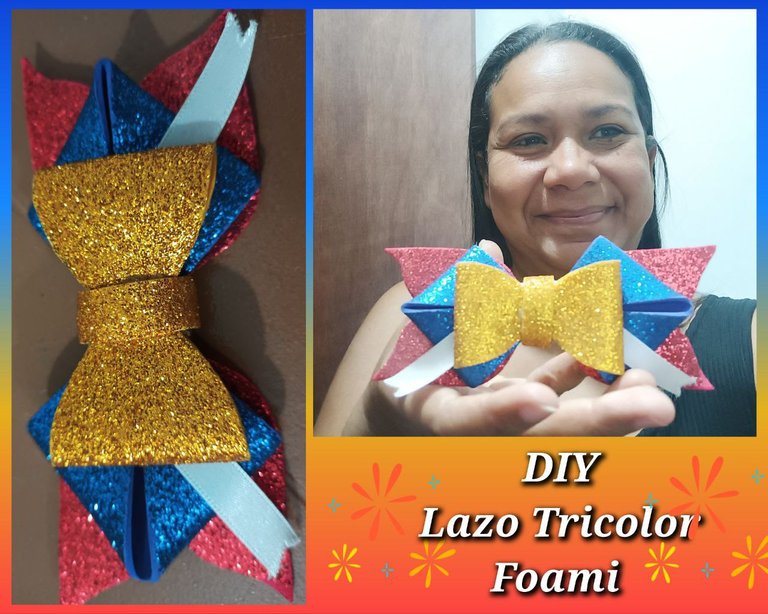
- Foami brillante de color dorado.
- Foami brillante de color azul.
- Foami brillante de color rojo.
- Cinta de 1 cm de ancho color blanco.
- Tijera.
- Silicona líquida.
- Lapicero.
- Pinza.
- Regla.
Materials used..
- Gold-colored shiny foami.
- Blue shiny foami.
- Red shiny foami.
- Tape of 1 cm of width white color.
- Scissors.
- Liquid silicone.
- Pencil.
- Tweezers.
- Ruler.
Realizar adornos en foami es muy sencillo, porque marcamos , recortamos y pegamos, en esta oportunidad lo que debemos saber es la figura y las medidas para lograr un lazo especial.
Procedure:
Making ornaments in foami is very simple, because we mark, cut and glue, in this opportunity what we need to know is the figure and the measurements to achieve a special bow.
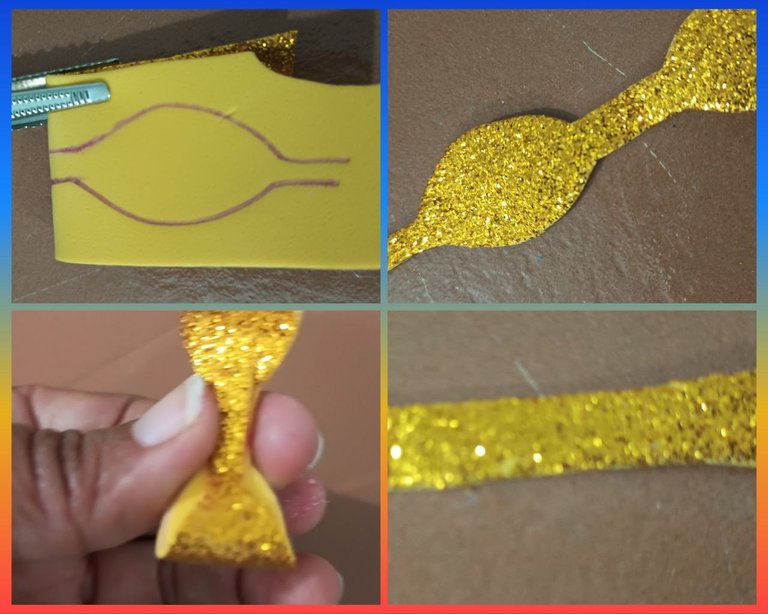
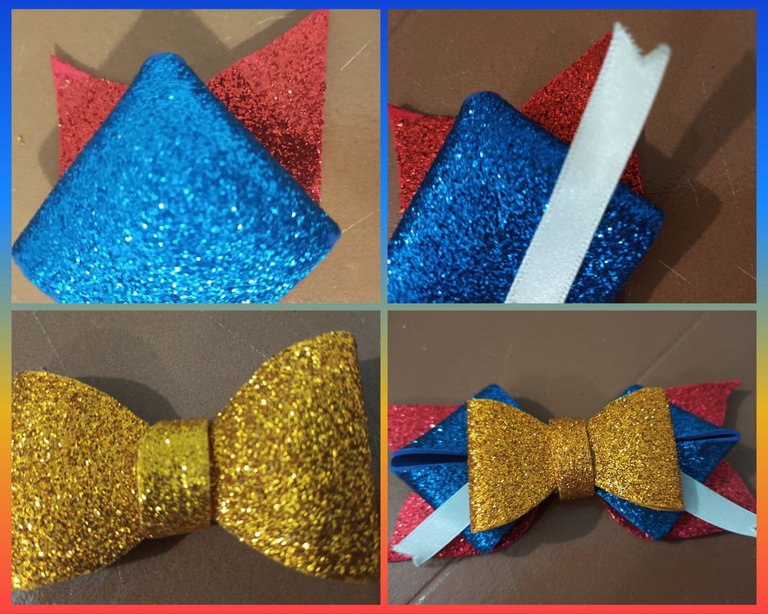
En primero lugar inicie formando el lazo de color amarillo brillante, para eso marque en el foami la figura para lograrlo, como puedes ver se trata de imagen como la mitad de un lente, a la que se le dejan dos tiras a los lados. Luego doblé el foami y recorté, y la silicona la pegue y el listo se forma el lazo con el foami de color amarillo brillante.
Step 1:
First I started forming the bright yellow bow, for that I marked on the foami the figure to achieve it, as you can see it is an image like half of a lens, which is left with two strips on the sides. Then I folded the foami and cut it out, and the silicone I glued it and the bow is formed with the bright yellow foami.
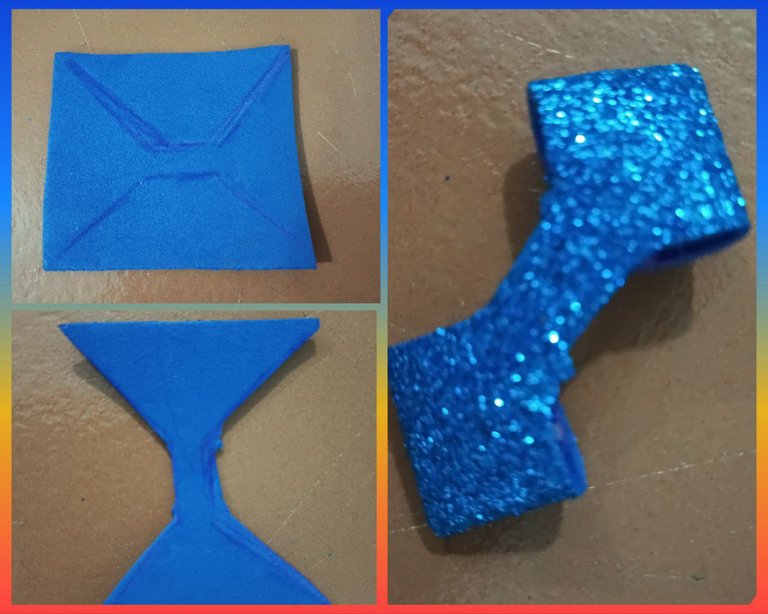
Ahora para formar el lazo de foami de color azul brillante, marque en el foami una imagen distinta a la que forme para el lazo de color amarillo, como pueden ver se trata de triángulos abiertos y unidos por la línea. Luego de marcar el foami, lo recorte y luego lo pegue.
Step 2:
Now to form the bright blue foami bow, mark on the foami a different image than the one you made for the yellow bow, as you can see they are open triangles joined by the line. After marking the foami, cut it out and then glue it.
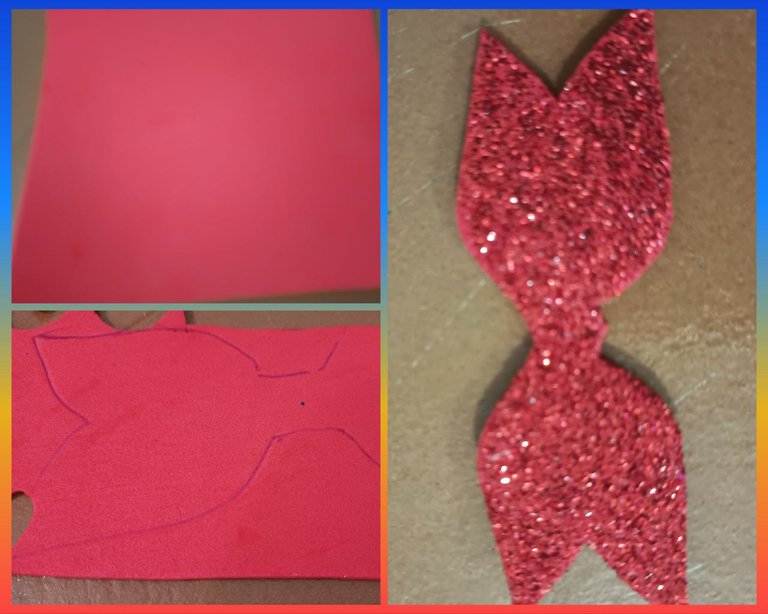
Para el lazo de foami de color rojo brillante también use una figura diferente, además la idea es dejarlo de forma plana, así solo marque un lazo de dos picos con su centro y luego recorte.
Step 3:
For the bright red foami ribbon I also used a different shape, also the idea is to leave it flat, so just mark a two-pointed ribbon with its center and then cut it out.
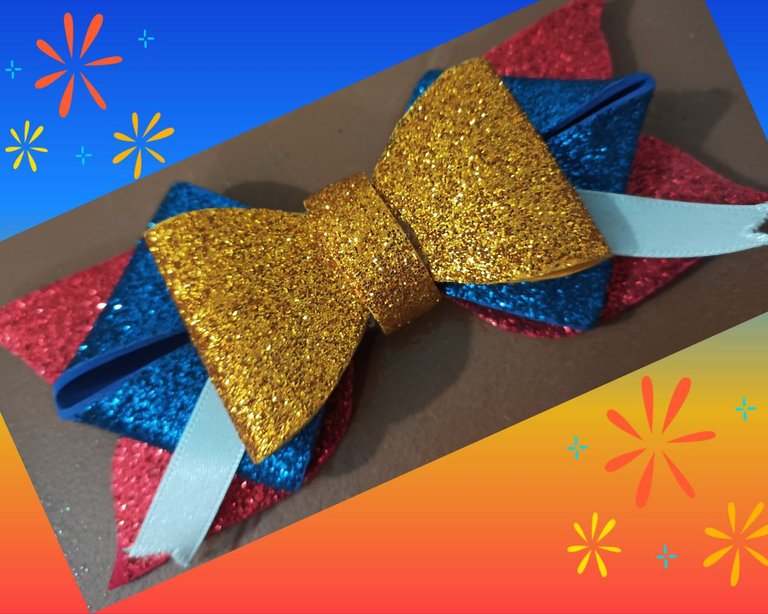
Ahora inicio la unión de los lazos de los tres colores de foami. El lazo de color rojo, será la base por eso lo deje plano, encima pegue el lazo de forma triángular de color azul, aquí pegue una cinta de color blanco mate de 1 cm de ancho. Para culminar monte encima el lazo de color amarillo.
Step 4:
Now I start the union of the bows of the three colors of foami. The red ribbon will be the base, so leave it flat, then glue the triangle-shaped ribbon on top. triangular glue a 1 cm wide matte white ribbon on top of the blue one. To finish, glue the yellow ribbon on top.
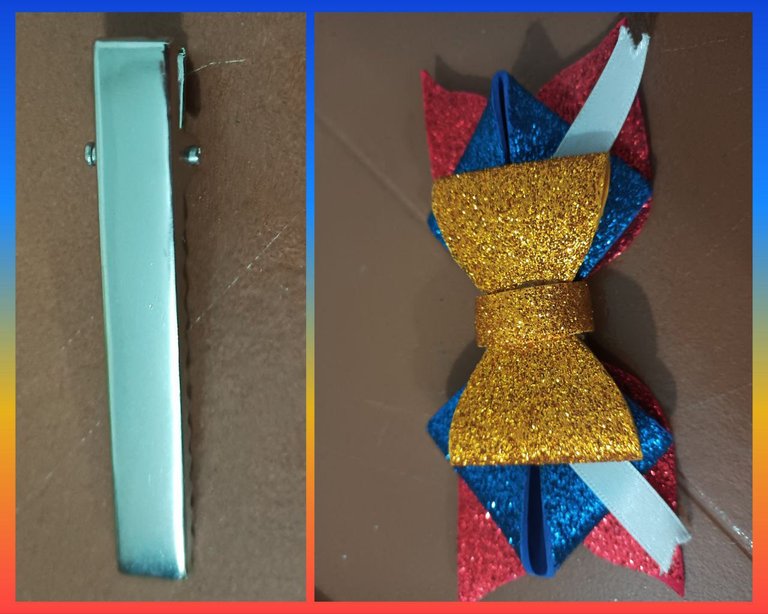
Llego el momento de pegar la pinza y terminar el lazo tricolor que he preparado para una dulce niña en un baile folklórico.
Step 5:
It's time to glue the clip and finish the tricolor ribbon that I have prepared for a sweet little girl in a folkloric dance.
Todas las fotos son de mi propiedad tomadas con las camaras de mi Tecno Canon 18P. Editadas con la aplicación GridArt.
Traductor usado Deepl.com versión gratuita.
Muchas gracias por leer y visitar mi post. Soy Alida Gómez

All photos are my own taken with my Tecno Canon 18P cameras. Edited with the GridArt application.
Translator used Deepl.com free version.
Thank you very much for reading and visiting my post. I'm Alida Gomez


