¡Saludos Amigos de Hive DIY ! | Hello Hive Friends DIY!
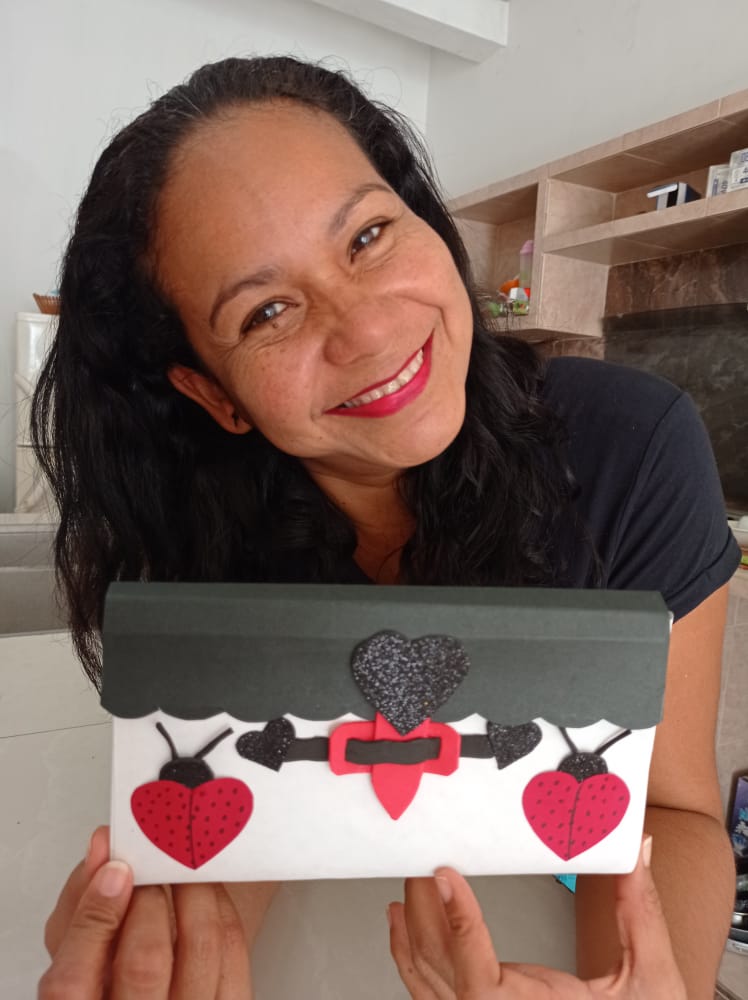
Hoy les presento cómo preparé una linda cartera de mariquita usando cartulinas y foami, es un muy sencillo de hacer y con eso podemos hacer algún detalle a las niñas que tanto les gusta jugar con carteras, sólo debemos saber los detalles que le voy a mostrar a continuación:
Today I present to you how I prepared a cute ladybug purse using cardboard and foam, it is very simple to do and with that we can make some detail for the girls who like to play with purses so much, we just have to know the details that I am going to show to continuation:


Materiales | Materials

- Cartulina color blanco.
- Cartulina color negro.
- Cartulina color rojo.
- Foami mate color negro y color rojo.
- Foami color negro brillante.
- Marcador color negro.
- Regla.
- Tijera.
- Silicón líquido.
- White cardboard.
- Black cardboard.
- Red cardboard.
- Matt black and red foam.
- Glossy black foam.
- Black marker.
- Ruler.
- Scissors.
- Liquid silicone.

Procedimiento | Process

PASO 1. La cartulina a utilizar para esta cartera de mariquita mide 21,7 cm. De ancho y 27,7 cm de largo. Entonces con la regla hice una línea 4 cm de largo y recorte a todo lo ancho de la cartulina. Luego esa pestaña la corte a mitad y le doble en ambos lados 1 cm. El resto de la cartulina la doble a mitad y la sostuve con una pinza en medio.
STEP 1. The cardstock to be used for this ladybug wallet measures 8.5 inches. wide and 27.7 cm long. Then with the ruler I made a line 4 cm long and cut the full width of the cardboard. Then cut that tab in half and bend it on both sides 1 cm. The rest of the cardboard I folded in half and held it with a clothespin in the middle.


PASO 2. Luego de unos minutos que la pinza le diera forma a la cartulina. Tome cada pestaña y la pegué en ambos lados. Pero esta vez deje un espacio de 3 cm para hacer la diferencia con el frente de la cartera. La finalidad de pegarle estás pestaña a los lados es darle el ancho a la cartera y además le da más seguridad cuando se toma en más manos.
STEP 2. After a few minutes the clamp gave shape to the cardboard. I took each tab and glued it on both sides. But this time leave a space of 3 cm to make the difference with the front of the bag. The purpose of sticking these tabs on the sides is to give the wallet width and also gives it more security when it is taken in more hands.


PASO 3. Mientras las pestañas se pegan bien a los lados de la cartulina. Voy con la cartulina negra y se mide lo mismo de ancho 21,7 cm y 9 cm de largo. Luego a todo lo ancho le recorto curvas tal como se imagen. Entonces se mide 1,5 cm para pegar en la parte posterior de la cartera y dobla hacia adelante para darle forma. Una vez tiene forma se procede a pegar la cartulina negra en la parte de atrás.
STEP 3. As long as the tabs stick well to the sides of the cardstock. I go with the black cardboard and it measures the same width 21.7 cm and 9 cm long. Then to the full width I cut curves as shown in the image. Then measure 1.5 cm to stick to the back of the bag and fold forward to shape. Once it has a shape, proceed to glue the black cardboard on the back.


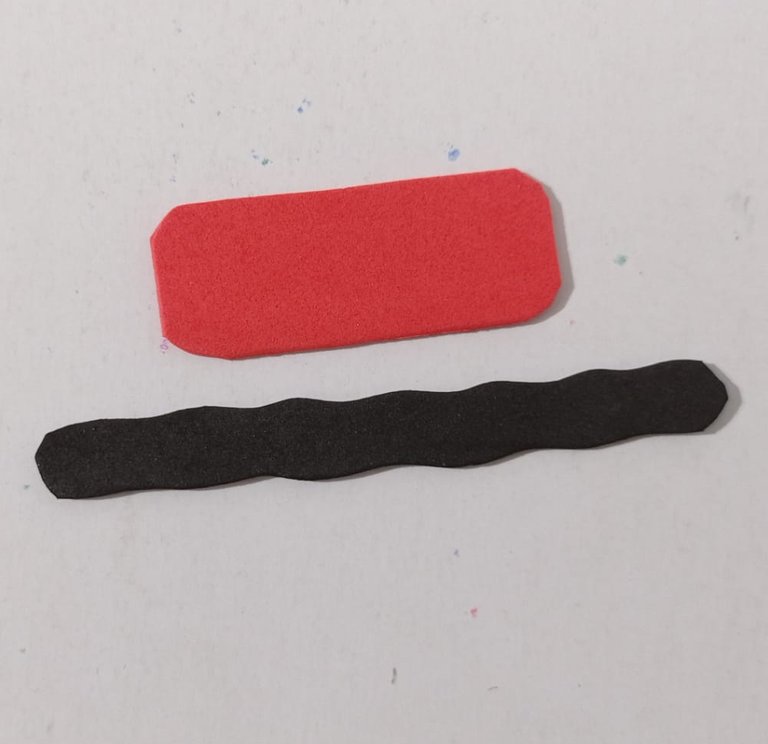
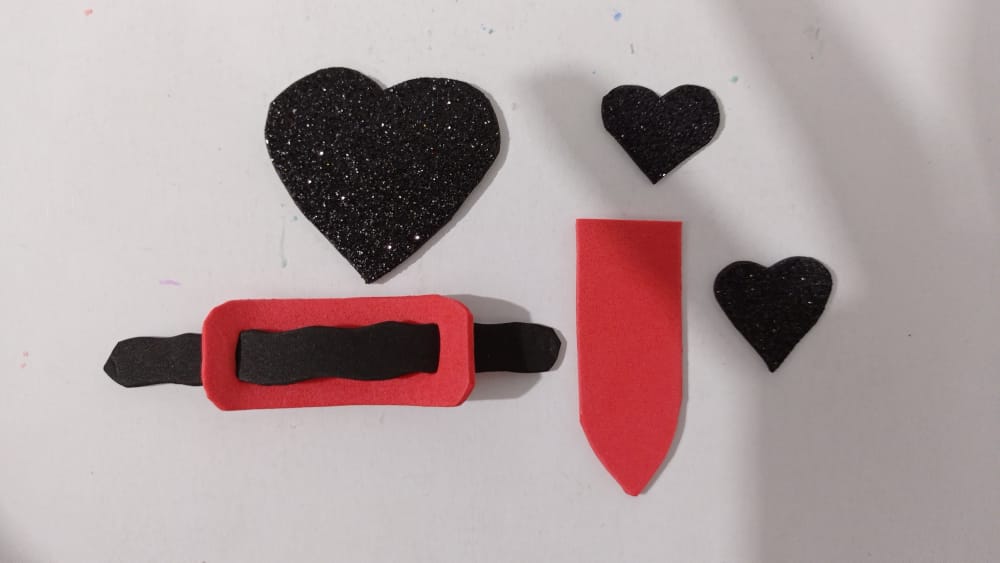
PASO 4. Ahora con foami color rojo mate, negro mate y negro brillante le hago detalles de corazón y el seguro de la cartera. Con estas dos tiras de foami voy seguro que va pegado a la base de cartera, para ello recorto un rectángulo y le doy forma en las esquinas, y al foami color negro le hago curvas para tener el mismo estilo de la cartulina color negro. Se le hace unos orificios en ambos del rectángulo rojo y se introduce el foami negro. Luego con el resto del foami rojo mate le recorto lo que se pega a la cartulina color negro. También se recortan tres corazones en foami brillante para adornar, uno grande y dos pequeños.
STEP 4. Now with matte red, matte black and glossy black foami I make details of the heart and the insurance of the wallet. With these two strips of foami I am sure that it is glued to the base of the bag, for this I cut a rectangle and shape it in the corners, and I make curves to the black foami to have the same style as the black cardboard. Holes are made in both of the red rectangle and the black foami is inserted. Then with the rest of the matte red foami I cut out what sticks to the black cardboard. Three hearts are also cut out of shiny Foami to decorate, one large and two small.


PASO 5. Se procede a pegar en la parte superior, es decir la cartulina de color rojo el seguro rojo. Y se pega en la parte frontal de la cartera el seguro, midiendo la distancia de tal manera que entre el seguro. Los corazones se pegan en ambos lados de la tira de foami negro. Y el corazón grande en la parte superior de la cartera.
STEP 5. We proceed to paste the red insurance on the upper part, that is, the red cardboard. And the insurance is stuck on the front of the wallet, measuring the distance in such a way that the insurance enters. The hearts are glued on both sides of the black foami strip. And the big heart at the top of the bag.


PASO 6. Ahora se prepara todo para construir las mariquitas que serán el atractivo y motivo de esta cartera. Para eso marco dos corazones en cartulina color rojo para el cuerpo de la mariquita, y en foami color negro brillante lo que es la cara, también dos tiras para las antenas. Luego con un marcador le dibujos los puntos a los corazones y hago una línea en medio. Pego la cabeza y las antenas para tener listo ambas mariquitas.
STEP 6. Now everything is ready to build the ladybugs that will be the attraction and motif of this bag. For that I mark two hearts in red cardboard for the body of the ladybug, and in shiny black foami what is the face, also two strips for the antennas. Then with a marker I draw the dots on the hearts and make a line in the middle. I glue the head and the antennae to have both ladybugs ready.


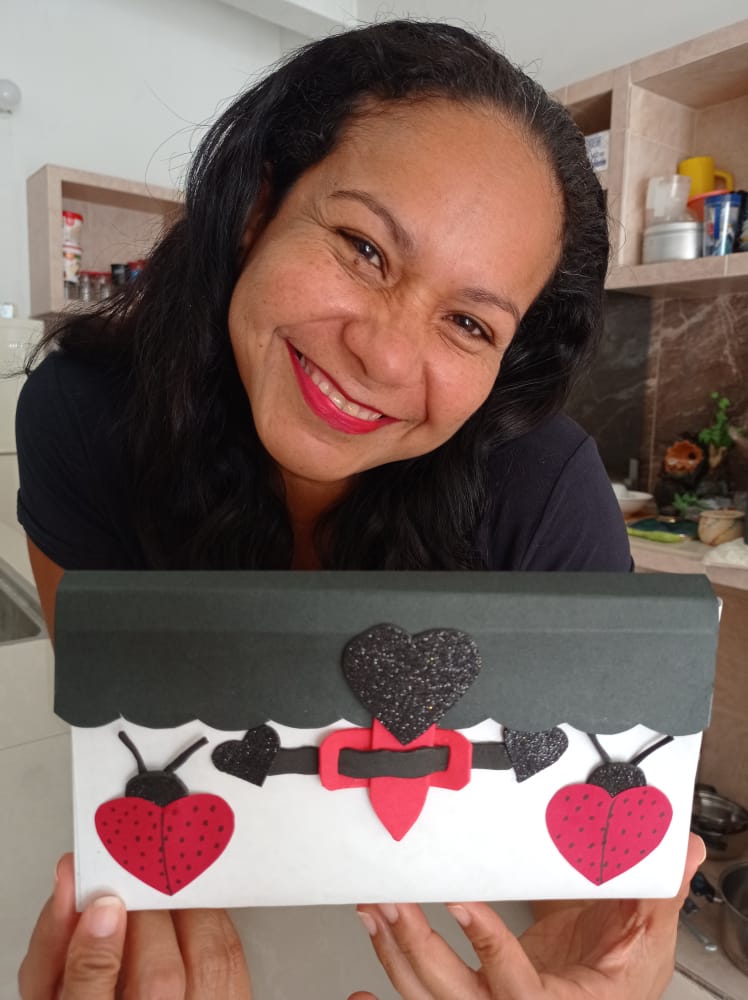
PASO 7. Para finalizar pegue las mariquitas en el frente de la cartera una en cada lado y ya tengo lista esta hermosa creación que les muestro a todos ustedes.
STEP 7. To finish, paste the ladybugs on the front of the bag, one on each side, and I have this beautiful creation ready that I show you all.


Todas las fotografías son propias y tomadas con mi Redmi Note_9
¡Espero su visita en mi próximo post!
All photographs are my own and taken with my Redmi Note_9
I look forward to your visit in my next post!

