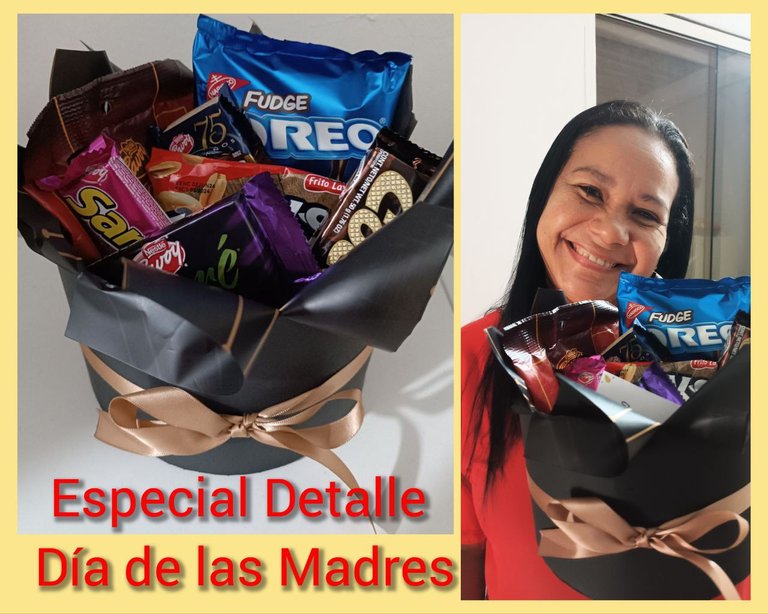
Saludos amigos de #Hivediy hoy estoy feliz de participar en esta iniciativa del día de las madres, y le muestro cómo logré preparar un cotillón especial usando material reciclado. Yo siento en el alma no poder tener a mi madre viva, por eso he decidido preparar este cotillón para mí y compartir los dulces con mis hijas, quienes son el tesoro de mi vida.
Si se preguntan porque elegí el color negro para este cotillón, es por el sentimiento de no tener a mi madre, pero además el color negro es un color muy elegante y luce perfectamente para una ocasión especial.
Le doy la bienvenida a la amiga @dayadam a este equipo de #Hivediy, le deseo igual que a todos muchos éxitos.
Greetings friends of #Hivediy today I am happy to participate in this Mother's Day initiative, and I show you how I managed to prepare a special cotillion using recycled material. I feel in my soul not being able to have my mother alive, that's why I decided to prepare this cotillion for me and share the candy with my daughters, who are the treasure of my life.
If you are wondering why I chose the color black for this cotillion, it is because of the feeling of not having my mother, but also black is a very elegant color and looks perfect for a special occasion.
I welcome friend @dayadam to this #Hivediy team, I wish her as well as everyone much success.
Aquí les muestro la caja de zapato que usé para construir el cotillón. Este día me sentí con suerte de usar caja de color negro, tal como el color de mi cotillón.
- Caja de zapato para reciclar.
- Cartulina de color negro.
- Cinta de color dorado.
- Papel de regalo satinado color negro con detalles dorado.
- Regla graduada.
- Sílicona.
- Tijera.
- Golosinas varias.
- Cinta adhesiva amarilla.
Materials used..
Here is the shoe box I used to build the cotillion. This day I felt lucky to use a black box, just like the color of my cotillion.
- Shoe box for recycling.
- Black cardboard.
- Gold color ribbon.
- Black satin gift wrapping paper with gold details.
- Graduated ruler.
- Silicone.
- Scissors.
- Various candies.
- Yellow adhesive tape.
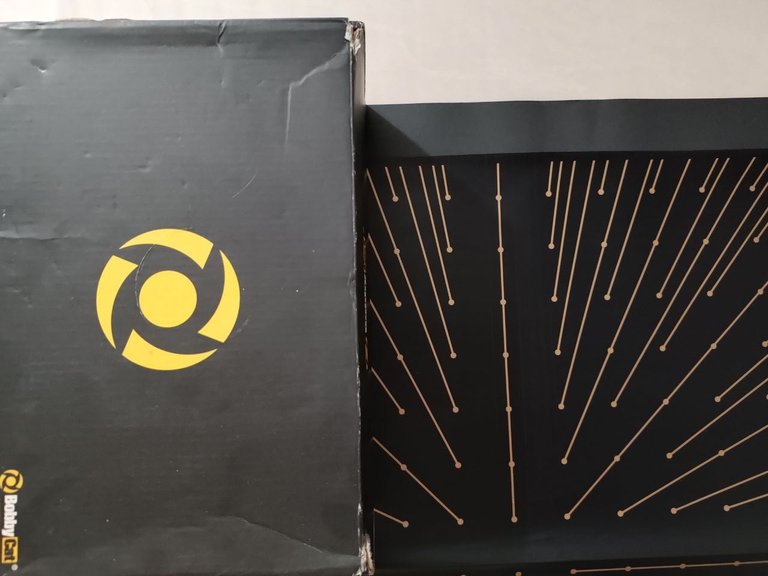
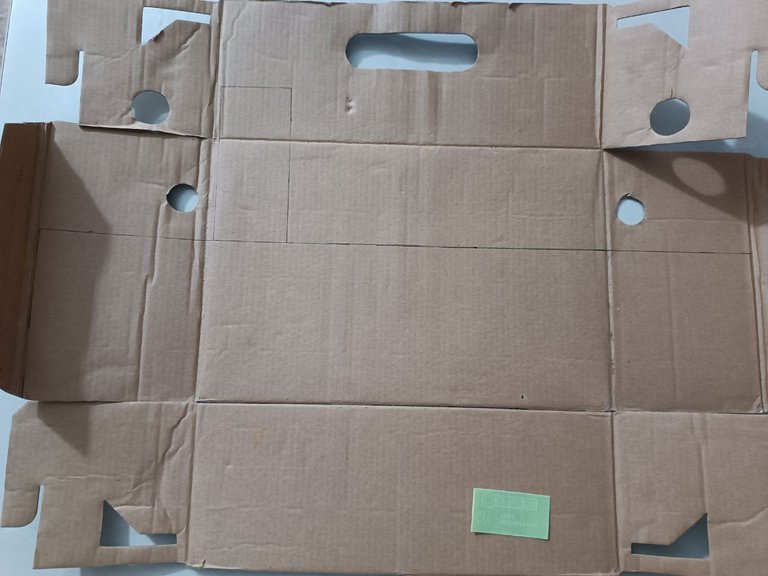
Para iniciar la preparación de mi cotillón, fue necesario desarmar la caja de zapato a los fines de usar el cartón para hacer las piezas que necesito.
Procedure:
To start the preparation of my cotillion, it was necessary to disassemble the shoe box in order to use the cardboard to make the pieces I need.
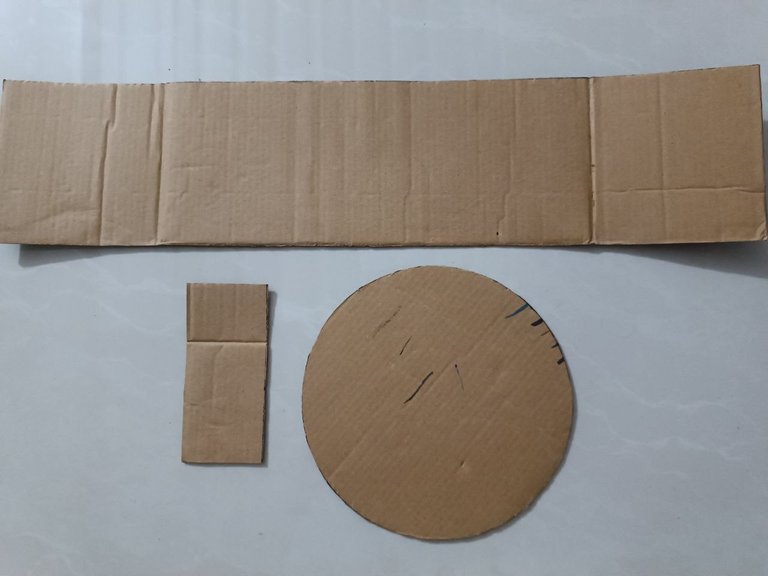
Una vez desarmada la caja de zapato, usé un plato de mi cocina, para marcar con un lapicero un círculo con diámetro de 16 cm. Luego de que lo marque, usé la tijera para recortarlo.
Step 1:
Once the shoe box was disassembled, I used a plate from my kitchen to mark with a pencil a circle with a diameter of 16 cm. After I marked it, I used the scissors to cut it out.
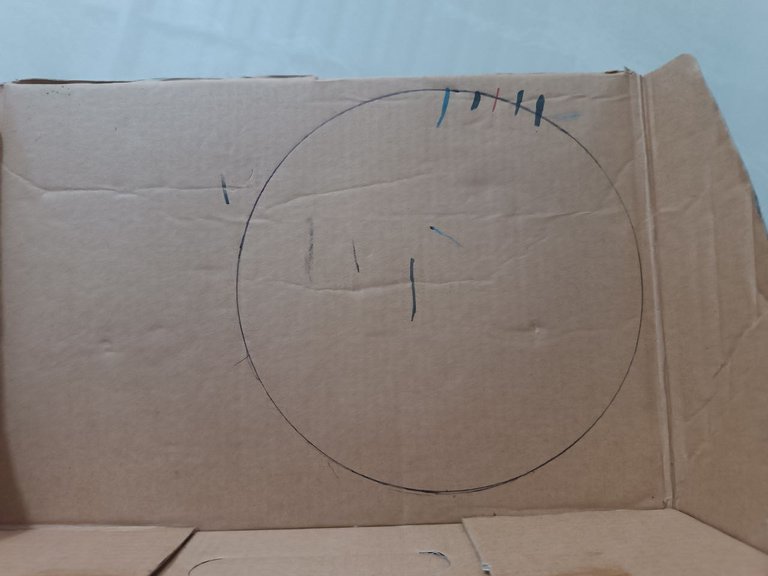
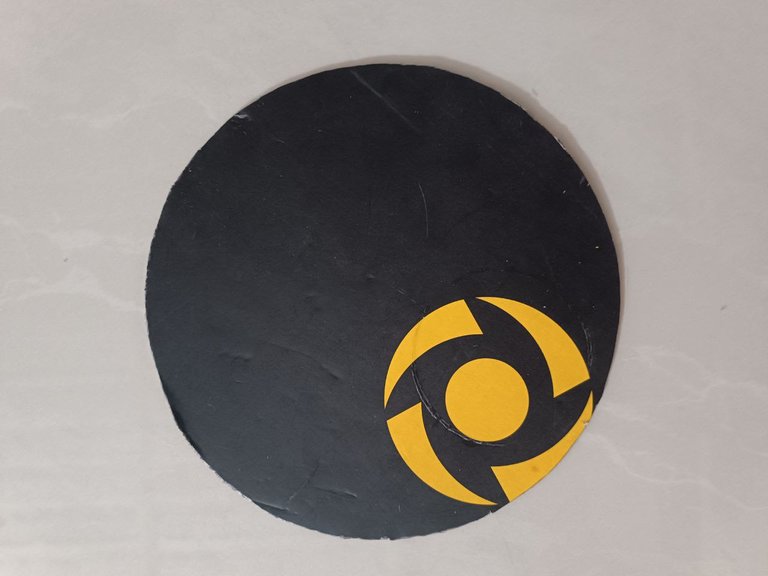
Ahora usé la regla para medir un rectángulo de 11 cm de alto y 34 cm de largo y una pequeña tira que me ayudó a asegurar el empate del cotillón. Luego usé la tijera para recortarlo y ahora sí tengo listas las piezas para construir el cotillón.
Step 2:
Now I used the ruler to measure a rectangle 11 cm high and 34 cm long and a small strip that helped me to secure the tie of the cotillion. Then I used the scissors to cut it out and now I have the pieces ready to build the cotillion.
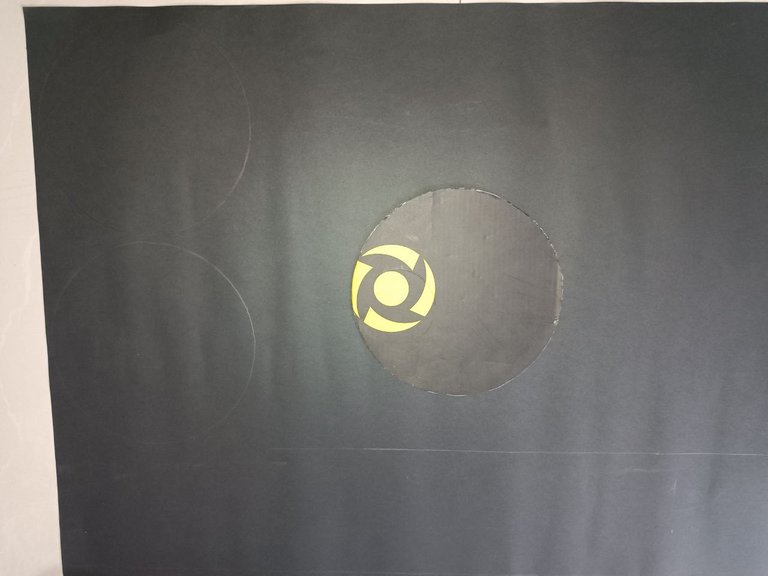
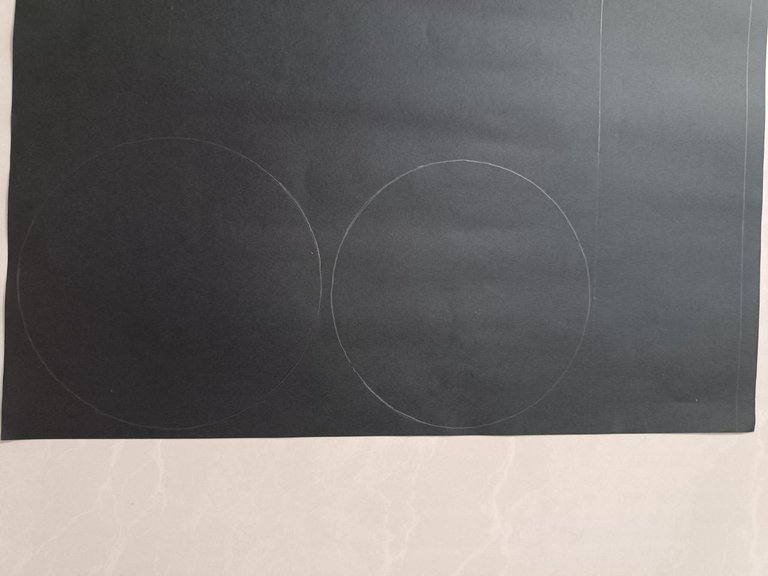
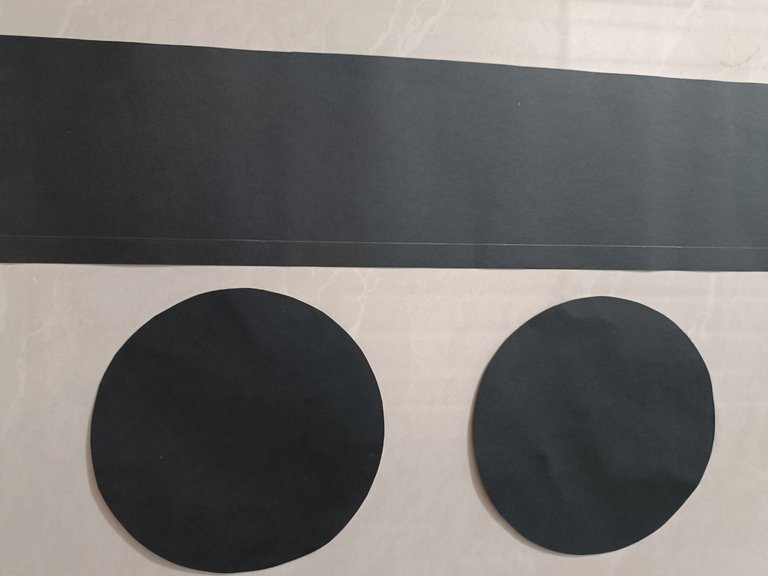
Seguidamente, usé las piezas que marque y recorte de la caja de zapato para marcar encima de la cartulina de color negro, dos círculos y el rectángulo. Luego de que lo marqué, usé la tijera para recortarlo.
Step 3:
Next, I used the pieces I marked and cut out of the shoe box to mark two circles and the rectangle on the black cardstock. After I marked it, I used the scissors to cut it out.
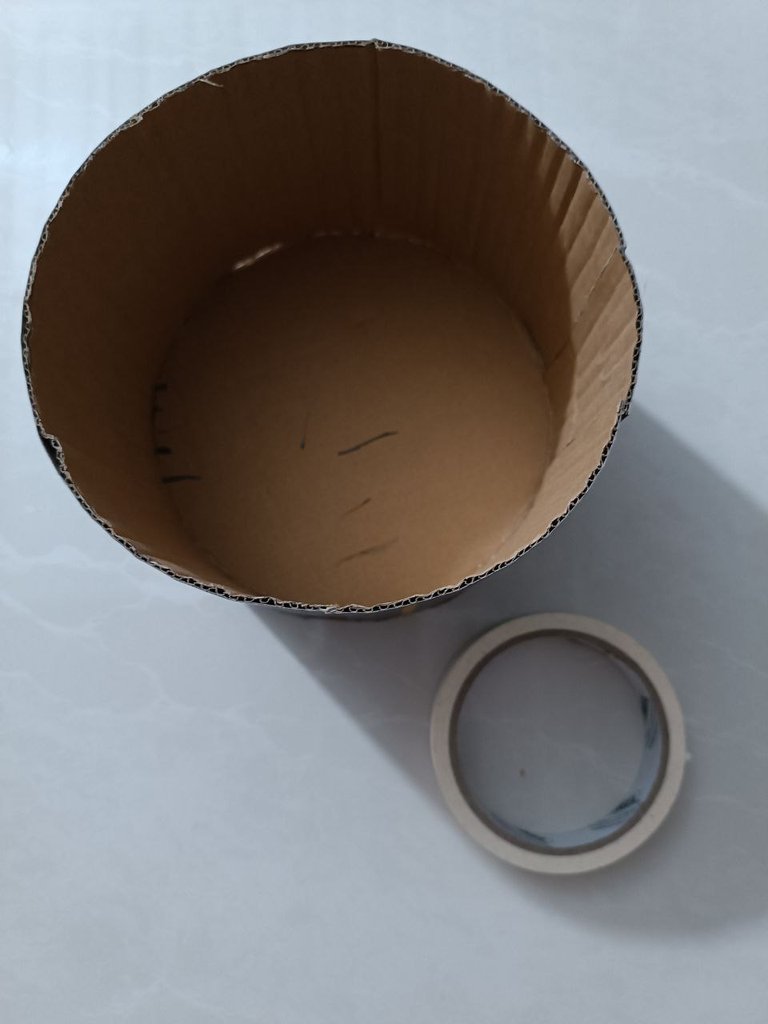
Tomé el rectángulo de cartón y lo doble de tal manera que me sirviera para moldear el círculo de cartón y así conformar el cotillón. Para lograr unir la base con la altura, usé cinta adhesiva amarilla, que es especial para lograr corregir superficies y pega muy bien. Miren cómo luce de altura mi cotillón.
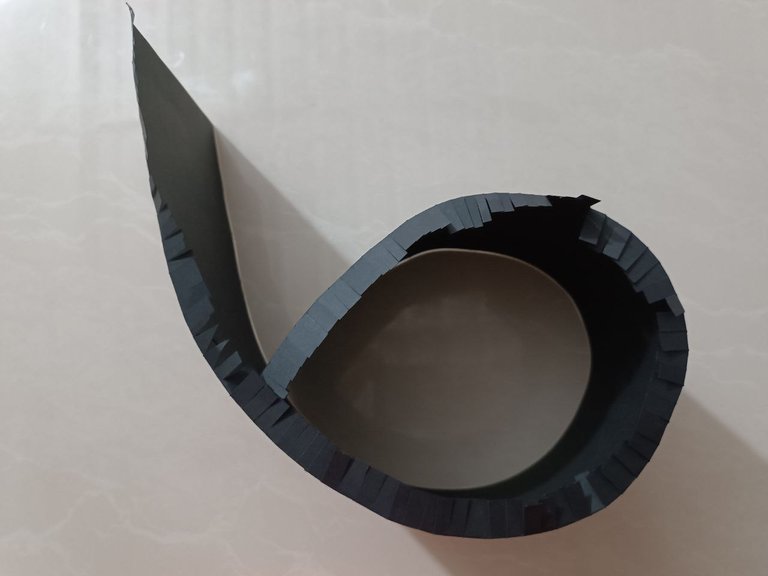
Luego tomé la cartulina que recorté y le hice con la tijera diversos cortes, y usé la silicona para cubrir el exterior del cotillón. Esto me llevó algo de tiempo para evitar que pegara arrugado. La idea es lograr algo bonito y con buena presentación.
Step 4:
I took the cardboard rectangle and folded it in such a way that I could mold the cardboard circle to form the cotillion. To join the base with the height, I used yellow adhesive tape, which is special for correcting surfaces and sticks very well. Look how tall my cotillion looks.
Then I took the cardboard that I cut out and made several cuts with the scissors, and used the silicone to cover the outside of the cotillion. This took me some time to prevent it from sticking wrinkled. The idea is to get something nice and with a good presentation.
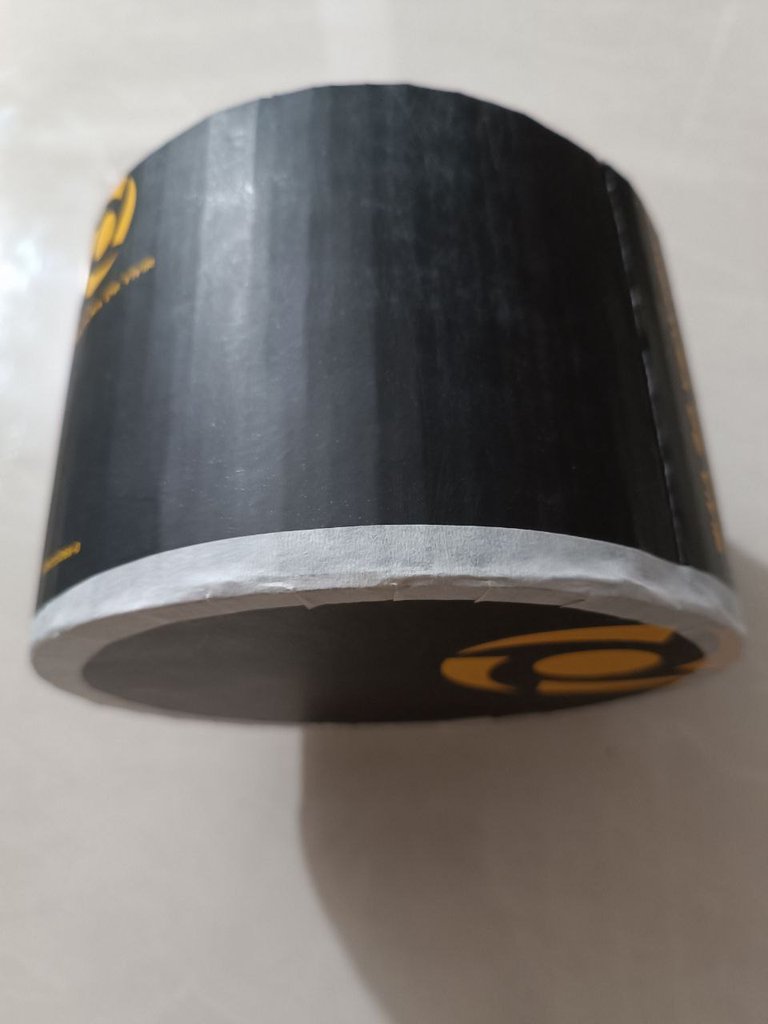
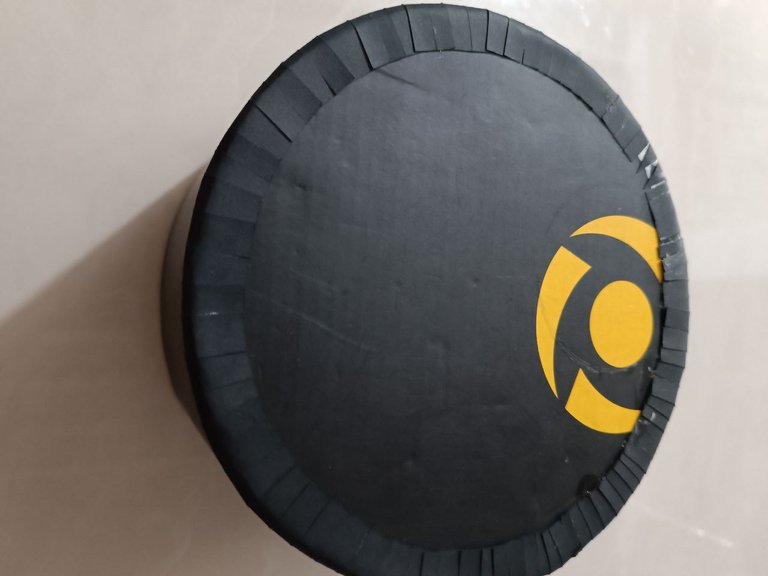
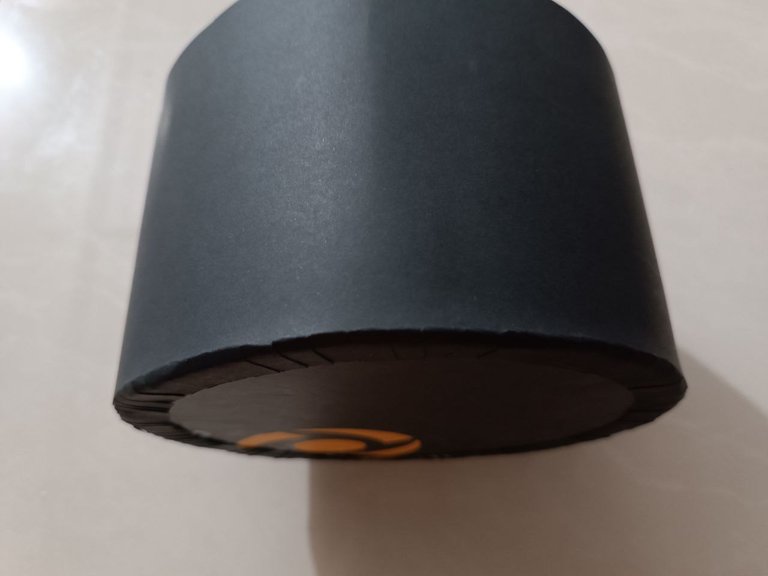
En este paso, pegué en la parte inferior del cotillón uno de los círculos que recorté previamente de cartulina, y el otro el parte exterior para cubrir que no se muestre detalles de empate.
Step 5:
In this step, I glued on the bottom of the cotillion one of the circles that I previously cut out of cardboard, and the other on the outside to cover so that no tie details would show.
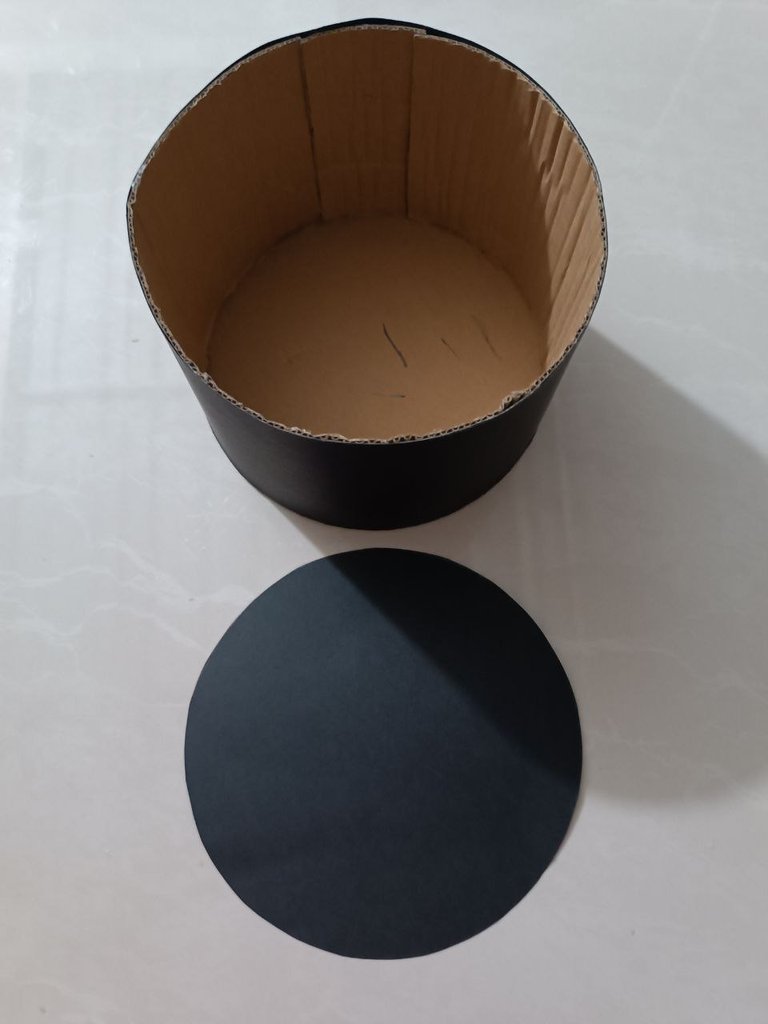
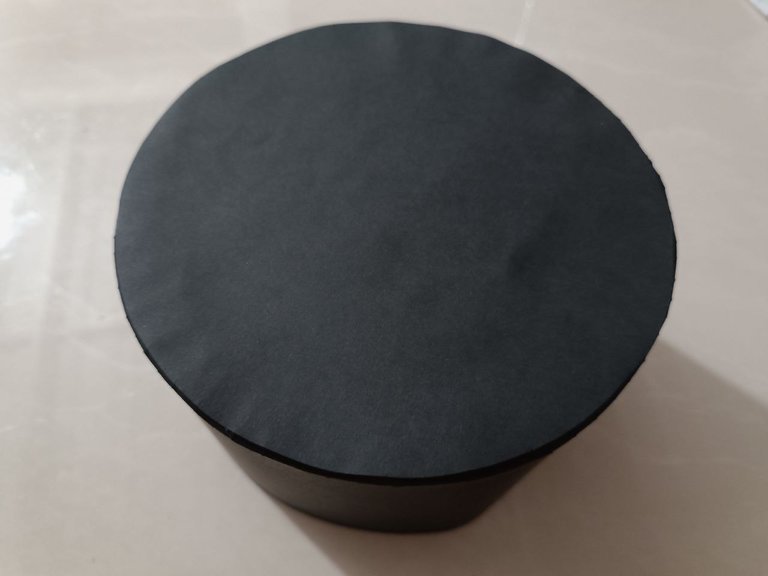
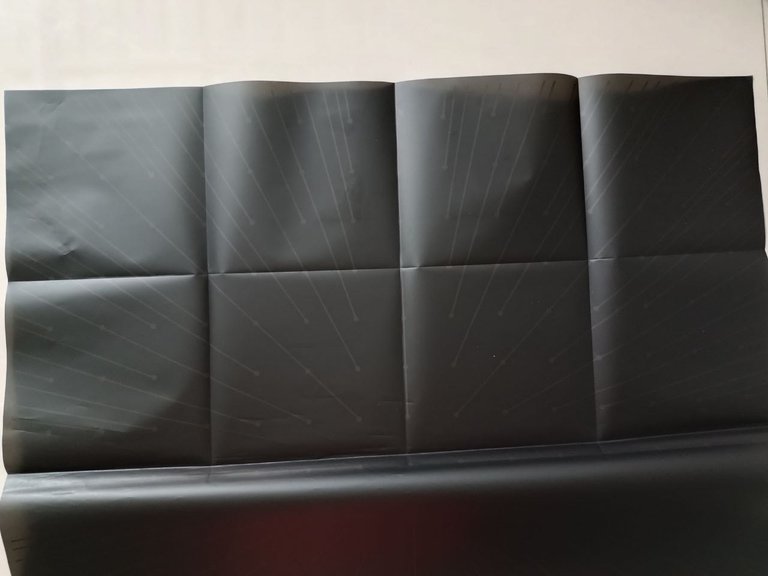
Ahora usé el papel de regalo negro satinado y marqué ocho cuadrados de aproximadamente 11 cm. Luego de que los marque, use la tijera para recortarlo con cuidado y evitar dejar detalles en el borde.
Step 6:
Now I used the black satin wrapping paper and marked eight squares of approximately 11 cm. After I marked them, I used the scissors to cut them out carefully to avoid leaving details on the edge.
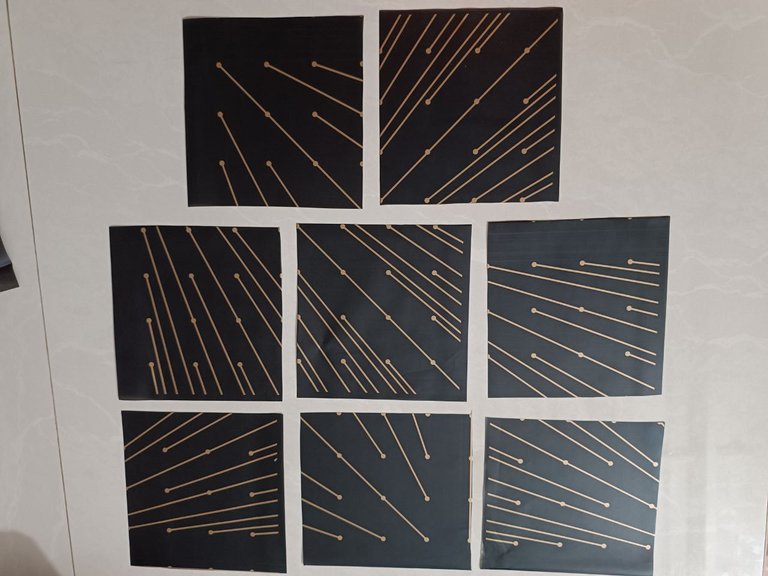
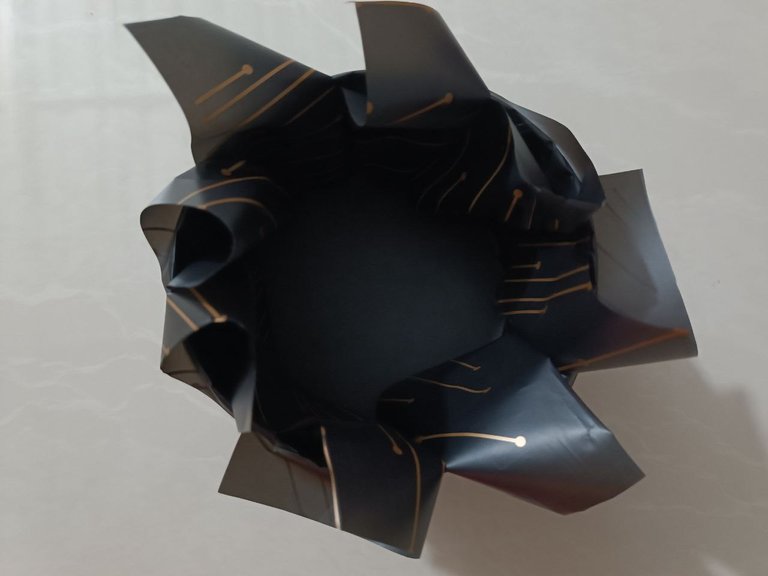
Tomé los cuadrados de papel de regalo y los doble para asegurar que se quedarán con el mismo estilo todos, usé el silicona, y seguidamente los fue pegando en el parte interior del cotillón para hacerlo resaltar.
Step 7:
I took the squares of wrapping paper and folded them to make sure they would all have the same style, used the silicone, and then glued them to the inside of the cotillion to make it stand out.
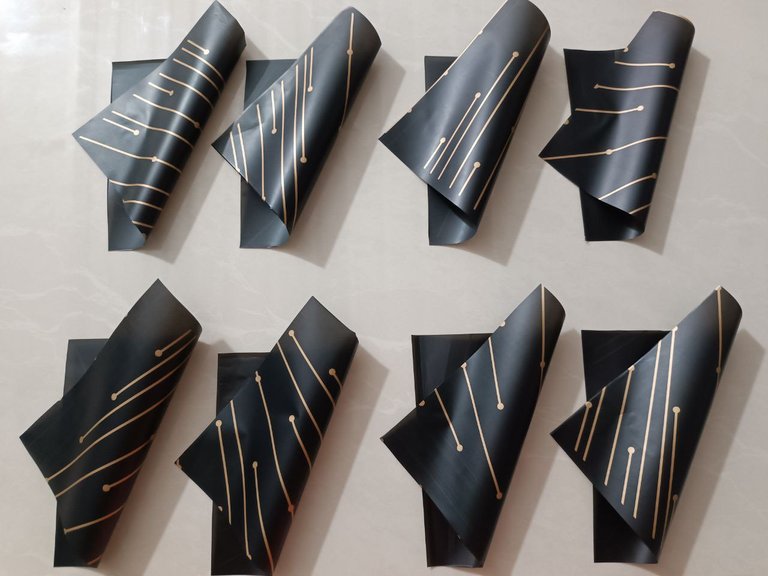
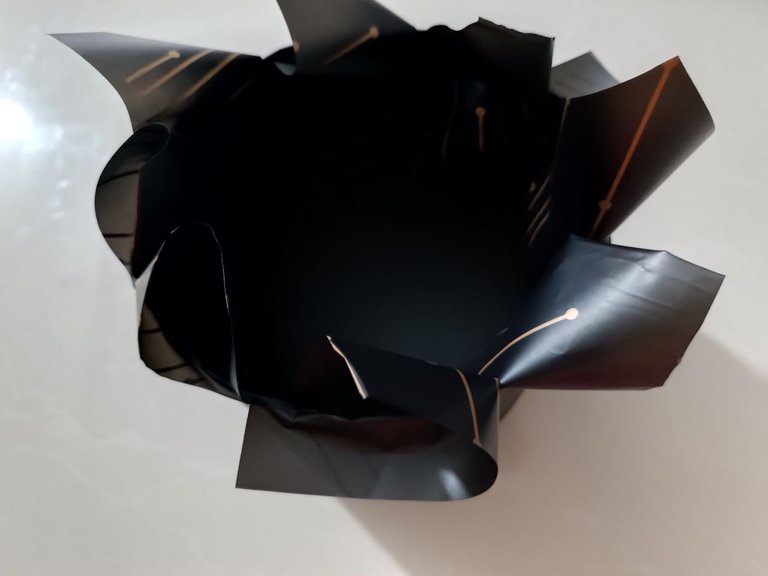
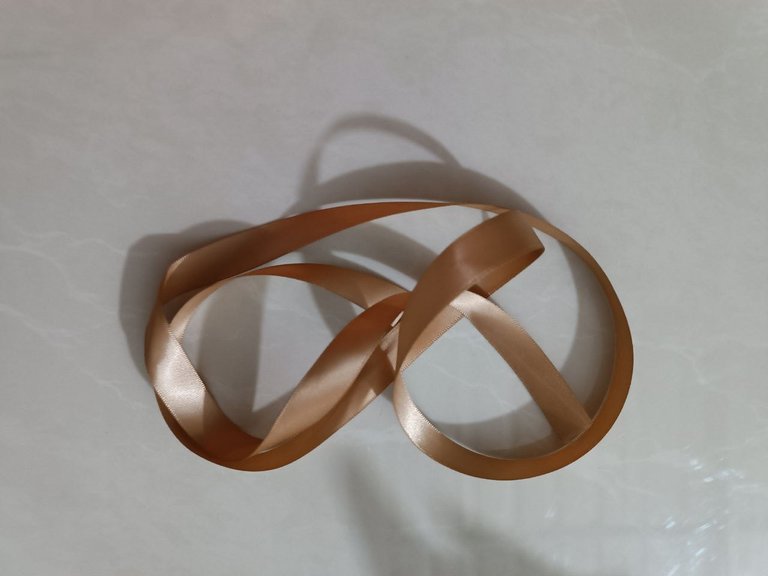
En este paso tomé la cinta de color dorada para amarrarla a mitad de la altura del cotillón y le hice un lindo lazo con esta cinta. Realmente se ve hermoso y elegante.
Step 8:
In this step I took the gold colored ribbon to tie it halfway up the cotillion and made a nice bow with this ribbon. It really looks beautiful and elegant.
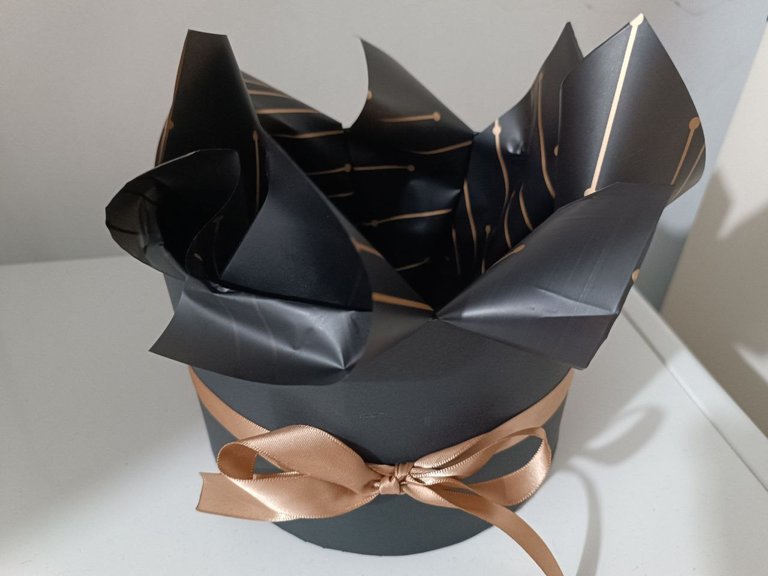
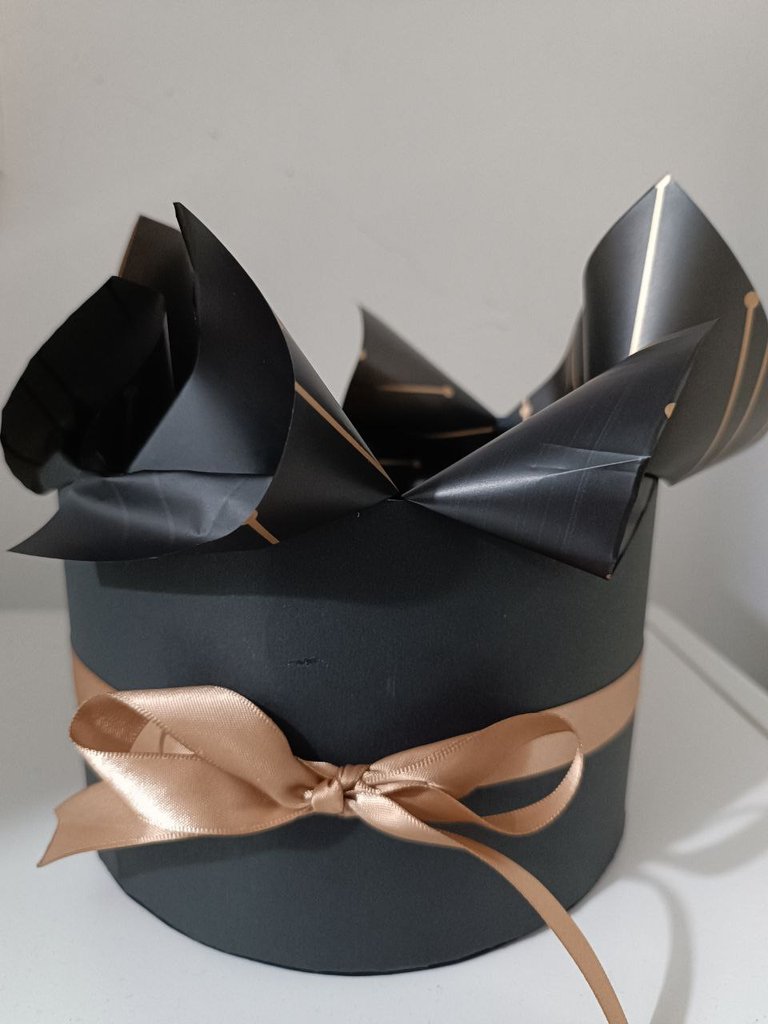
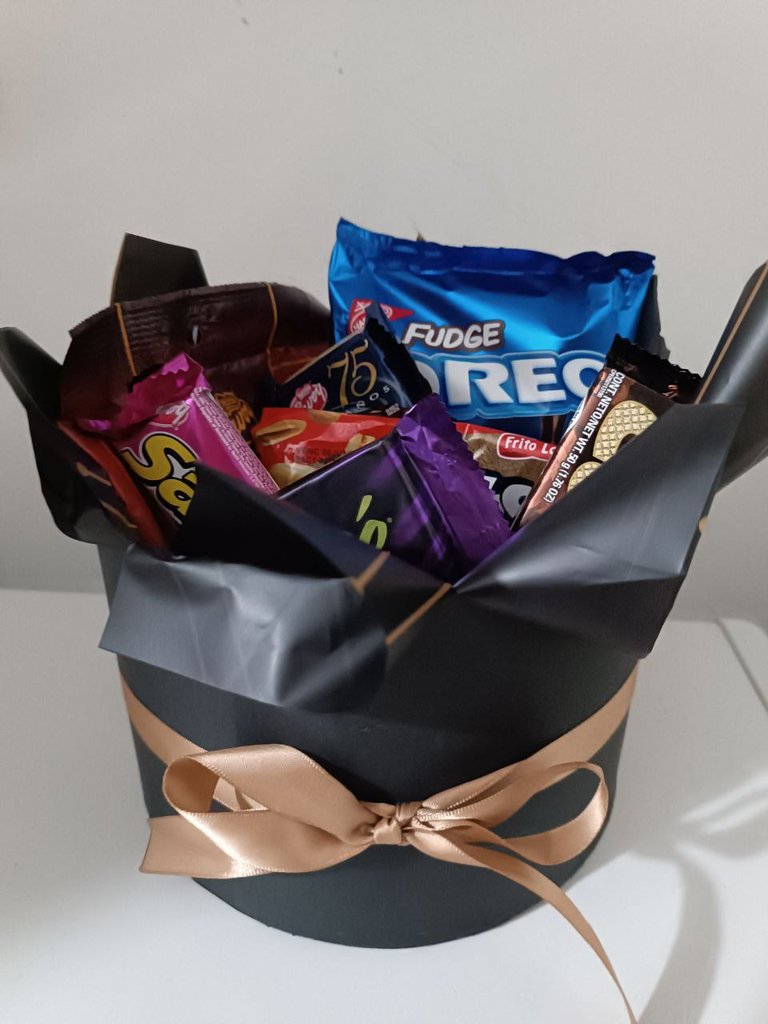
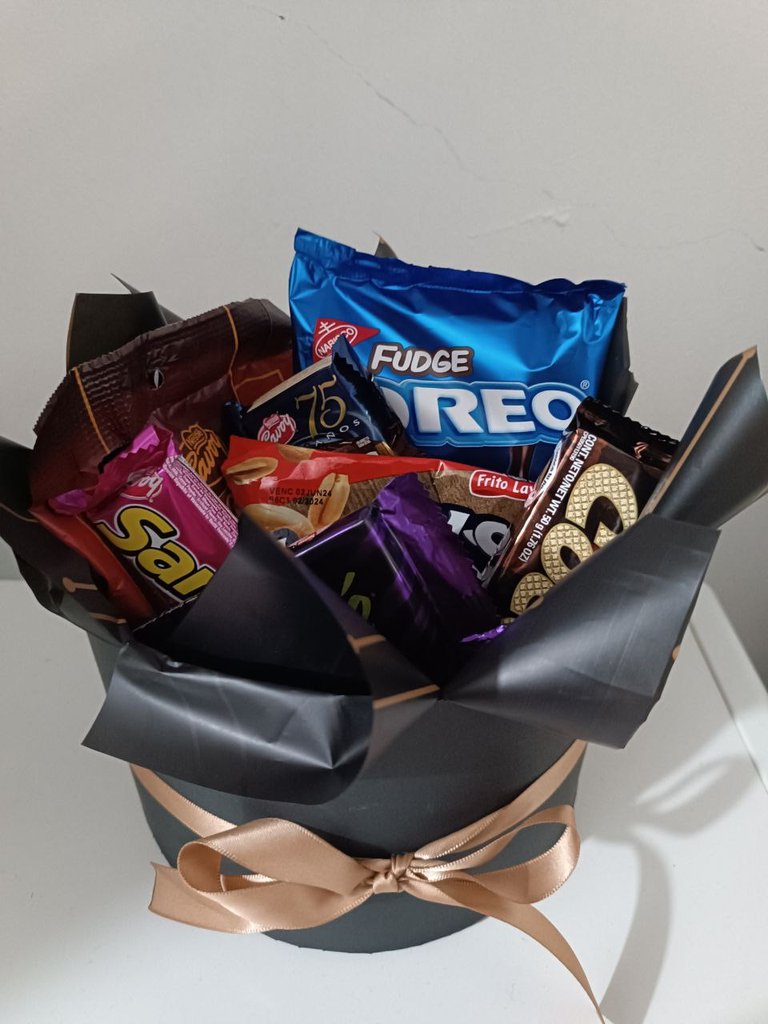
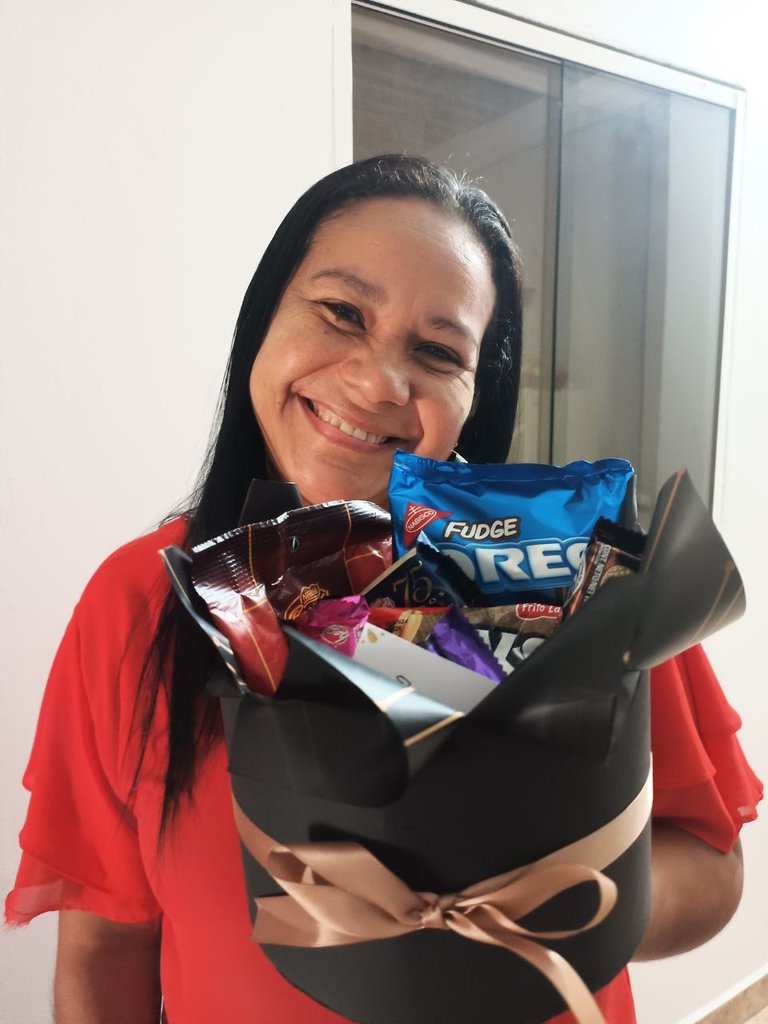
Para mostrar este trabajo final, llené de dulces este cotillón y así le muestro mi autorregalo del día de las madres, pero lo mejor es que voy a disfrutarlo con mis hijas y verlas felices es mi mayor satisfacción.
To show this final work, I filled this cotillion with candies and this way I show you my Mother's Day gift, but the best thing is that I am going to enjoy it with my daughters and seeing them happy is my greatest satisfaction.
Todas las fotos son de mi propiedad tomadas con las camaras de mi Tecno Canon 18P. Editadas con la aplicación GridArt.
Traductor usado Deepl.com versión gratuita.
Muchas gracias por leer y visitar mi post. Soy Alida Gómez

All photos are my own taken with my Tecno Canon 18P cameras. Edited with the GridArt application.
Translator used Deepl.com free version.
Thank you very much for reading and visiting my post. I'm Alida Gomez


