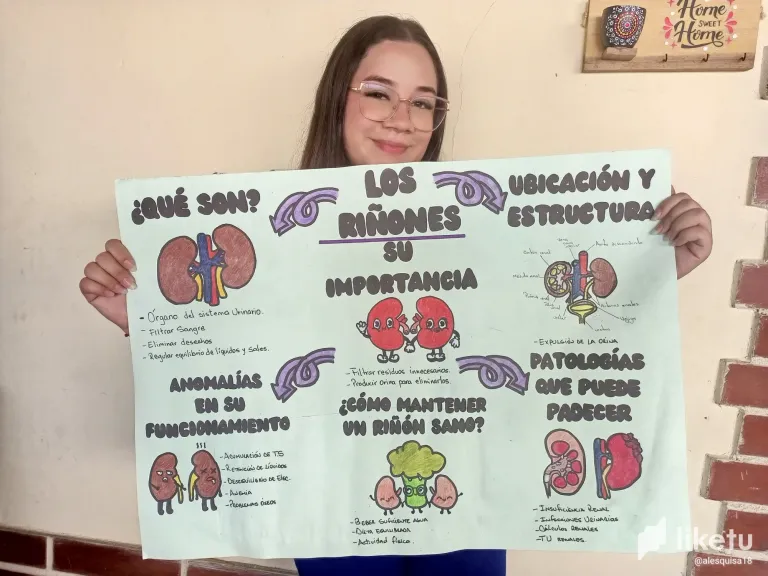
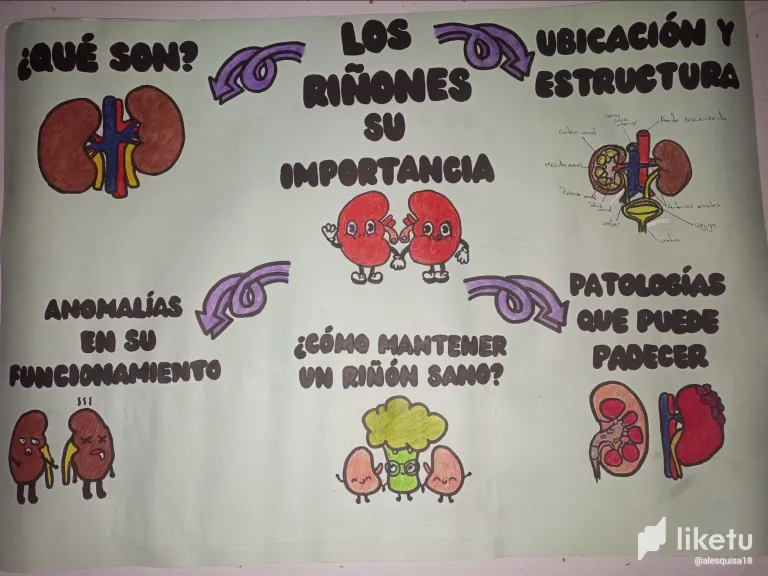
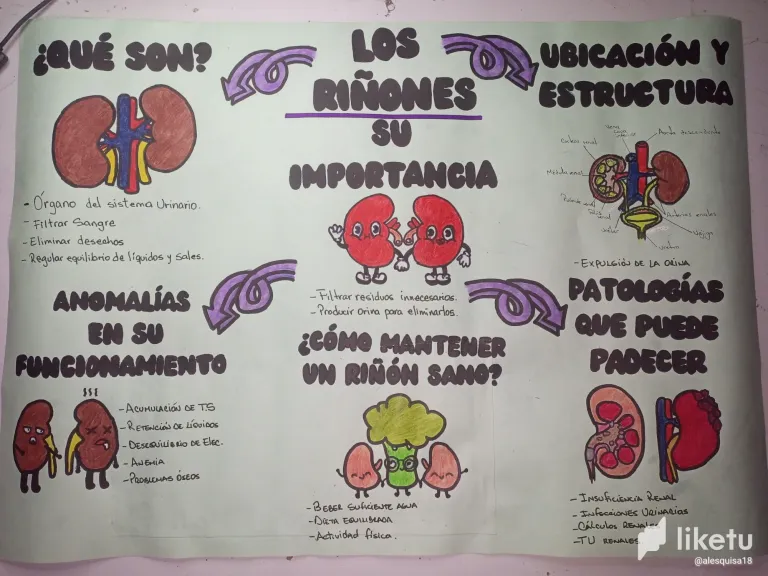
Hello friends, what's up, first time posting here to come and show you a little bit about the whole process of working on a portfolio for a talk I gave about the kidney in the office where I am doing my community project🤗. One of the things that I love the most is to make my sheets or flipcharts for exhibitions, although I also like to work with the digital part that would be the slides. Whenever I do my physical work like this, I like to work with the learning technique of mind mapping, which is the organization of topics with their respective points or questions ordered according to the hands of the clock. This contains drawings and keywords to know exactly what topic is being discussed and what each of its components consist of to develop. For me, this is the most efficient support material, the most used and with which the listeners present or exhibitors better understand the point to be made. Well, with nothing more to add, let's start visualizing the step by step!🤗.
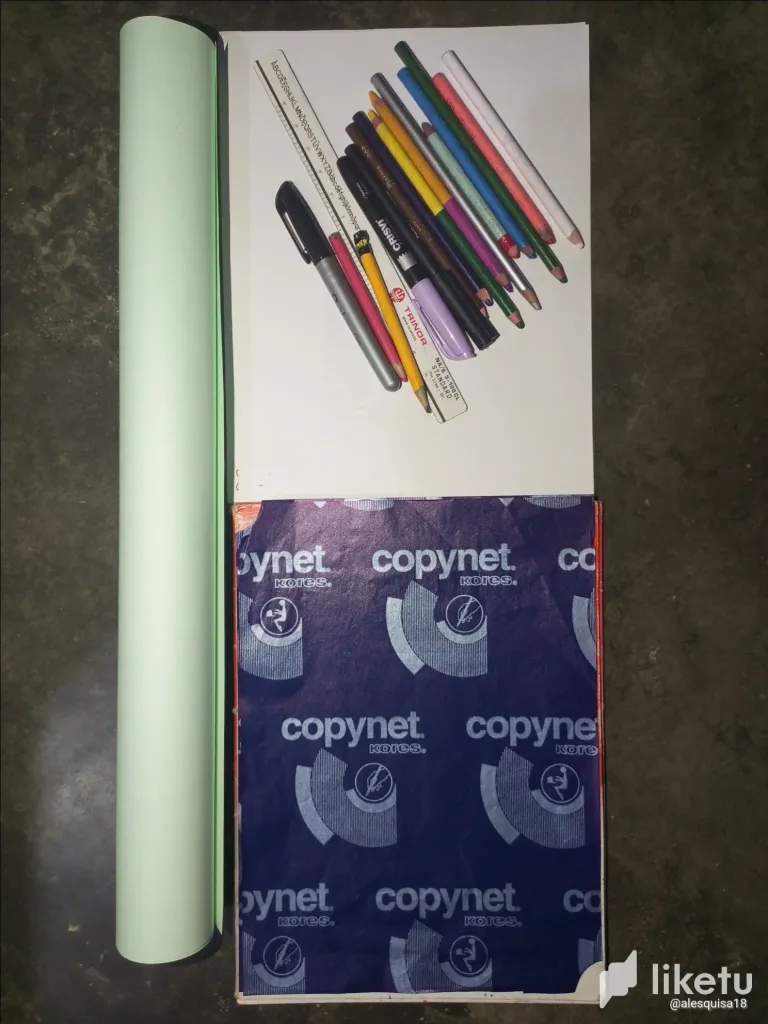
🩸Los materiales a utilizar serán los siguientes:🩸 // 🩸The materials to be used will be the following:🩸
•1 cartulina mediana del color de su preferencia (en este caso yo elegí una color verde claro).
•Papel u hojas de reciclaje para los títulos y dibujos.
•Papel para calcar tipo carbón.
•Lápiz de grafito, una regla y lápices de colores correspondientes a los dibujos.
•Marcador de punta fina color negro.
•1 medium cardboard of the color of your choice (in this case I chose a light green color).
•Recycling paper or sheets for the titles and drawings.
•Charcoal tracing paper.
•Graphite pencil, a ruler and colored pencils corresponding to the drawings.
•Black fine tip marker.
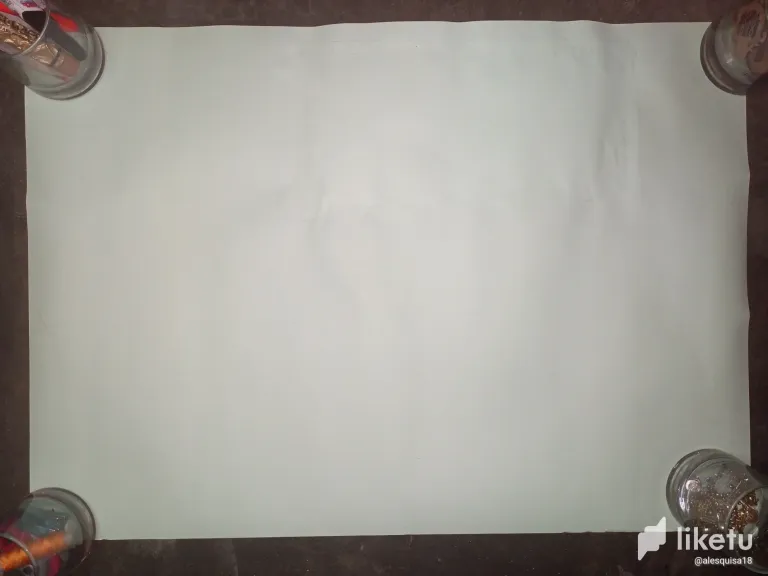
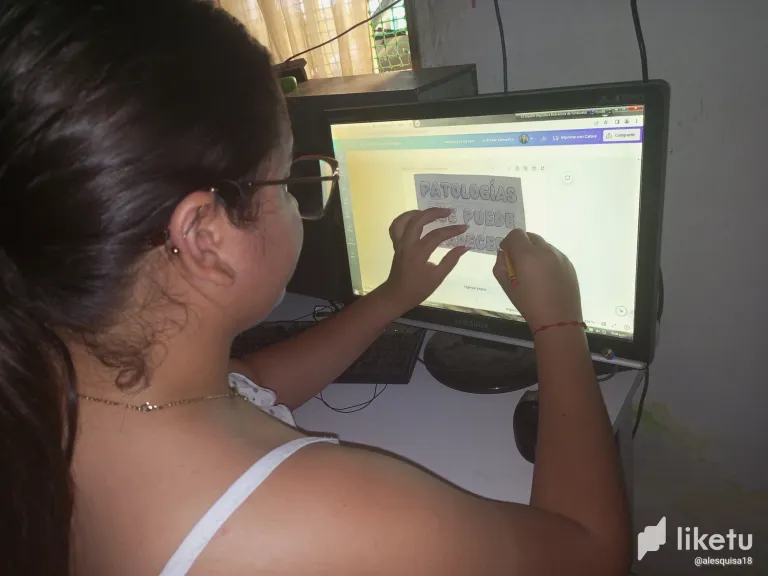
🩸Paso 1 // Step 1🩸
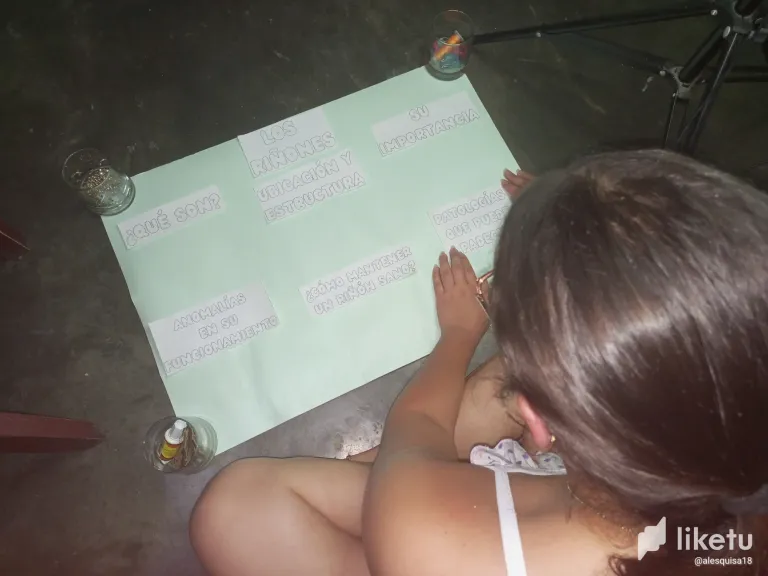
I started by stretching the cardboard and fixing it with the help of some heavy glasses at each end to measure the spaces so that everything would be very nice, neat and centered. Then, I chose the application I always use, which is Canva, to find the ideal font for my poster. After finding the font, I proceeded to trace the titles one by one on a sheet of paper with the help of a graphite pencil.
🩸Paso 2 // Step 2🩸
Once I had all the titles on the sheets, I ordered them on the sheet to know their exact location and so that they would not look so close to each other, making it look overloaded with information. Then, I also repeated the same process with the titles but now with the drawings.
🩸Paso 3 // Step 3🩸
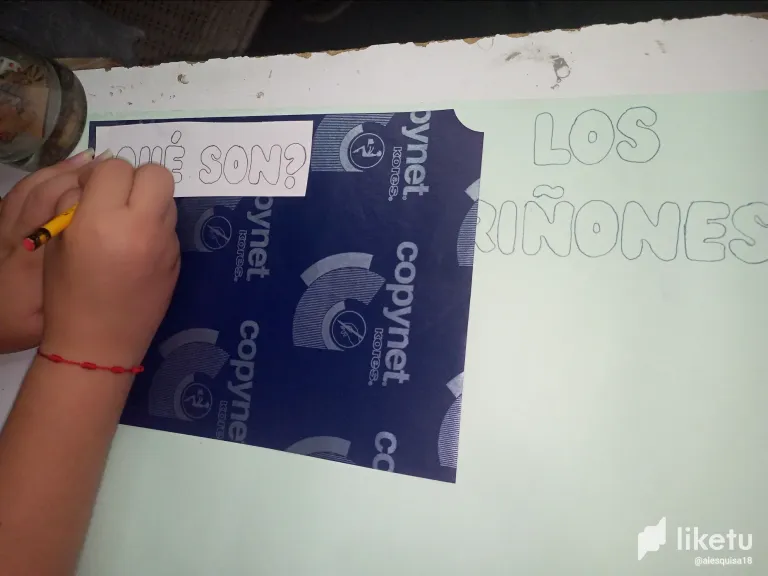
With the exact location of each of the points with their images, I proceeded to trace the titles and drawings with the help of carbon paper and a graphite pencil. This process is slower and more careful since it is necessary to measure and mark perfectly what is going to be put on the cardboard. Otherwise, if there is an incorrect line, the ink will not be able to be erased. As I am used to working with this type of paper, it makes everything easier and saves me more hours of work. This process is done as shown in the image, the carbon paper is glued to the cardboard and on top is the sheet with what we want to trace, just highlight the letters with the pencil and it is already marking itself thanks to the paper.
🩸Paso 4 // Step 4🩸
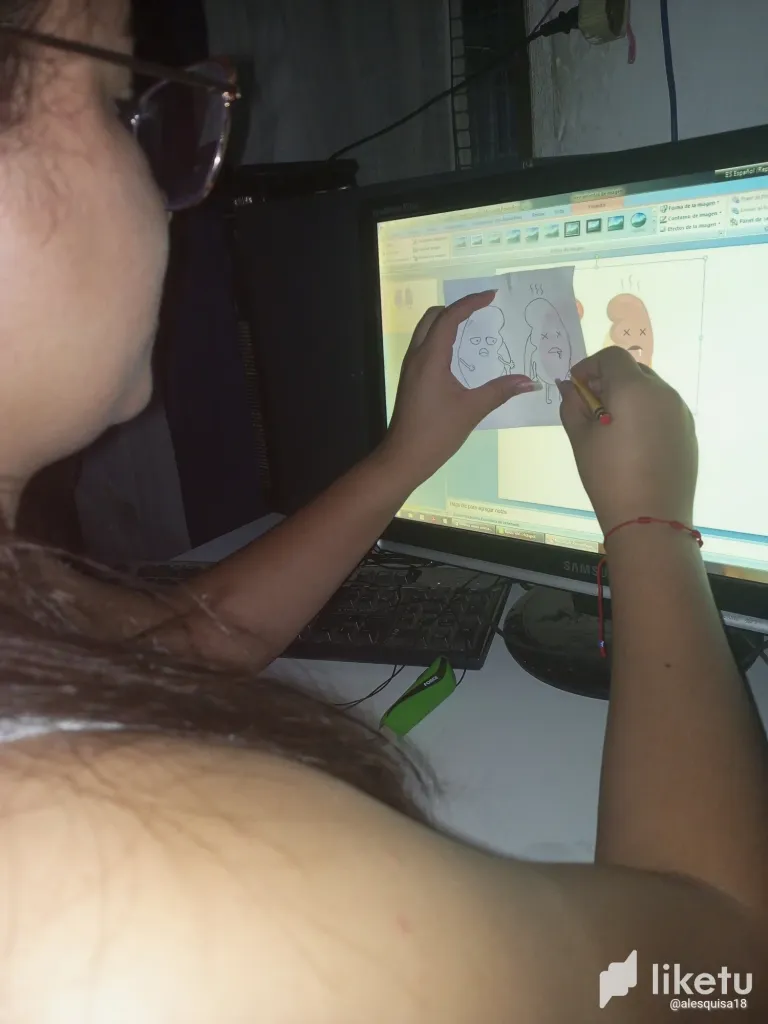
Now, with all the content traced on the sheet, I proceed to highlight the titles and the edges of the drawings with the black final tip marker. Once this process is finished, I start to color the drawings to make this flipchart come to life🥰.
🩸Paso 5 // Step 5🩸
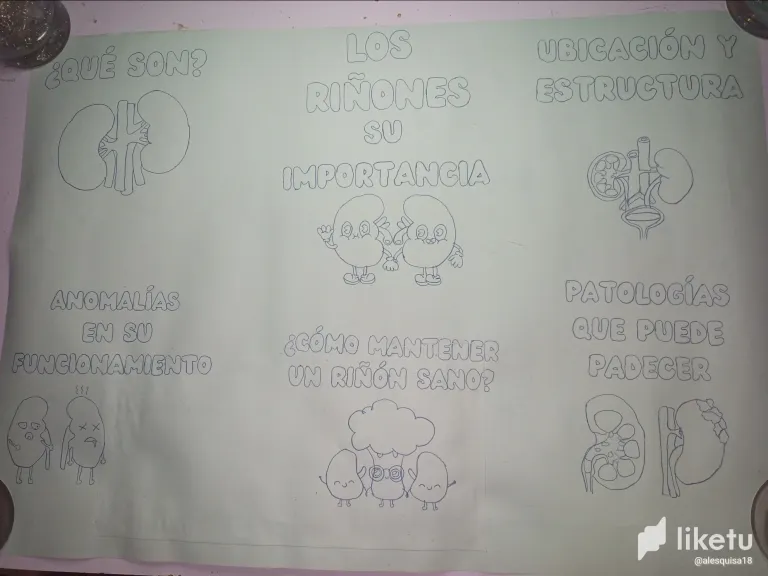
To finish, I like to leave the keywords at the end to verify that with everything highlighted and colored, it does not look overloaded. I put them in medium size below the drawings but they are equally visible. And that's it🤩.
Whenever I do this kind of work, I take my time perfecting and drawing everything. It's a process that entertains me a lot giving me a lot of peace and tranquility while keeping my concentration🥰. I hope you liked it, thank you very much for watching. See you in an upcoming oportunidad❤️.
📝 El texto es completamente de mi autoría
📝 The text is entirely by me
🖱️ Traducción realizada con DeepL Traslate
🖱️ Translation using DeepL Traslate
📱 App's de edición: GirdArt
📱 App's edition: GirdArt
📸 Cámara: Tecno Pova 2
📸 Camera: Tecno Pova 2
💡Las fotos tienen la iluminación de mi aro de luz led
💡 The photos are the illumination of my led light ring
🖱️ Traducción realizada con DeepL Traslate
🖱️ Translation using DeepL Traslate
📱 App's de edición: GirdArt
📱 App's edition: GirdArt
📸 Cámara: Tecno Pova 2
📸 Camera: Tecno Pova 2
💡Las fotos tienen la iluminación de mi aro de luz led
💡 The photos are the illumination of my led light ring
📱 App's de edición: GirdArt
📱 App's edition: GirdArt
📸 Cámara: Tecno Pova 2
📸 Camera: Tecno Pova 2
💡Las fotos tienen la iluminación de mi aro de luz led
💡 The photos are the illumination of my led light ring
📸 Cámara: Tecno Pova 2
📸 Camera: Tecno Pova 2
💡Las fotos tienen la iluminación de mi aro de luz led
💡 The photos are the illumination of my led light ring
💡Las fotos tienen la iluminación de mi aro de luz led
💡 The photos are the illumination of my led light ring
For the best experience view this post on Liketu