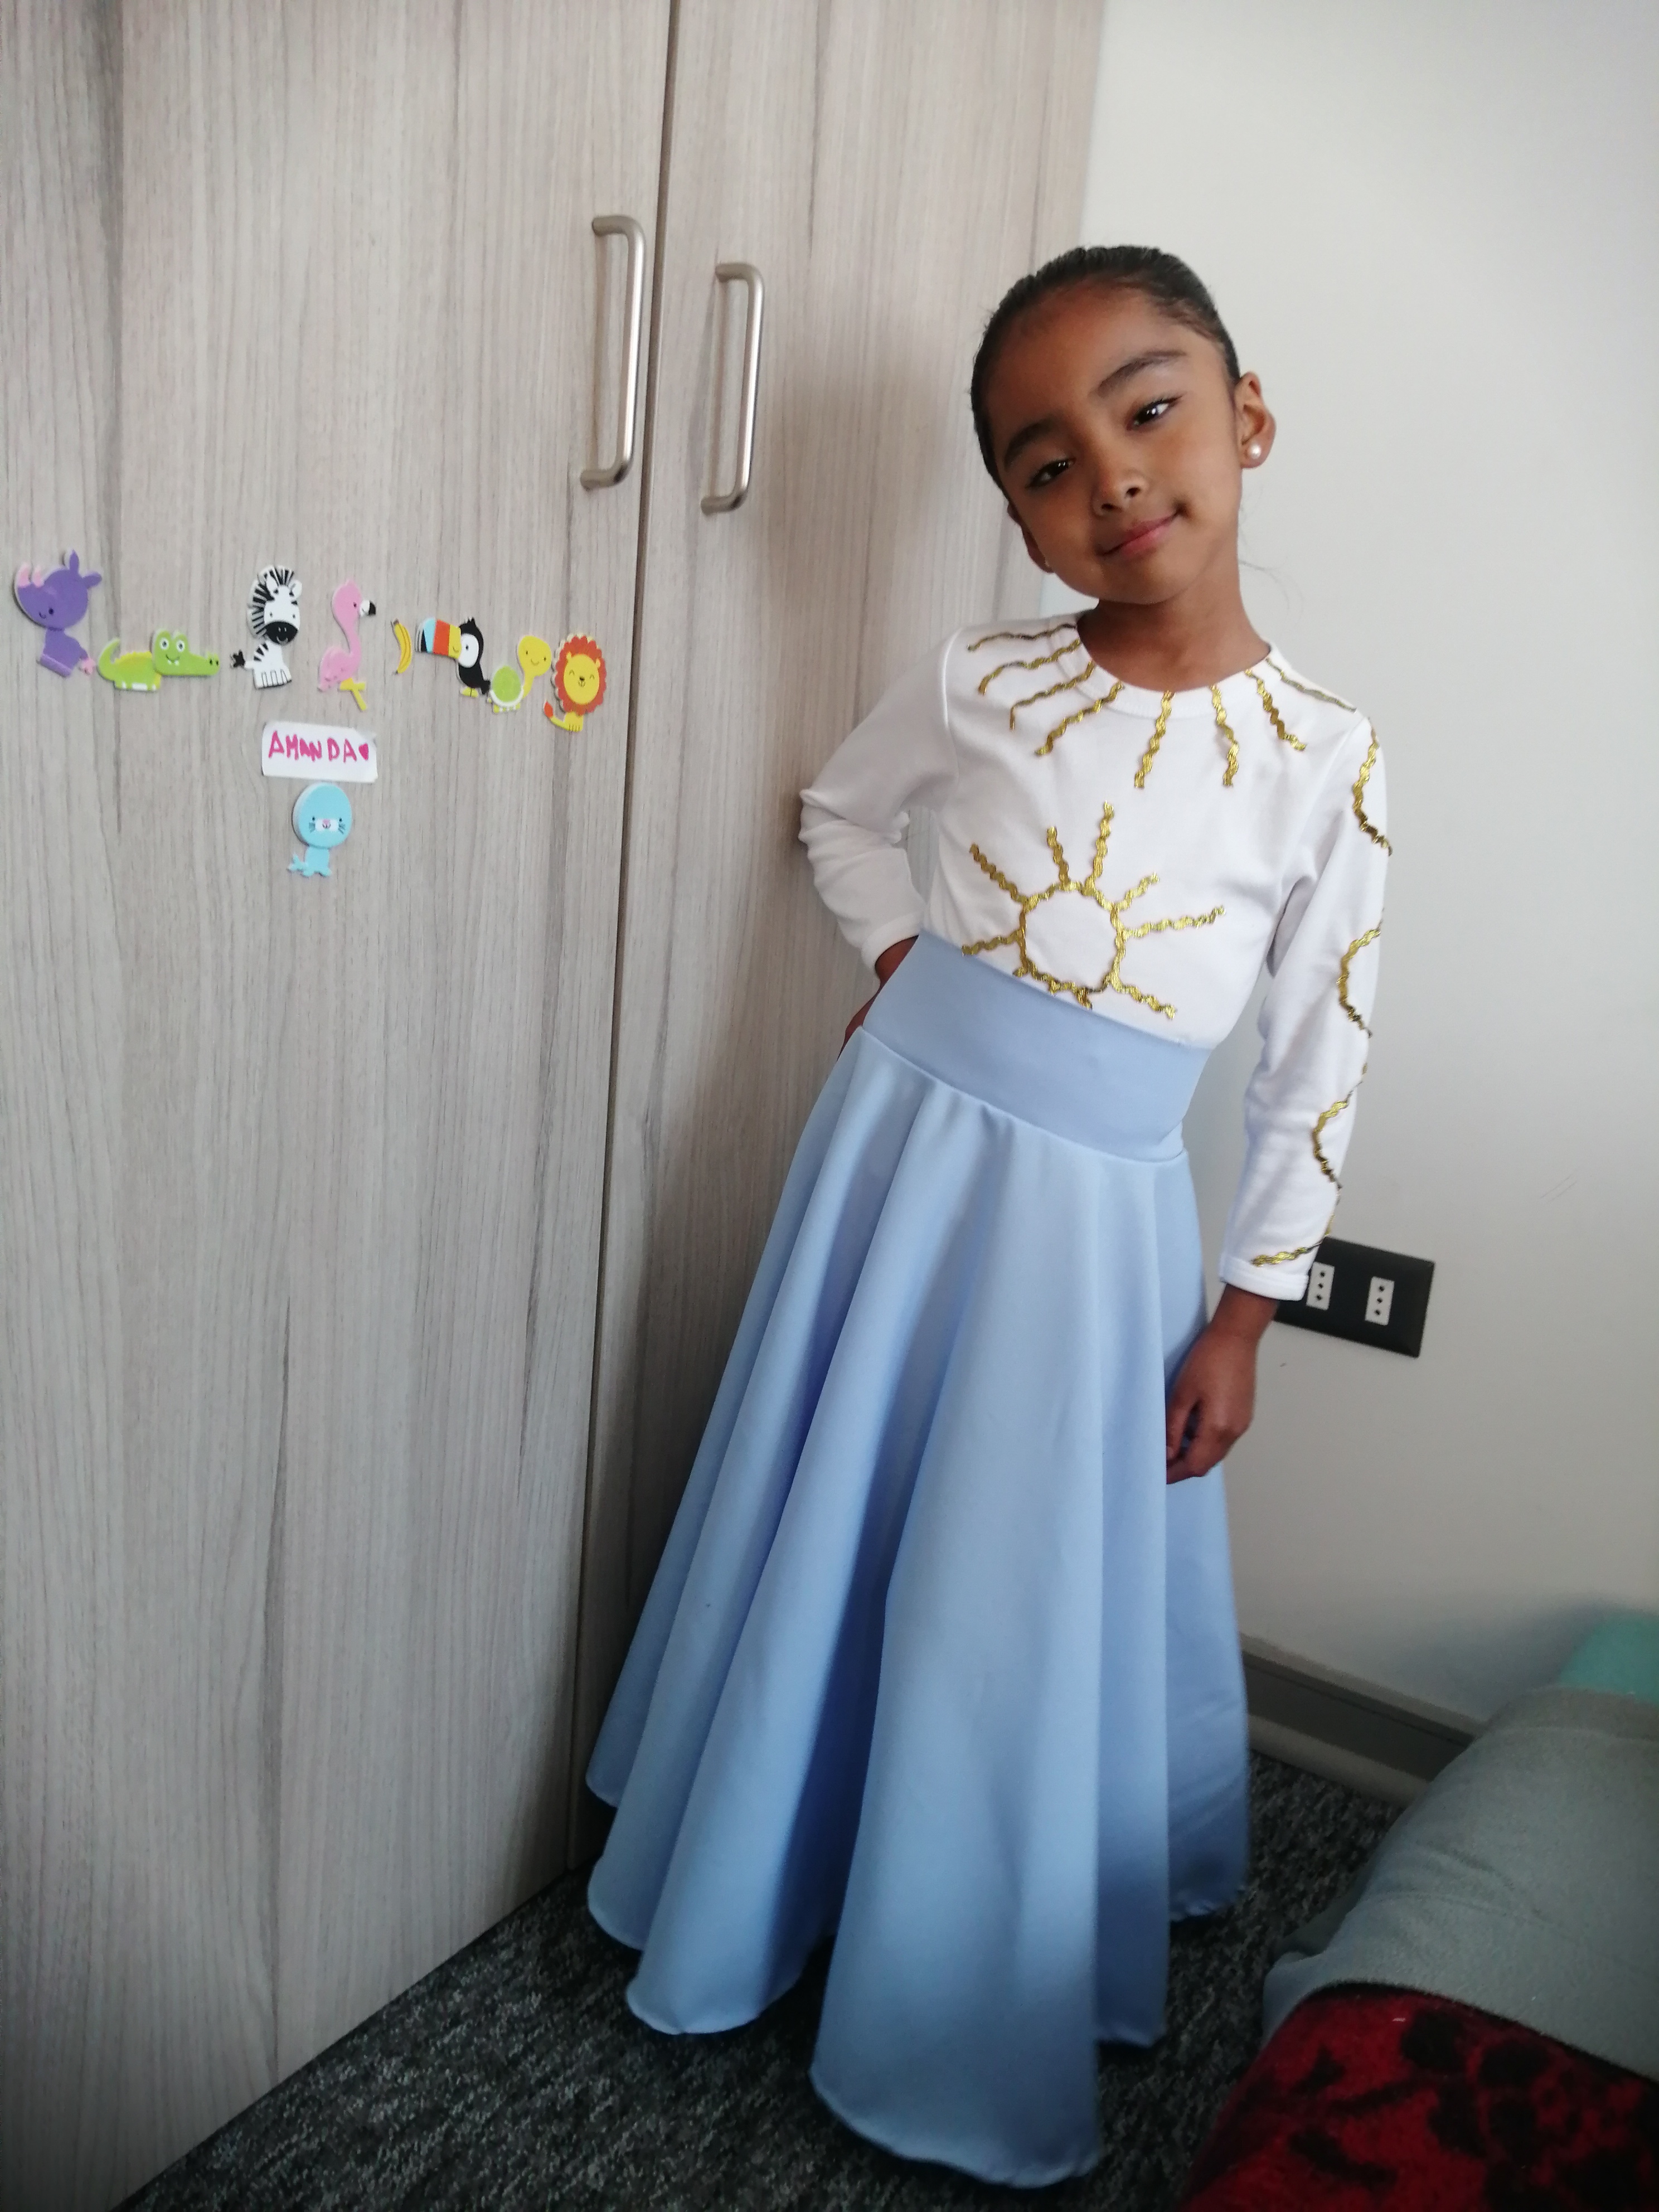
Saludos a toda la comunidad de Hive Diy. Hace un mes atrás el colegio de mi hija estaba de aniversario asi que hicieron una gala y a mi pequeña le toco salir bailando. Le pidieron que usara un vestido largo celeste. Y yo como siempre lo deje para ultimo momento porque pense que era en otra fecha 🤭🤦♀️ y ya no podía mandar a hacerla. Asi que dije vamos a intentarlo 🙄🤣 Vamos a crear!
Greetings to the entire Hive Diy community. A month ago my daughter's school had an anniversary so they had a gala and my little girl had to go out dancing. They asked her to wear a long light blue dress. And as always, I left it until the last minute because I thought it was on another date 🤭🤦♀️ and I couldn't have it done anymore. So I said let's try it 🙄🤣 Let's create!
Materiales / Materials
-Tela celeste bistrech
- Tijeras
- hilos celeste
- maquina de coser
- plancha
- cierre celeste
-botón - lapiz para tela
- medidor
-Light blue bistrech fabric
- Scissors
- light blue threads
- sewing machine
- iron
- light blue closure
-button - fabric pencil
- meter
|
|
|
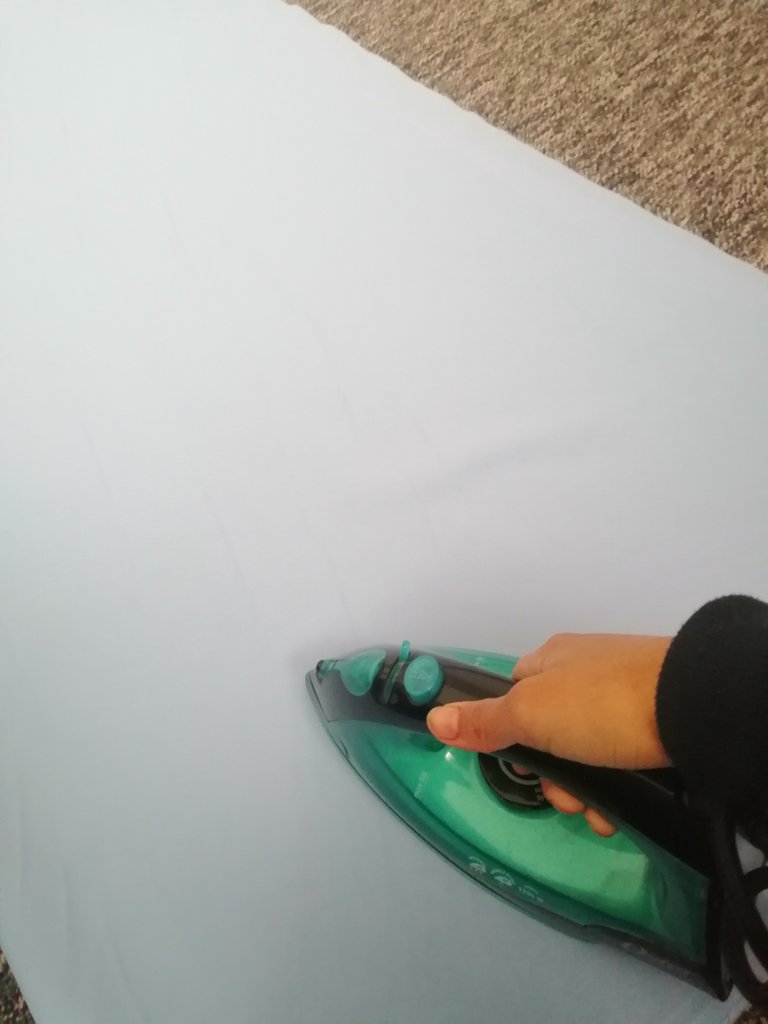

Comencemos!
Lo primero que hice fue planchar muy bien que no quedara ninguna arruga.
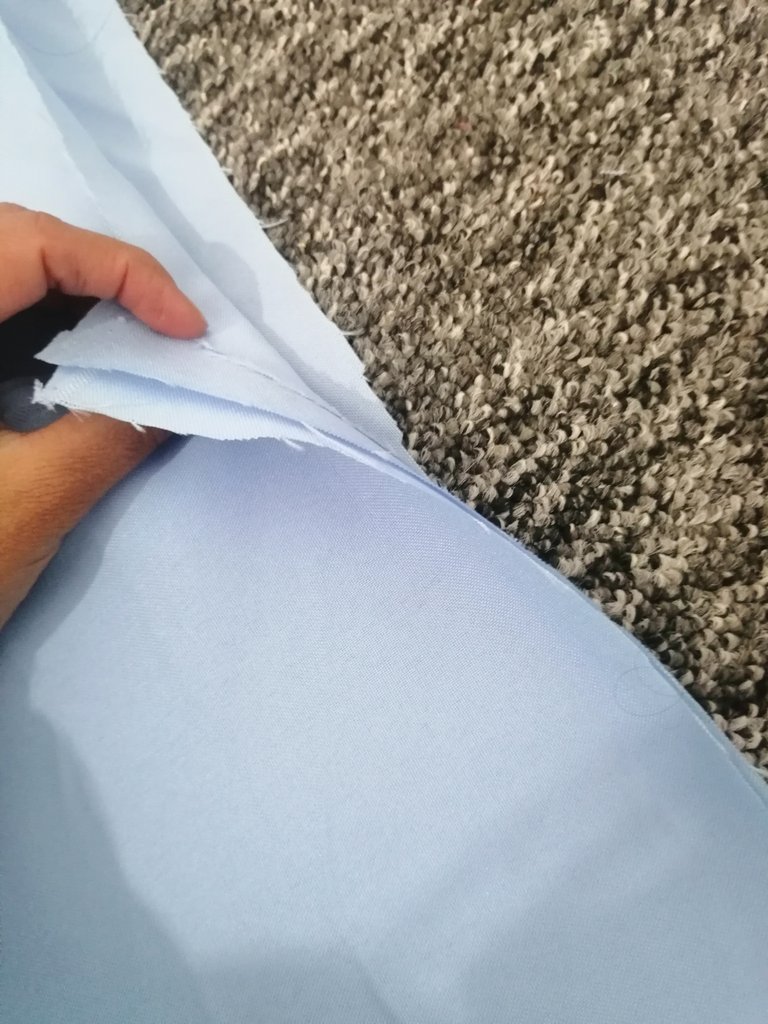
Luego estiramos y doblamos en dos uniendo puntas.
Let's get started! The first thing I did was iron very well so that there were no wrinkles. Then we stretch and fold in two, joining the ends.
|
|
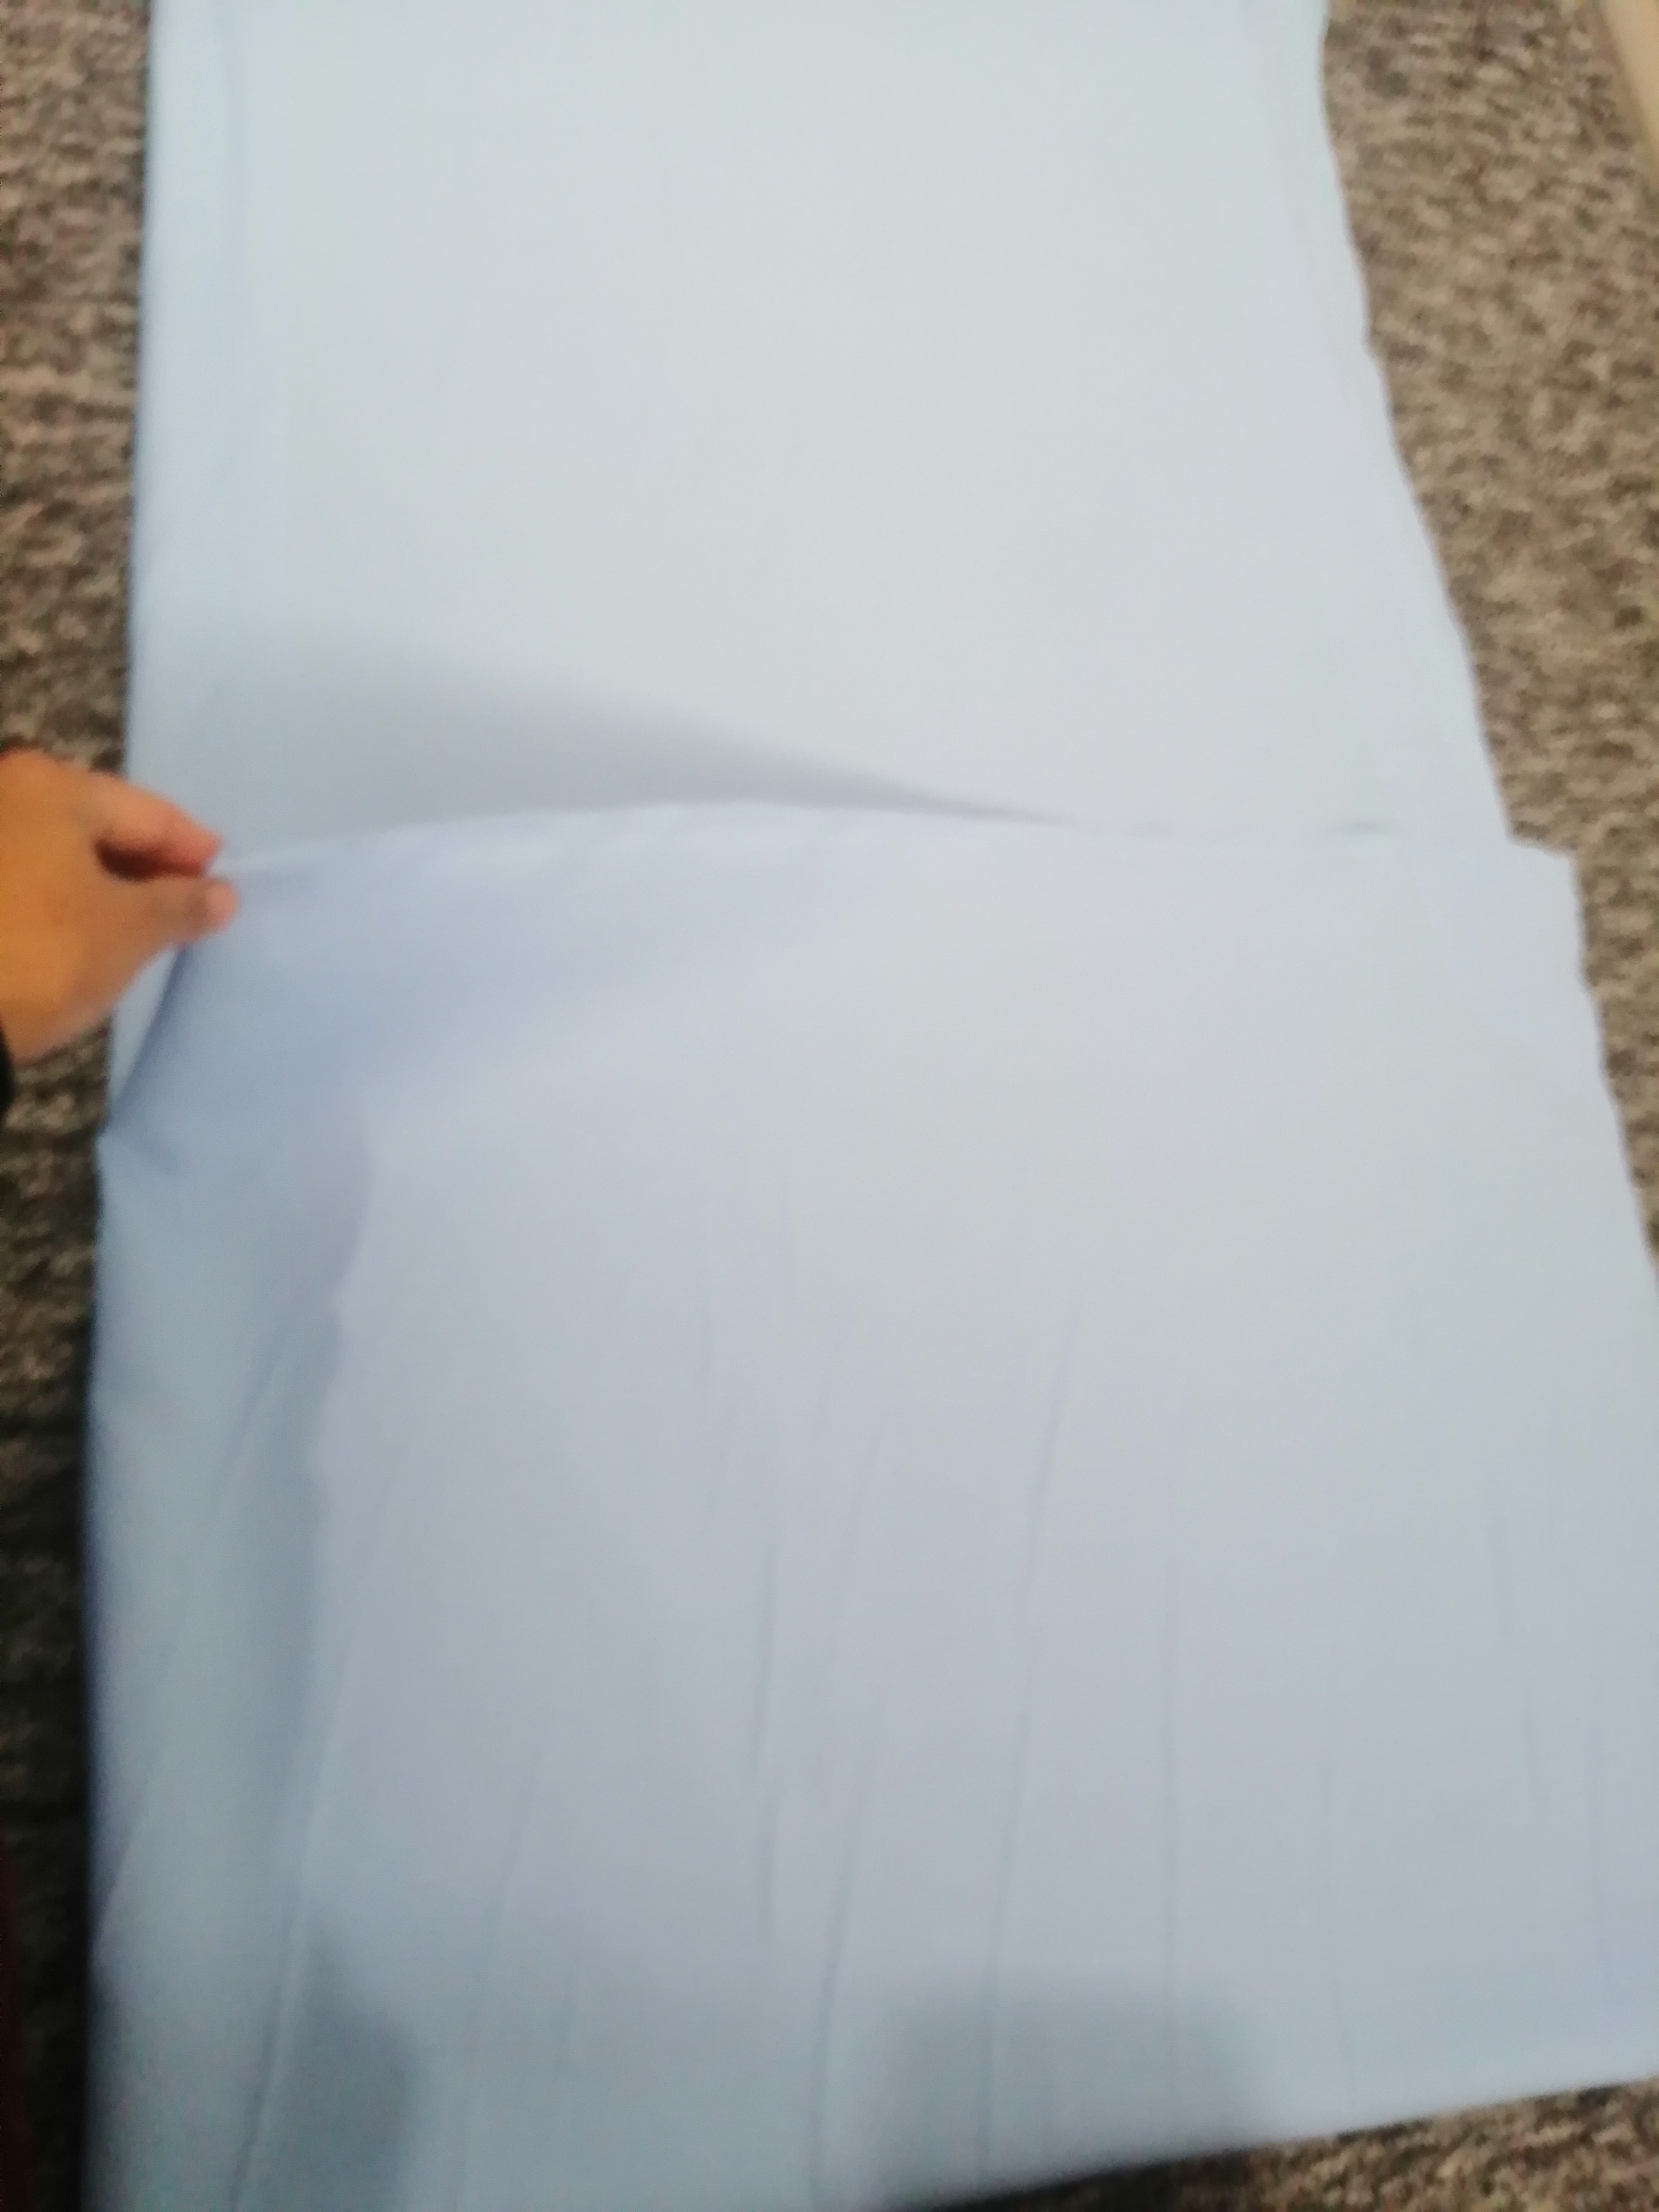
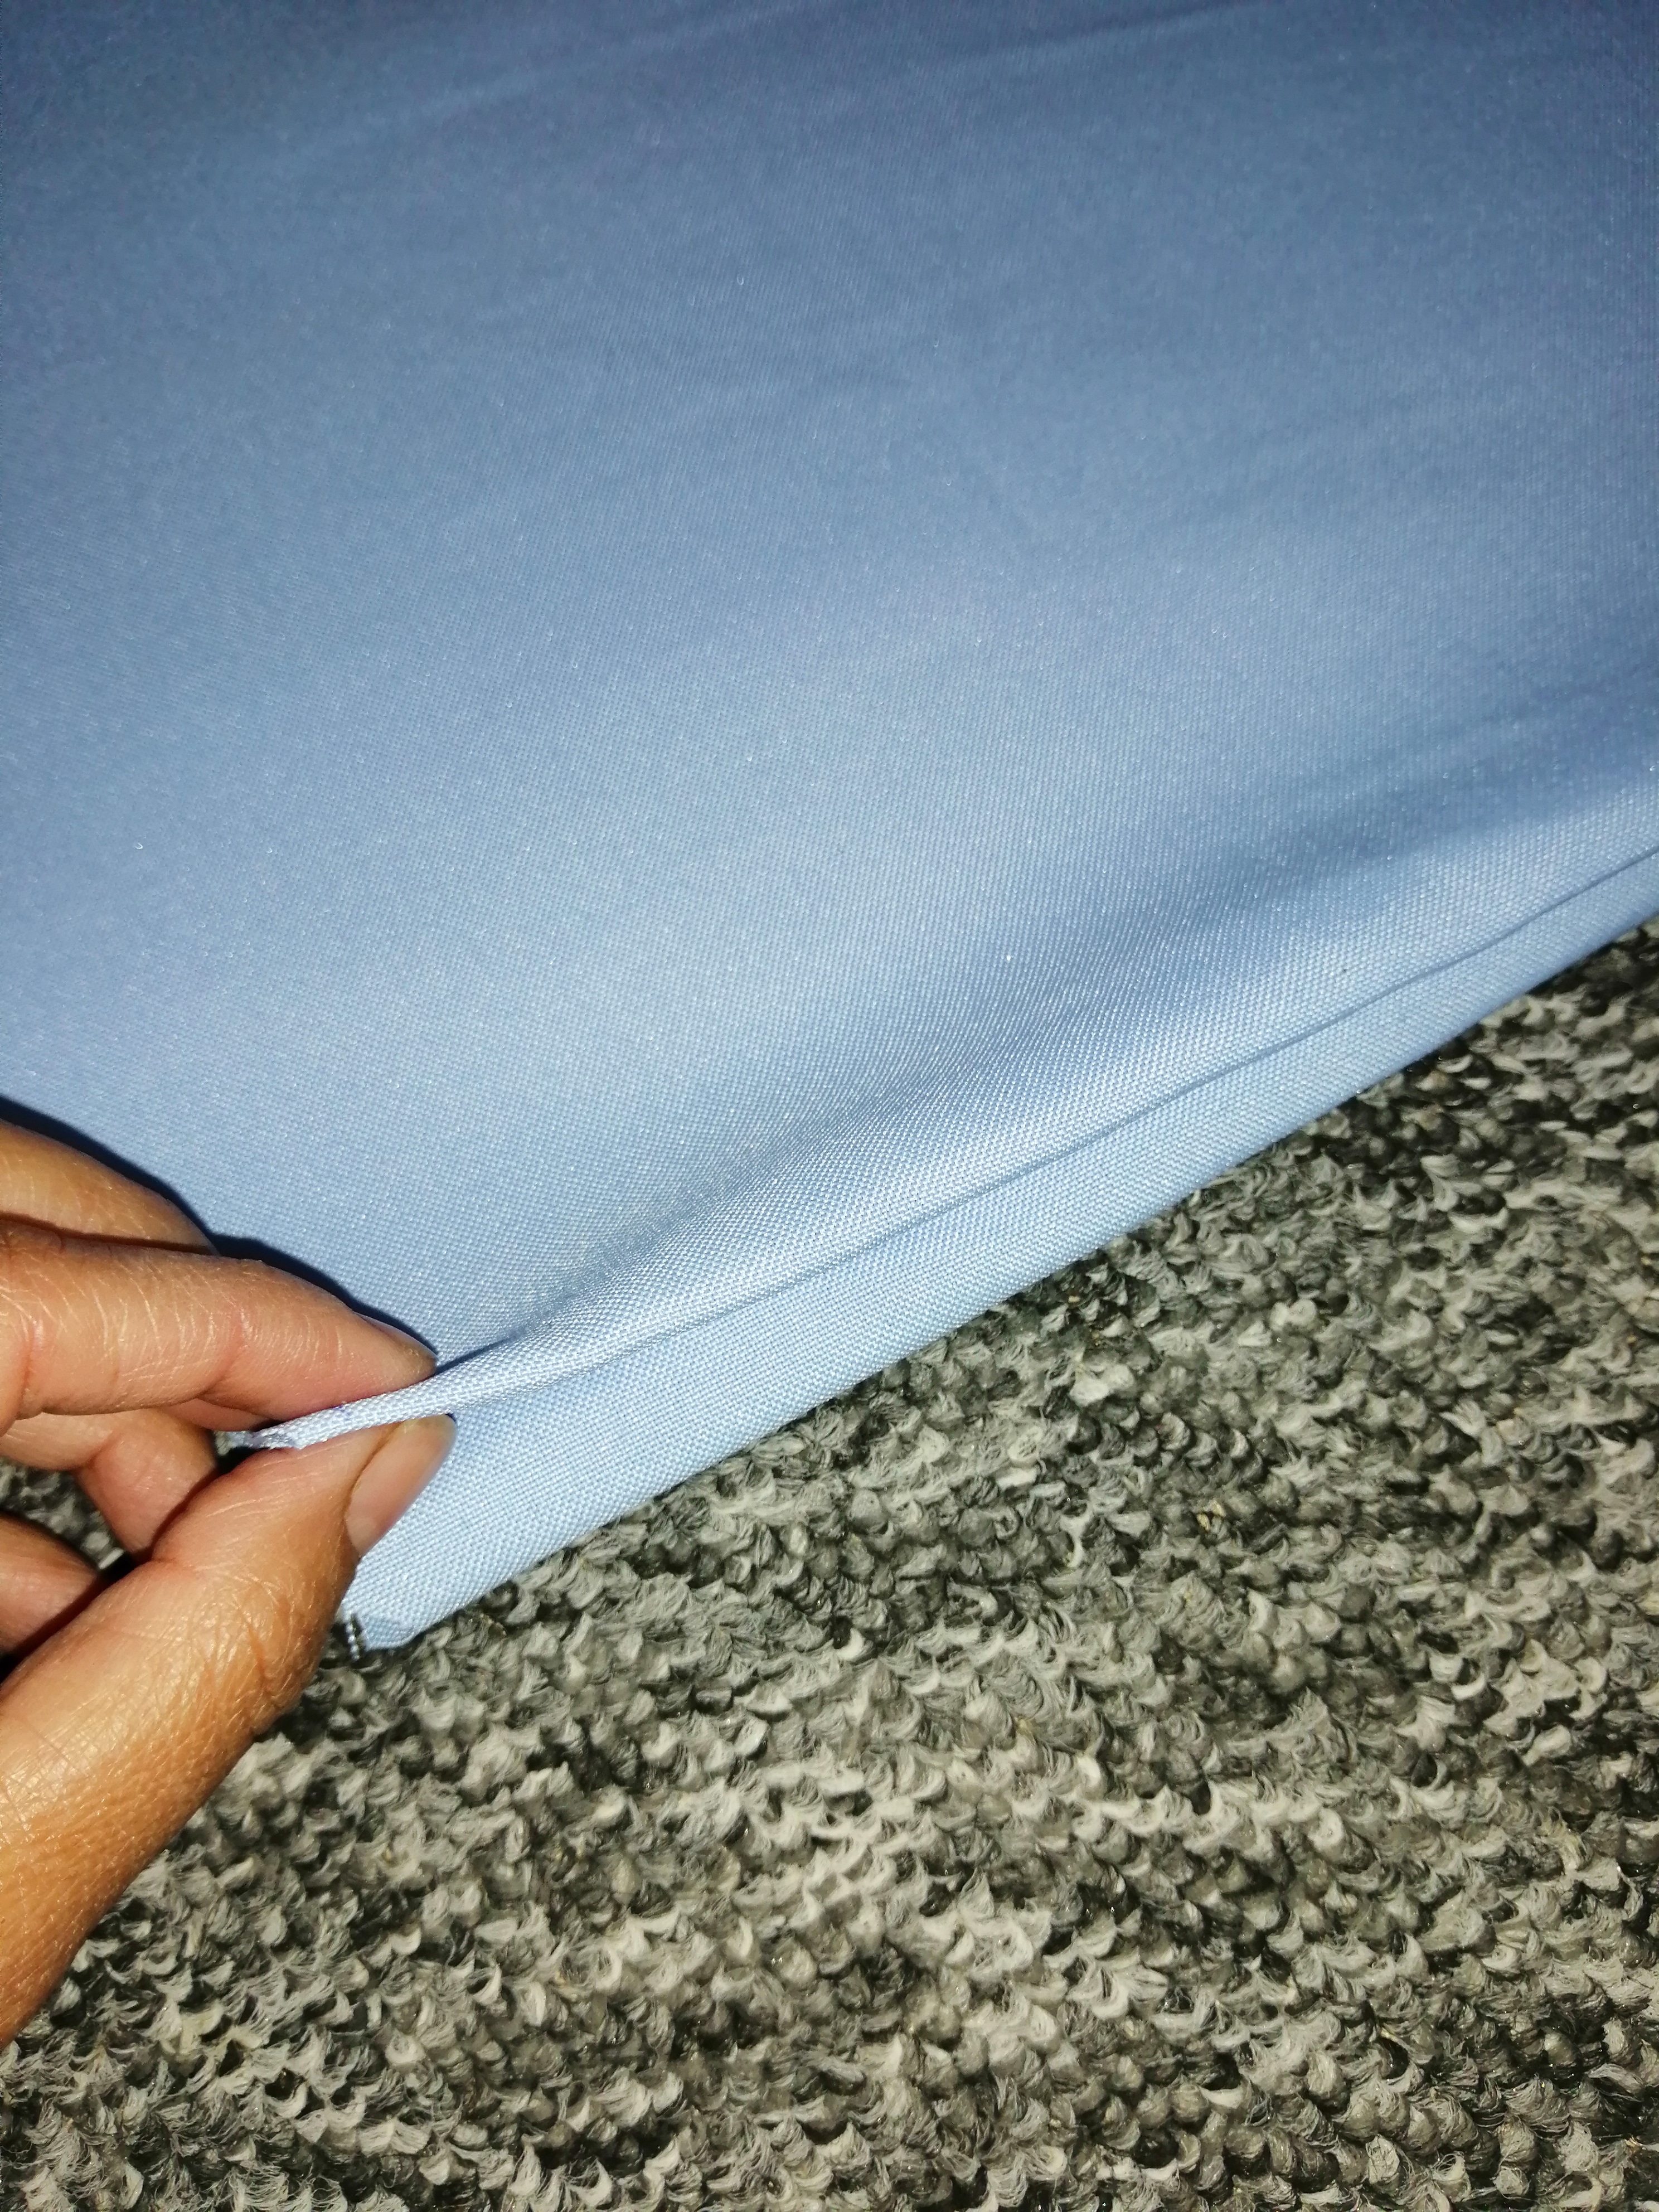
Volvemos a doblar una vez más cuadrando muy bien.
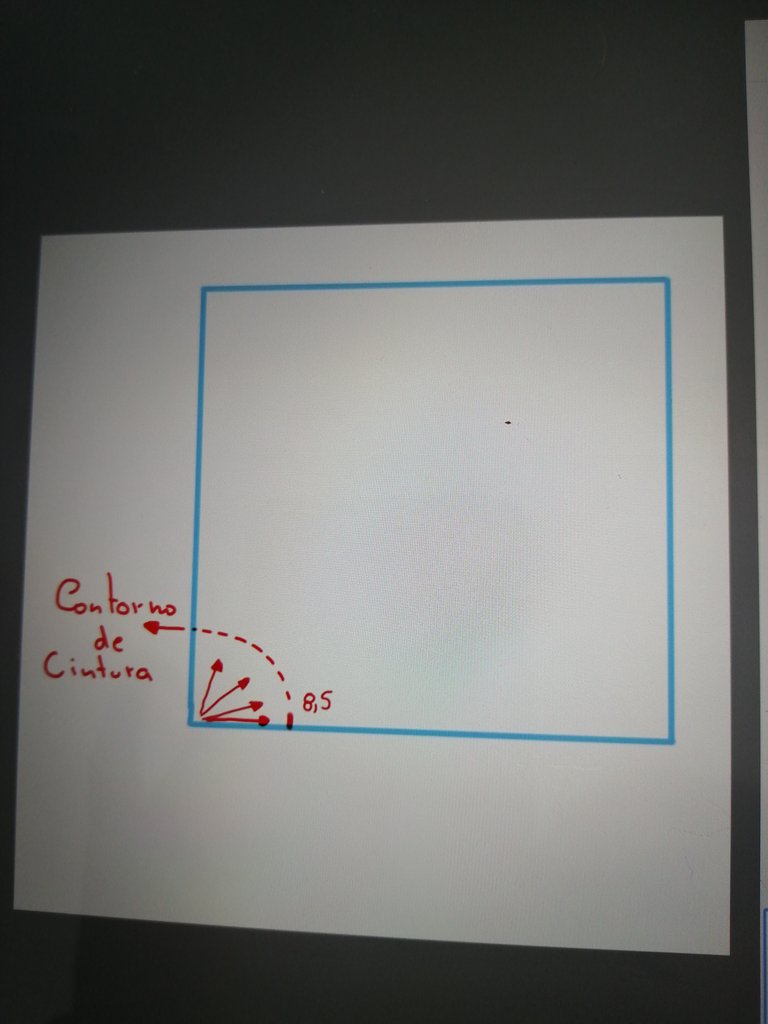
Y la punta de donde doblamos hacia la parte de la tela que esta separada medimos el contorno de cintura.
Esto lo hacemos de la siguiente manera.
La cintura de mi pequeña es de 54 cm esta la debemos dividir por 6,28.
*siempre si la falda es circular esta se divide por este numero. Entonces en este caso me daría 8.5.
We fold once again, squaring up very well. And the tip from where we fold towards the part of the fabric that is separated, we measure the waist circumference. We do this in the following way. My little girl's waist is 54 cm and we must divide this by 6.28. *always if the skirt is circular it is divided by this number. So in this case I would give myself 8.5.
|

|
|

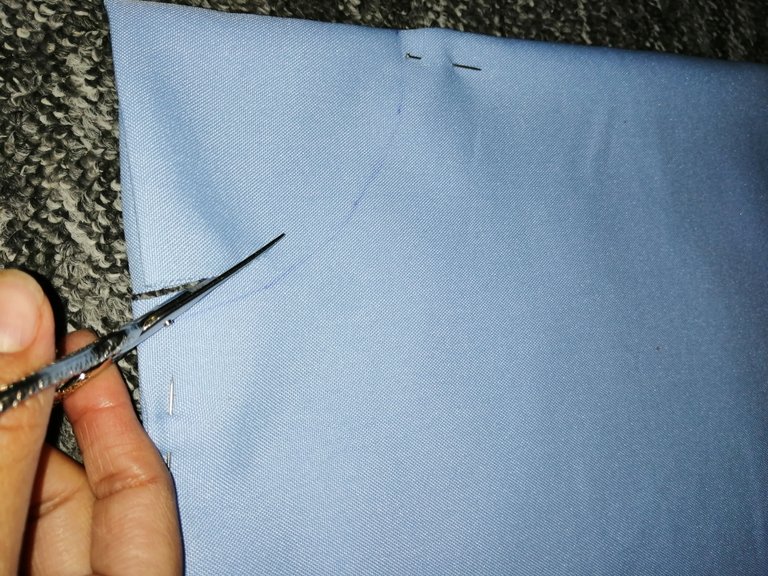
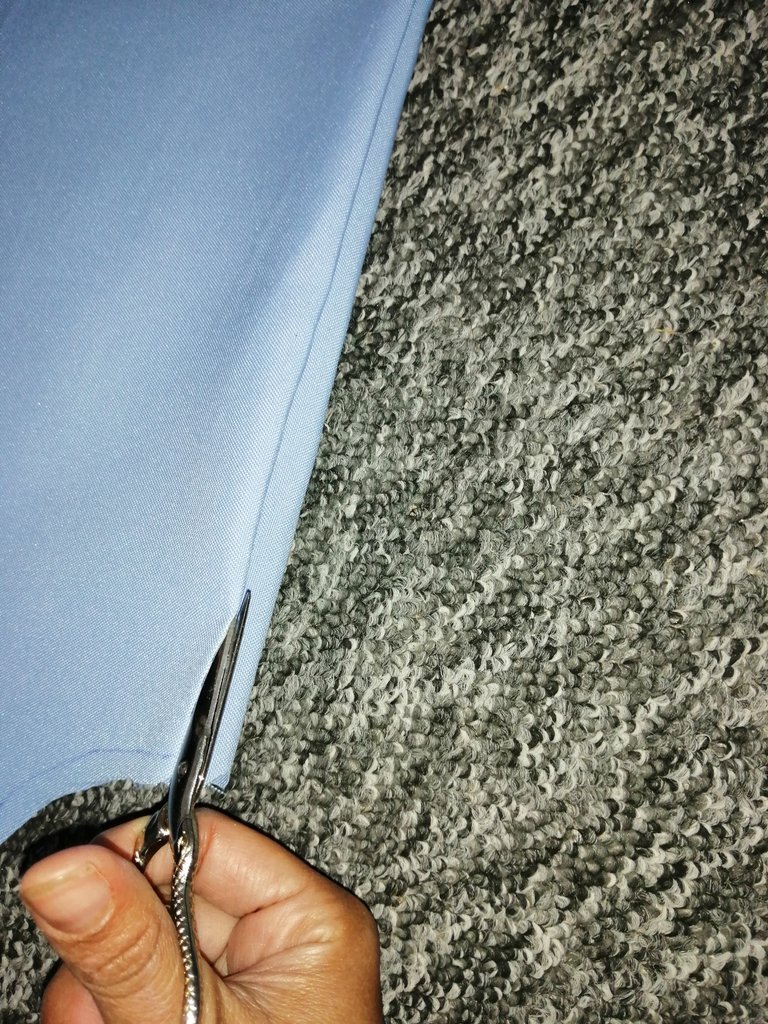
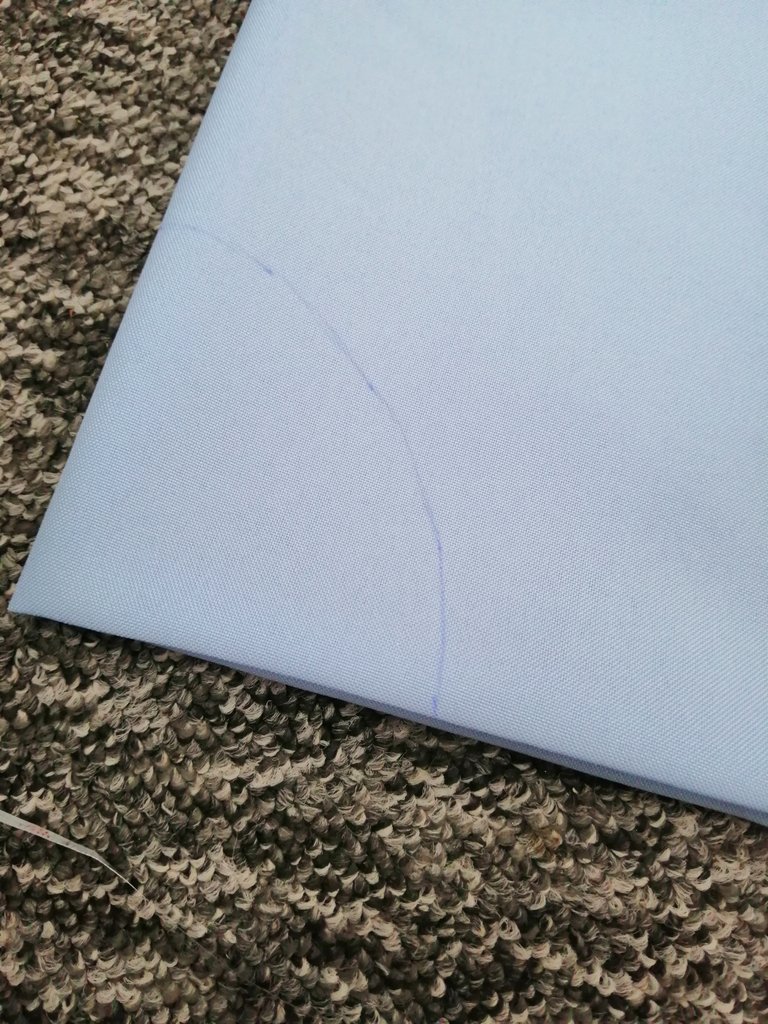
Ya listas las medidas ahora nos toca pasarla a la tela de la siguiente manera.
Ahora nos toca cortar el largo de la falda es al ras y el de la cintura dejamos 1 cm.
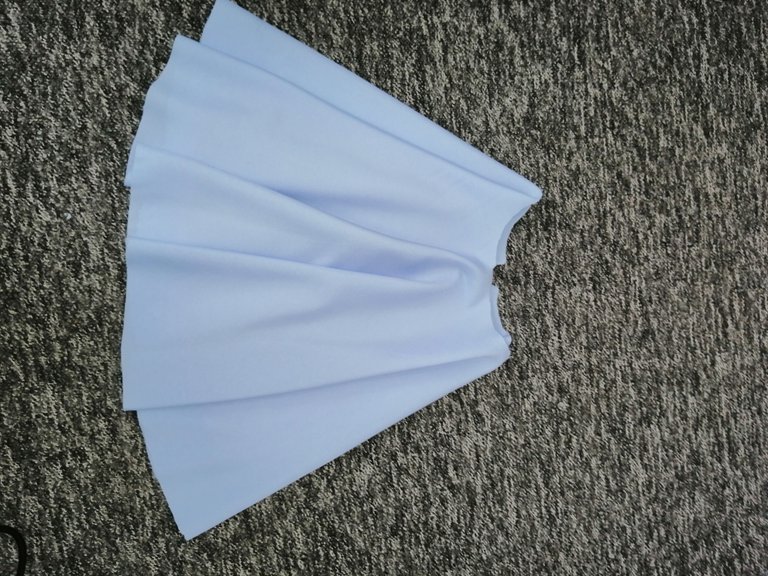
Ya quedo lista nuestra falda circular.
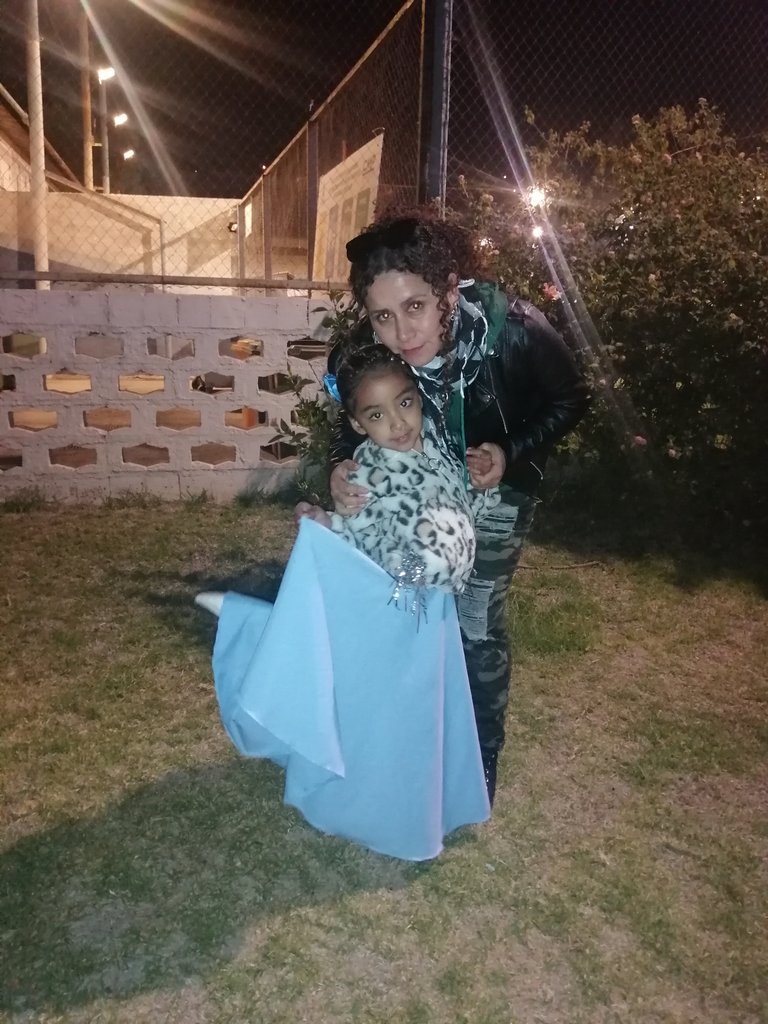
Ya el último paso fue coser un botón y arreglar a mi niña por fin Ya estaba listo!!!! Solo nos toco disfrutar de la linda gala ❤️
Miren que belleza ☺️
**Todas las Imágenes son de mi autoria.
|