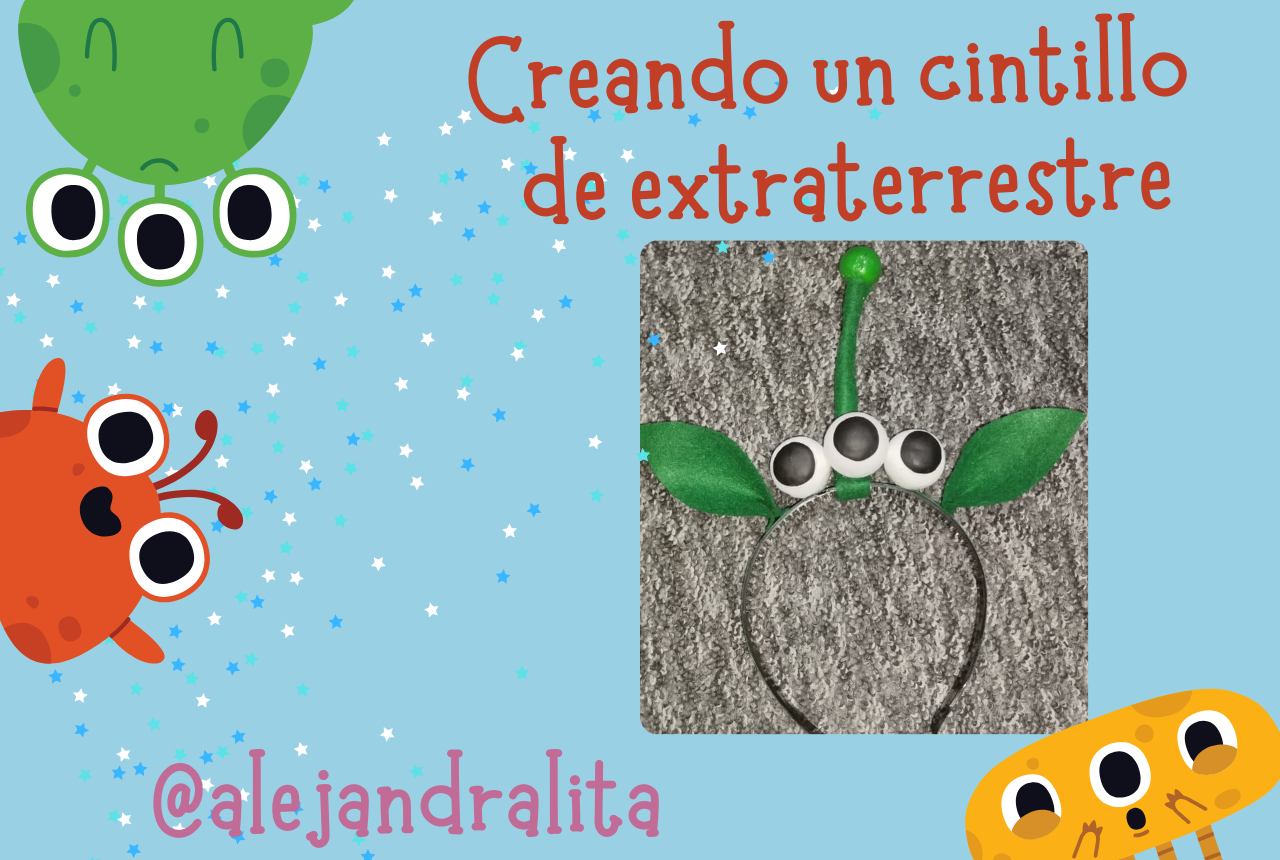
Saludos a toda la comunidad de Hive Diy. Hace días atrás mi pequeña hija le pidieron que se disfrazara de un extraterrestre o un astronauta y ella eligió ser un "marcianito". Y lo haremos por partes empezaremos con el cintillo. Manos a la obra!! espero les guste mi proyecto. 😉
Vamos a crear!
Greetings to the entire Hive Diy community. A few days ago my little daughter was asked to dress up as an alien or an astronaut and she chose to be a "little Martian." And we will do it in parts, we will start with the headband. Let's do it!! I hope you like my project. 😉 We are going to create!
We are going to create!
Materiales / Materials
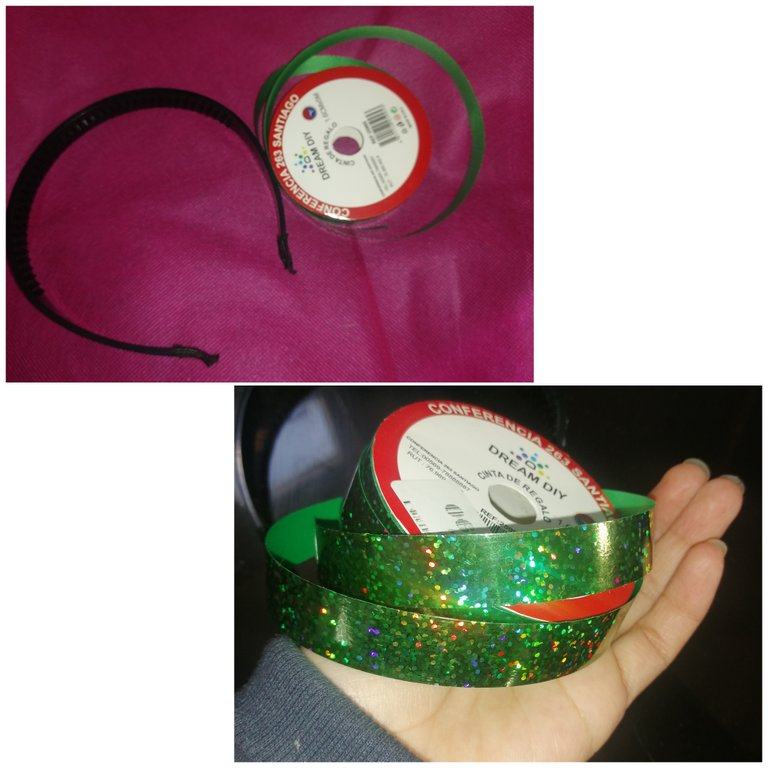
Diadema
Tijeras
cinta verde oscuro
fieltro verde
pegamento o silicona
Alambre
pelotitas de plumavic
pintura negra y blanca
pincel
alicate
-Porcelana fríaHeadband
Scissors
dark green ribbon
green felt
glue or silicone
Wire
plumavic balls
black and white paint
Brush
pliers
|
|
|


Comencemos!
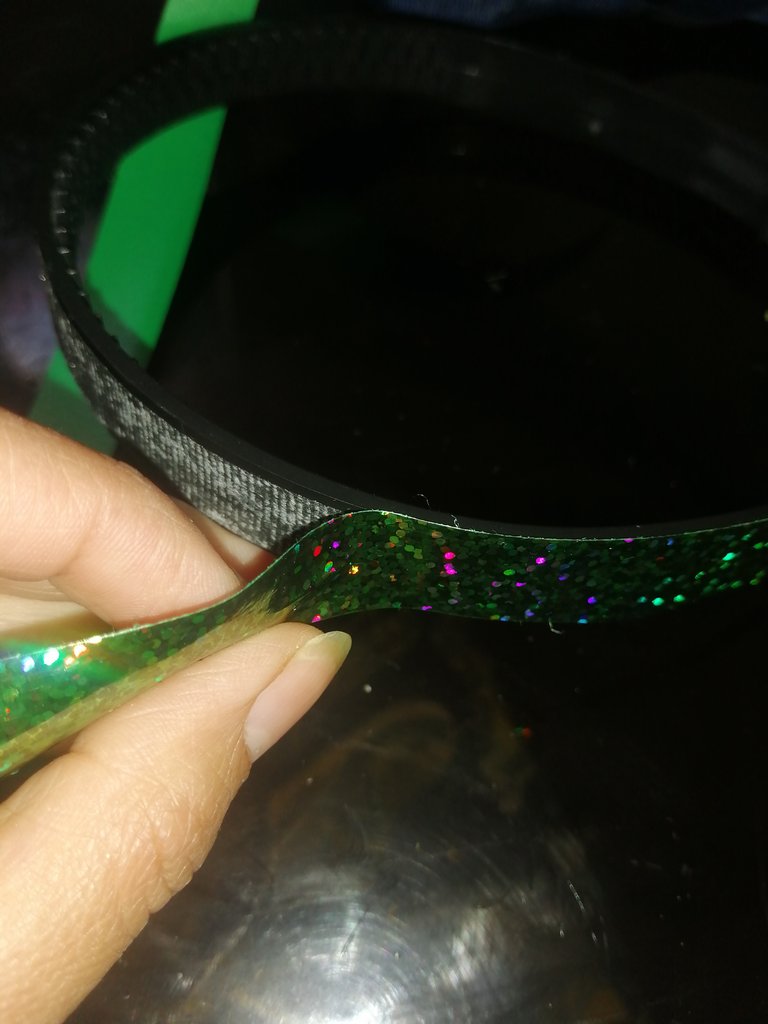
Lo primero que hice fue quitar la tela que traia la diadema, me costo mucho sacarla estaba muy pegada 😥 pero lo conseguí. Ahora con la cinta verde forramos y pegamos toda la parte de arriba.
Let's get started! The first thing I did was remove the fabric that came with the headband, it was difficult for me to remove it, it was very stuck 😥 but I managed it. Now with the green tape we cover and glue the entire top part.
|
|
|
|
|
|
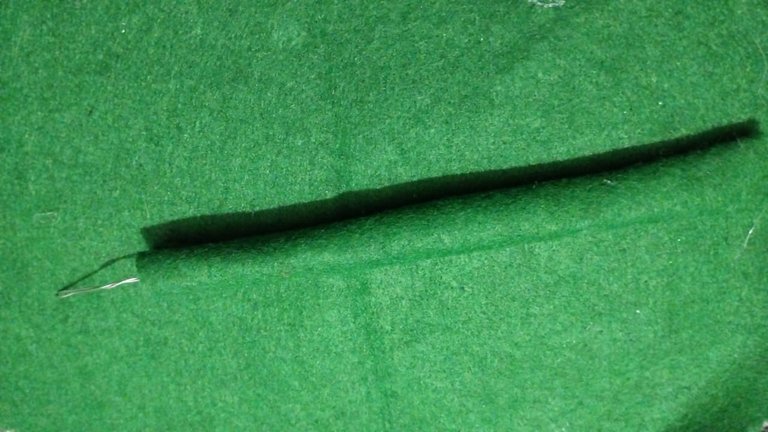
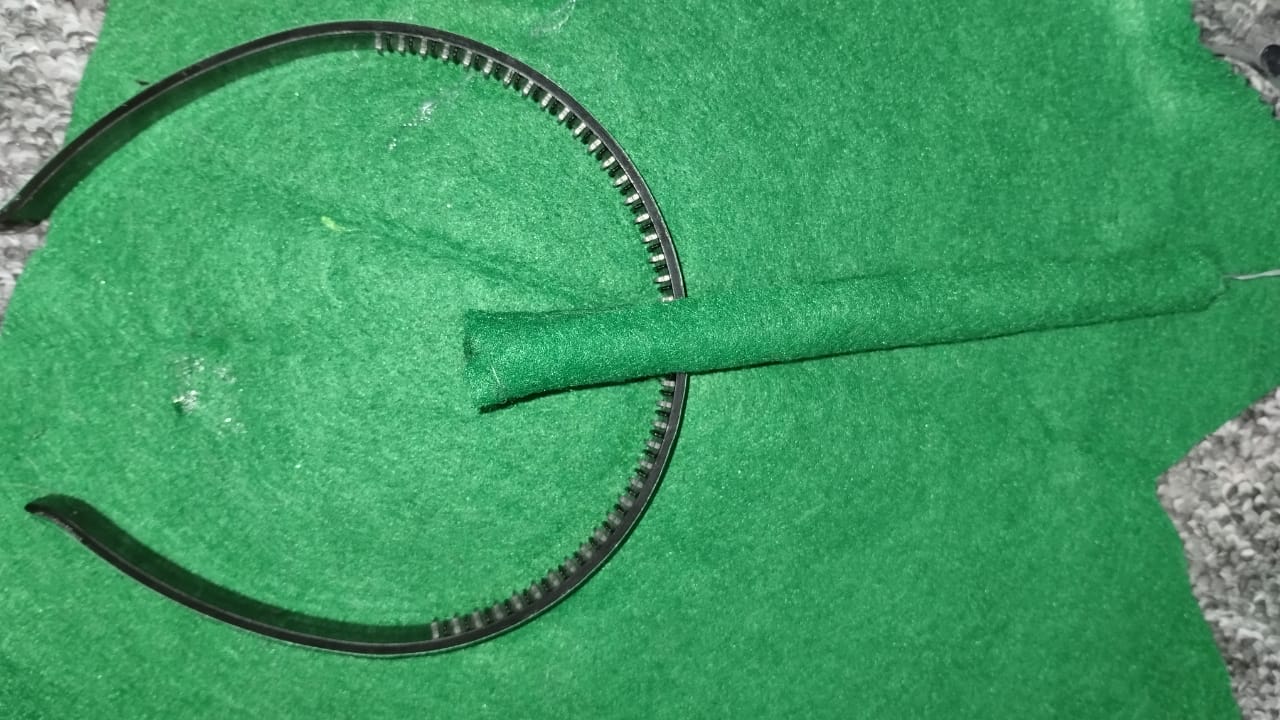
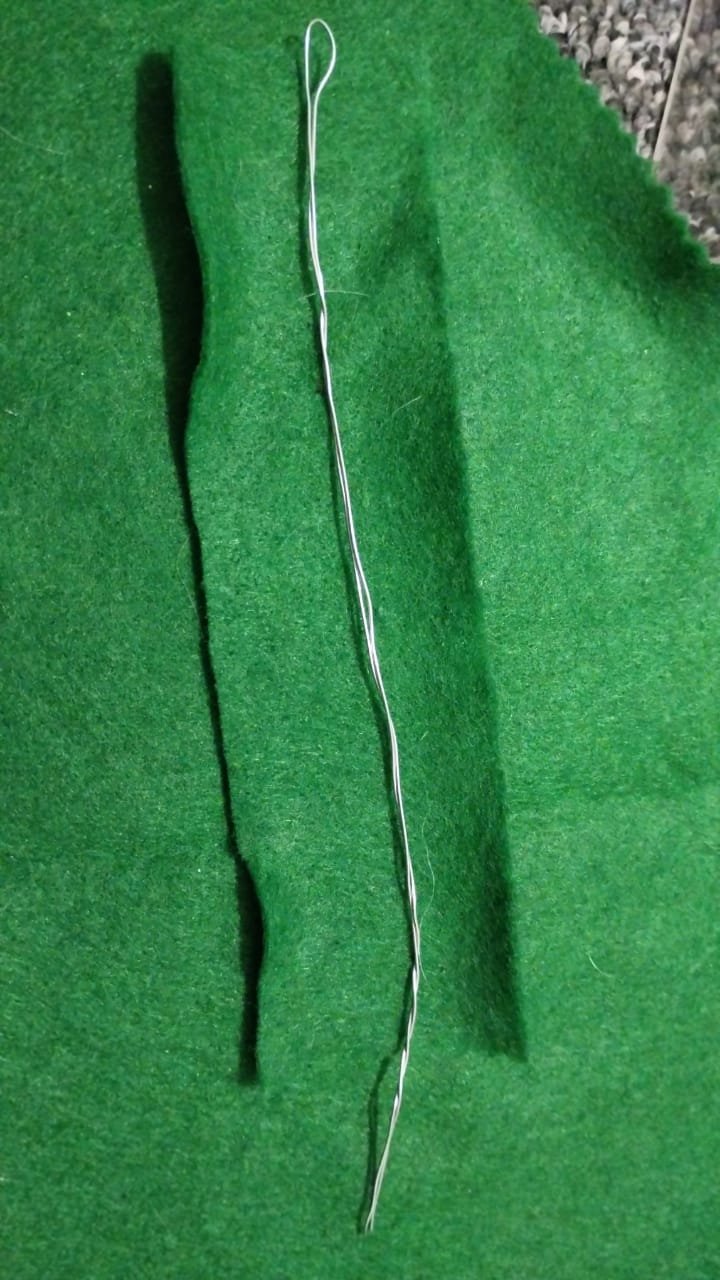
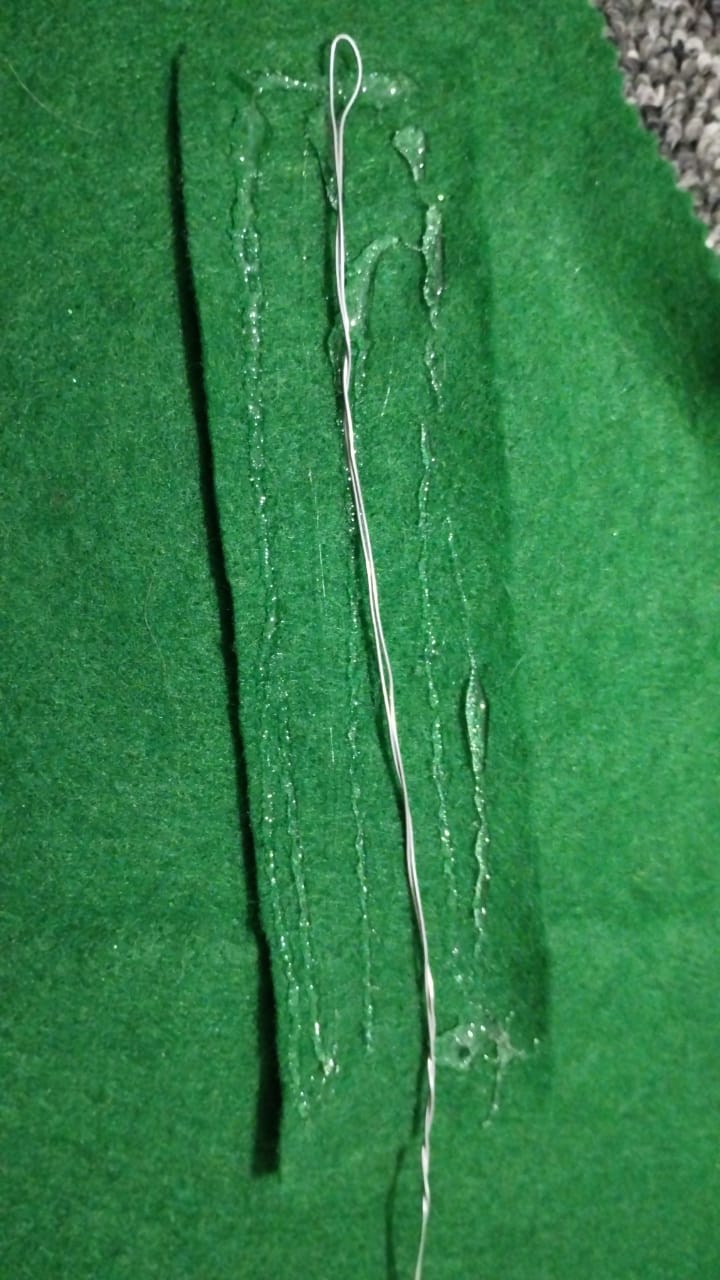
Ya pegada la cinta a la diadema ahora nos toca cortar un pedazo de alambre de aproximadamente unos 15 cm ojo que depende del grosor del alambre si es delgado hay que hacerlo doble para que no se cuartee* (*doble) y forrarlo con el fieltro color verde oscuro , lo pegamos con silicona y dejamos secar. Una de las puntas se debe cerrar con fieltro doblar y apretar a la diadema la otra punta debe quedar expuesta.
Once the ribbon is attached to the headband, now we have to cut a piece of wire approximately 15 cm long. Note that it depends on the thickness of the wire. If it is thin, it must be doubled so that it does not crack* (*double) and cover it with colored felt. dark green, we glue it with silicone and let it dry.
One of the ends should be closed with felt, fold and tighten to the headband, the other end should be exposed.
|
|
|
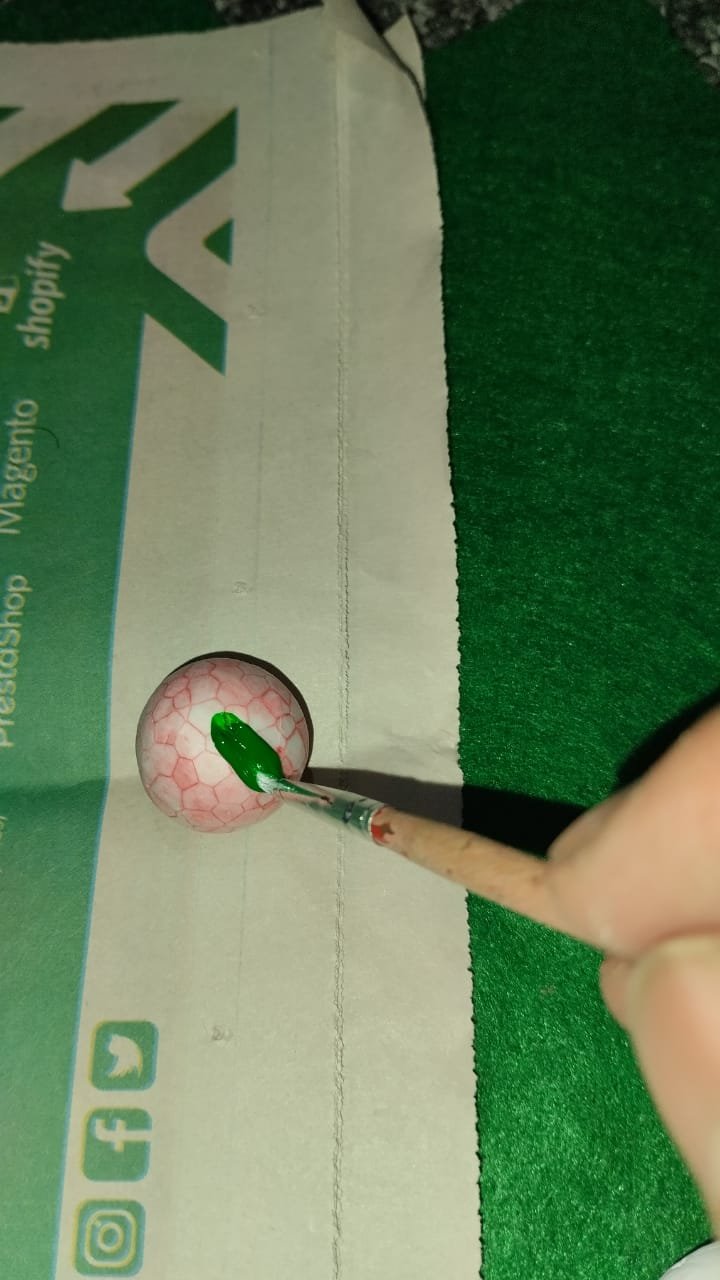
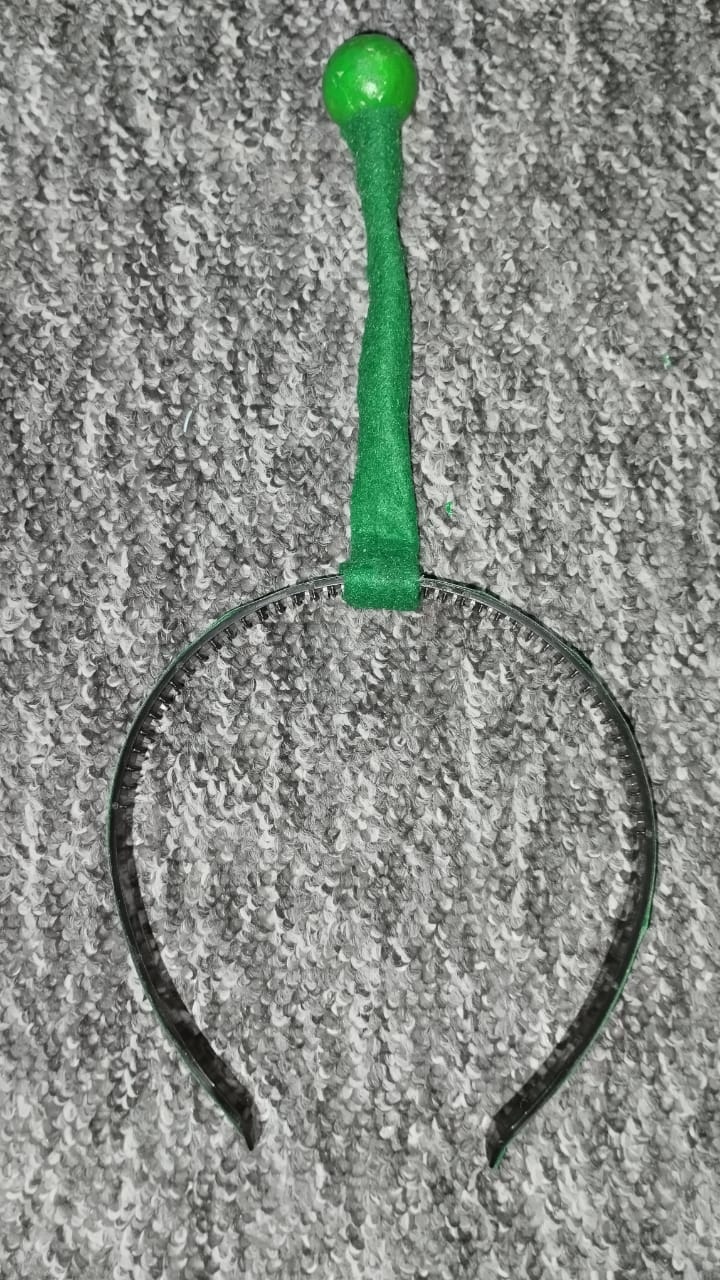
Nos toca pintar la pelota más pequeña.
Esta la pintaremos de color verde.
Y con la punta del alambre que quedo expuesta la apretamos hasta que quede bien a la altura del fieltro verde, como se ve en la fotografía.
We have to paint the smallest ball.
We will paint this one green.
And with the tip of the wire that was exposed, we tighten it until it is right at the height of the green felt, as seen in the photograph.
|
|
|

|
|
|
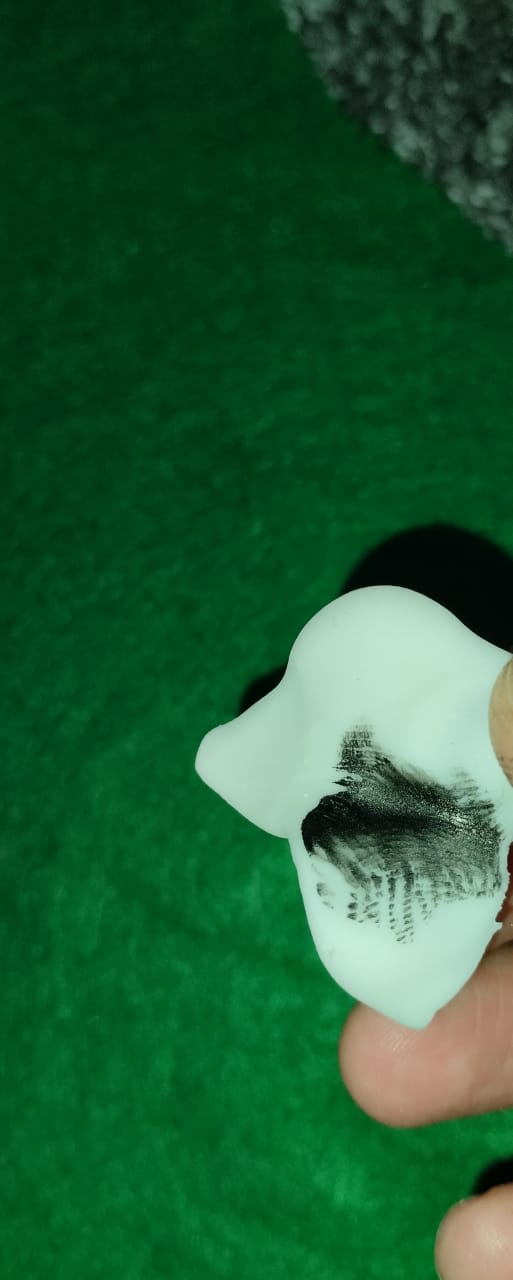
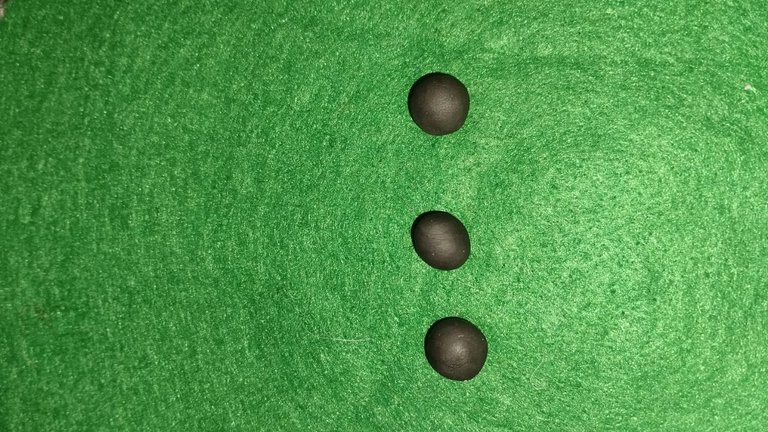
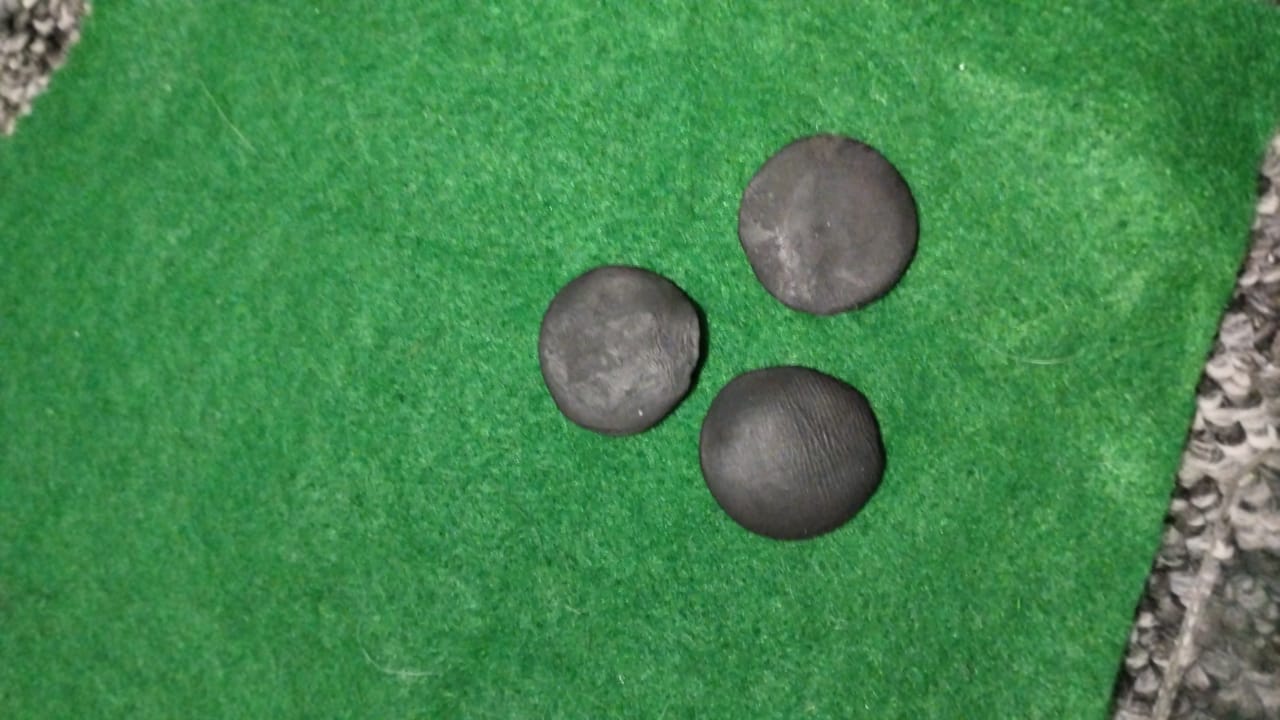
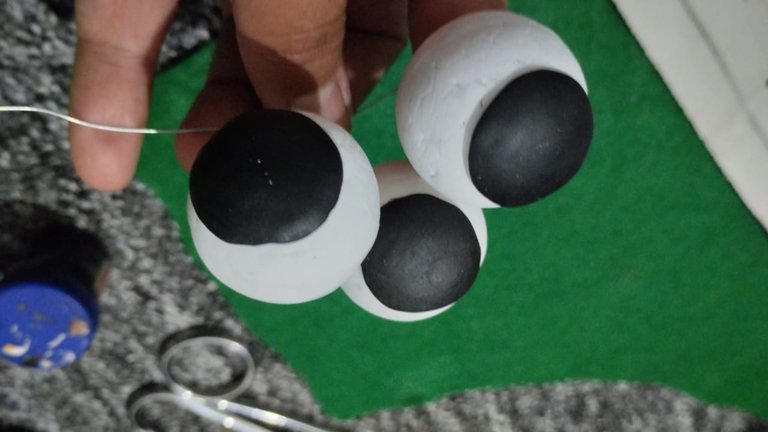
Ahora seguimos con las otras pelotitas las pintamos de color blanco. Usamos porcelana fría y la teñimos de color negro estas seran las pupilas del marcianito.
Hacemos pequeñas pelotitas y aplastamos. Esperamos que se seque la porcelana y la pegamos con cola fría a la pelota.
Now we continue with the other balls, we paint them white. We use cold porcelain and we dye it black, these will be the pupils of the little Martian.
We make small balls and crush them. We wait for the porcelain to dry and glue it to the ball with cold glue.
|
|
|
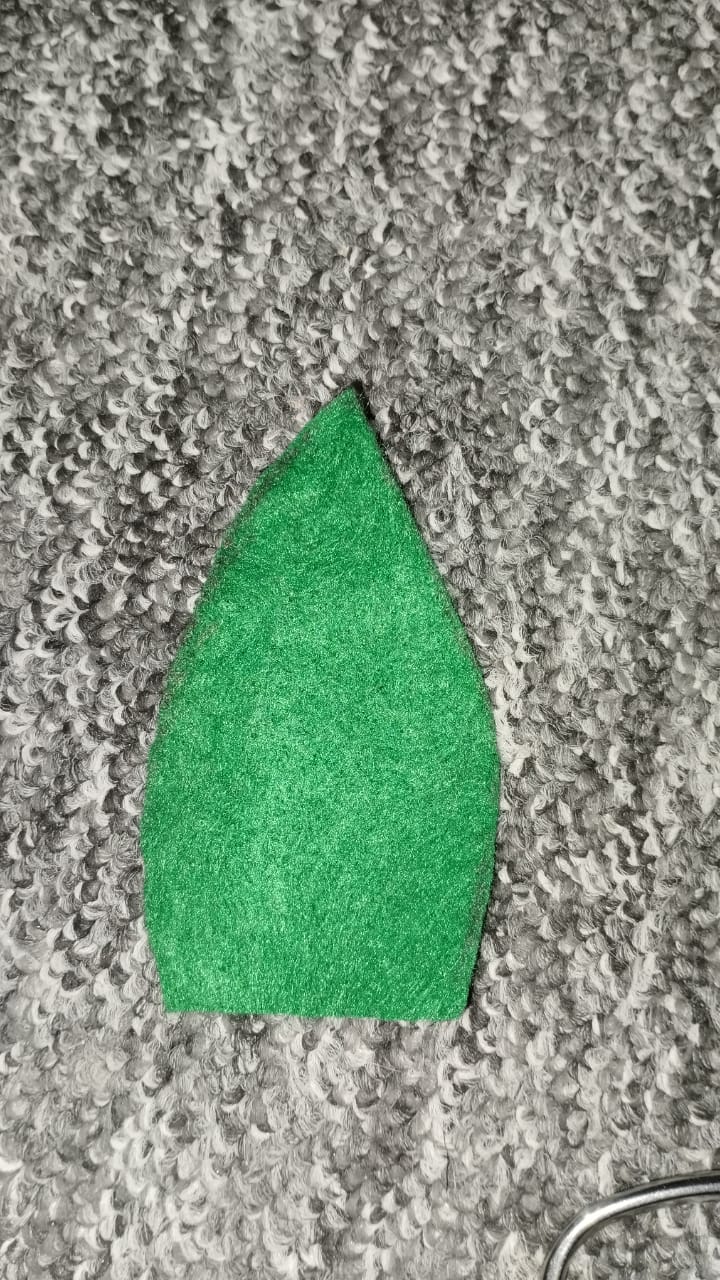
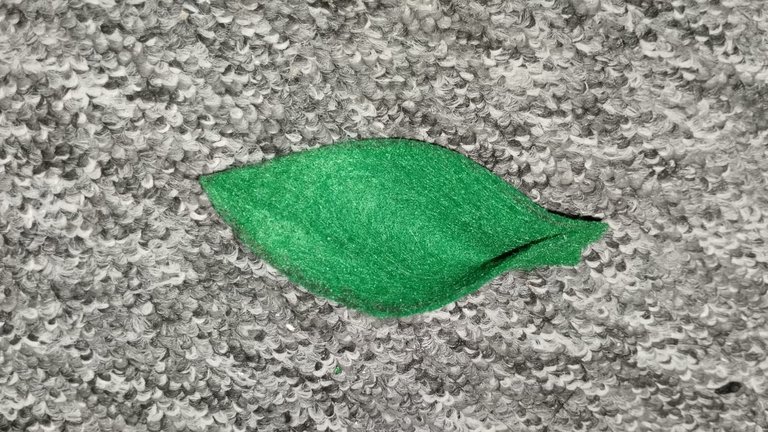
Ahora nos toca hacer las orejitas del pequeño marcianito, cortamos un pedacito de fieltro en forma triangular y alargada. La parte de abajo pegamos las dos puntas y dejamos secar.
Now we have to make the little martian's ears, we cut a small piece of felt in a triangular and elongated shape. On the bottom we glue the two ends and let it dry.
|
|

Ahora pegamos los ojitos a la diadema, pegamos con silicona caliente para que quede más firme. Y luego seguimos con las orejas. Y listo quedo perfecto nuestro cintillo de marcianito, pronto mostrare el paso a paso del traje.
Now we glue the eyes to the headband, glue with hot silicone to make it firmer. And then we continue with the ears. And ready, our martian headband was perfect, soon I will show the suit step by step.
**Todas las Imágenes son de mi autoria.
Traducido al inglés con Google traductor.
All images are my own.
Translated into english with google traslator.