Saludos querida Comunidad.
Les traigo unas hermosas flores que pueden hacer en cartulina para sus celebraciones o simplemente para decorar sus espacios.
La ocasión para la que las hice fue para la celebración de la Vuelta al Sol número 77 de mi mamá, que se realizó en un espacio natural, me pareció ideal decorarlo con flores.
Este mes en mi país, Venezuela, es el mes de las flores, es el mes en que todo comienza a florecer, así que estás flores pueden simbolizar ese florecimiento y te serán muy útiles para decorar.

- 1 pliego de Cartulina de Color.
- Hoja blanca.
- Lápiz o marcador.
- Tijera.
- Silicon en barra.
- Pistola de silicon.
- Pintura al frio (opcional si la quieres pintar).

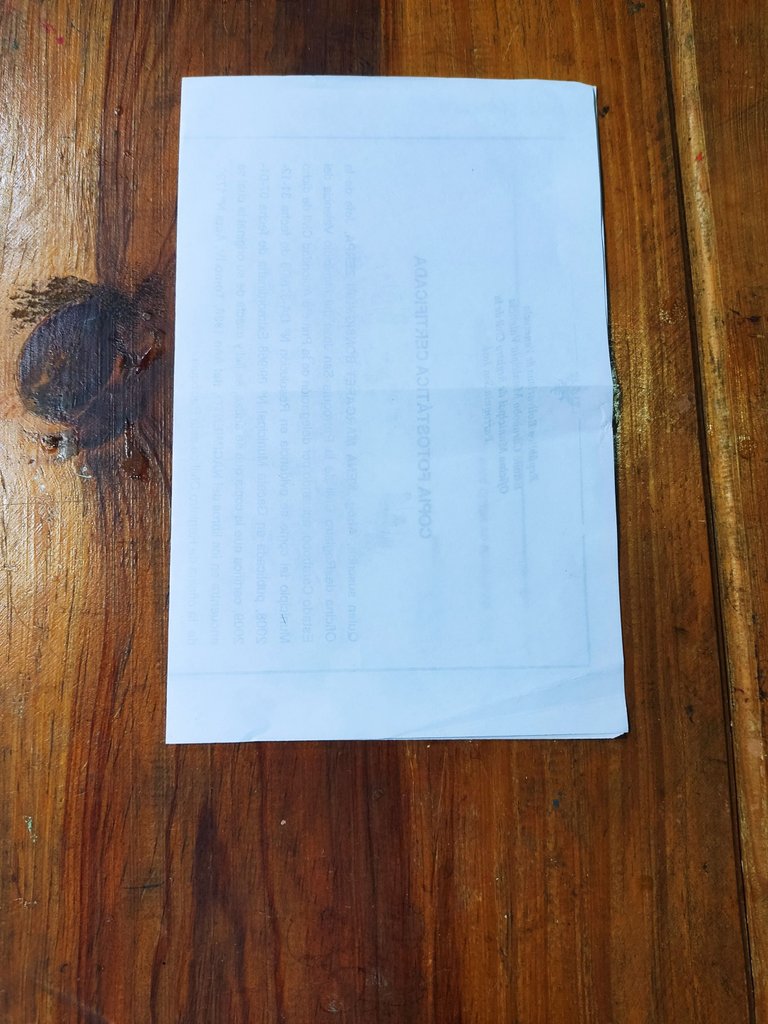
Comenzaremos haciendo los moldes, y para ello utilizaremos una hoja de papel tamaño carta.
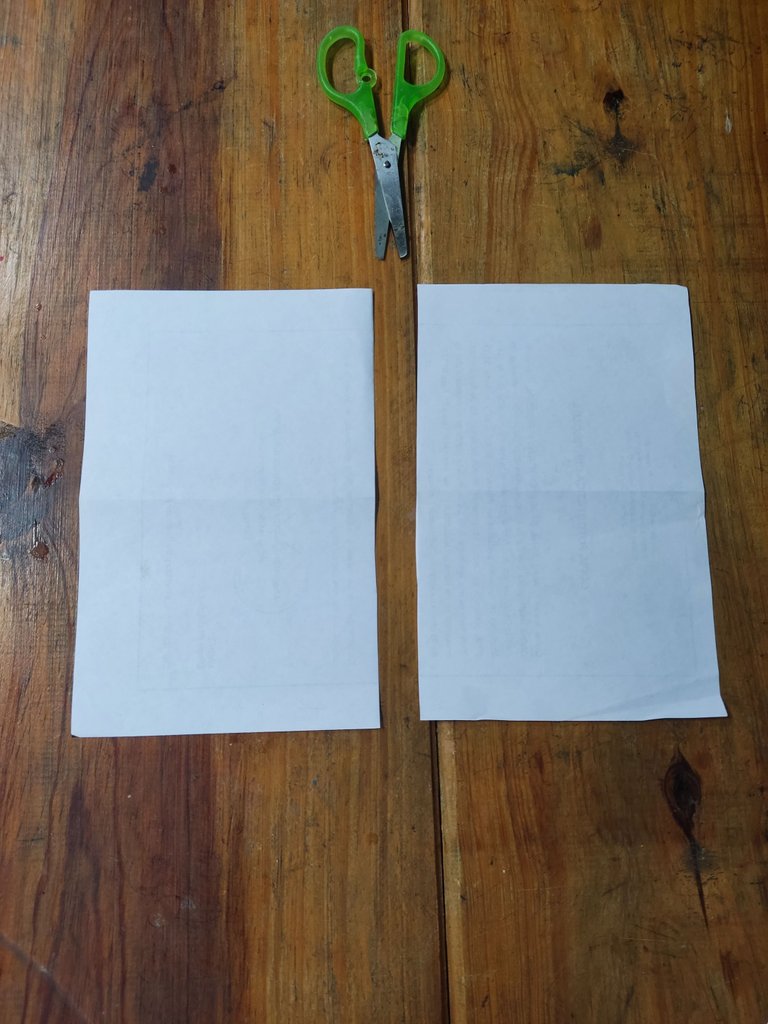
Lo doblamos por la mitad y lo recortamos.
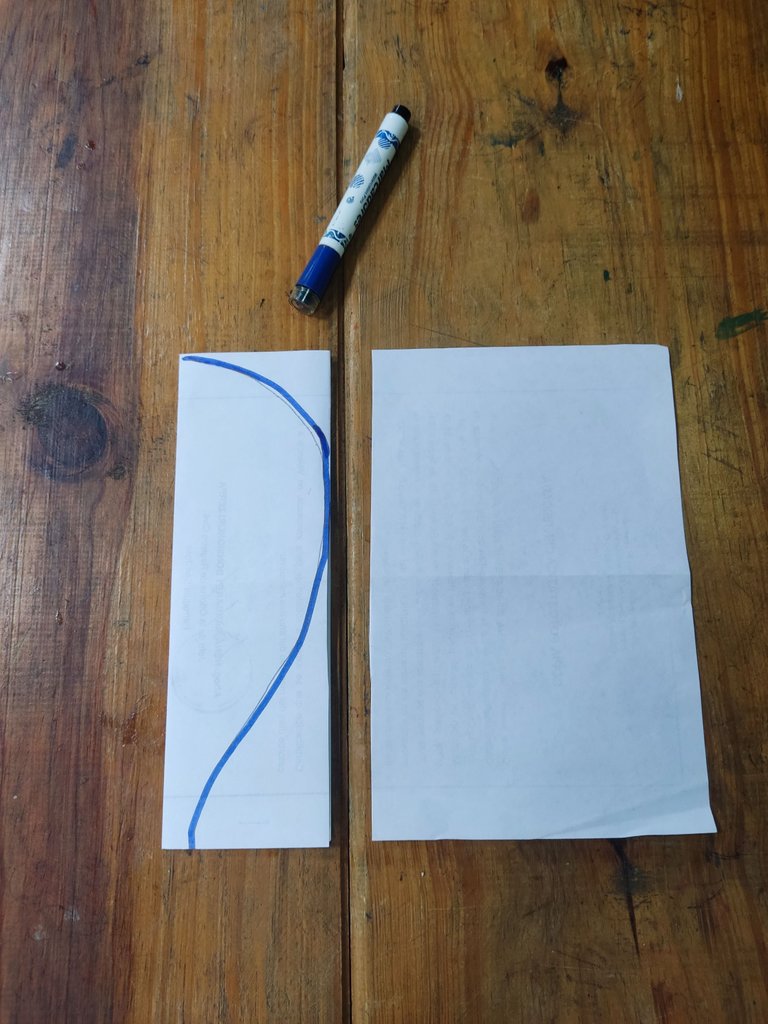
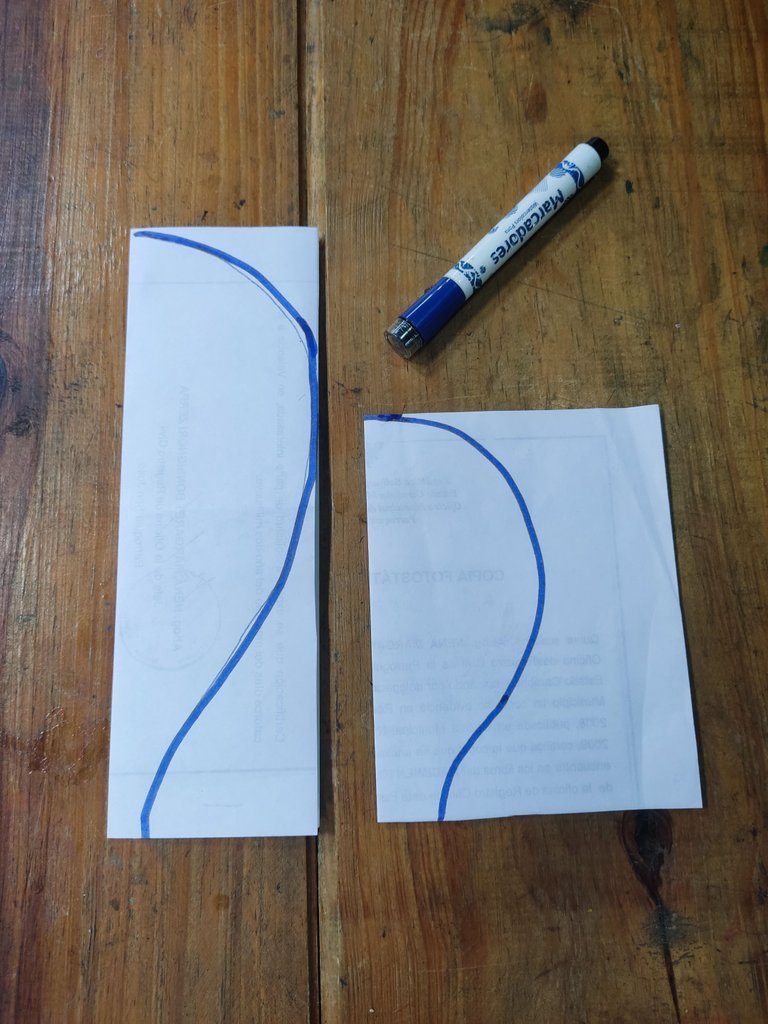
Una de las partes la doblamos a lo largo y marcamos la forma de medio pétalo.
Con el trozo restante lo doblamos por la mitad y marcamos el siguiente pétalo mediano.
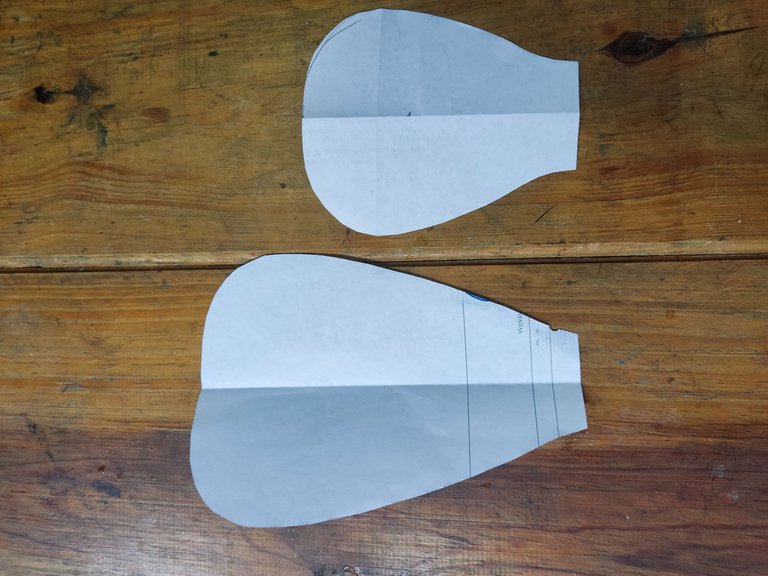
Nos debe quedar esta forma al abrir la hoja, que utilizaremos como molde para hacer todos los pétalos.
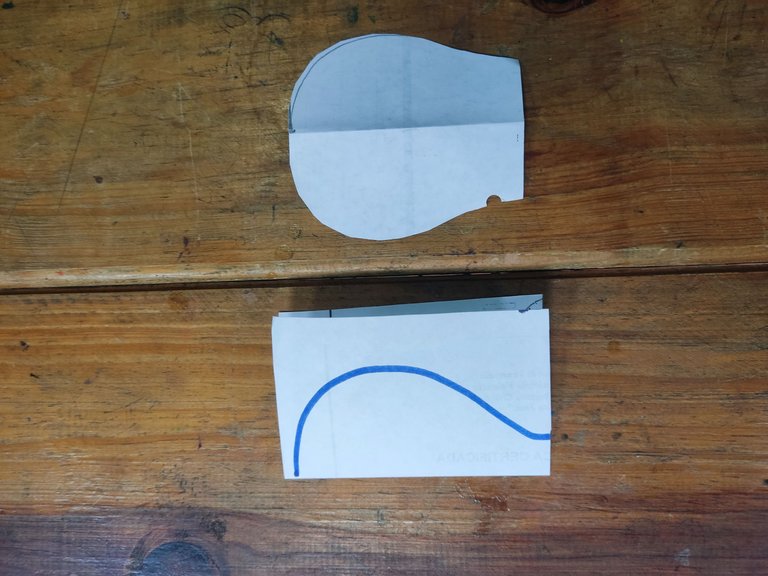
Con un cuarto de hoja doblamos por la mitad y trazamos el pétalo más pequeño.
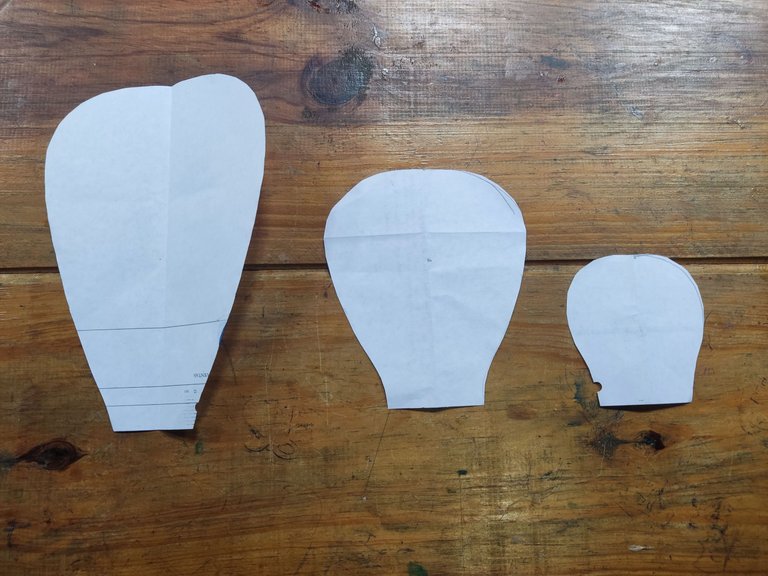
Así tendremos tres tamaños de pétalos, uno grande, uno mediano y uno pequeño.
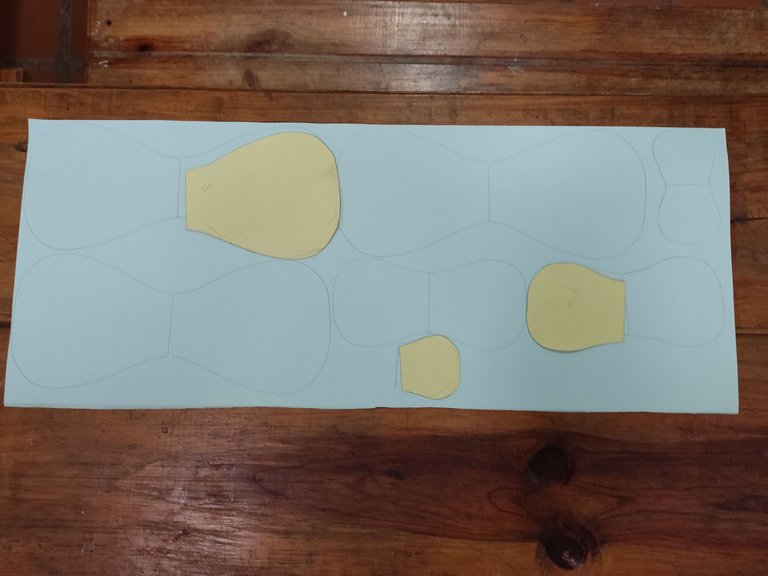
Para mayor comodidad utilicé estos moldes y los dibujé en una cartulina para que fueran moldes más resistentes, así los utilicé para trazar los diferentes pétalos.
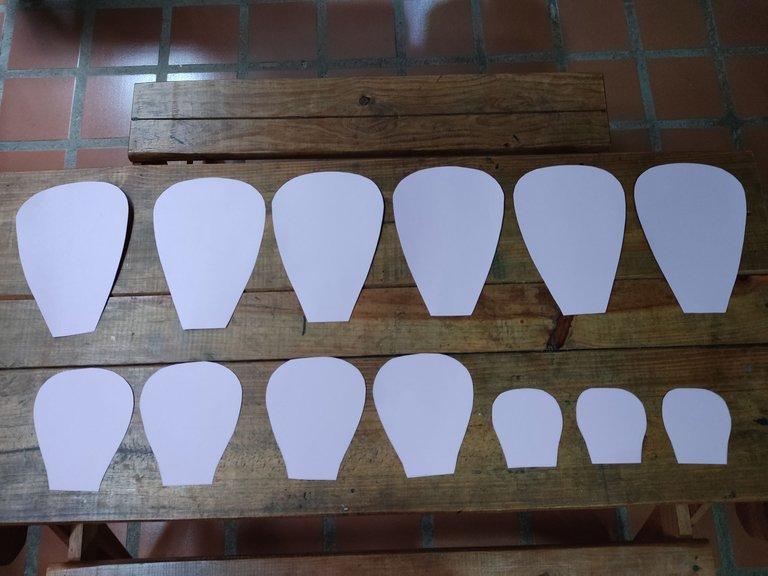
Ahora con los moldes terminados procedemos a sacar seis pétalos del tamaño grande, cuatro pétalos medianos y 3 pétalos del tamaño más pequeño.
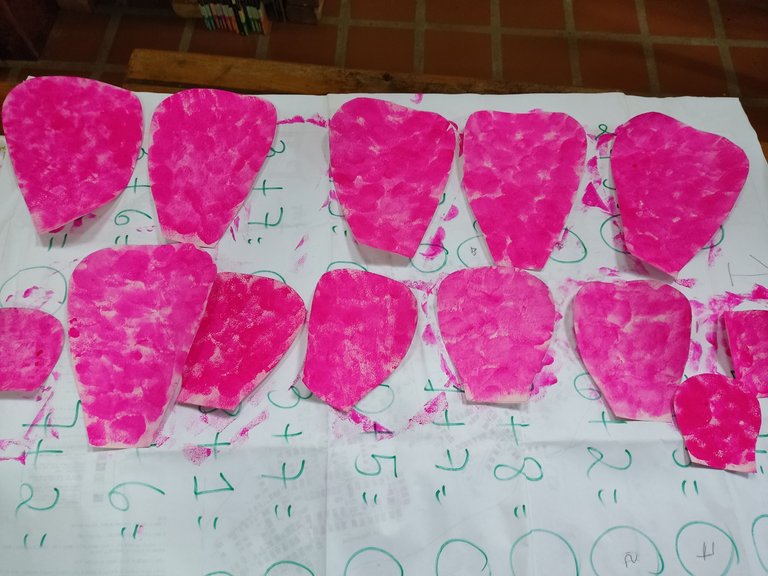
Si tienes una cartulina de color puedes usarla directamente, yo decidí pintarla usando una esponja con un color de pintura fría.
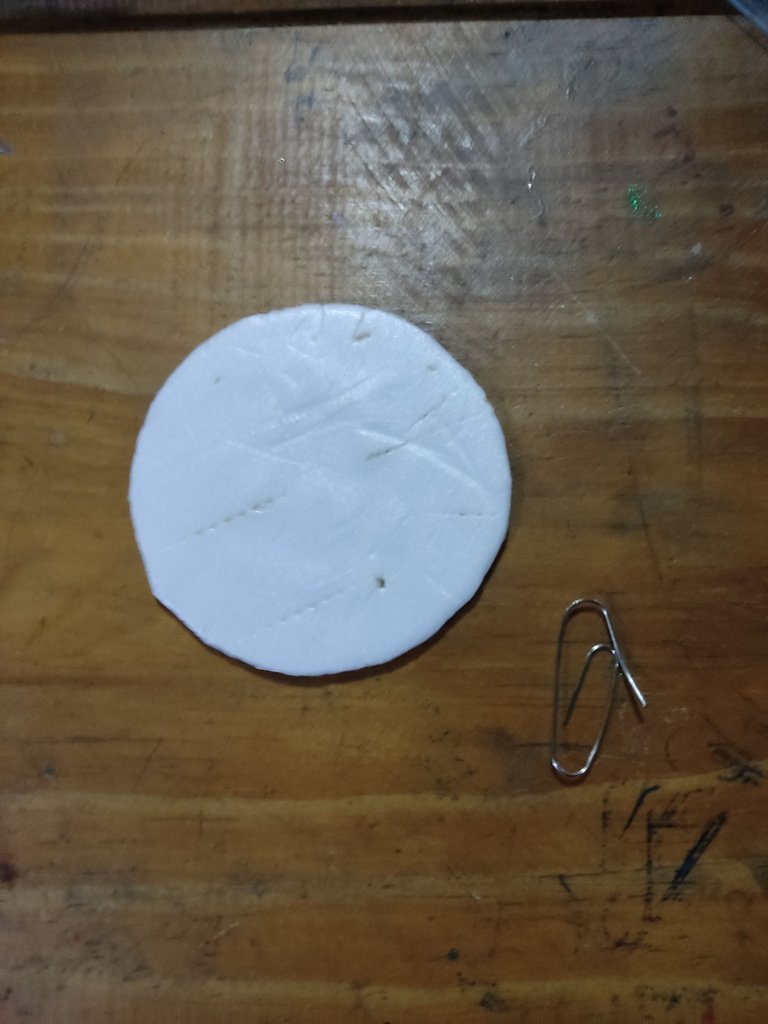
Como base para colocar los pétalos puedes usar una cartulina, yo usé un plato de anime, y recorté una circunferencia de aproximadamente 10 cm de diámetro.
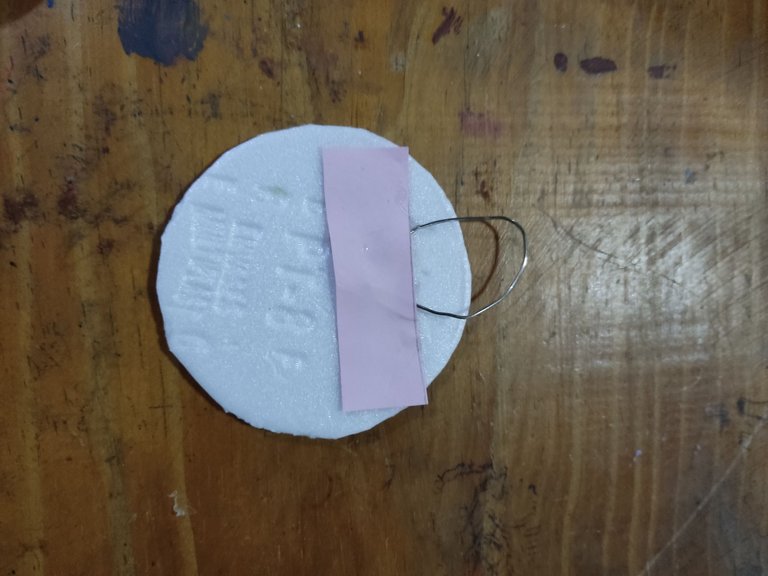
Utilizamos un clip y lo colocamos en forma de gancho, lo sujetamos pegando un trozo de cartulina sobre el círculo de cartón o anime.
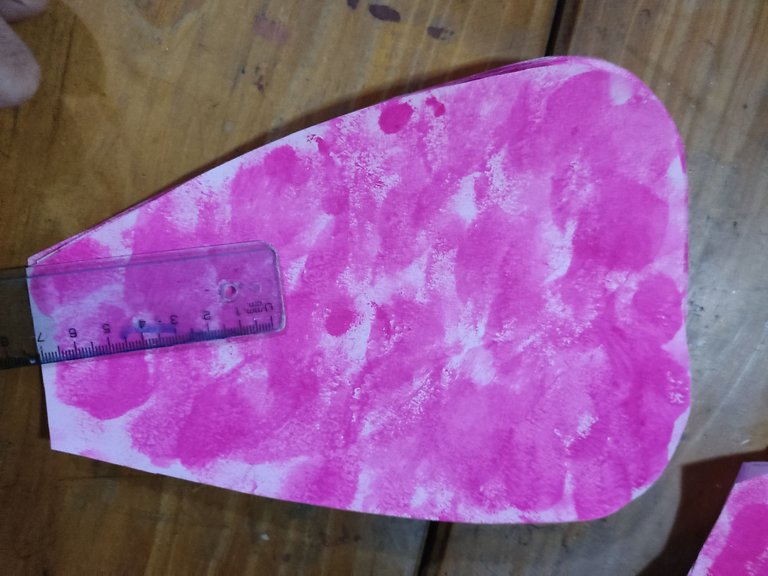
A los pétalos grandes les dibujamos una línea de 7 cm . A los pétalos medianos una línea de 4cm y a los pequeños 2cm.
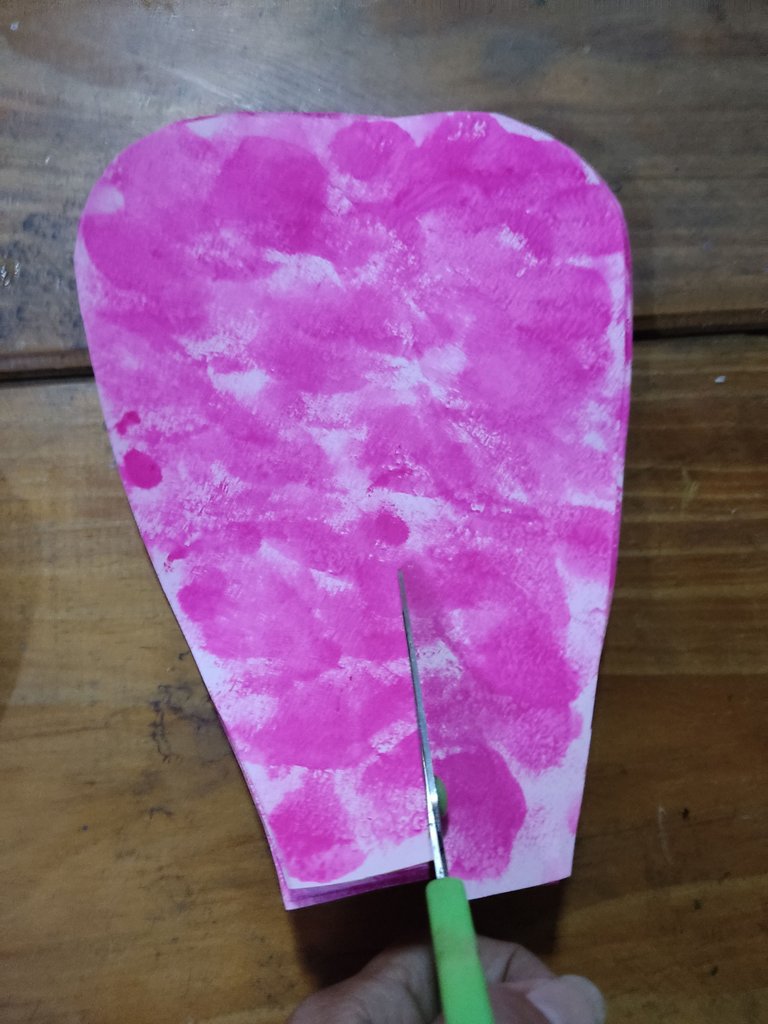
Luego la recortamos.
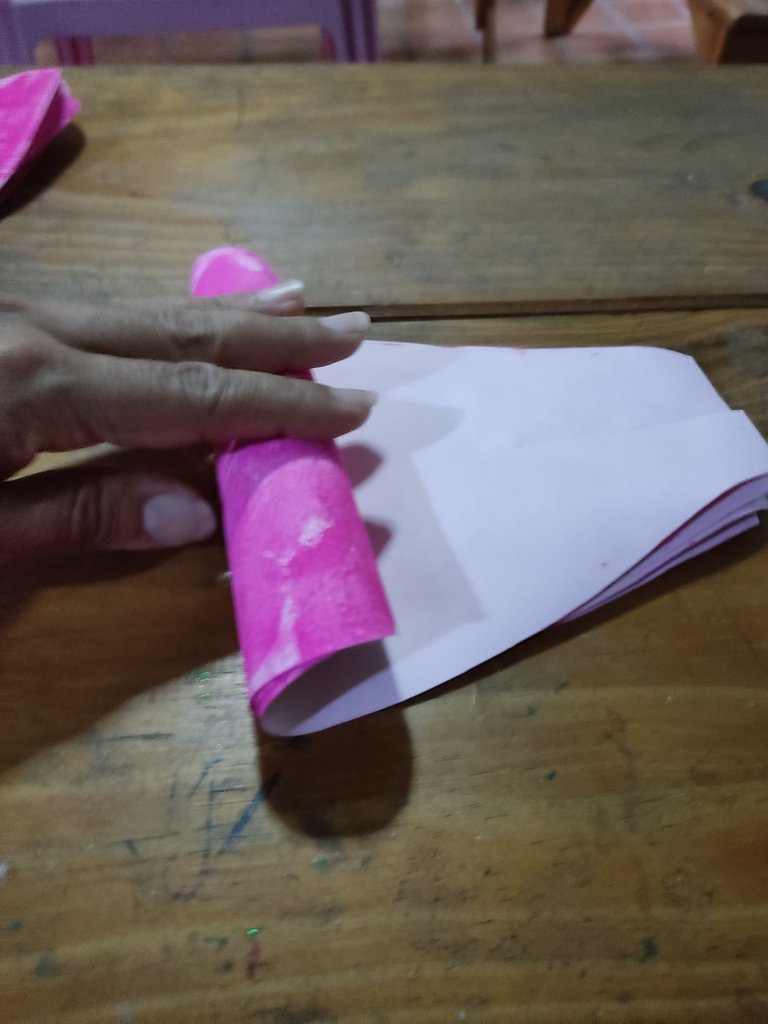
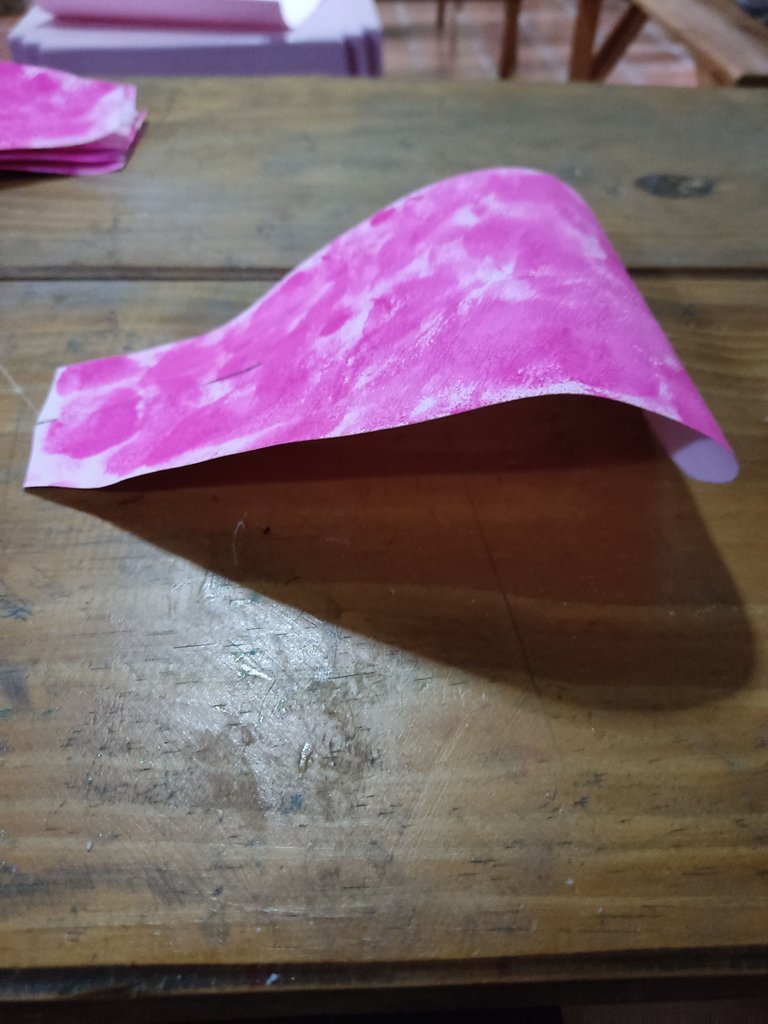
Doblamos la punta haciendo una especie de cilindro con la mano para dar la forma del pétalo.
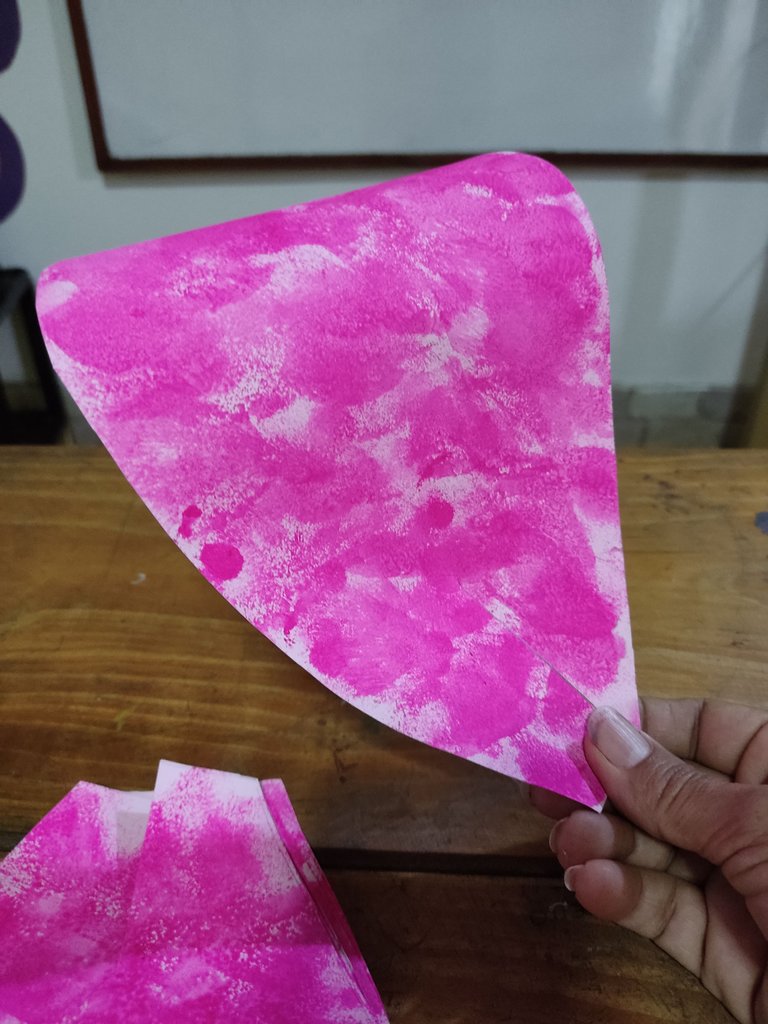
Luego procedemos a pegar la unión obteniendo así la forma del pétalo.
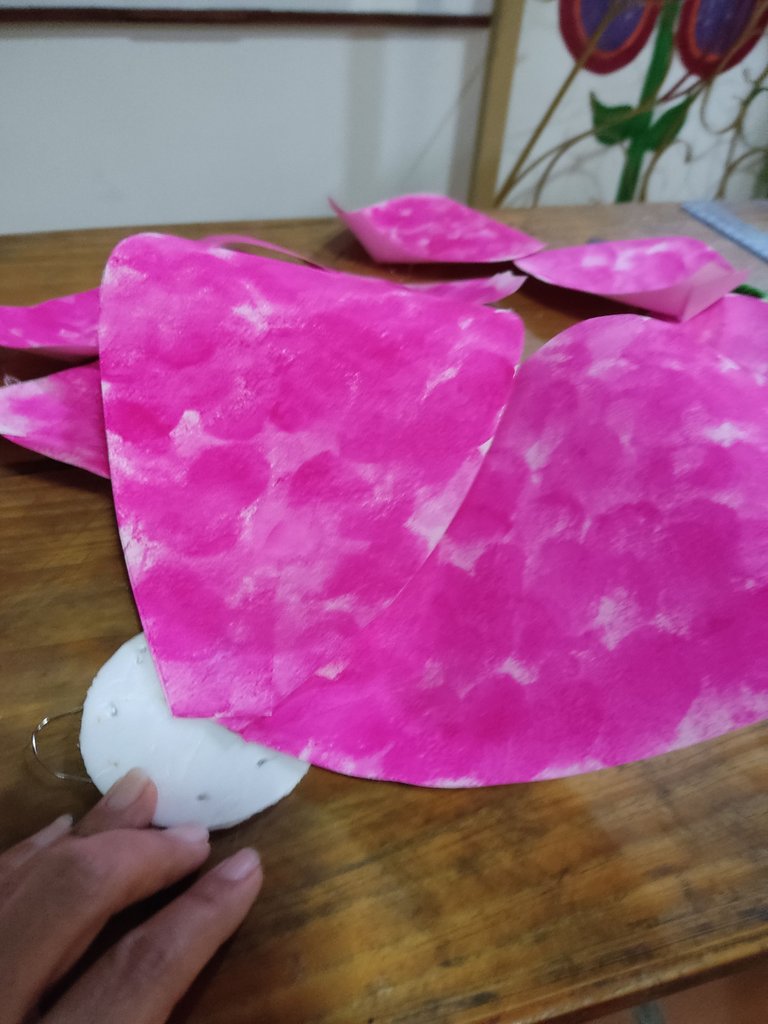
Una vez que hemos pegado todas las puntas y hemos dado la forma del pétalo, procedemos a pegarlo en la circunferencia que hemos preparado previamente.
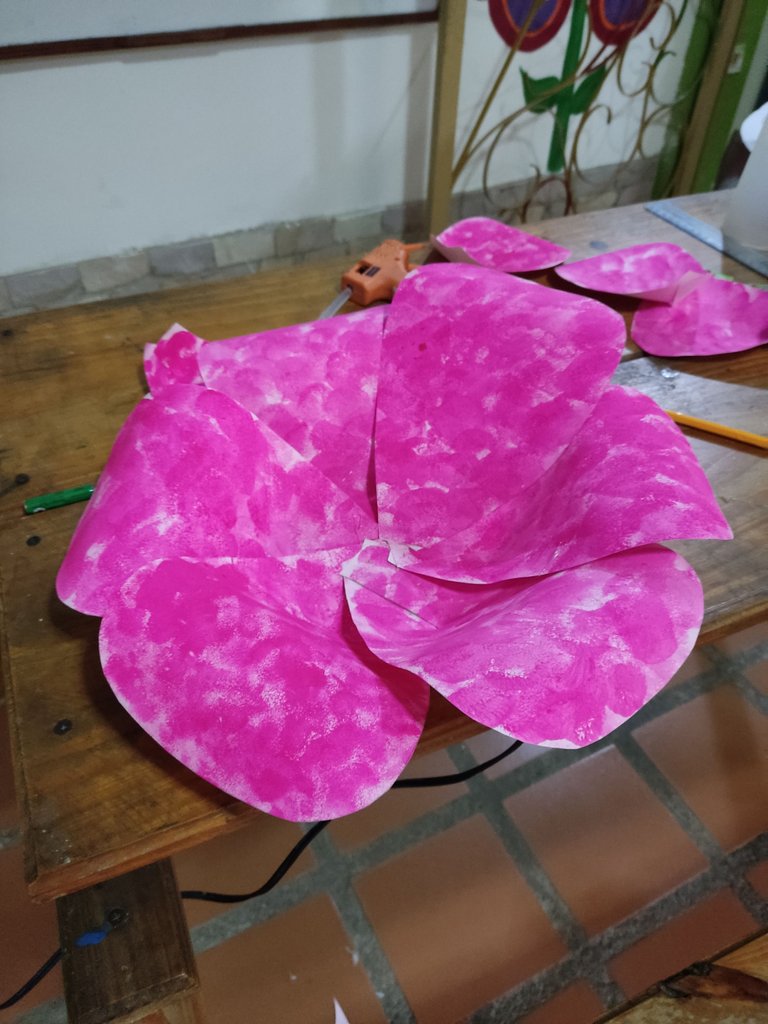
Comenzamos a pegar hasta terminar nuestros seis pétalos en la base.
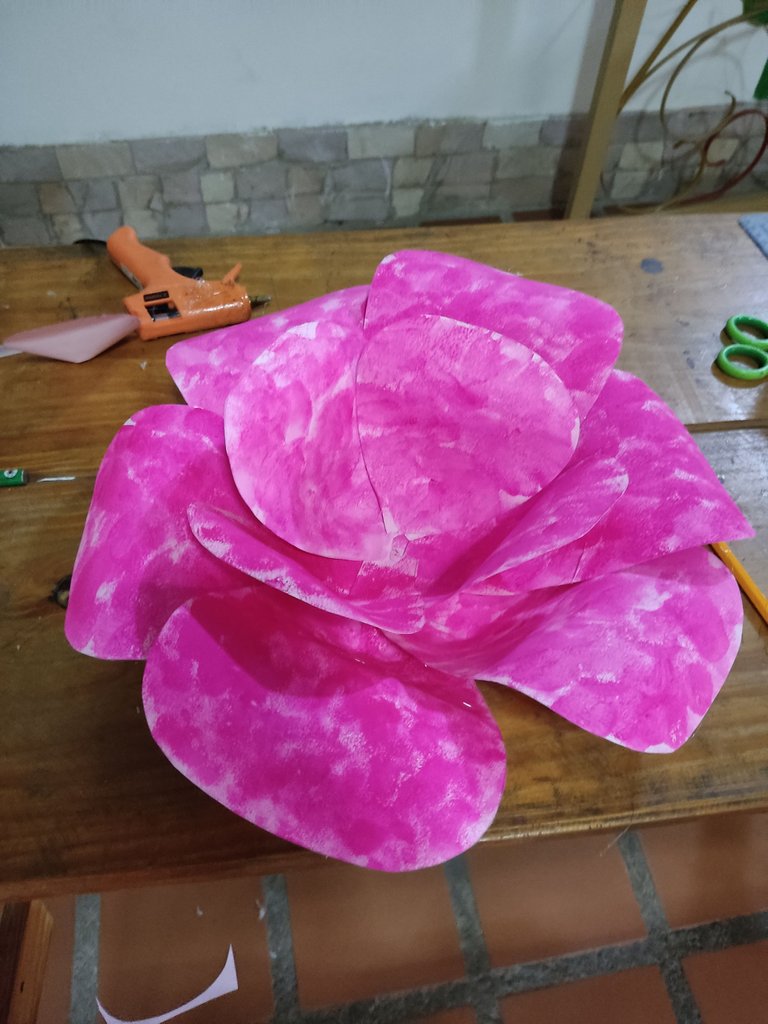
Al finalizar colocamos la siguiente capa de cuatro pétalos.
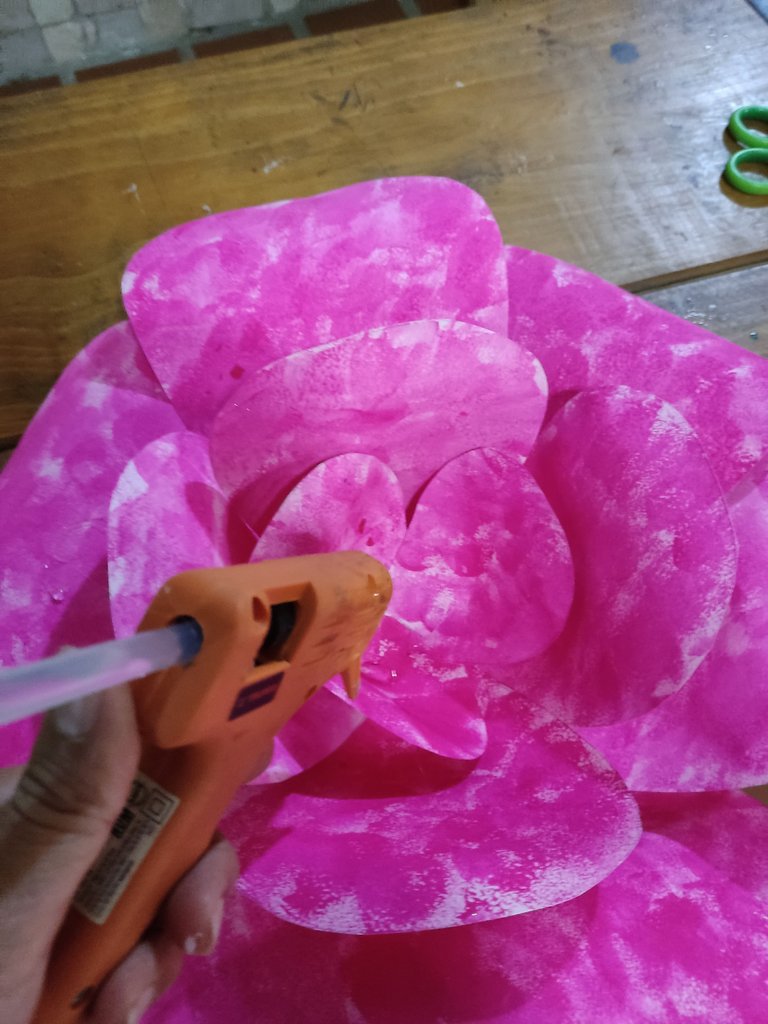
Y por último pegamos los tres pétalos pequeños.
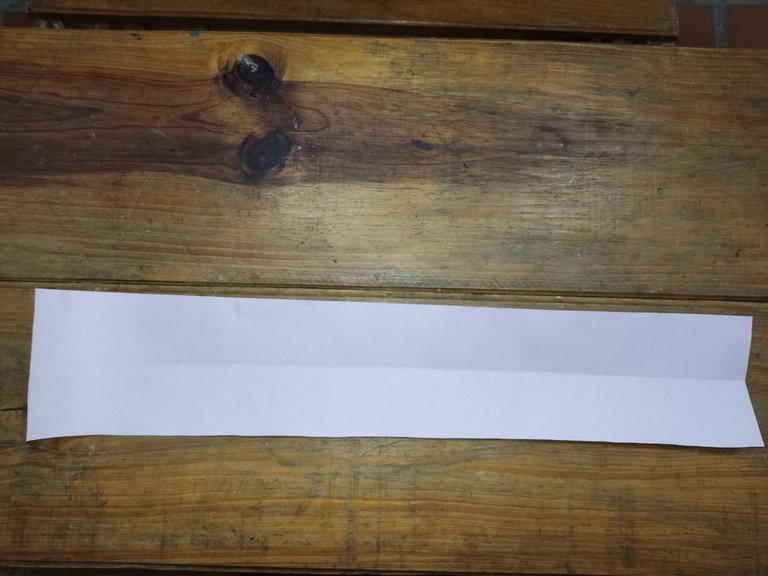
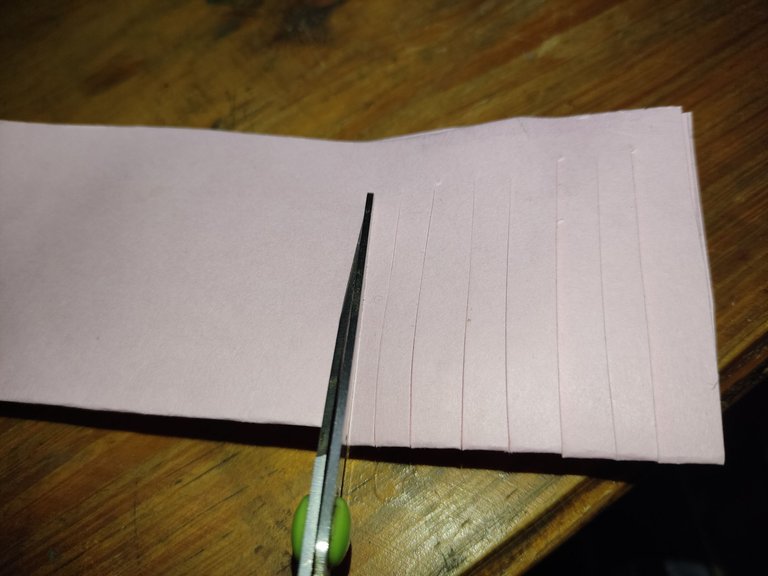
Para hacer el pistilo del centro cogemos una tira de cartulina de unos 60 cm para esta flor grande, y 15 cm de ancho. La doblamos por la mitad y procedemos a hacer cortes en línea sin llegar hasta abajo.
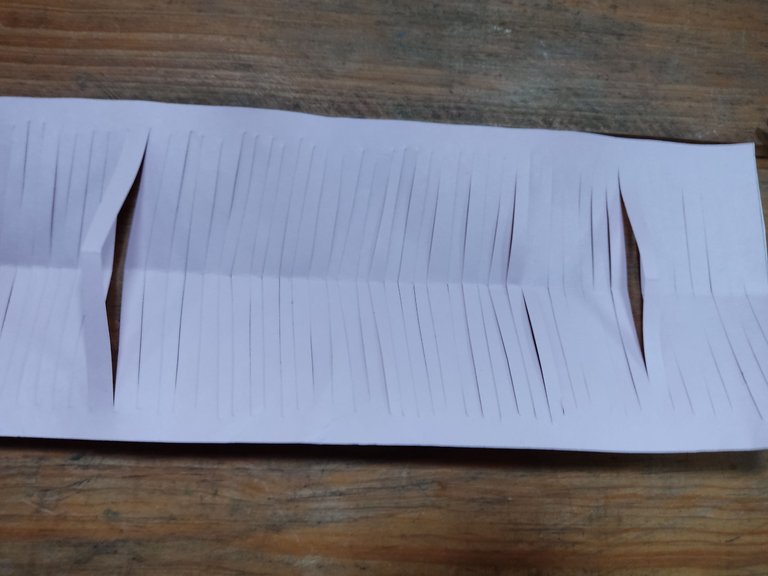
Al abrirla, la forma debe quedar así.
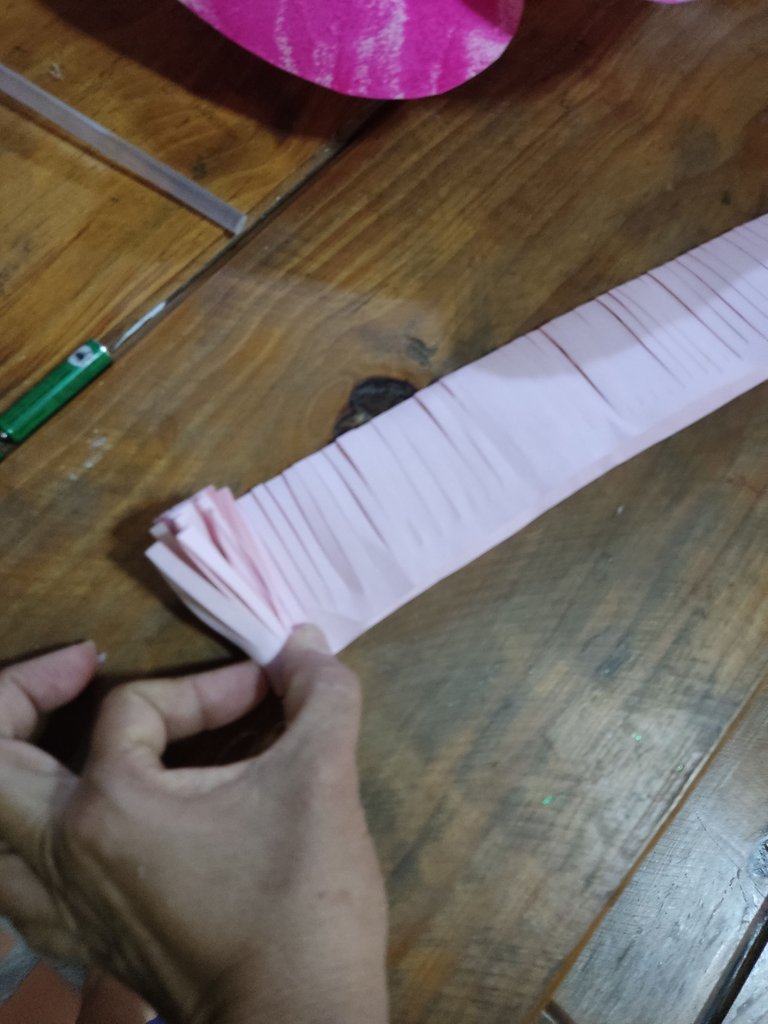
Procedemos a enrollarla con mucho cuidado pegando silicona con nuestra pistola de silicona, hasta terminar de enrollarla completamente.
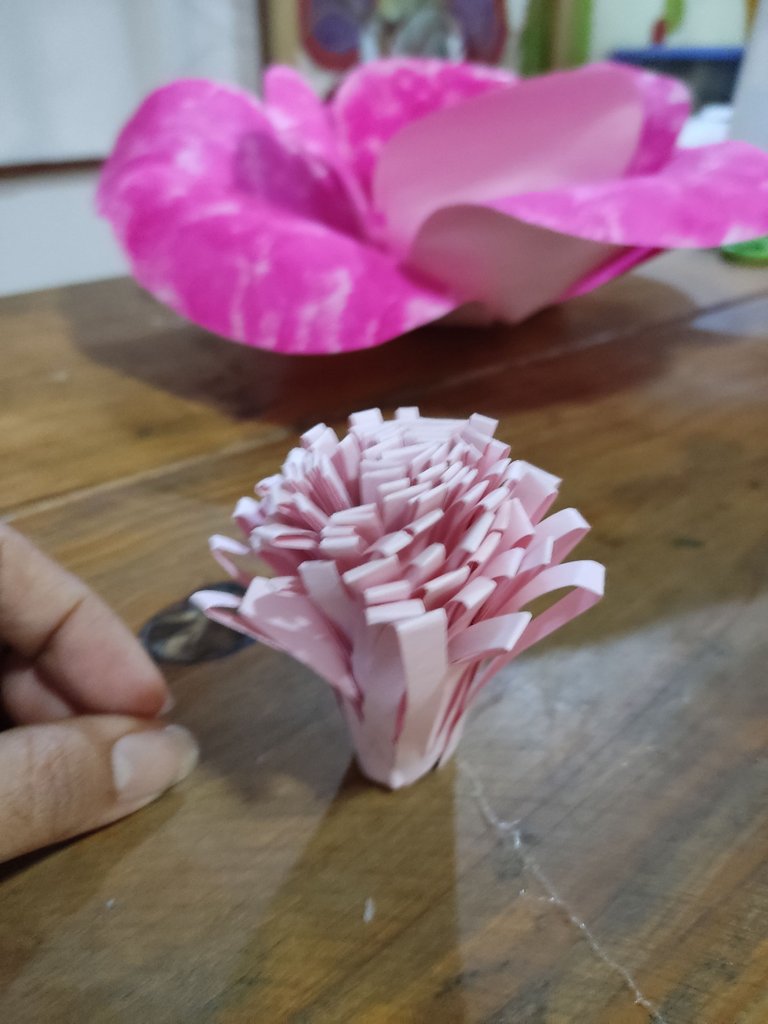
De esta forma tenemos nuestro pistilo o centro de la flor.
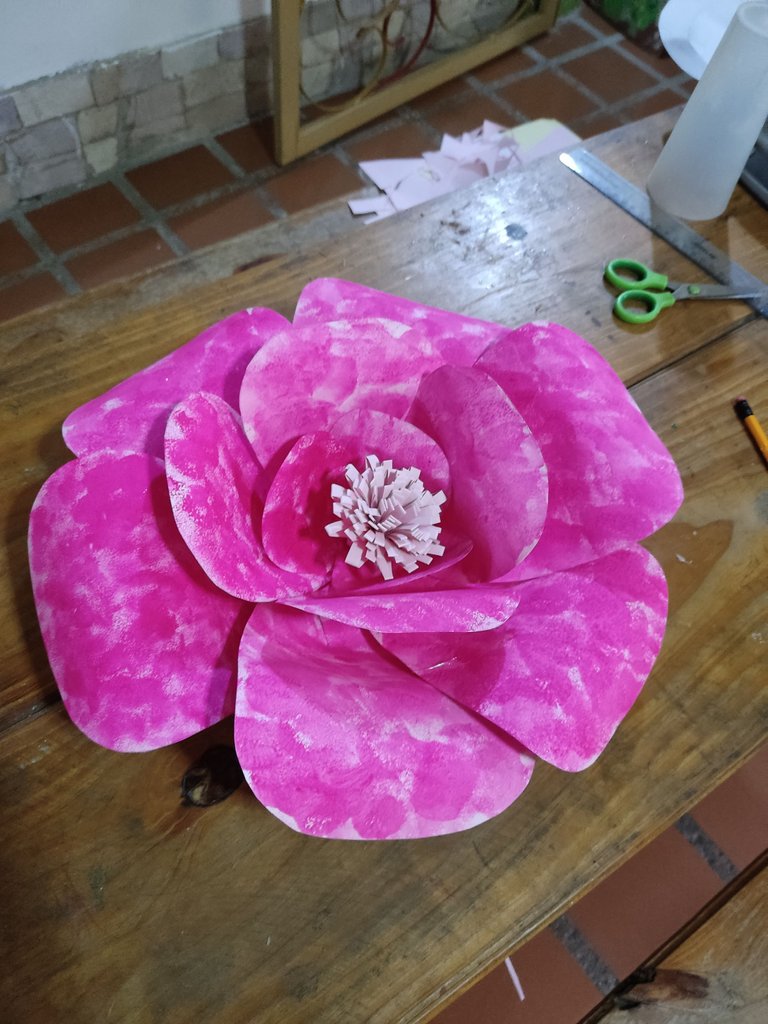
Procedemos a pegar el con abundante silicona en el centro de nuestra flor.
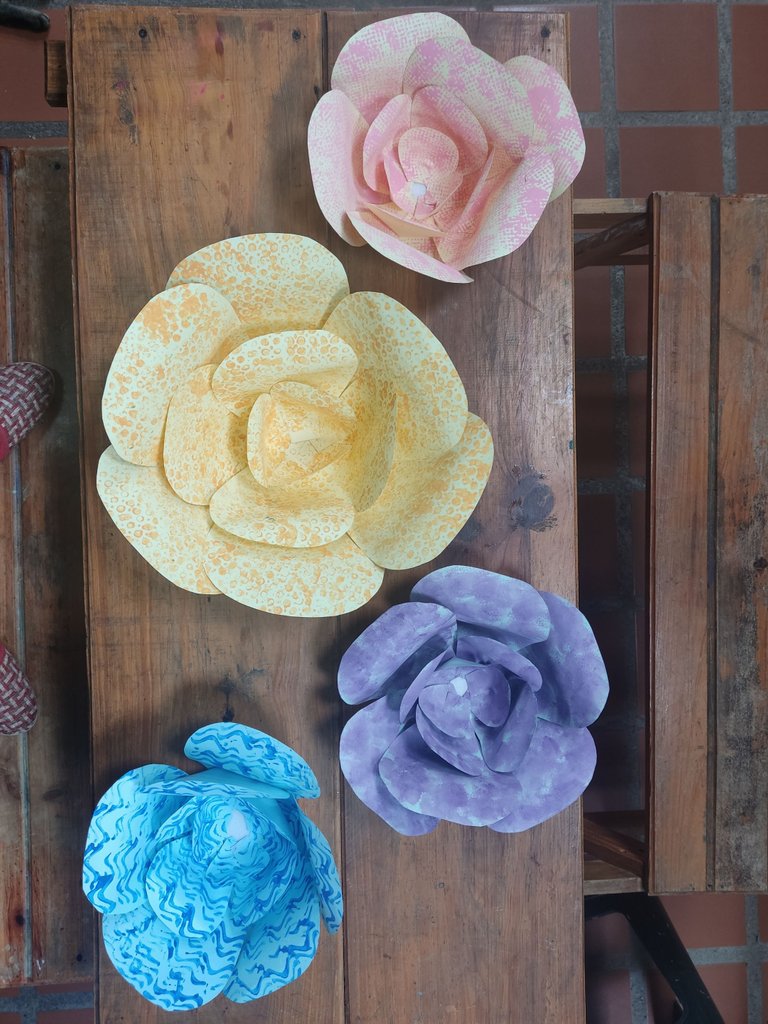
Ahora conociendo el proceso puedes hacer diferentes flores de distintos colores y tamaños, siguiendo la guía que te acabo de dar.
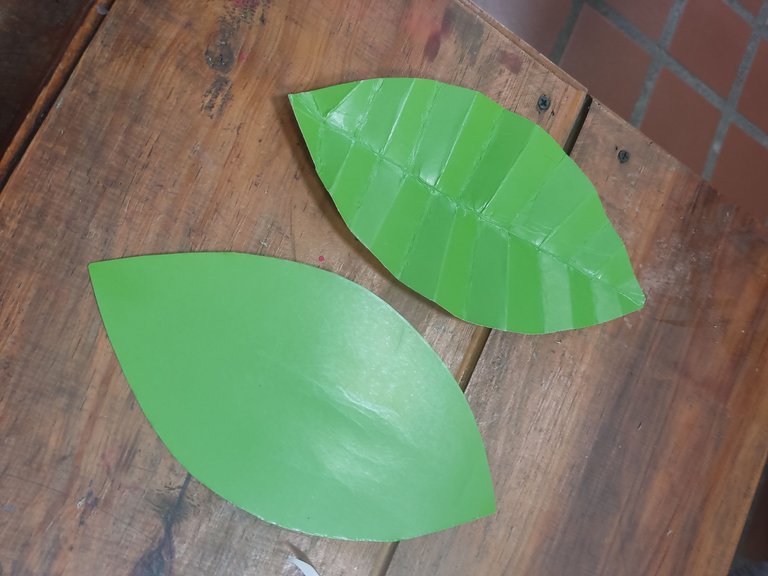
Para complementar el diseño haremos unas hojas que también pueden ser de cartulina.
Calcamos el diseño y lo recortamos.
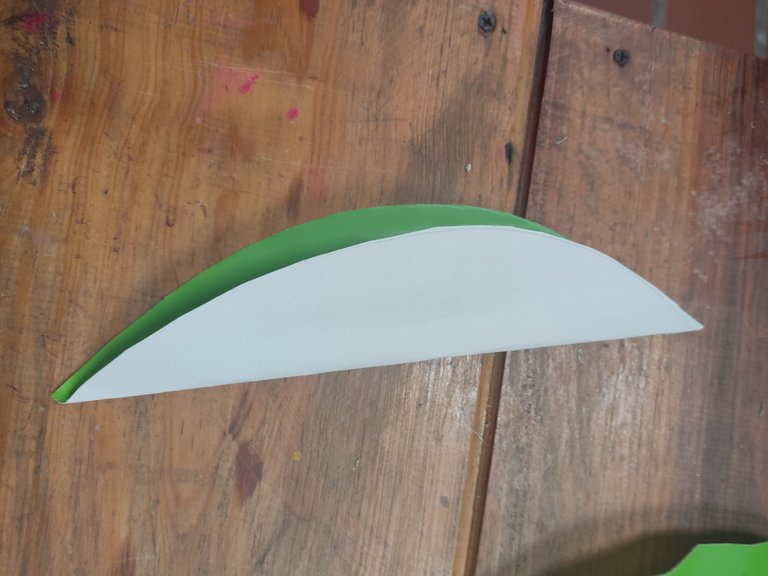
Para que nuestra flor sea vea más real la doblaremos por la mitad.
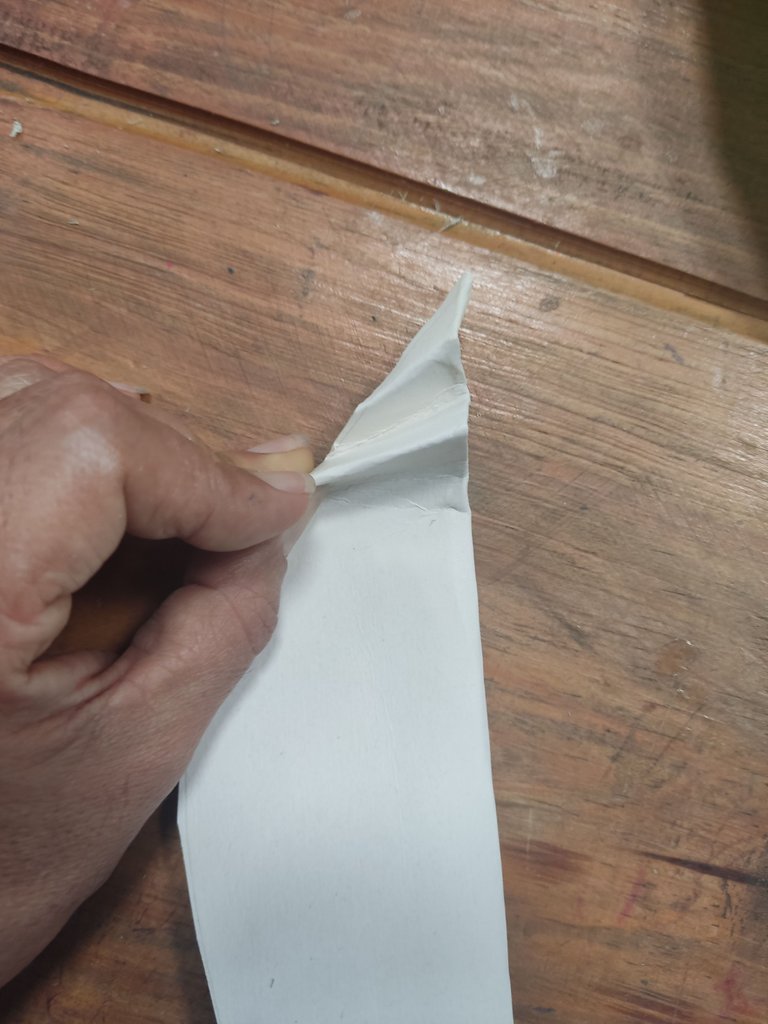
Y luego empezamos a hacer pliegues como si fuéramos a hacer un abanico y así le damos la forma a nuestra hoja.
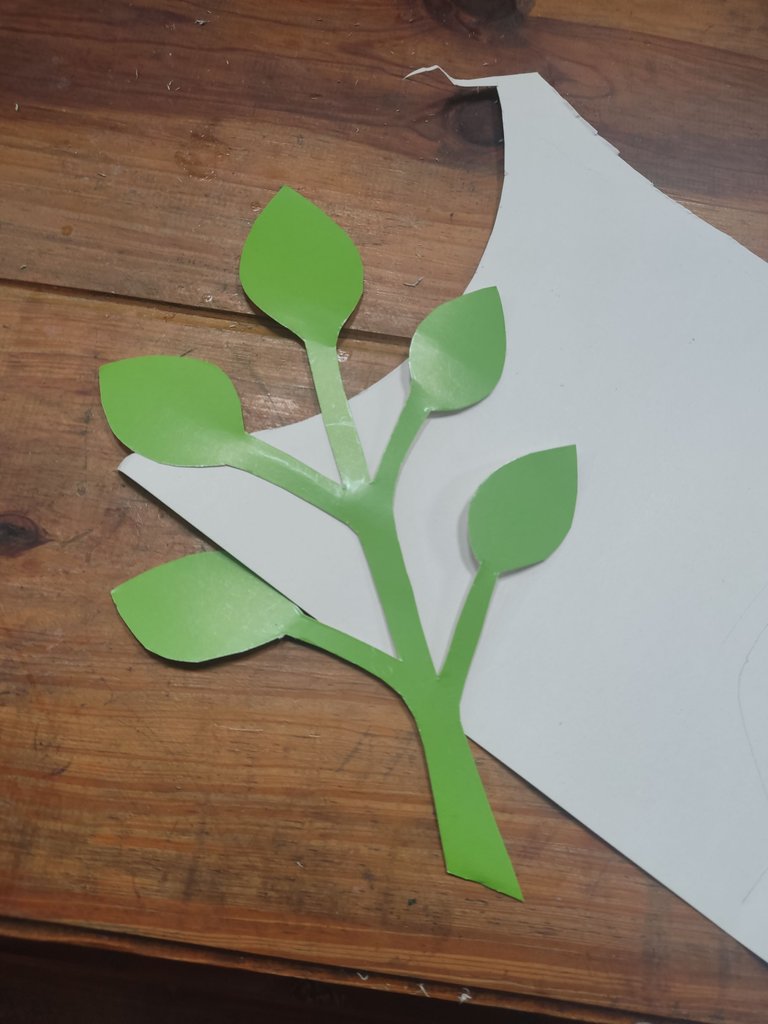
También podemos dibujar en la cartulina y recortar ramas para decorar nuestras flores.

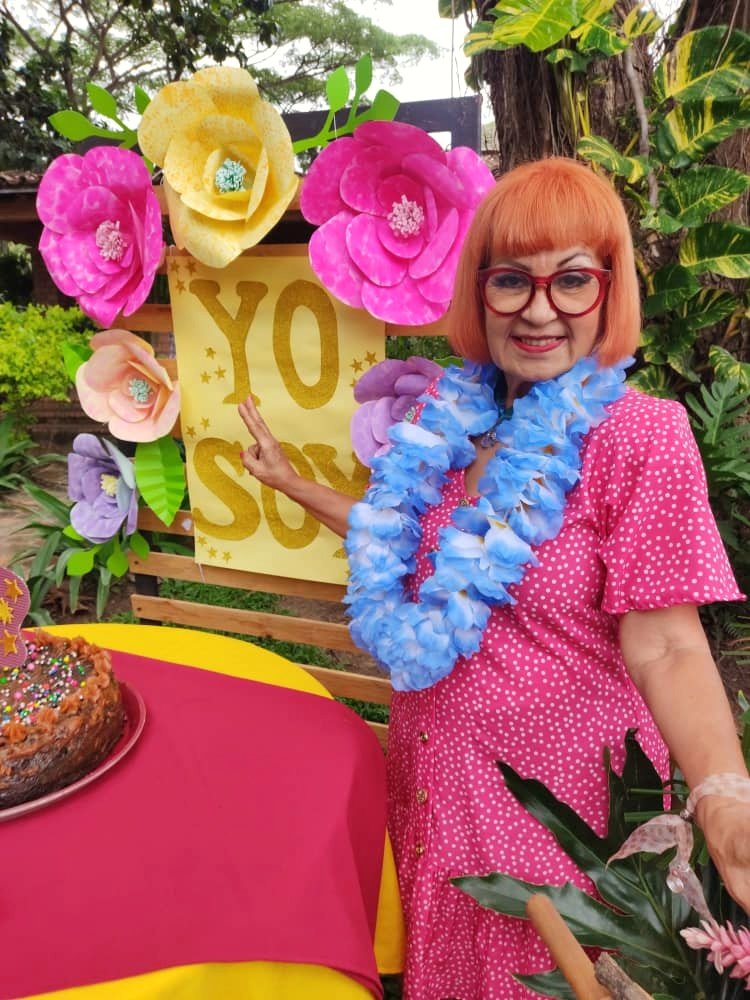
Y así cuando terminamos todas mis flores, las colocamos en un parabán y quedaron realmente hermosas.
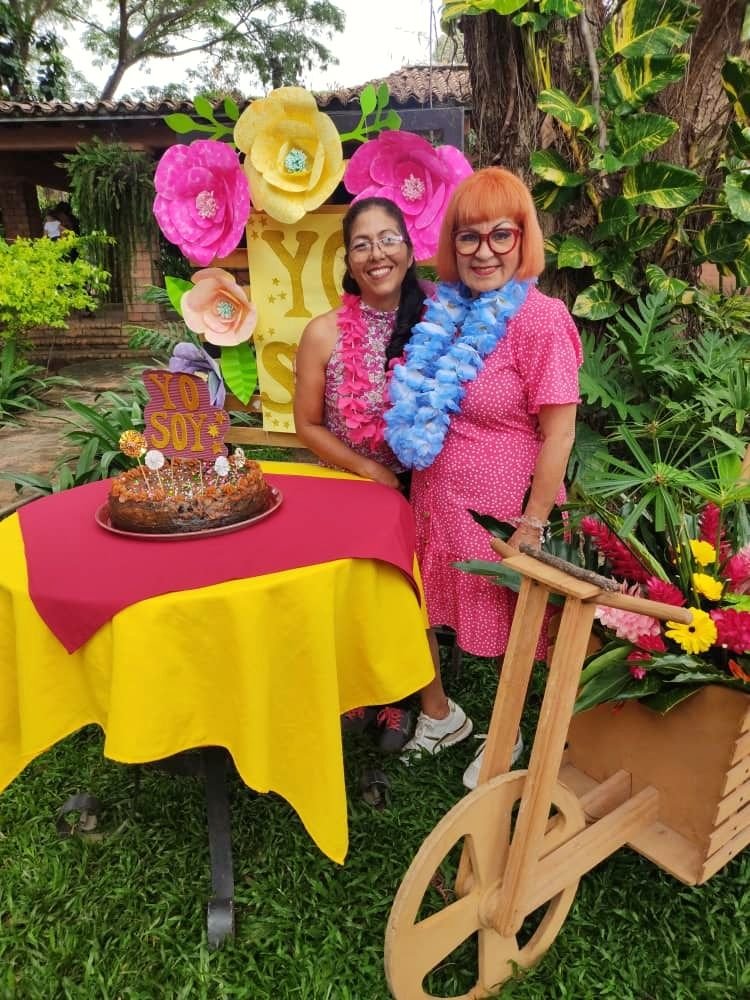
A mi mamá le encantó y fue un día maravilloso lleno de mucha naturaleza.
Los invito a realizarlas, espero les haya gustado.
Gracias por leer.

- Fotos tomadas por @aldara desde su telefonoRedmi.
- Recursos gratuitos utilizado de pixabay 1 .
- Imágenes editadas con photoshop
English Version
Greetings dear Community.
I bring you some beautiful flowers that you can make in cardboard for your celebrations or simply to decorate your spaces.
The occasion for which I made them was for the celebration of my mom's 77th Vuelta al Sol, which took place in a natural space, I thought it was ideal to decorate it with flowers.
This month in my country Venezuela is the month of flowers, it is the month when everything begins to bloom, so these flowers can symbolize that blooming and will be very useful for decorating.

- 1 sheet of colored cardboard.
- White sheet.
- Pencil or marker.
- Scissors.
- Silicon stick.
- Silicone gun.
- Cold paint (optional if you want to paint it).


We will start by making the molds, and for this we will use a sheet of letter size paper.

We fold it in half and cut it out.


One of the parts we fold it lengthwise and mark the shape of half of a petal.
With the remaining piece we fold it in half and mark the next medium petal.

We should be left with this shape when we open the leaf, which we will use as a mold to make all the petals.

Using a quarter of a leaf we fold in half and trace the smallest petal.

This way we will have three sizes of petals, one large, one medium and one small.

For convenience I used these molds and drew them on a cardboard to make them more resistant molds, so I used them to trace the different petals.

Now with the molds finished we proceed to take out six petals of the large size, four medium petals and 3 petals of the smallest size.

If you have a colored cardboard you can use it directly, I decided to paint it using a sponge with a cold paint color.

As a base to place the petals you can use a cardboard, I used an anime plate, and cut out a circumference of approximately 10 cm in diameter.

We use a paper clip and place it in the shape of a hook, we attach it by gluing a piece of cardboard on the cardboard or anime circle.

We draw a 7 cm line on the large petals.To the medium petals a line of 4cm and to the small petals 2cm.

Then we cut it out.


We fold the tip making a kind of cylinder with the hand to give the shape of the petal.

Then we proceed to glue the union thus obtaining the shape of the petal.

Once we have glued all the tips and we have given the shape of the petal, we proceed to glue it in the circumference that we have previously prepared.

We start gluing until we finish our six petals at the base.

We continue by placing the next layer of four petals.

And finally we glue the three small petals.


To make the pistil in the center we take a strip of cardboard about 60 cm for this large flower, and 15 cm wide. We fold it in half and proceed to make cuts in line without going all the way down.

When we open it, the shape should look like this.

We proceed to roll it very carefully sticking silicone with our silicone gun, until we finish rolling it completely.

In this way we have our pistil or center of the flower.

We proceed to glue the with abundant silicone in the center of our flower.

Now knowing the process you can make different flowers of different colors and sizes, following the guide I just gave you.

To complement the design we will make some leaves that can also be made of cardboard.
We trace the design and cut it out.

To make our flower more real we will fold it in half.

And then we begin to make folds as if we were going to make a fan and thus we give the shape to our leaf.

We can also draw on the cardboard and cut out branches to decorate our flowers.


And so when we finished all my flowers, we placed them in a paraban and they were really beautiful.

My mom loved it and it was a wonderful day filled with lots of nature.
I invite you to make them, I hope you liked them.
Thanks for reading.


