Hello everyone,it is another beautiful day on the land of living and I hope you're all having a great day and fantastic week. I decide to share with us all today on how I did the maintenance of my kitchen sink.
My wife have been complaining about the issue of the kitchen sink to me for some time but I will just tell her that I would do it because that is my job, you can check my, am a professional plumber.
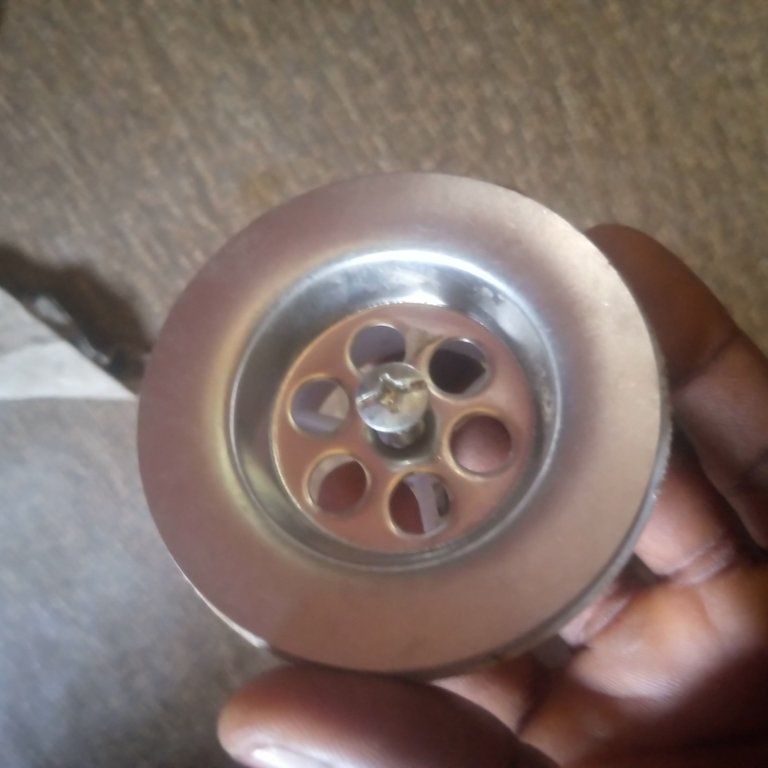
So today, I was less busy and I decide to work in the kitchen today and mainly on the kitchen sink which have been leaking water for some time. When I checked what maybe the caused, the I noticed that the union waste is old and rusted. Union waste is the thing that connects the kitchen sink to the water passage for easy flow. So I realized that the only solution is for me to change it since it is beyond repairing.
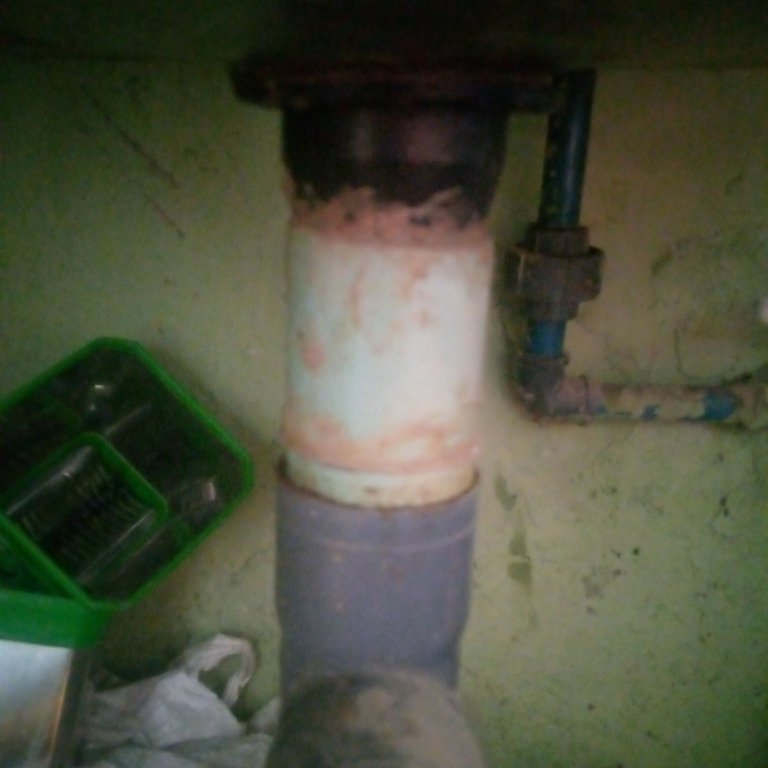
I checked where I used to store my tools and some materials and I discovered that I have what I needed and that will save my cost and stress.
I get the needed equipment needed down and here are the list
• Union waste
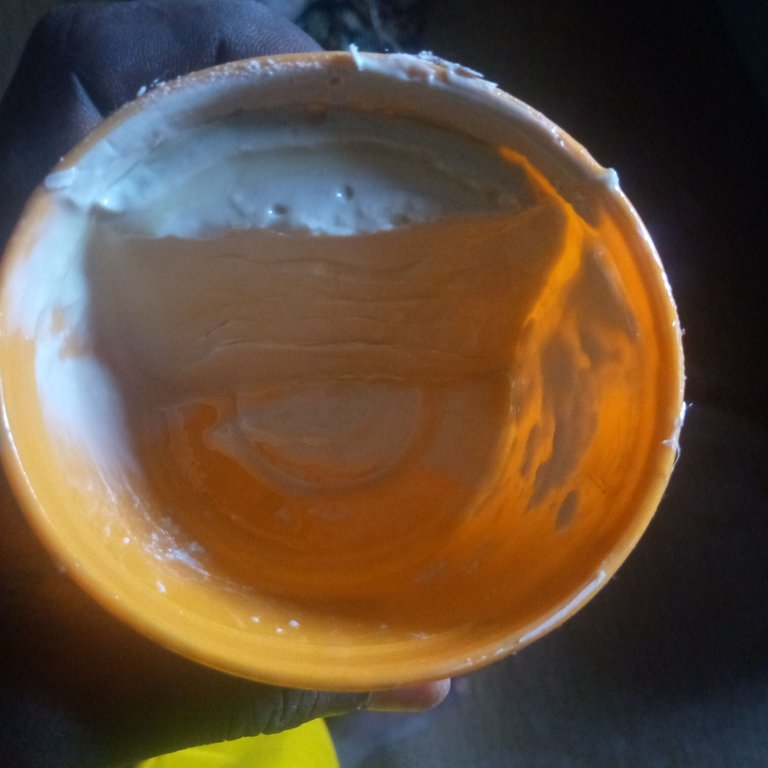
• Plumber's putty
• screw driver
• Gum
Here are the steps taking
The first thing I did was to removed the old union waste by unbolting it out and clean the surface of the kitchen sink
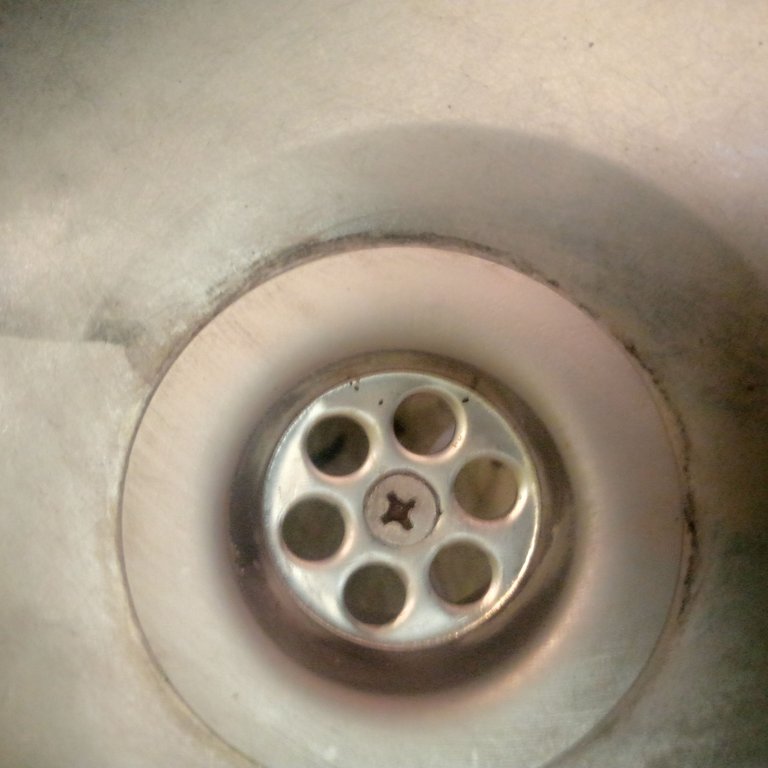
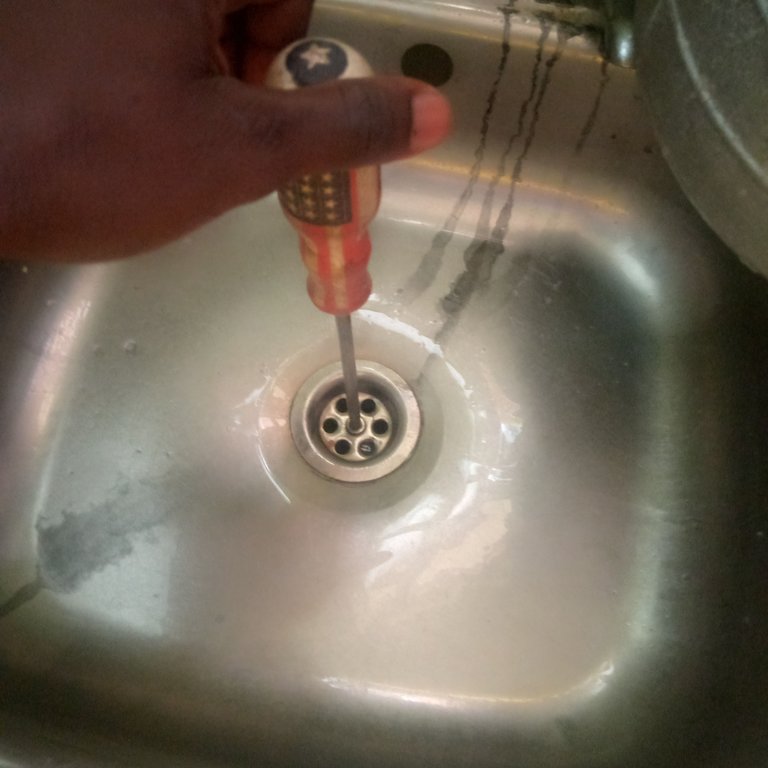
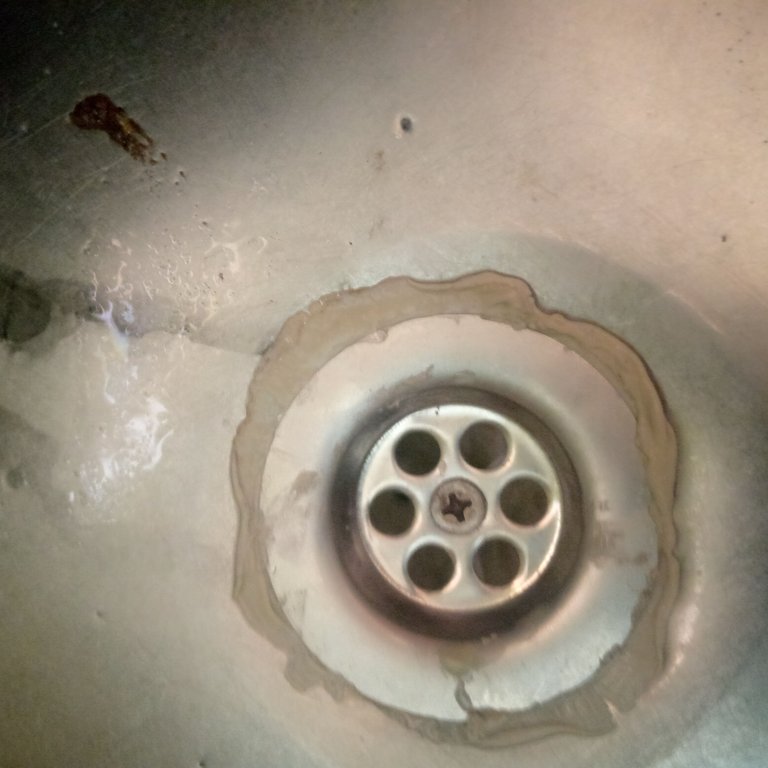
I applied the plumber's putty to the zinc part of the Union waste to cover any hole that may show up and it will help to prevent any present or subsequent water leakages.
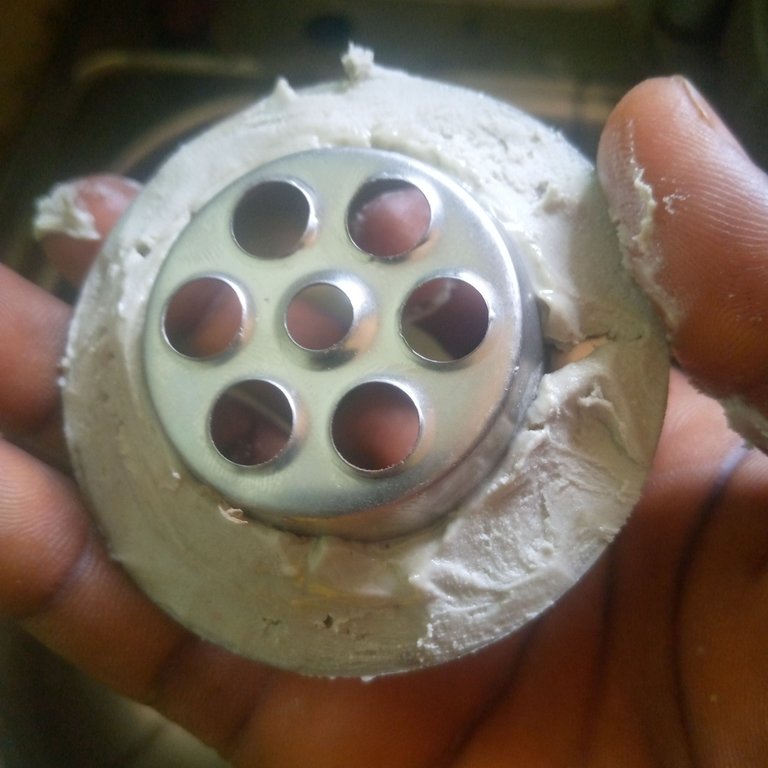
The next thing is to fix the new union waste to the kitchen but before I go on, I will like to explain how that works. Union waste is the intermediary that is used to cover the hole on the kitchen sink and also connect the kitchen sink to the pipe water passage which enable easy water flow.
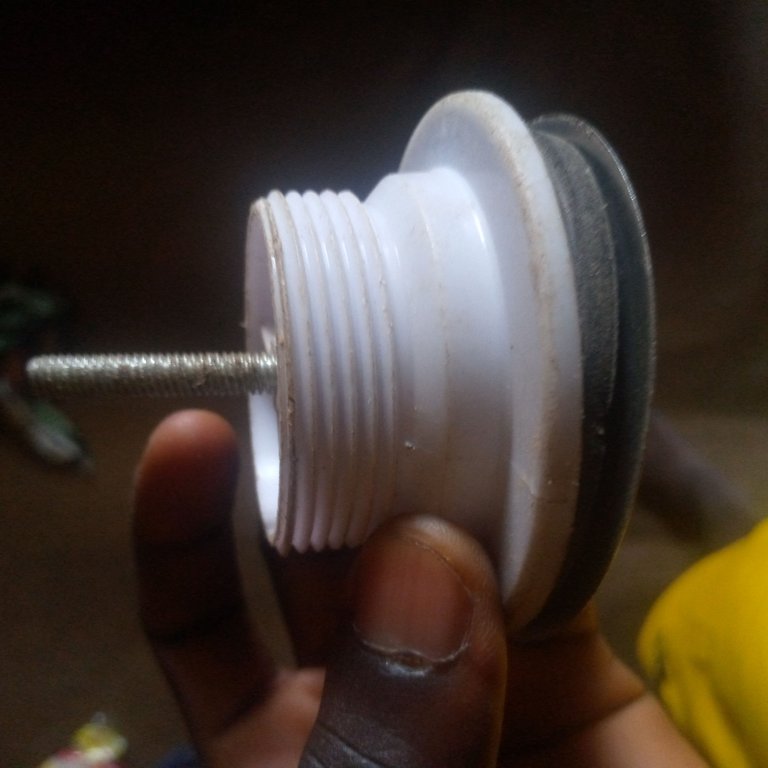
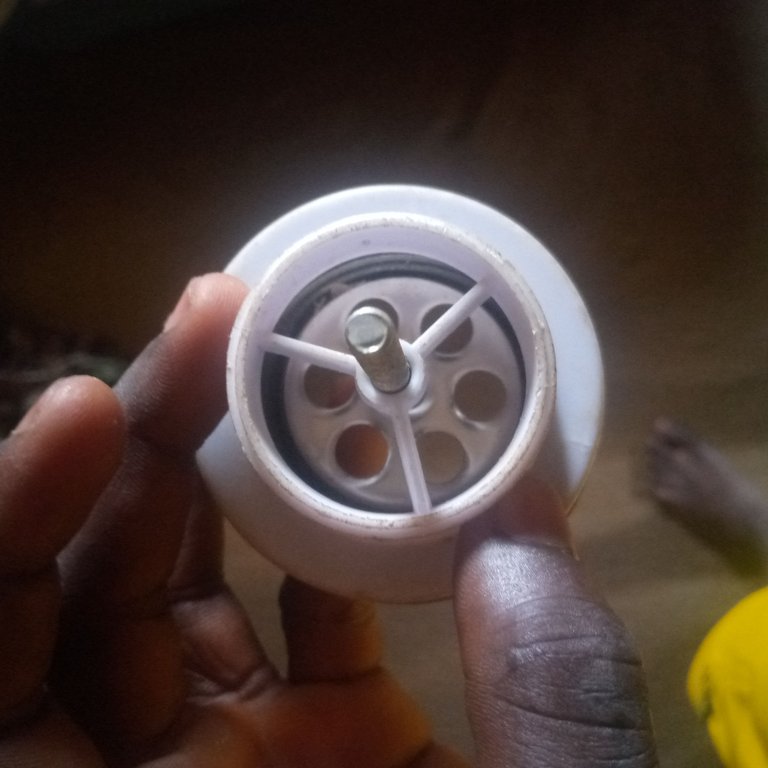
Union waste have two part, even though there are different types of union waste. It has the the upper part which is the iron part where one will apply the plumber's putty round the tip. And the lower part which will be placed below the kitchen sink and a screw will be used to fixed them together.
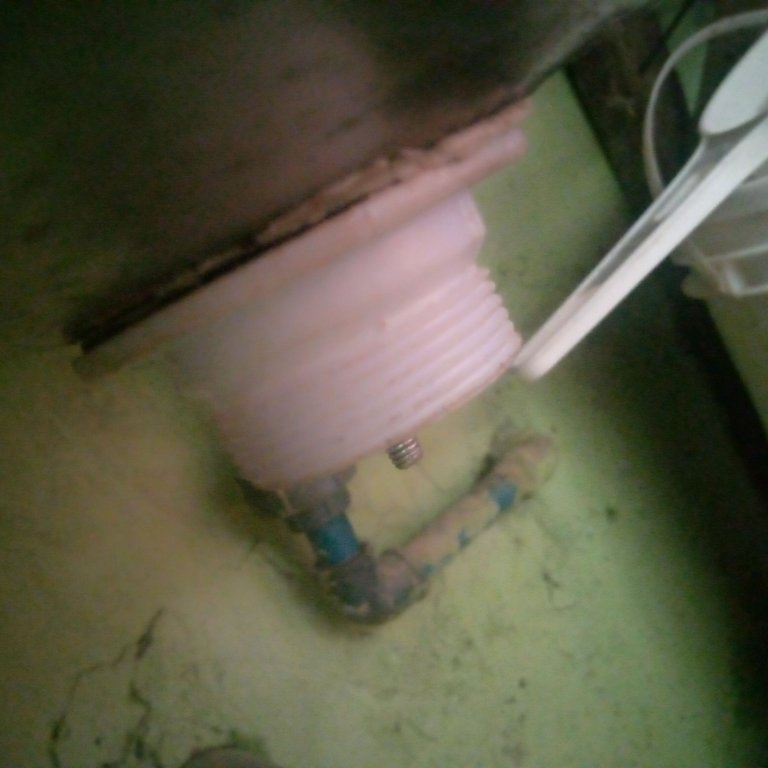
After I make sure that I applied the plumber's putty and bolt it together very well then the job is nearly done.
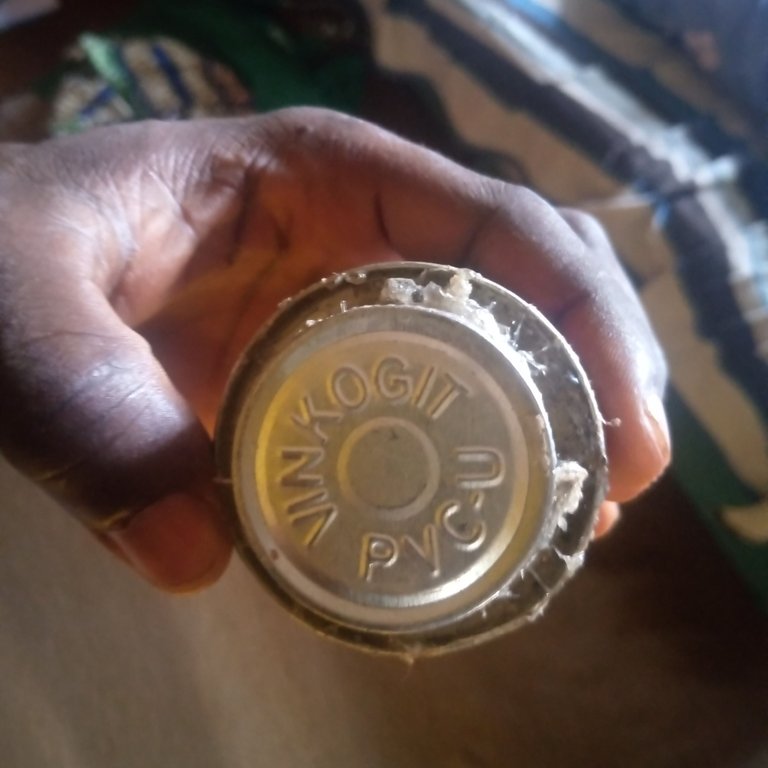
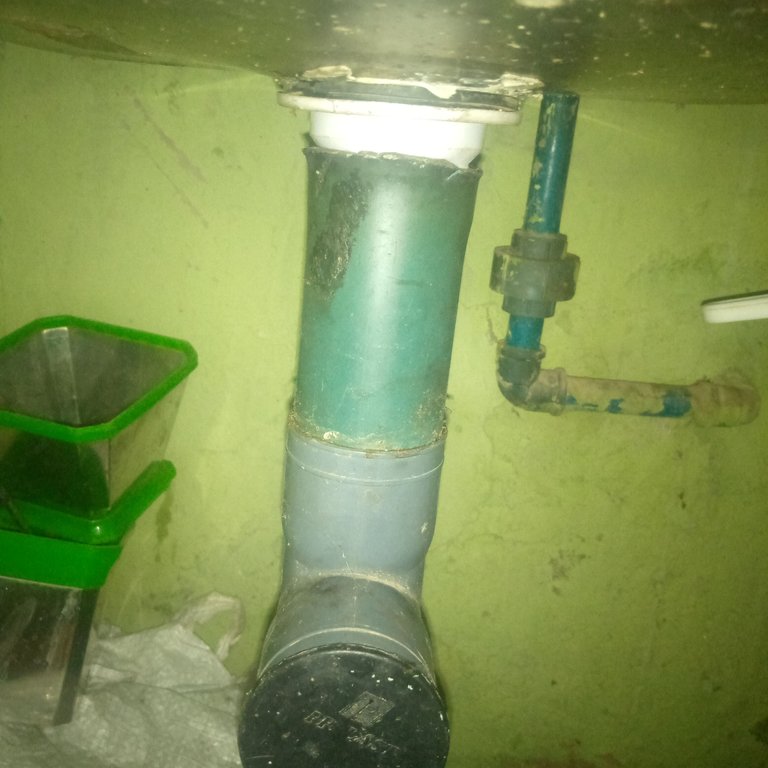
The pipe removed underneath the sink,I make sure I applied gum on each of the angle before fixing it back to prevent any water leakages under the kitchen sink.
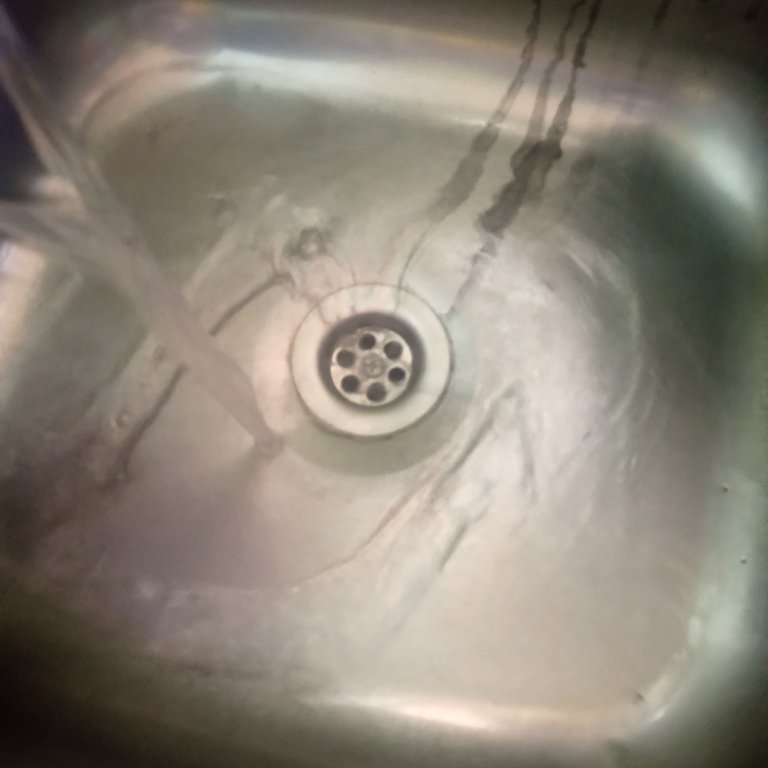
Then to make sure that I have done a nice job, I poured like two bowl of water inside the kitchen sink to confirm if there is any water leakages and realized that there is no such which means am done and I have did a good job.
Thanks for visiting my blog and have a wonderful day
I really appreciate your upvote and support
@twicejoy cares ♥️♥️♥️


