Making an Andean Bombo
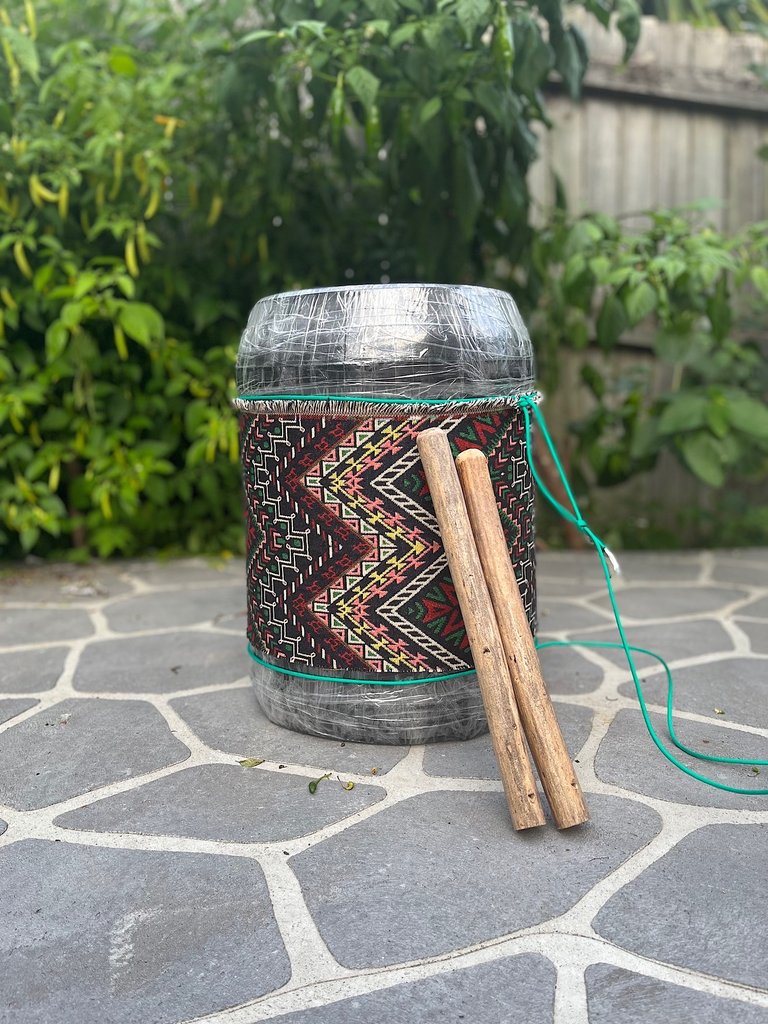
Since I'm making native flutes including Andean Quenas and Quenachos, I thought I'd make an Andean style drum called Bombo to add some percussions to my recordings. Luckily, while driving to my auntie's, I noticed a dirty black plastic barrel on the curbside for council collection. I brought it back home, thoroughly cleaned it and sun dried it before cutting the bottom off.
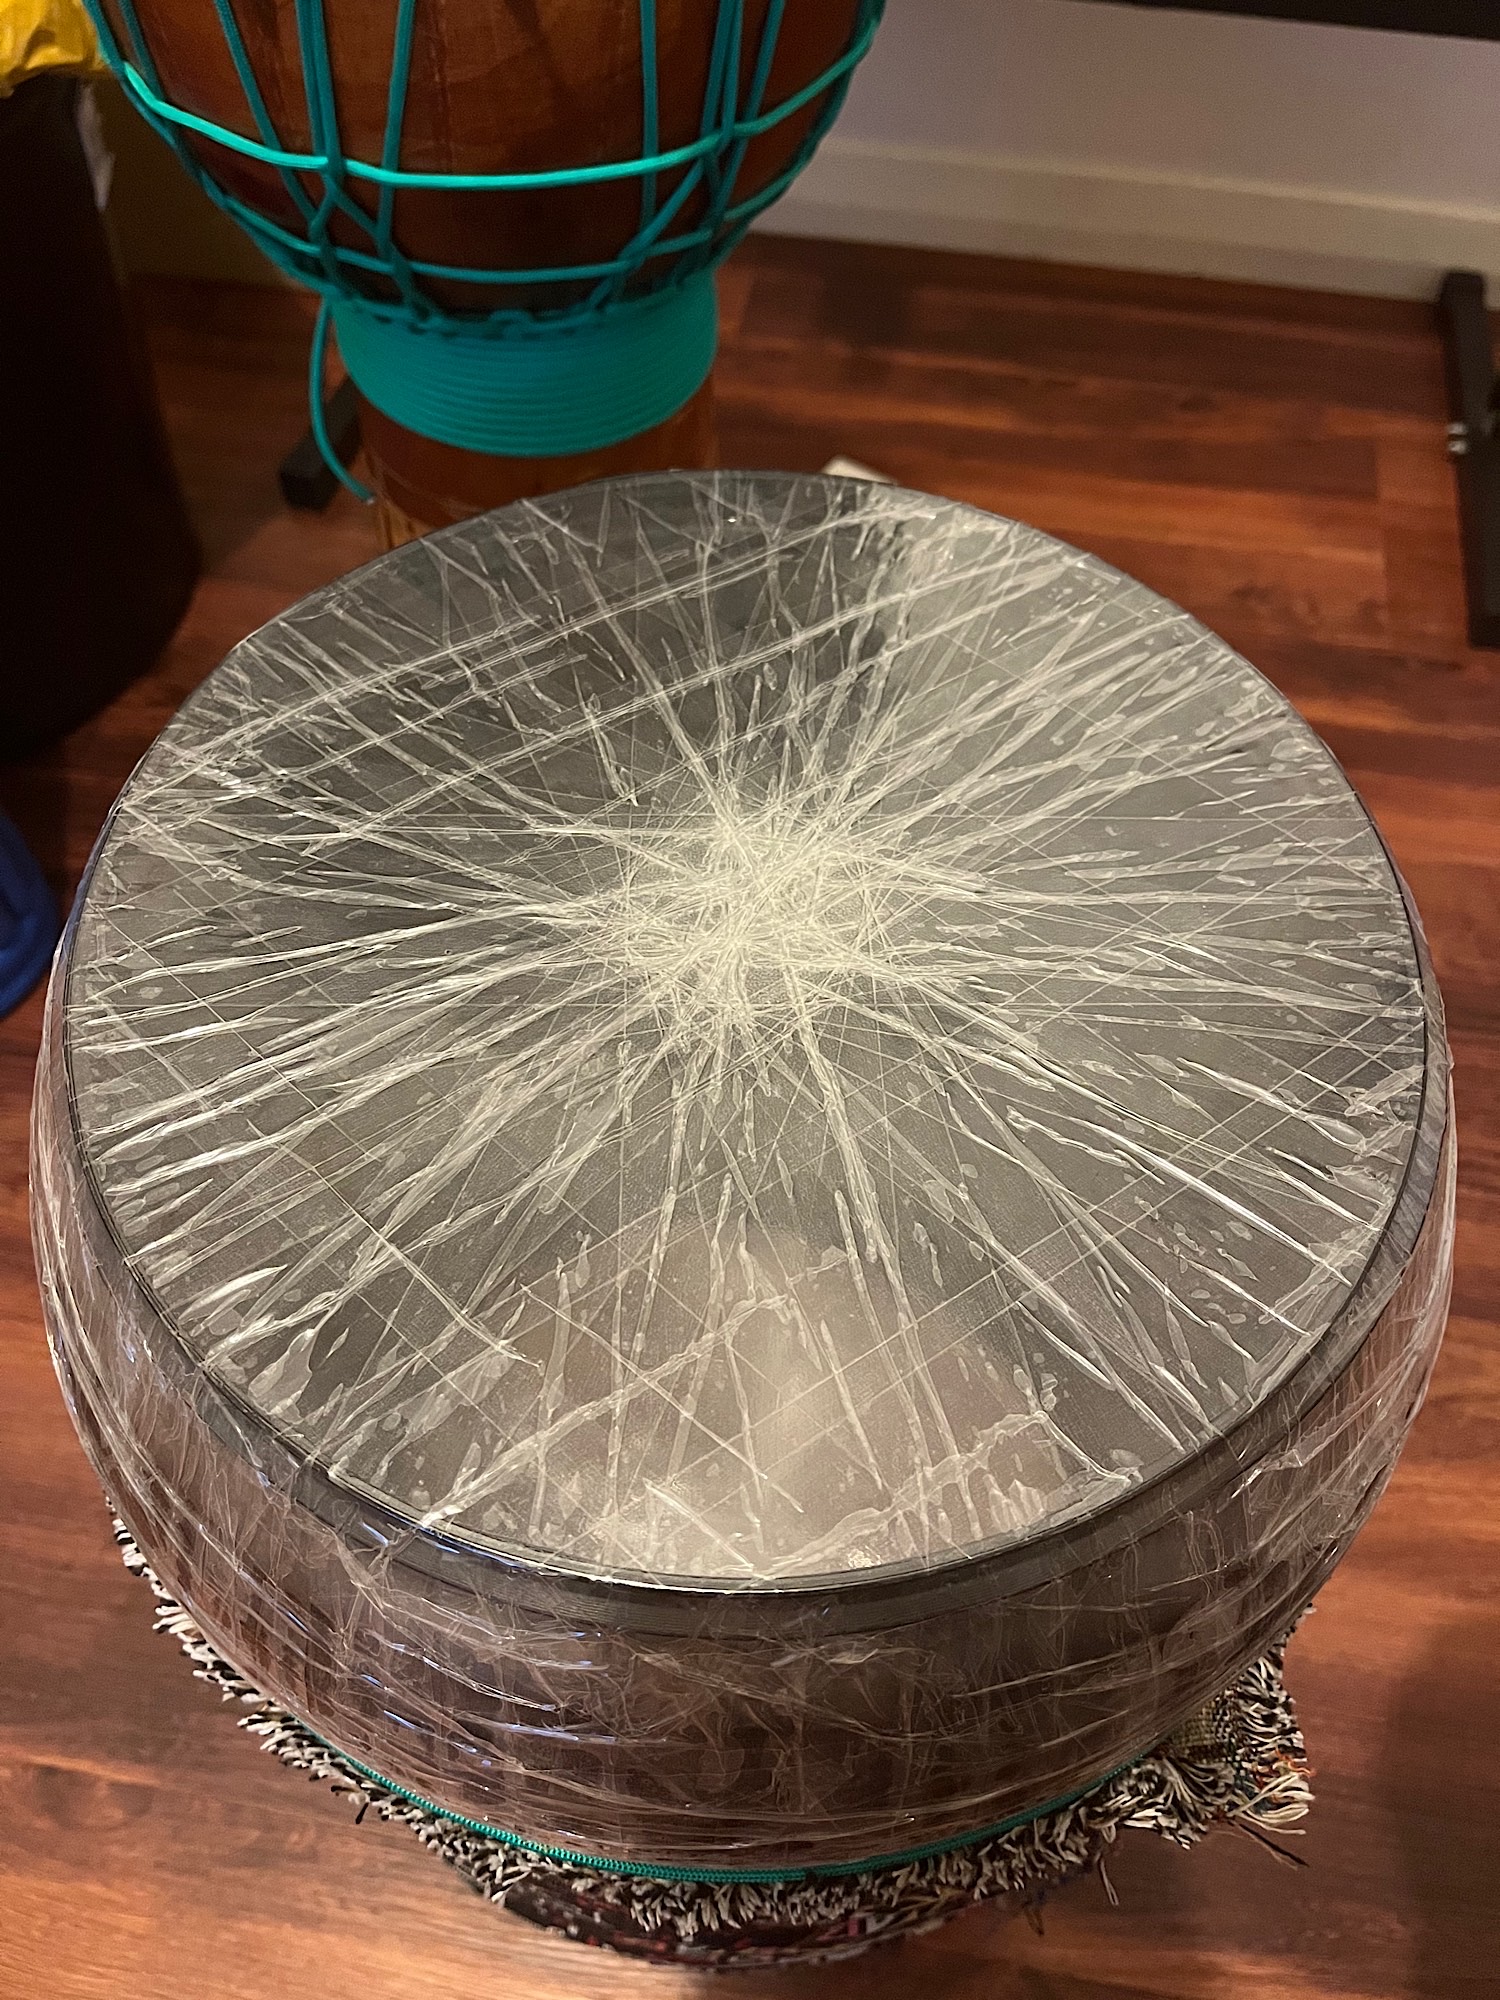
For the drum skin, I used packing tape and stretched several layers of it on each end following similar instructions to the following tutorial video found on Youtube:
The end result does not look pretty as a single sheet drum skin but it works fine and is very cheap.
Once both sides were taped, I added some decoration using an off-cut of fabric I used to make flute bags and attached a piece of green paracord to hold it over my neck (it's very lightweight). The drum sticks are made from the stalk of a "Kangaroo tail" collected during my hiking session in the bush.
Repairing a broken Djembe
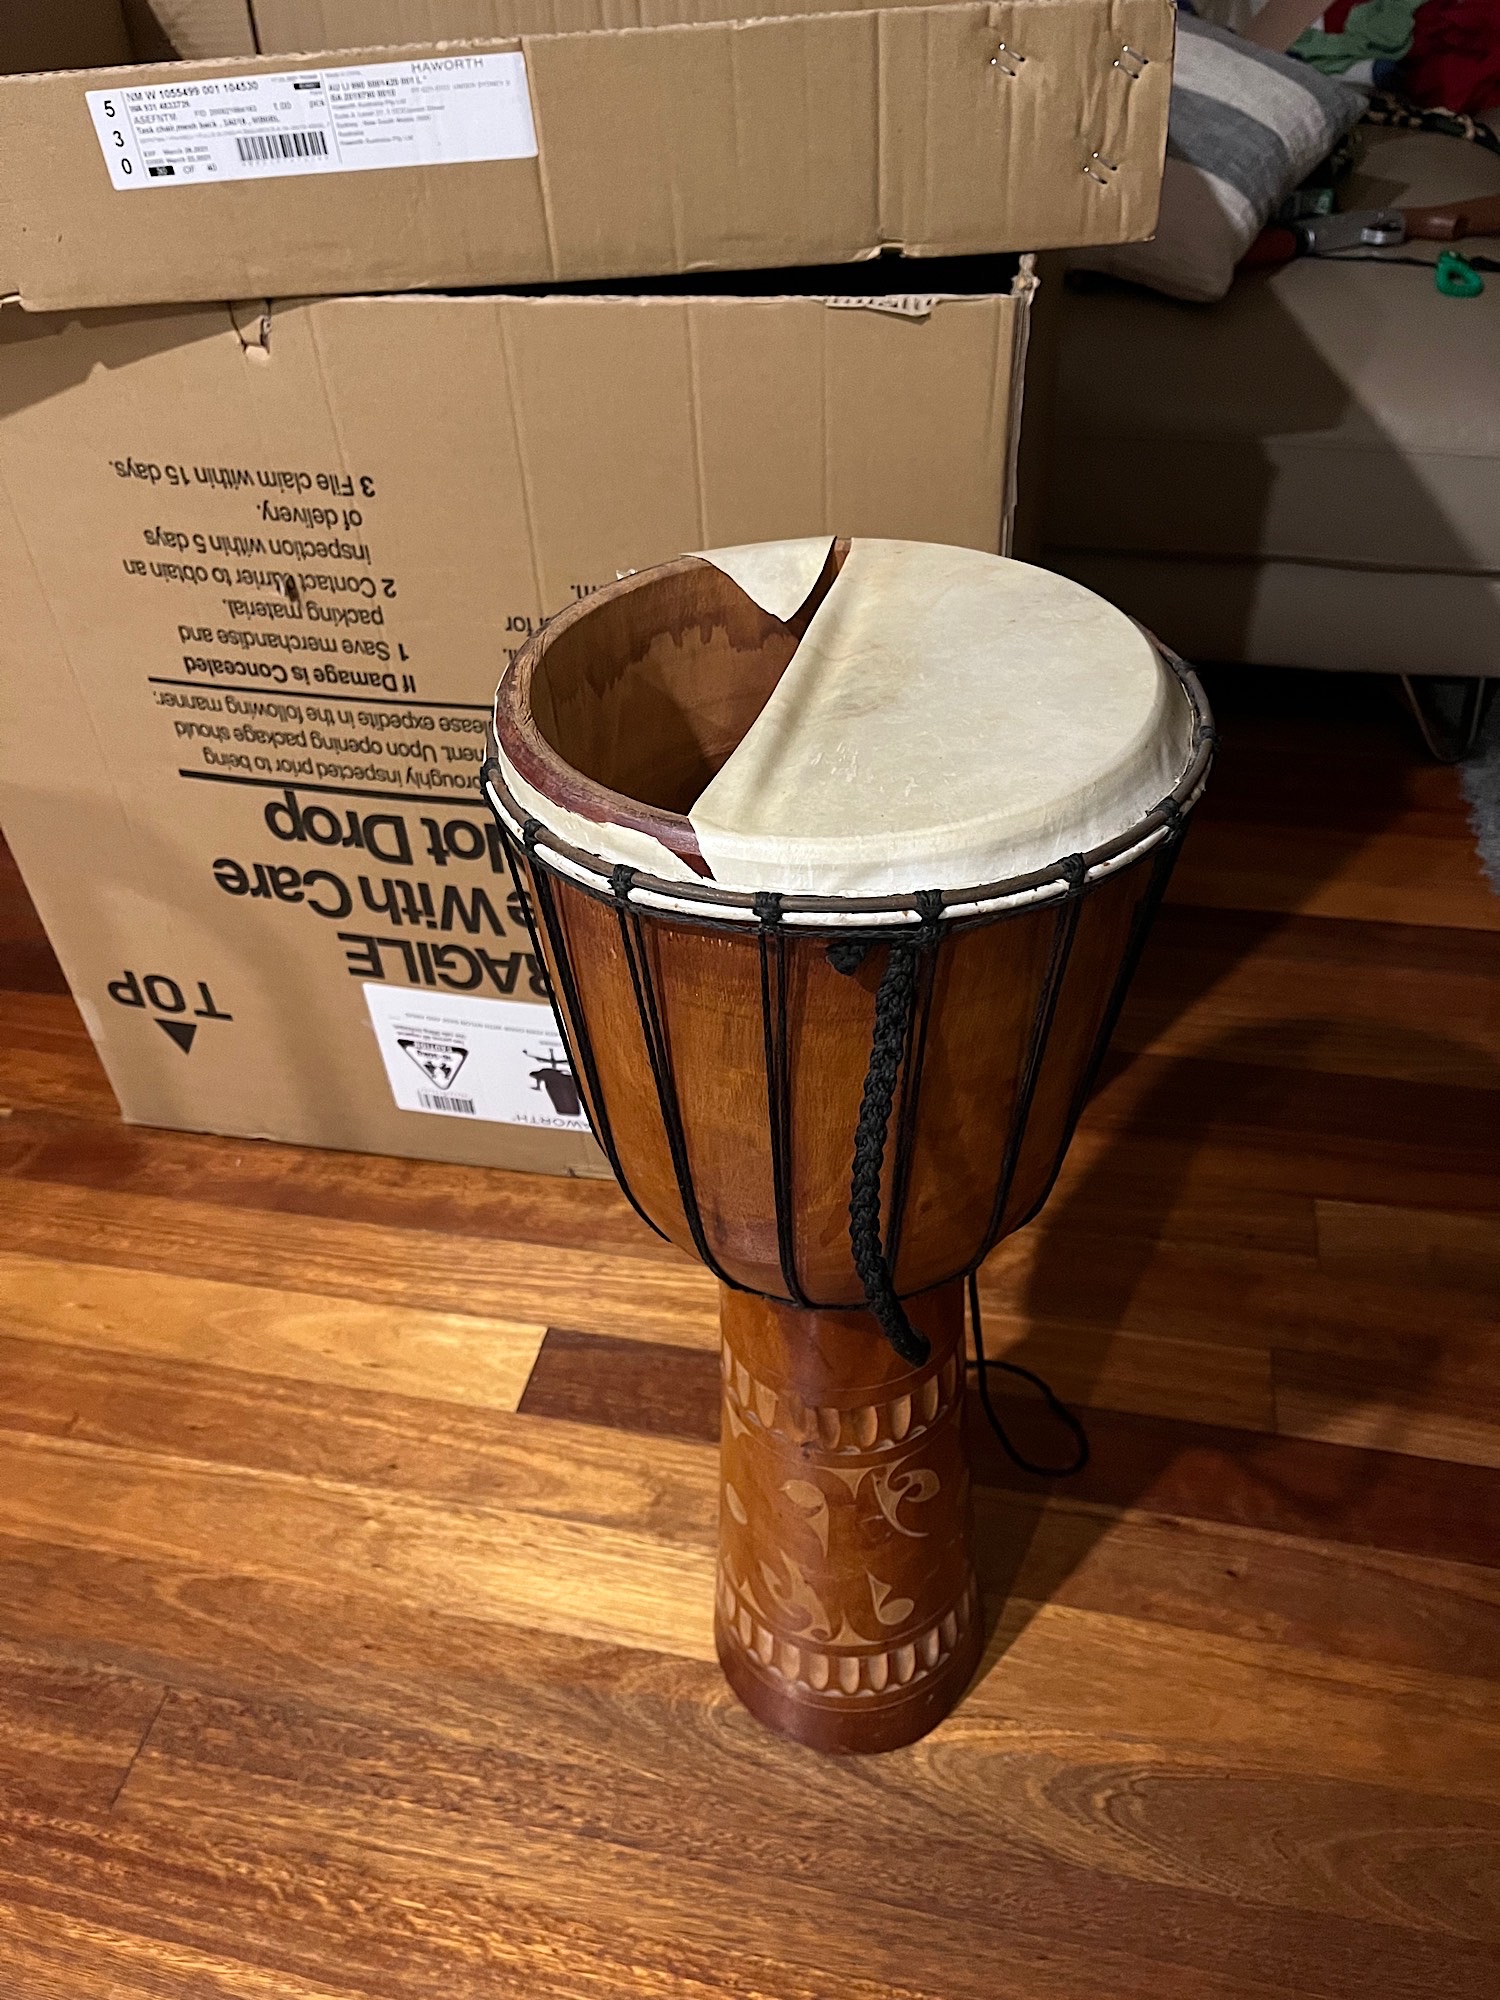
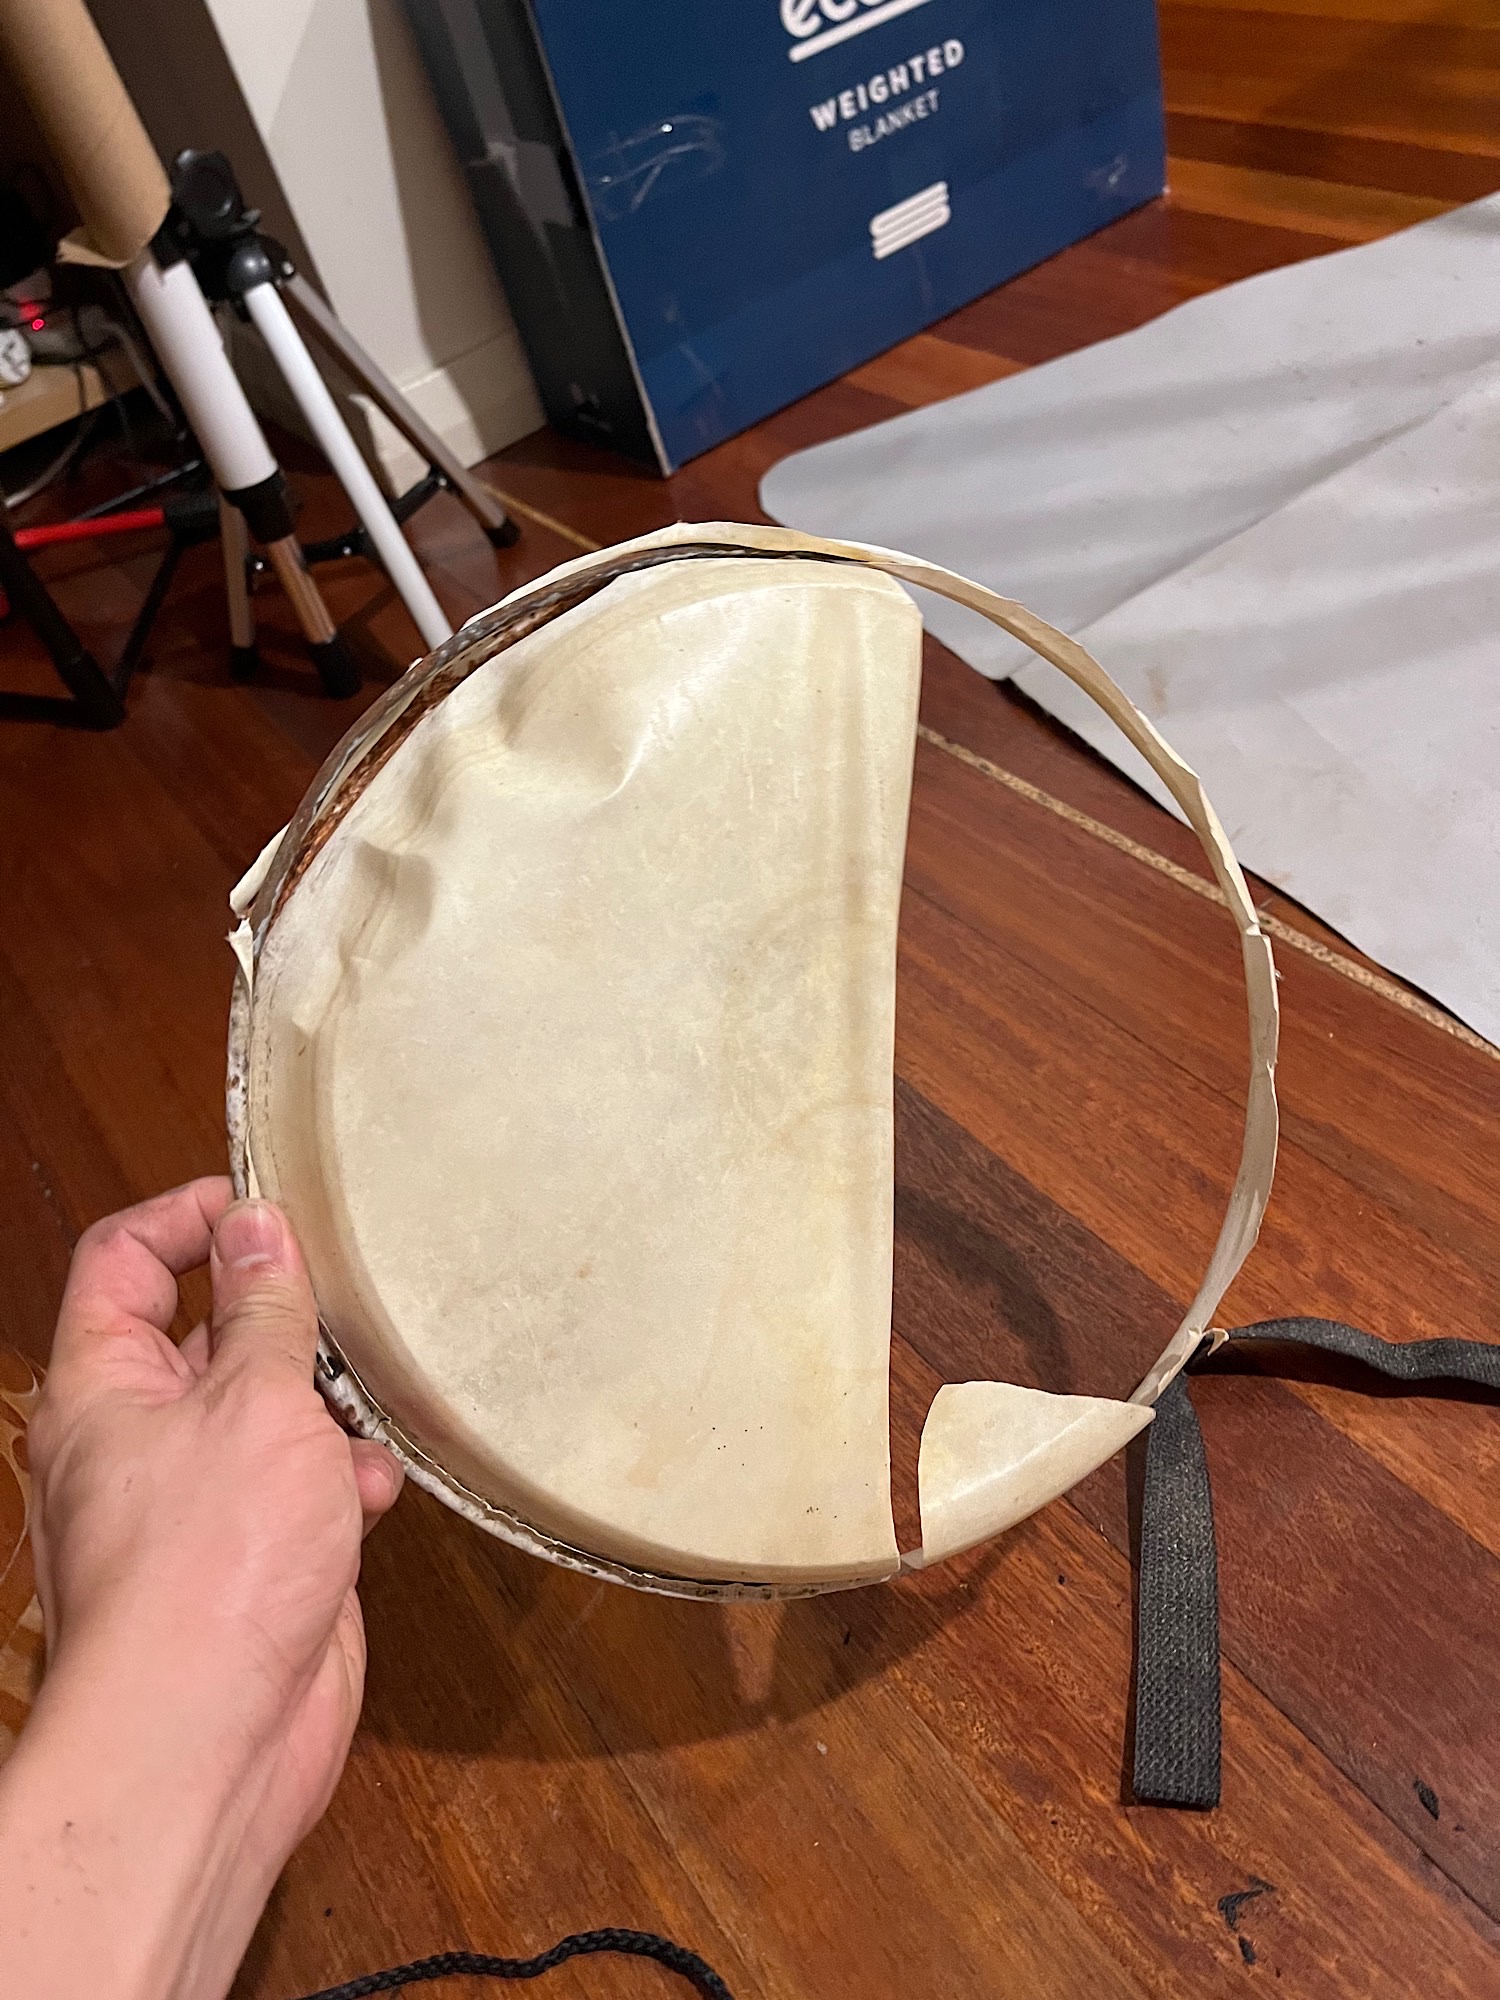
Few days after making the Bombo, someone on Facebook Marketplace offered a Djembe for free. It had a torn off drum head (skin). I decided to take it and try to repair it. I could fix it using the packing tape method but a djembe usually have the skin much tighter than a Bombo so that it produces higher harmonic frequencies so I decided to do it the hard way.
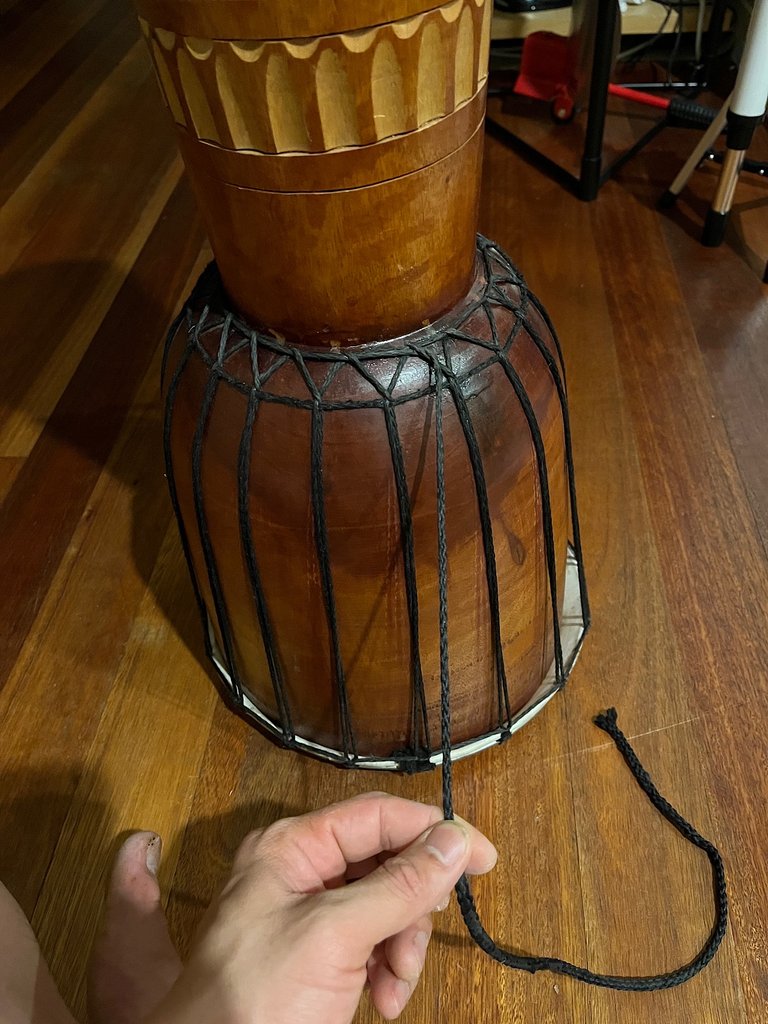
I started to untie and loosen the ropes around the body of the Djembe. They are used to hold the drum head in place and tighten it to adjust the tone. As I loosen the rope, I noticed it was pretty dirty and dusty so I saved time by just cutting it off into pieces.
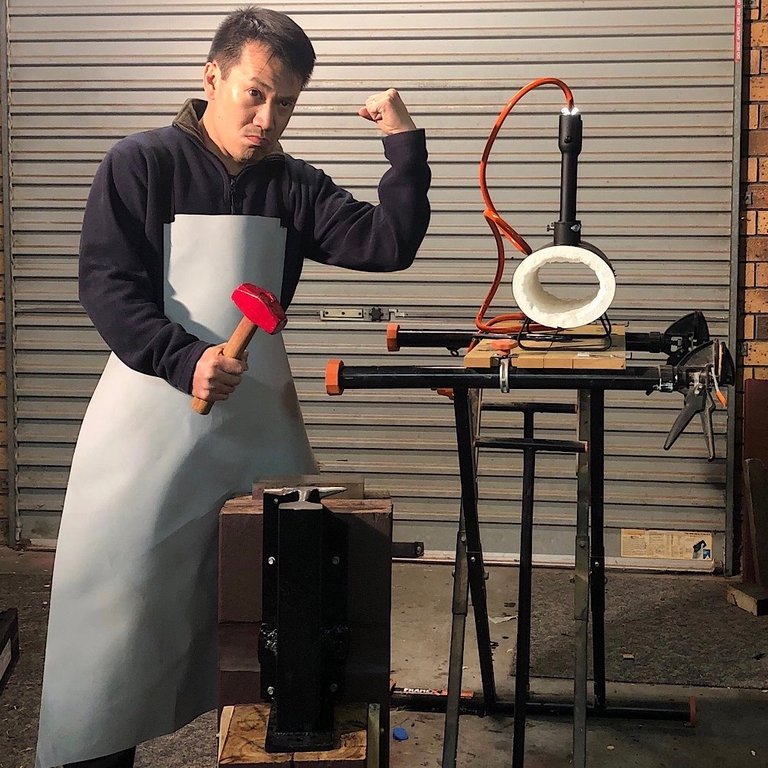
The rope off, the drum head is now free, I removed the skin from it's metal ring and put the ring aside for the new skin. I didn't have any real leather or animal hide and was looking for something I could re-use. In the end I remembered I had that blacksmith apron I made from an old punching bag:
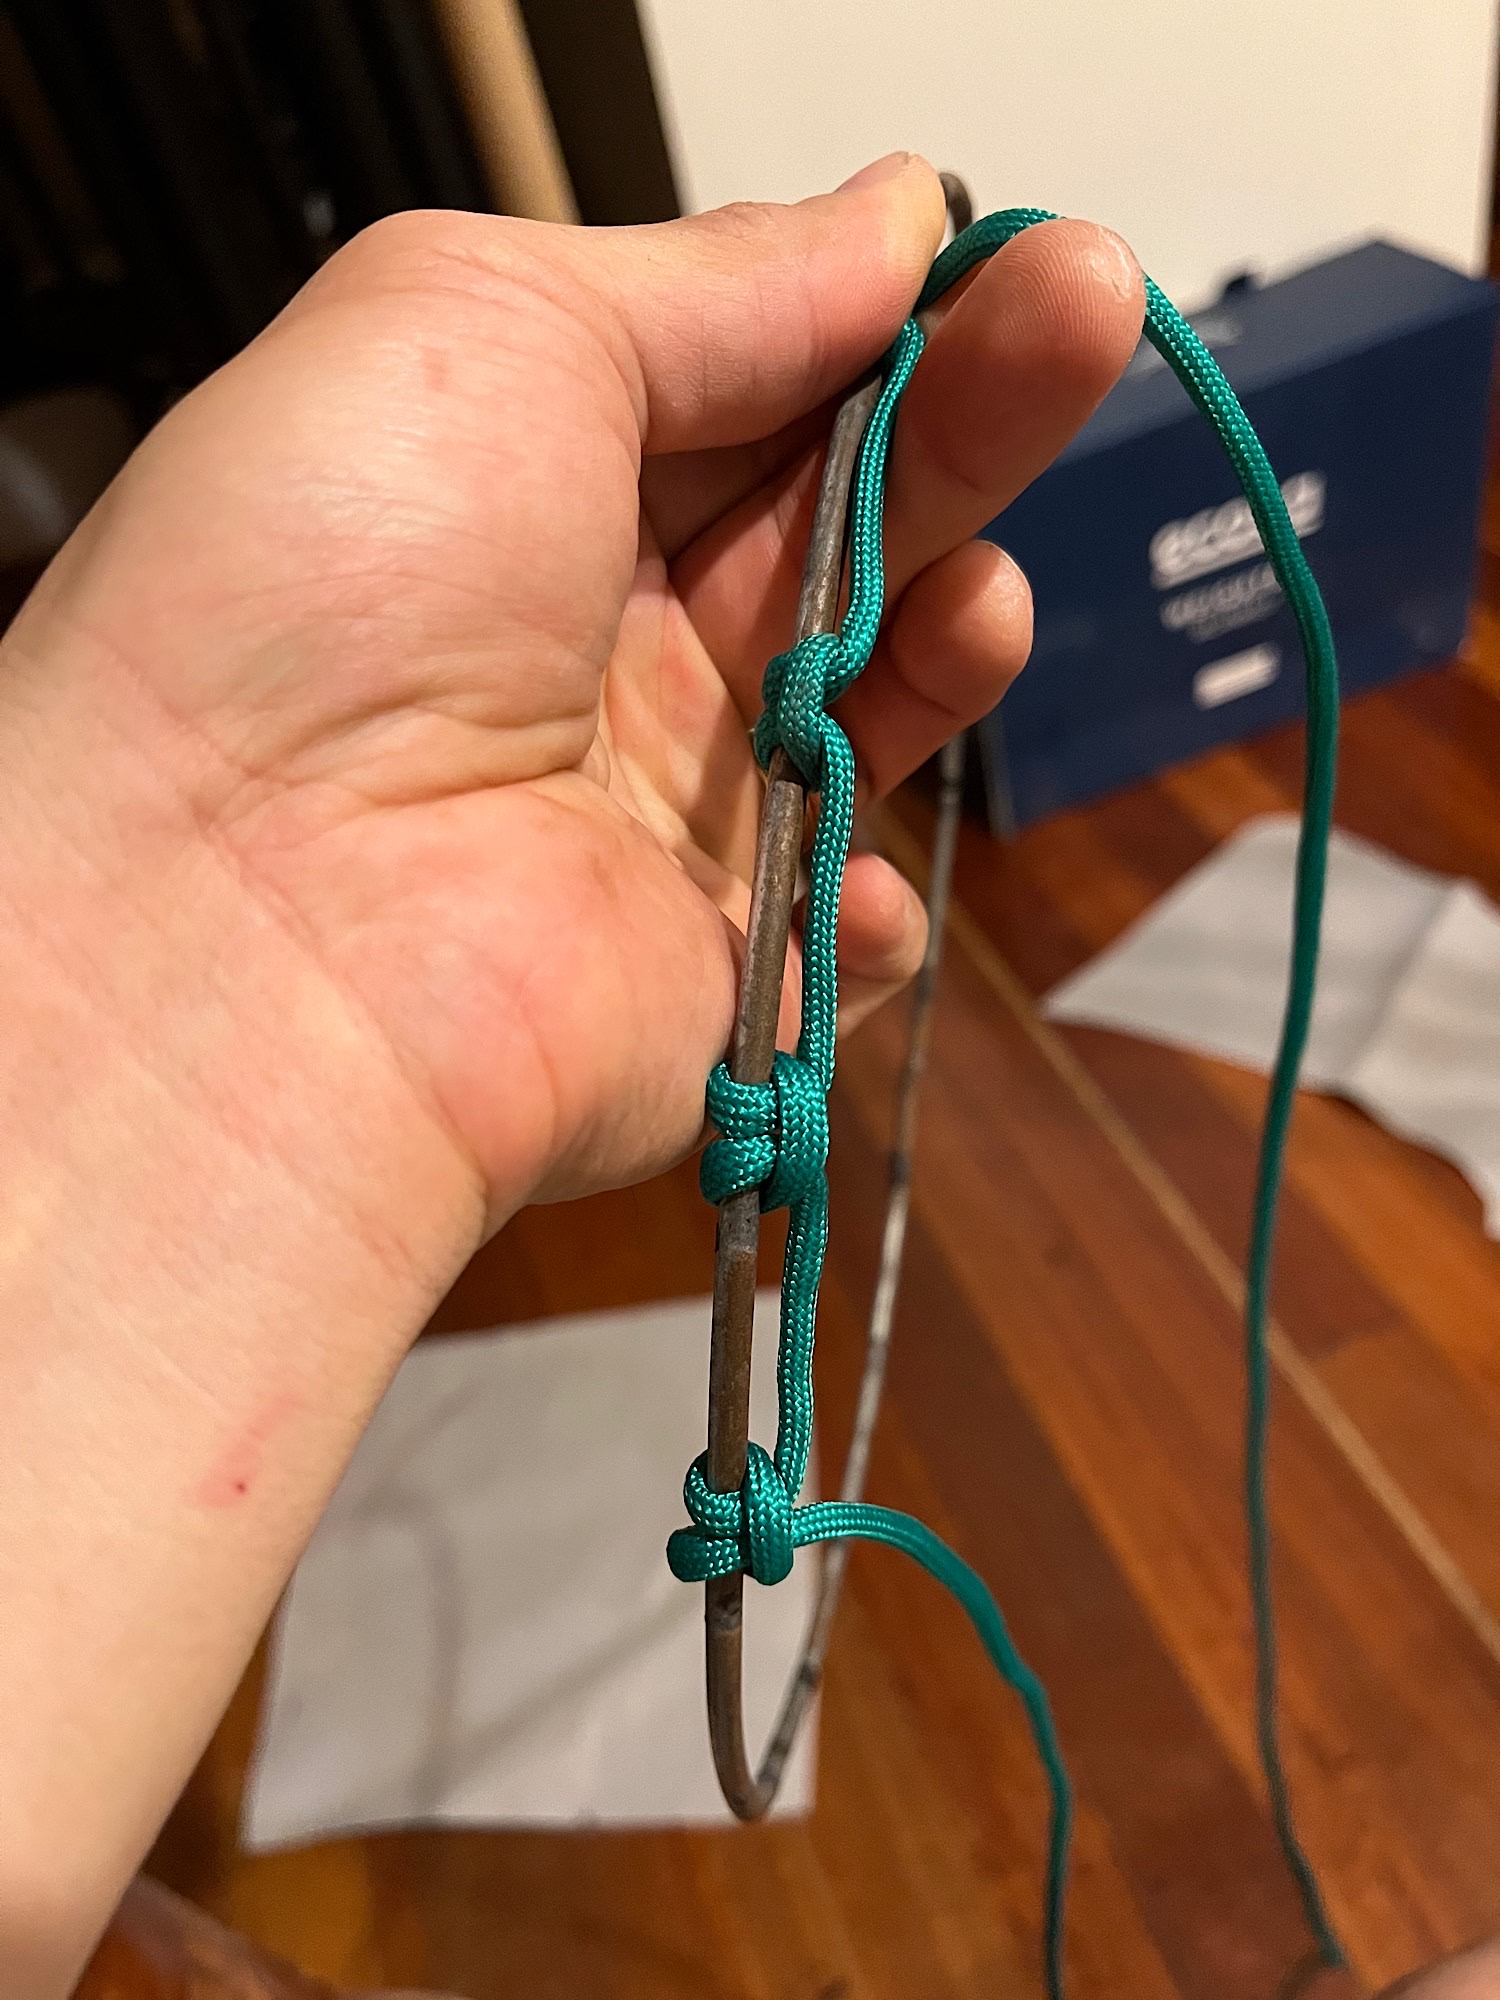
But first I needed to re-string the second metal ring that will be used to pull the skin ring down to tighten the skin. So I went on Youtube and found this video which is showing people making a Djembe:
That was clear enough for me to start making the loops from a paracord.
Usually a Djembe would also have a smaller metal ring at the bottom but this one was using a ring made of rope, so I did the same thing and made a ring of paracord and used the same method to tie some loops to it. I then started to install the drum head and added vertical ropes linking the top ring to the bottom ring. I watched a few videos to learn this process but this one is the one I watched most:
Getting it balanced was tricky. The punching bag fabric is a false leather, not only it was thick but it was also quite stiff making it difficult to get it go between the two top rings. In the end the top rings were a bit crooked but it seems to be OK.
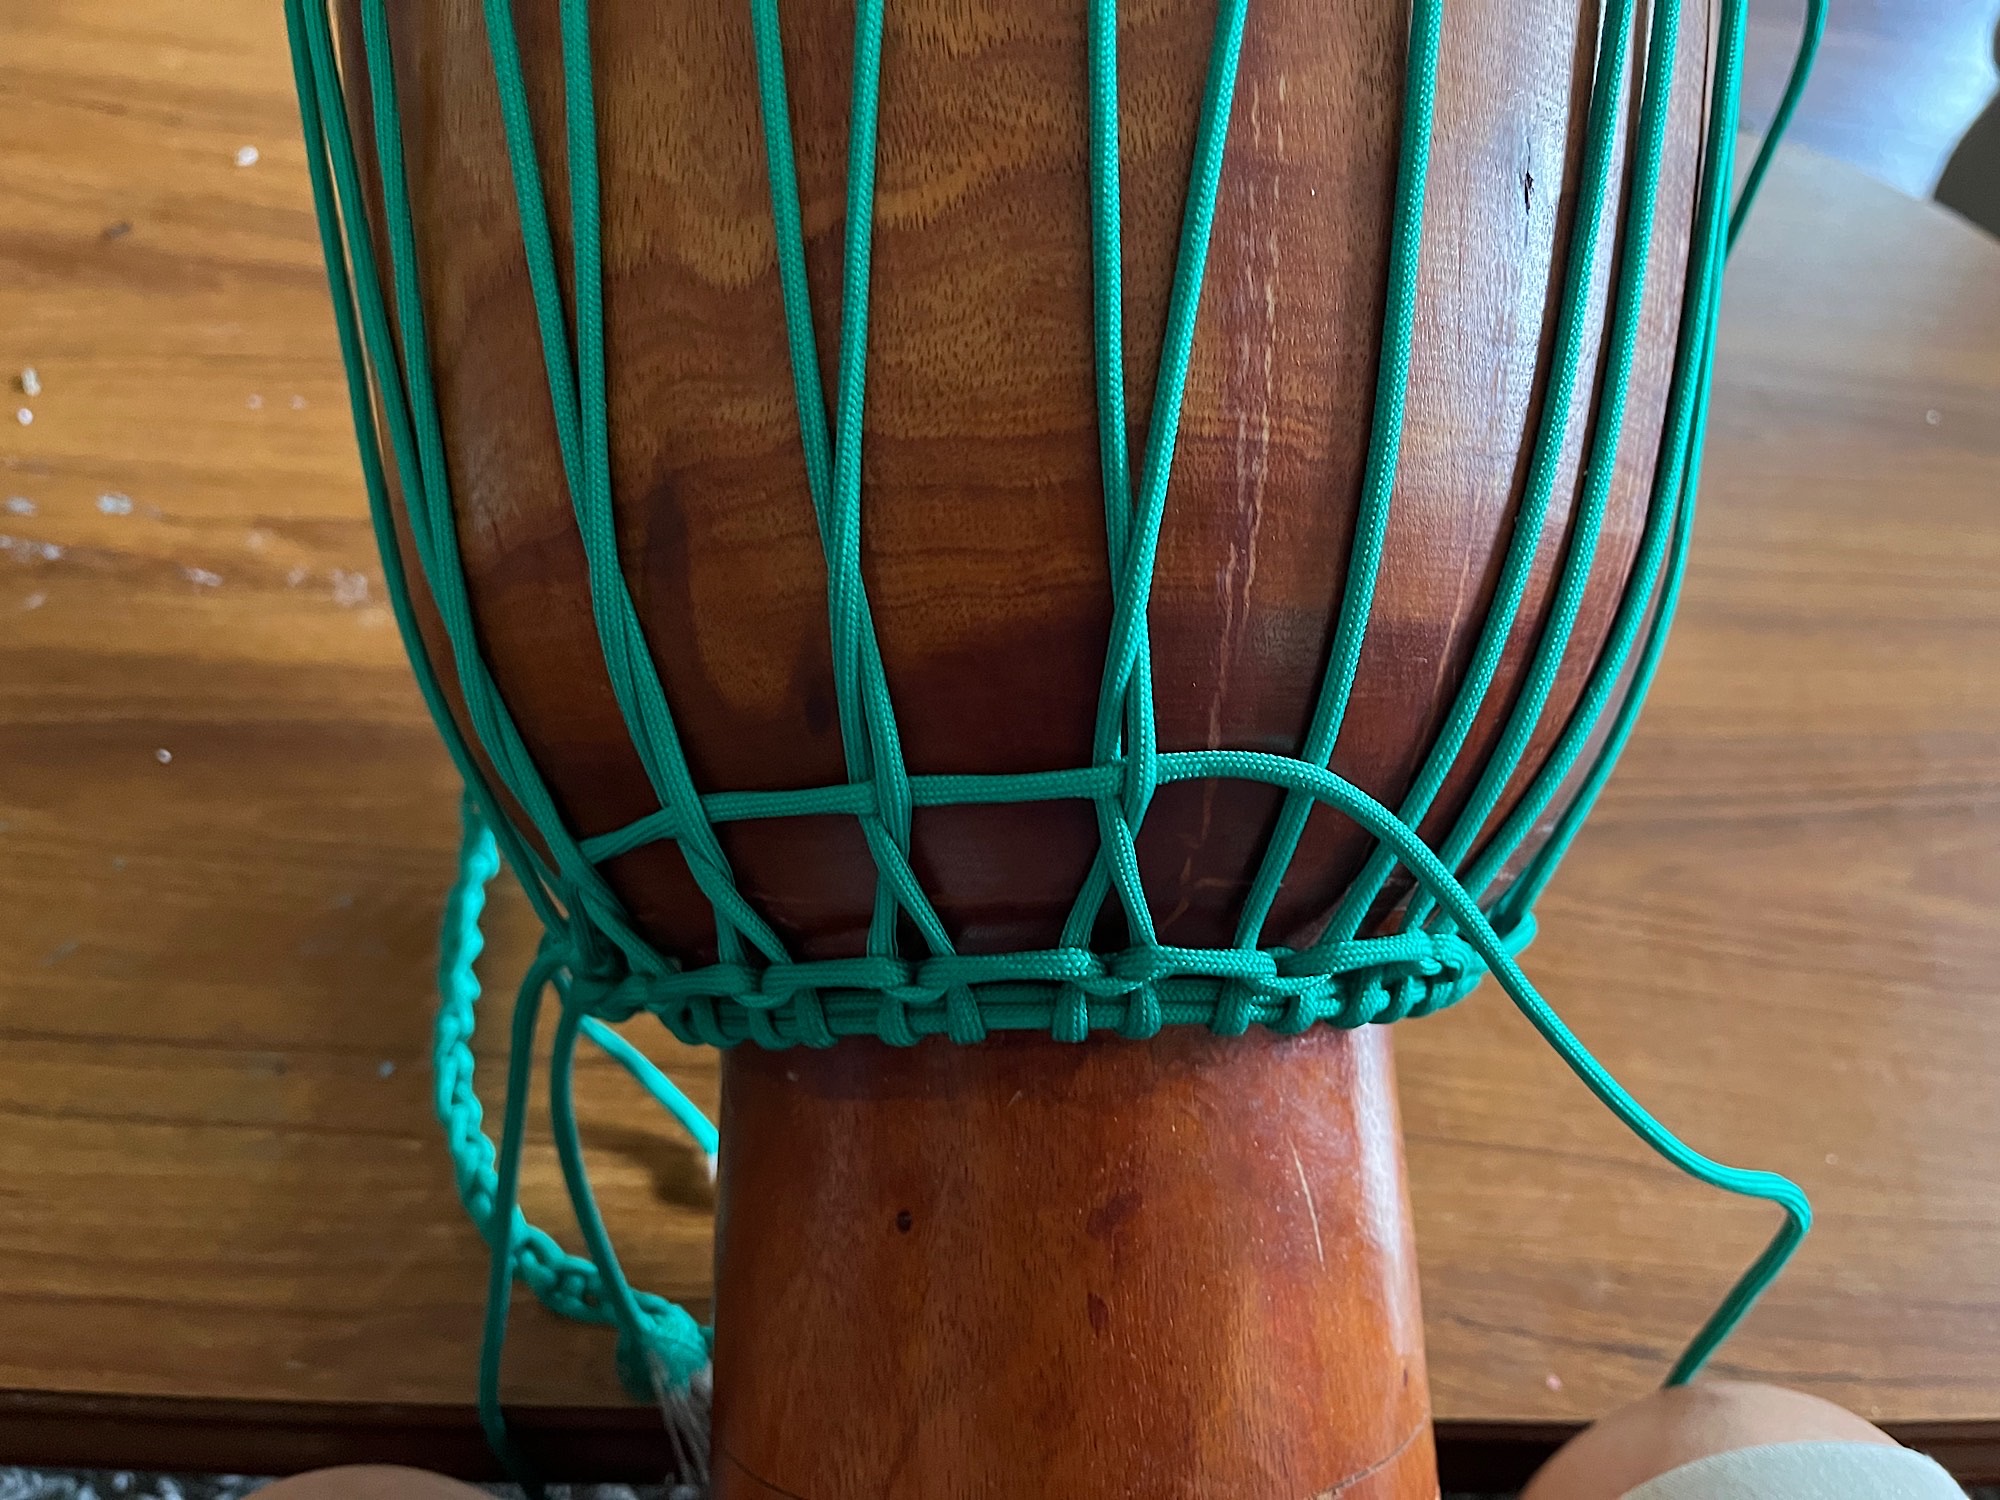
So I proceeded with tuning the drum. The vertical lines alone are not enough, although they do tighten the drum skin, it's not easy to get it very tight for a bright sound. So an additional tuning process is needed. For this, I used another piece of paracord and started some twist knots at the bottom. This special knot, when pulled on will make two vertical ropes twist and thus shorten in length, tightening the drum head in the process. I used the Djembe tuning locked method described in the following video:
I started a first round of knots and as I progressed I did noticed a brightening of the Djembe voice. On my second round, I noticed the ropes were too tight and I was only half way through the circumference of the drum, so I undid the second round and redone it but tying only every other set of ropes. Although I could have left it halfway, I think it looked neater if I went the full round skipping some ropes.
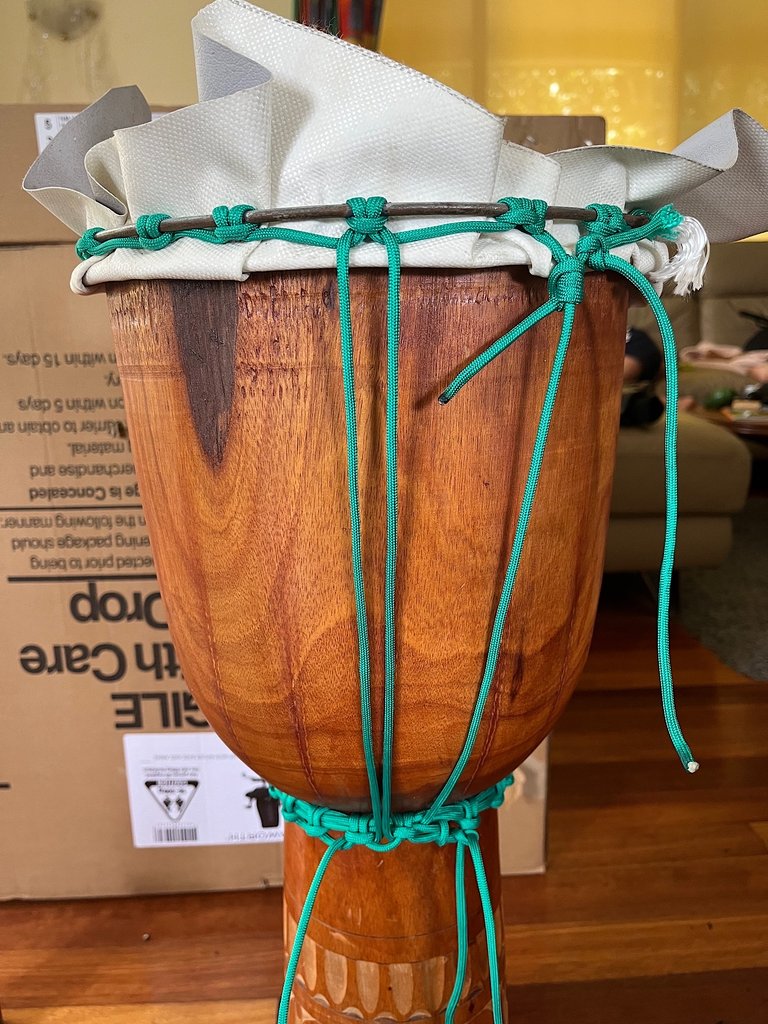
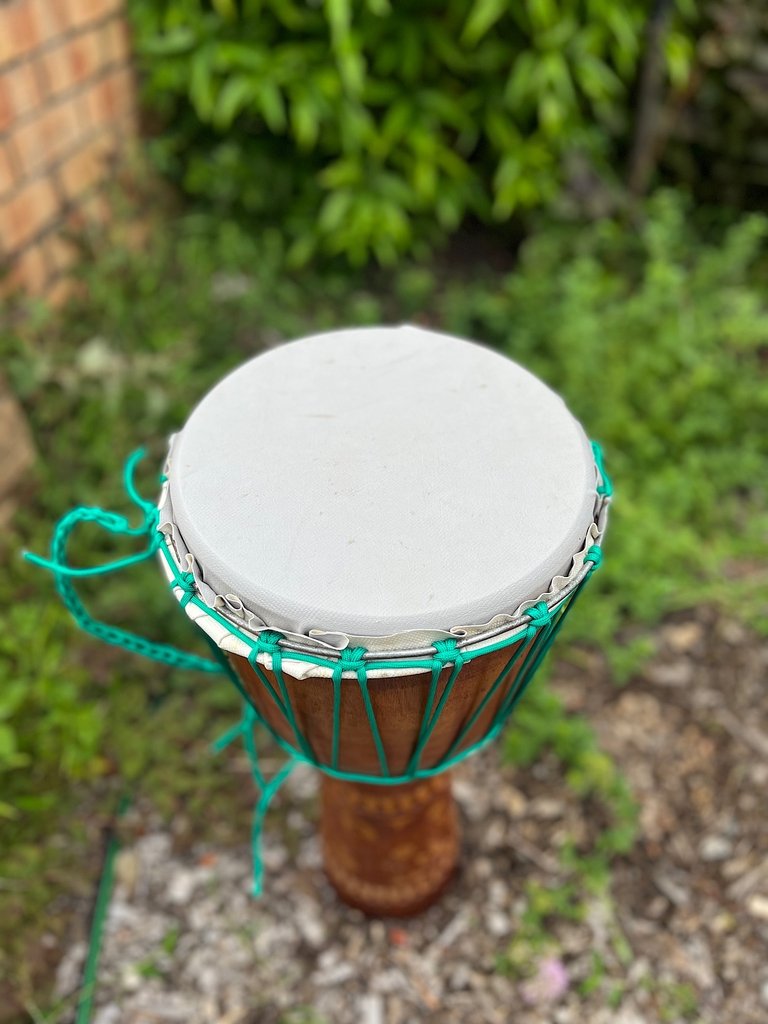
Here is the result, from punching bag to apron to drum head:
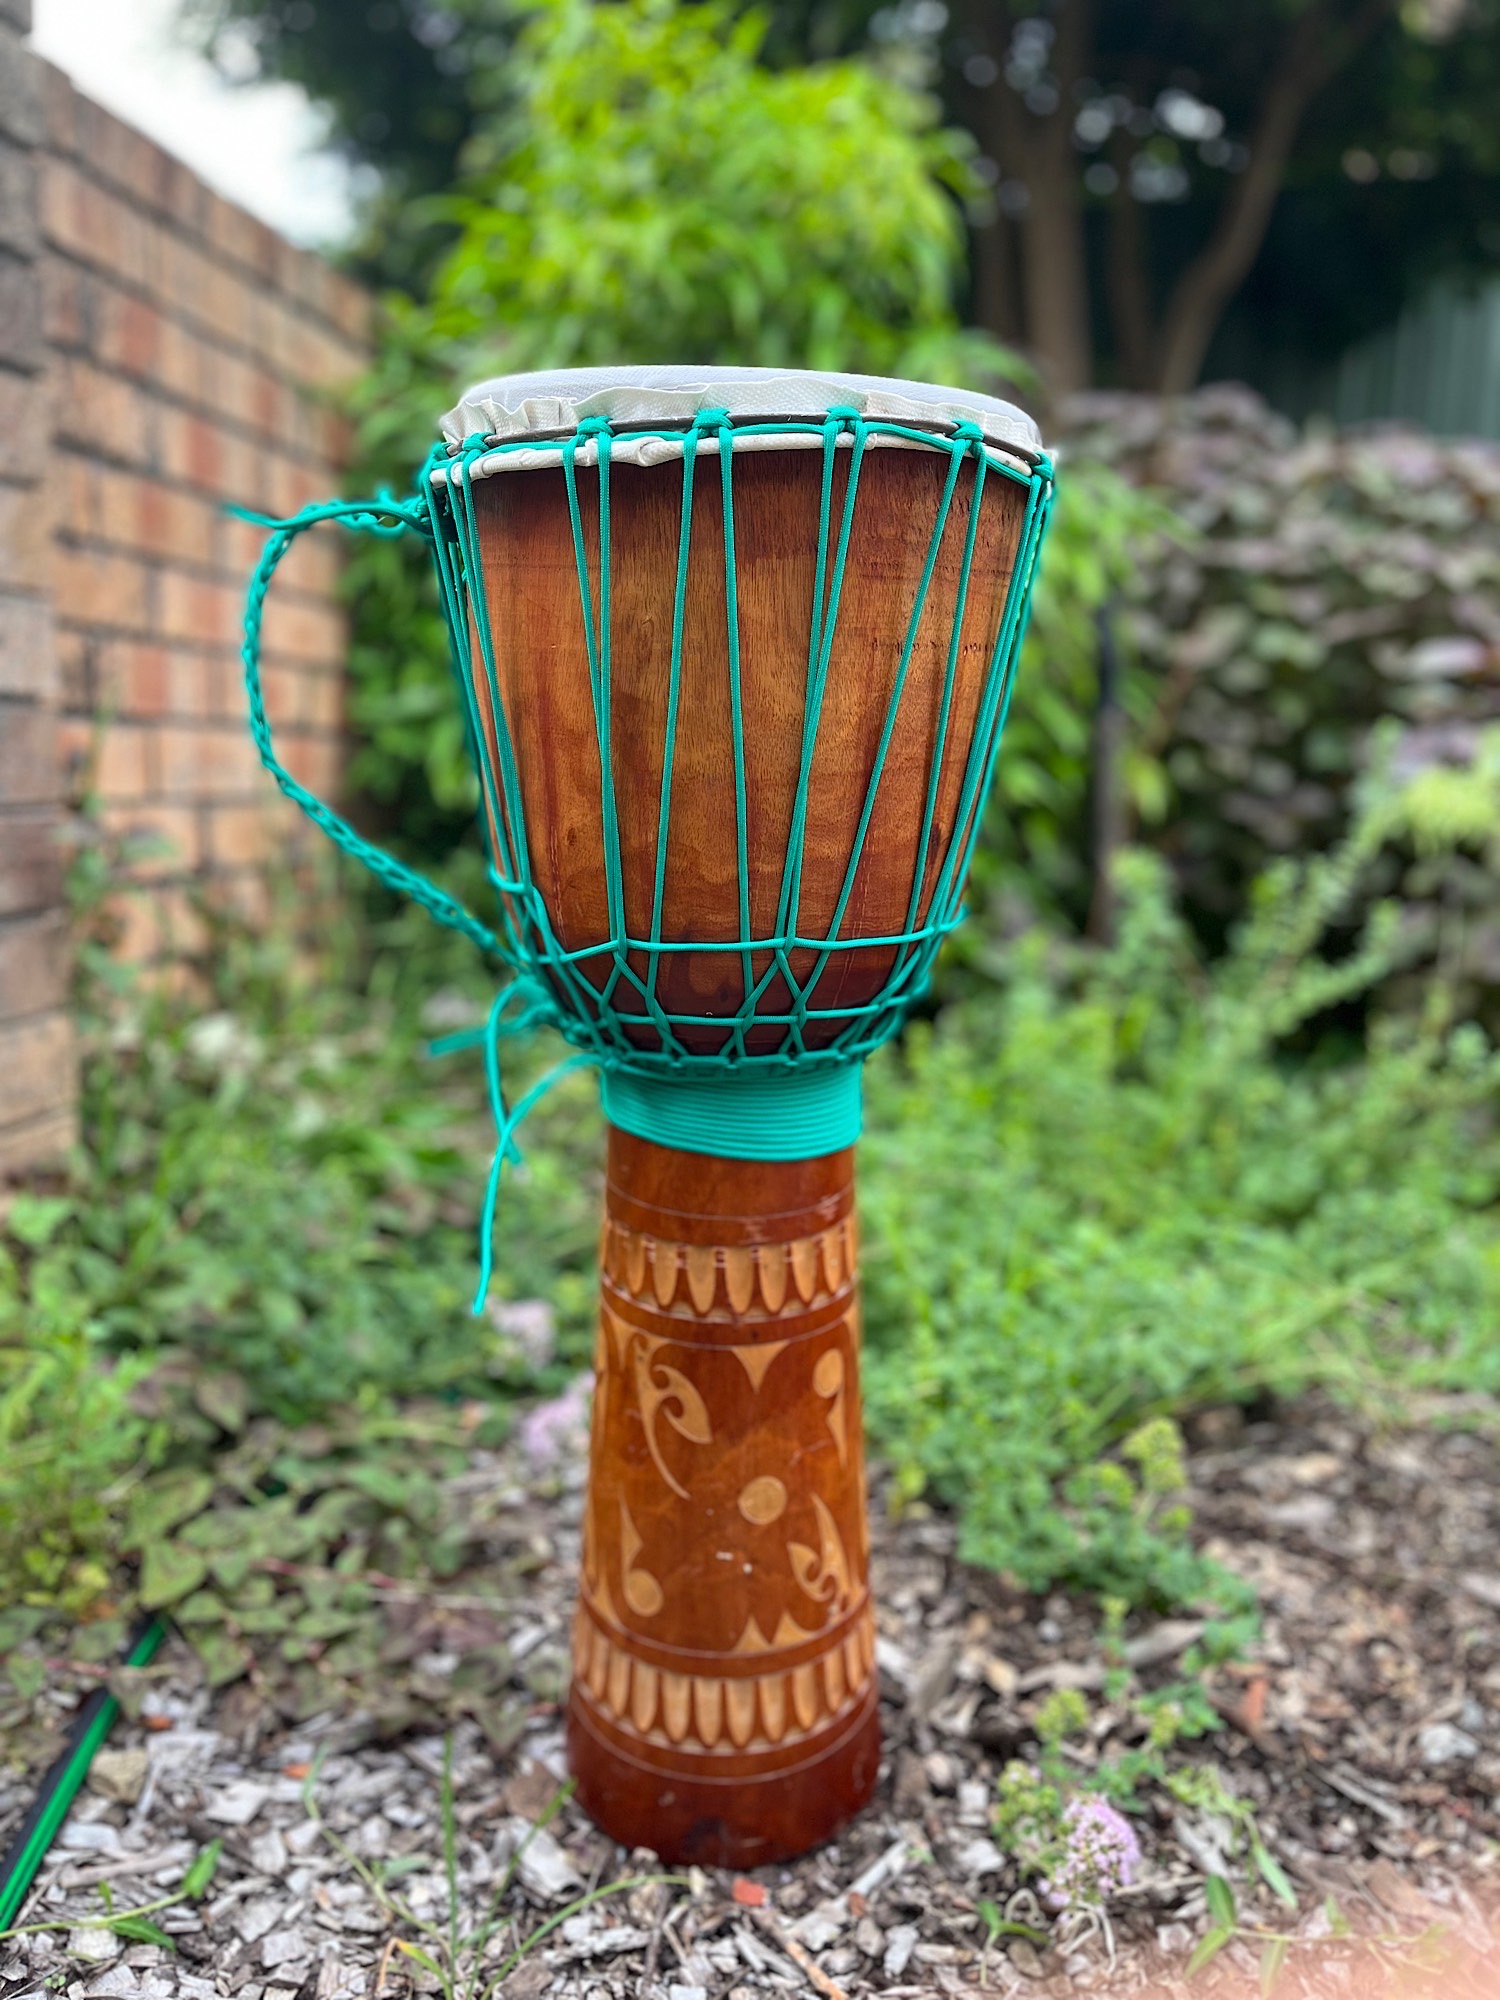
And here is the side view:
I like this green paracord better than the original black one, it gives a nicer color contrast.
▶️ 3Speak
