Hello dear friends, I hope you are well, today I would like to share with you, a beautiful craft that will serve, to decorate, the bottom part of your Christmas tree which is: a Christmas Children's Train, which is intended to set the scene our spaces and create for the smallest of the house, a mobile toy, which you can move around any part of your home, without the fear that it may break.
The great thing about our Christmas Children's Train is that it is made with recyclable material, it helps us to encourage, in the smallest of the house, the love towards this type of materials, with which, we can make magical things, for their fun .
Hola queridos amigos, espero se encuentren bien, hoy me gustaría compartir con ustedes, una hermosa manualidad, que servirá, para decorar, la parte de abajo de su arbolito de navidad el cual es: un Tren Infantil Navideño, que tiene como finalidad, ambientar nuestros espacios y crear para los más pequeños de la casa, un juguete móvil, que podrá desplazar por cualquier parte de su hogar, sin el miedo que se pueda romper.
Lo grandioso, de nuestro Tren Infantil Navideño, es que es elaborado con material reciclable, nos ayuda a incentivar, en los más pequeños de la casa, el amor hacia este tipo de materiales, con los cuales, podemos elaborar mágicas cosas, para su diversión.
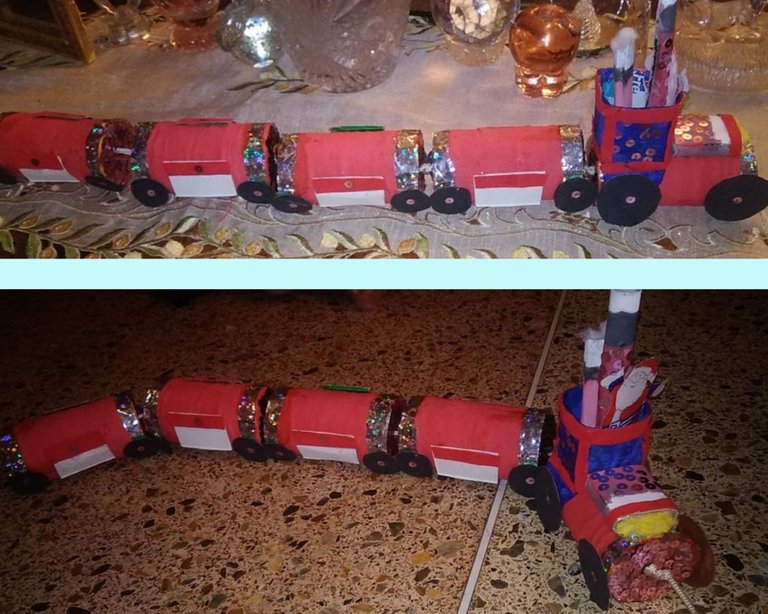
In my case, it happens to me that every year, I want to add something different to my little tree, but I can't find something that resembles the design, it seemed to me, a fun way to create, for the little tree, at the bottom, something that will highlight its decoration a bit more and will draw my son's attention, what better way to add, this cute Christmas Children's Train, which is also decorative, is an excellent toy for my little one.
Next, he presented them, the materials and steps for its elaboration:
En mi caso, me pasa, que todos los años, quiero agregarle algo diferente a mi arbolito, pero no encuentro algo que se asemeje con el diseño, me pareció, una divertida forma de crear, para el arbolito, en la parte de abajo, algo que resaltará algo mas su decoración y le llamara la atención a mi hijo, que mejor forma que agregarle, este lindo Tren Infantil Navideño, que además, de decorativo, es un excelente juguete, para mi pequeño.
A continuación, les presentó, los materiales y pasos para su elaboración:


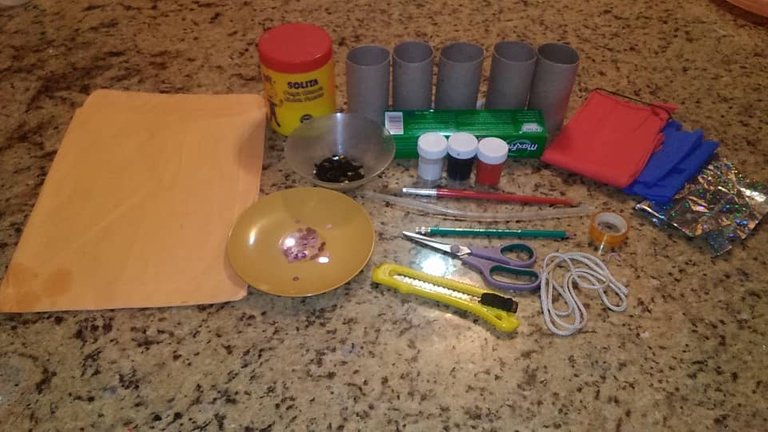
Materials:
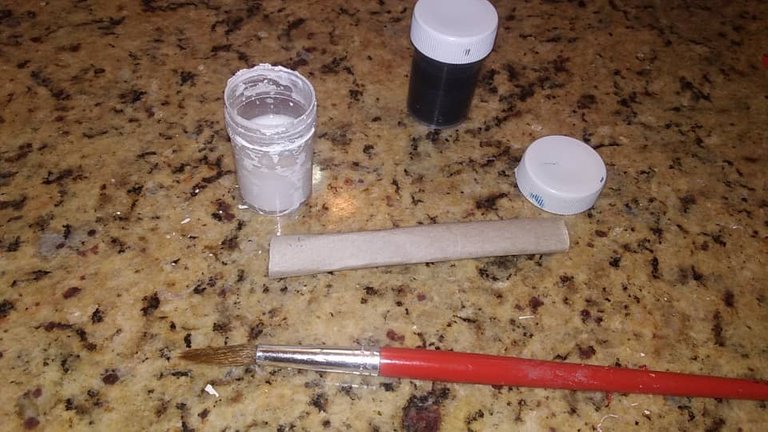
• 5 rolls of toilet paper
• 1 Box of toothpaste
• Color tempera
•Brush
•Pencil
•Scissor
•Exactly
• Liquid glue
• Silicone
• 2 red and blue crepe paper of your choice
• Yellow envelope or, failing that, a sheet
• Sequins or, failing that, glitter
• tape or cord to attach the train
• Paper to decorate.
• Scotch tape
Materiales:
• 5 rollos de papel higiénico
• 1 Caja de pasta de diente
• Tempera de colores
• Pincel
• Lápiz
• Tijera
• Exacto
• Pega líquida
• Silicón
• 2 papel crepe rojo y azul el de su preferencia
• Sobre amarillo o en su defecto una hoja
• Lentejuelas o en su defecto escarcha
• cinta o cordón para unir el tren
• Papel para decorar.
• Cinta adhesiva

First step:
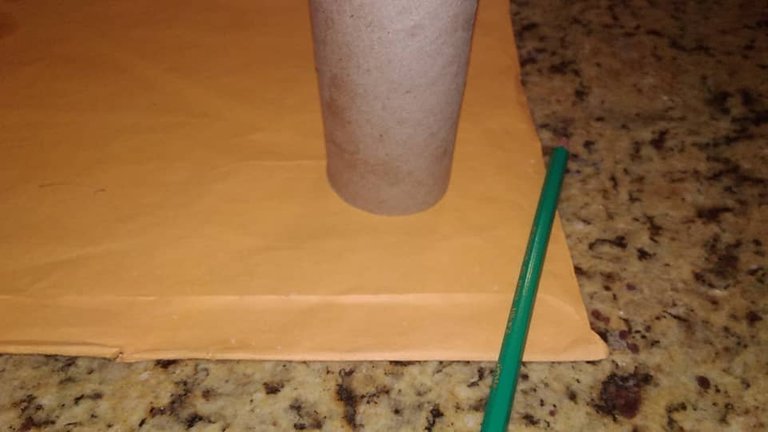
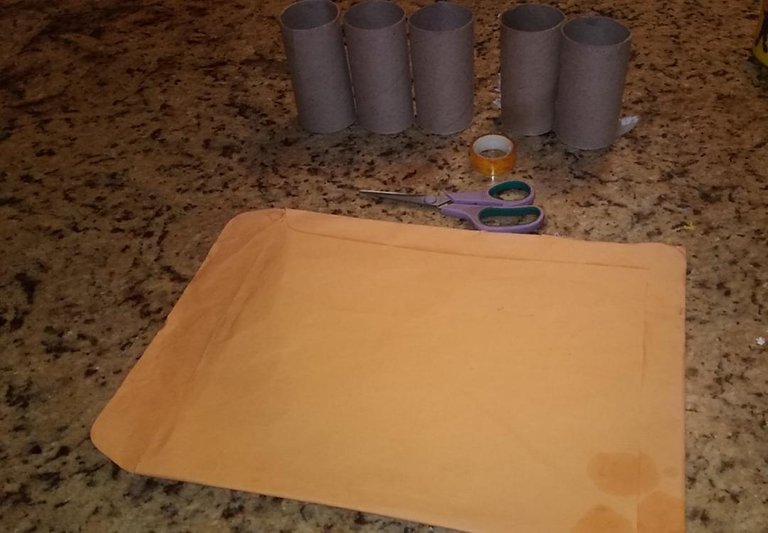
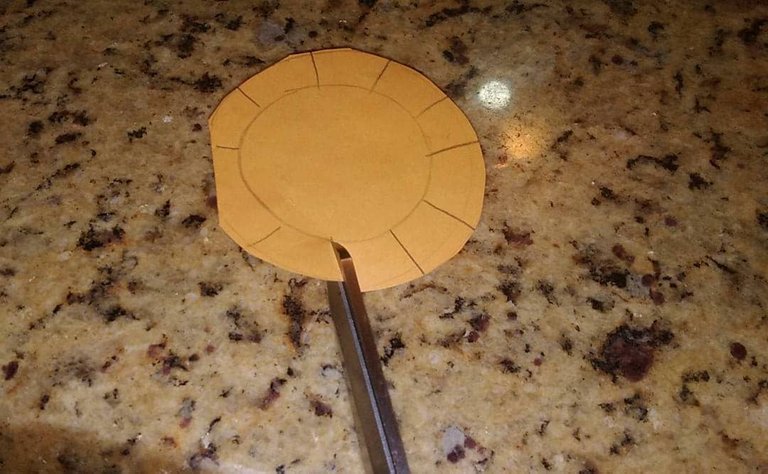
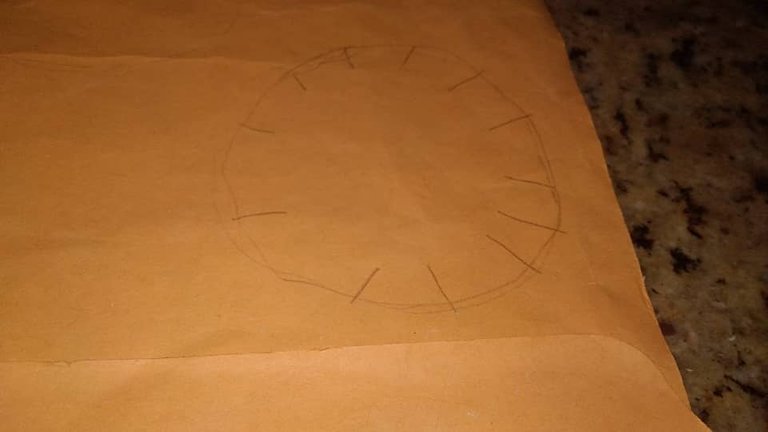
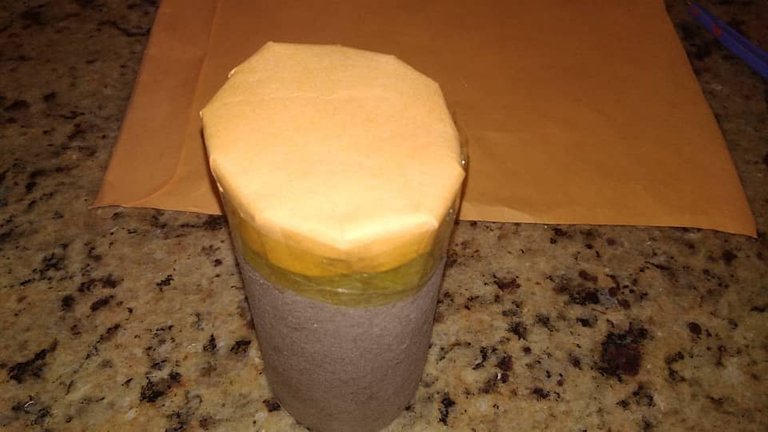
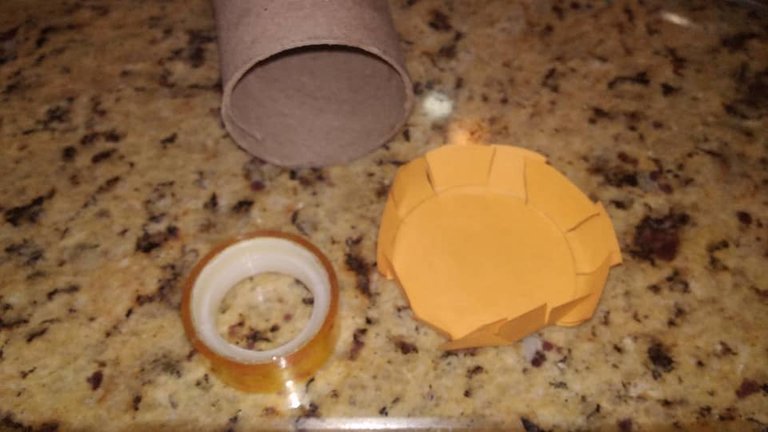
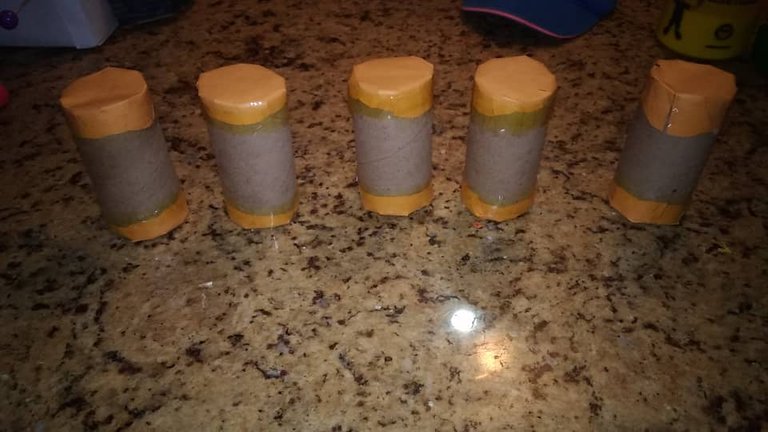
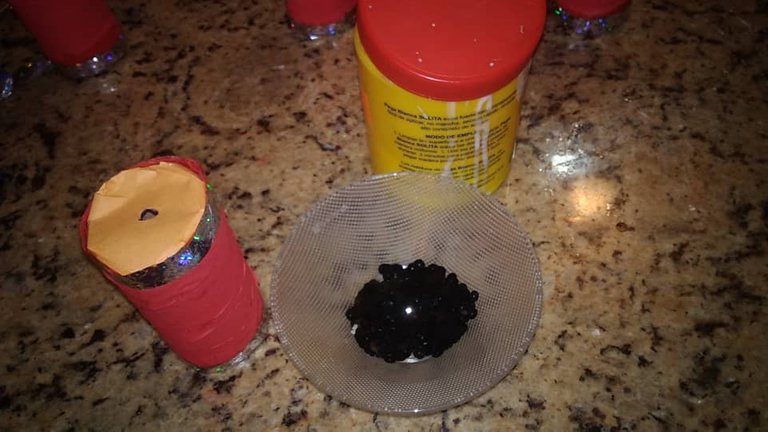
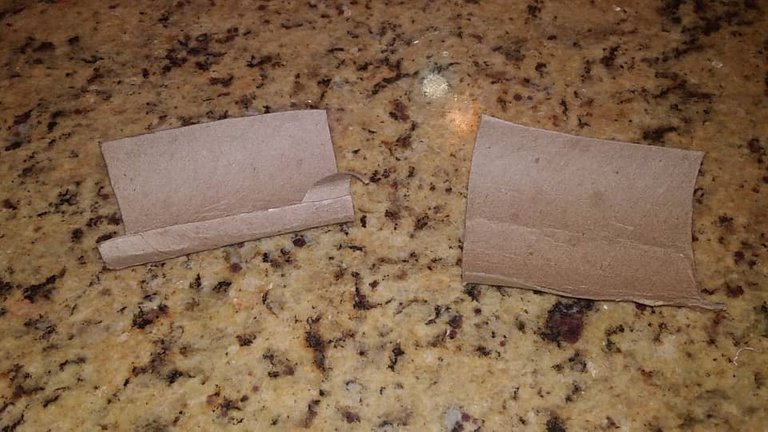
We will proceed, with a roll of toilet paper and a pencil to mark, on top of the envelope leaving a 1 cm, it does not matter if it does not fit you, the important thing is to be able to make some tabs, which we will cut, which will serve to make a hat and then we will stick with adhesive tape, this procedure we will do with the rest of the rolls. Note: we must cover both holes of the paper rolls, in order to create the first phase of the train. As shown in the picture.
Primer Paso:
Procederemos, con un rollo de papel higiénico y un lápiz a marcar, encima del sobre dejando un 1 cm, no importa si no te queda derecho, lo importante es poder realizarle unas pestañas, que recortaremos, que servirán para hacer sombrerito y luego pegaremos con cinta adhesiva, este procedimiento lo haremos con el resto de los rollos. Nota: debemos tapas ambos orificios de los rollos de papel, con la finalidad de crear, la primera fase del tren. Como se muestra en la imagen.

Second Step:
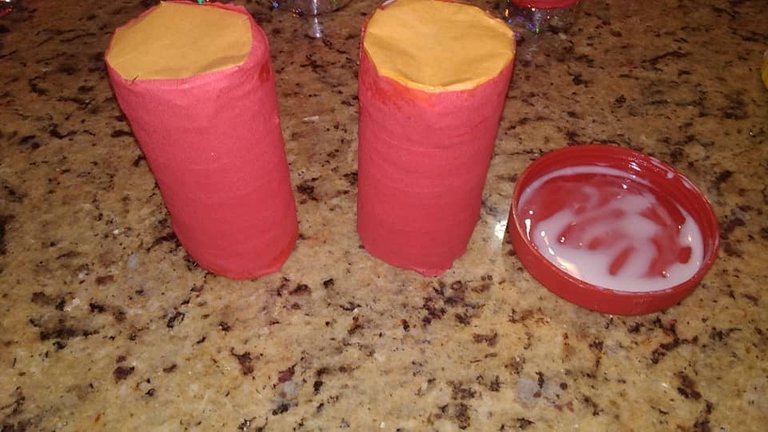
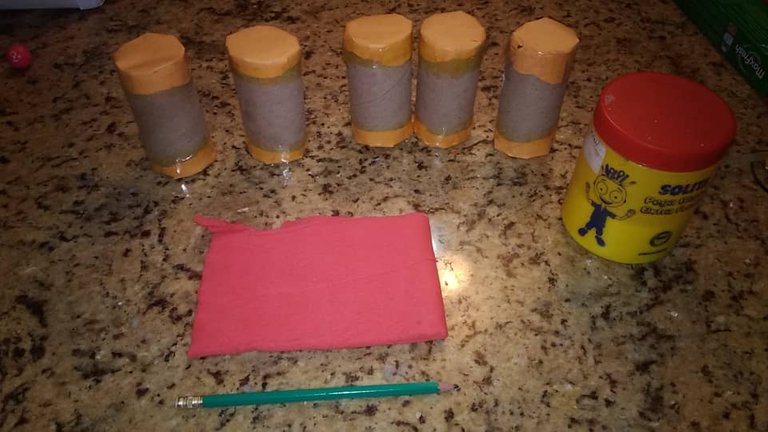
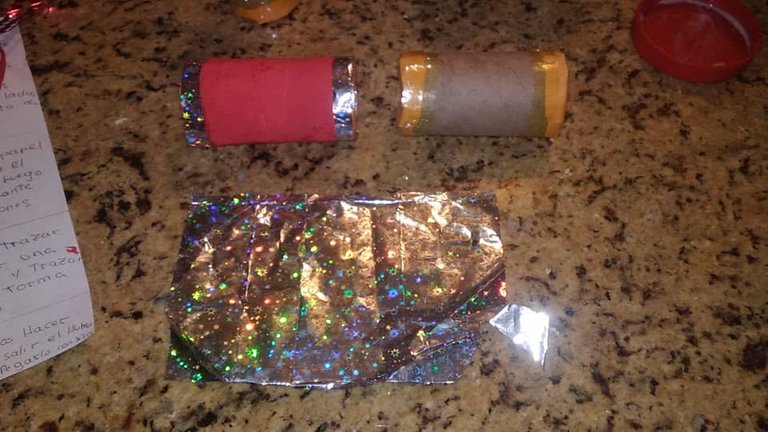
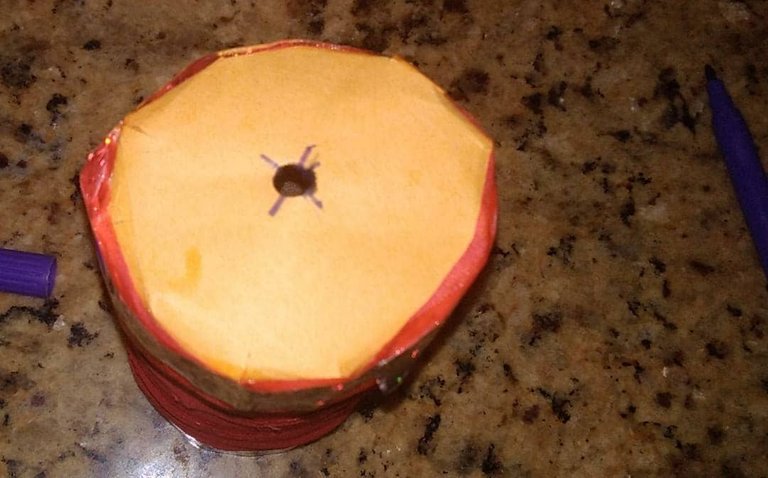
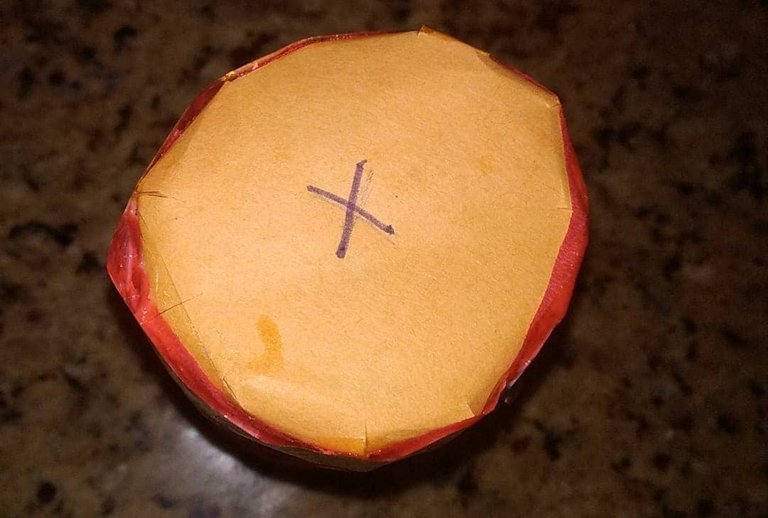
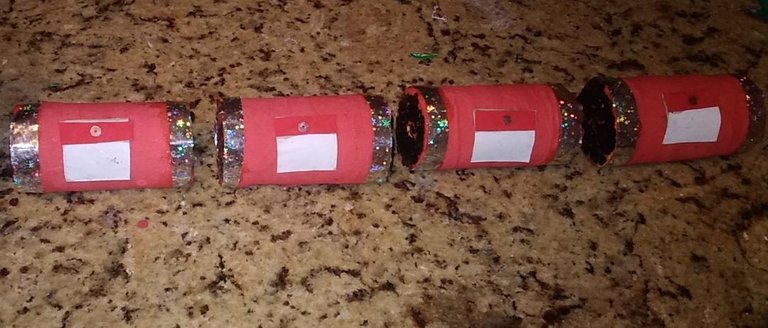
Once the covers are in place, on both sides of the toilet paper rolls, we will begin to design the cars, lining them with red crepe paper, using liquid glue, once they are a little dry, with paper to decorate or your preference (in my In case, I used aluminized wrapping paper) in each corner of the wagon, we will color it with liquid glue, in order to give the train more design, we will make a cross or an x, in the upper and lower part of the wagon, to mark, where some holes will be opened, through which the tape or cord will pass, to join the wagons.
.
Segunda Paso:
Ya colocadas las tapas, por ambos lados de los rollos de papel higiénico, comenzaremos a diseñar los vagoncitos, forrándolos con papel crepe rojo, utilizando pega líquida, una vez que estén un poco secos, con papel para decorar o el su preferencia ( en mi caso, utilicé papel de regalo, aluminizado) en cada una de las esquinas de los vagoncitos, le coloraremos pega liquida, con la finalidad de brindarle más diseño al tren, realizaremos una cruz o una x, en la parte superior e inferior del vagoncito, para marcar , por donde se abrirán unos orificios, por donde pasará la cinta o cordón, para unir los vagones.

Third step:
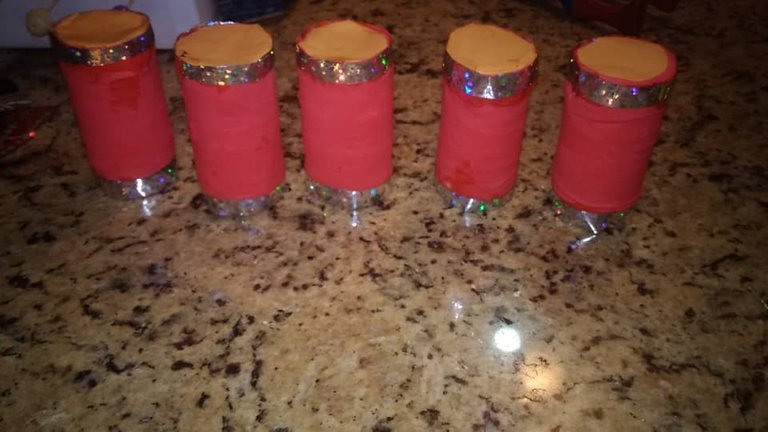
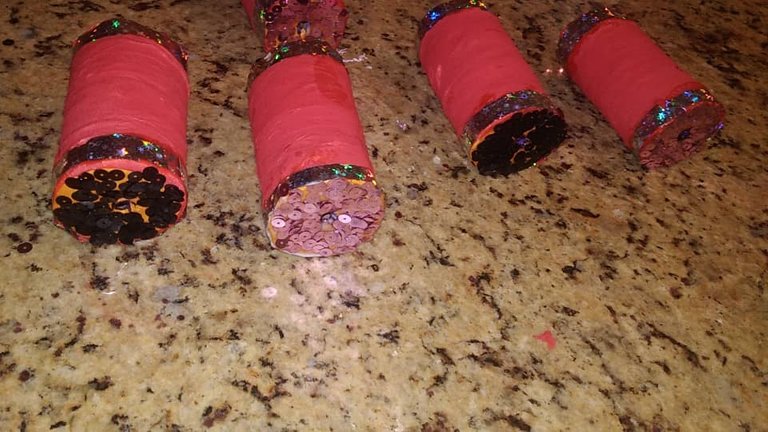
Having all the holes of the cars open, we will start with liquid glue to place the sequins on the upper and lower base or, failing that, frost, to cover the roll caps, without covering the hole through which the ribbon or cord will pass, serving this one for a better decoration of the train.
Tercer Paso:
Teniendo todos los orificios abiertos de los vagoncitos, comenzaremos con pega líquida a colocar sobre la base superior e inferior las lentejuelas o en su defecto escarcha, para cubrir el las tapas del rollo, sin tapar el agujero por donde pasara la cinta o cordón, sirviendo esta para una mejor decoración del tren.

Fourth step:
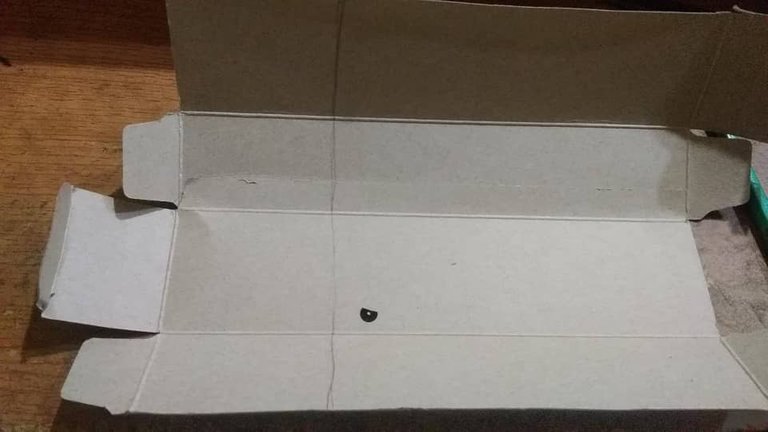
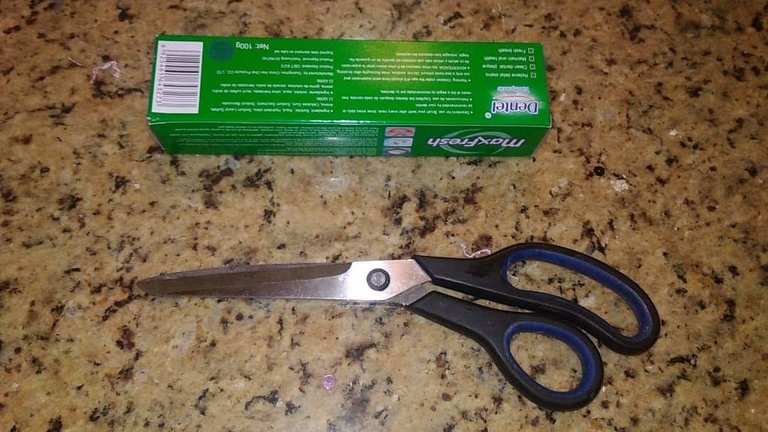
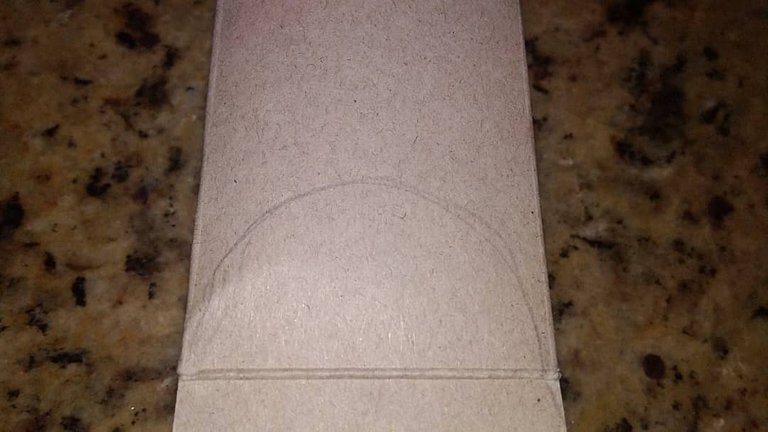
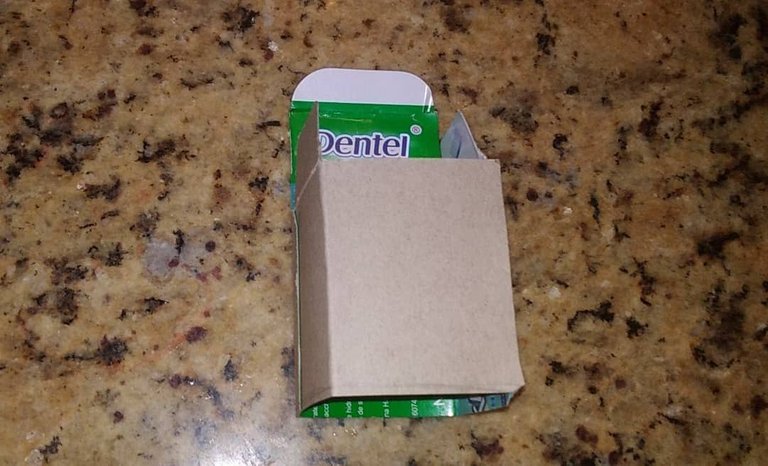
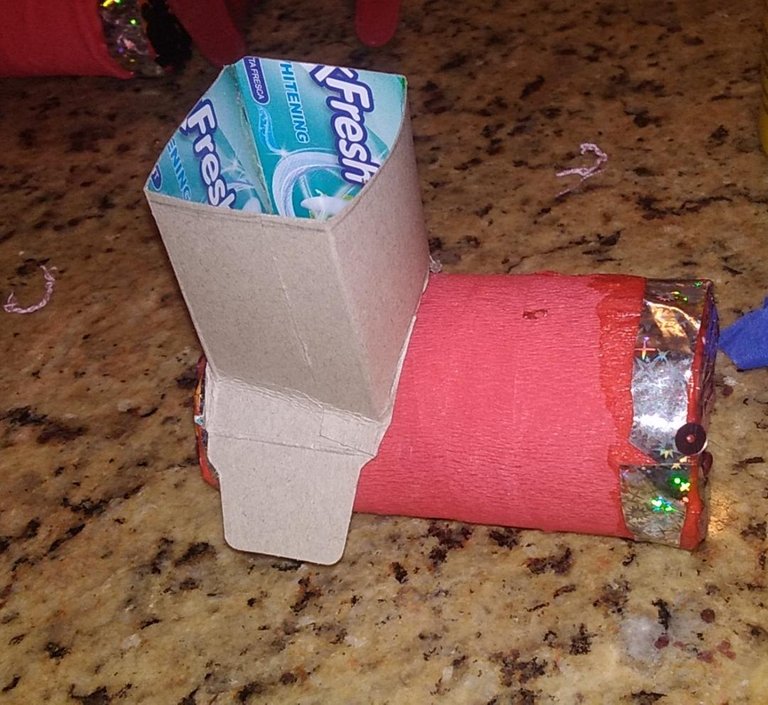
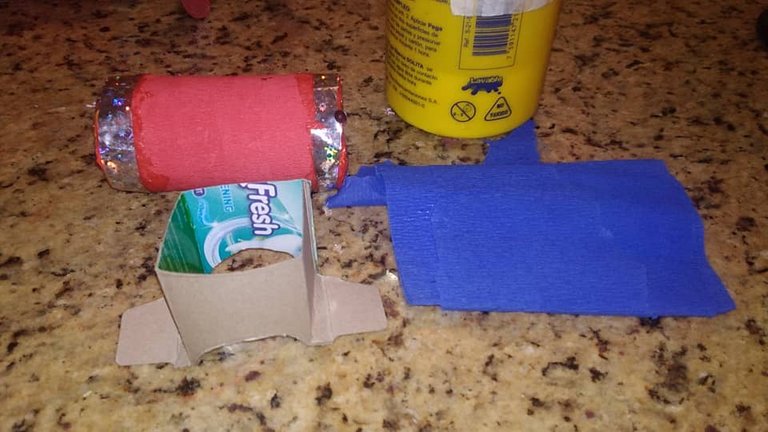
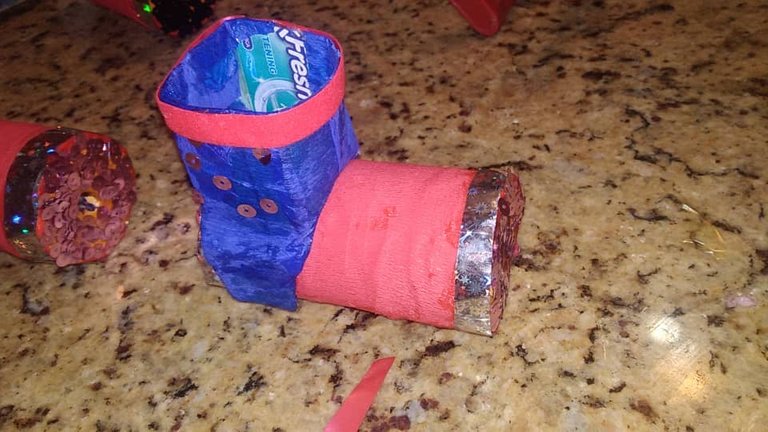
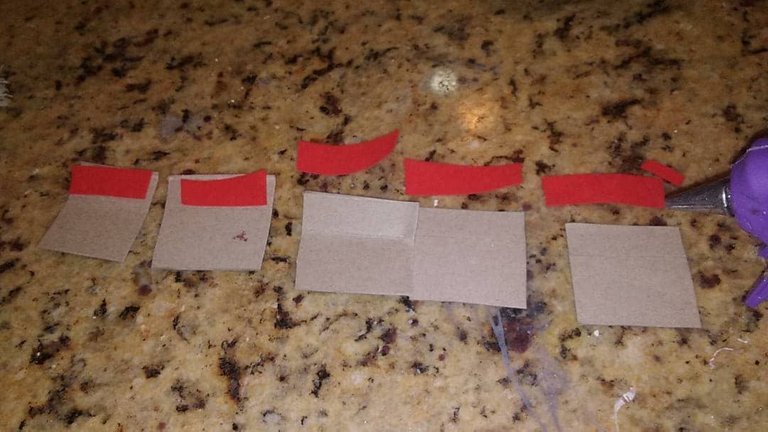
With a scissors, we will open the toothpaste box and with a pencil, we will cross a line, to design, cut and paste a small box, without cutting the tabs and reserving the other part of the box, in order to create the driver's cabin, then, with a pencil, we will make a semicircle on both wide parts of the box and we will cut out, with one of the already decorated wagons, we will test that the driver's cabin fits easily, after the elaborated design, we proceed to Line it with blue crepe paper (or your preference). (View photo)
Cuarto Paso:
Con una tijera, abriremos, la caja de pasta de diente y con un lápiz, pasaremos una raya, para diseñar, recortar y pegar una caja pequeña, sin recortar las pestañas y reservar la otra parte de la caja, con la finalidad de crear la cabina del conductor, luego, con un lápiz, realizaremos por ambas partes anchas de la caja, un semicírculo y recortaremos, con uno de los vagoncitos ya decorados, probaremos que la cabina del conductor entre con facilidad, luego del diseño elaborado, se procede a forrarlo con papel crepe azul ( o el de su preferencia). (Ver foto)

Fifth step:
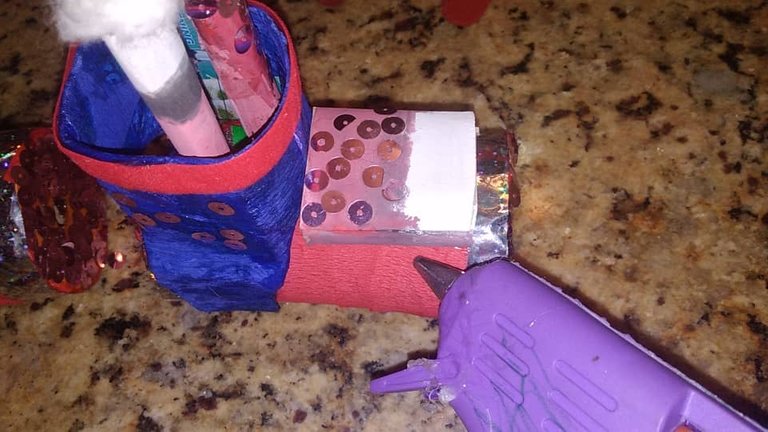
With pieces of cardboard, we will make two tubes, where the smoke from the train will come out, if it is your preference you can use cotton to simulate the smoke and we will elaborate where the lights will be located, design and paint to your liking, then we will glue with silicone, each one of the pieces, to proceed with cardboard scraps to make the windows of each of the wagons, paint and design to your liking.
Quinto Paso:
Con retazos de cartón, realizaremos dos tubitos, por donde saldrá el humo del tren, si es de su preferencia puede utilizar algodón para simular el humo y elaboraremos donde estarán ubicadas la luces, diseñar y pintar a su gusto, luego pegaremos con silicón, cada una de las piezas, para proceder con retazos de cartón a elaborar las ventanas de cada uno de los vagones pintar y diseñar a su gusto.

Step Six:
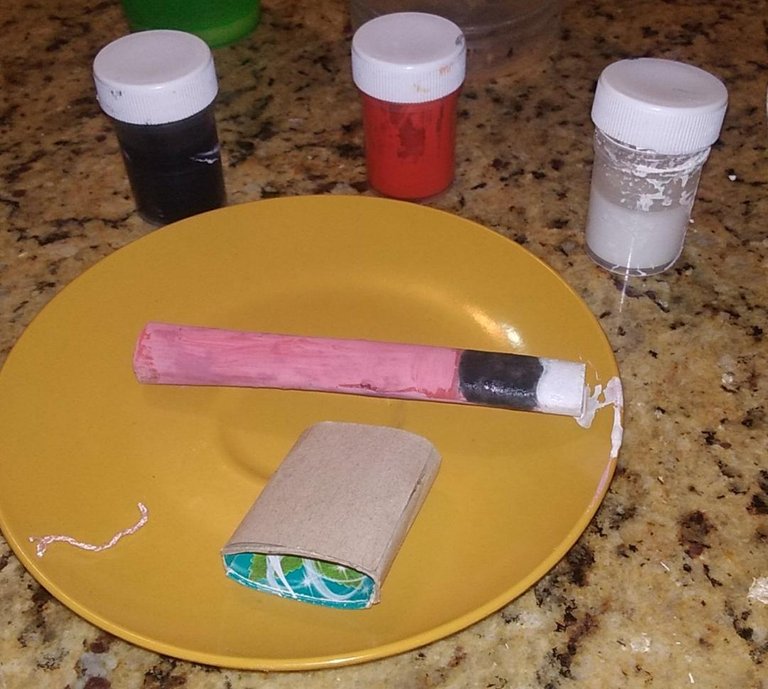
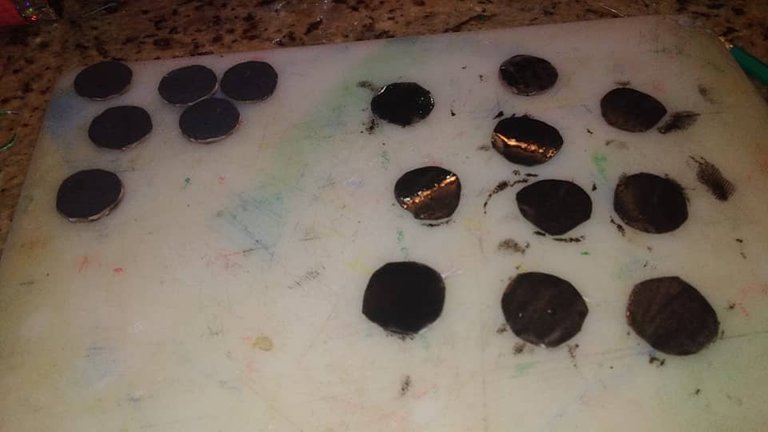
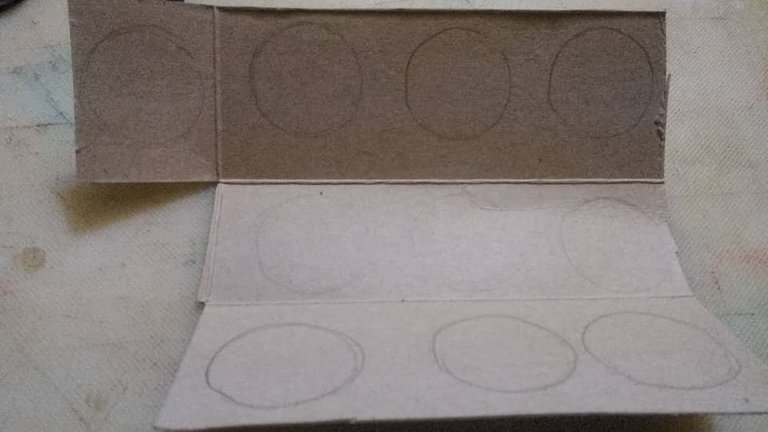
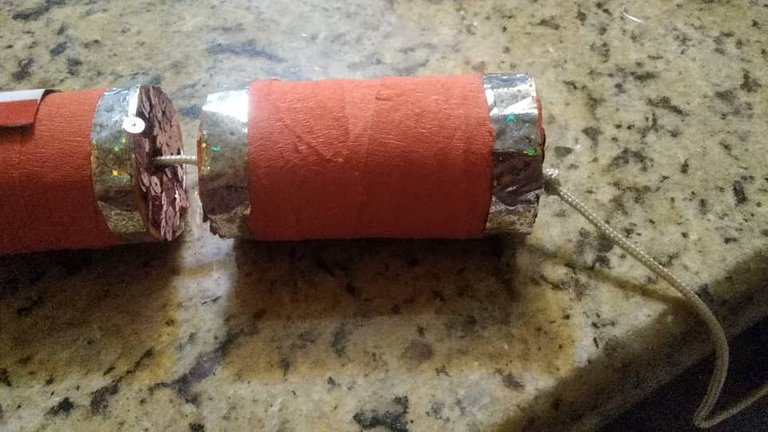
With the box of toothpaste that we had left, we will make some circles with a pencil in order to make the rubbers, then, we will paint black and wait for them to dry, we will begin to join the already made wagons, with the tape or cord, note: after we pass the first wagon, make a knot so that they do not come off and between them make every knot so that they remain firm when the child is going to move his train, the wagons do not stick to each other, that is to say , the nodes at the end of each wagon, will serve as spacers between one and the other.
Then, glue the manufactured and black painted rubbers with silicone, as low as possible to give balance to the wagons, the front rubbers where the driver will go, will be made wider.
Sexto Paso:
Con la caja de pasta de diente que nos sobró, realizaremos con un lápiz unos círculos con la finalidad de hacer los cauchos, luego, pintaremos de negro y esperaremos a que sequen, comenzaremos a unir los vagones ya elaborados, con la cinta o cordón, nota: luego que pasemos el primer vagón, realizar un nudo para que no se salgan y entre ellos realizar todo nudo para que queden firmen a la hora que el niño vaya a mover su tren, no se peguen los vagones unos con otros, es decir ,los nudos al final de cada vagón, servirán de separadores entre uno y el otro.
Luego, pegar con silicón los cauchos elaborados y pintados de negro, lo más bajo posible para darle equilibrio a los vagones, los cauchos delanteros donde irá el conductor, se elaborarán más anchos.


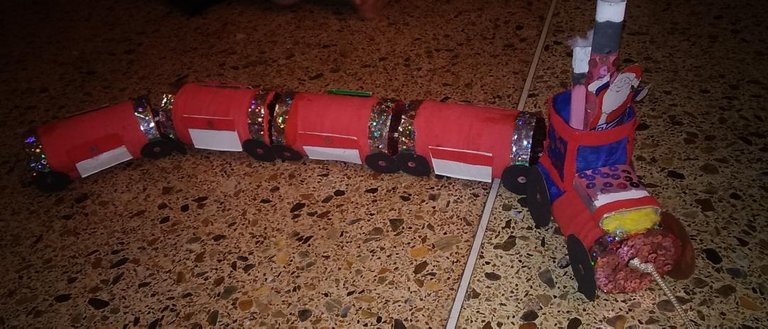
In this way, we would have our Christmas Children's Train ready, which will be fun and decorative when designing, our Christmas tree. The incredible thing about these types of materials is that they help children to fly their imaginations, creating stories, stories, adapted to their age.
De esta forma, tendríamos listo, nuestro Tren Infantil Navideño, que será divertido y decorativo a la hora de diseñar, nuestro arbolito de navidad. Lo increíble de estos tipos de materiales es que ayudan a los niños a volar su imaginación, creando historias, cuentos, adaptados a su edad.

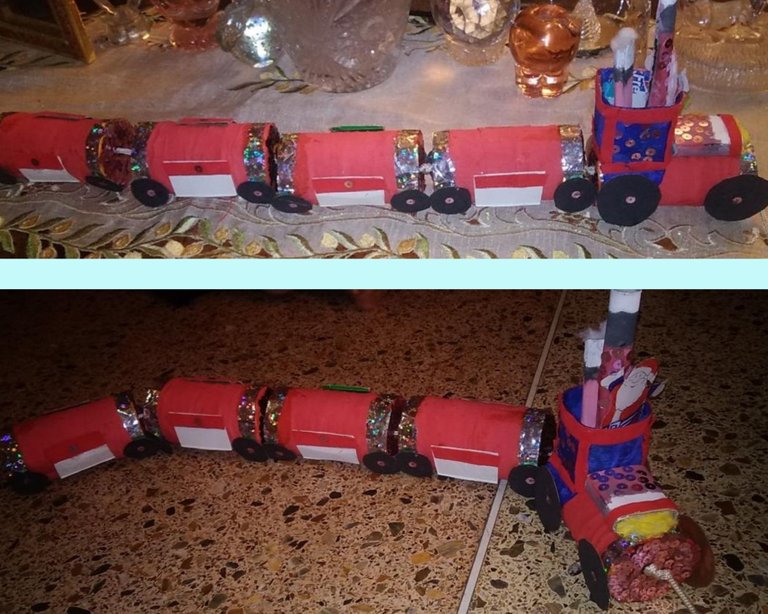
Hoping, they can make this beautiful craft, which will undoubtedly be perfect under the Christmas tree, providing magic and fun to the little ones in the house; This Christmas train is an excellent way to decorate made with recyclable material, which makes it a beautiful decoration and a game for children. Creating unforgettable moments in family union.
Thank you for taking the time to read my post. Greetings
❤️Until next time❤️
Esperando, puedan realizar esta hermosa manualidad, que sin duda, quedará perfecto debajo del arbolito de navidad, brindándoles, magia y diversión, a los más pequeños de la casa; este tren navideño, es una excelente forma para decorar realizado con material reciclable, lo cual lo convierte en una hermosa decoración y un juego para niños. Creando momentos inolvidables en unión familiar.
Gracias, por tomar de su tiempo, en leer mi post. Saludos
❤️Hasta la Próxima❤️



❤️ All photos are my property taken with my Redmi Go smartphone
❤️ All separators are my property, free to use.
❤️ English it is not my native language, I help myself with translators to make these posts
❤️ ❤️ ❤️ ❤️ ❤️ ❤️
❤️ Todas las fotos son de mi propiedad tomadas con mi celular inteligente Redmi Go
❤️ Todos los separadores son de mi propiedad, libres de uso
❤️ El inglés no es mi idioma natal, me ayudo de traductor