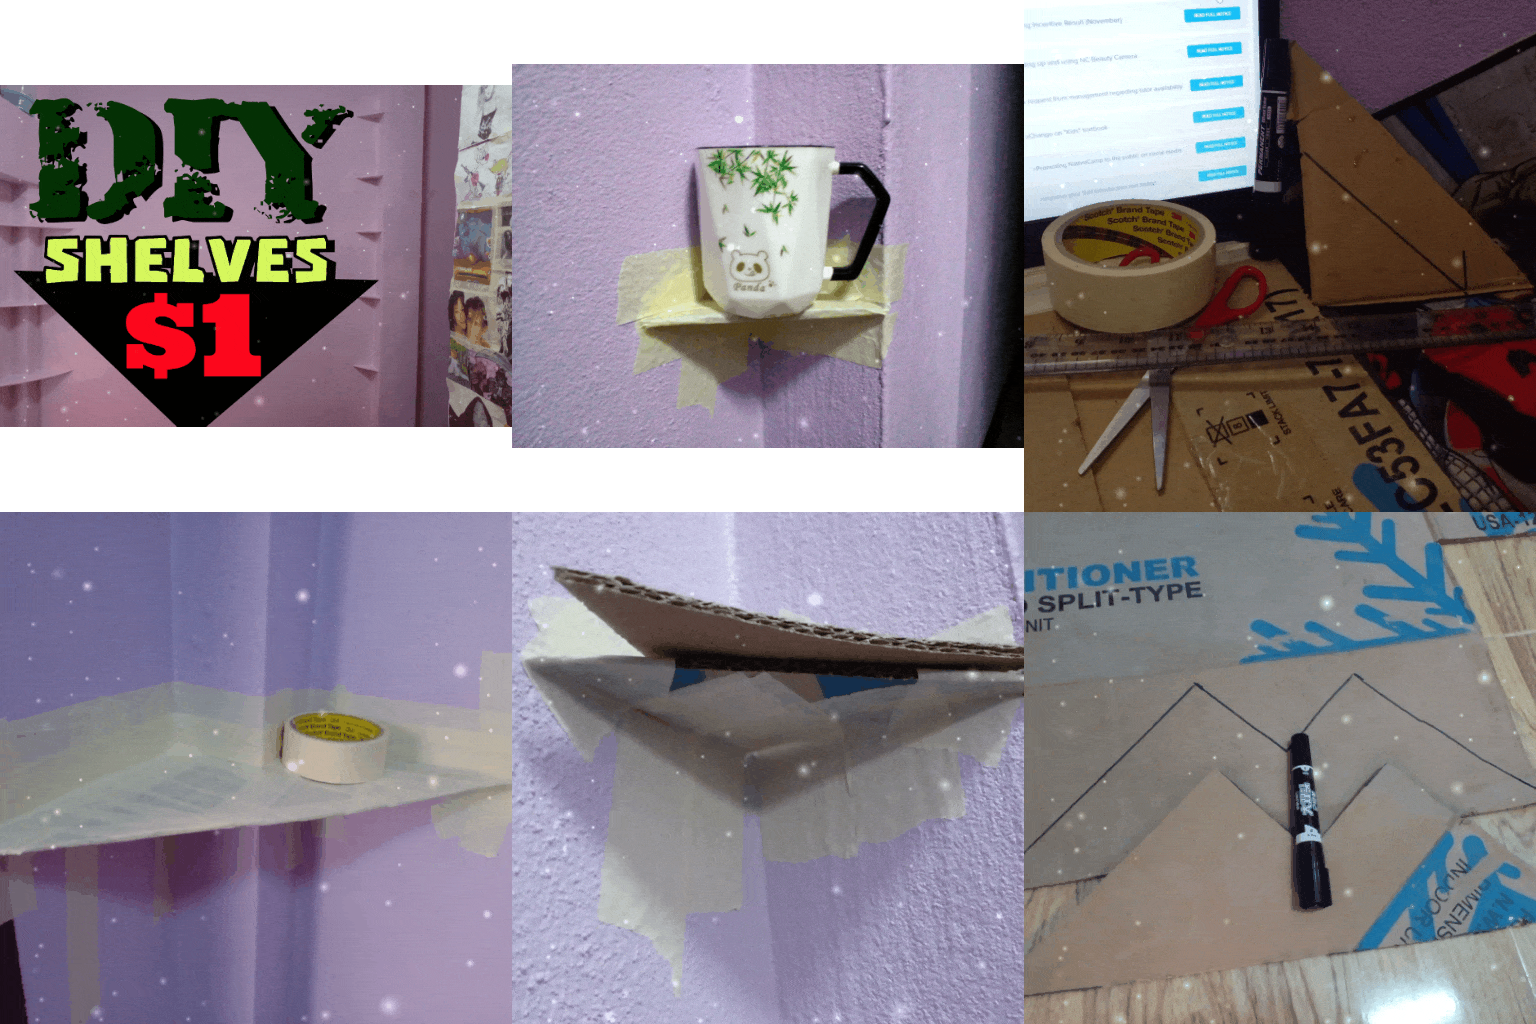
Don't you just hate having to move house? My landlord returned to Luang Prabang from the UK and wanted her room back so we had to pack up and find some place new. One of the great things about her room was that it was fully furnished. Our new room is nice, but it has zero furniture so I had to do some DIY shelving to make the small kitchen a bit more functional.
I already had everything I needed for this project, but I used up a whole roll of 3M painters' tape which costs about $1 so that was the only expense for me. If you lack any of the materials then it will cost more, but you can still get a lot done quickly and cheaply.
What will you need?
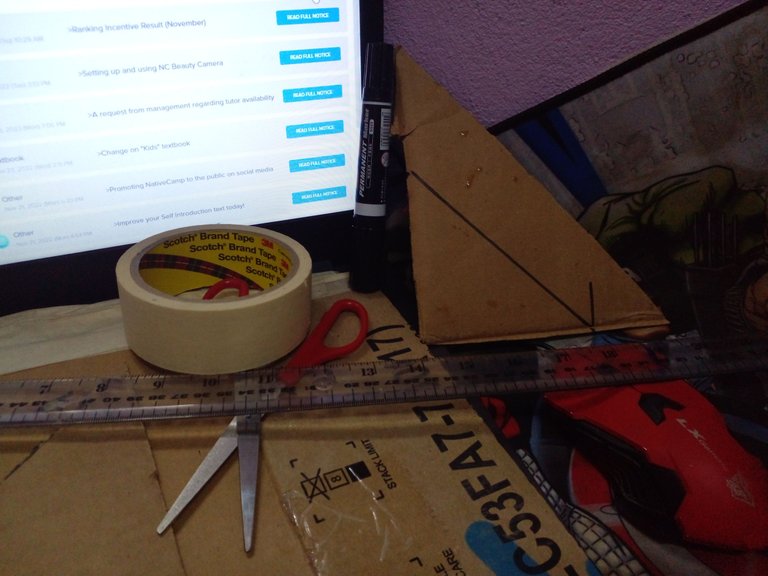
cardboard
scissors
paint
ruler
tape
pen
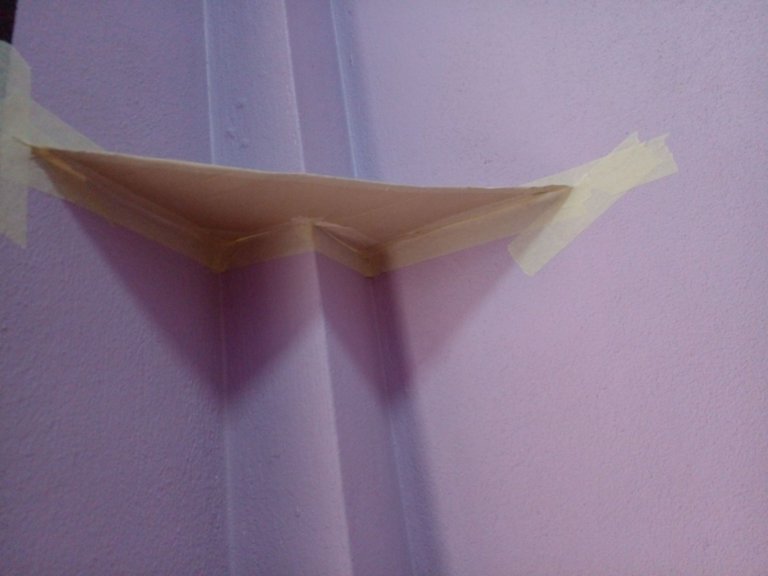
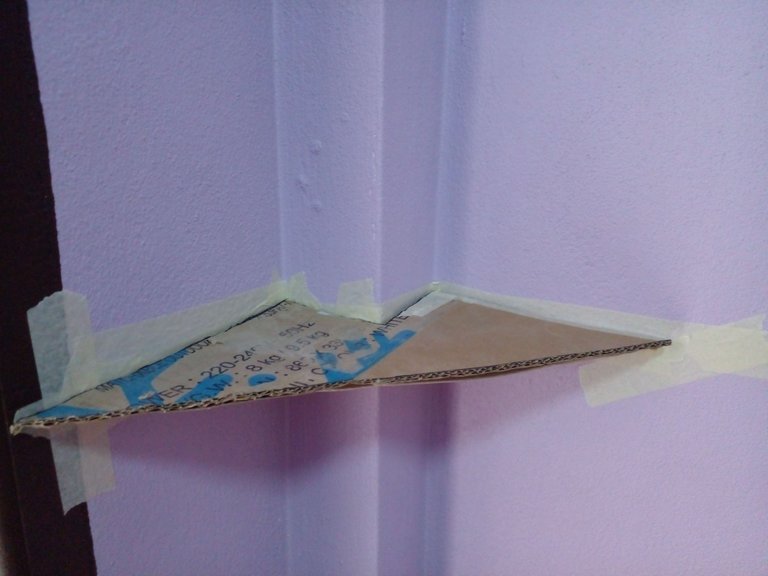
The first corner was a large triangle with a 9x9 cm square cut out for the corner beam which grew to eleven centimeters at the top.
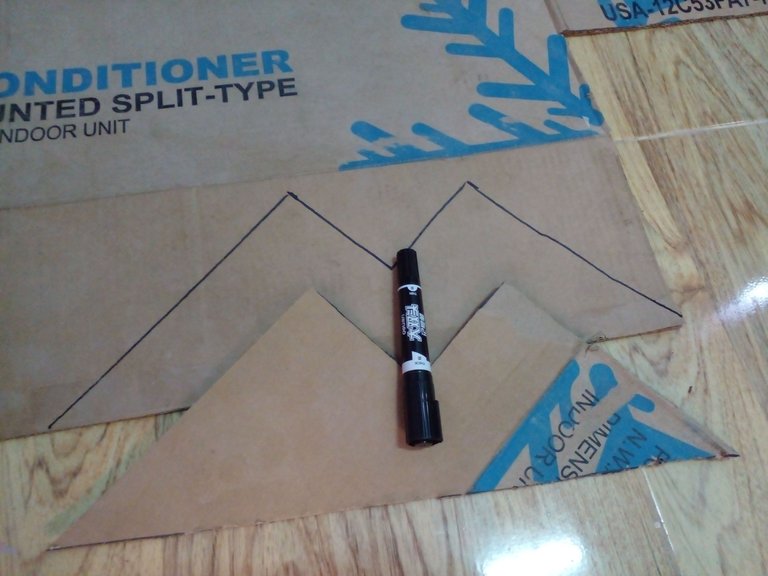
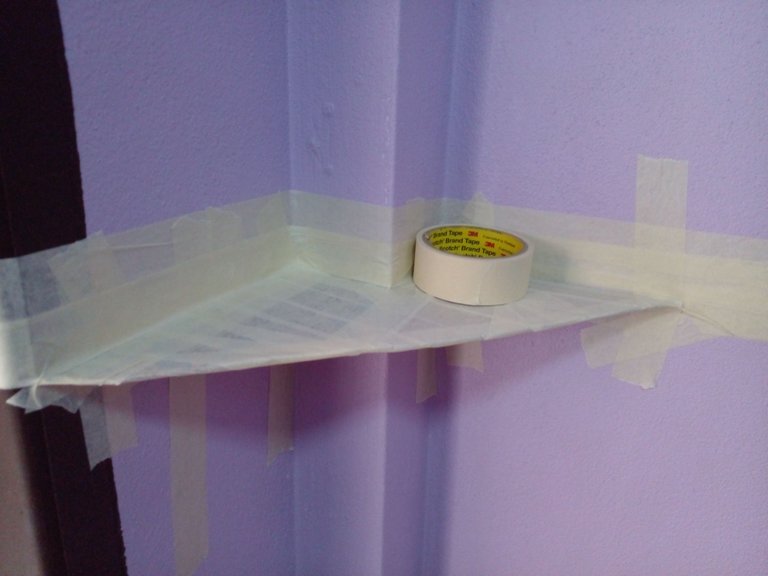
One piece of cardboard wasn't strong enough, so I traced one more layer. If I had cement I would've taped up the first piece and then dipped the top layer in watery cement. You could also carefully add some cement just like you would paint with a big brush or rubber gloves and sponges.
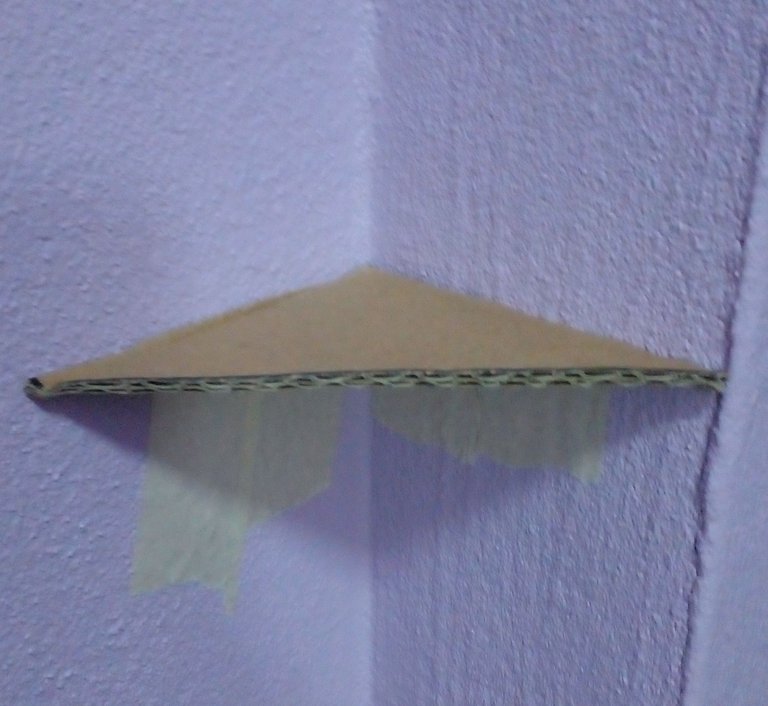
These smaller corners came out much more level and firm. They're just big enough for one item.
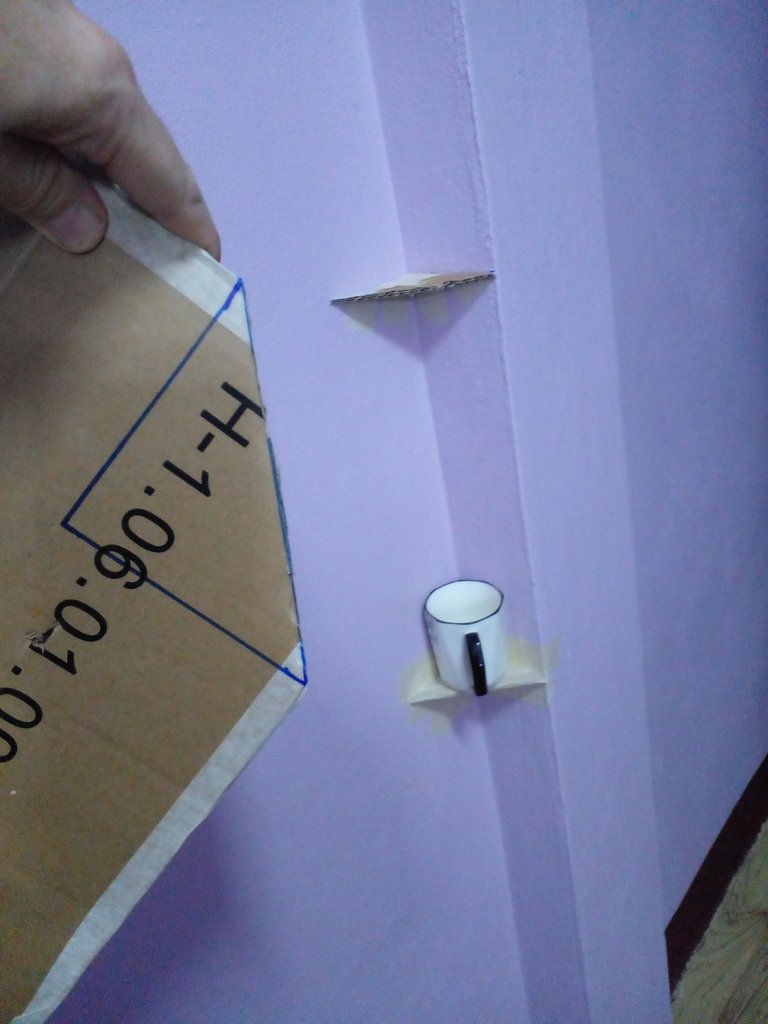
Try not to damage or weaken the cardboard when cutting.
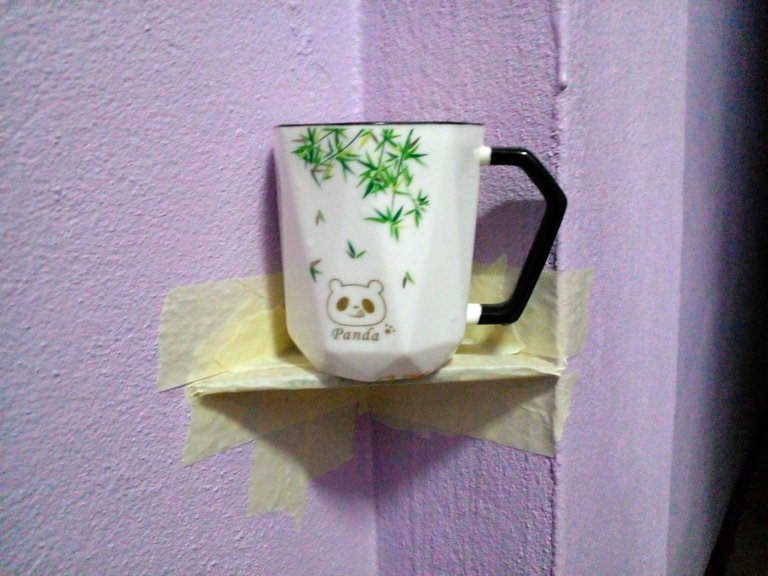
If it can hold a cup full of water then it is strong enough for my needs. You could make this way stronger but that would take more time and money to work. I would like to add small glass tiles with white cement, but it's not my property.
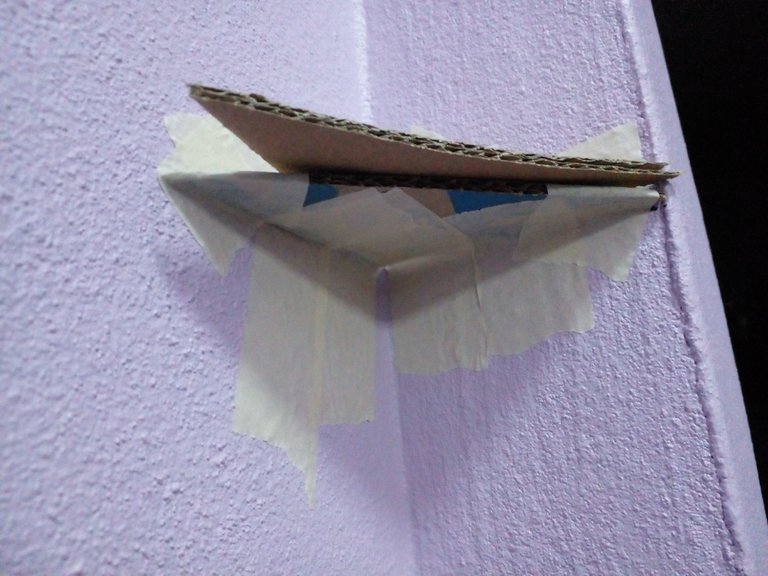
I didn't have a ladder so the shelf above my head was hard to set level, but it came out OK.
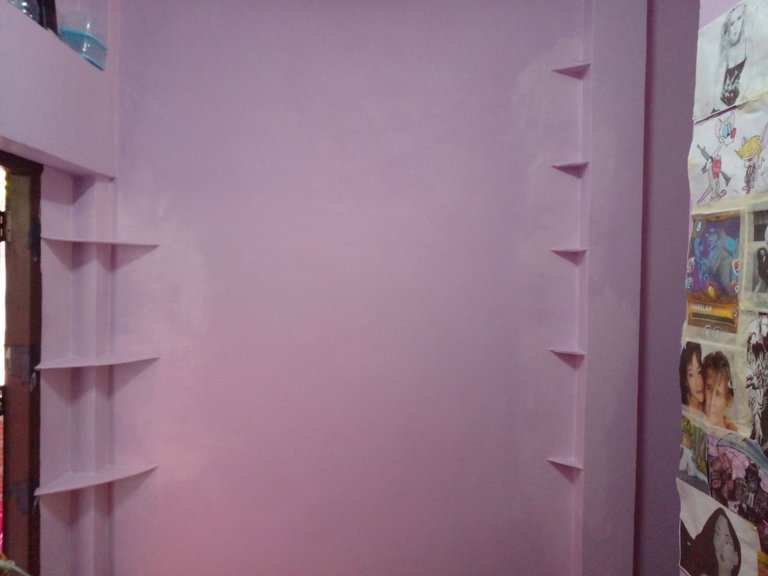
I'm not sure if he is the owner or maintenance guy or both but he had pink paint left over and even helped me cover everything in several layers to hide the cardboard and tape. A thin layer of cement would be necessary if this were outside or in the bathroom, but the spices, fruits, and vegetables we place on these shelves of triangles are not heavy so they don't bear much downward stress of gravity. They have ant-like weight-to-strength qualities, but I wouldn't lean on them or stack any plates on them either.
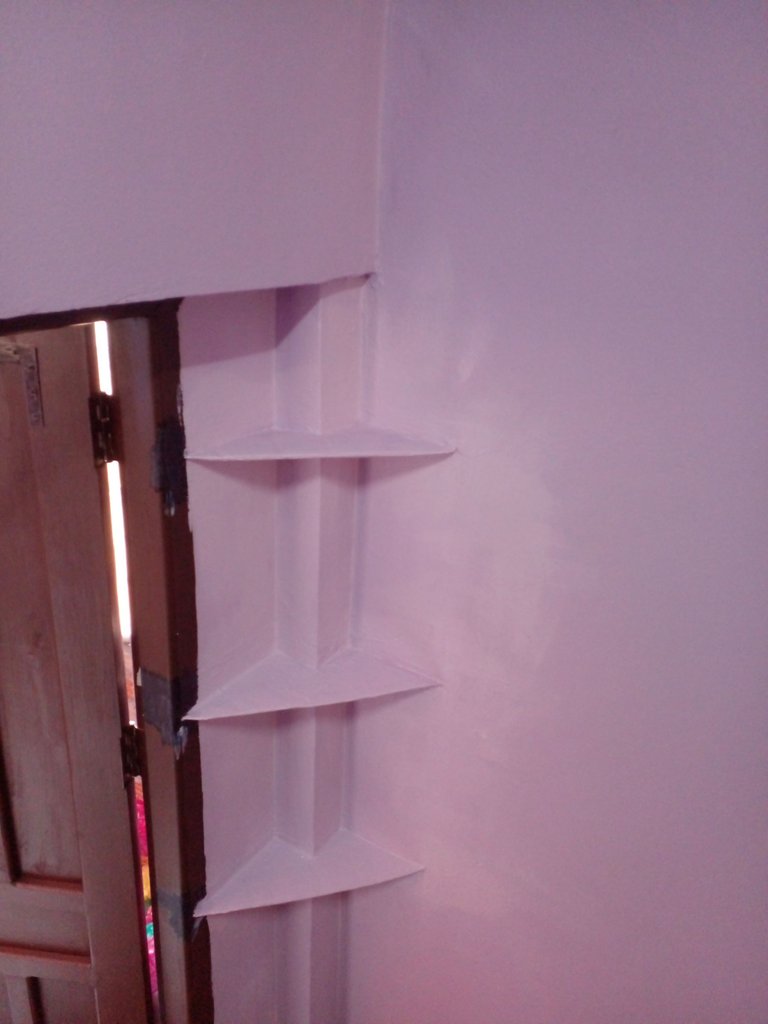
I wouldn't recommend getting this ambitious with the surface area using cardboard because all three of my shelves have a sag, but it can work for presenting some things.
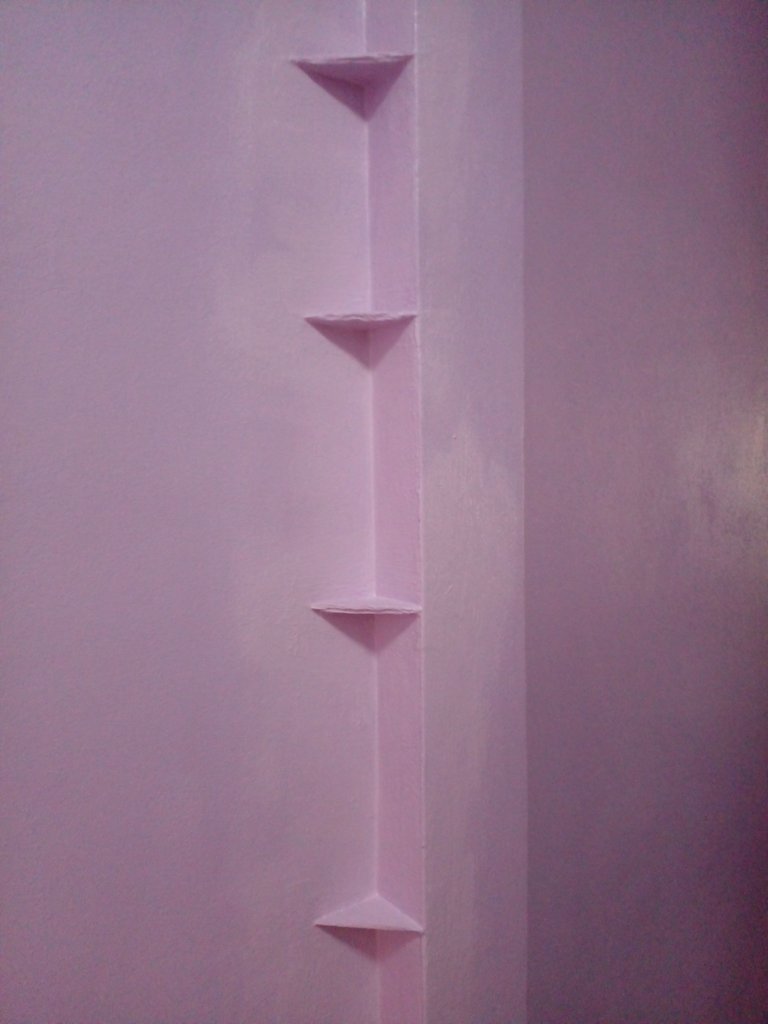
If I make more corner shelves I will make them small and compact like these ones because they stay straight and are pretty strong.
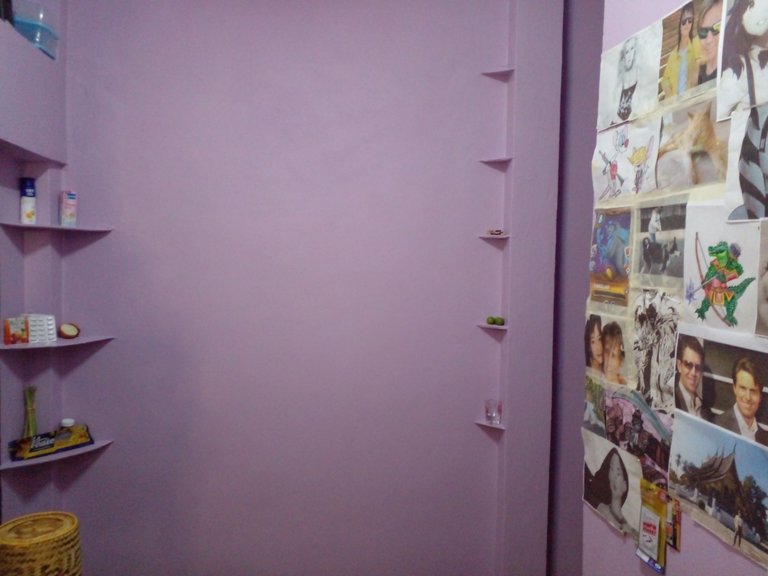
Thanks for reading about my solution for a small furniture-less kitchen. I used Google Photos and PhotoPea to edit these images. I hope you found my project useful or inspirational. I would have liked to use something stronger than cardboard, but I had zero money and it was the only thing I had available. I think tiling or wood would work well too if the glue and cement were applied well. You don't have to commit to anything permanent. If the temporary cardboard works out you can replace it with something stronger and use the cardboard as a template for cutting the new piece. What do you think would be best?
