

Spanish
Hola, querid@s hivers
Hoy vengo a compartir una idea muy linda, rápida y fácil de hacer, para ese detallito que quieres regalar, sobre todo este fin de semana que se celebra el Día de las Madres.
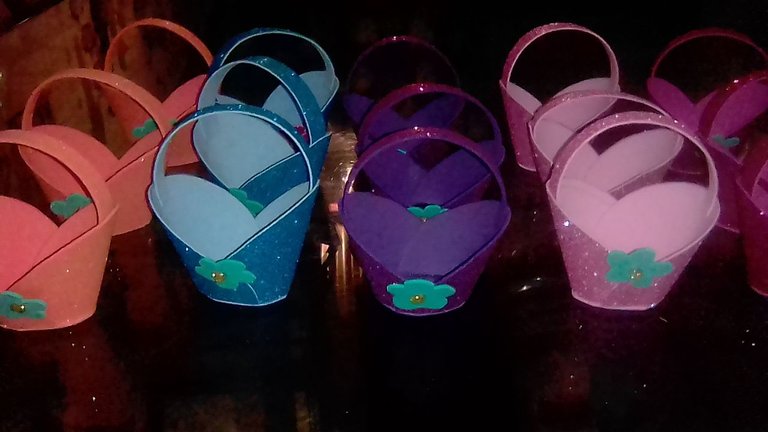
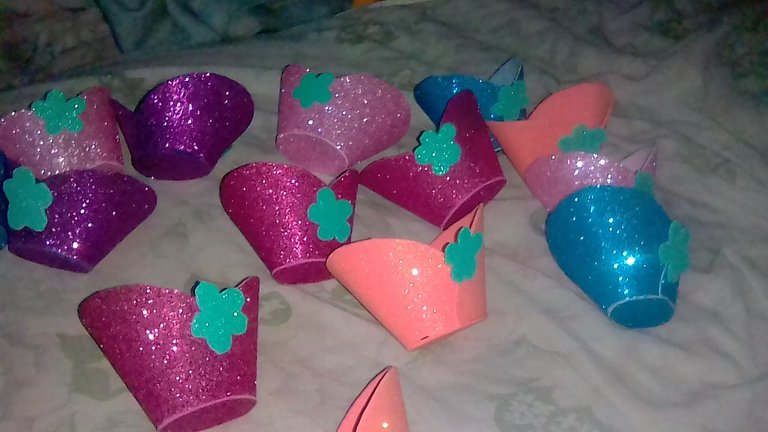
Lo que realice con ayuda de mis hijos, son unas cestas hechas con foami escarchado. A mí me gusto esta idea porque quería realizar varias para regalar, son prácticas de hacer y de que los niños puedan ayudar en la elaboración. Bueno te invito a que te quedes a ver y leer todo sobre estas bellas cestas.
Materiales a usar:
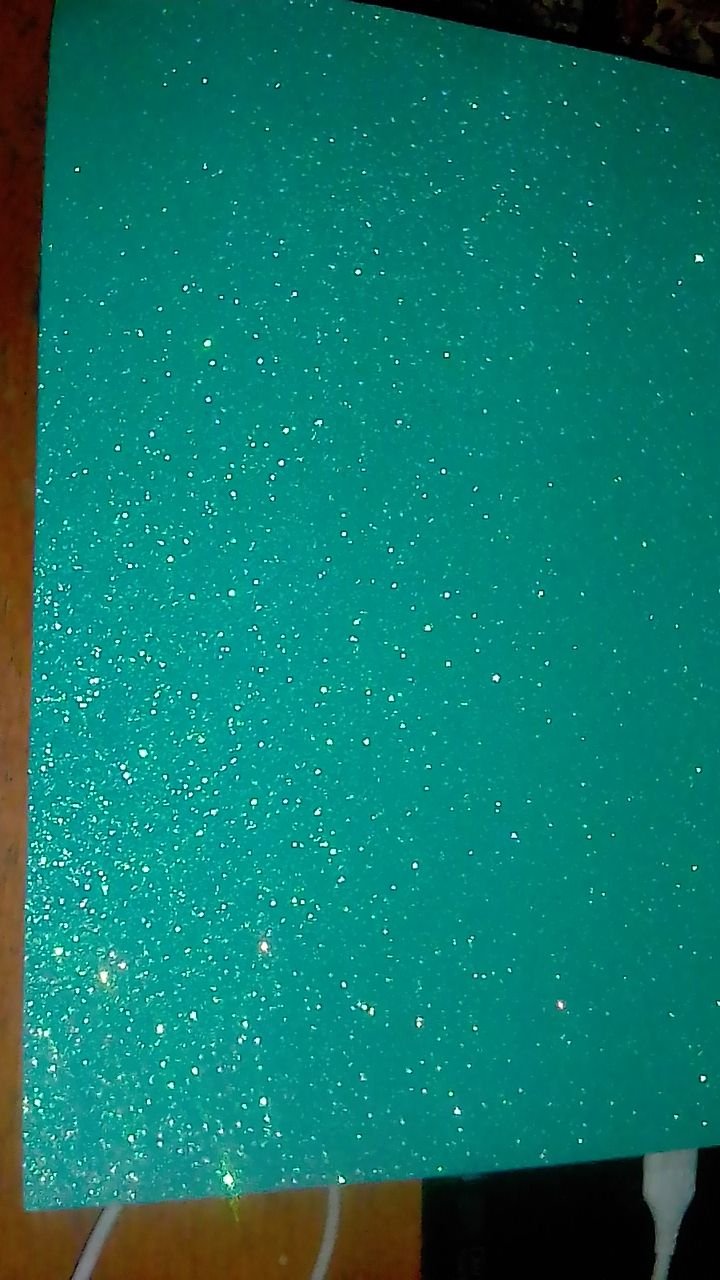
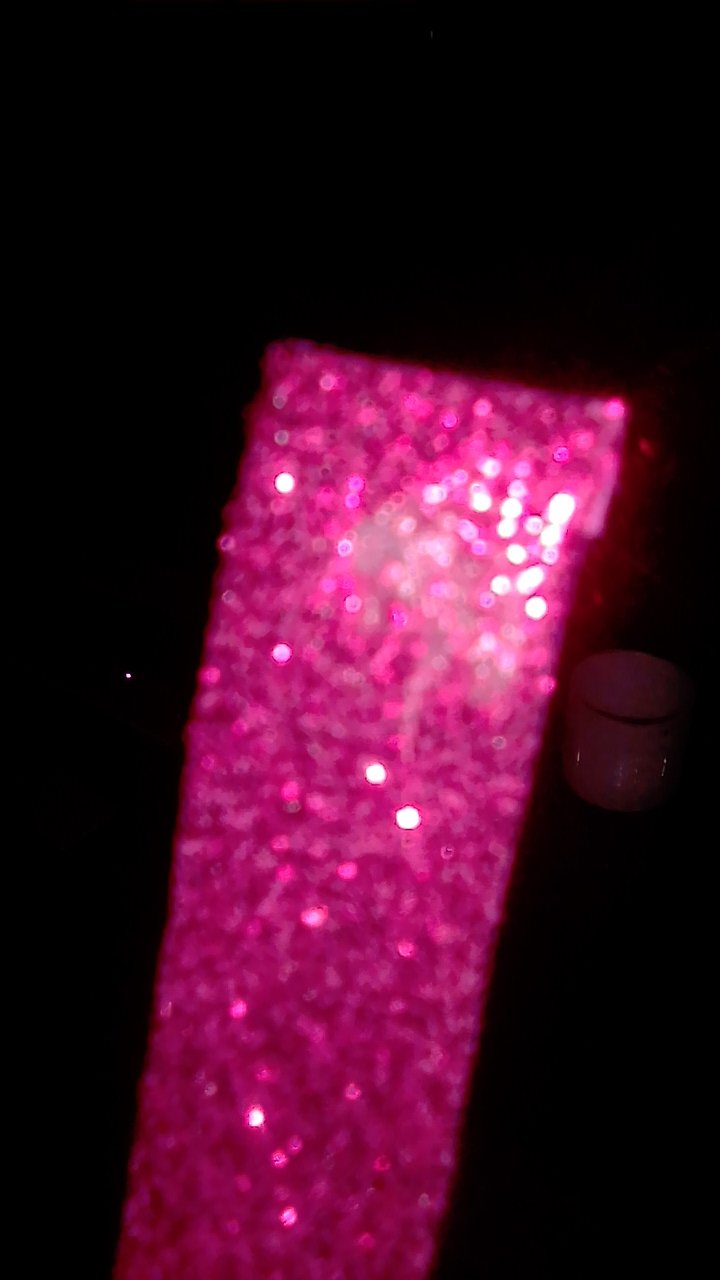
Foami escarchado (yo use 6 tamaño carta, color rosado, morado, fucsia, azul claro, anaranjado y verde claro)
Pega de barra
Tijera
Un vaso
Lápiz
Pega escarchada
Elaboración:
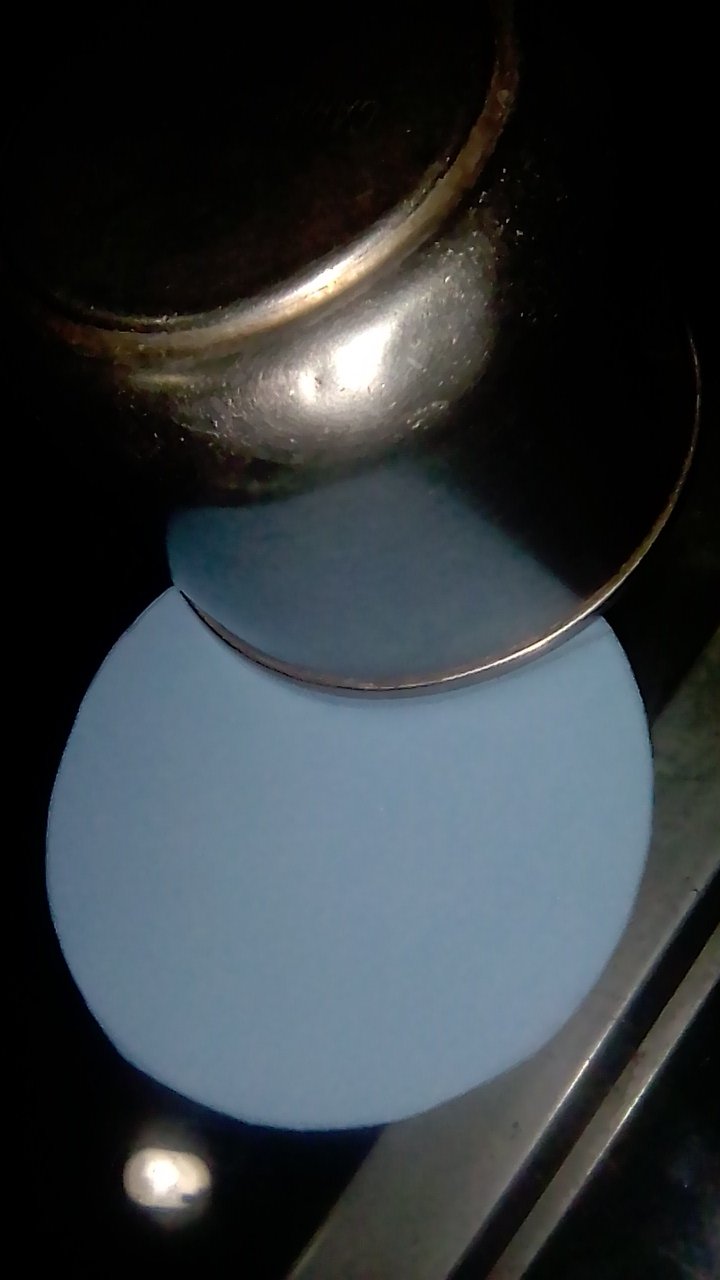
Lo primero que hice fue sacar la cuenta de la cantidad que quería realizar, o sea, a cuantas madres les vamos a regalar. Para luego ir a comprar los foamis de los colores que me gustaran. Ya que tengo los foamis, busco la medida que quiero realizar (por esta razón también es muy buena opción esta cesta, pues, tu escoges el tamaño que deseas), en mi caso usare un vaso. Lo coloco sobre el foami y realizo el circulo con ayuda de un lápiz (este proceso lo realizo las veces que sean necesarias, tomando en cuenta que 2 círculos hacen una cesta).
English
Hello, dear hivers
Today I come to share a very nice idea, quick and easy to make, for that little detail that you want to give, especially this weekend when Mother's Day is celebrated.
What I made with the help of my children, are some baskets made with frosted foami. I liked this idea because I wanted to make several to give as gifts, they are practical to make and the children can help in the elaboration. Well I invite you to stay and see and read all about these beautiful baskets.
Materials to use:
Frosted Foami (I used 6 letter size, pink, purple, fuchsia, light blue, orange and light green).
Glue stick
Scissors
A glass
Pencil
Frosted glue
Elaboration:
The first thing I did was to count the amount I wanted to make, that is, how many mothers we are going to give them. Then I went to buy the foamis of the colors I liked. Once I have the foamis, I look for the size I want to make (for this reason this basket is also a very good option, because you choose the size you want), in my case I will use a glass. I place it on the foami and make the circle with the help of a pencil (I do this process as many times as necessary, taking into account that 2 circles make a basket).
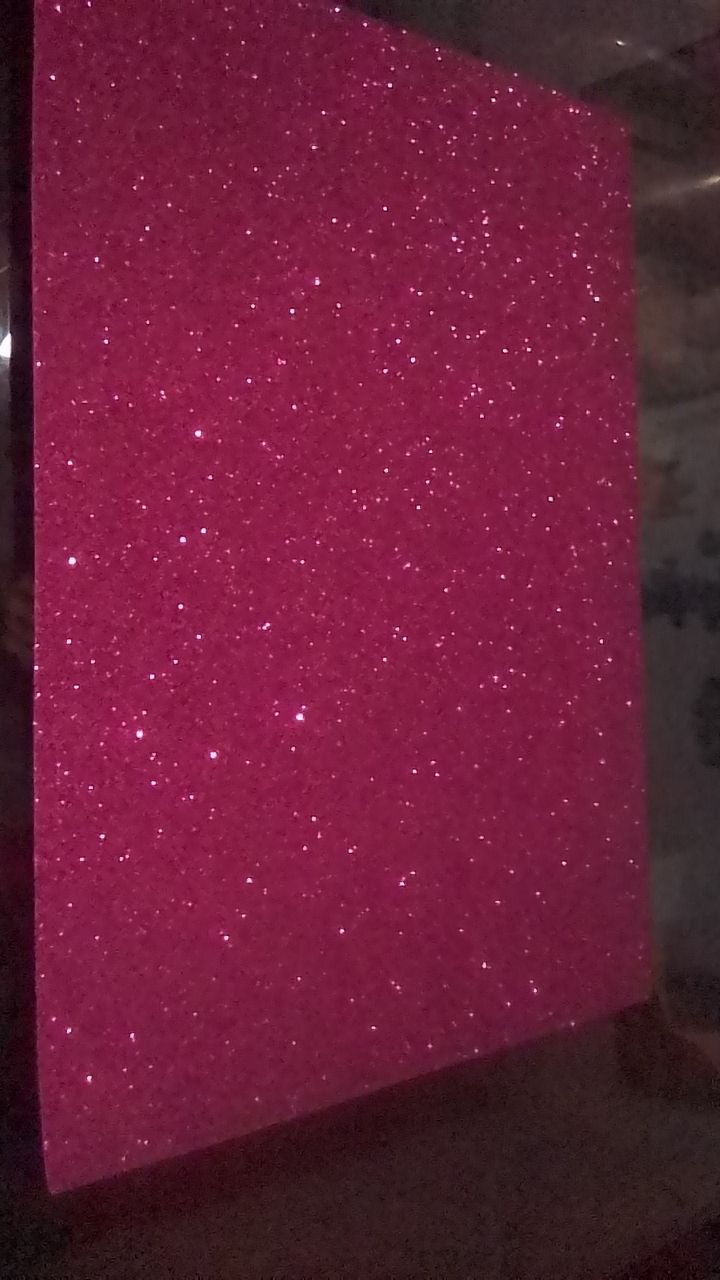
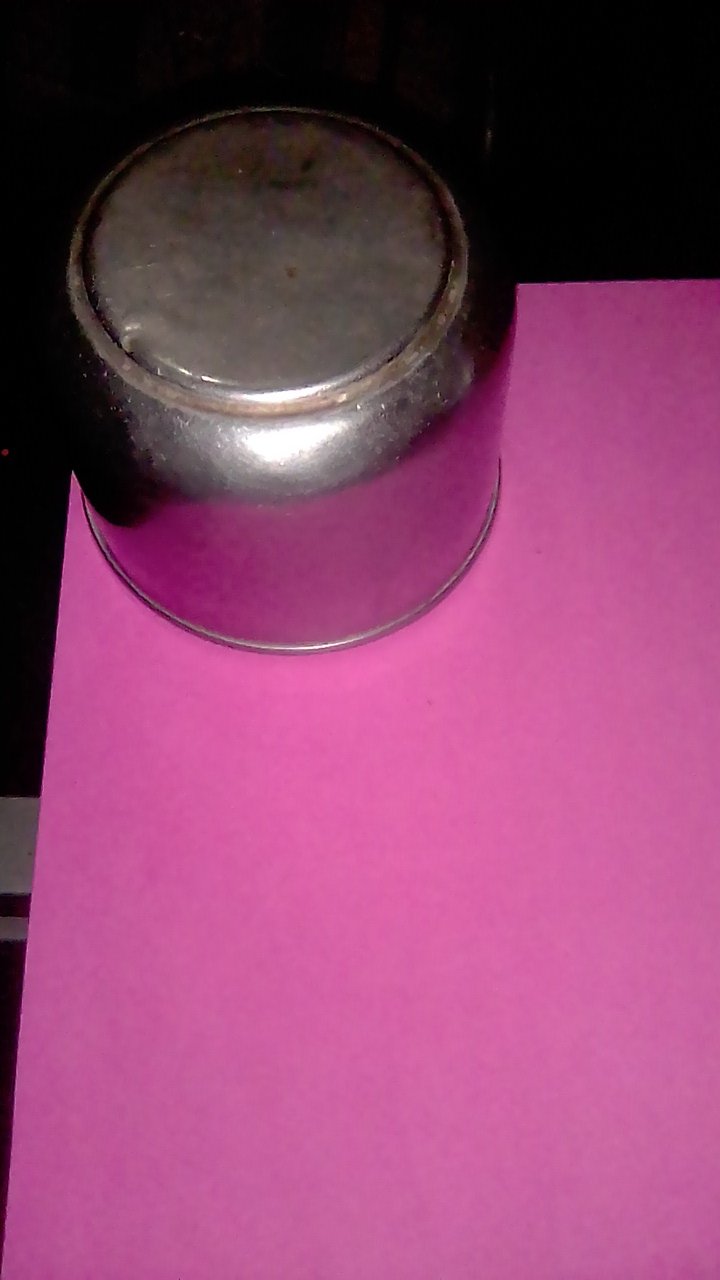
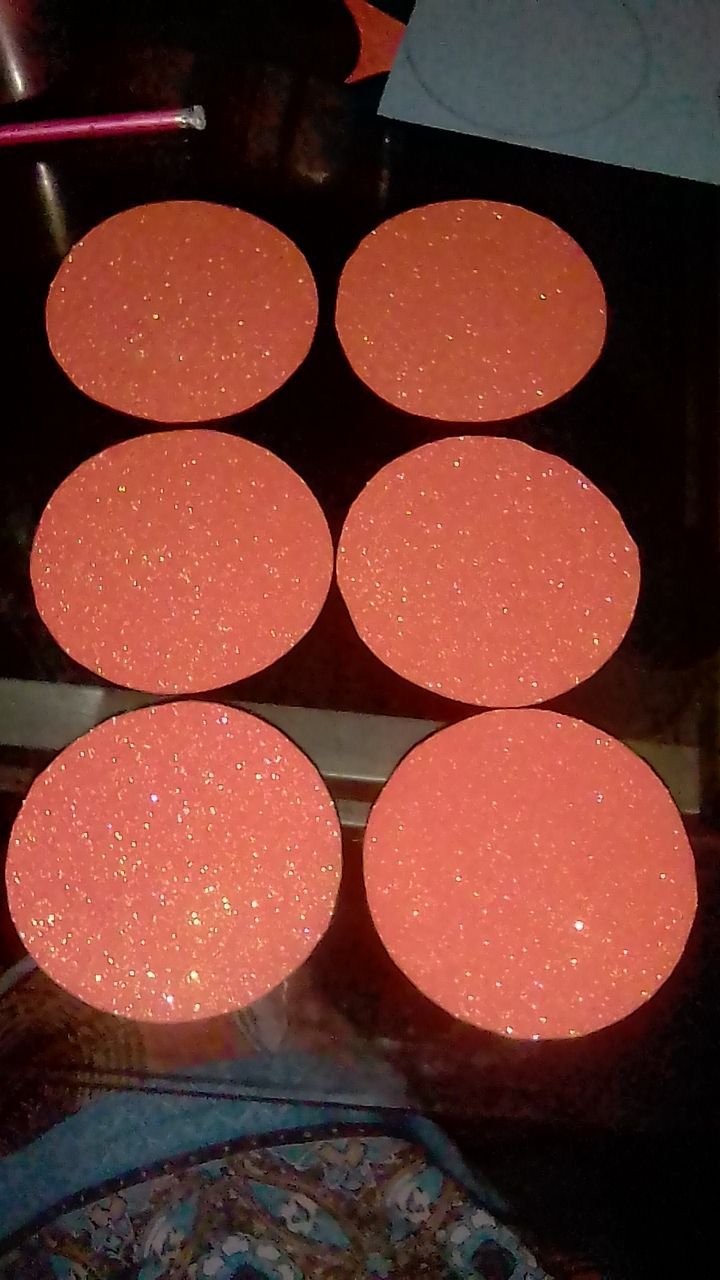
Spanish
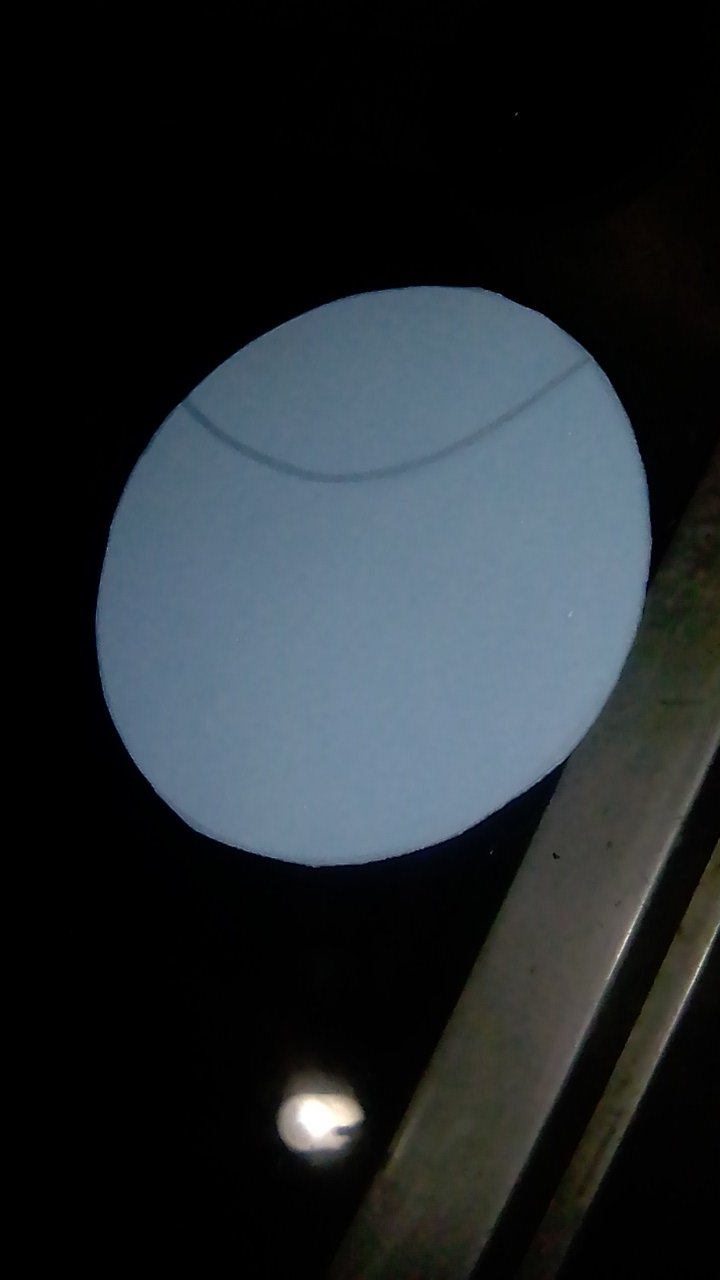
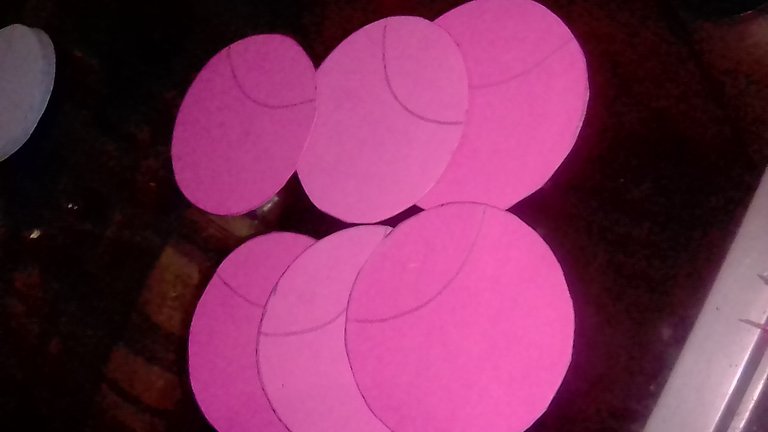
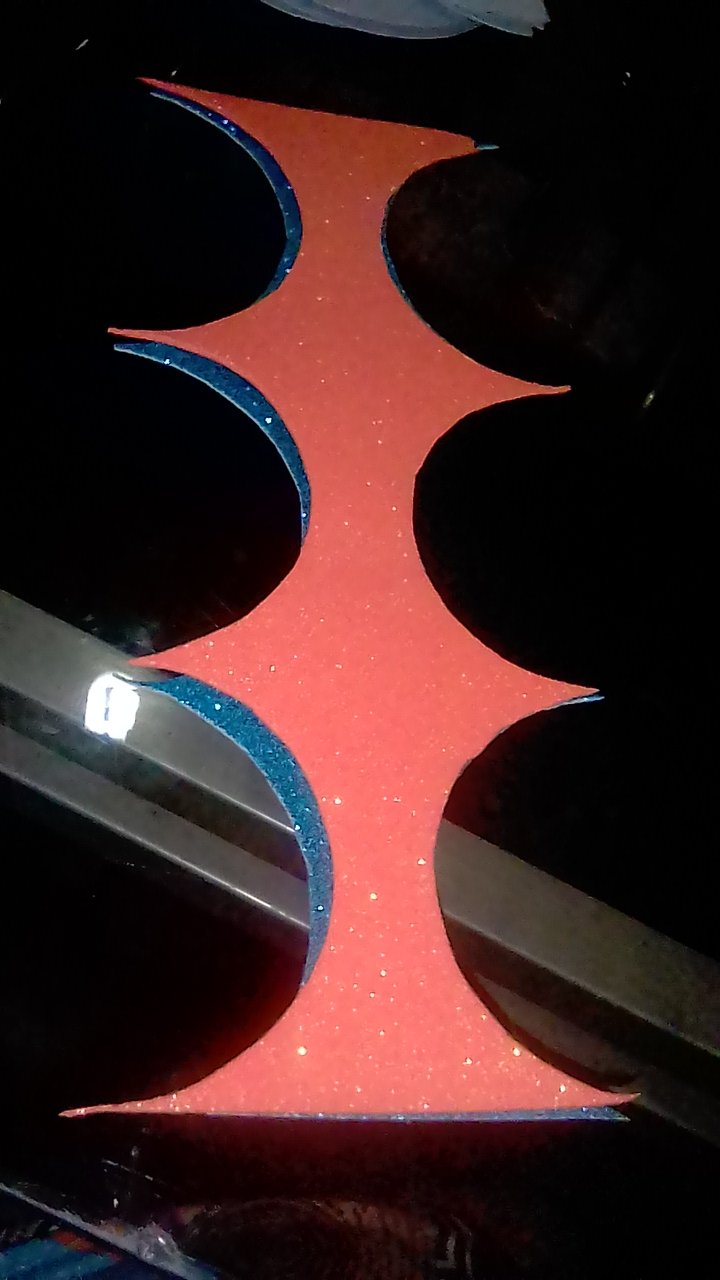
Ahora agarro la tijera y corto cada círculo realizado. Una vez más, usaremos el vaso para realizar un semi círculo en el círculo que esta recortado. Coloco el vaso, marco con un lápiz y recorto (este proceso lo voy a hacer nada más con un solo circulo), luego cuando tenga el patrón con ese mismo me guiare para recortar todos los demás. De esta manera aseguro una misma medida para todos.
English
Now I take the scissors and cut out each circle made. Once again, we will use the glass to make a half circle in the circle that is cut out. I place the glass, mark with a pencil and cut out (I will do this process with only one circle), then when I have the pattern I will use it as a guide to cut out all the others. This way I ensure the same size for all of them.
Spanish
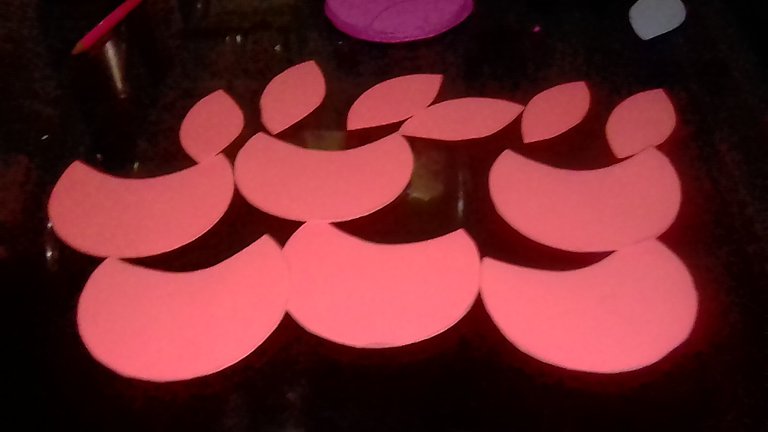
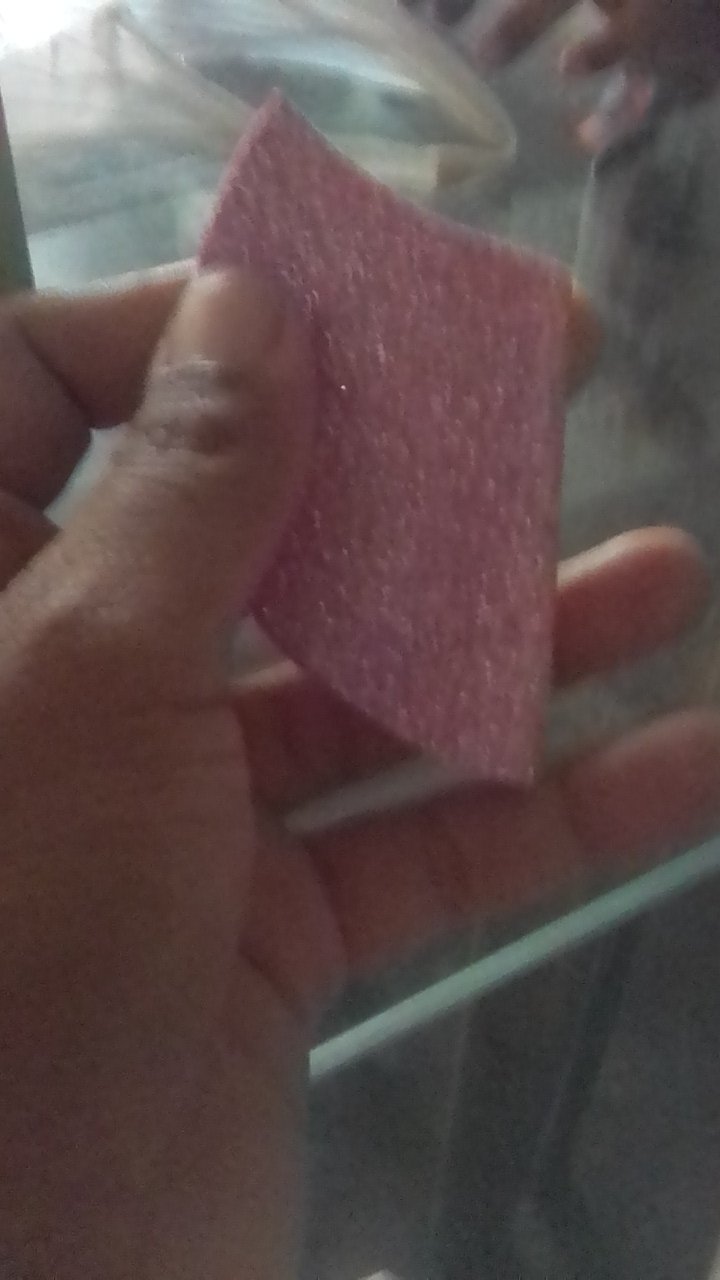
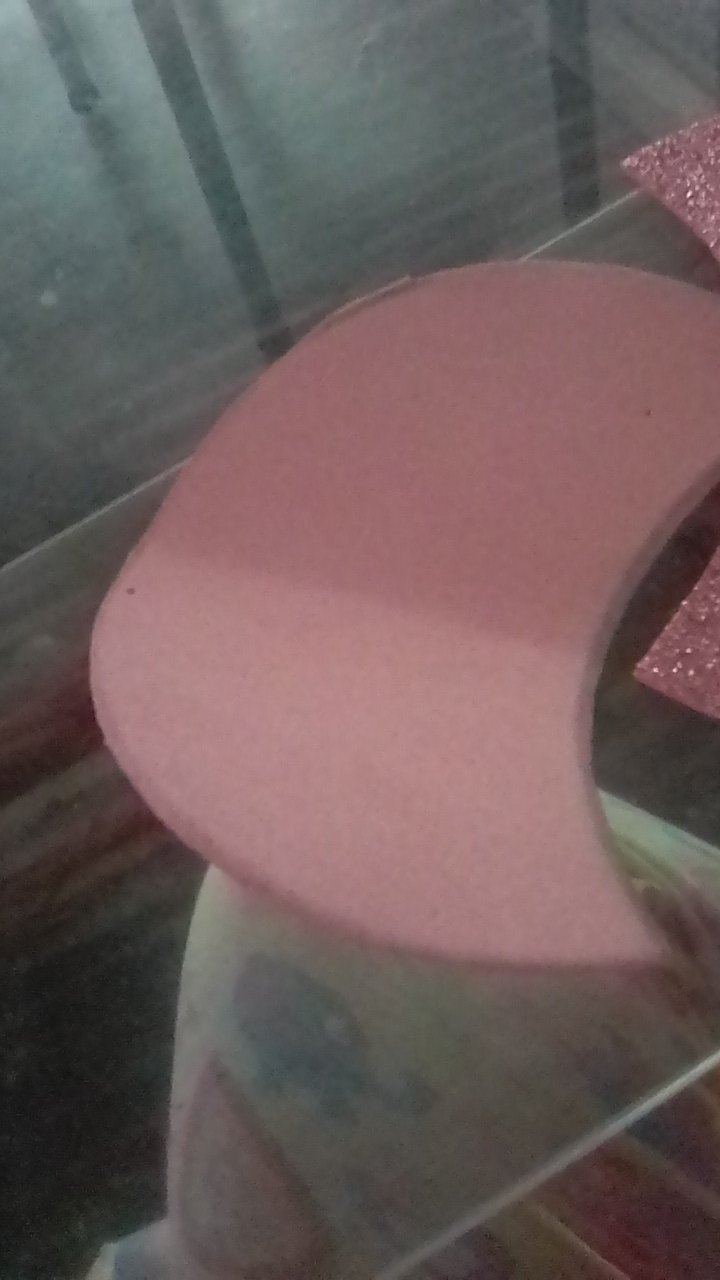
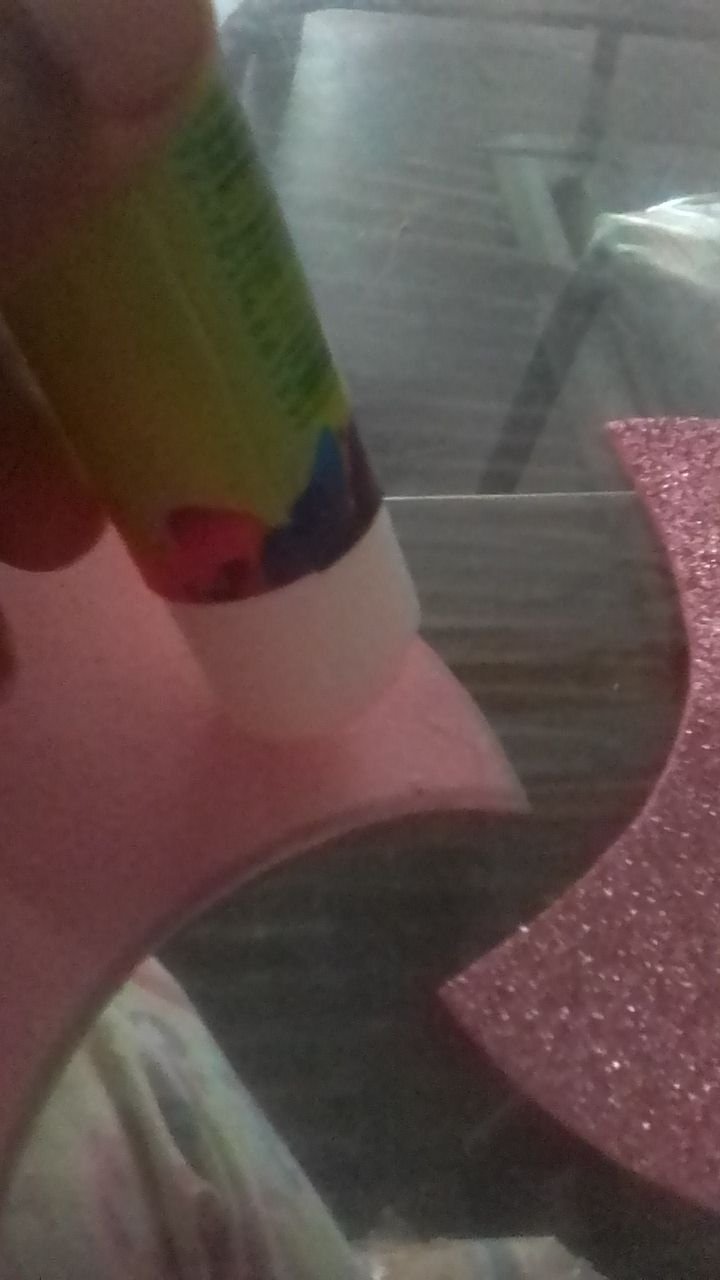
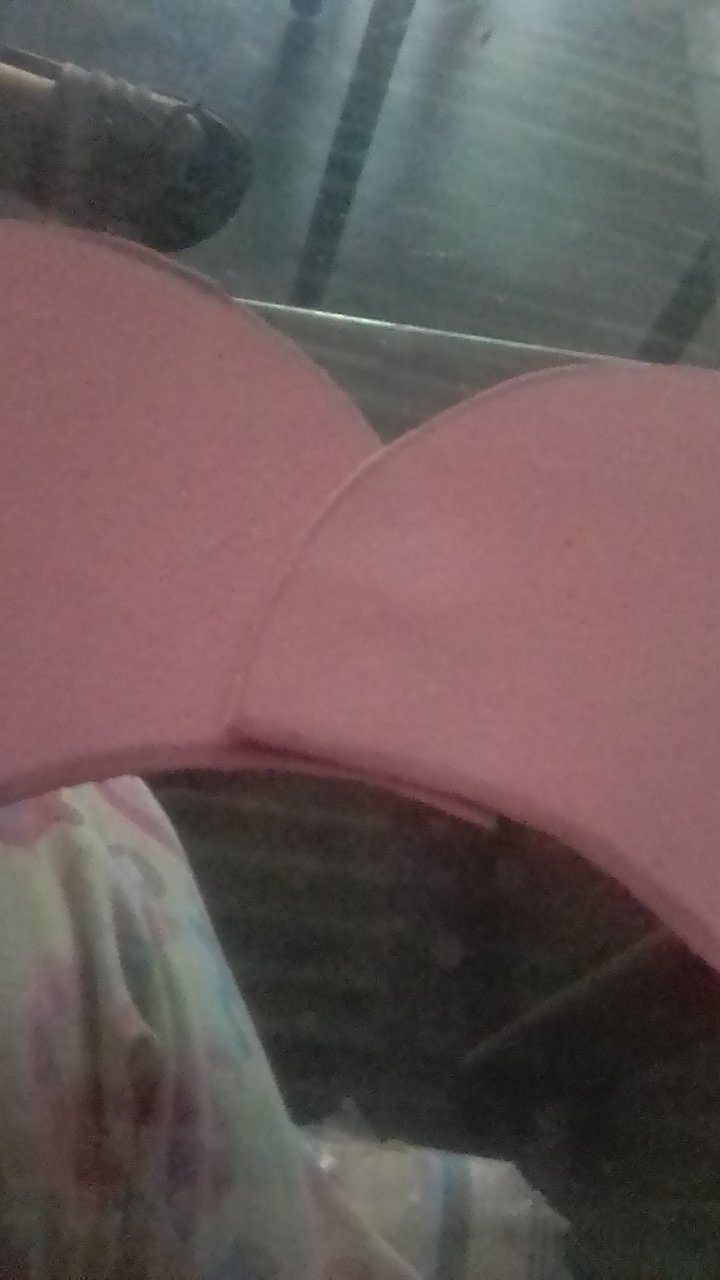
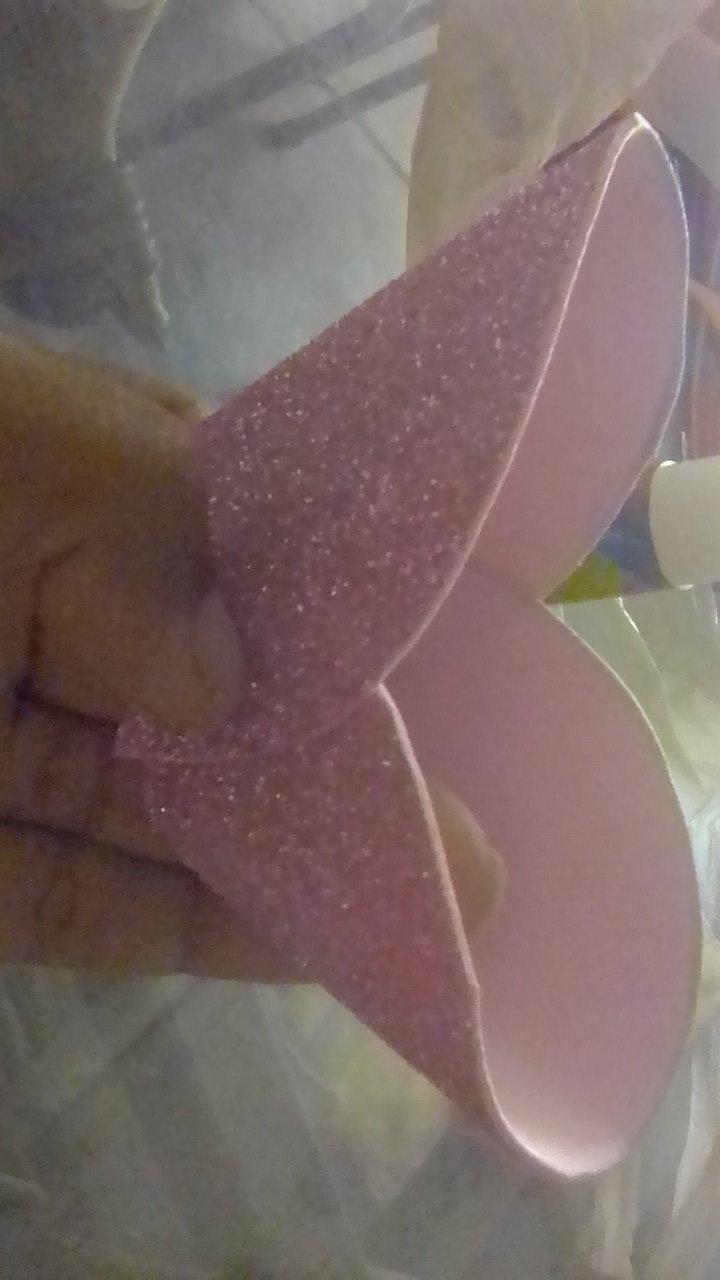
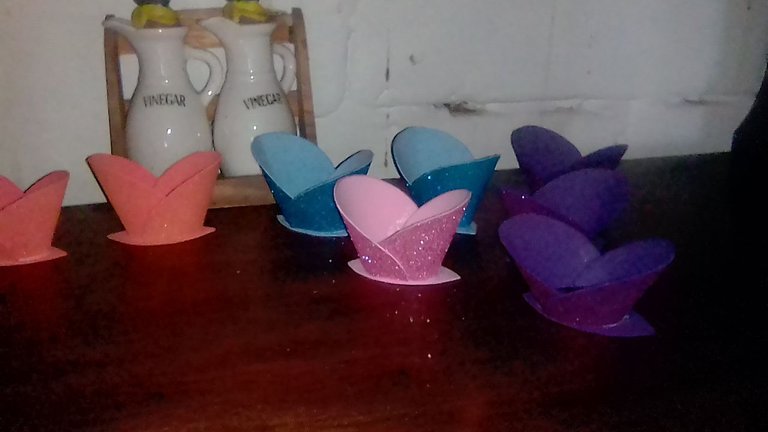
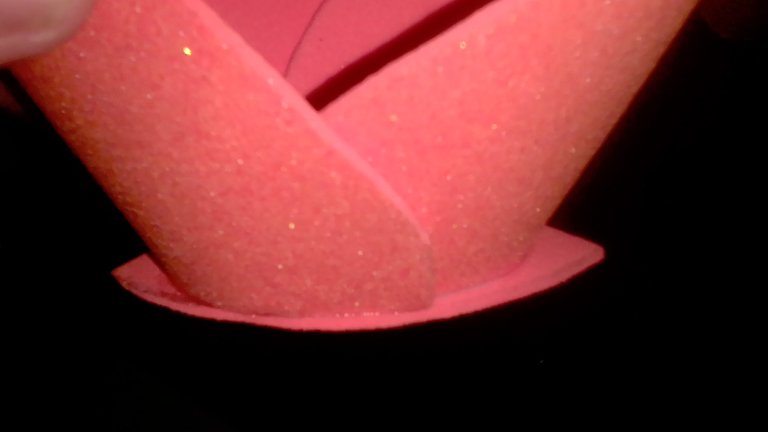
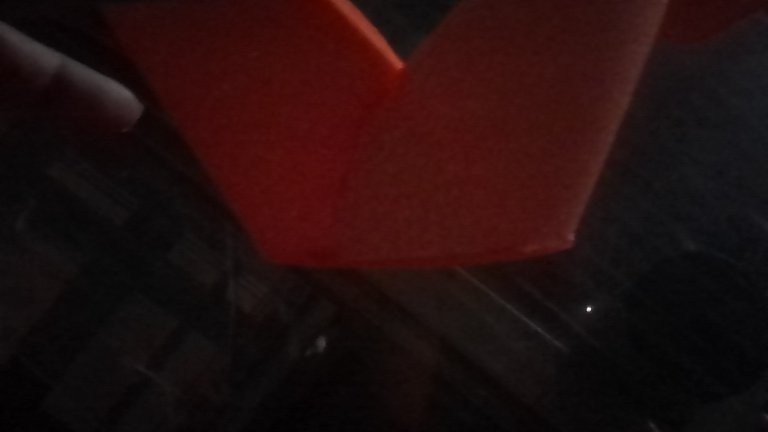
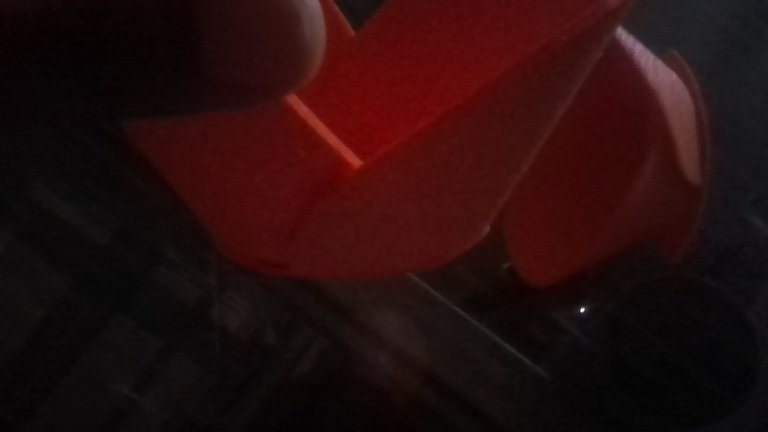
Ha llegado el momento de dar le forma. Agarro un semi círculo, lo doblo por la mitad, agarro otro y realizo el mismo procedimiento. Coloco pega en las puntas que van hacia abajo y pego los dos pedazos (como lo veras en las fotos). Allí ya se puede apreciar un poco la cesta. Realizamos este procedimiento hasta terminar con todos los recortados.
English
The time has come to shape it. I take a half circle, fold it in half, take another one and do the same procedure. I put glue on the ends that go down and glue the two pieces together (as you can see in the pictures). There you can already see a little bit of the basket. We do this procedure until we finish with all the pieces cut out.
Spanish
Ten en cuenta que todo lo que te quede sobrando es de utilidad, así que no lo vayas a botar. De allí se sacan las tiras y la tapa para la parte de debajo de la cesta. Es más podrías sacar las flores, pero yo las quería todas de un mismo color.
Con las “hojita” que se le quito al círculo se va a pegar en la parte de abajo. Luego que se seque, se recorta el sobrante.
English
Keep in mind that whatever you have left over is useful, so don't throw it away. From there you take the strips and the lid for the bottom of the basket. You could even take out the flowers, but I wanted them all in the same color.
With the "little leaves" that you removed from the circle, glue it to the bottom of the basket. After it dries, trim off the excess.
Spanish
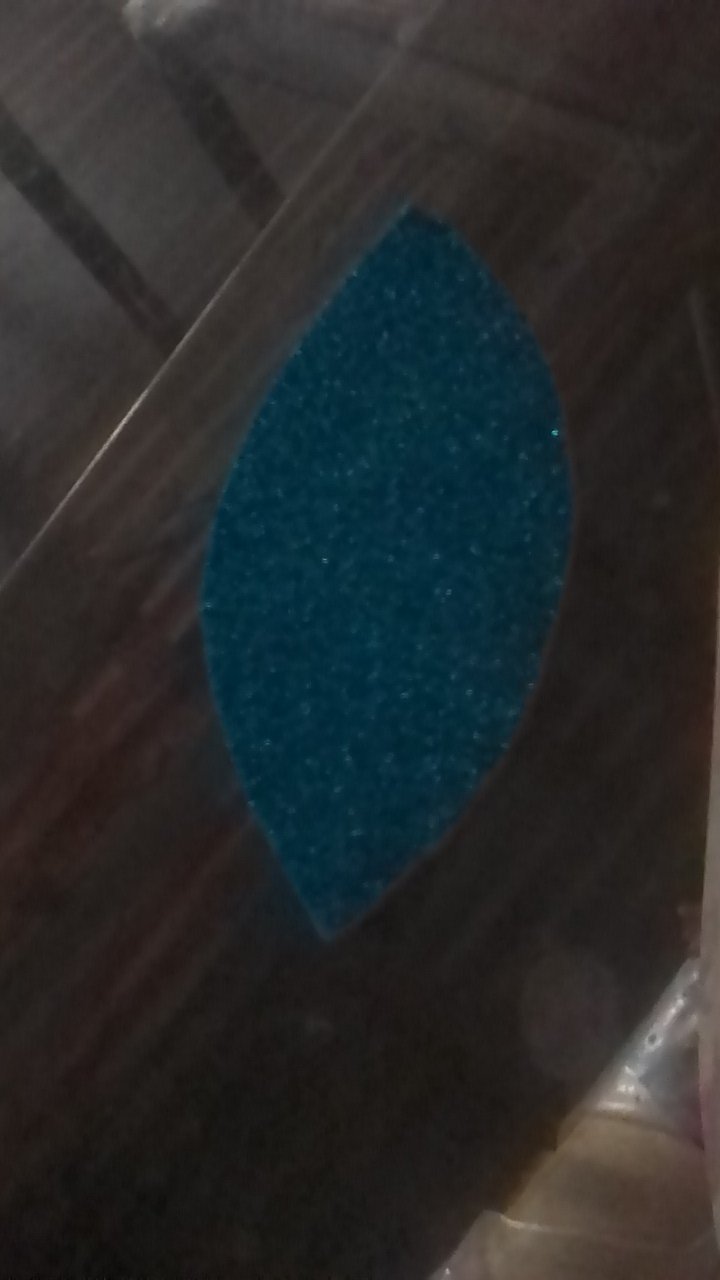
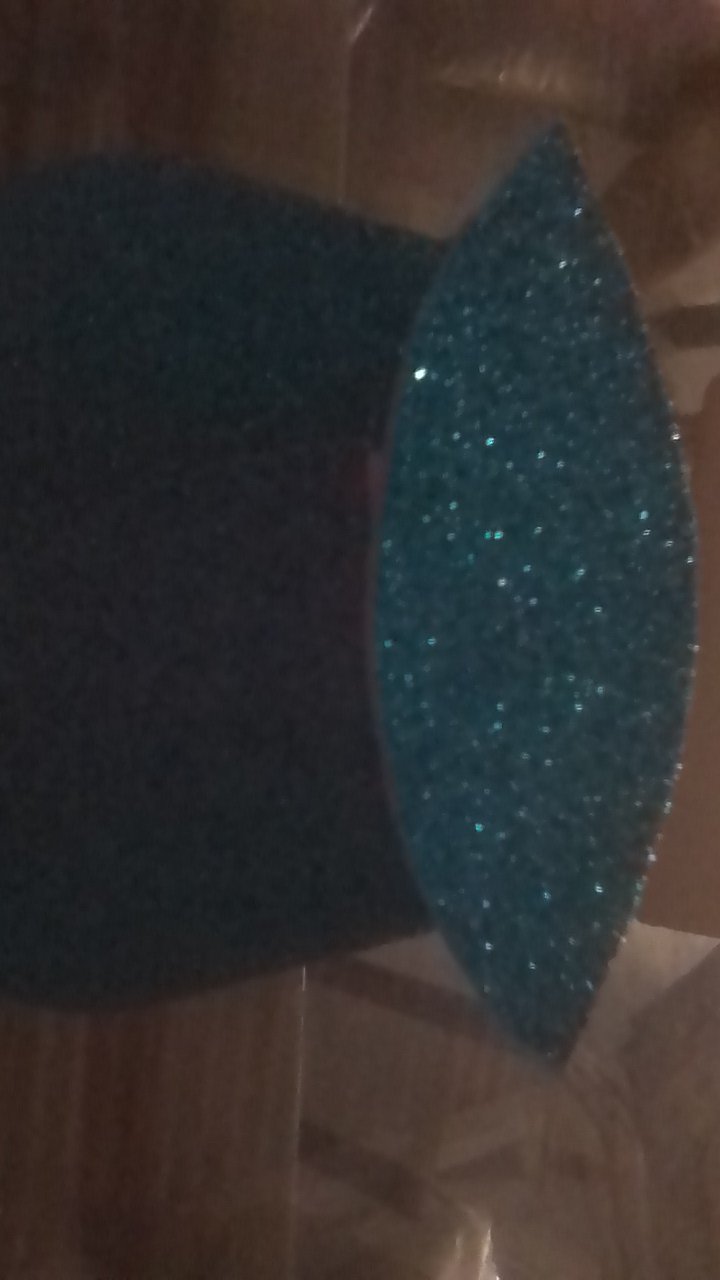
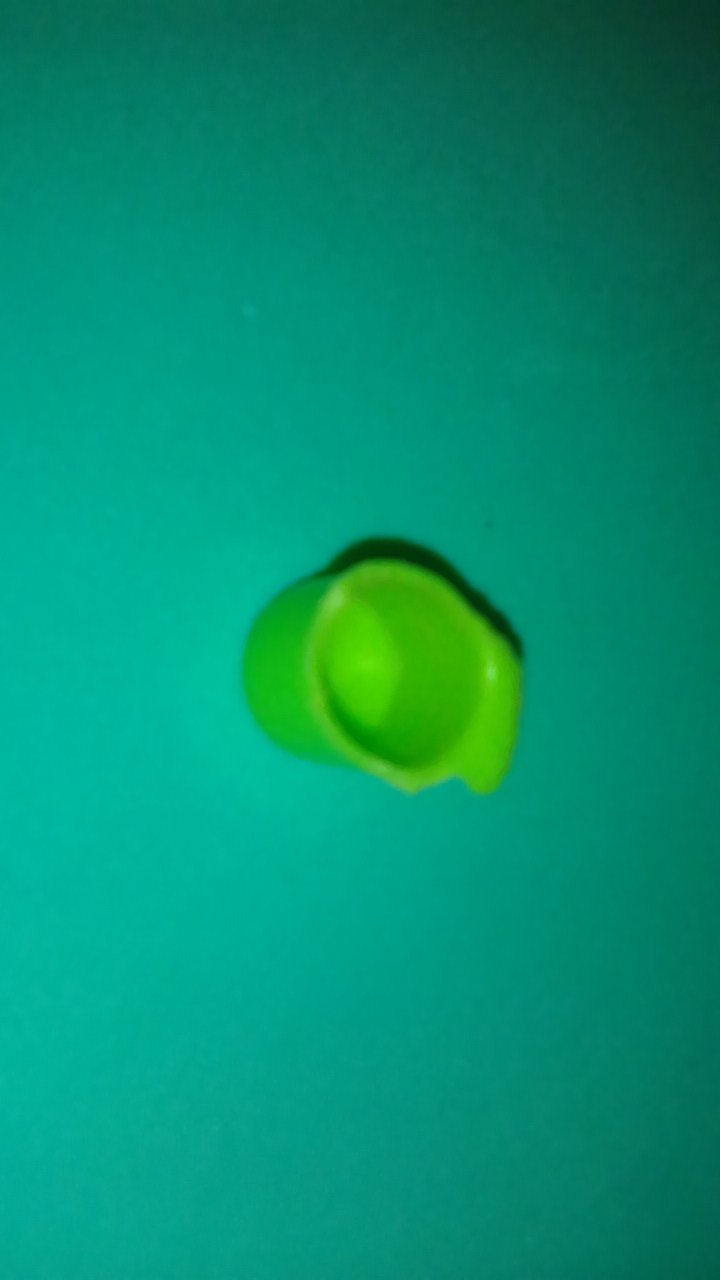
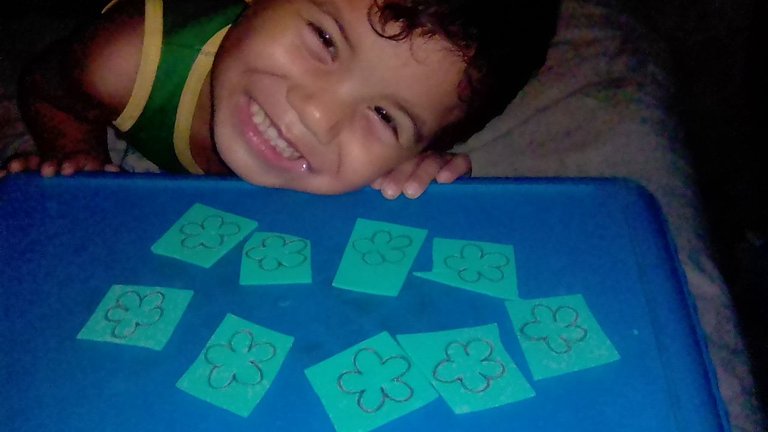
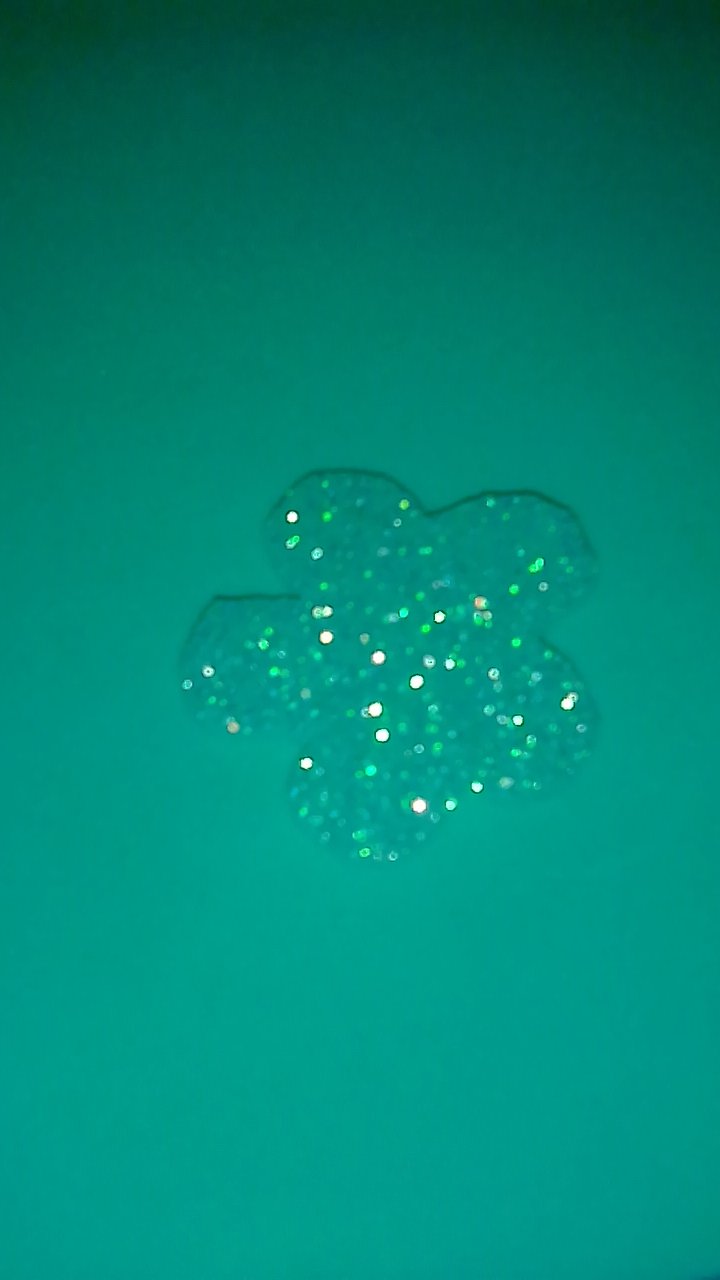
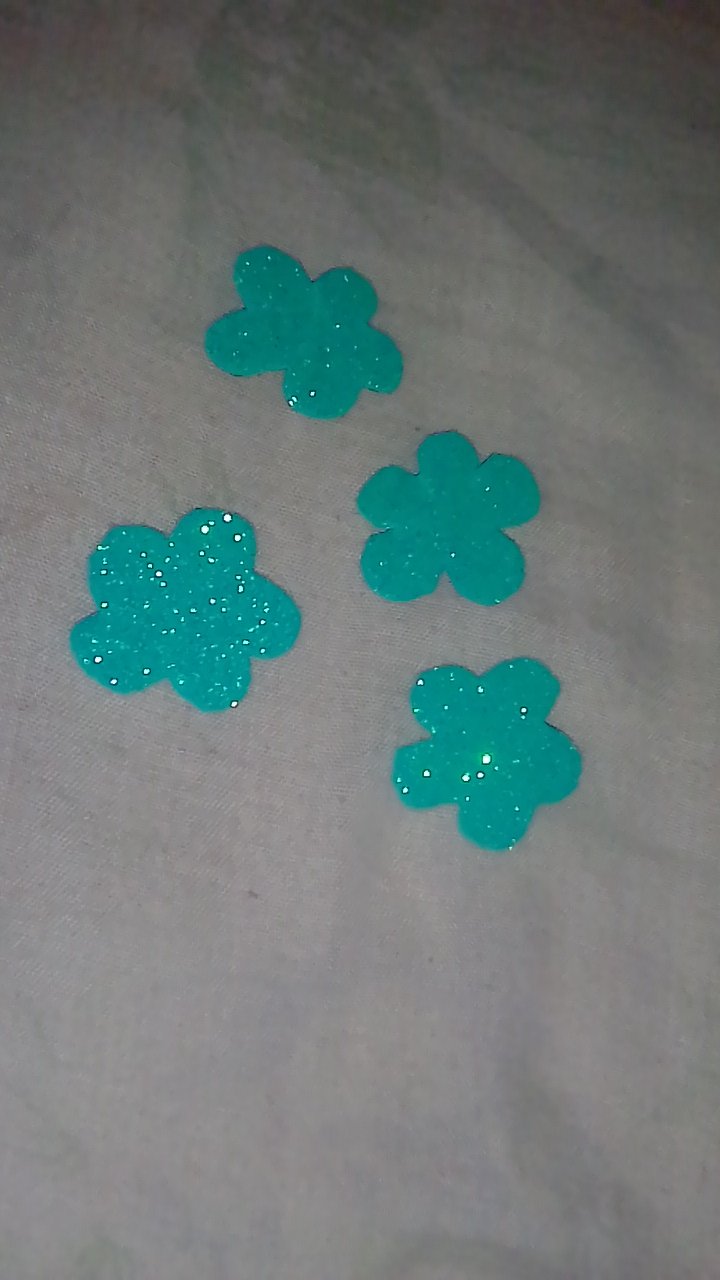
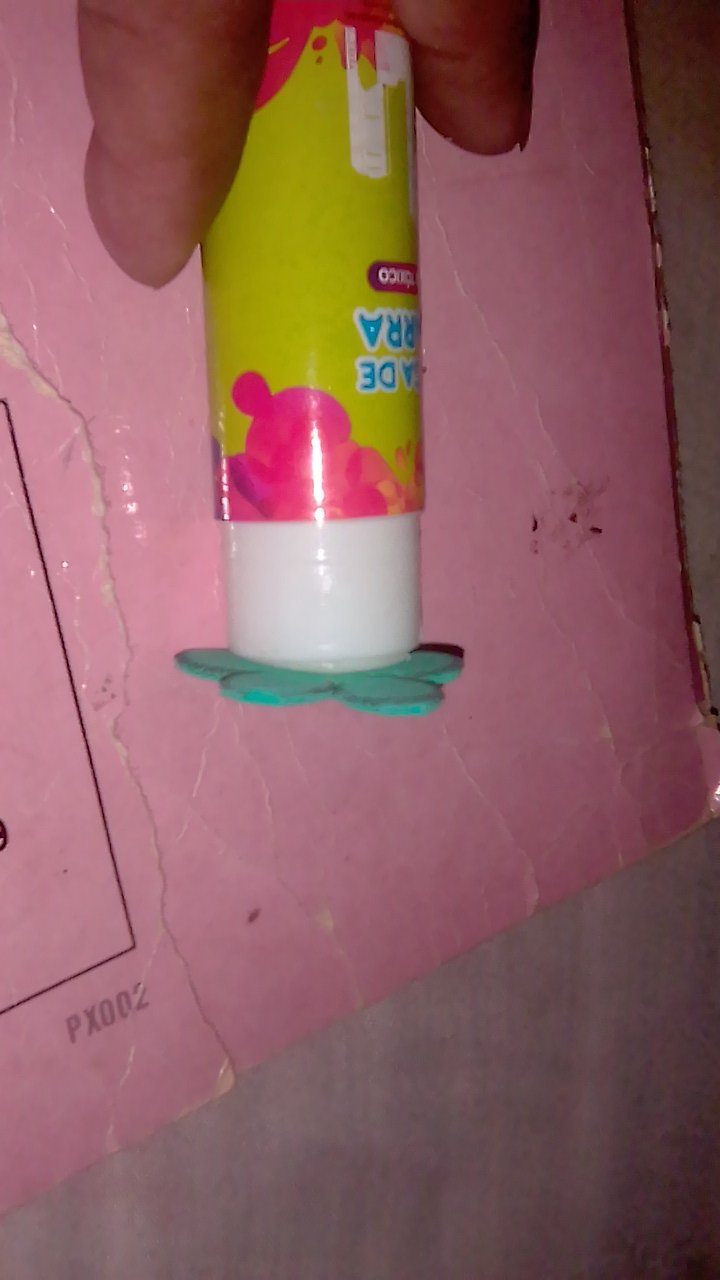
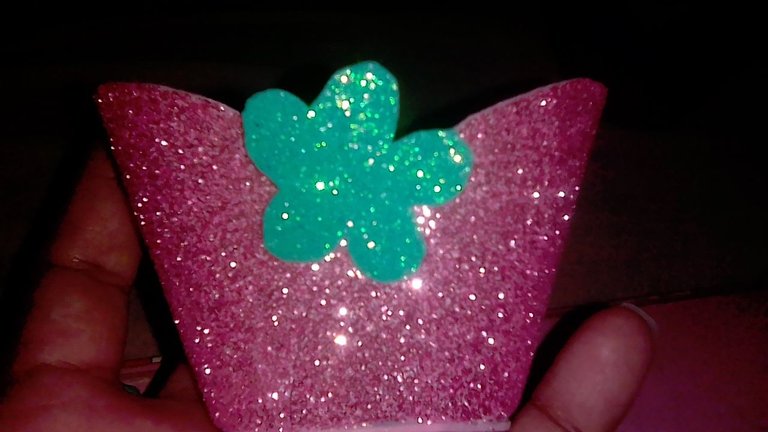
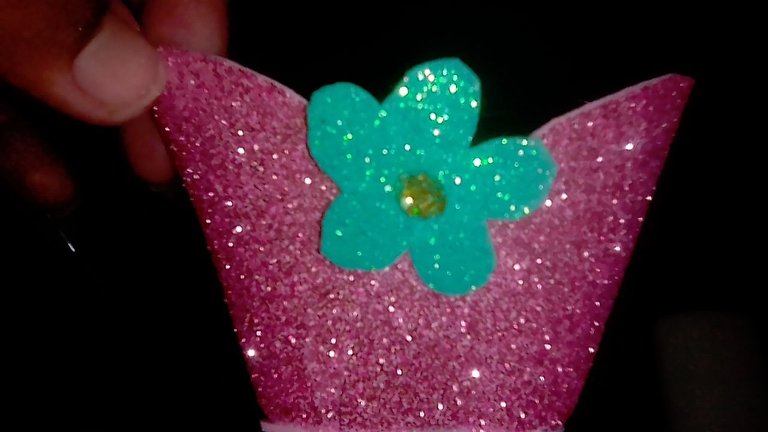
Es momento de hacer las flores. Este momento fue crucial para mí, no se dibujar muy bien y créeme que me costó realizar la flor. Por ultimo tome un pedazo de juguete y con el realice la forma luego la remarque con un lápiz, para finalmente recortar la. Posteriormente pegarla en cada esta.
English
It's time to make the flowers. This moment was crucial for me, I don't know how to draw very well and believe me it was hard to make the flower. Finally I took a piece of toy and with it I made the shape, then I outlined it with a pencil, to finally cut it out. Then I glued it on each one.
Spanish
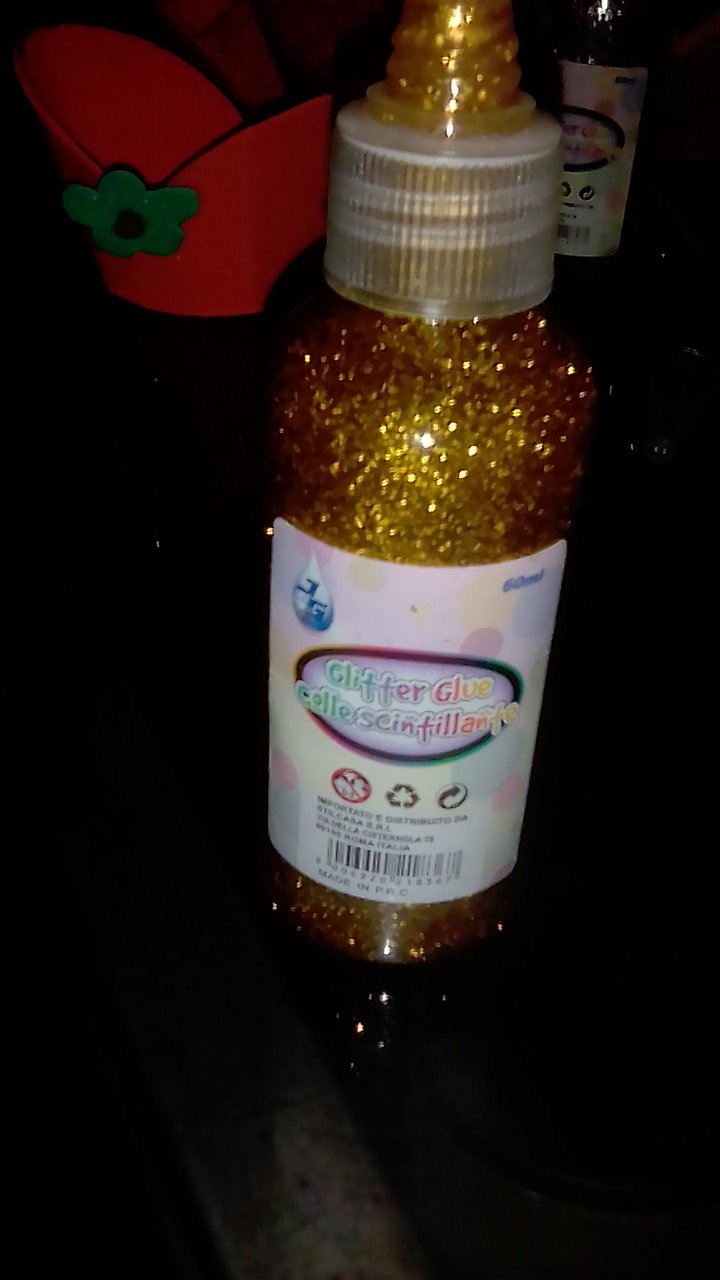
Adicionalmente le coloco un punto de pega escarchada en el centro de las flores. Asi darle mejor acabado.
English
Additionally I put a dot of frosted glue in the center of the flowers. This way I give it a better finish.
Spanish
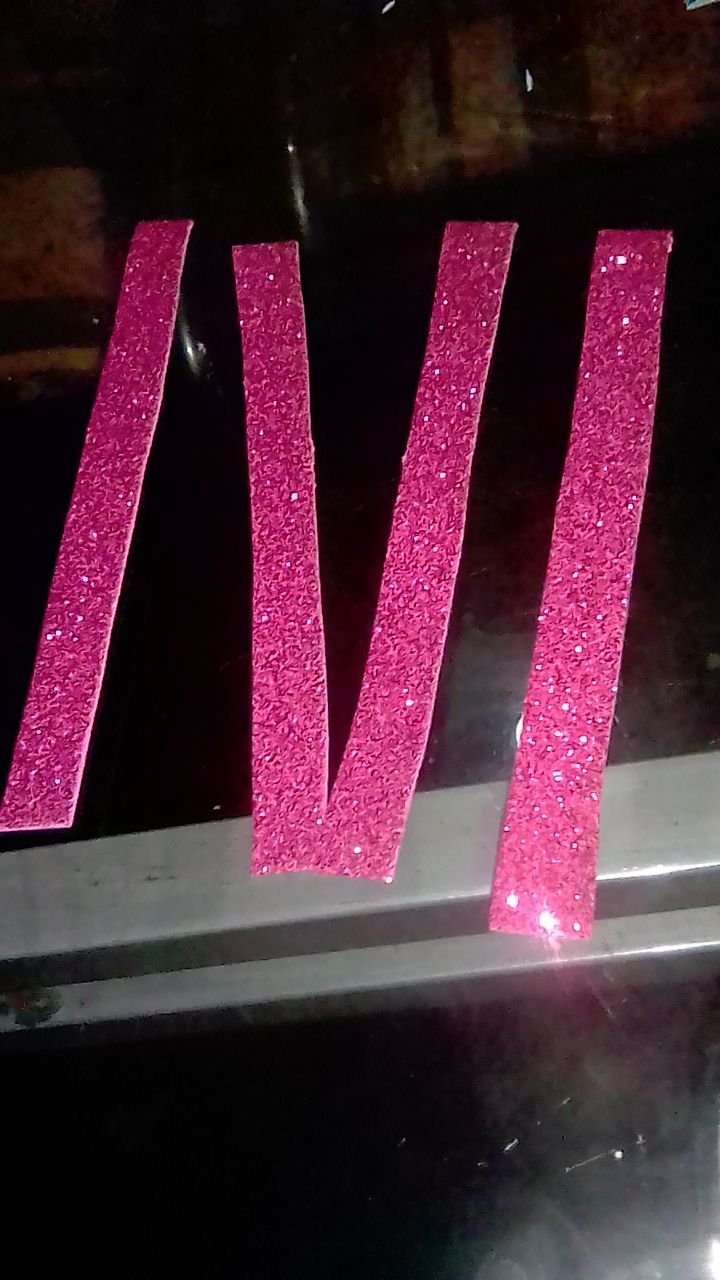
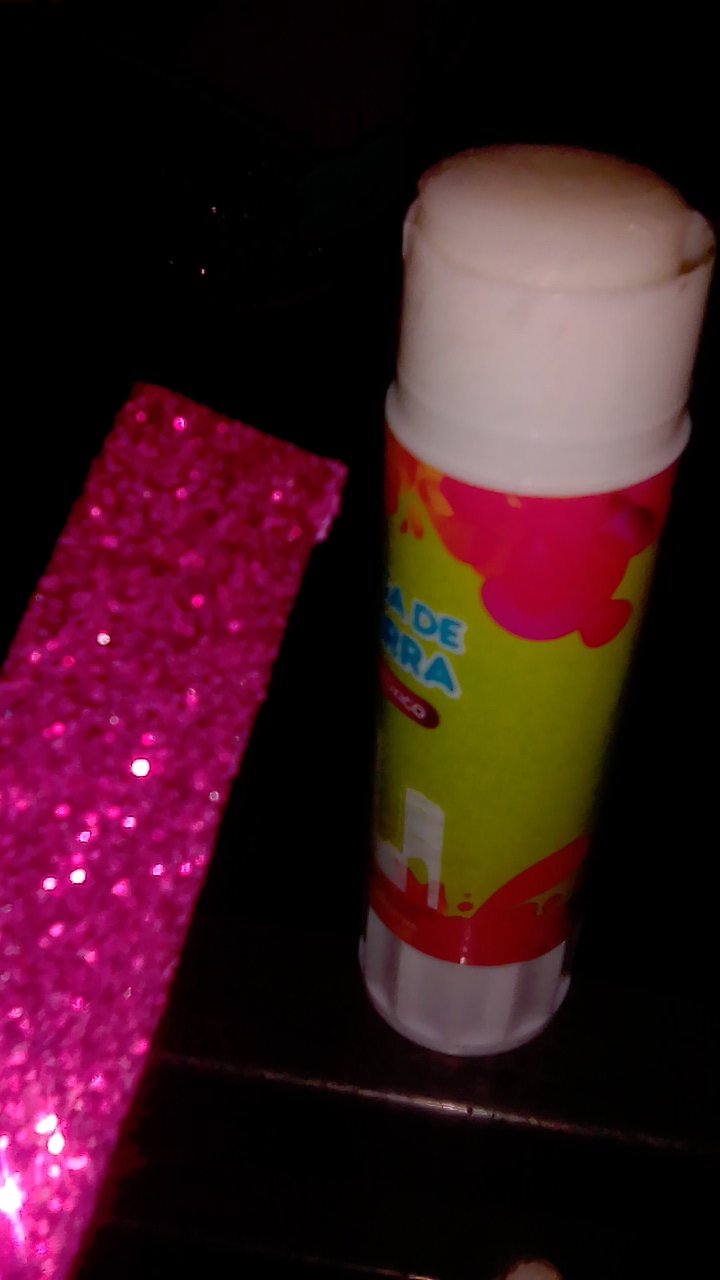
Ya falta solo un toque final, la tira para agarrar la cesta. Esta la realice con lo que sobraba en el centro de cada foami. De hecho recortaba para emparejar, luego a la mitad, y después la mitad de la mitad. En general sacaba 4 cuerdas de cada foami. Luego pegar en cada extremo de la cesta.
English
Now only one final touch is missing, the strip to hold the basket. I made this one with what was left over in the center of each foami. In fact, I cut it to even it out, then cut it in half, and then half of the half. In general I took 4 strings out of each foami. Then glue on each end of the basket.
Spanish
Listo. Están unas lindas cestas ideales para regalar. Y puedes colocar dentro lo que más te guste.
English
That's it. These are nice baskets ideal for gift giving. And you can put inside whatever you like.

Spanish
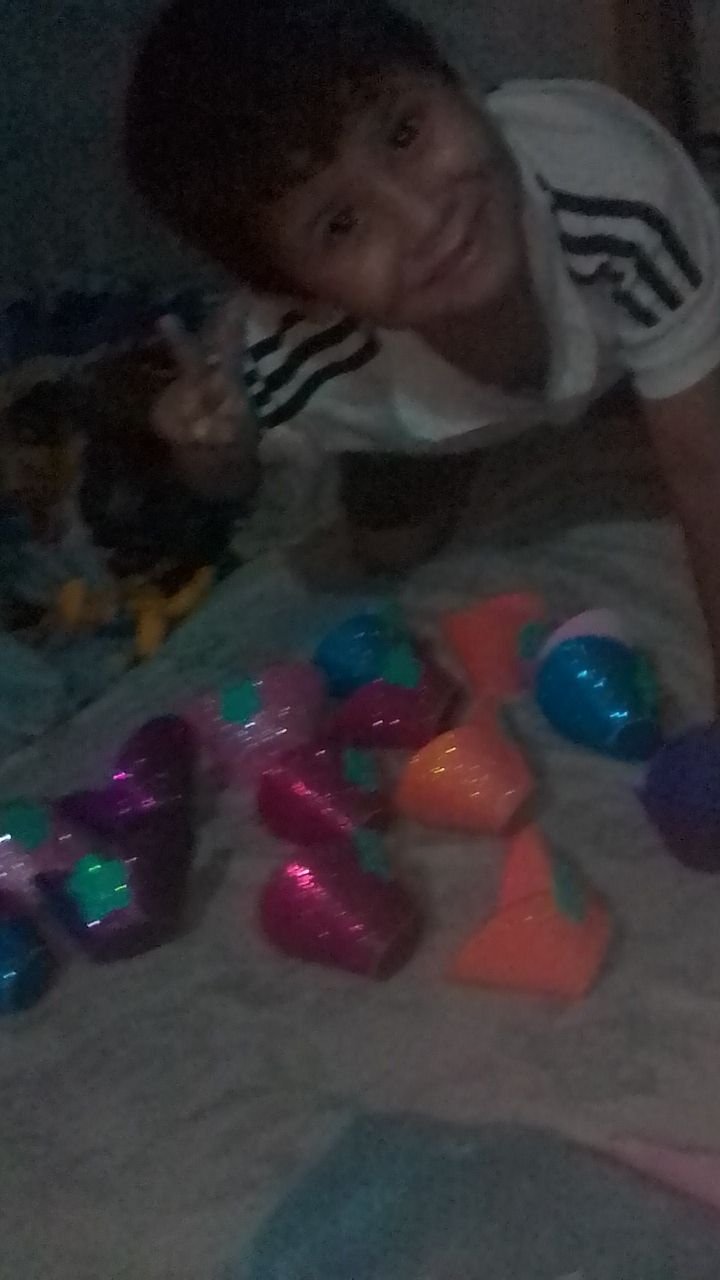
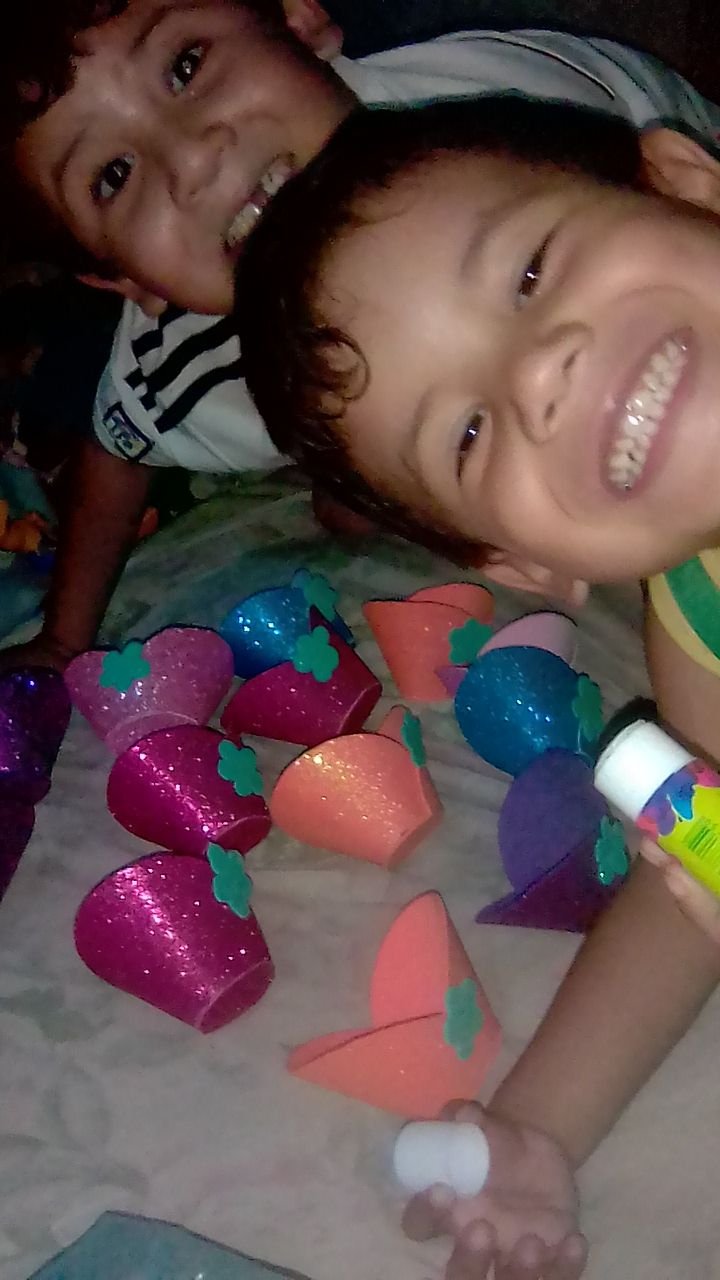
A mis hijos les gusto, participaron y ya quieren entregar las a cada madre. Espero a ti también te guste, te animes a hacer y disfrutes el proceso. Gracias por quedarte a ver y leer. Bendiciones y saludos.
English
My children liked it, they participated and already want to give them to each mother. I hope you like it too, and enjoy the process. Thanks for stopping by to watch and read. Blessings and greetings.

Imágenes de mi propiedad
Texto traducido en Deepl
Baner y separador elaborado en Power point
