Español
English

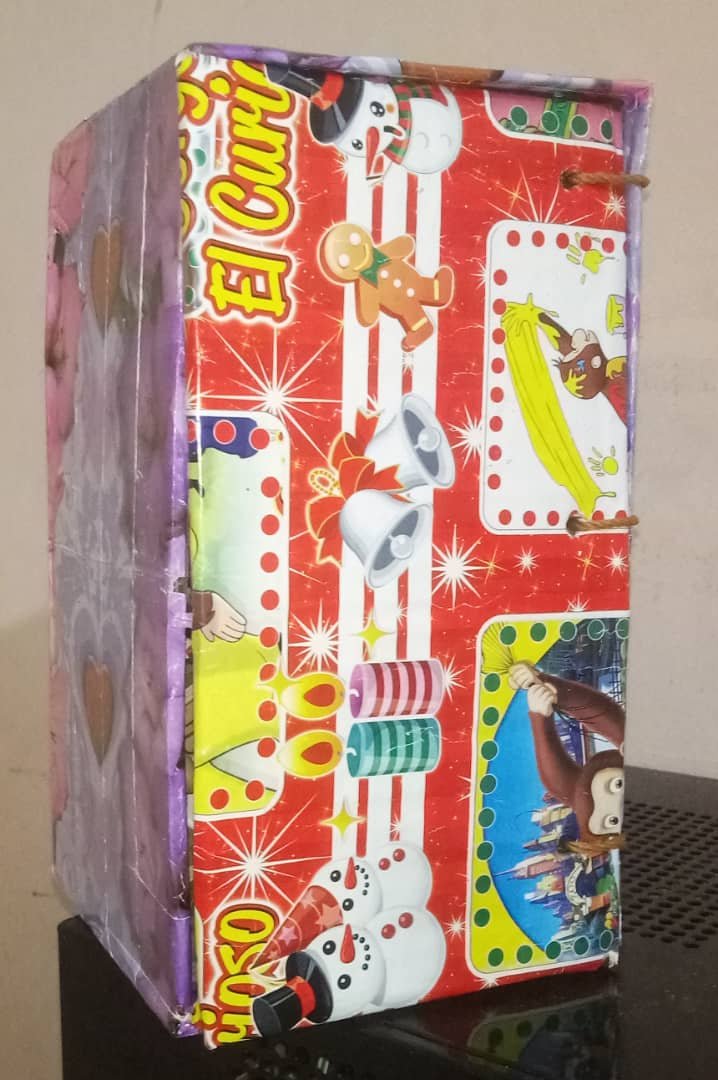
Hola mi gente linda de Hive, hoy quiero compartir con ustedes una manualidad que hice en casa aprovechando la caída de las redes sociales, utilice materiales fáciles de conseguir para hacer una cajita y decorarla, la idea principal era una cajita con gavetas, pero luego vi que a mi hija le gusto la cajita sin gavetas.
Hello my beautiful people of Hive, today I want to share with you a craft I made at home taking advantage of the fall of social networks, I used easy to get materials to make a box and decorate it, the main idea was a box with drawers, but then I saw that my daughter liked the box without drawers.

MATERIALES
MATERIALES
MATERIALS
MATERIALS
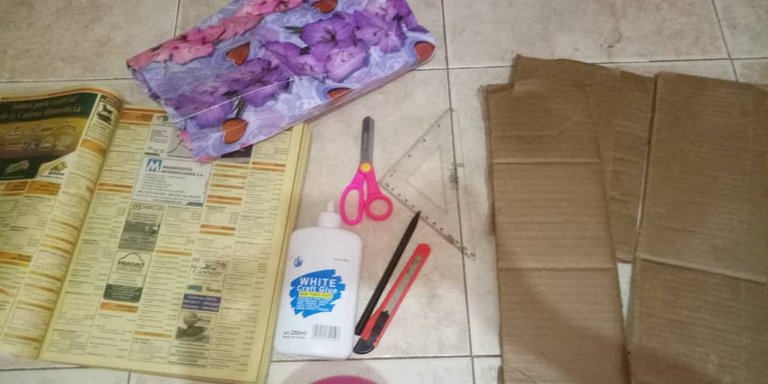
- Restos de cajas de cartón
- Papel de regalo
- Tijeras
- Exacto
- Pega
- Regla
- Lapicero o Lápiz
- Periódico o hojas recicladas
- Remains of cardboard boxes
- Wrapping paper
- Scissors
- Exact
- Glue
- Ruler
- Pencil or pencil
- Newspaper or recycled sheets

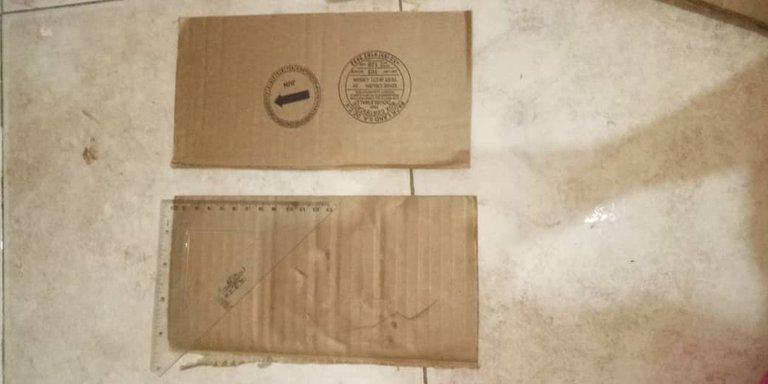
Lo primero que hice fue utilizar las dos tapas pequeñas de la caja, median de alto aproximadamente 25 cm cada una y de ancho 12.5 cm, utilice 4 tapas del mismo tamaño. Pero primero utilice 3 tapas para hacer la caja y también corte 3 cuadros de 13.4 cm de ancho y 12.7cm de alto, para los dos extremos y el centro de la caja.
The first thing I did was to use the two small lids of the box, they measure approximately 25 cm high each and 12.5 cm wide, I used 4 lids of the same size. But first I used 3 lids to make the box and also cut 3 squares of 13.4 cm wide and 12.7 cm high, for the two ends and the center of the box.

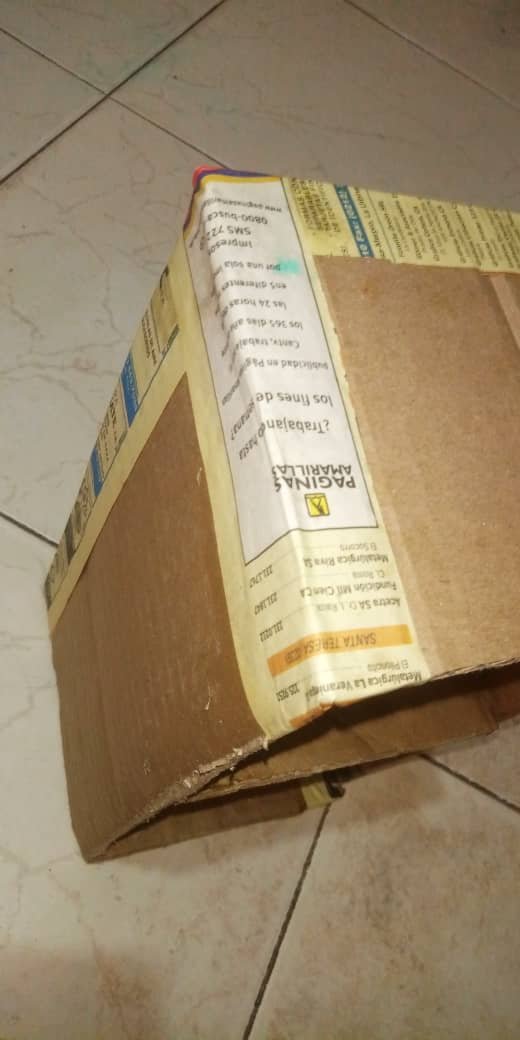
Como pueden ver en la imagen, lo que hice para pegar cada pieza fue primero colocar pega blanca, y luego también unir con pega y papel, como un tipo de teipe, porque esperar que la pega por si sola pegue el cartón se tomaría mucho tiempo en secar.
As you can see in the picture, what I did to glue each piece was to first place white glue, and then also to join with glue and paper, like a kind of teipe, because waiting for the glue by itself to stick the cardboard would take a long time to dry.

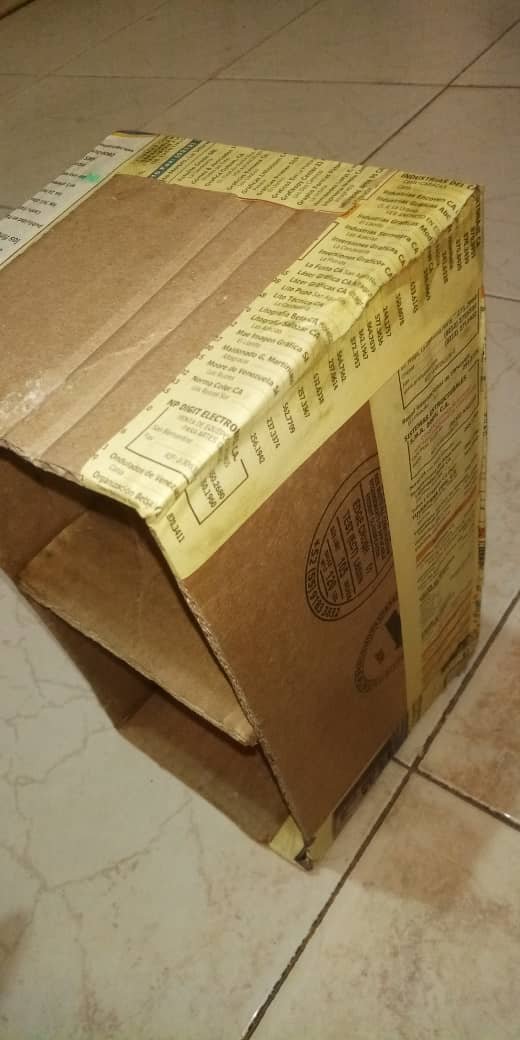
Y así hice con todas las uniones, les coloque primero pega y luego adicional pegue con pega y papel.
And so I did with all the joints, I put glue first and then additional glue with glue and paper.

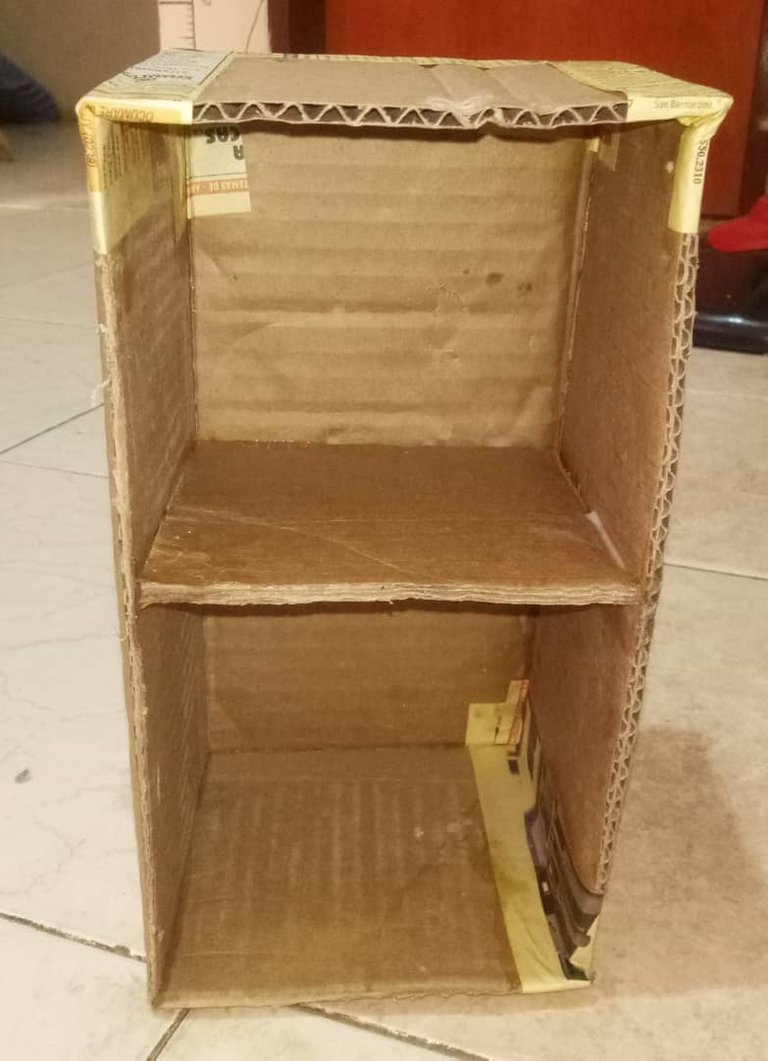
Luego lo que hice fu forrarla con papel de regalo que tenia reciclado en la casa, para tapar el color de la caja.
Then what I did was to line it with wrapping paper that I had recycled at home, to cover the color of the box.

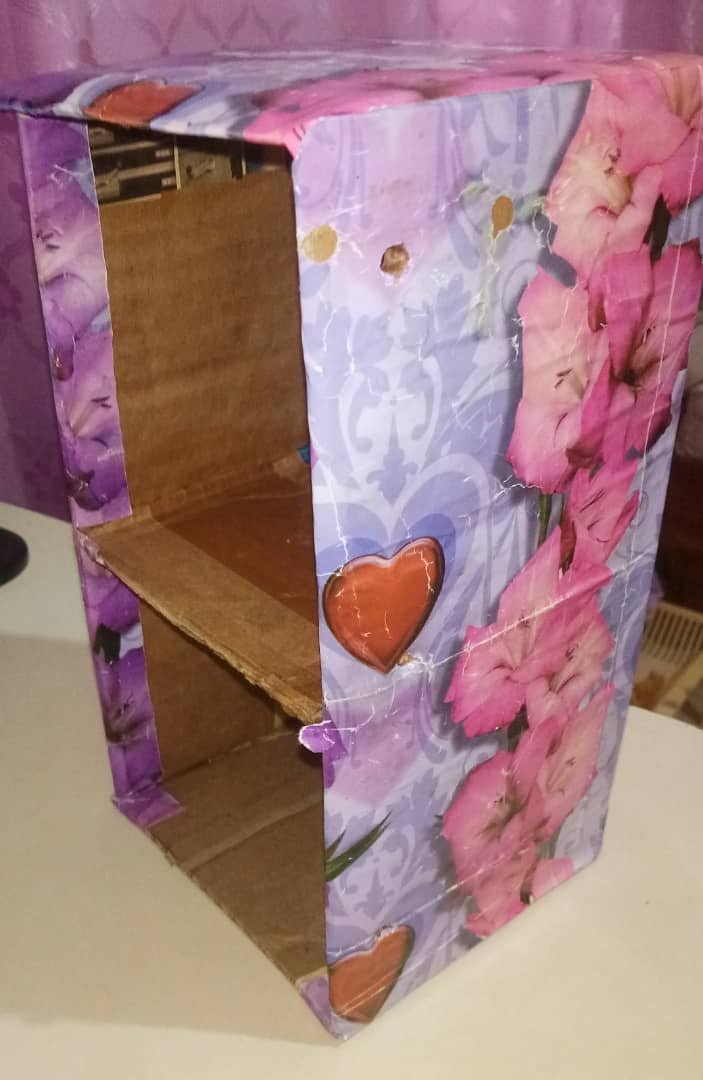
Y también hice una tapa de las mismas medias y la forre con papel de regalo.
And I also made a cover out of the same stockings and lined it with wrapping paper.

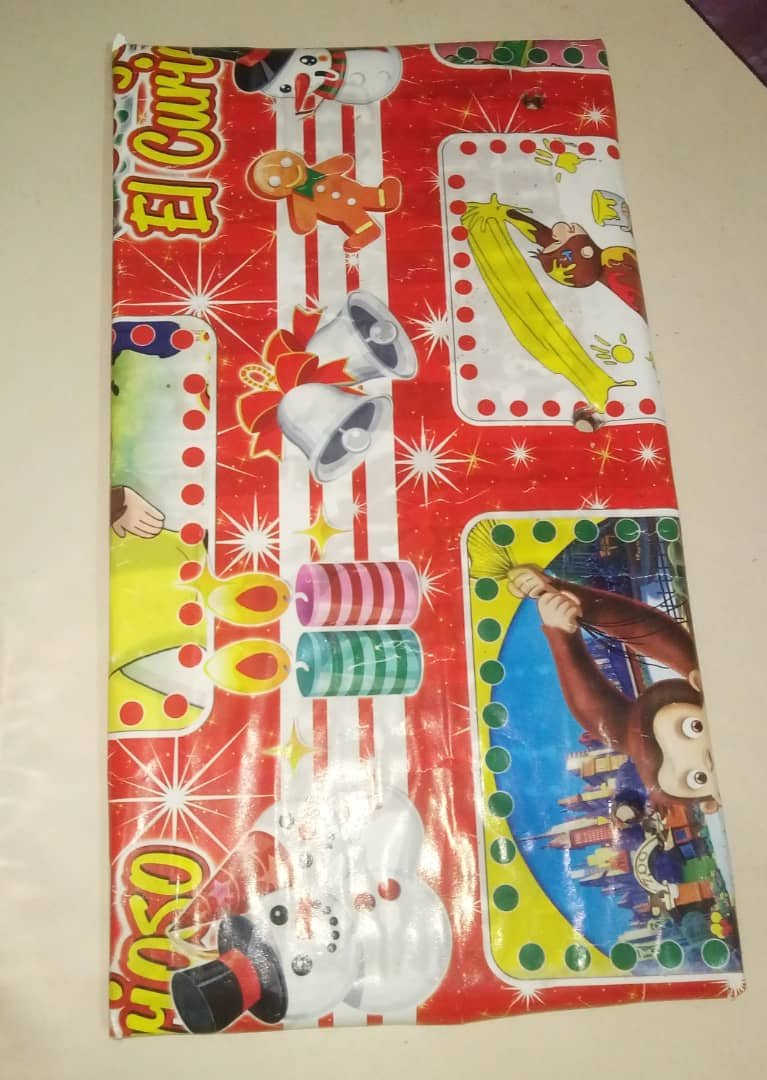
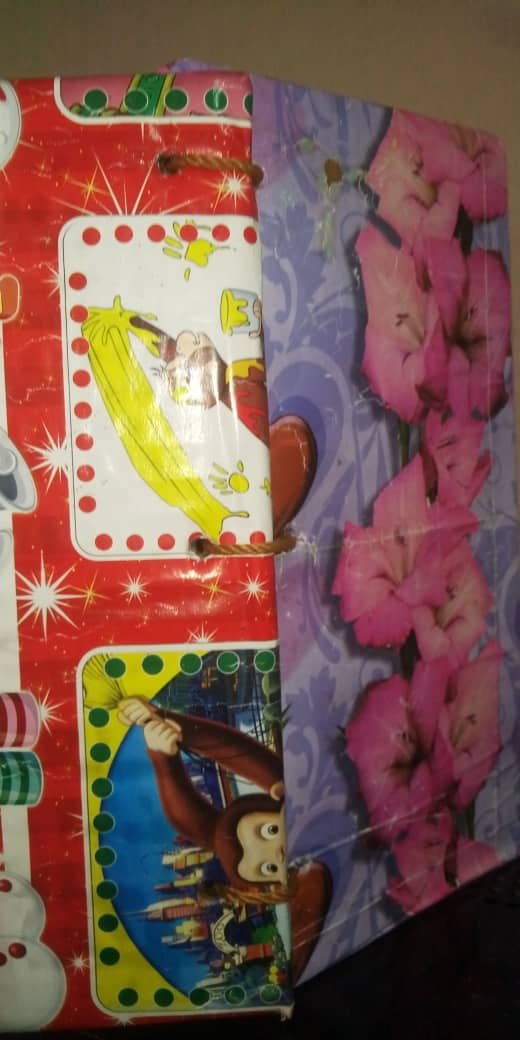
Para unir la tapa con la caja lo que hice fue abrir tres agujeros en el orillo de la tapa y de la caja y las uní con una cinta.
To join the lid to the box, I cut three holes in the edge of the lid and the box and joined them with tape.

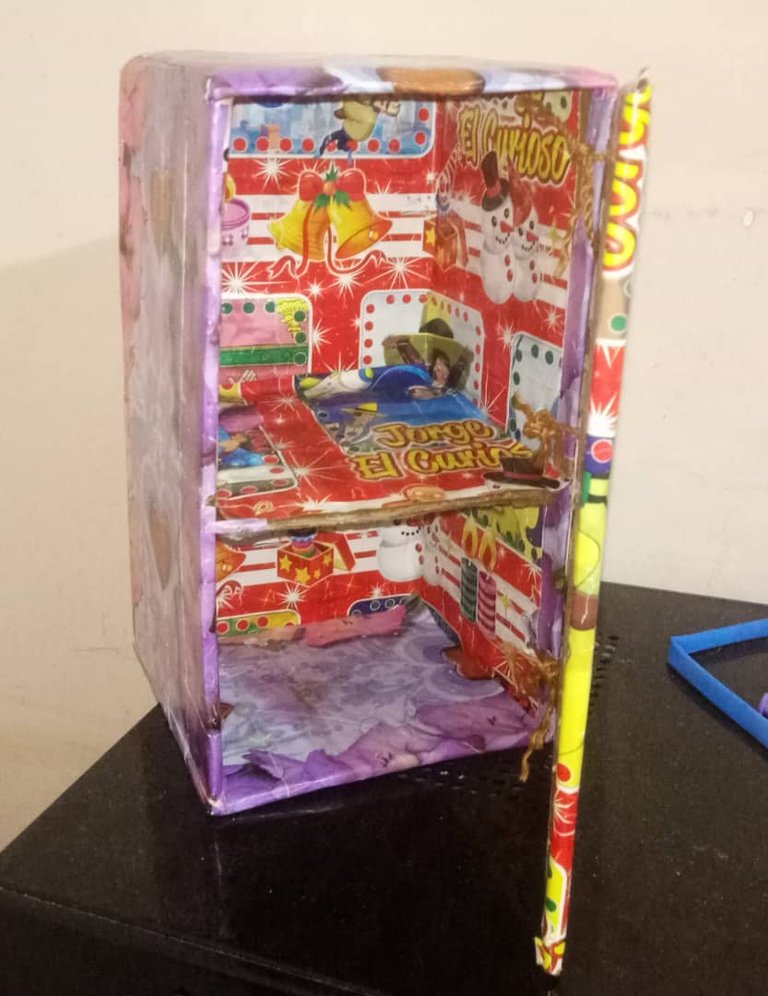
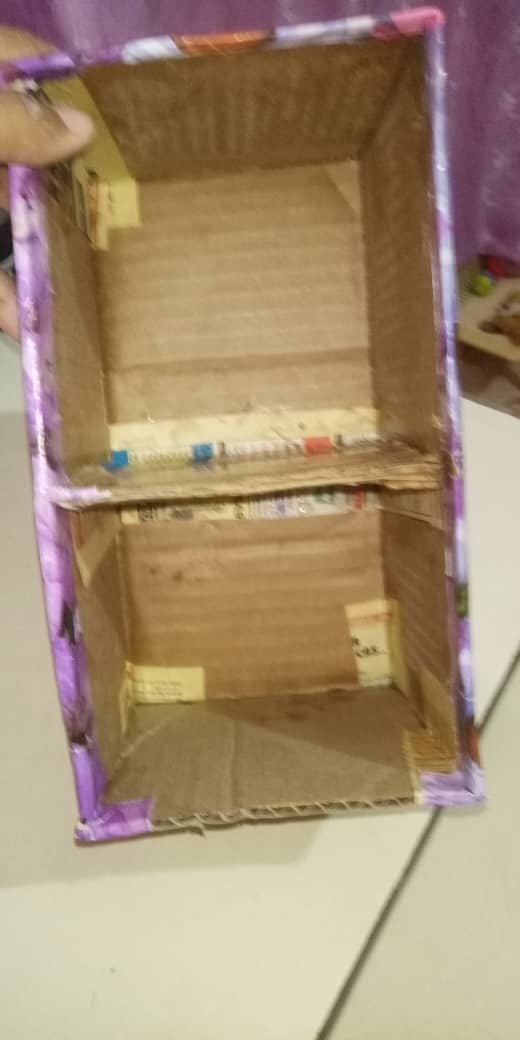
Y con el papel de regalo restante, lo que hice fue forrar por dentro la caja.
And with the remaining wrapping paper, I lined the inside of the box.

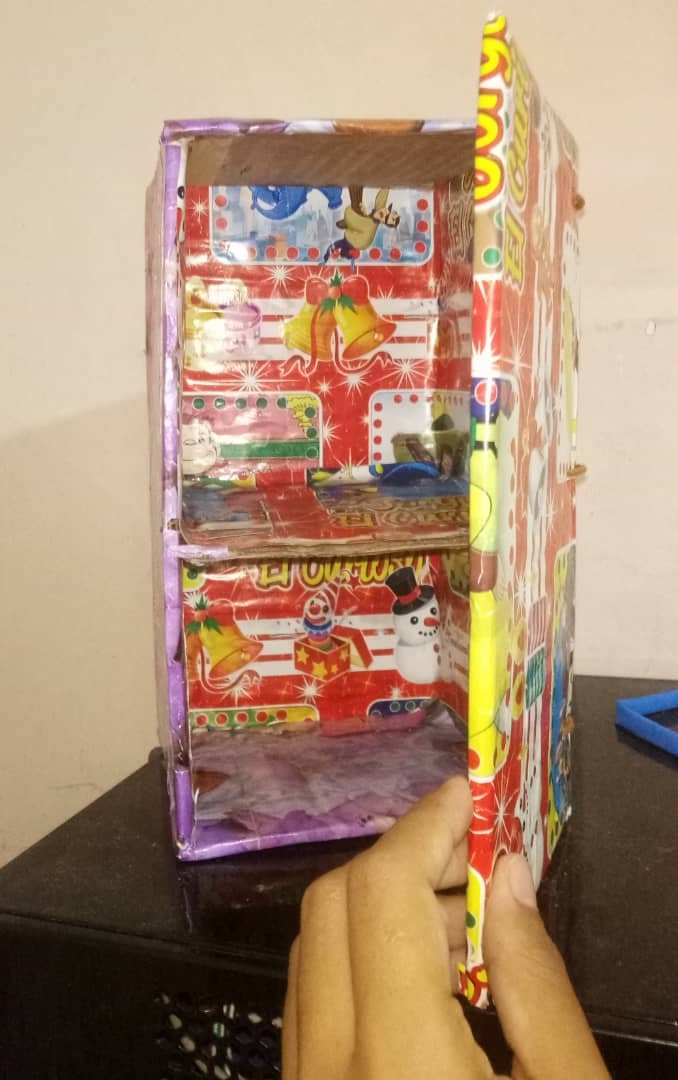
Aquí pueden ver como uni la tapa y la caja, con la cinta y los agujeros.
Here you can see how I attached the lid and the box, with the tape and the holes.

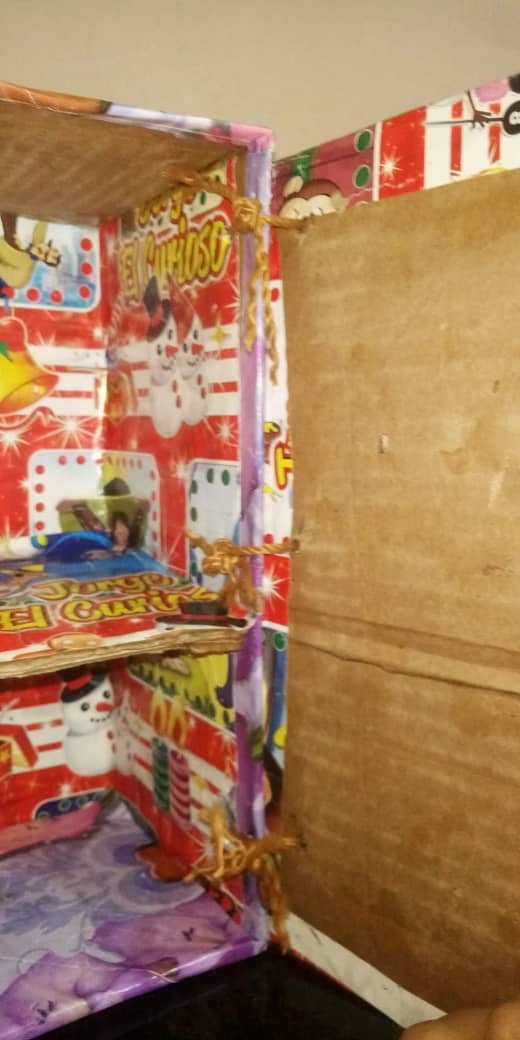
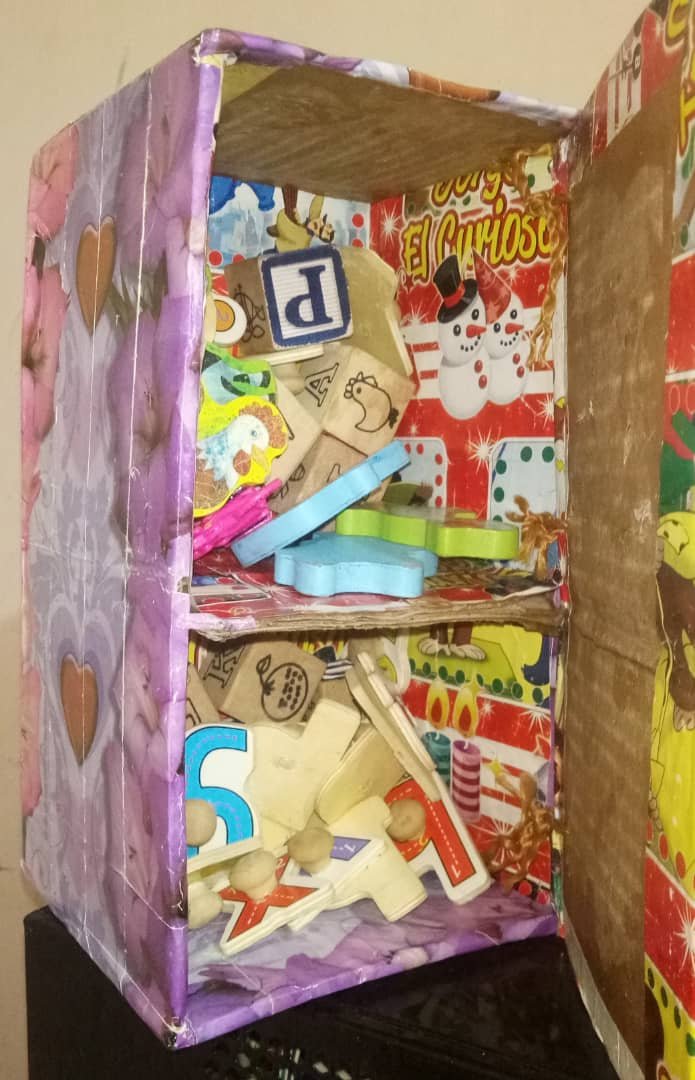
La verdad quise hacer esta caja para que mi hija jugara, la idea era hacer una especie de gavetas, pero me hacia falta más cartón y lo deje así, igual a mi hija le gusto para guardar sus juguetes. Por ultimo si quieres puedes utilizar hojas blancas para tapar las partes que quedan visible del cartón, yo no lo pensé en el momento, sino después de montar todo el post, lo olvide, pero también se puede hacer.
The truth is that I wanted to make this box for my daughter to play, the idea was to make a kind of drawers, but I needed more cardboard and I left it like this, my daughter liked it to keep her toys. Finally if you want you can use white sheets to cover the visible parts of the cardboard, I did not think about it at the time, but after assembling the whole post, I forgot, but it can also be done.


** Los separadores y cintillo son de mi autoria, para uso exclusivo de Hive.
** Para la traducción utilice https://www.deepl.com/
**Las fotografías son de mi autoria.