Hi fellow Hiveians,
Today I wanted to share one of the fun things that the little man and I built recently: a wooden work stand for me!


DIY Wooden Work Platform
This contraption here is one that's a little difficult to give a "name" the way that we give some things names.
What I am doing here is basically building a little wooden platform that will give me some additional height for when I am working.
At our house, one of the things that we've had to do is be able to be a little crafty with my work situation. Since we live in a condo and don't have an incredible amount of space, that means that we aren't able to get things that we need like the proper furniture for me to have a desk that goes from sitting to standing the way that many businesses are able to do. It's not a bad sacrifice, because it just makes you come up with crafty ways to solve a problem, which the little man and I are more than happy to do!
I posted the cutting of the boards I think in another post, where the little man helped me measure and cut them all. I will try to find a link before this gets posted, but if not it's back there somewhere lol.
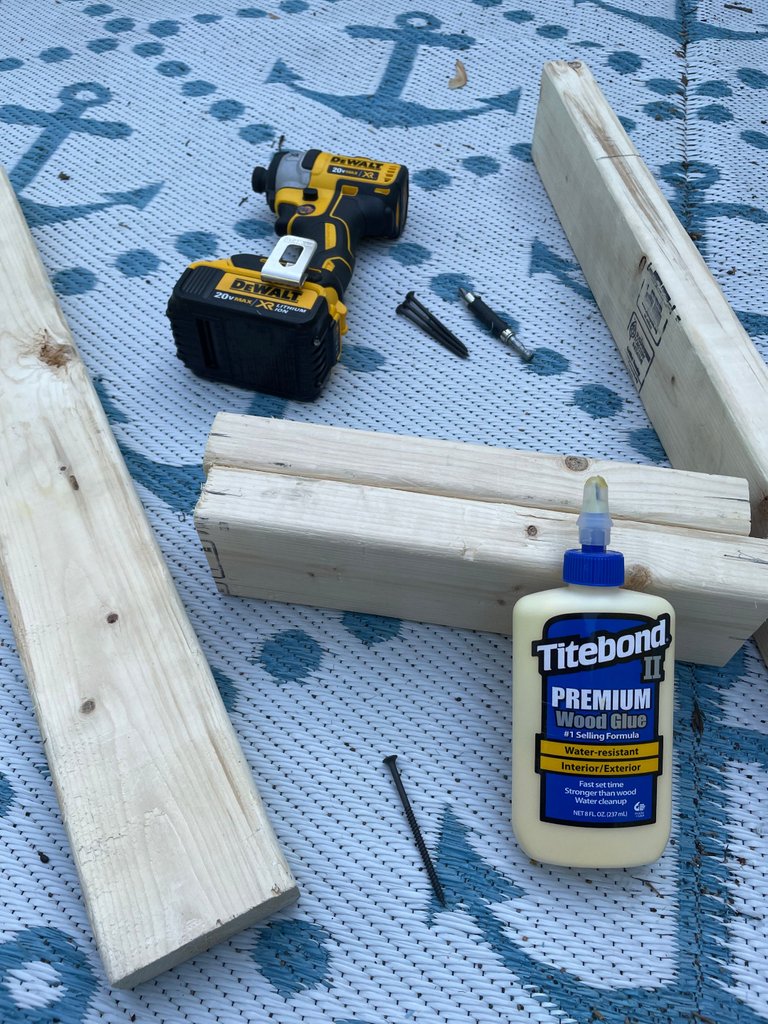
I had a conversation with @emma-h2 a few months back where she was fixing something of hers, her wooden bow and she was saying that she was looking for a good wood glue to do the job. I didn't realize that we were as lucky as we are to have easy and inexpensive access to this stuff! This wood glue is the professional stuff from what I understand. My dad loves to use this stuff on the various things that he does, so I bought a bottle of it and it's not gotten used very much which is okay.
I decided that I was going to need to pull it out for this project! I know that I am going to be getting a lot of use out of the platform, because I can't nor should I sit down for work all day. I switch it up where I stand for the morning and usually eat lunch and finish the afternoon sitting. It's a pretty good balance for me, because it keeps me upright and I can flip back and forth fairly easily if I want or need to.
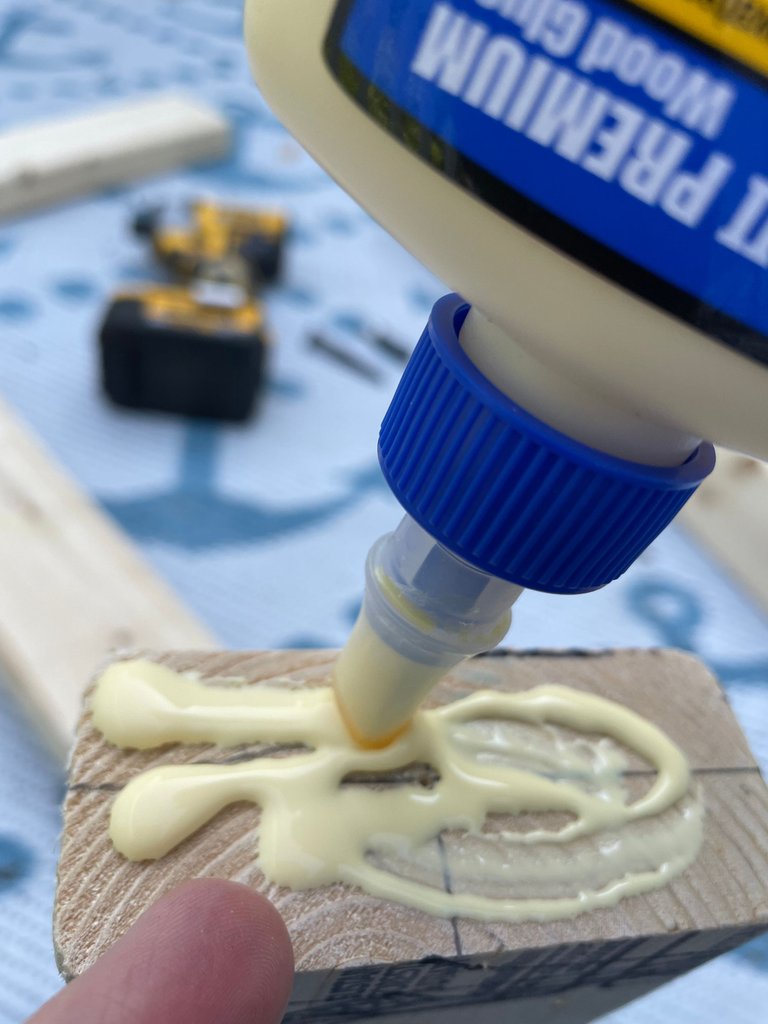
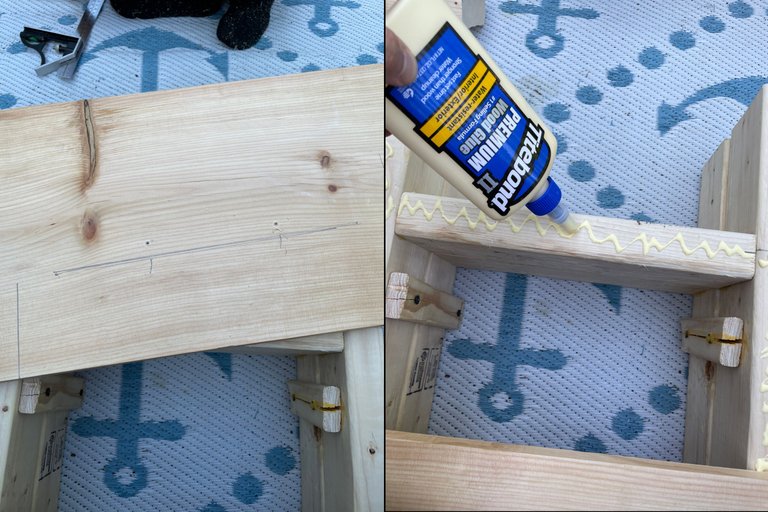
I put the wood glue on all of the areas of contact for my project here! I put it on the ends of the boards, the tops where one connected to a bottom of another. I put the stuff literally on every surface! Lol. I know the stuff works great and it's pretty important no matter what you're building, you should glue it so that it has extra strength power to not fall apart!
I joined the boards here by sending one across and also giving it a screw down the middle. The combination of the screws and the glue make this thing a freaking tank. I came up with this thing out of thin air, trying to think of a way I could build a little platform but not have the thing be overly complicated and cause me to spend more time on it than I wanted. This was a decent little mix between the two, simplistic but strong and sturdy!

This was what the halfway done result looked like. I measured and glued all of the boards together so they not only lined up nicely, but I screwed in the various pieces and glued them together so I can likely get a few years of use out of it, and even additional use out of it when I'm done using it for my makeshift standing desk and we get a real desk for me lol.
The next part comes to reinforce the thing so that it all connects together and adding the wooden boards on top so that I can stand on the thing without falling into the crack or hurting my feet or ankles!
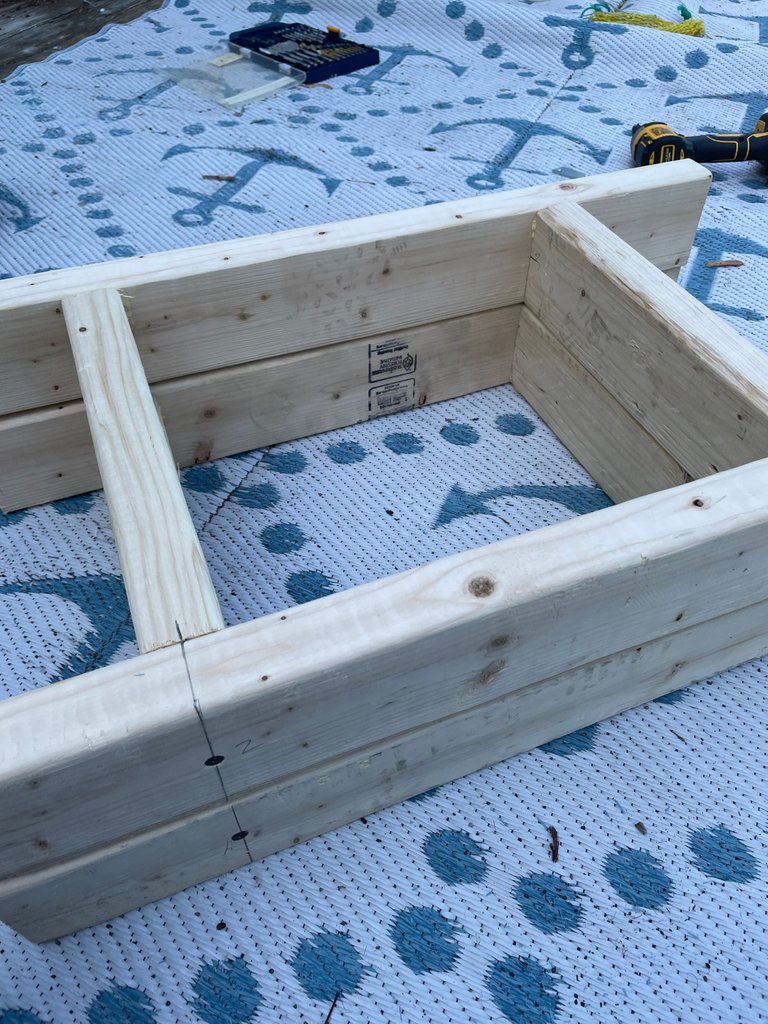
I didn't do a good job of taking pictures of it, but you can see the inner part of my contraption here has some wooden support legs that I screwed in (and split the wood sadly lol) and glued them together. This helps give the inner part some strength and keep it together. Thankfully it seems to be working out well enough!
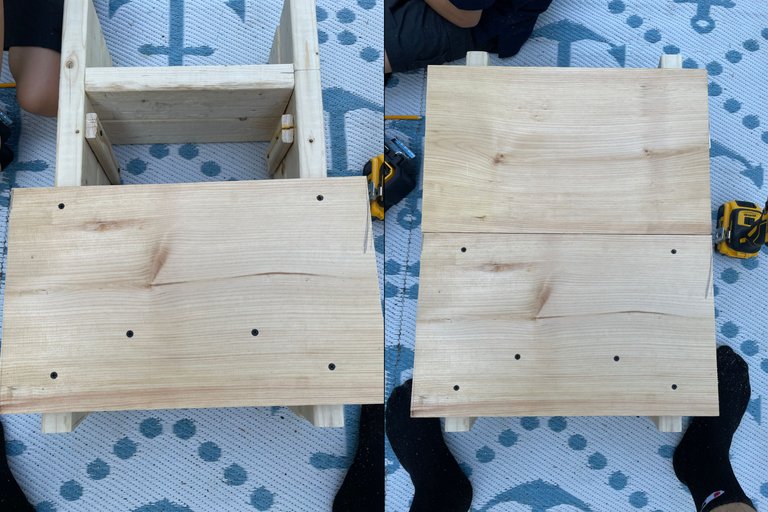
What I did was lay the board down that I would be standing on and tried my best to line it up nicely enough so that I could get it secured as much in the middle as I could. With these things, I know there is a lot of precision to be available but I am a big fan of eye-balling it lol. I glued and screwed in the other side and now it was time to get this side zipped into place!
Of course while I was doing all of this work, the little man was having fun of his own. My dad gave me a tool set that I am using and he also gave me an older set that I was using for a while. When I got the new set, I knew the perfect person to give the old set to: the little man! As you can see, he's using his set of tools quite readily and happily. He was just using some 1/4 in screws and zipping them into the wood here and having a blast at it. He's also got quite the tool box going himself, with that box being filled to the little inner brim with various odds and ends tools that I either have more than 1 of or don't use as much so I gave it to him.
Certainly though, I didn't give him the paddle bit and screw set that you see there lol that's the household one that we both use. He's not quite ready for that type of stuff just yet!
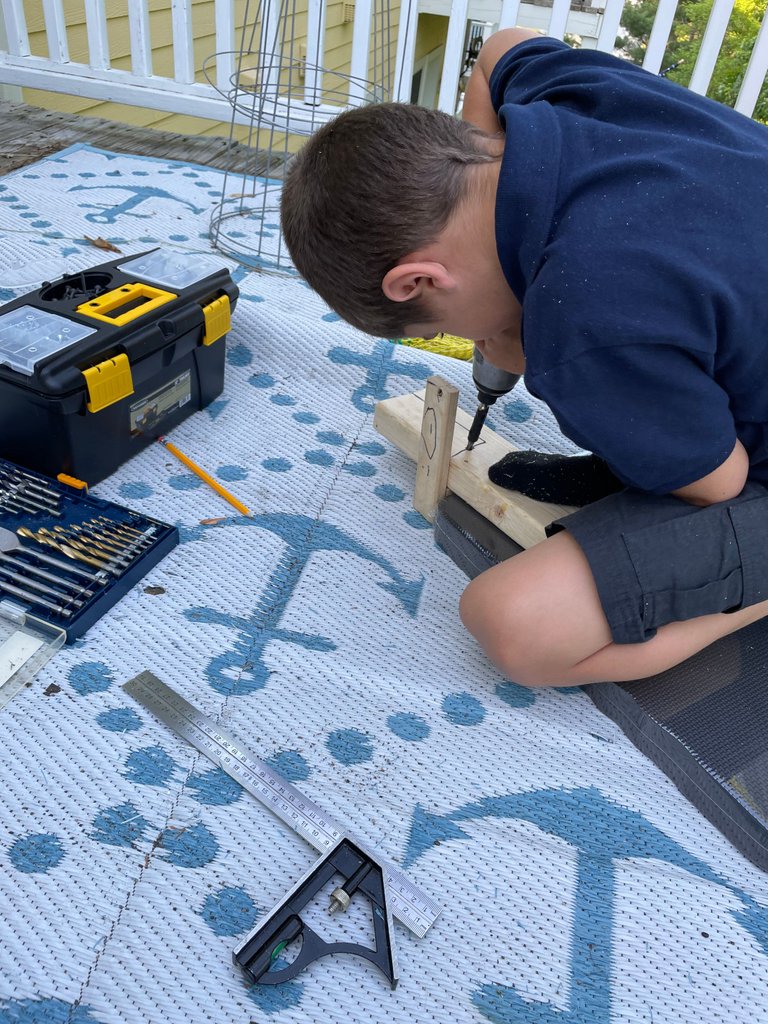
Here I am giving the wood a quick line drawing of where I want things to line up and how I would like my screws to go in. The outer bit here was a little harder to get taken care of in some ways because I wasn't able to look underneath it while I was trying to get my screws lined up in the right spot lol with the other side it was easy because I could just give it a gander underneath it to see if things were roughly in the right spot. No such luck here, so I had to try my best to make sure things were copasetic before I gave it the final screw. I'm also here using a hell of a lot of glue that @emma-h is likely mad about seeing so much being used! Perhaps I can send you the HBD one day to get a bottle of the stuff for your own use haha, I'm sure it would go nicely on the recurve bow!
I put the final screws in it and it was done! I know it doesn't look like anything amazing but the point of it for me was that it's a tool that I use for work. It doesn't need to look phenomenal but it has to have a good purpose. Some of the other wood things that I've put together have come out quite nicely and look almost professional but for this, it's going to get a lot of foot traffic and wear and tear over the time that I'll be using it so the only real requirement I had was to make it sturdy and not breakable! I think with the various elements I've done here, and screwed them all in combination with a healthy layer of glue, I think that I'll be enjoying this standing work platform for quite some time, hopefully after we move and I no longer "need it". I'm sure my wife will find some type of use out of it in the kitchen, since she can be a little vertically challenged sometimes! lol
Hoping that I get to have some more #diy wood creations this year with the little man! Him and I both had a lot of fun with this one for sure! I think over the past 3 years, we've built a DIY wooden thing once a year. Some real fun here for sure!

-CmplXty. Real human written content, never AI.
Do you want to get paid, in crypto, for searching the internet? Try using and signing up for Presearch to earn some great crypto! I've currently got 2,900 PRE tokens, with a market value of $180.27. It doesn't sound like a lot but when you search using sites like Google you get paid $0! Join Presearch to break Google's stranglehold on the internet searches. If you'd like to sign up, use my referral link below and spread the word!
https://www.presearch.org/signup?rid=513043

