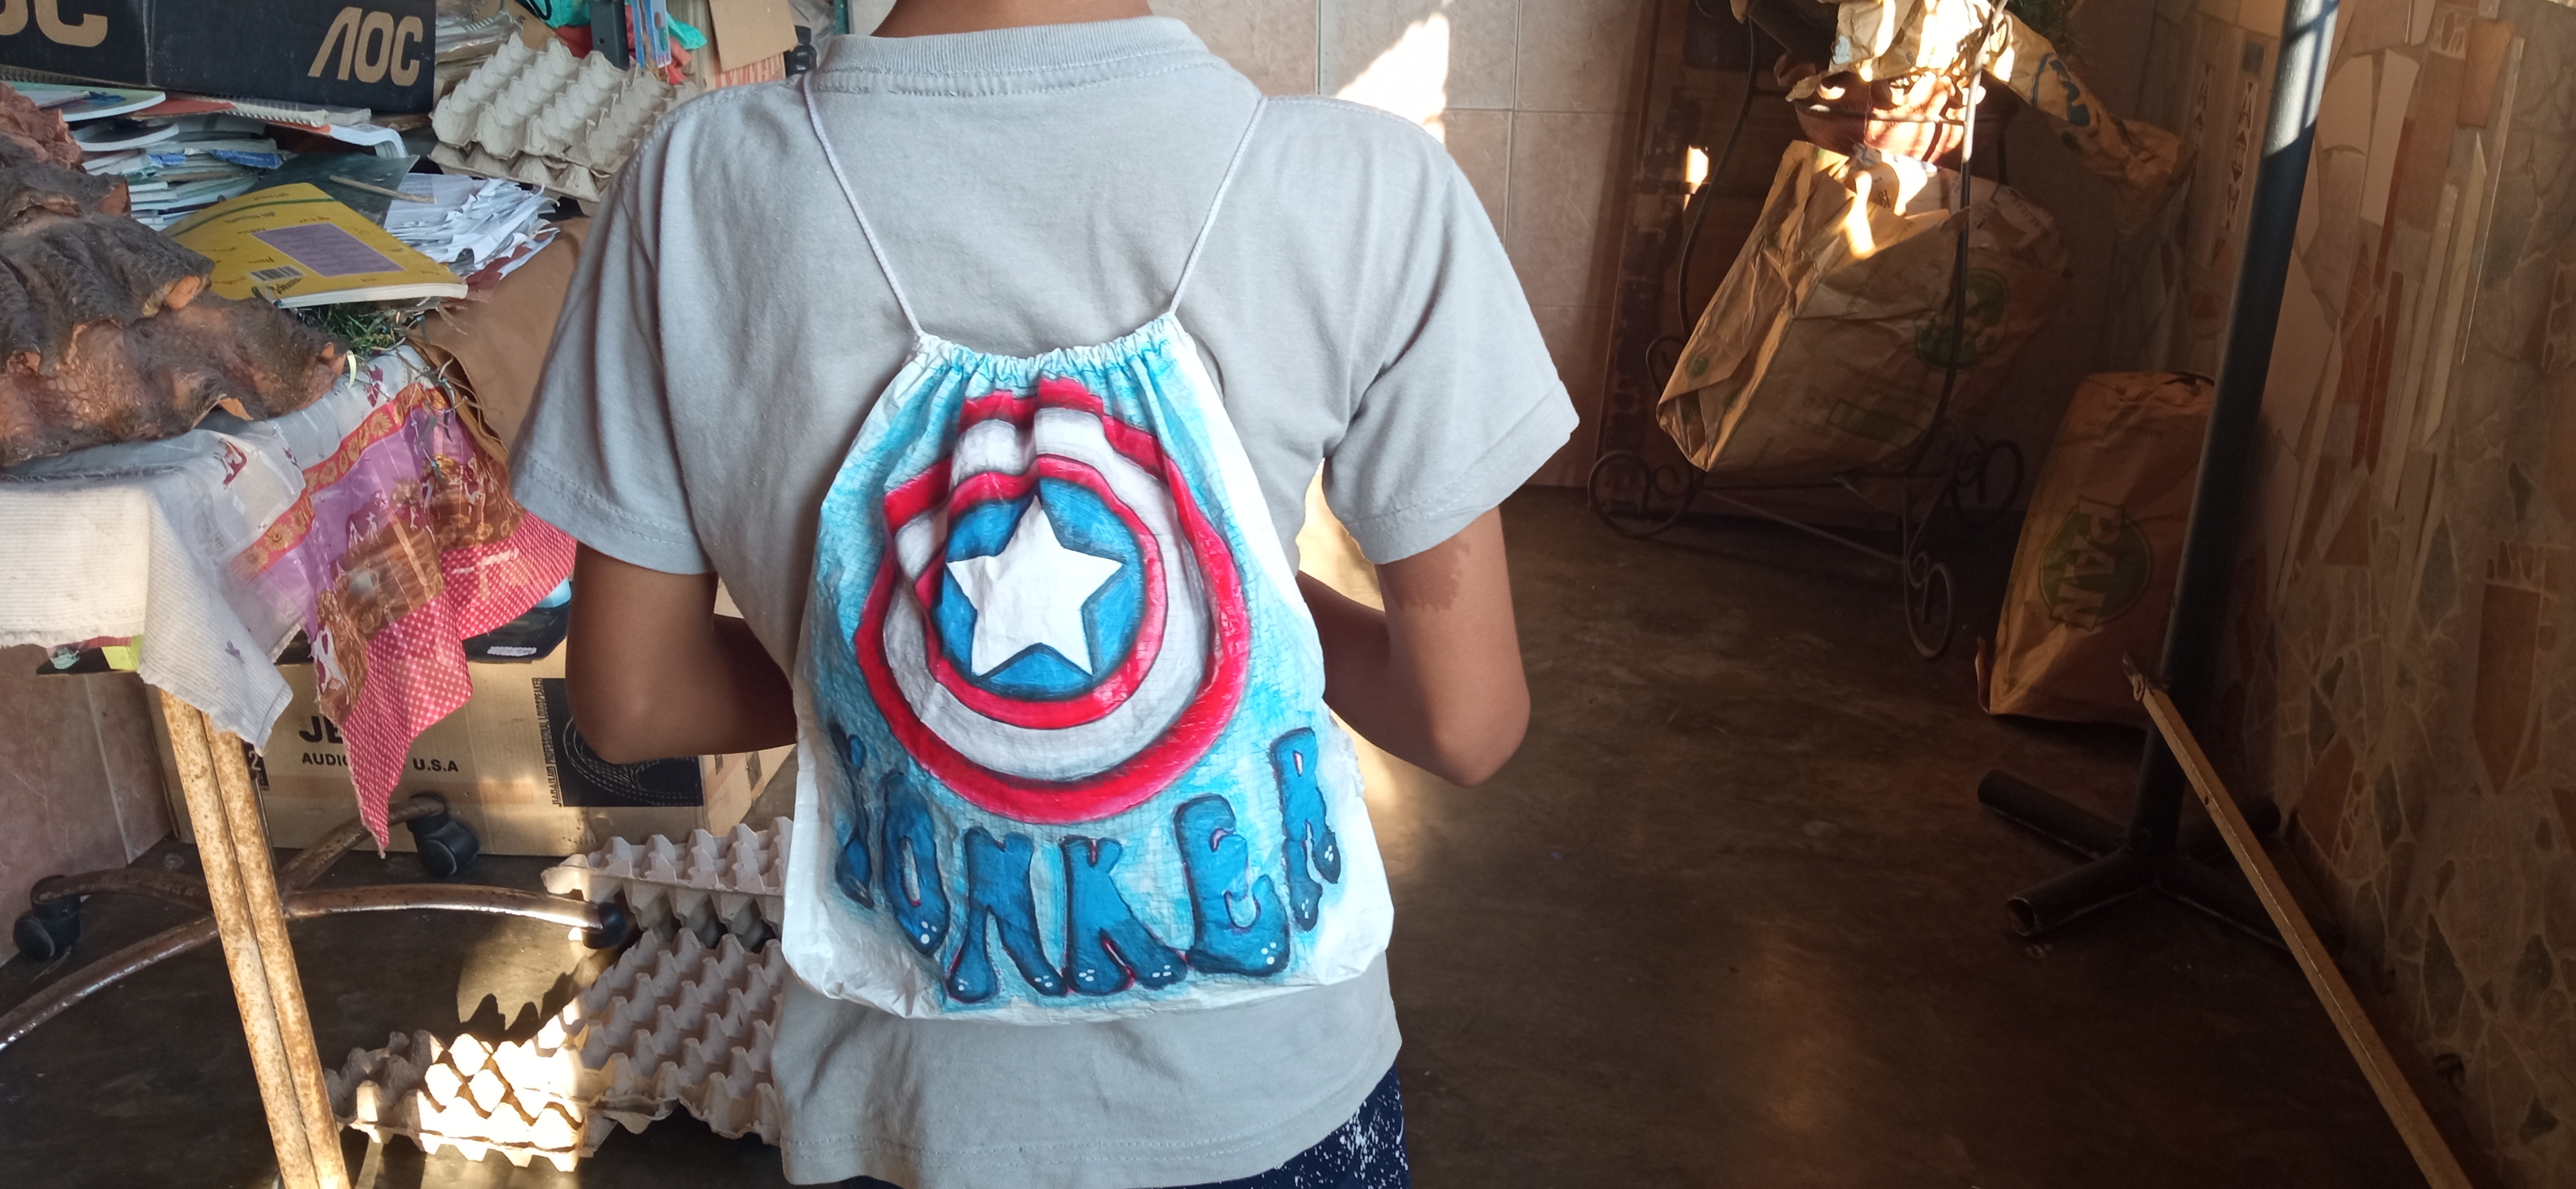
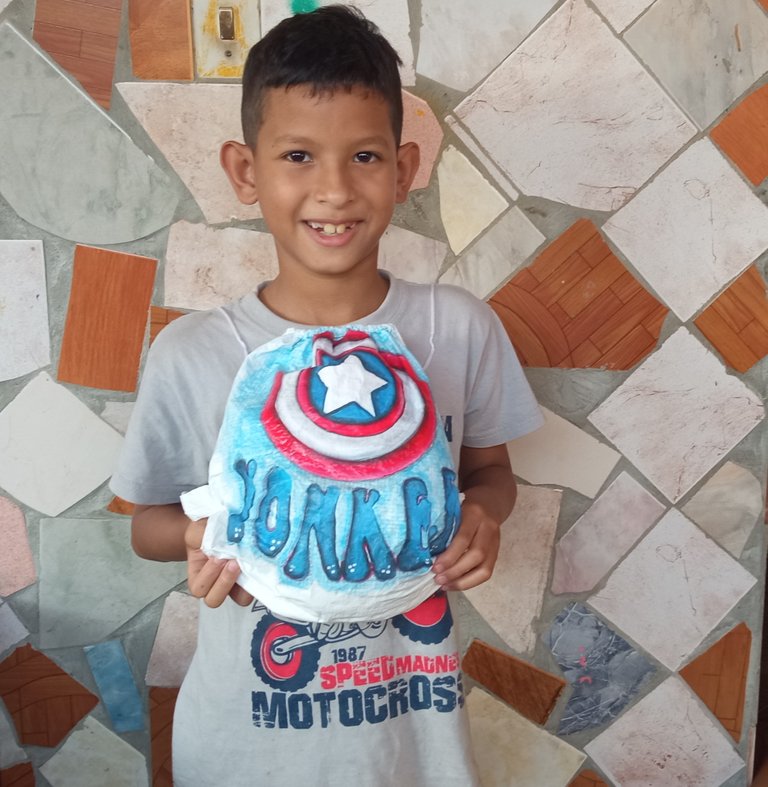
Happy evening, hive friends! Unfortunately I was without coverage for 3 days and that's why I couldn't post, thank God the problem has been solved. This time I want to show you the step by step of the bag I made for my grandson witha bag of a glue sack. . It is very easy to make and in about 3 hours it is ready. He loved it because I made it personalized. I hope you like it.
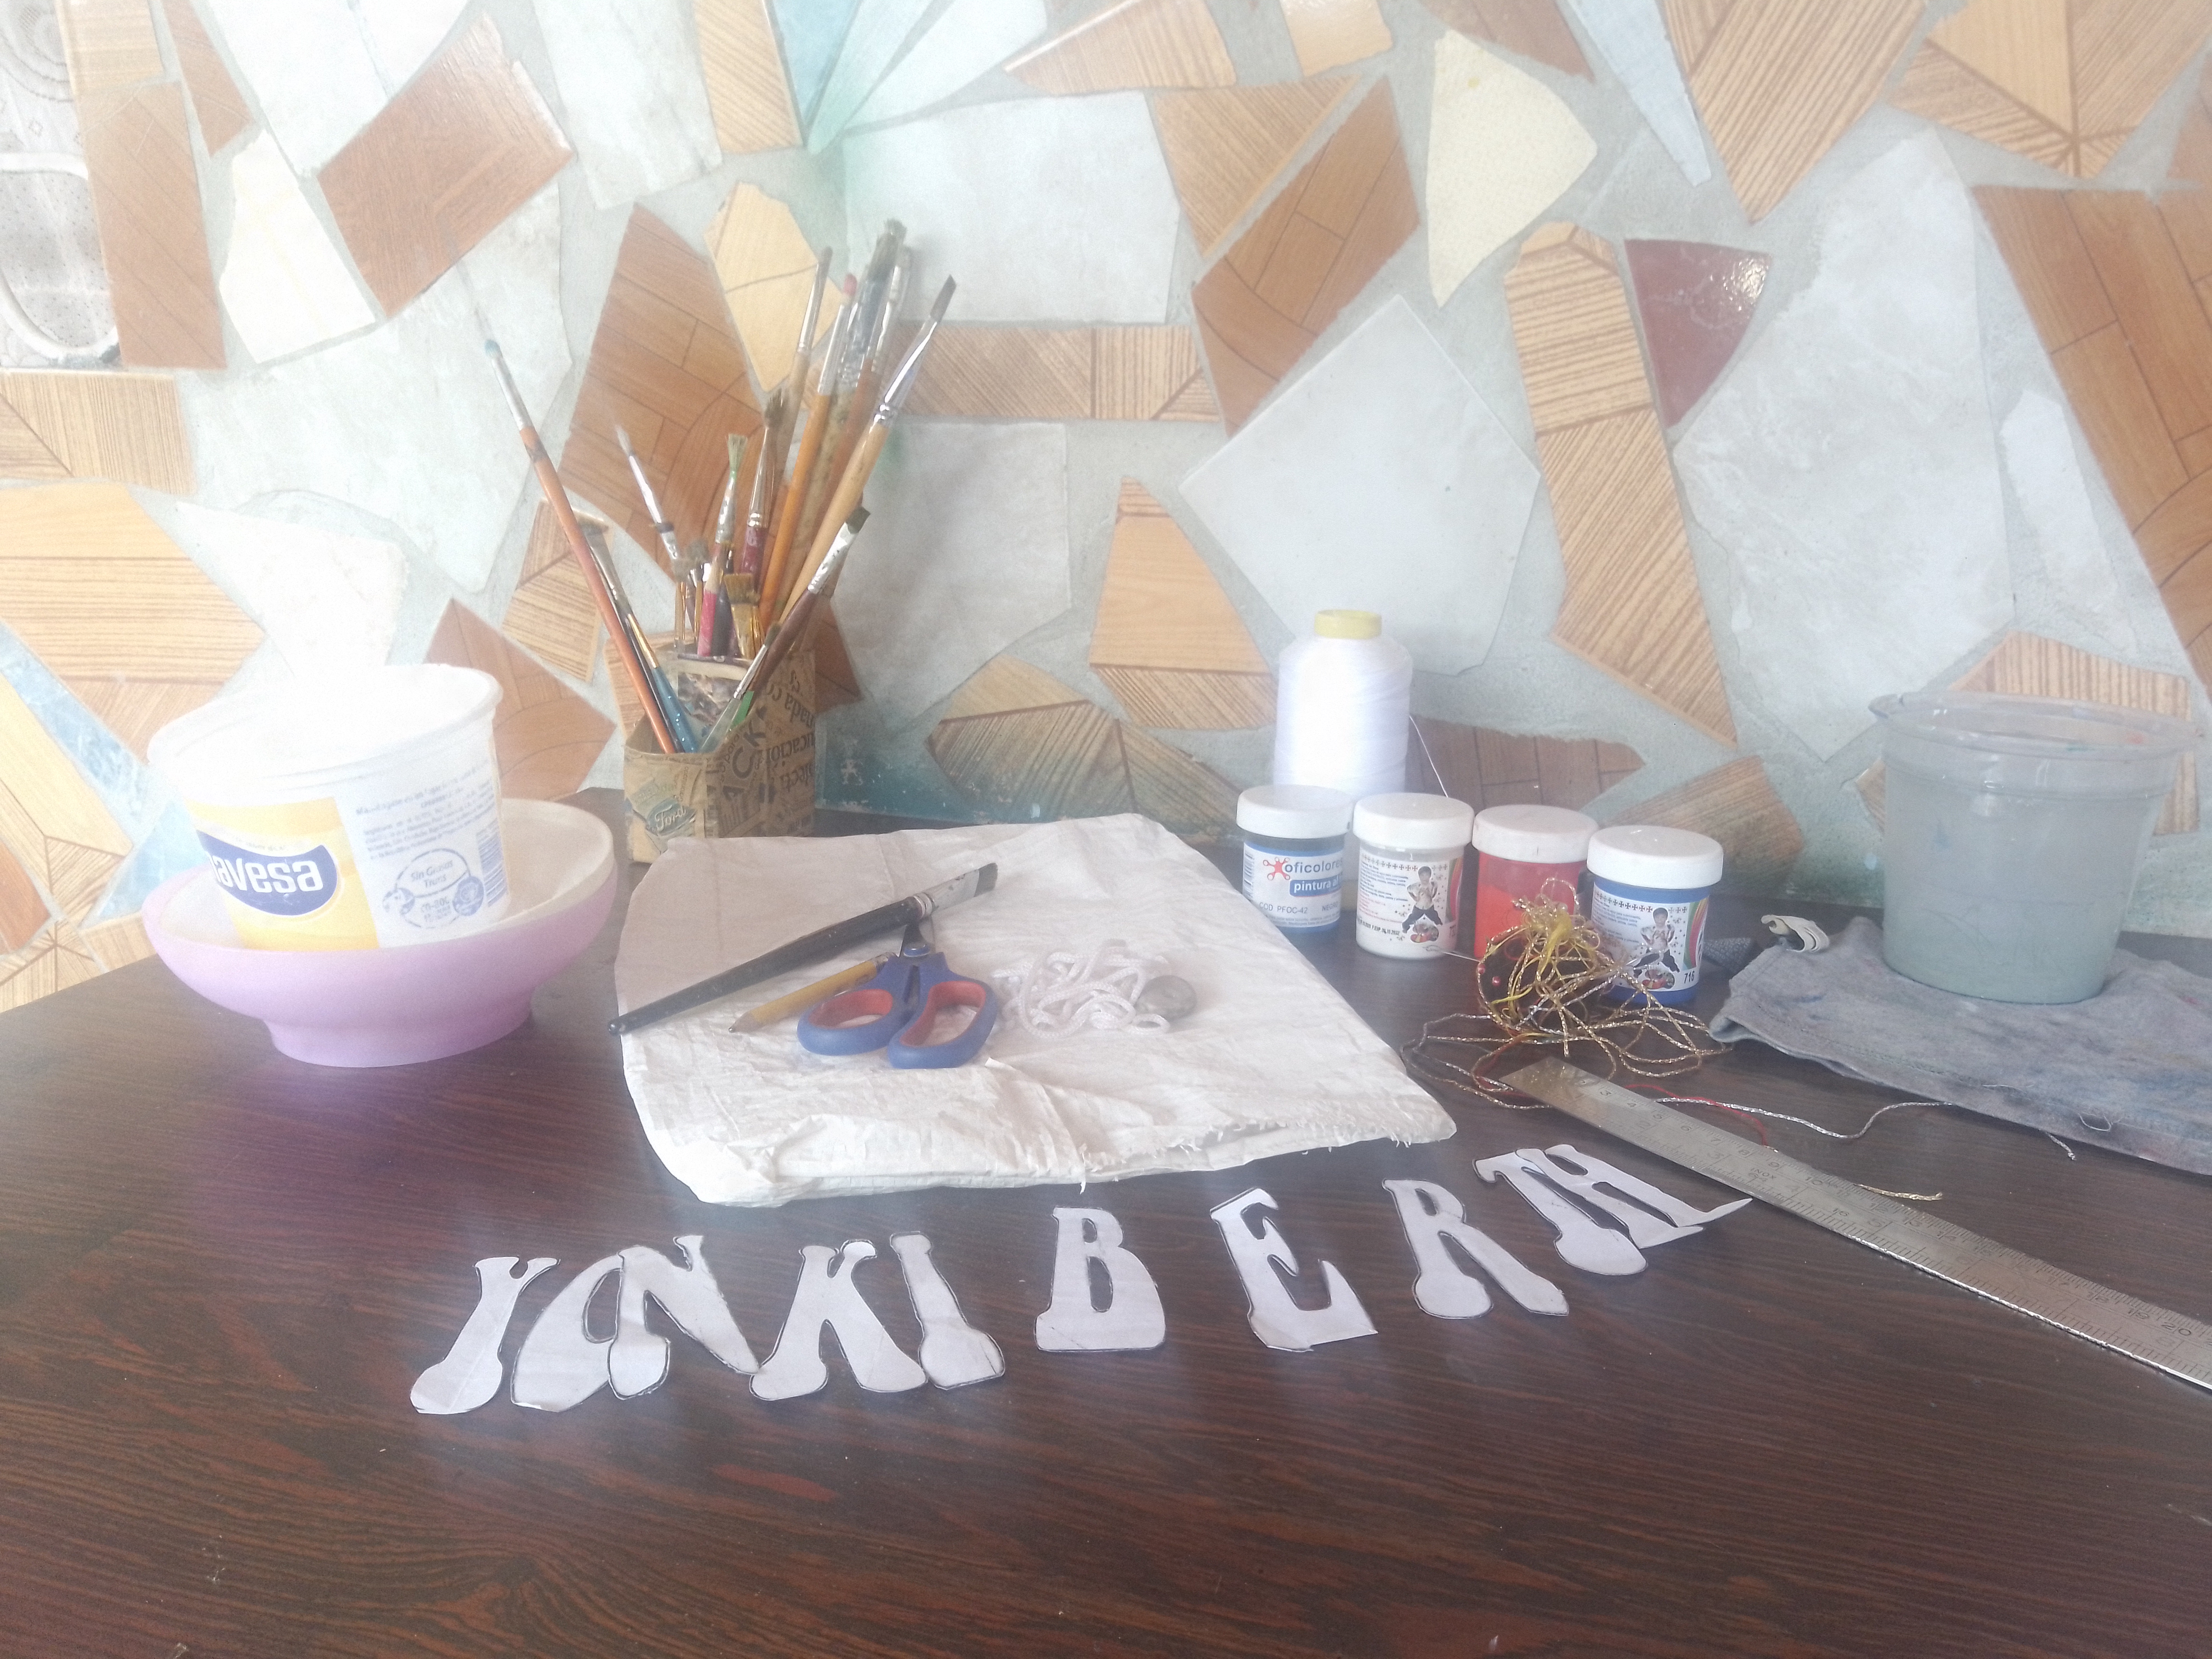
Materiales:
- Bolsa de saco de Pego.
- Pinturas acrilicas al frío colores:
Azul Rey,Blanco,Negro y Rojo. - Pinceles de cerda suave:
Redondo 3,plano 8,liner 1. - Potecito con agua (para lavar los pinceles).
- Pañito.
. 1 1/2 Metro de cordón blanco.
. Aguja e hilo blanco para coser. - Moldes de letras.
- Tijera.
- Regla.
- Objetos Redondos.
- Lápiz de creyon.
Materials: .
- Pego sack bag.
- Cold acrylic paints colors:
King Blue,White,Black and Red. - Soft bristle brushes:
Round 3,flat 8,liner 1. - Small pot with water (to wash the brushes).
- Cloth.
. 1 1/2 meter of white cord.
. Needle and white thread for sewing. - Letter molds.
- Scissors.
- Ruler.
- Round objects.
- Creyon pencil.
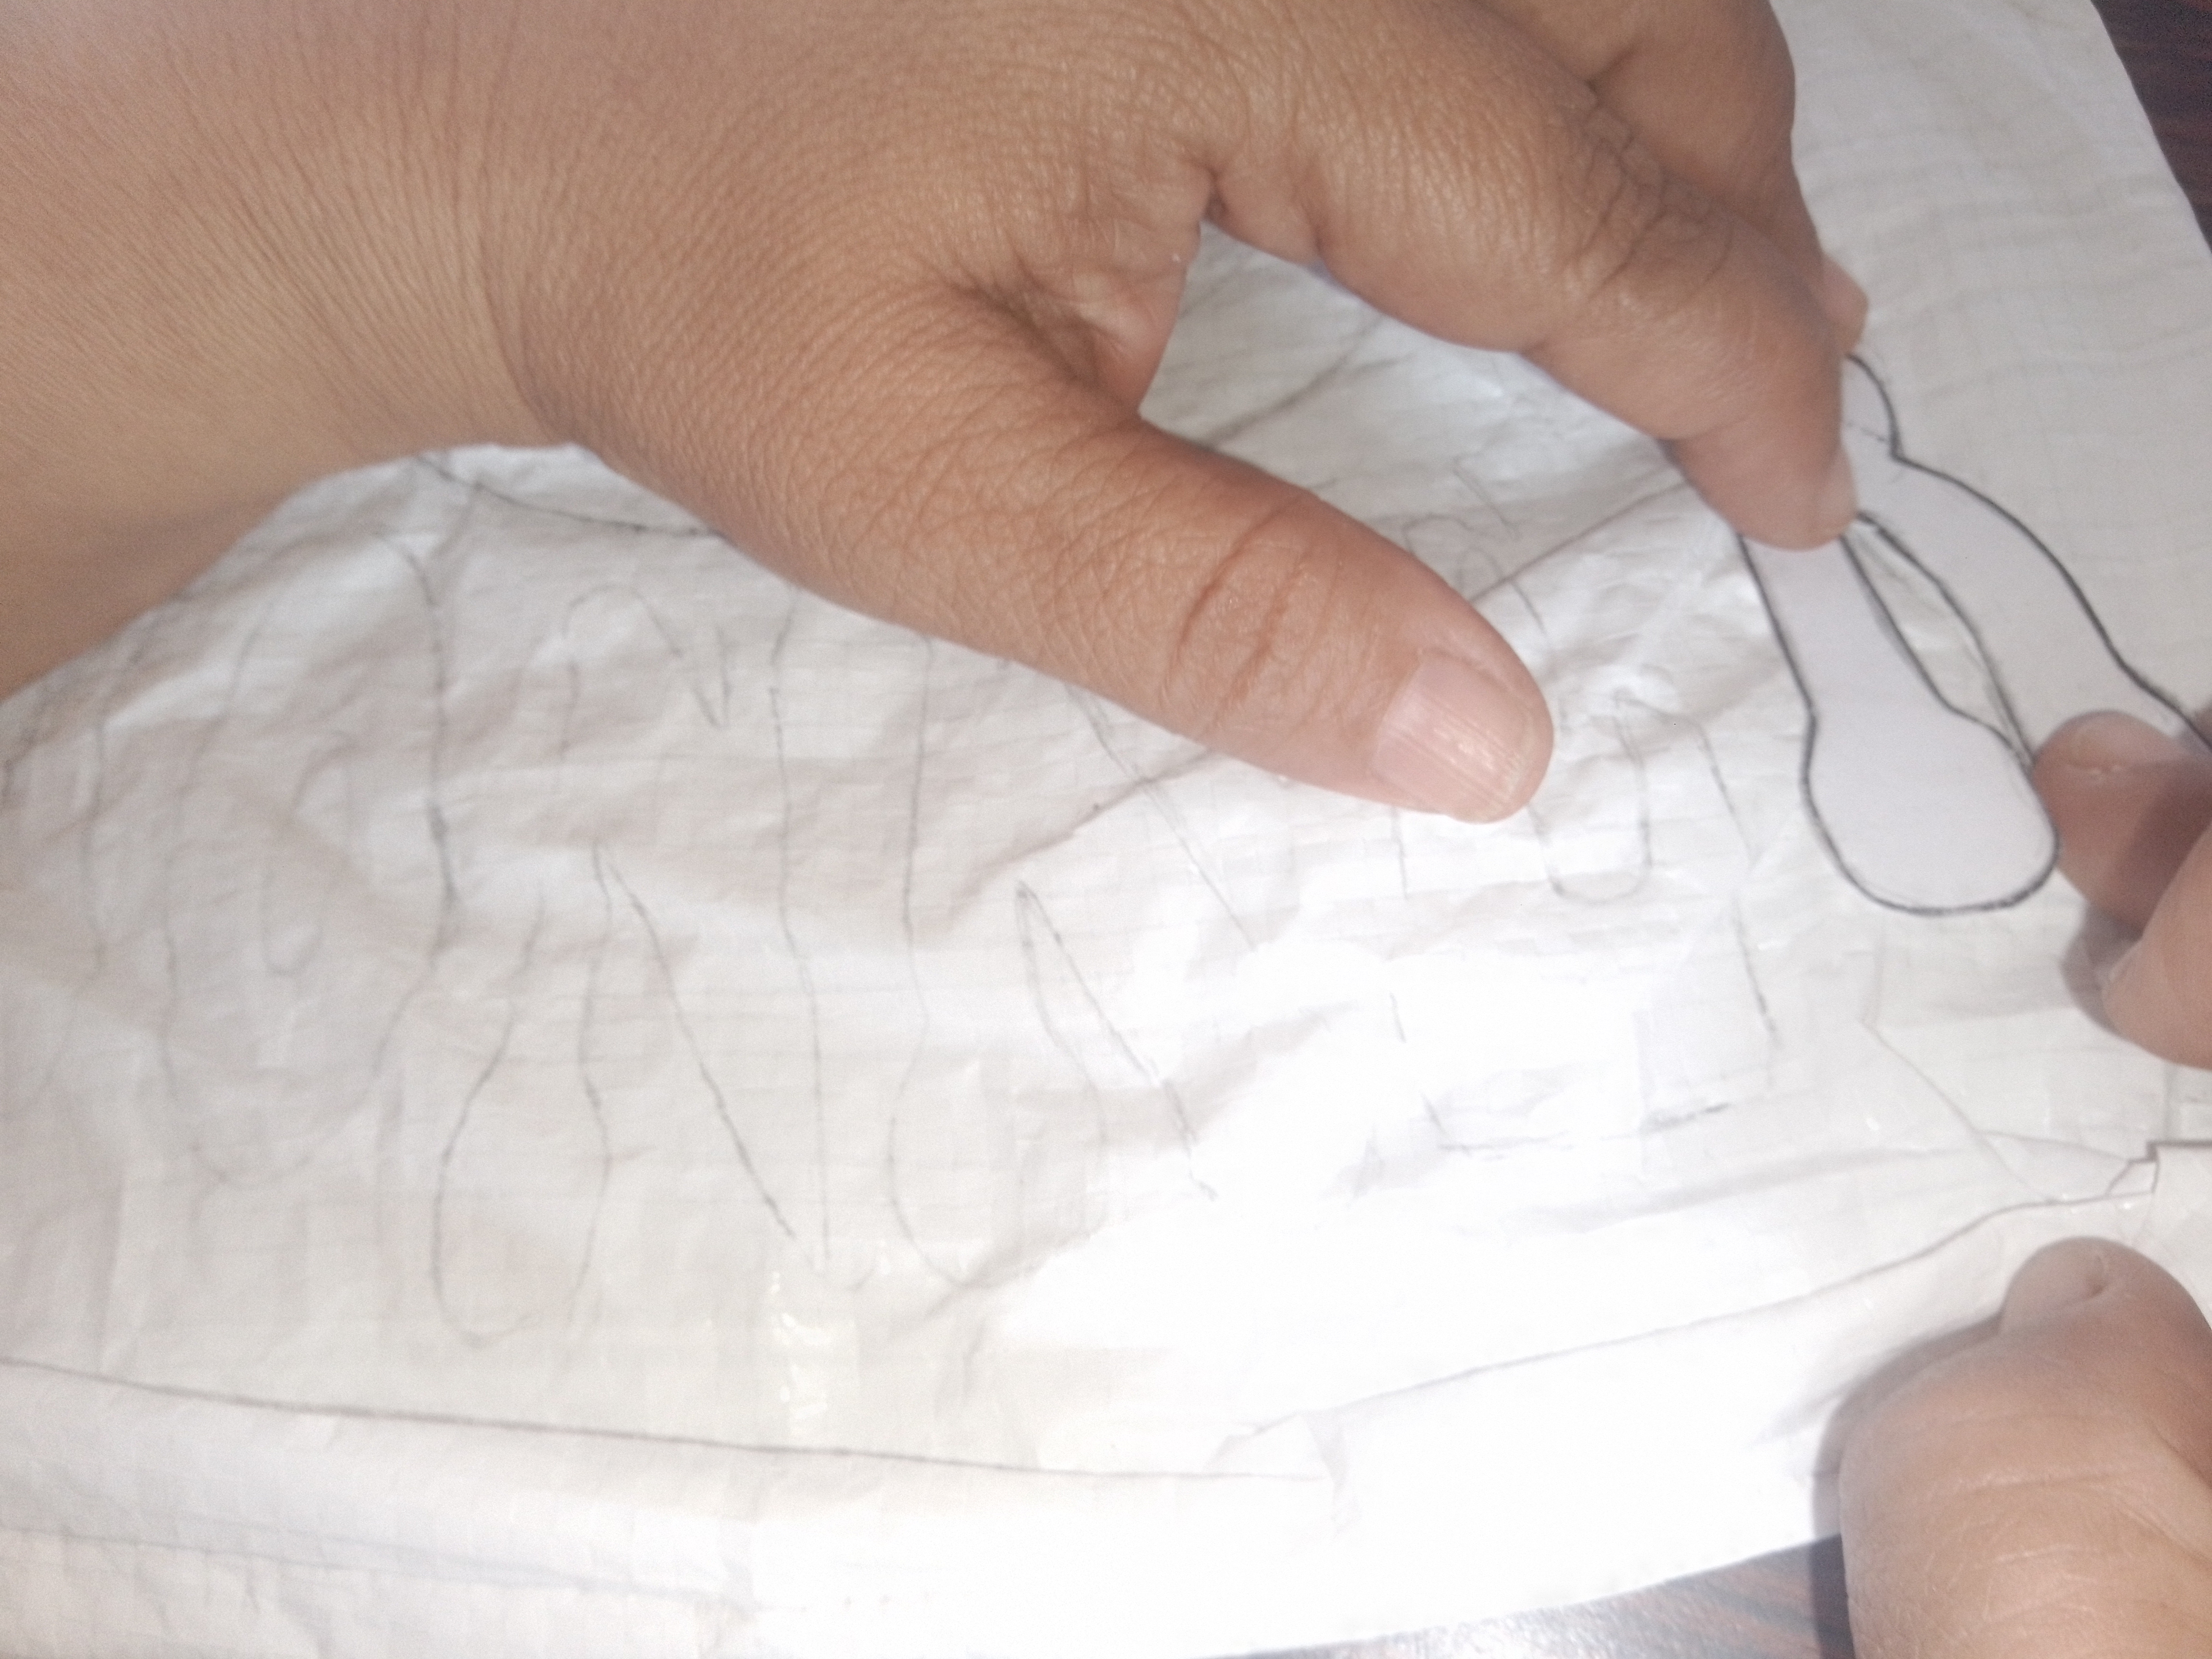
Paso 1:
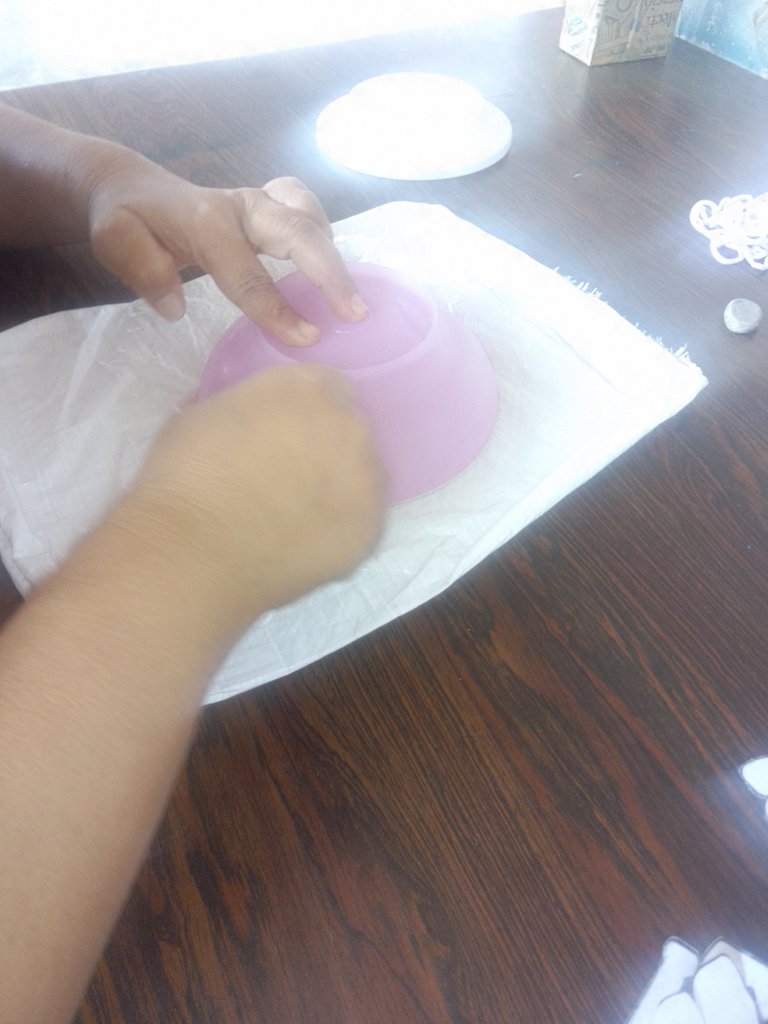
Con la ayuda de un envase plástico de circunsferencia redonda dibuje el Escudo del Capitán América.Para el nombre de mi nieto utilice las plantillas de letras como su nombre tiene 15 letras decidi utilizar su disminutivo "YONKER".
Step:
With the help of a round circumference plastic container I drew Captain America's shield and for my grandson's name I used the letter stencils as his name has 15 letters and I decided to use his diminutive "YONKER".
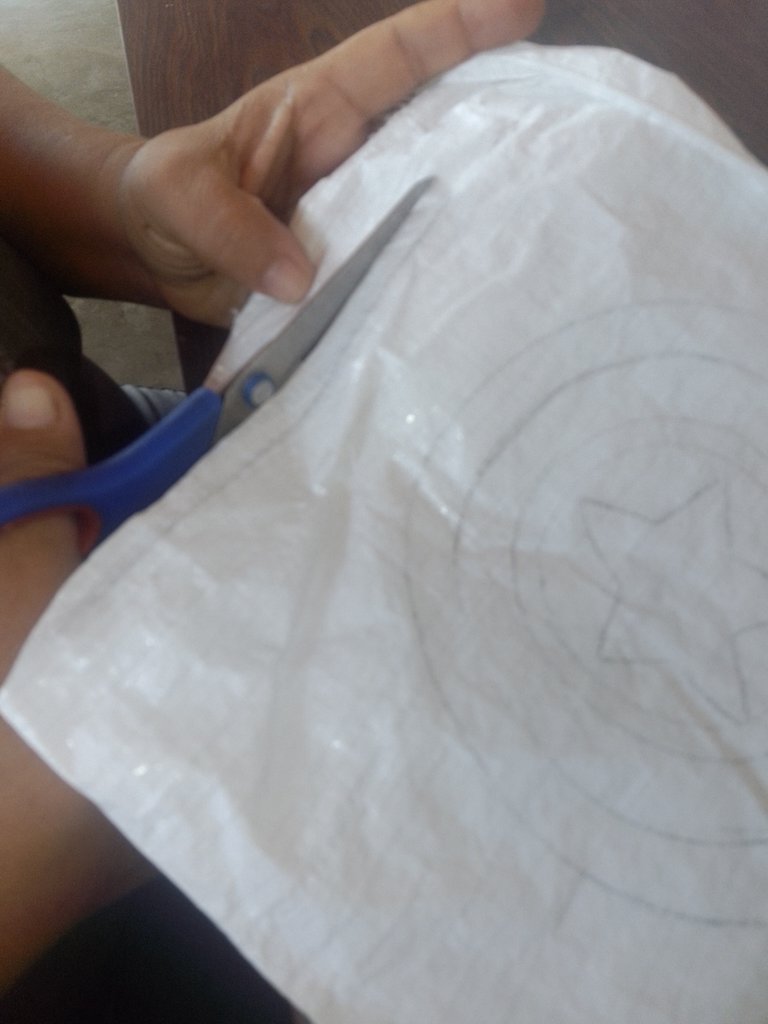
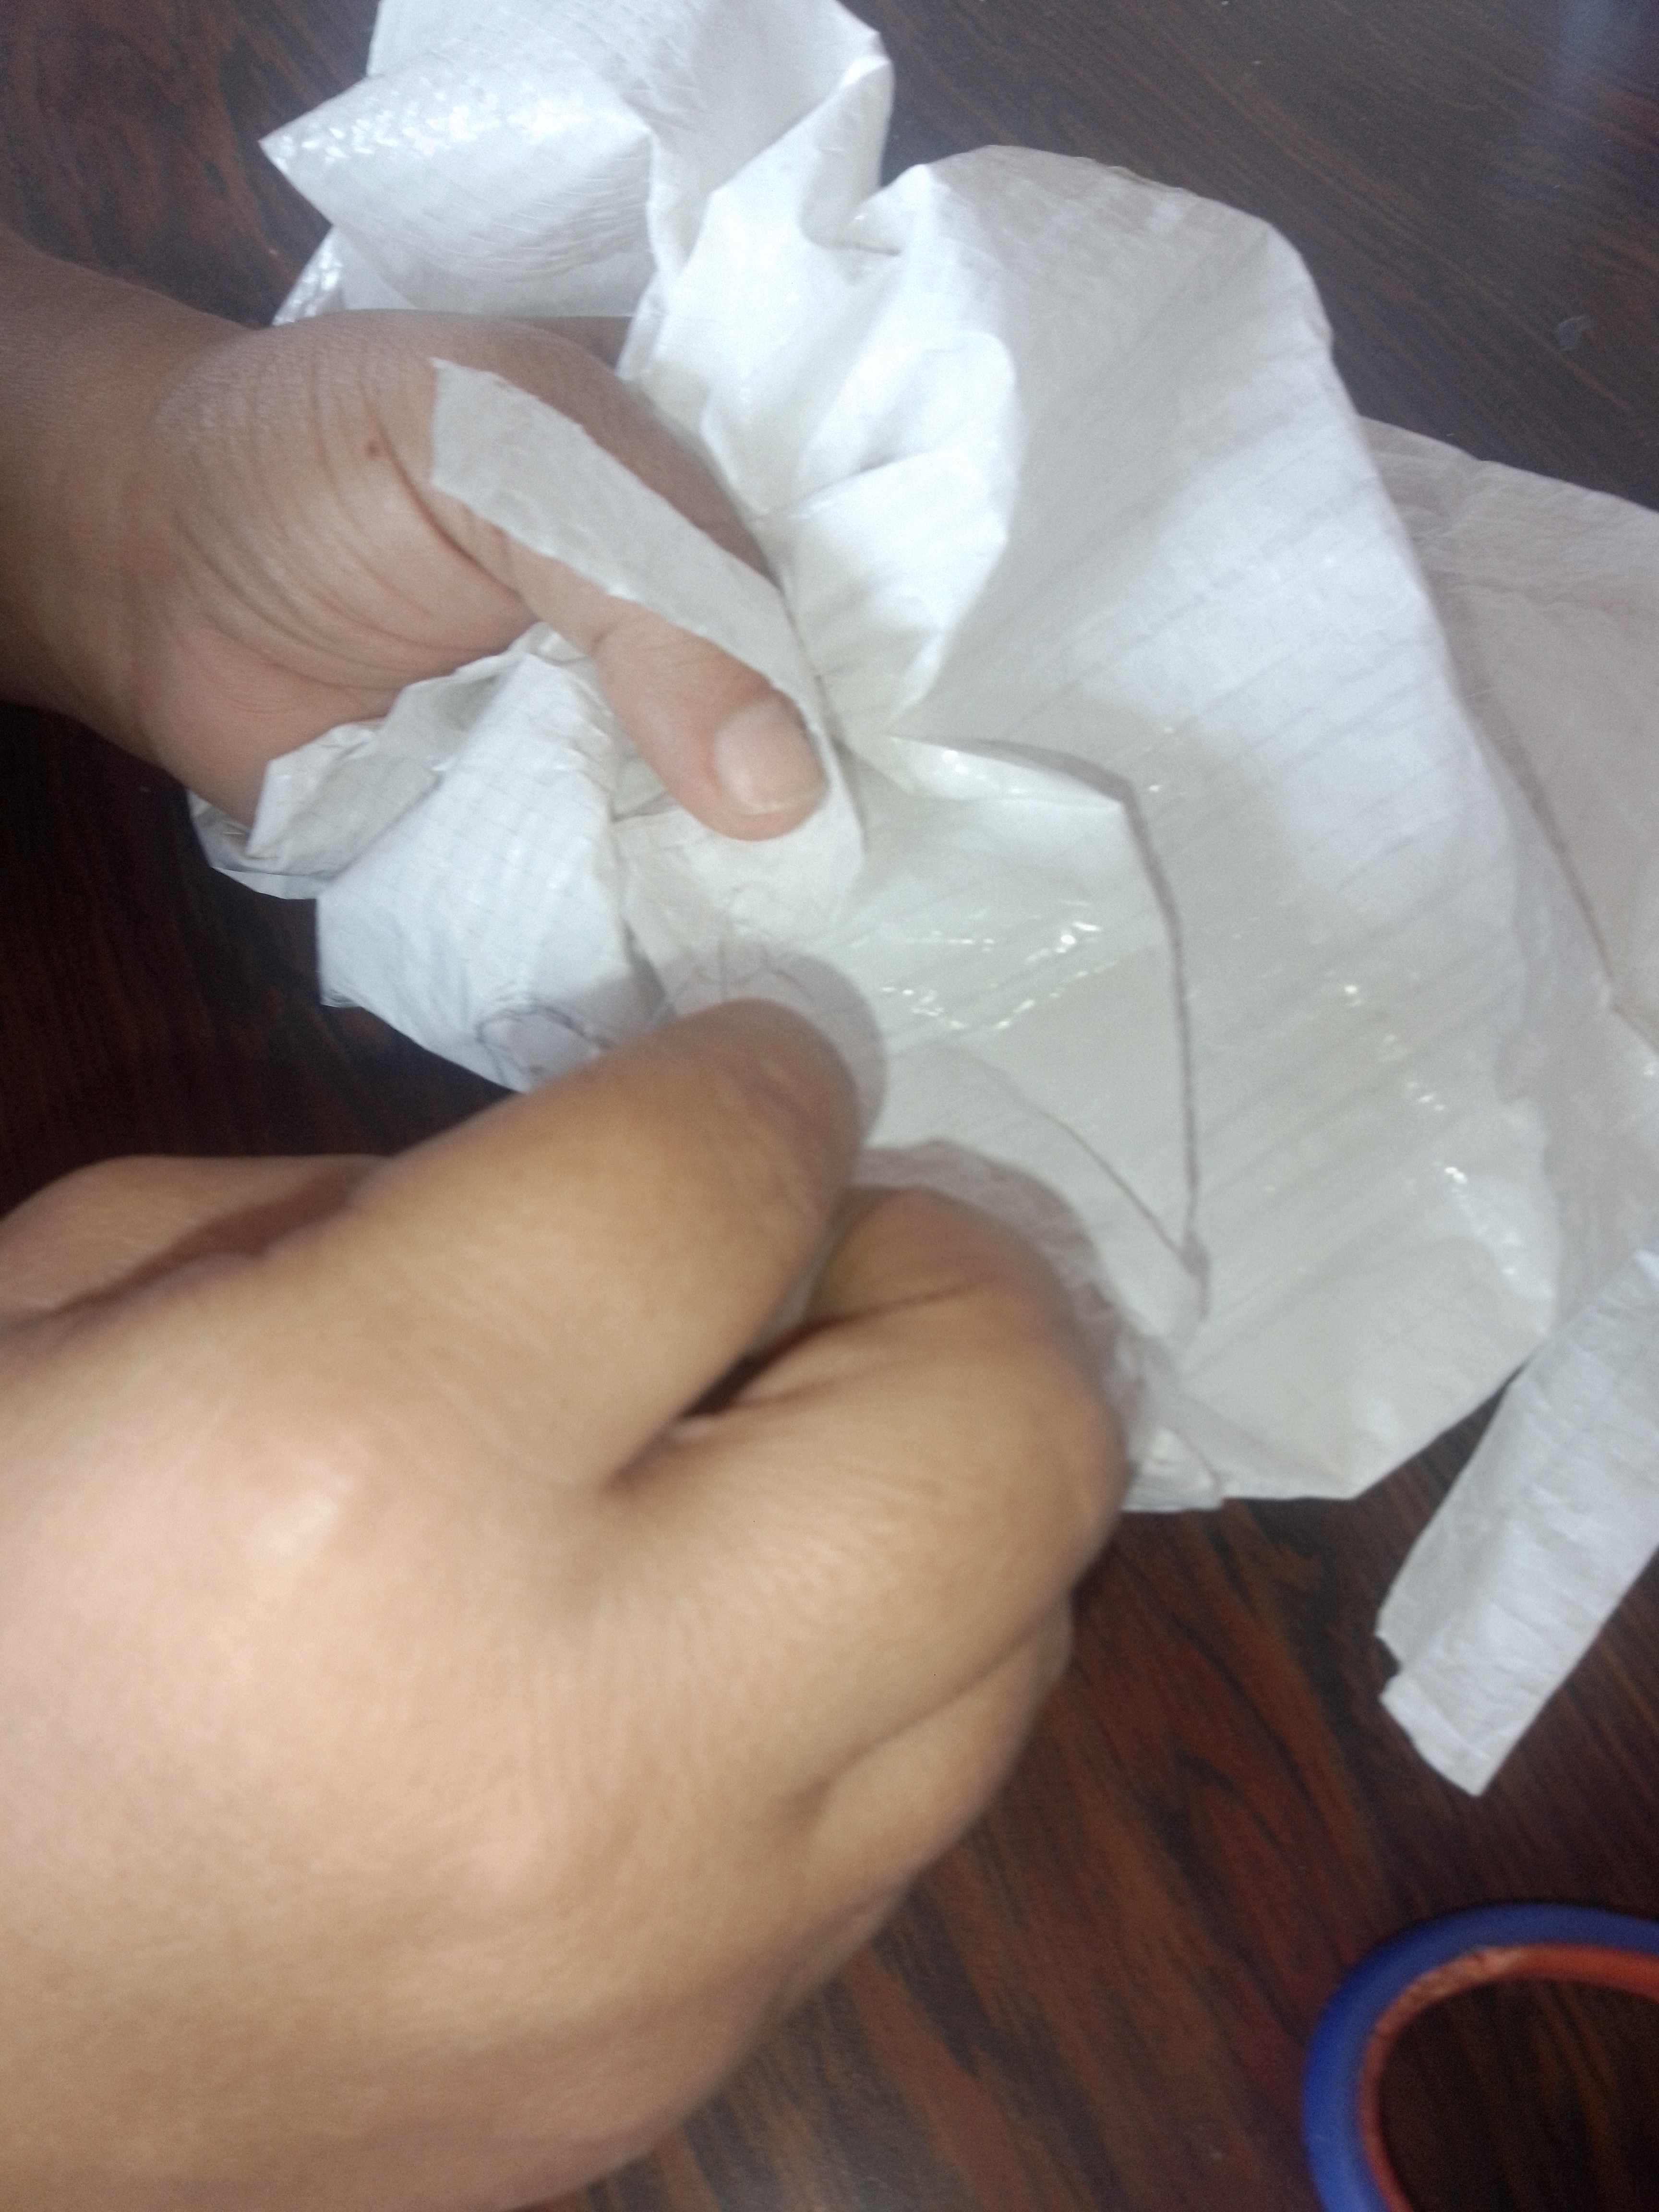
Paso 2:
Recorte la parte superior del saco y le hice una abertura de 6 centìmetros por ambos lados.Con la tira sobrante corte 2 tiras de 6 centimetros los doble y los cosí uno de cada lado.
Step 2:
I cut out the top of the bag and made a 6 cm opening on both sides.With the leftover strip I cut 2 strips of 6 centimeters, folded them and sewed one on each side.
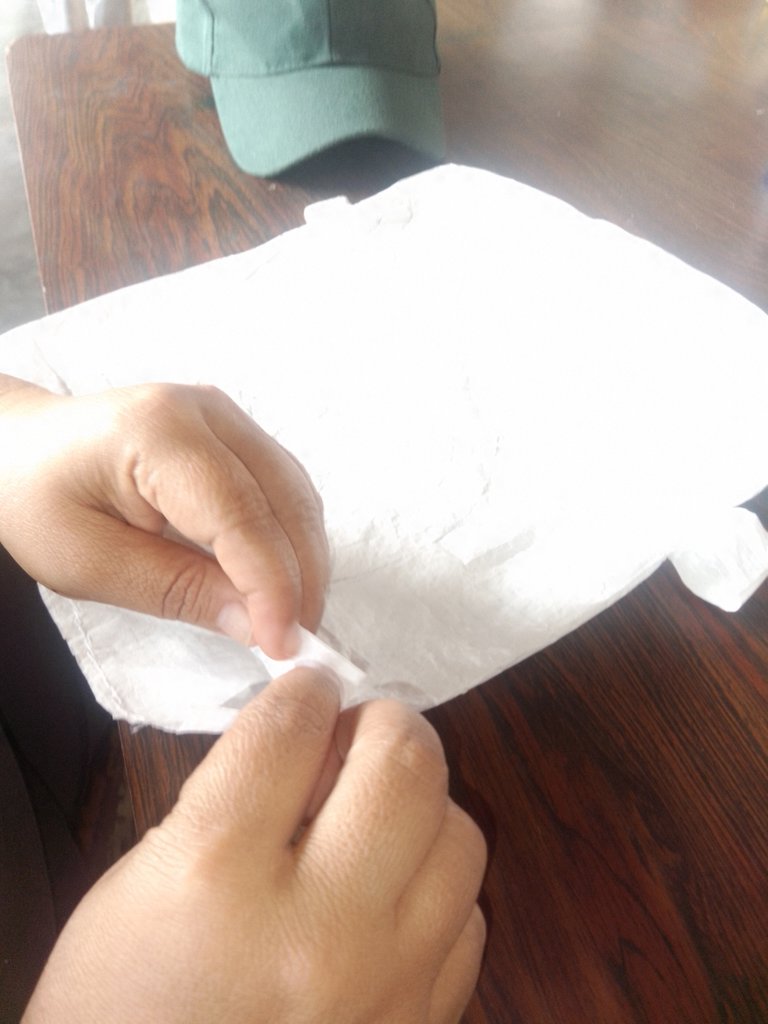
Paso 3:
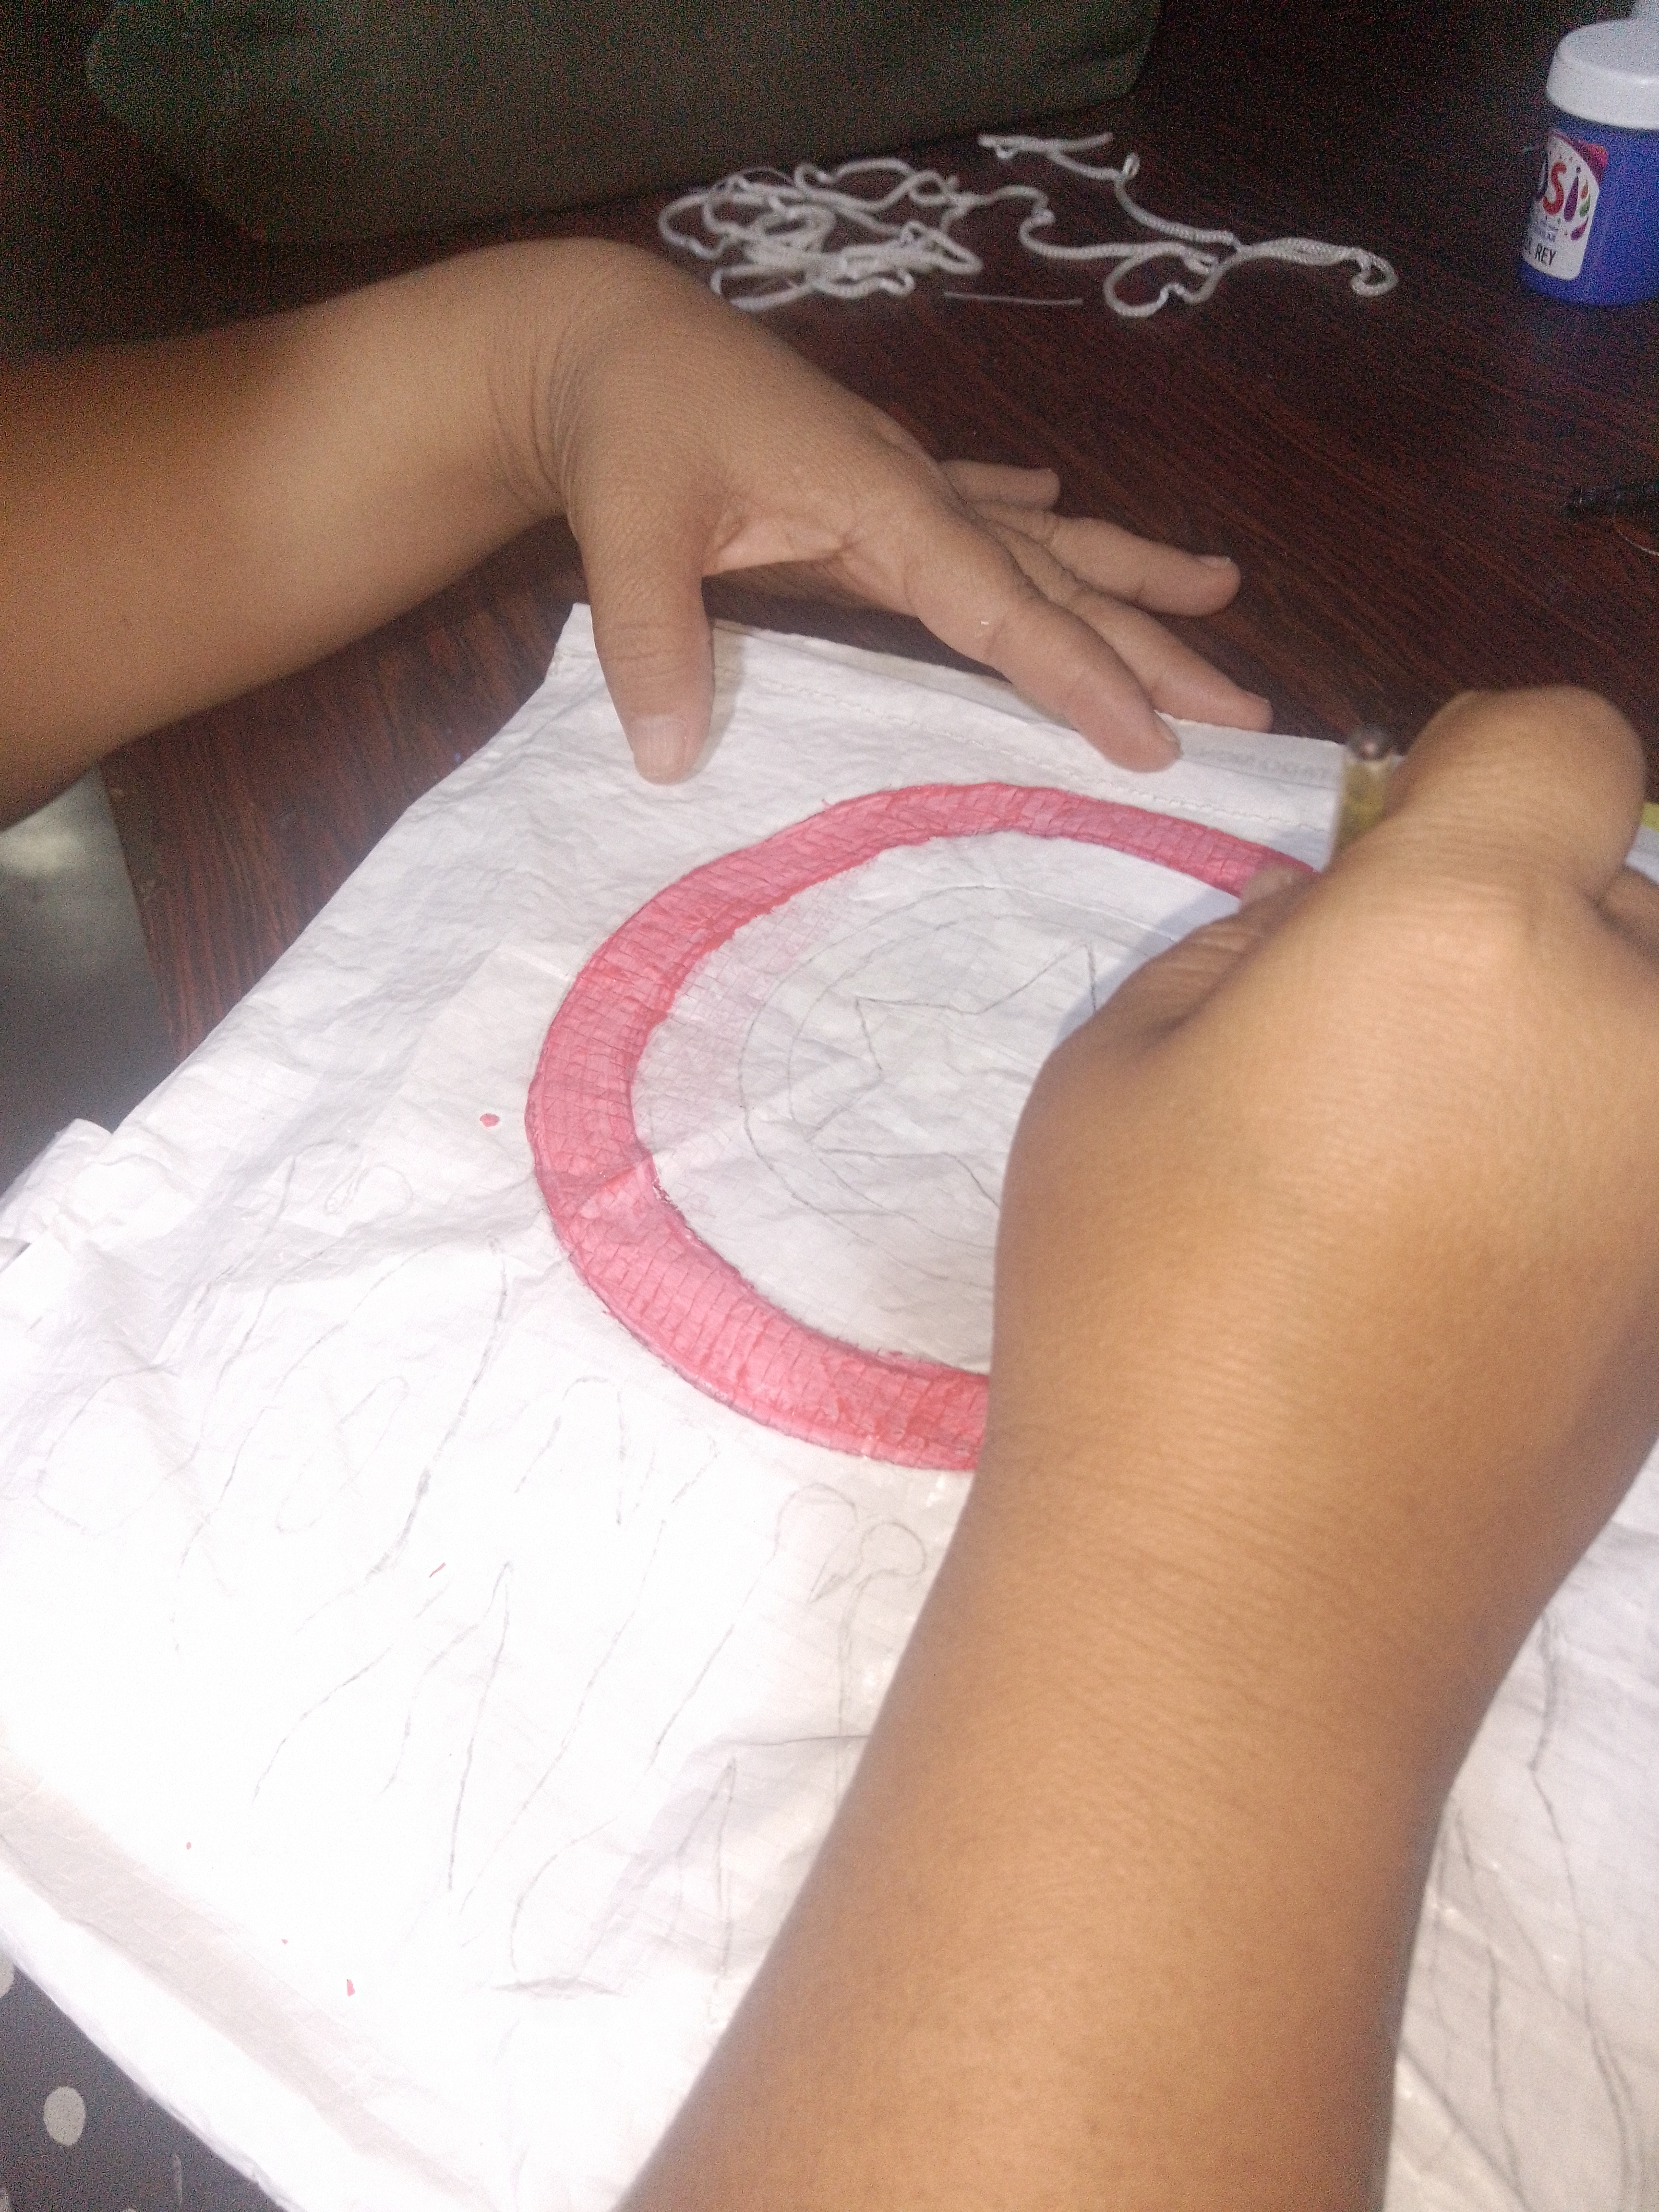
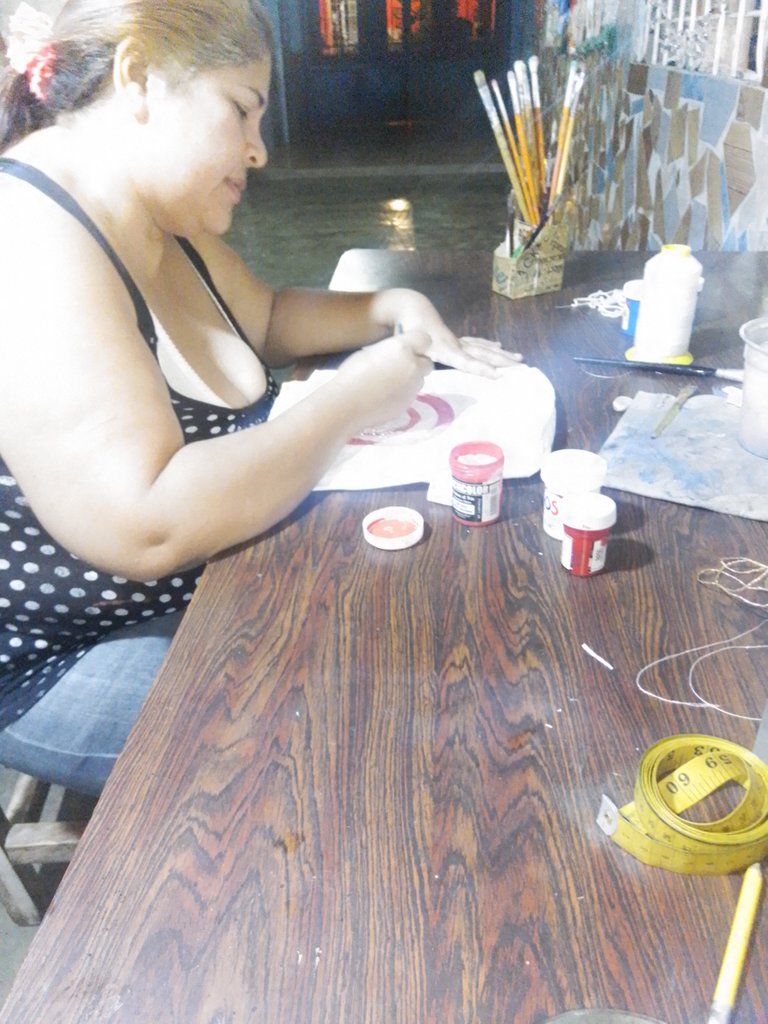
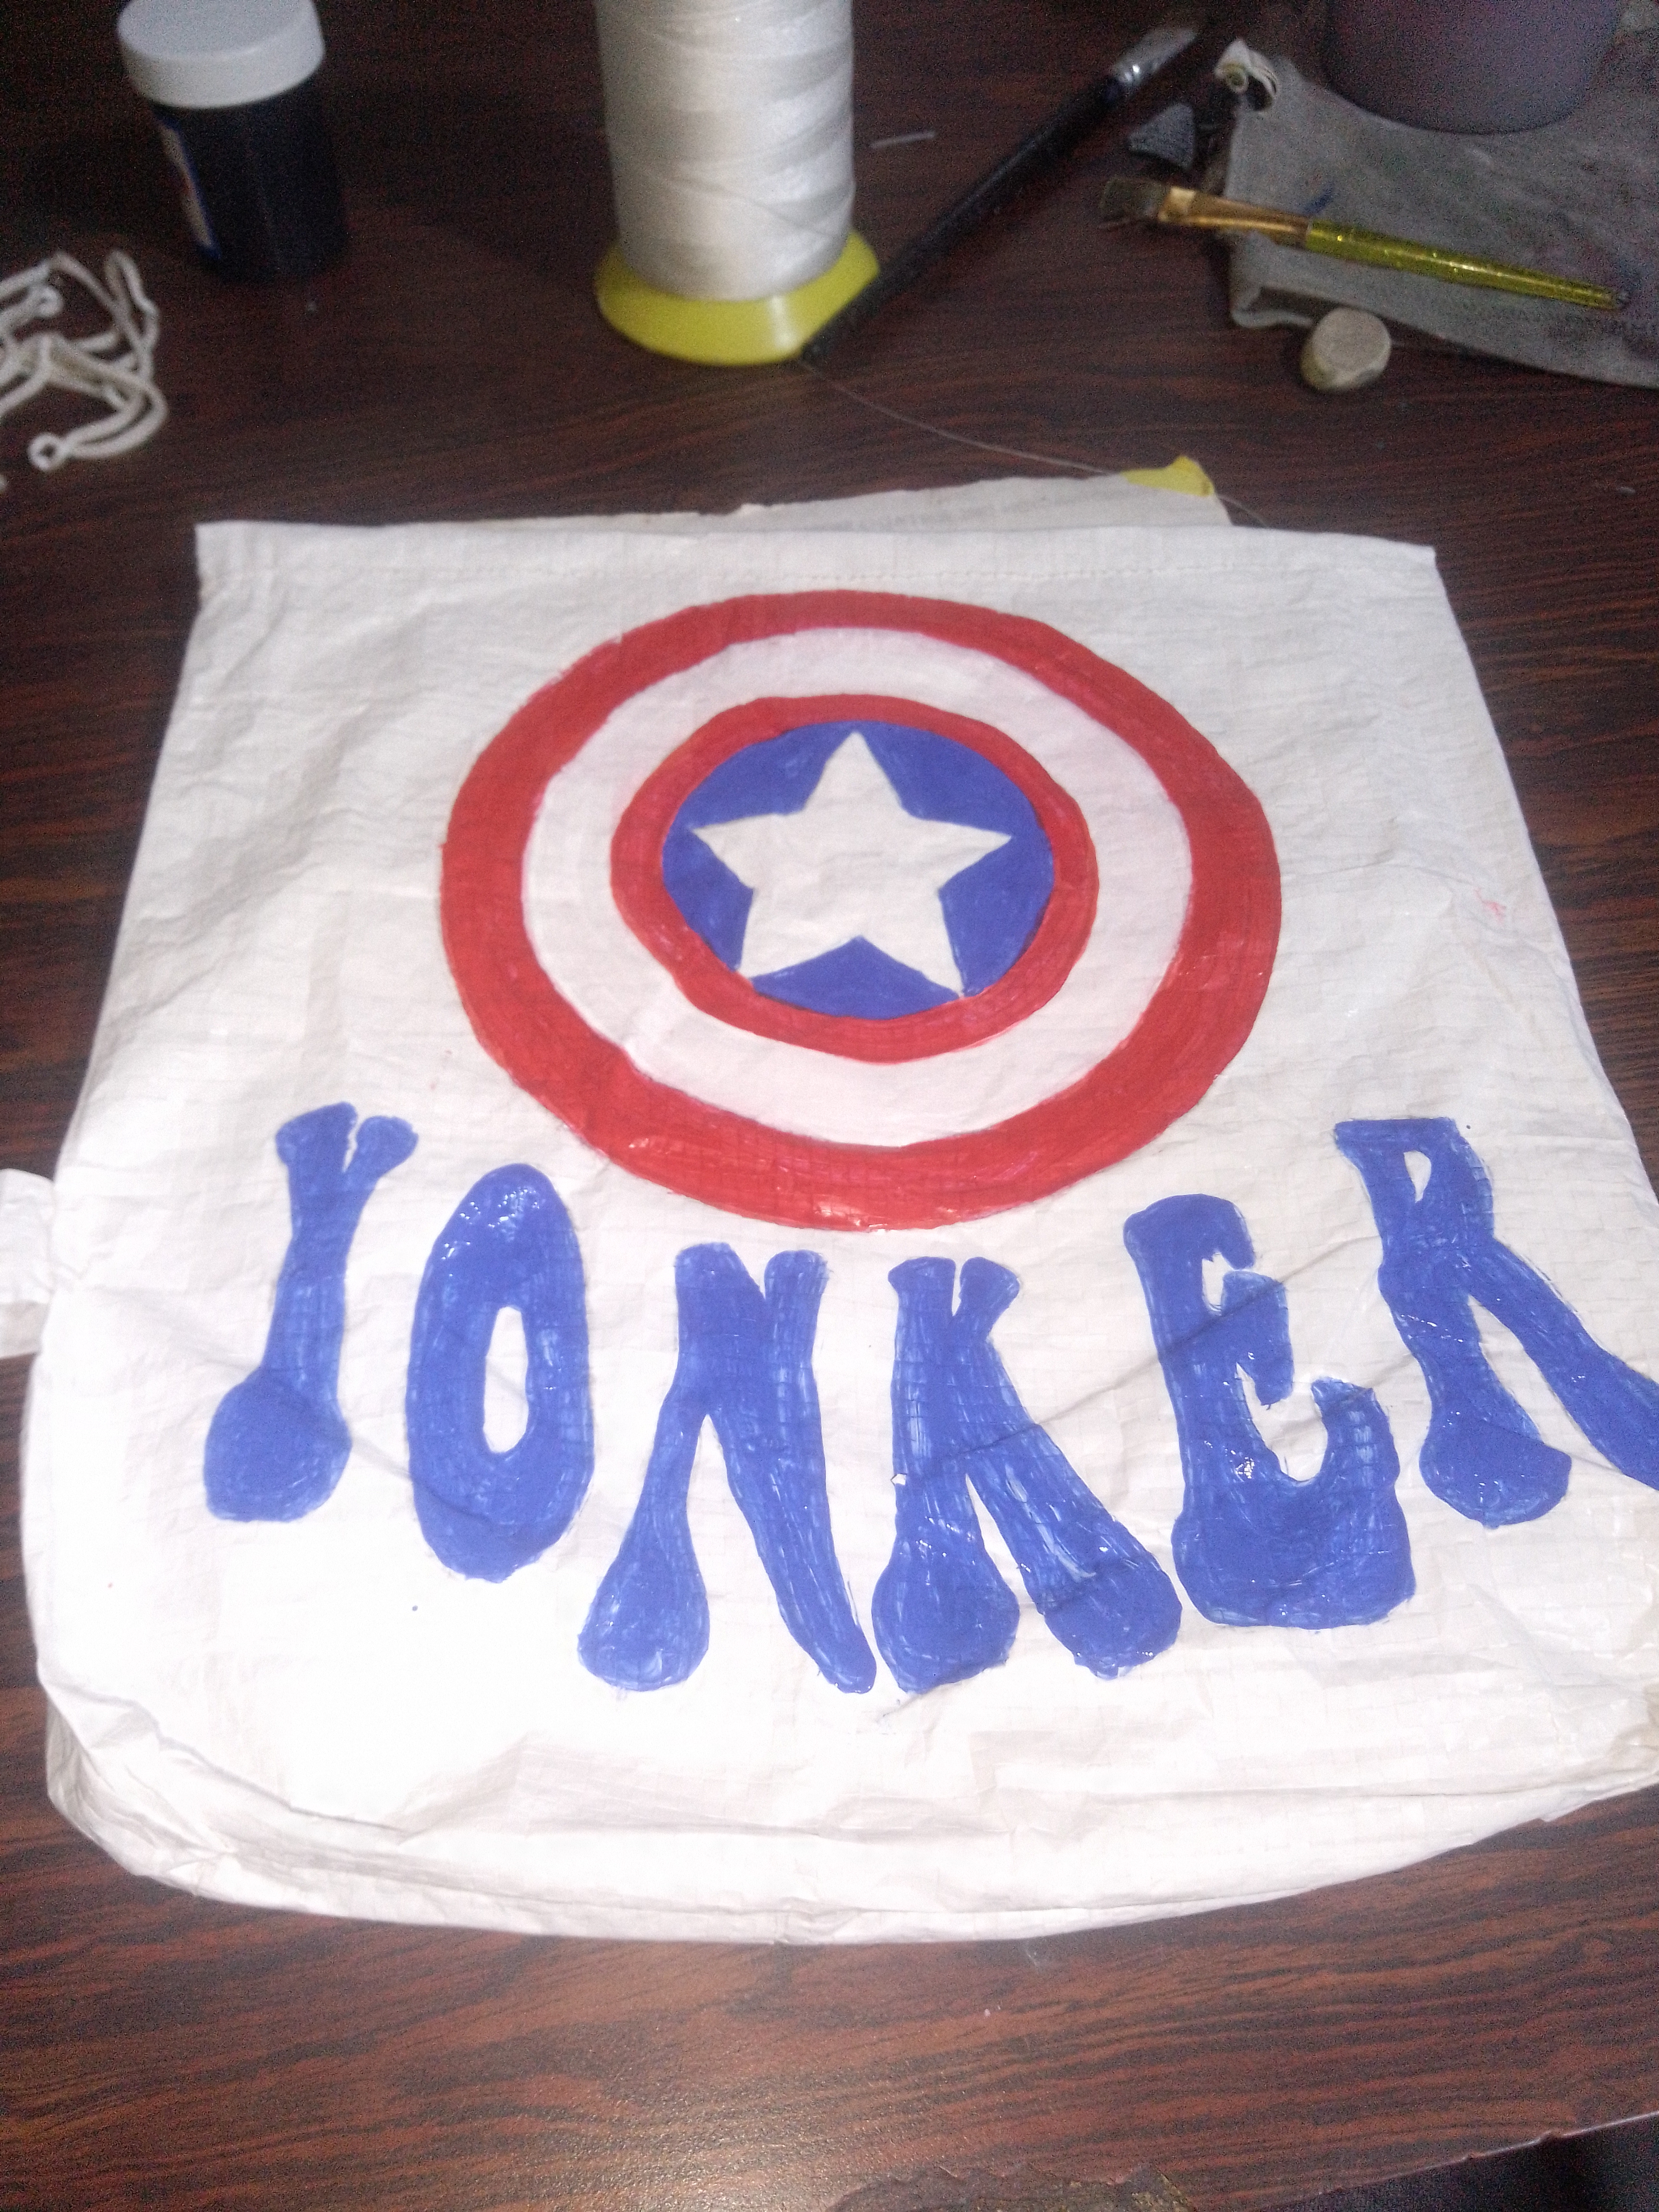
Cosí los bordes superiores dejando abertura para introducir el cordón.Y comence a colocar los colores base: rojo,blanco y azul rey.
Step3:
I sewed the upper edges leaving an opening to insert the cord and started to place the base colors: Red, White and Royal blue.
Paso 4:
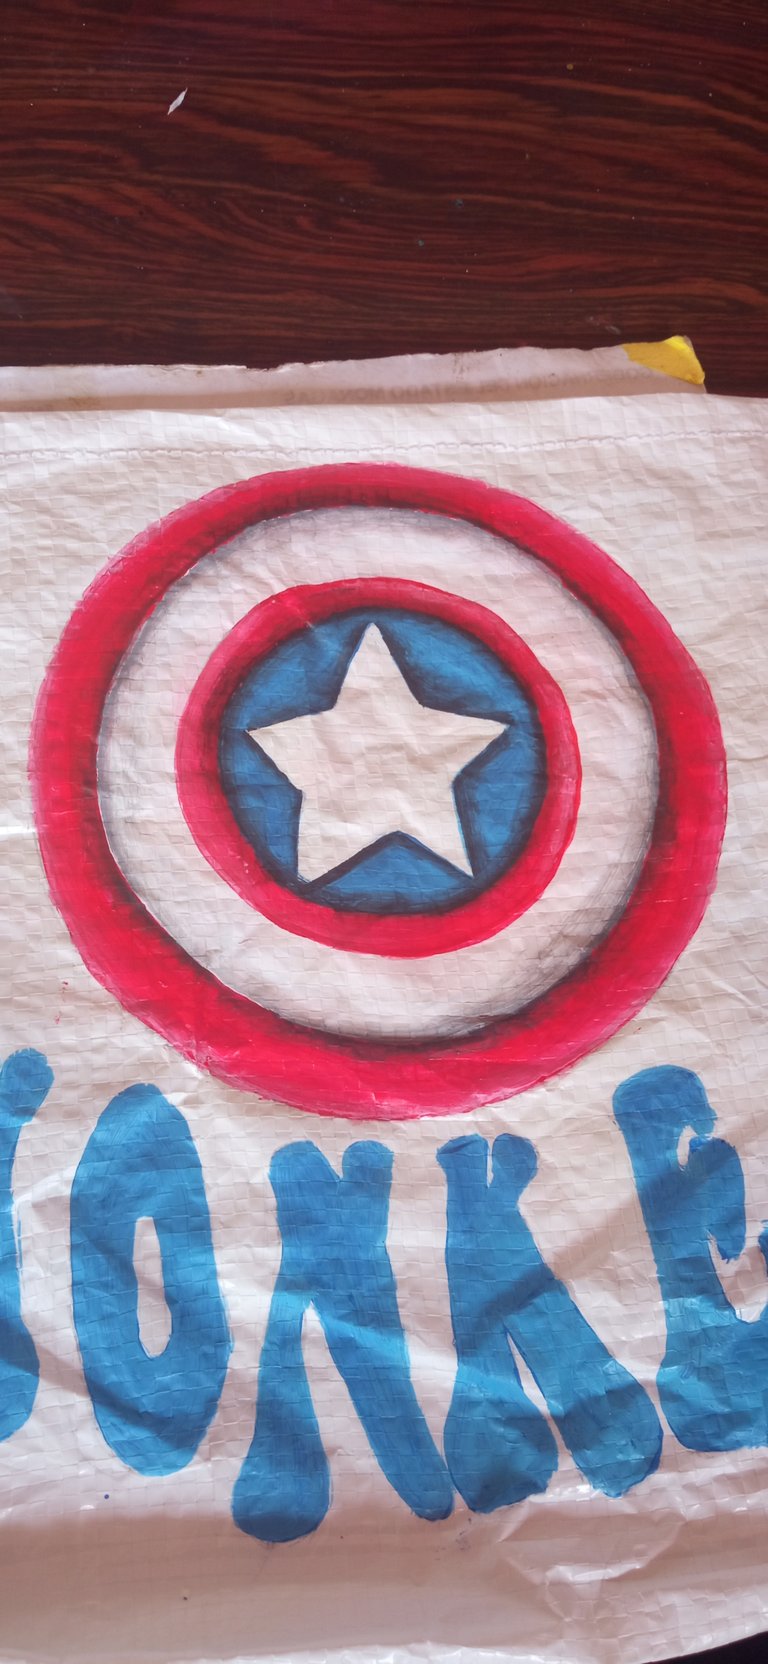
Una vez listo los colores bases difumine con blanco el rojo para dar luces y las sombras las di con negro.
Step 4:
Once the base colors were ready, I blurred the red with white to give highlights and the shadows with black.
Paso 5:
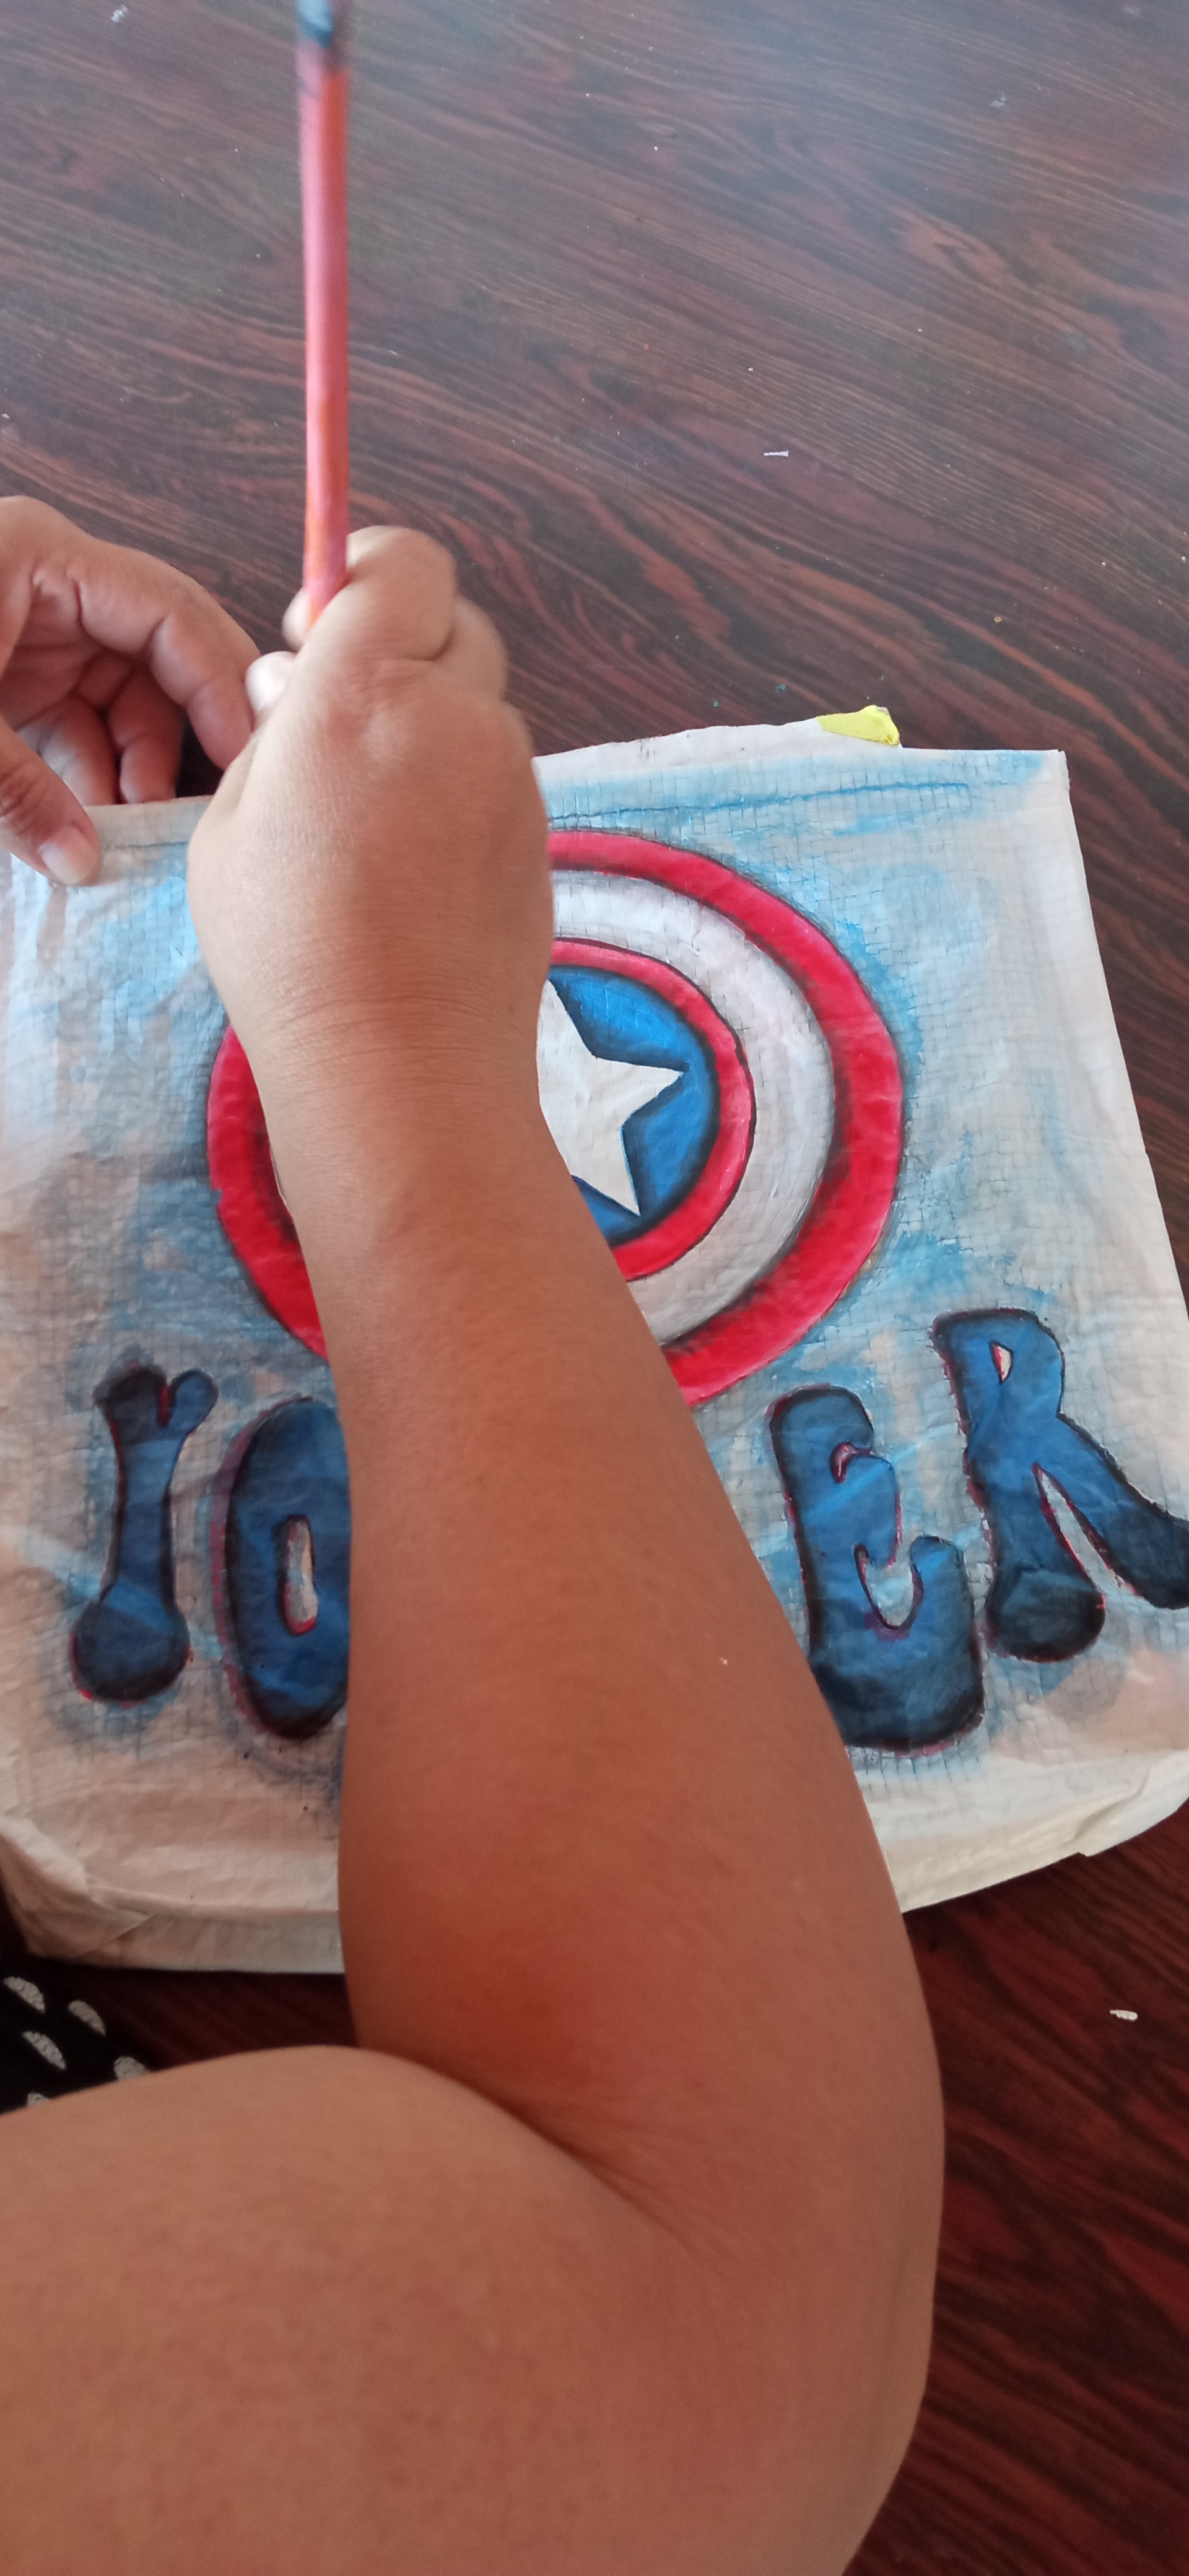
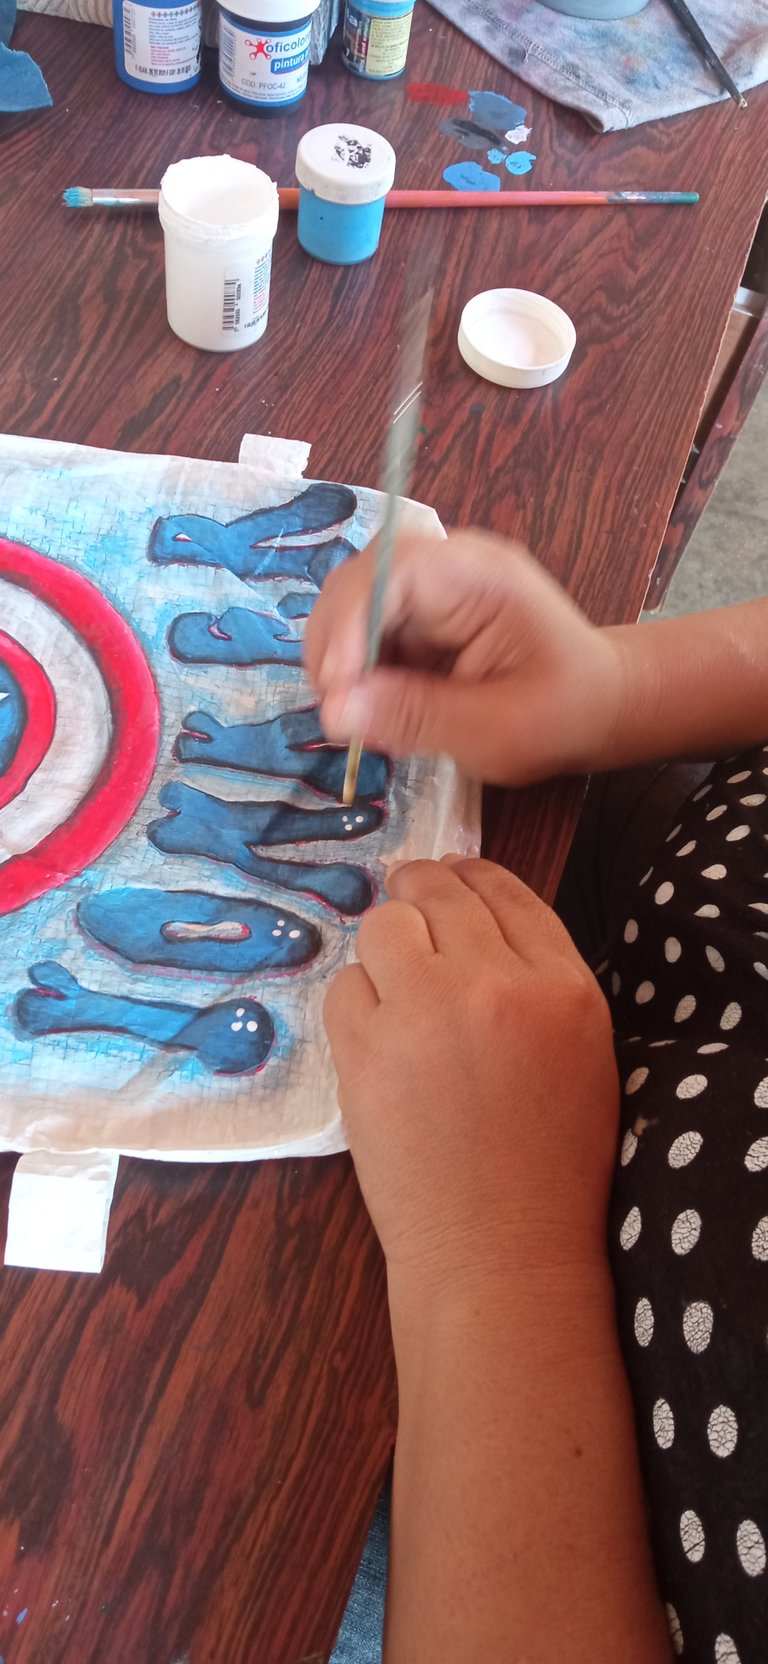
El nombre lo sombrie con negro para que resaltaran más las letras y con el pincel redondo difumine con Azul Rey todo el diseño.Finalmente xoloque puntos blancos que hice con el cabo del pincel sobre la parte inferior de las letras y coloque el cordón blanco.
Step 5:
The name was shaded with black to make the letters stand out more and with the round brush I blurred with King Blue all over the design, finally I placed white dots that I made with the end of the brush on the bottom of the letters and placed the white cord.
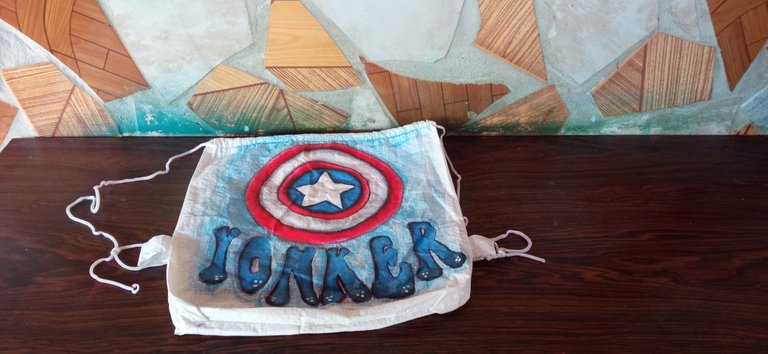
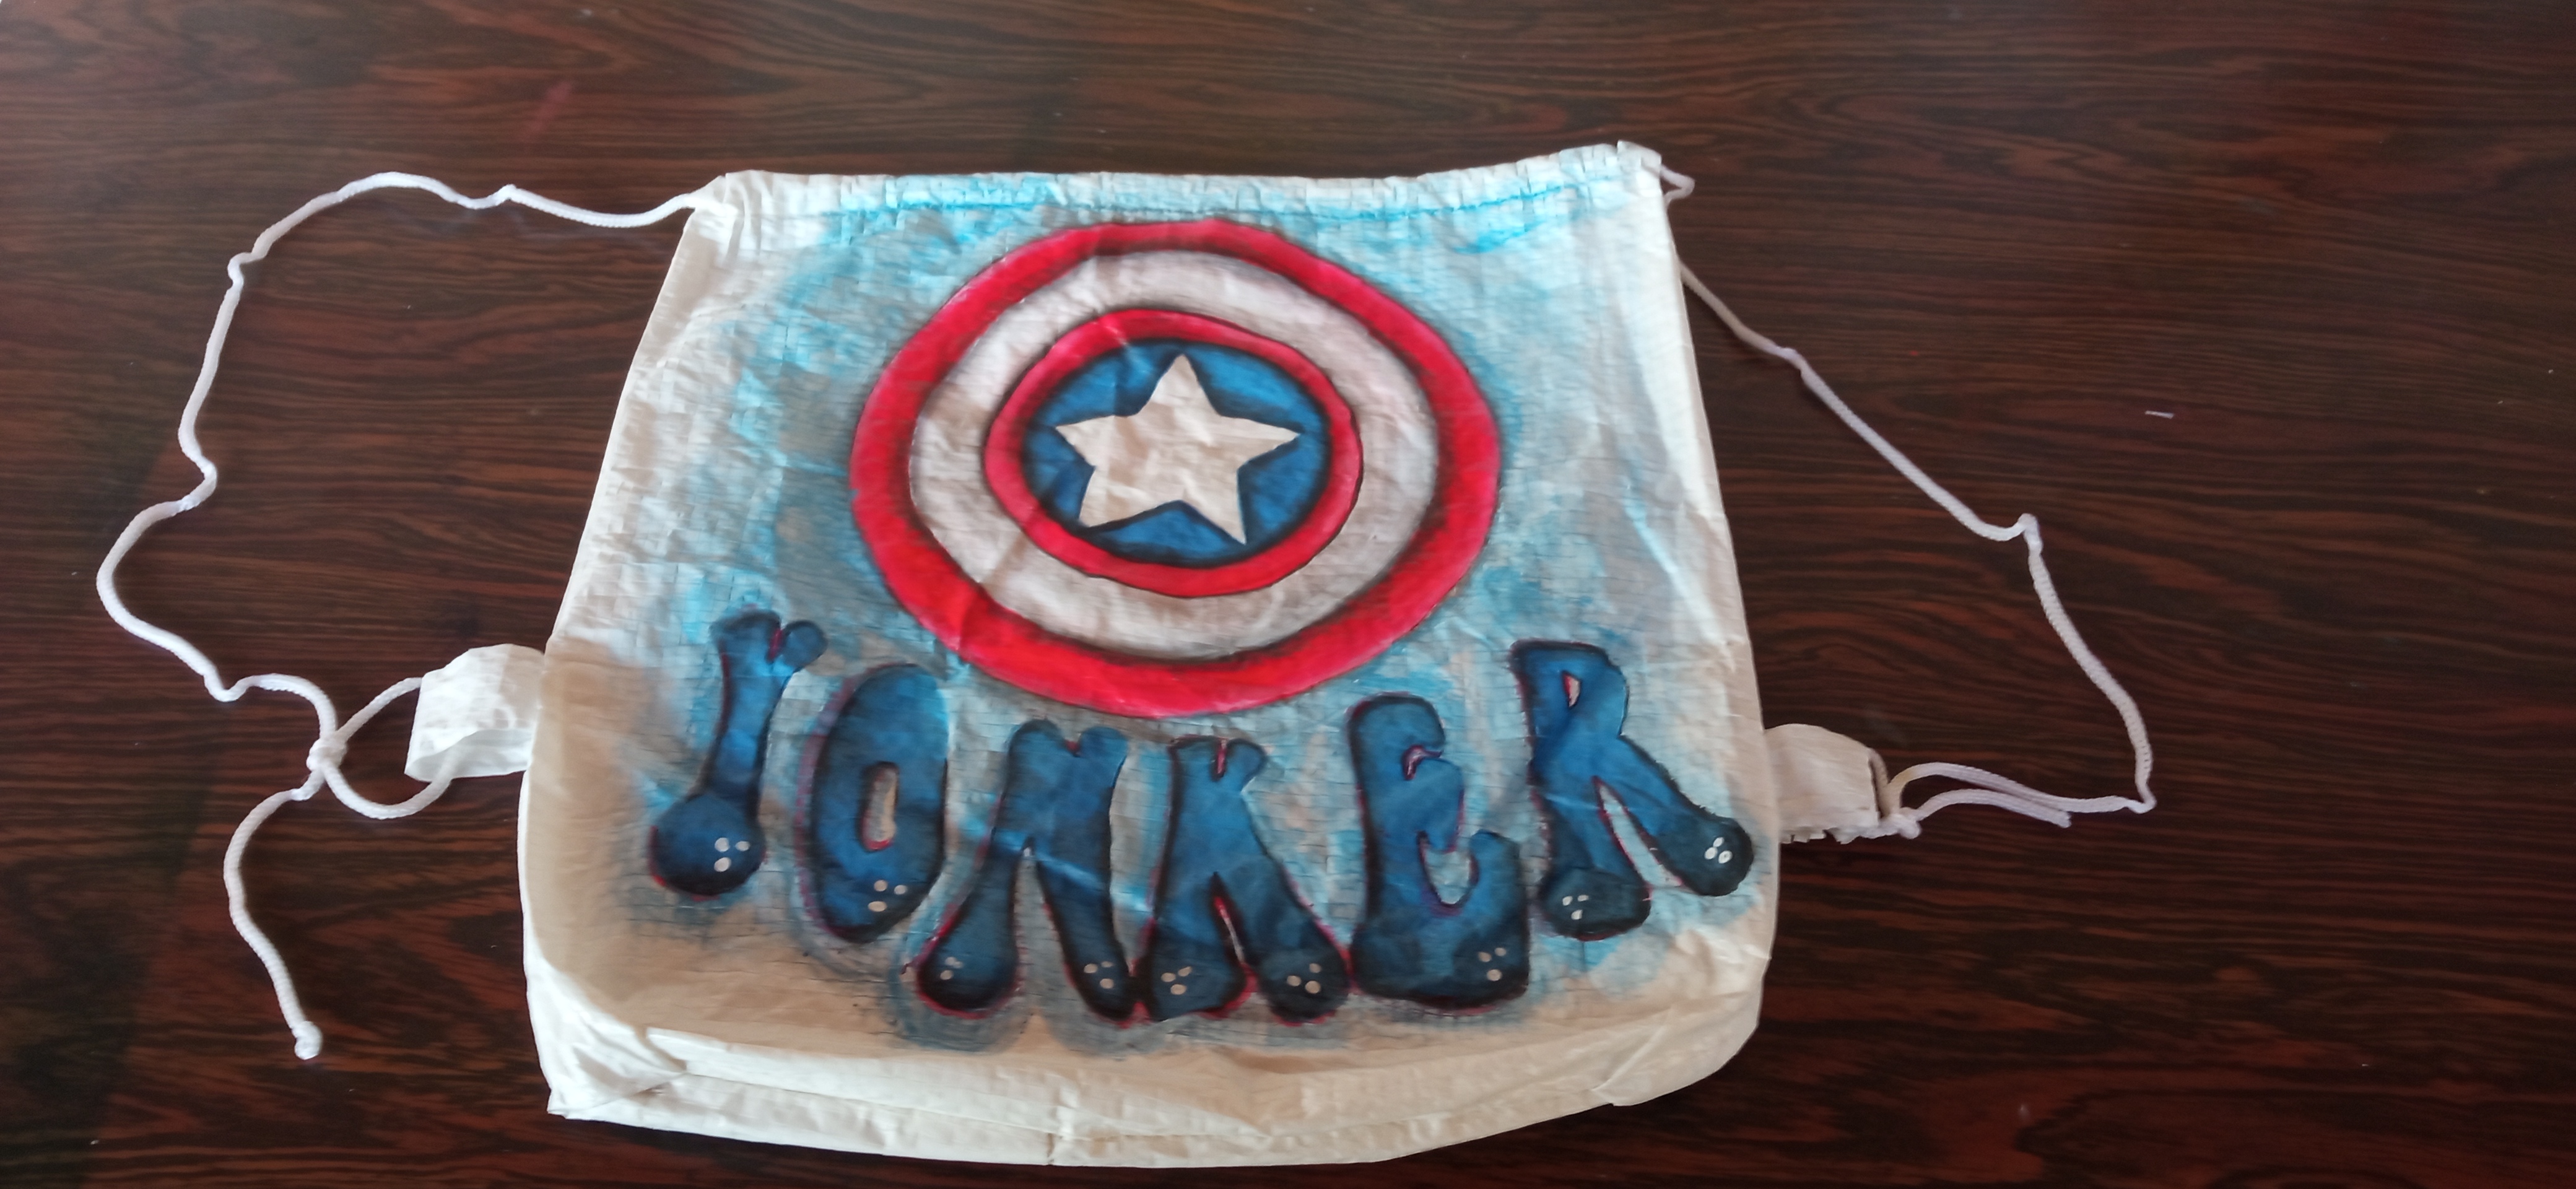
Asi quedó el bolso para mi nieto.Se lo hice del Capitán América ya que es su Super héroe favorito. El quedó super complacido por el regalo . Gracias por leer mi publicación. La traducción la hice xon el traductor WWW.Deepl.com.Un gran abrazo y nuchas Bendiciones!!!.
This is how the bag turned out for my grandson, I made him a Captain America bag since he is his favorite Super Hero. He was very pleased with the gift. Thanks for reading my publication. The translation was made with the translator WWW.Deepl.com. A big hug and many blessings!