Lindo y bendecido día a todos los NeedleWorkMonday en esta comunidad mágica y creativa. No llevo muchos meses en hive, hay muchas cosas que no entiendo y no sabía de esta comunidad.
Ayer una amiga me preguntó si formaba parte de esta comunidad porque ella sabe que tejo, pero yo no tenía idea del cual era. Ella me dijo como buscarla, automáticamente entre y me suscribí.
Estoy muy agradecida con @yale95reyra por haberme presentado esta plataforma que desde ayer se convirtió en mi plataforma preferida en hive.
Amo tejer, lograr crear con un ganchillo y una lana algo hermoso, me llena por dentro, cuando tejo me olvido de todos los problemas, de si pasé un mal día, mi mente solo piensa en cosas bonitas mientras tejo, cosas que me hacen bien, es como una terapia.
Tejer para mí se ha vuelto lo más hermoso que sé hacer. Ayer al explorar por esta comunidad supe que era el día internacional del crochet, no lo sabía, así que quise hacer algo tejido y compartirlo con todos ustedes. Hice un joyero a crochet donde se puedan guardar nuestras joyas.
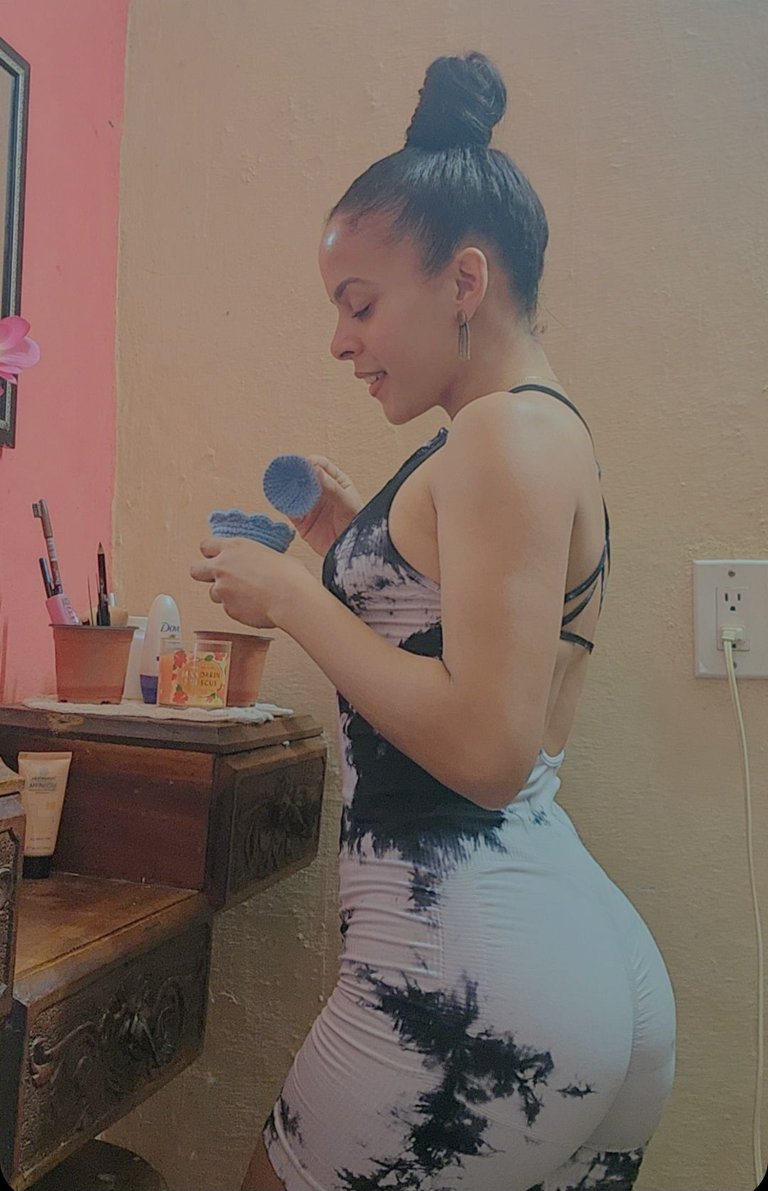
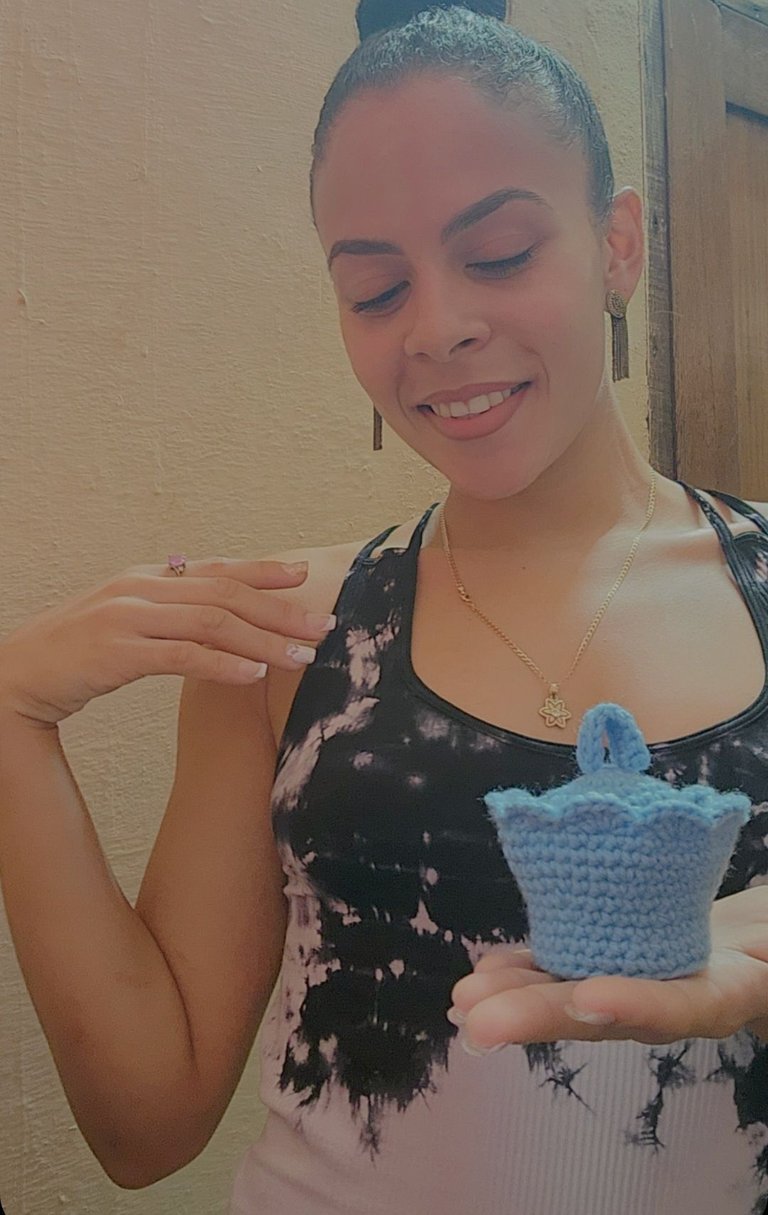
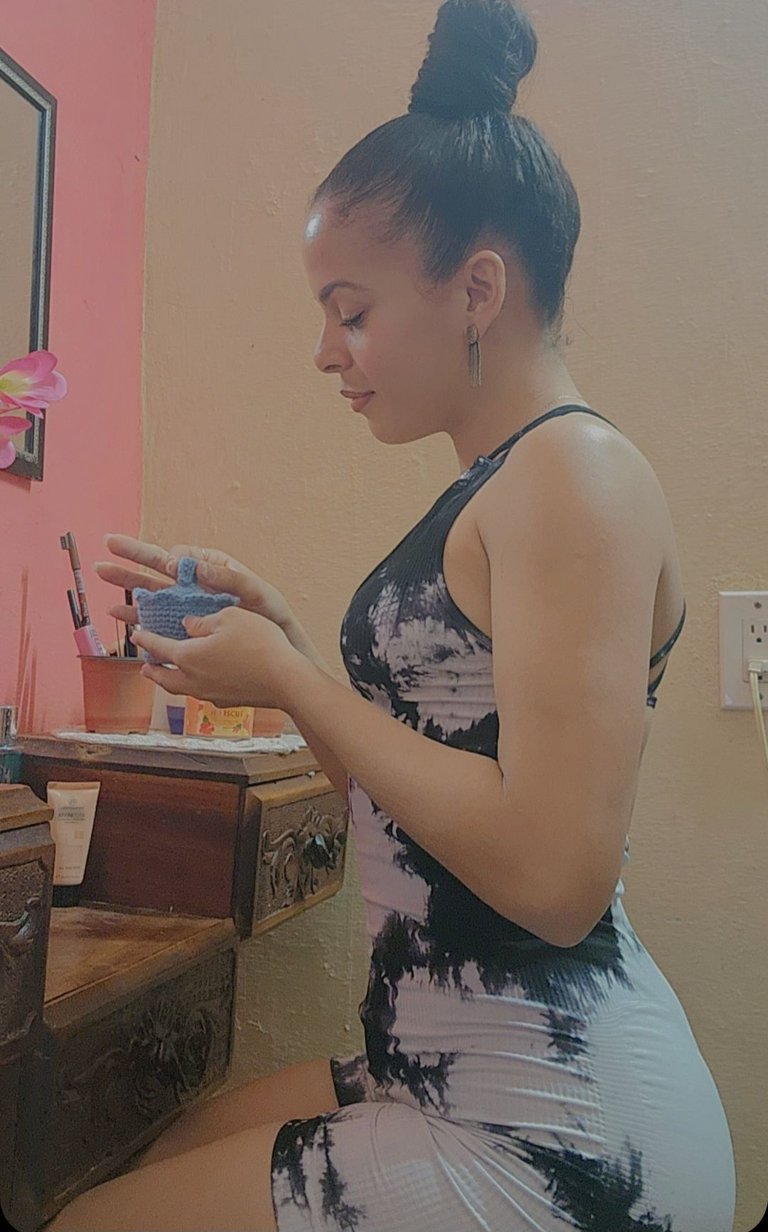
Les muestro el paso a paso de como lo realicé.
✨️💫Paso a paso✨️💫
V1- Iniciamos con un anillo mágico y hago dentro 7 pb.
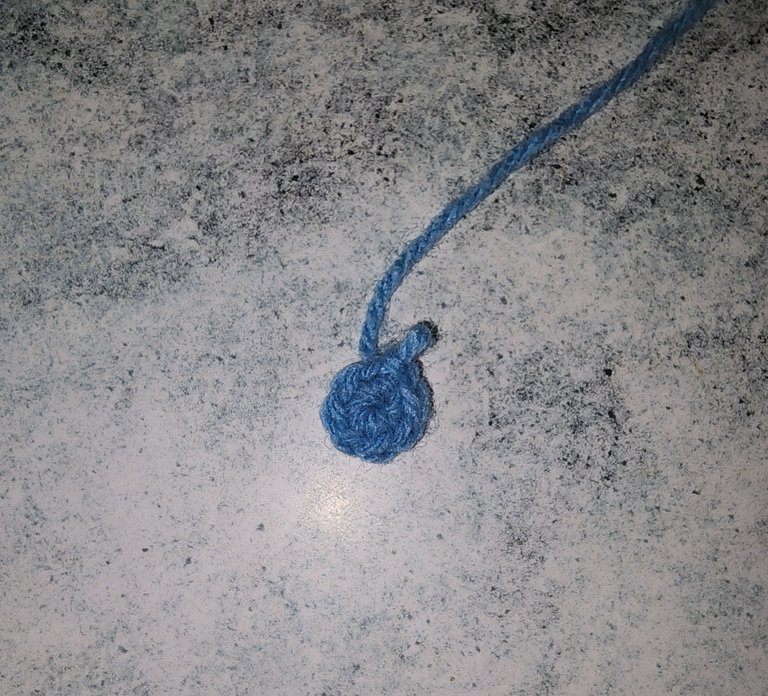
V2- Hacemos 1pb+1 aumento hasta terminar la vuelta
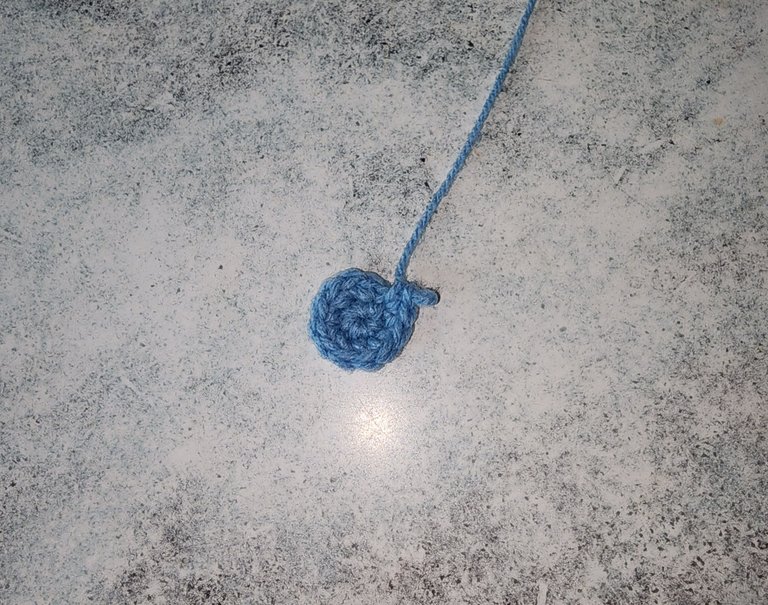
V3- Hacemos 2pb+1 aumento
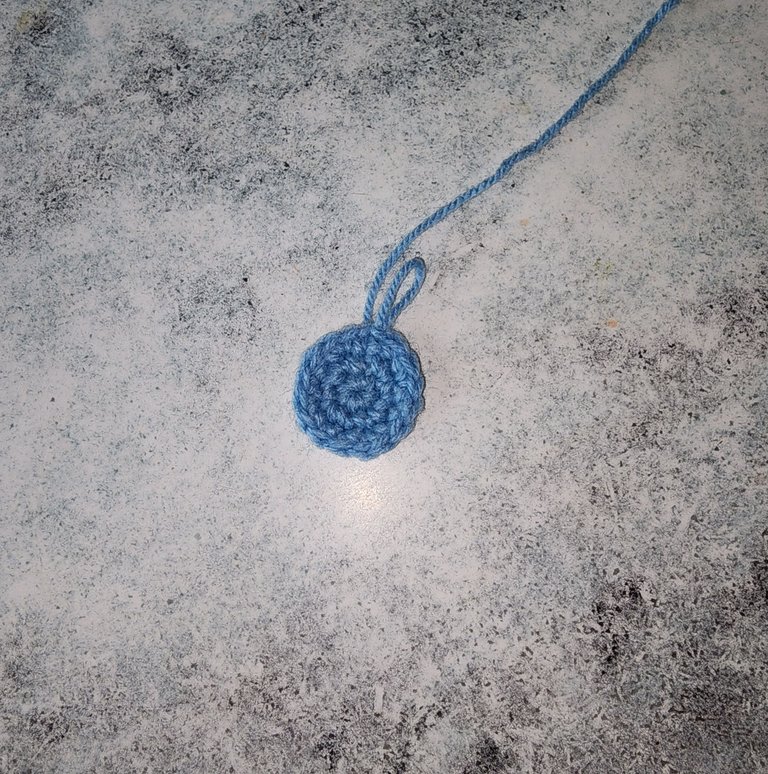
V4- Hacemos 3pb+1 aumento
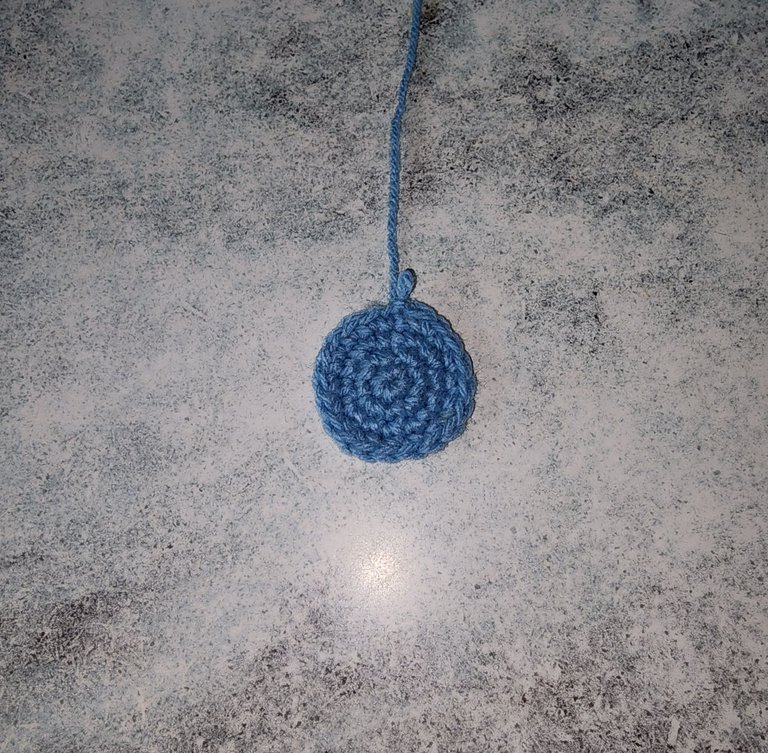
V5- Hacemos 4pb+1 aumento
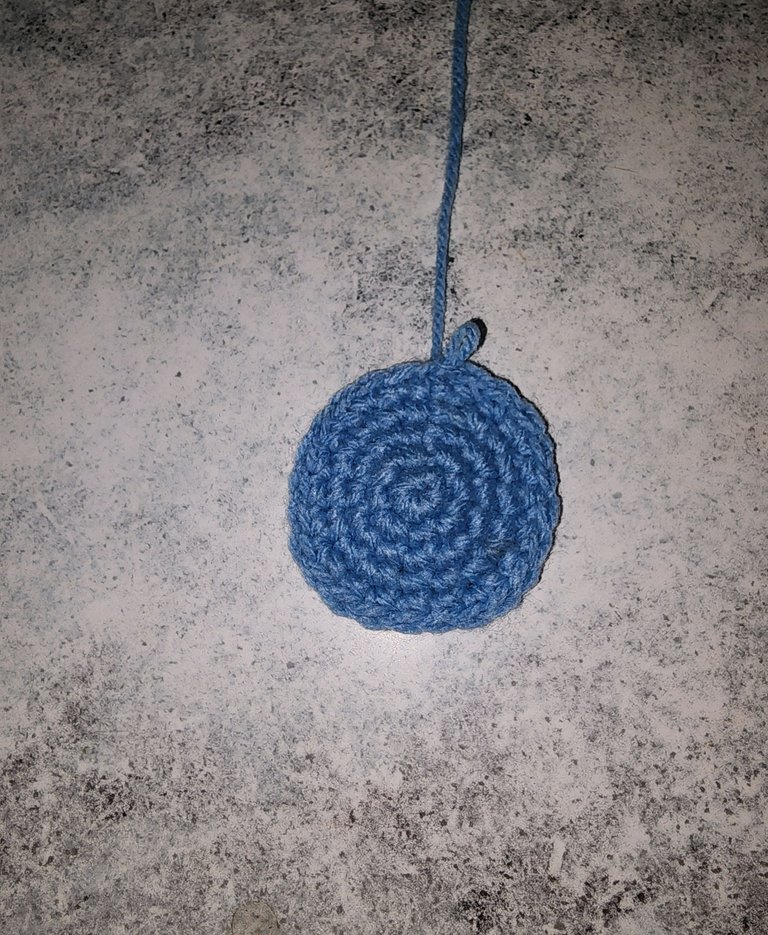
V6- Hacemos 5pb+1 aumento
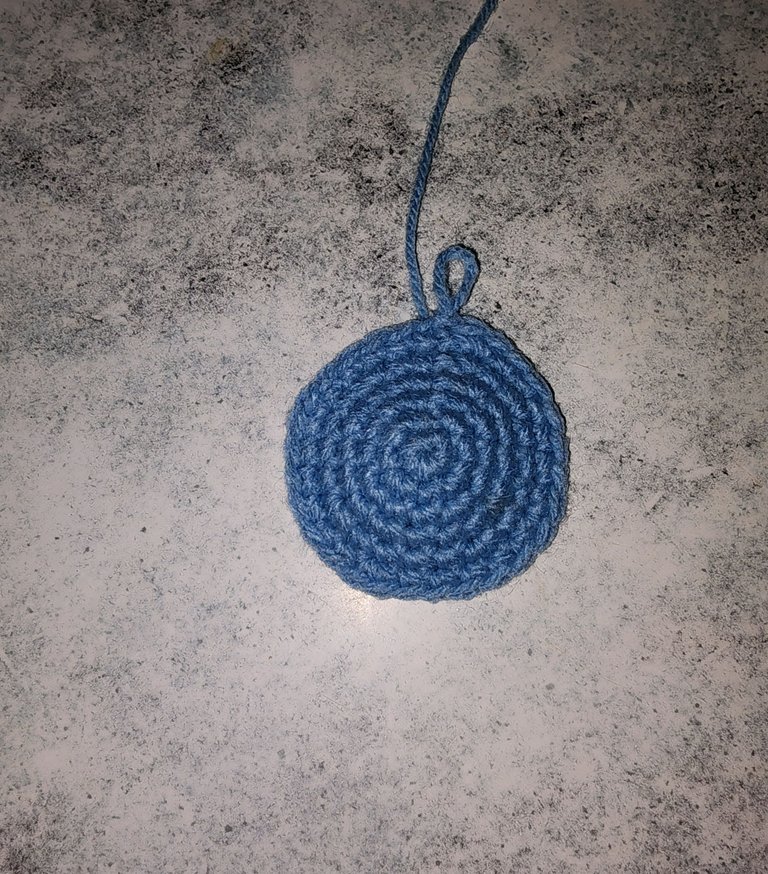
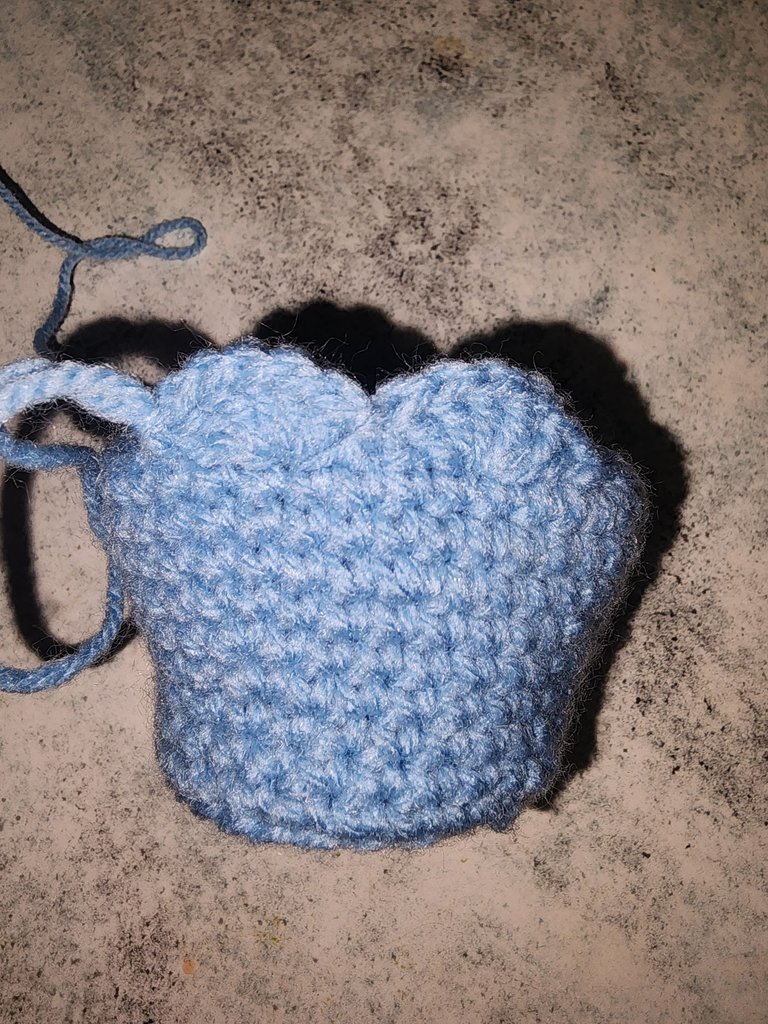
V7- Tomando solo la hebra trasera hacemos 28 pb punto sobre punto sin aumentos ni disminuciones. (28 puntos)
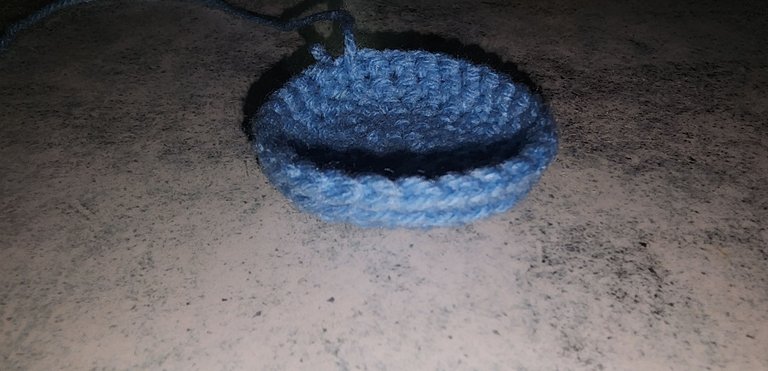
V8- V9- Seguimos haciendo puntos sobre punto (28 puntos)
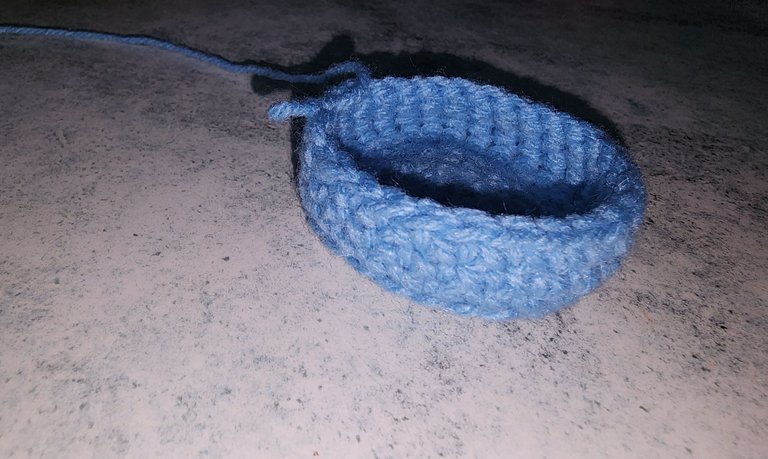
V10- Hacemos 6pb+1 aumento
V11- Hacemos 7pb+1 aumento
V12- Hacemos punto sobre punto
V13- Hacemos 8pb+1 aumento
V14-V15- Hacemos punto sobre punto
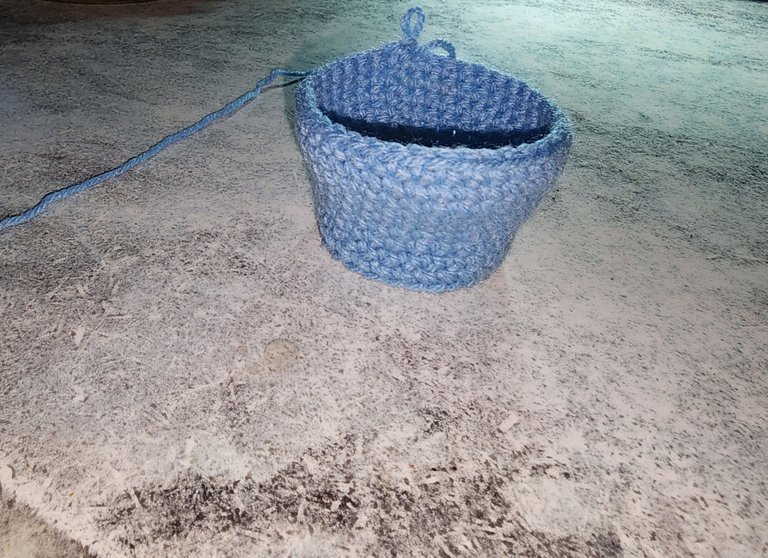
V16- Hacemos el punto deslizado que une, dejamos el siguiente sin tejer y en el próximo hacemos 5p altos, dejamos el próximo sin tejer y en el siguiente hacemos un punto deslizado. Y así hasta terminar la vuelta haciendo que quede esta orilla así de linda.
💫✨️Tapa💫✨️
V1- Iniciamos con un anillo mágico y hago dentro 7 pb
V2- Hacemos 1pb+1 aumento hasta terminar la vuelta
V3- Hacemos 2pb+1 aumento
V4- Hacemos 3pb+1 aumento
V5- Hacemos 4pb+1 aumento
V6- Hacemos 5pb+1 aumento
V7- Hacemos 6pb+1 aumento
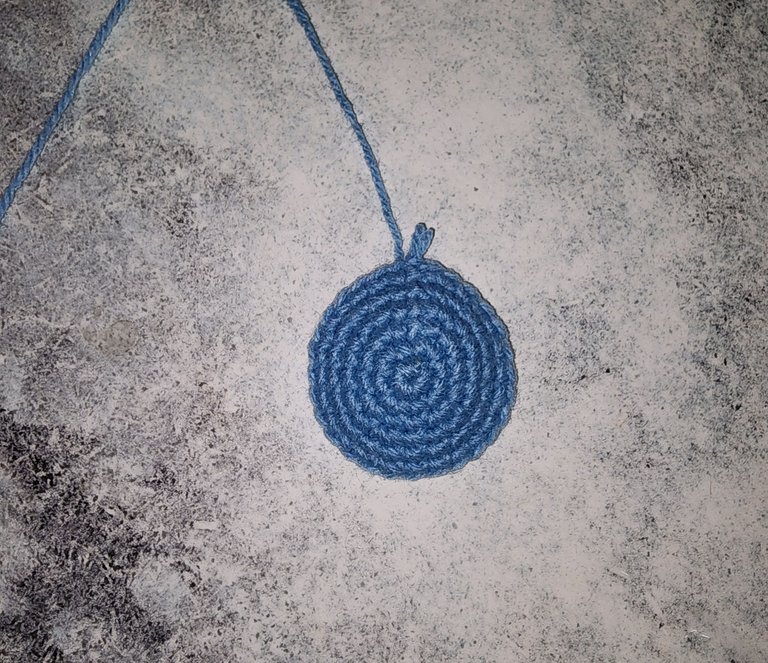
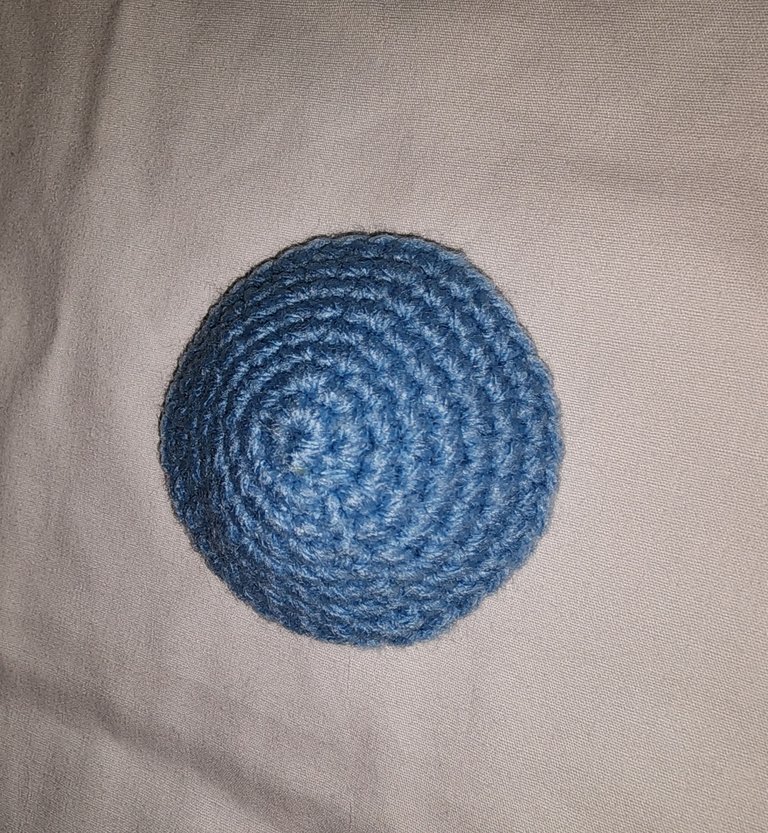
V8- Hacemos 7pb+1 aumento, cerramos y cortamos hilo
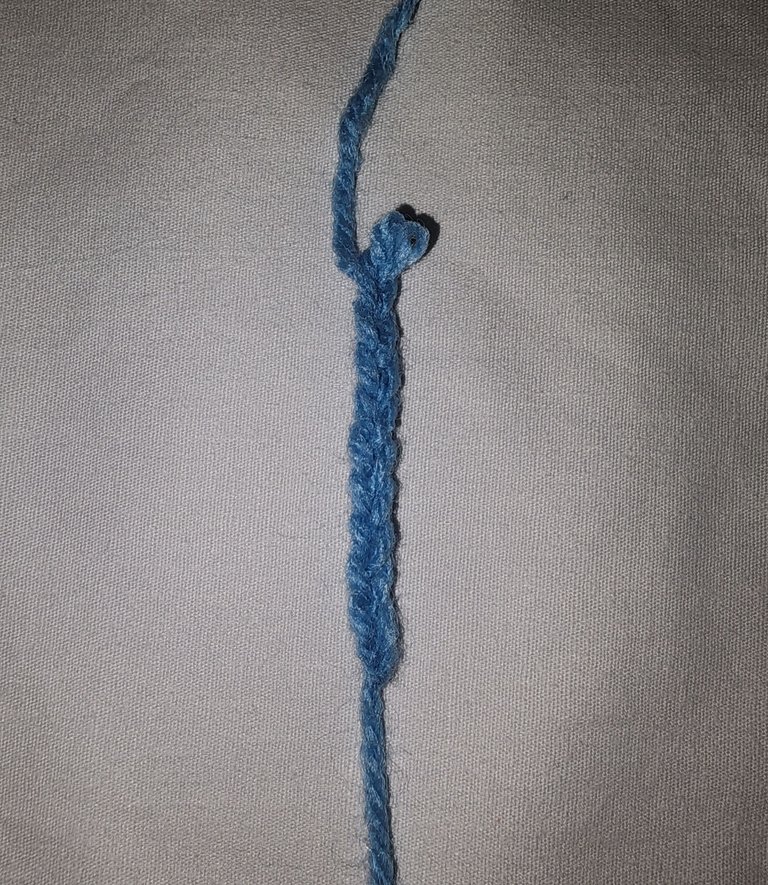
Ahora hacemos 9 cadenetas, subimos una cadeneta más y hacemos 9 pb por todo un lado de la cadeneta, pasamos a la otra orilla y hacemos 9 pb más. Cortamos hilo largo y lo cocemos en el centro de la tapa.
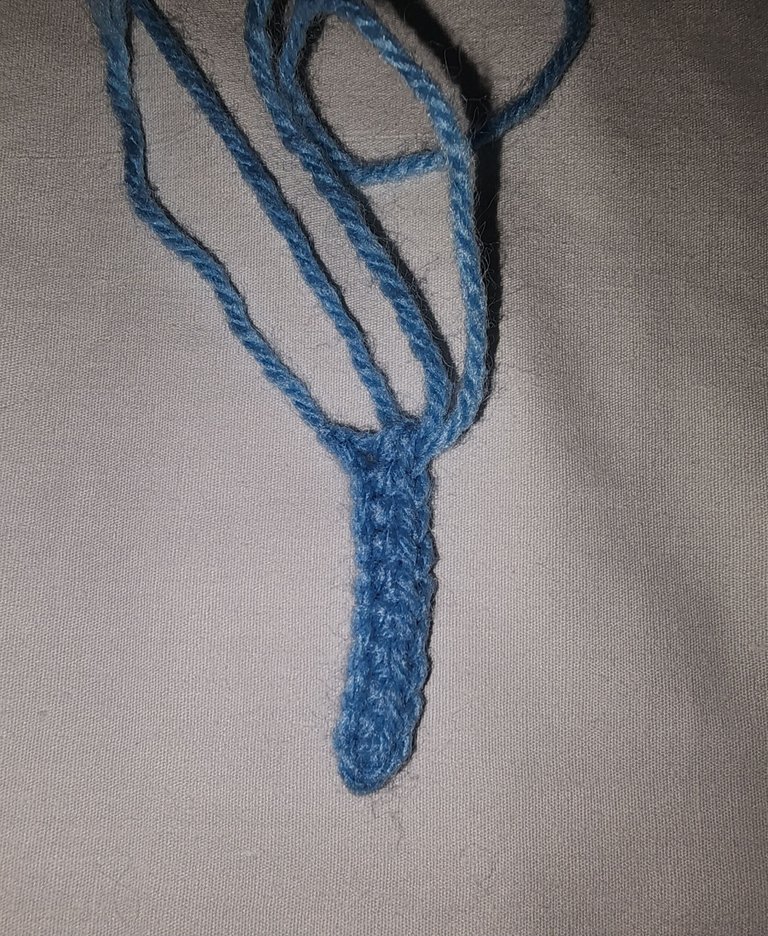
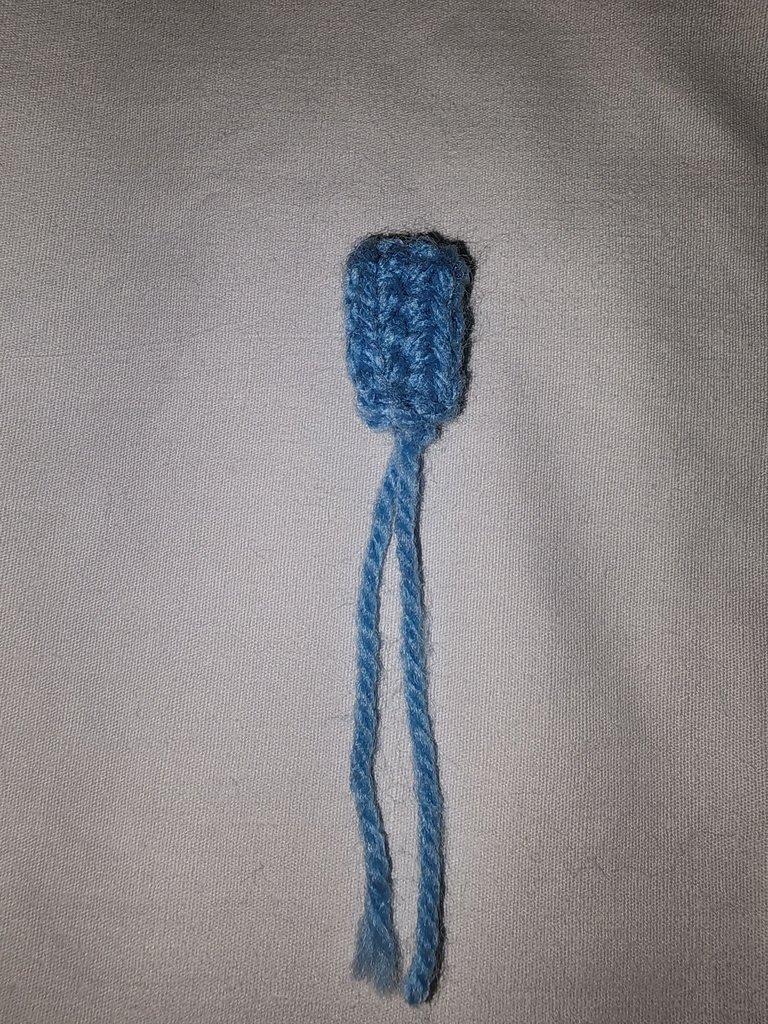
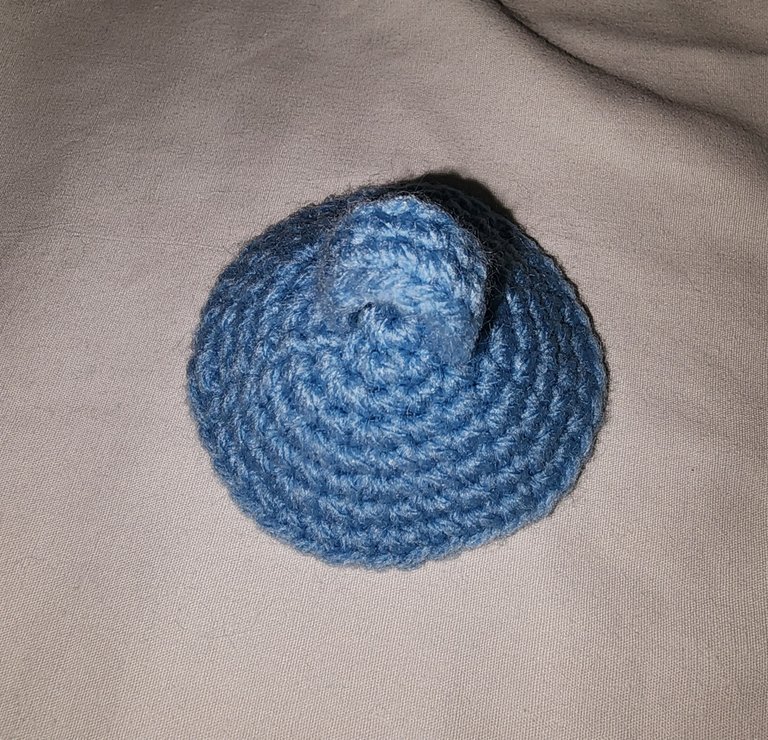
Así de precioso queda este joyero muy lindo y cómodo para guardar nuestros anillos, aretes y collares.
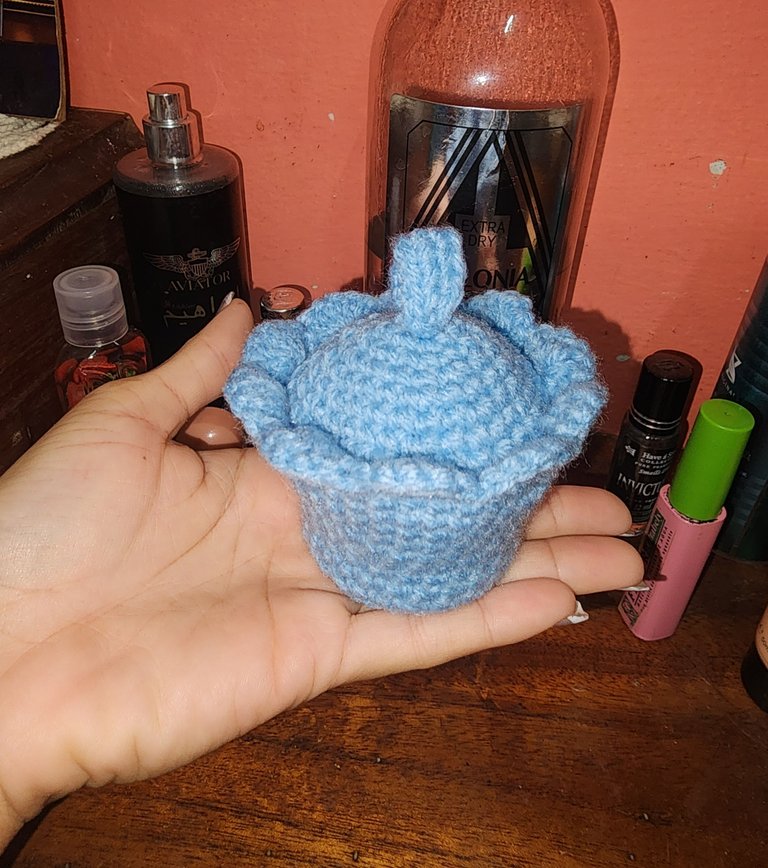
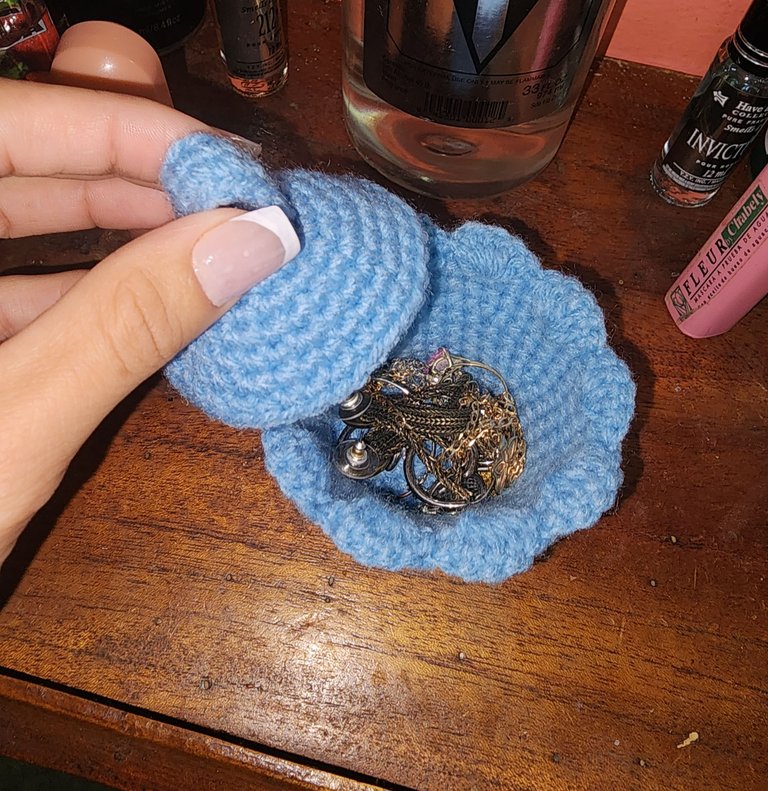
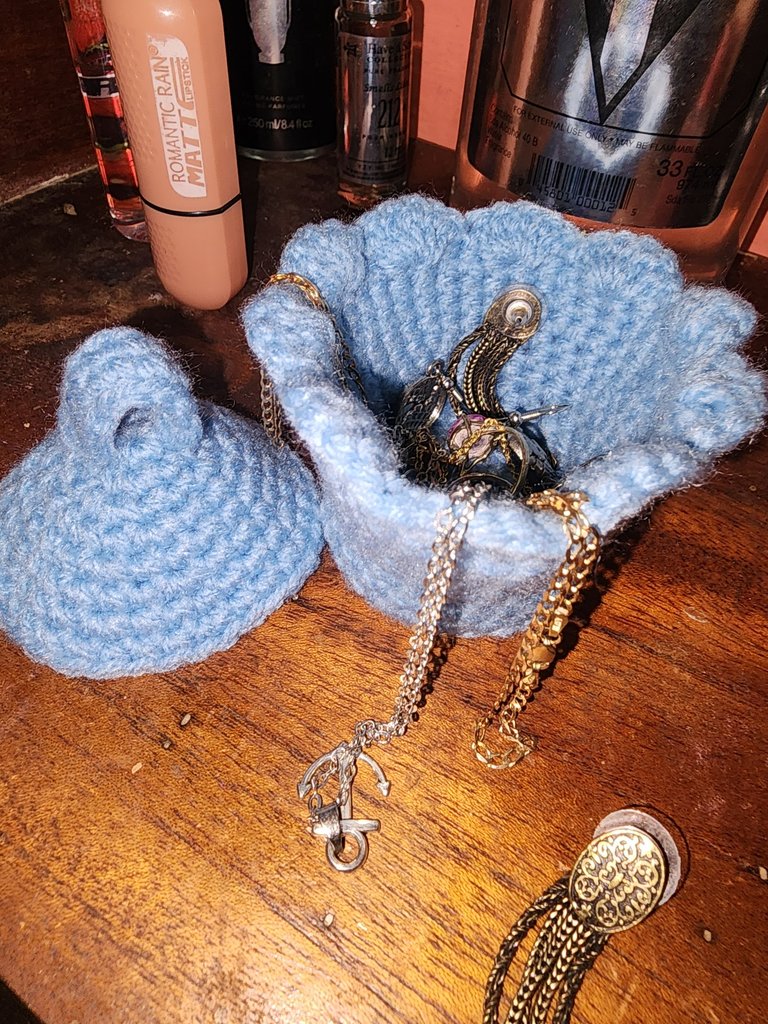
¿A mí me encantó, a ustedes que les pareció?
Bendiciones miles para todos.
✨️💫English💫✨️
Beautiful and blessed day to all NeedleWorkMonday in this magical and creative community. I haven't been on hive for many months, there are many things that I don't understand and didn't know about this community. Yesterday a friend asked me if I was part of this community because she knows I knit, but I had no idea which one it was. She told me how to find it, so I joined right away. I am very grateful to @yale95reyra for introducing me to this platform that has become my favorite platform on hive since yesterday. I love knitting, achieving to create something beautiful with a crochet hook and yarn fills me up inside, when I knit, I forget all the problems, if I had a bad day, my mind only thinks of beautiful things while I knit, things that make me feel good, it's like therapy. Knitting has become the most beautiful thing I know how to do. Yesterday when exploring this community, I found out it was International Crochet Day, I didn't know that, so I wanted to knit something and share it with all of you. I made a crochet jewel box where we can store our jewelry.


I show you step by step how I did it.
✨️💫Step by step✨️💫
V1- Start with a magic ring and make 7 sc inside.

V2- Do 1sc+1 increase until you finish the round
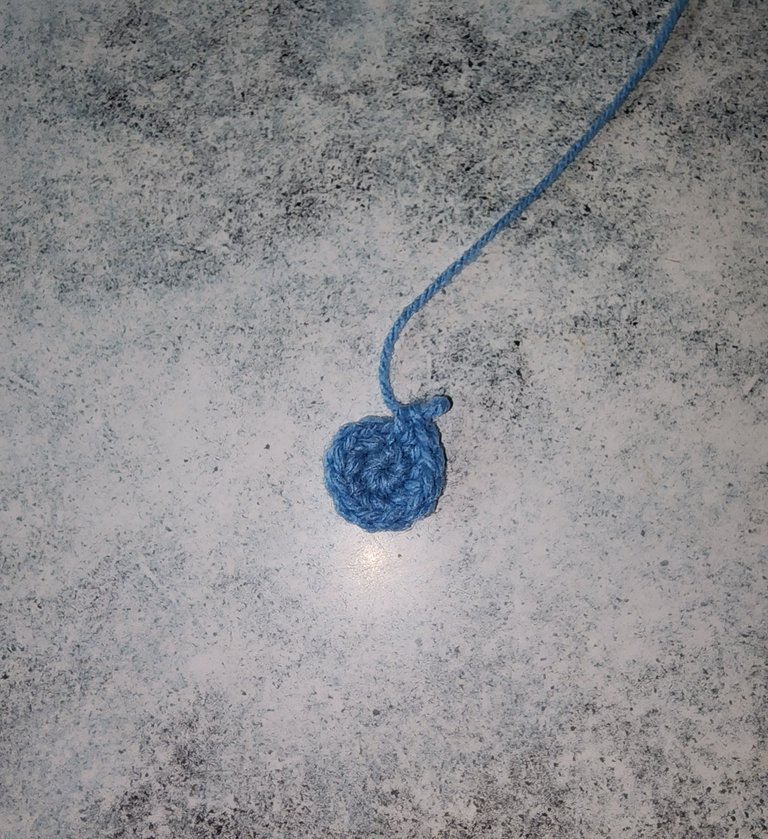
V3- Do 2sc+1 increase

V4- Do 3sc+1 increase

V5- Do 4sc+1 increase

V6- Do 5sc+1 increase

V7- Taking only the back loop, make 28 sc stitch by stitch without increases or decreases. (28 stitches)

V8- V9- Continue to make stitches stitch by stitch (28 stitches)
V10- Do 6sc+1 increase
V11- Do 7sc+1 increase
V12- Do stitch by stitch
V13- Do 8sc+1 increase
V14-V15- Do stitch by stitch

V16- Make the slip stitch to join, leave the next one unworked and in the next one do 5 dc, leave the next one unworked and in the following make a slip stitch. And so on until you finish the round making this edge look so pretty.

💫✨️Top💫✨️
V1- Start with a magic ring and make 7 sc
V2- Do 1sc+1 increase until you finish the round
V3- Do 2sc+1 increase
V4- Do 3sc+1 increase
V5- Do 4sc+1 increase
V6- Do 5sc+1 increase
V7- Do 6sc+1 increase
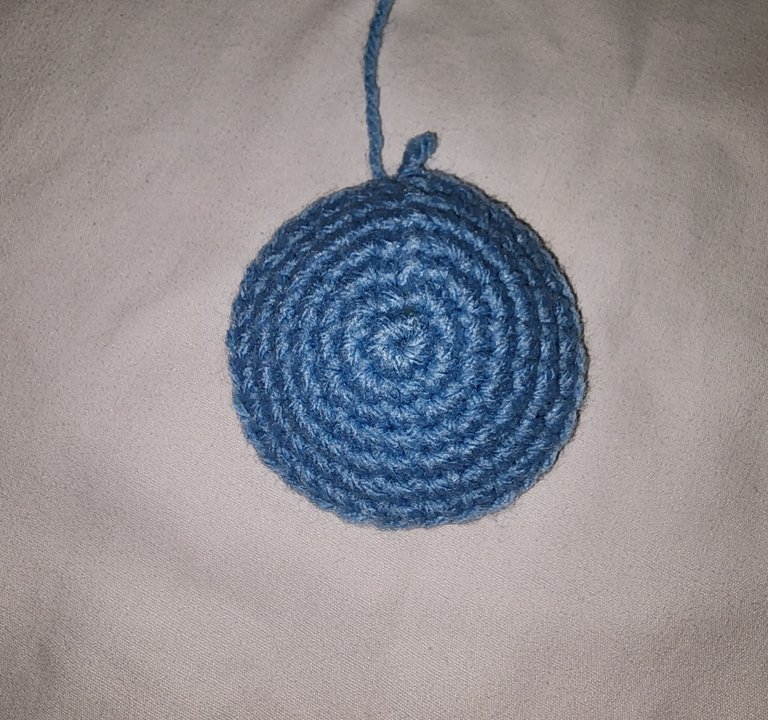
V8- Do 7sc+1 increase, close and cut thread

Now make 9 chains, chain 1 more and make 9 sc on one side of the chain, move to the other edge and make 9 more sc. Cut a long thread and sew it in the center of the top.


This jewel box ends up looking very cute and convenient to store our rings, earrings, and necklaces.


I loved it, what did you think?
Many blessings to all.
Recursos empleados
| RECURSO / RESOURCE | FUENTE / SOURCE |
|---|---|
| Edición / Edition: | @yunacrochet |
| Imágenes / Pictures: | Samsung Galaxy s22 Ultra |
| Translated / Traducción: | Hive Translator by @noakmilo |


