¡Hola comunidad de Hive!
Hello Hive community!
Hola queridos Needleworkers, feliz mitad de semana, espero se encuentren de maravilla 🤗♥️ está semana está siendo bastante productiva para mí, creo que me he organizado un poco mejor para esta (ya lo necesitaba😳) aún que me faltan muchas cosas por hacer en casita, pero en cuanto a costura ya voy terminando una lista enorme de pendientes que tenía, en esa lista estaba hacer este Short que les comparto el día de hoy, está hermosa tela la compré hace algunas semanas y mi idea era hacerlo antes del día del padre para regalarselo a mi esposo, (que está en otra ciudad, pero viene a visitarnos pronto), pero no me dió chance de terminarlo a tiempo.
Hello dear Needleworkers, happy midweek, I hope you are feeling great 🤗♥️ this week is being quite productive for me, I think I've organized myself a little better for this one (I needed it😳) even though I still have many things to do at home, but as for sewing I'm finishing a huge list of pending things I had, I bought this beautiful fabric a few weeks ago and my idea was to make it before father's day to give it to my husband, (who is in another city, but he is coming to visit us soon), but I didn't have the chance to finish it on time.
Pero no me desanimé y conseguí terminarlo para hoy, así que quiero compartirles el paso a paso, tengo que decirles que hacer estos shorts es muy fácil además que trabajar con micro fibra me va bastante bien, así que si estás en casita y estás leyendo este post, ve por tu hilo, aguja y tijeras y comencemos...
But I didn't get discouraged and I managed to finish it for today, so I want to share with you the step by step, I have to tell you that making these shorts is very easy plus working with microfiber works pretty well for me, so if you are at home and you are reading this post, go get your thread, needle and scissors and let's get started....
🧵🧷🧵🧷🧵🧷🧵🧷🧵🧷🧵🧷🧵🧷🧵🧷🧵
Necesitaremos || We will need
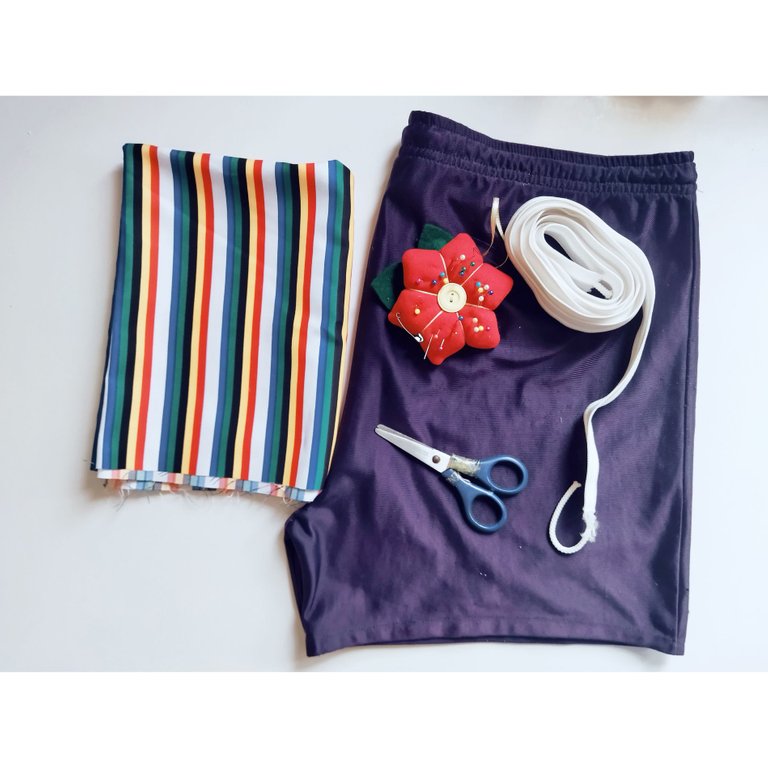
- Madio metro de tela microfibra a rayas o en el estampado que desees.
- Hilo a tono
- Alfileres
- 1 par de tapa nudo
- Tijera
- Elástica con trenza
- Cinta métrica
- Short de patrón
- Aguja y máquina de coser
- One half meter of striped microfiber fabric or in the print of your choice.
- Matching thread
- Pins
- 1 pair of knot covers
- Scissors
- Elastic with braid
- Tape measure
- Pattern short
- Needle and sewing machine
🧵🧷🧵🧷🧵🧷🧵🧷🧵🧷🧵🧷🧵🧷🧵🧷🧵
Paso 1 || Step 1
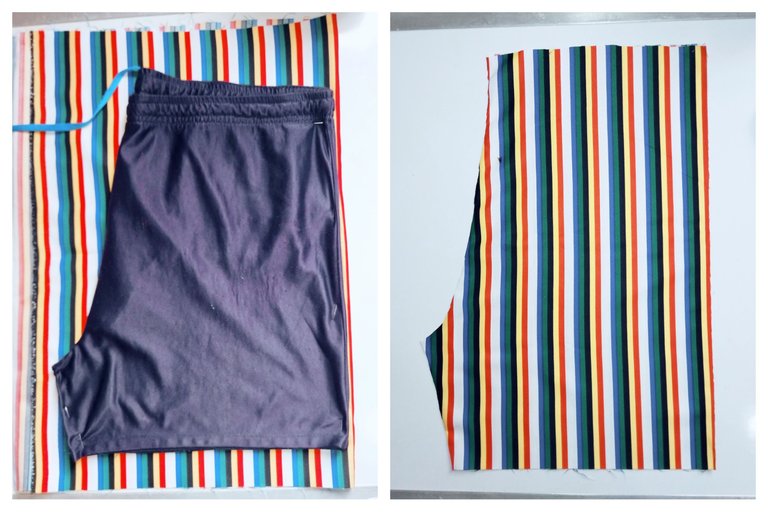
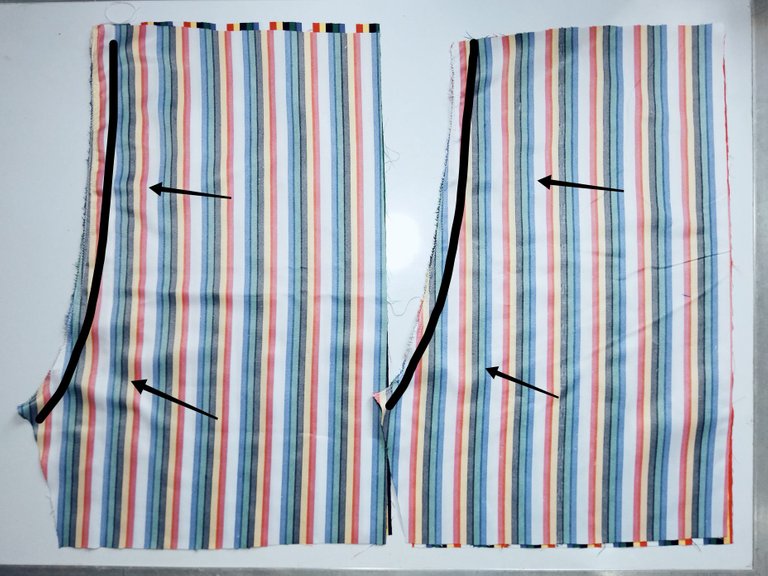
Extendemos la tela en un superficie plana, luego colocamos el pantalón modelo sobre la tela, cortamos la parte delantera teniendo en cuenta que debemos agregar 1 o 2 cm de margen de costura, también en la parte de la pretina cortamos 6 cm más alto, que es el ancho de la elástica, de la misma manera cortamos la parte trasera.
👀 ¡¡¡OJO!!!👀 Cuando cortemos las piezas traseras debemos de tener en cuenta que el tiro trasero es más largo que el delantero.
- We spread the fabric on a flat surface, then we place the model pants on the fabric, we cut the front part taking into account that we must add 1 or 2 cm of seam allowance, also in the waistband part we cut 6 cm higher, which is the width of the elastic, in the same way we cut the back part.
- 👀 WARNING!!!👀 When cutting the back pieces we must take into account that the back draft is longer than the front one.
Paso 2 || Step 2
- Comenzamos a coser y nos toca unir los tiro del pantalón, colocamos las piezas delanteras enfrentando derecho con derecho y pasando costura recta y luego zigzag rematando la costura, lo mismo hacemos para la parte trasera.
- After having the strip cut, we are going to fold it in half, facing right side to right side, and we will sew a straight seam leaving 1.5 cm unsewn at the beginning of the strip as well as at the end, then we will turn the strip over.
Paso 3 || Step 3
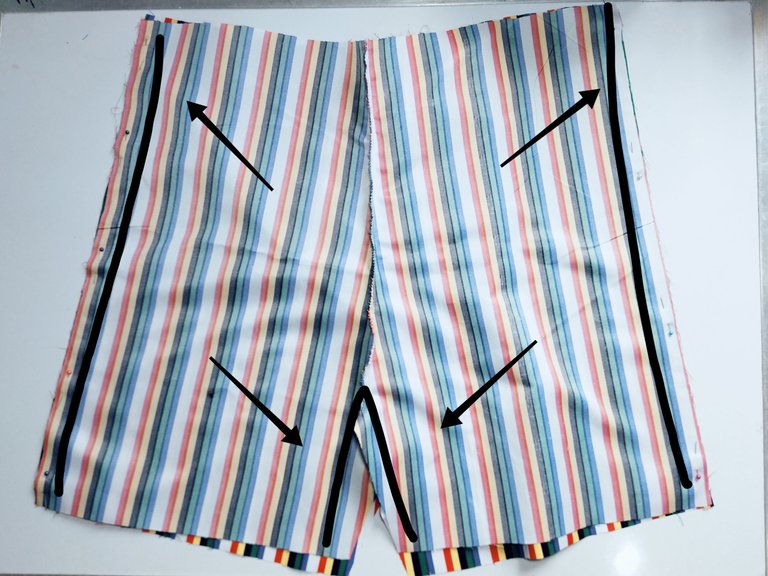
- Enfrentamos ahora la pieza delantera con la trasera y pasamos costura recta a los costados del short, al igual que en la entrepierna, rematamos la costura con zigzag y opcional podemos pasar una costura recta por sobre la unión, pisando lo que nos sobra de la costura anterior.
- Now we face the front piece with the back piece and sew a straight seam on the sides of the shorts, as in the crotch, we finish the seam with a zigzag and optionally we can sew a straight seam over the union, stepping on what is left over from the previous seam.
Paso 4 || Step 4
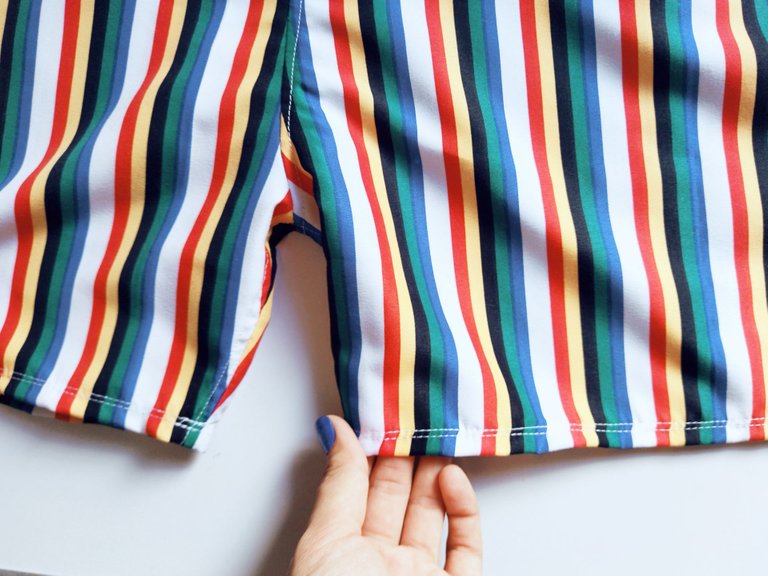
- Hacemos un dobladillo en el borde de las piernas del short, podemos pasar doble costura para un mejor acabado.
- We make a hem on the edge of the legs of the shorts, we can double stitch for a better finish.
Paso 5 || Step 5
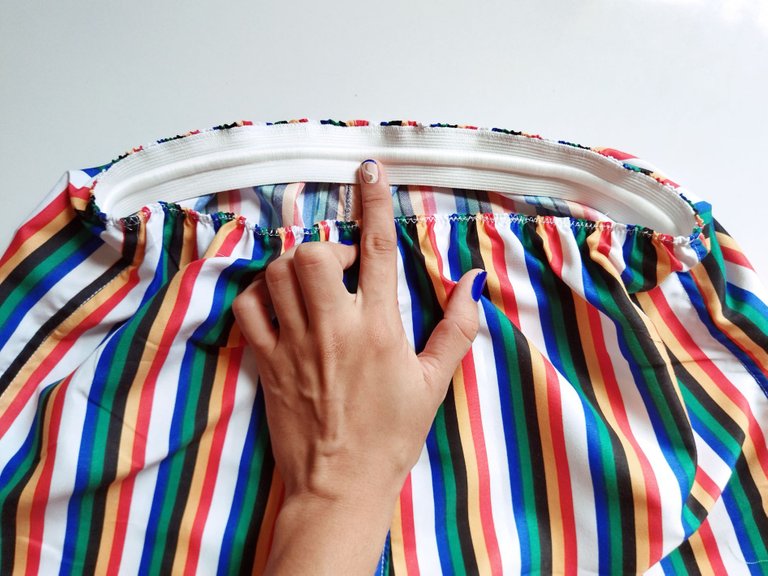
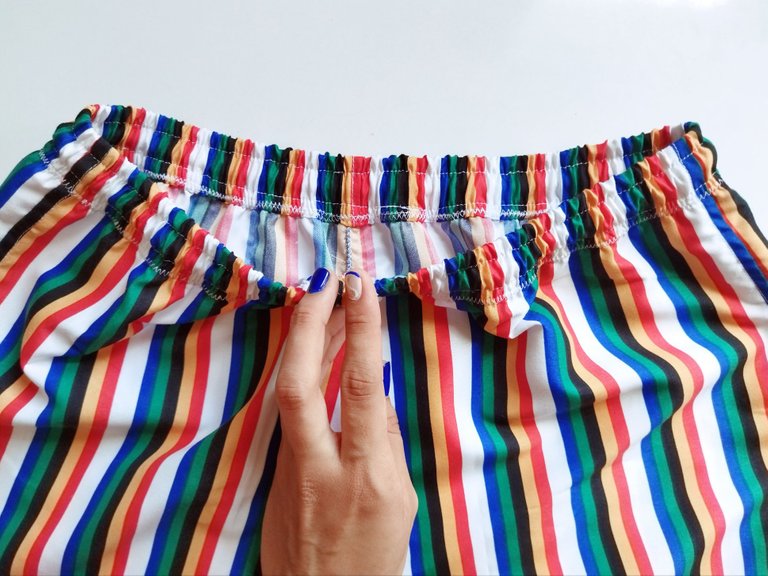
- Para la coser la pretina primero hice un doblez en todo el contorno de la cintura y pase costura recta, seguidamente comencé a pegar la elástica con costura en zigzag, primero cosí hacia la orilla para luego doblar hacía adentro y rematar con zigzag.
- To sew the waistband, I first made a fold all around the waistband and sewed a straight seam, then I began to attach the elastic with zigzag stitching, first I sewed towards the edge and then folded inwards and finished with zigzag stitching.
Paso 6 || Step 6
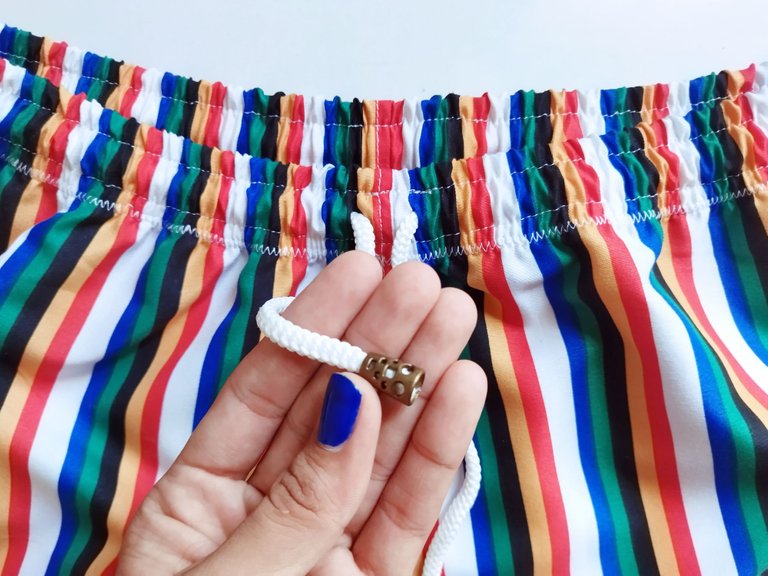
- Terminé la pretina del short sacando el cordón de la elástica y luego le coloqué los tapa nudos en la punta.
- I finished the waistband of the shorts by pulling the drawstring out of the elastic and then attached the knot covers at the end.
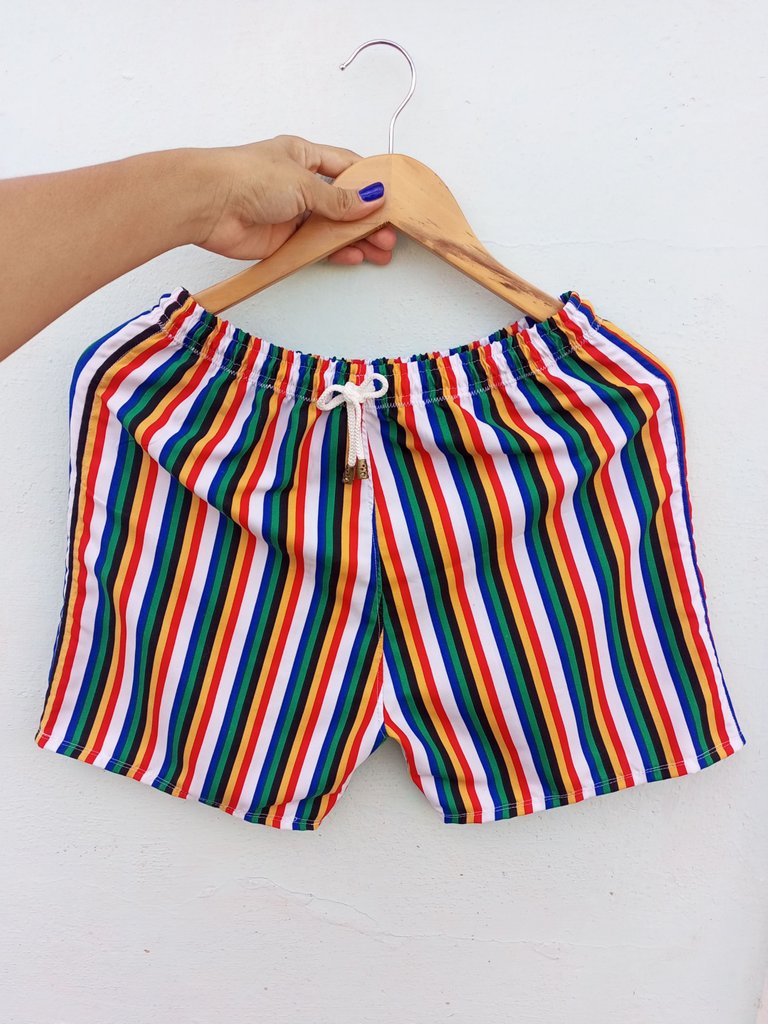
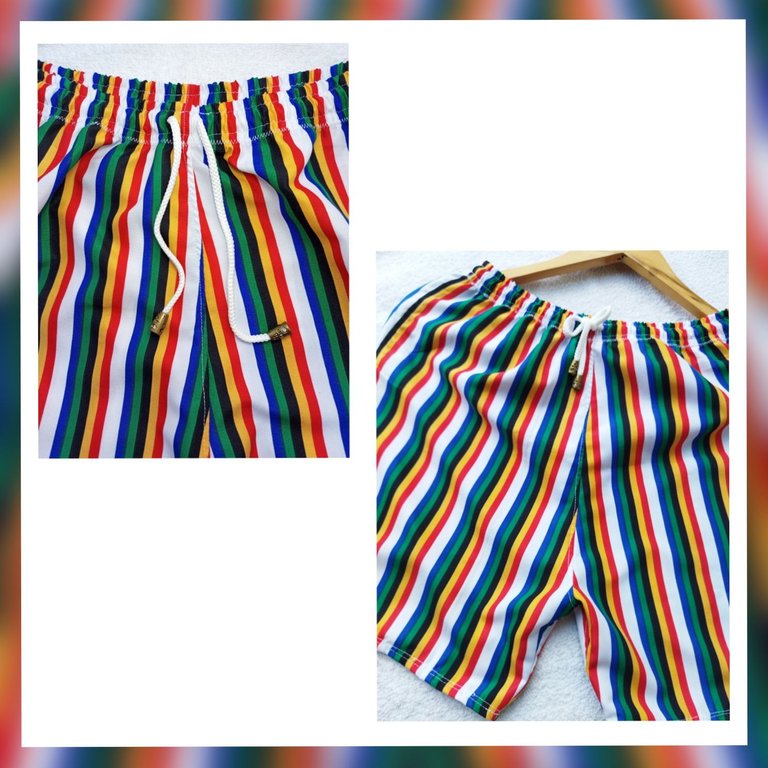
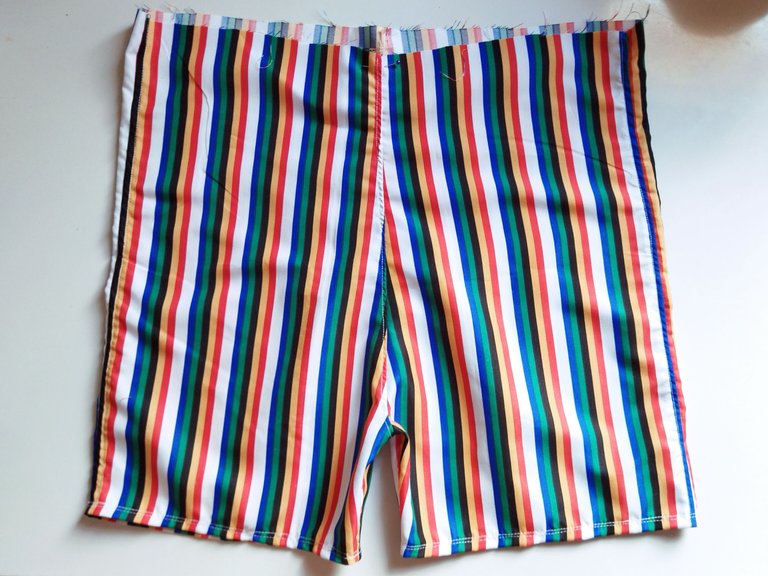
Resultado final.
Final result.
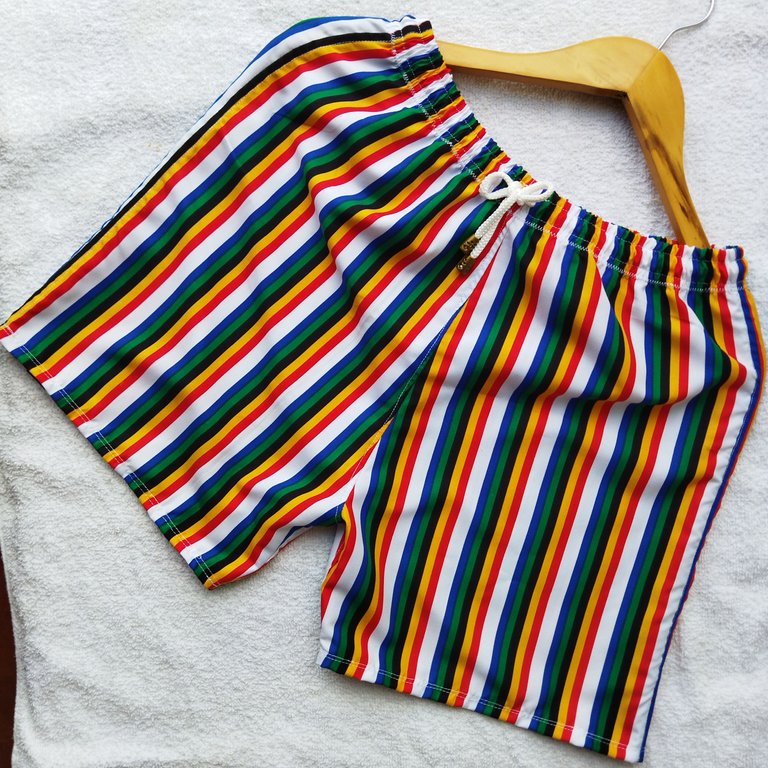
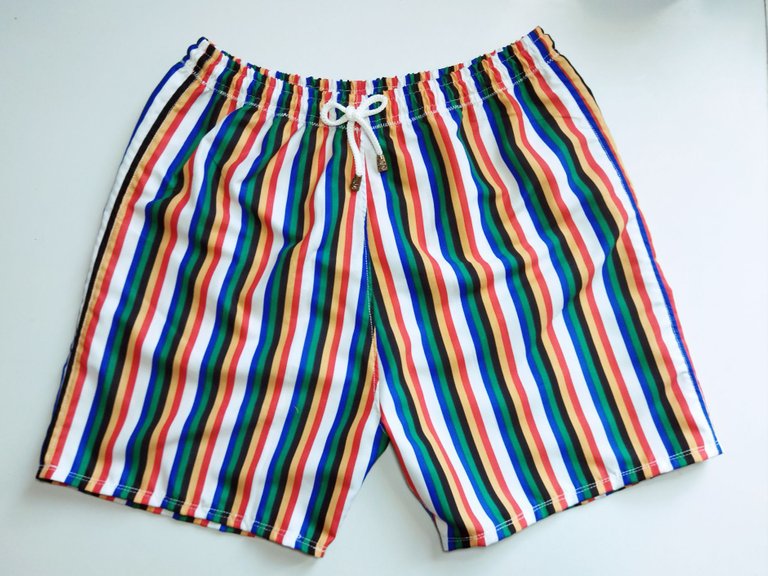
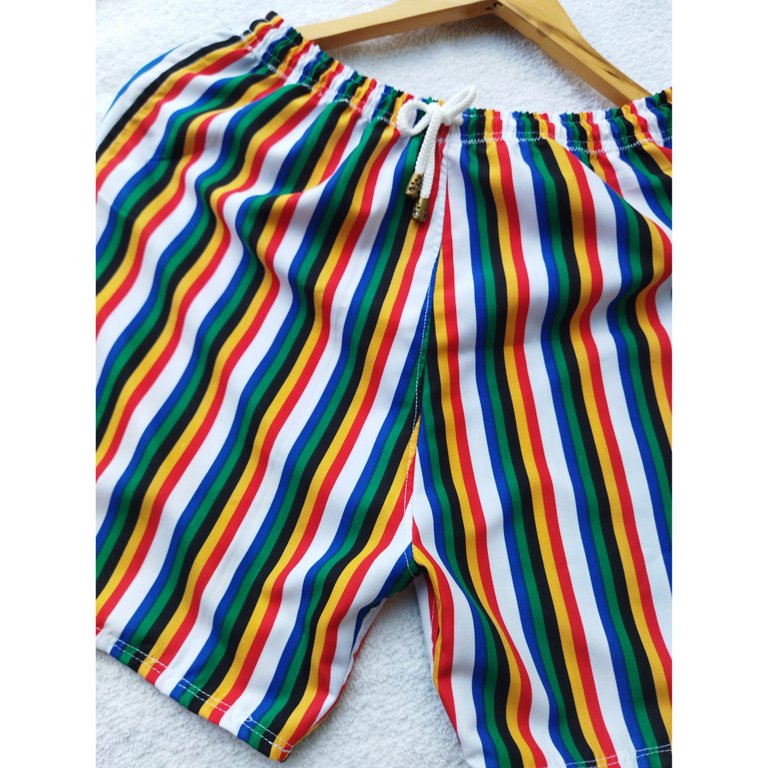
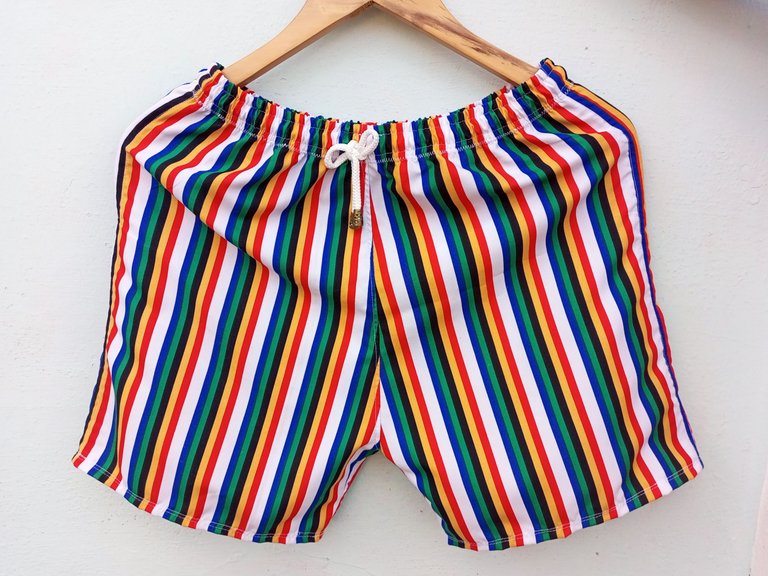
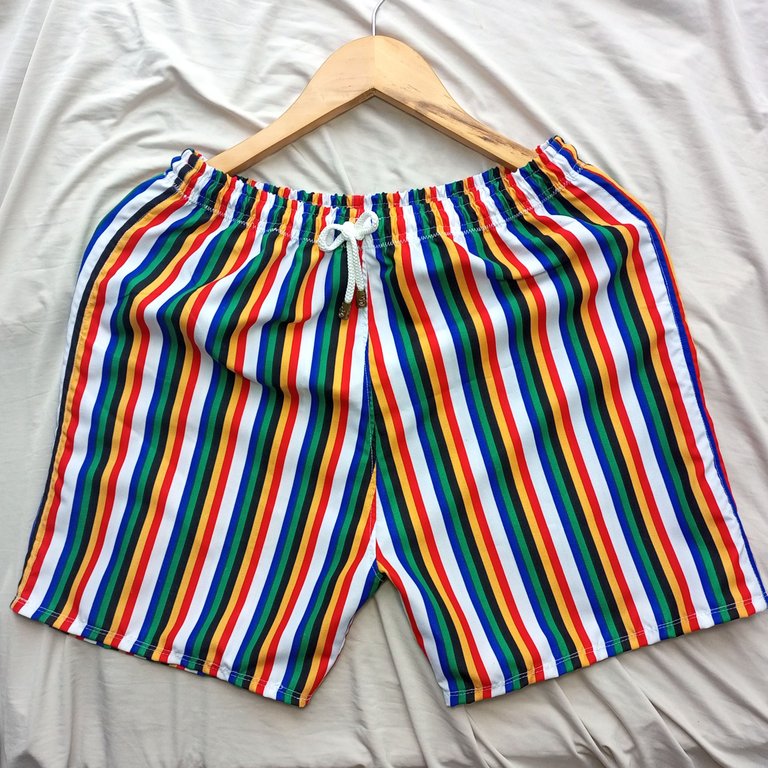
Así quedó el resultado final de este Short a rayas para caballero, de la misma manera podemos hacerlo para niños con un patrón más pequeños, y hasta para nosotras, por qué no? Solo debemos dejar que nuestra imaginación sea libre, espero de corazón que les hay gustado y si has llegado hasta aquí mil gracias por leer mi post ❤️🥰 un fuerte abrazo. Nos leemos luego.
So was the final result of this striped Short for men, in the same way we can do it for children with a smaller pattern, and even for us, why not? We just have to let our imagination be free, I hope you liked it and if you have come this far thank you for reading my post ❤️🥰 a big hug. See you later.
All images are my property / Todas las imágenes son de mi propiedad
Camera: Xiaomi Redmi 9T.
Translation: Deepl.com