¡Hola comunidad de Hive!
Hello Hive community!
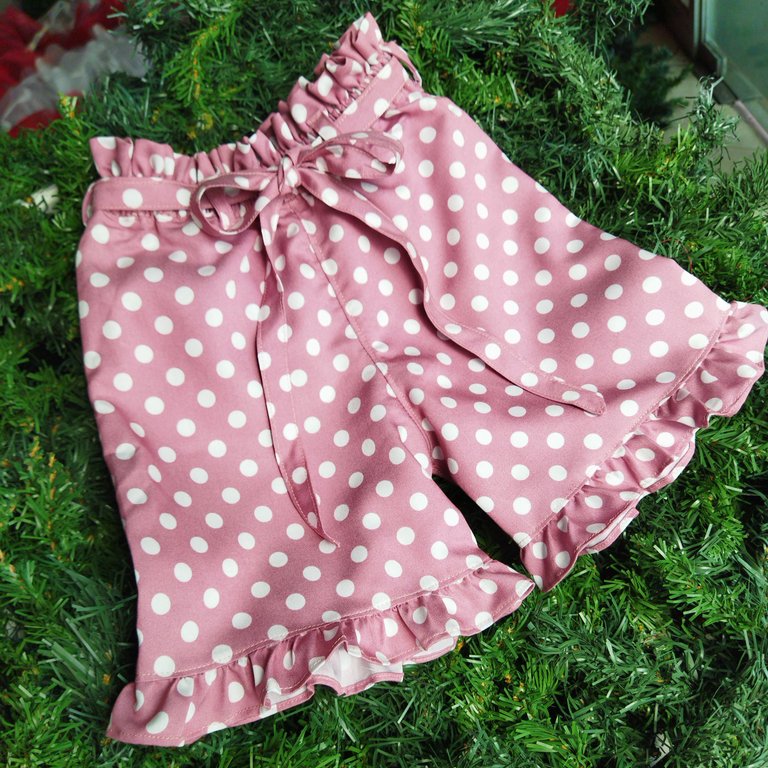
Saludos queridos Needleworkers, feliz lunes de agujas. ♥️ Espero tengan una semana muy productiva. He procurado traerles mis proyectos de los lunes aún que he estado súper ocupada con mi otro trabajo, pero no es excusa, siempre trato de tener ese momento donde puedo hacer mis costuras, hoy le quiero mostrar un lindo short que realicé el fin de semana pasado, hace un tiempo me encargaron este modelo de short y a una amiga mía también le gustó para su hija y me encargó uno así igual, pero quise variar en el color de la tela y la talla.
Greetings dear Needleworkers, happy needlework Monday. ♥️ I hope you have a very productive week. I have tried to bring you my Monday projects even though I have been super busy with my other work, but it is no excuse, I always try to have that moment where I can do my sewing, today I want to show you a nice short that I made last weekend, some time ago I was ordered this model of short and a friend of mine also liked it for her daughter and ordered me one just like this, but I wanted to vary the color of the fabric and the size.
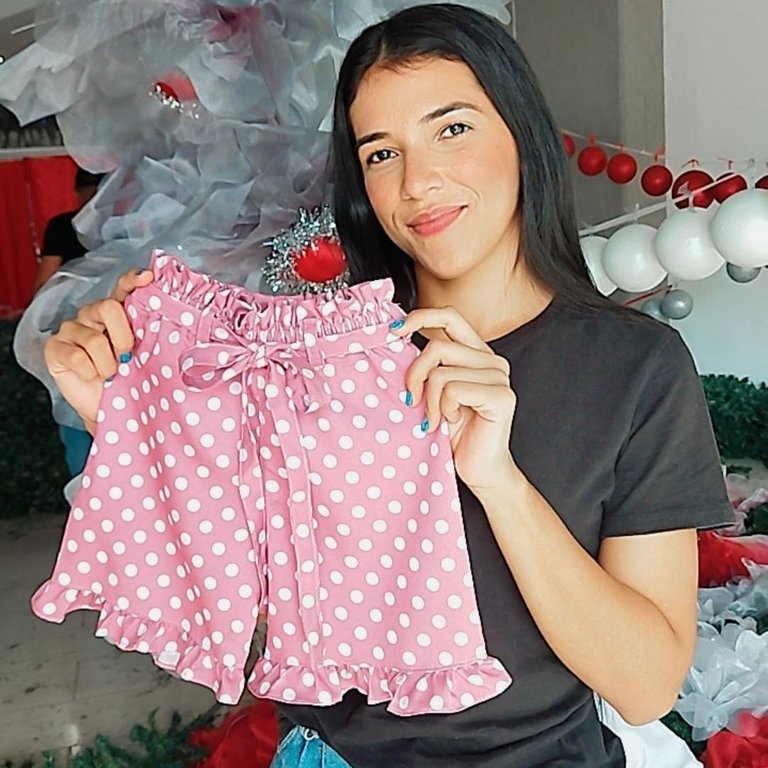
Para realizar este lindo short volví a utilizar tela chambray con estampado de punto blancos un tela que me gusta mucho, cuando fuí a comprar la primera vez me di cuenta que también tenían en rosa vieja y en esta oportunidad opte por ella, como siempre les dejo estos tutoriales para que les sirva como inspiración y que los puedan realizar en casa. Espero que lo disfruten y si quieres hacerlo ve por tu hilo y aguja y comencemos a trabajar...
To make this cute short I returned to use chambray fabric with white dot print a fabric that I really like, when I went to buy the first time I realized that they also had in old pink and this time I opted for it, as always I leave these tutorials to serve as inspiration and that they can make them at home. I hope you enjoy it and if you want to do it go get your thread and needle and let's get to work...
🧵🧷🧵🧷🧵🧷🧵🧷🧵🧷🧵🧷🧵🧷🧵🧷🧵
Necesitaremos || We will need

Para este proyecto necesitaremos medio metro chambray estampada, utilicé hilo rosado, Alfileres, cinta elástica de 2cm de abcho, Tijera, Cinta métrica, pantalón molde, Aguja y máquina de coser.
For this project we will need half a meter of printed chambray, I used pink thread, pins, elastic tape 2cm wide, scissors, tape measure, trouser mold, needle and sewing machine.
🧵🧷🧵🧷🧵🧷🧵🧷🧵🧷🧵🧷🧵🧷🧵🧷🧵
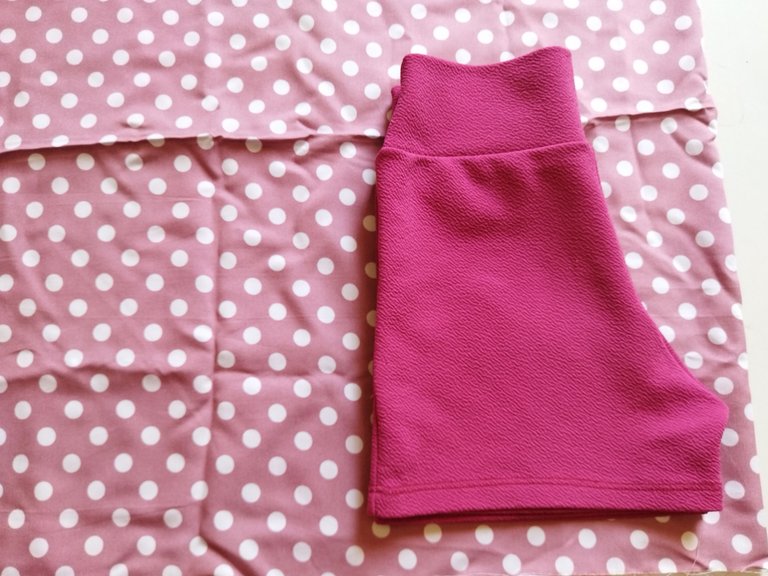
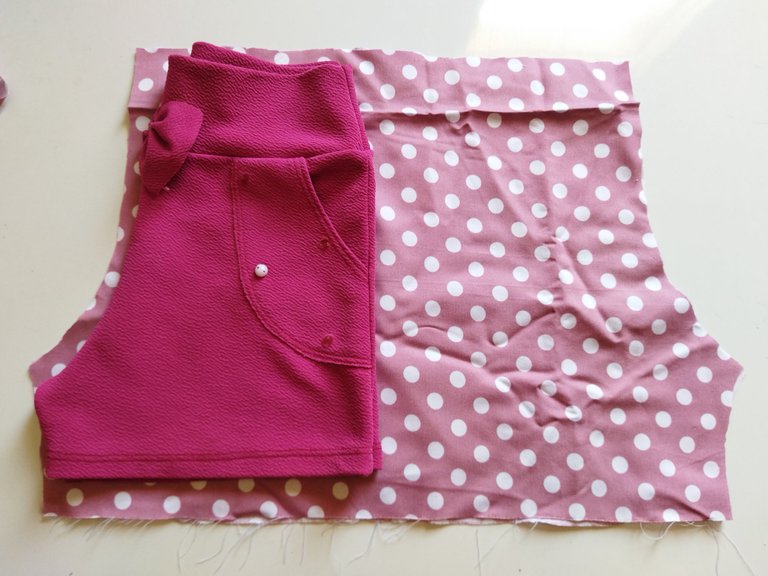
Comenzamos doblando la tela y colocándola en una superficie plana, el primer paso es colocar el patrón sobre la tela (doble), sujetamos con alfileres para que no se mueva y cortamos el tiro trasero luego sin mover la tela vamos a colocar el short del otro lado para cortar el tiro delantero, para este short necesitamos sacar dos piezas, Debemos tener en cuenta que el tiro trasero del short es más alto y más curvo que el delantero. Recuerda agregar 1 o 2 cm de margen de costura.
We start by folding the fabric and placing it on a flat surface, the first step is to place the pattern on the fabric (double), we hold it with pins so that it does not move and cut the back draft then without moving the fabric we will place the short on the other side to cut the front draft, for this short we need to take out two pieces, we must take into account that the back draft of the short is higher and more curved than the front. Remember to add 1 or 2 cm seam allowance.
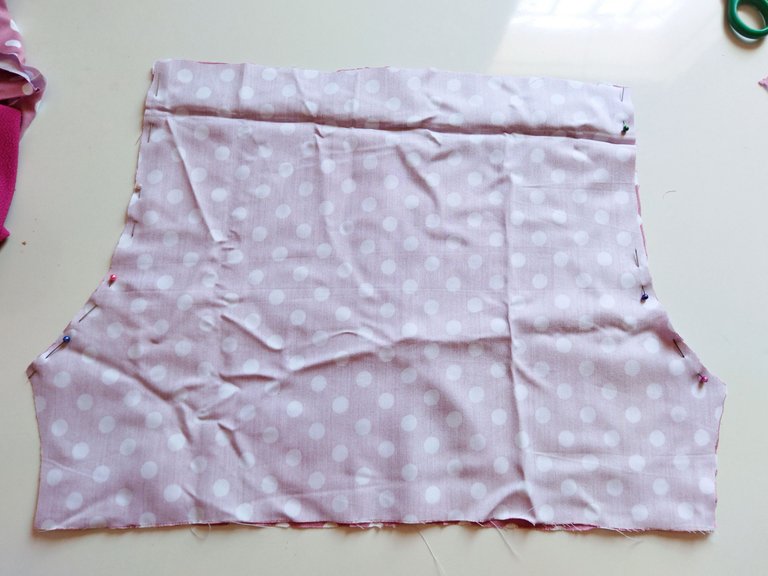
Vamos a coser y nos toca unir los tiro del short, colocamos las piezas delanteras enfrentando derecho con derecho y pasando costura recta y luego zigzag rematando la costura, lo mismo hacemos para la parte trasera.
We are going to sew and it's time to join the short's seams, we place the front pieces facing right to right and sew a straight seam and then zigzag finishing the seam, the same thing we do for the back part.
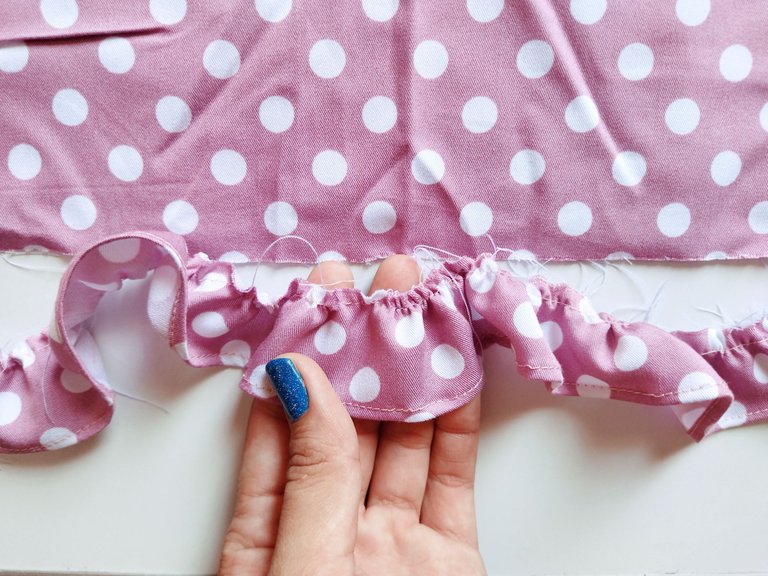
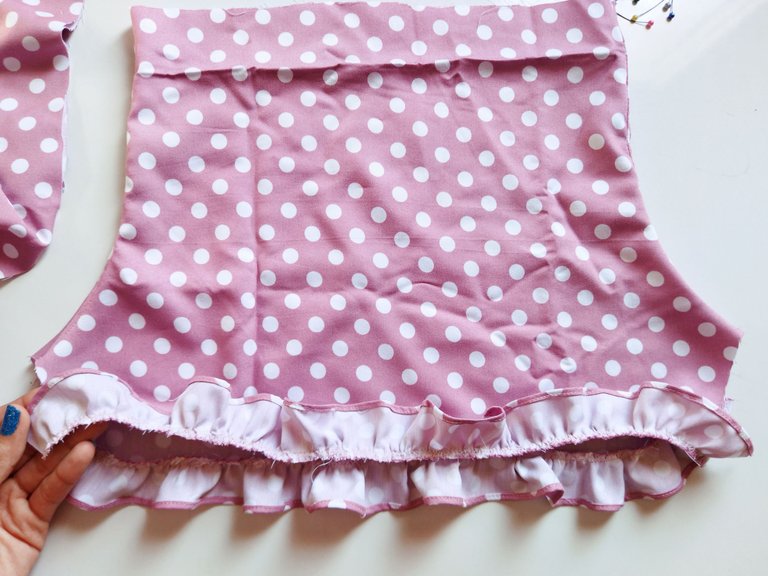
Cortaremos una tira de 6 cm de ancho, esto es para hacer los volantes de las piernas, procedí haciendo un dobladillo a las tiras solo por unos de los lados, para fruncir las tiras me ayude con la máquina de coser, pasé puntadas anchas y luego hale uno de los hilos, coloqué las tiras fruncidas en la orilla de las piernas del short y las sujeté con alfileres para luego coser con puntada recta y zigzag, por último pisé la costura del faralao por la parte externa a modo de costura decorativa.
We will cut a 6 cm wide strip, this is to make the ruffles of the legs, I proceeded by hemming the strips only on one of the sides, to gather the strips I helped me with the sewing machine, I passed wide stitches and then pulled one of the threads, I placed the gathered strips on the edge of the legs of the shorts and pinned them and then sewed with straight stitch and zigzag, finally I stepped the seam of the faralao on the outside as a decorative seam.
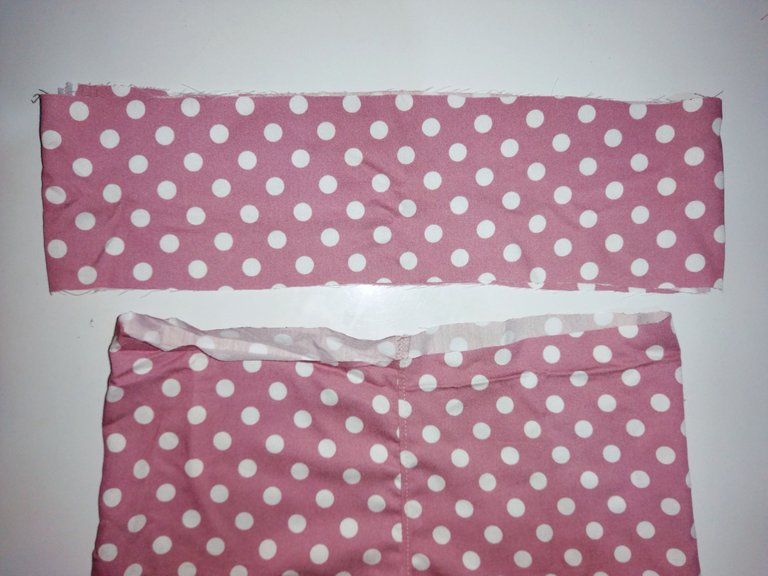
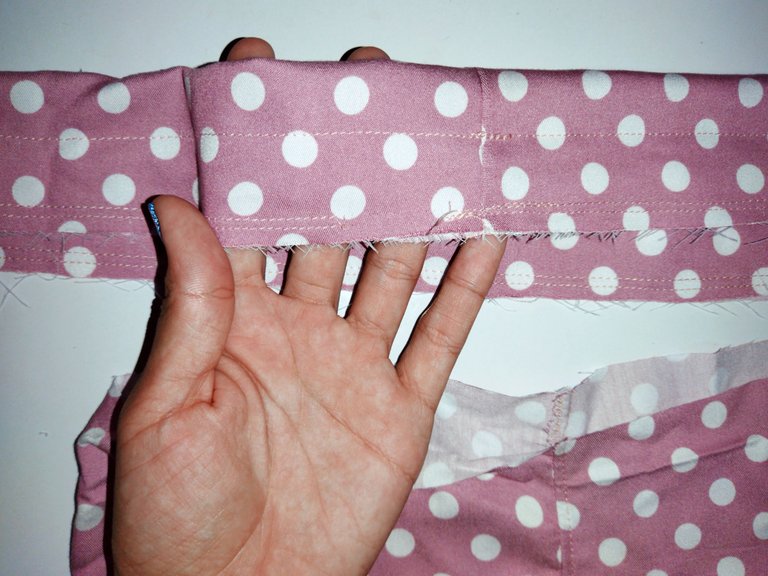
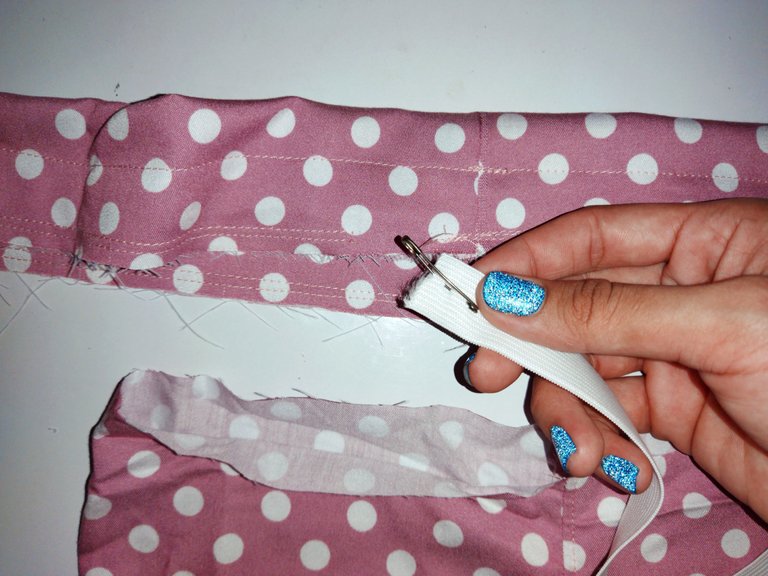
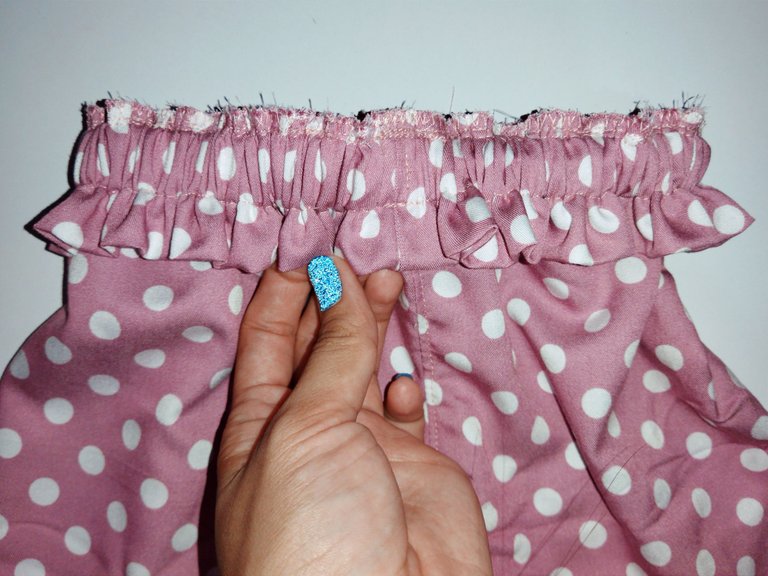
Para la pretina cortamos una tira de 10 cm de ancho, doblamos la tira a la mitad y pasamos puntada recta a 1,5 cm del borde, dejamos una abertura por dónde pasaremos la elástica, repetimos el mismo proceso pasando puntada recta a 2 cm o el ancho que tenga nuestra elástica, ahora metemos la elástica por la abertura que hemos dejado, debemos sujetar una de las puntas de la elástica para que no se nos vaya toda.
Ahora vamos a unir la pretina al pantalón, como paso final coloqué 5 trabillas distribuidas en toda la pretina de pantalón y con los retazos de la misma tela realicé un cinturón.
For the waistband cut a 10 cm wide strip, fold the strip in half and pass straight stitch to 1.5 cm from the edge, leave an opening where we will pass the elastic, repeat the same process passing straight stitch to 2 cm or the width of our elastic, now we put the elastic through the opening that we have left, we must hold one end of the elastic so that it does not go all.
Now we are going to attach the waistband to the pants, as a final step I placed 5 loops distributed throughout the waistband of the pants and with the scraps of the same fabric I made a belt.
Resultado final.
Final result.
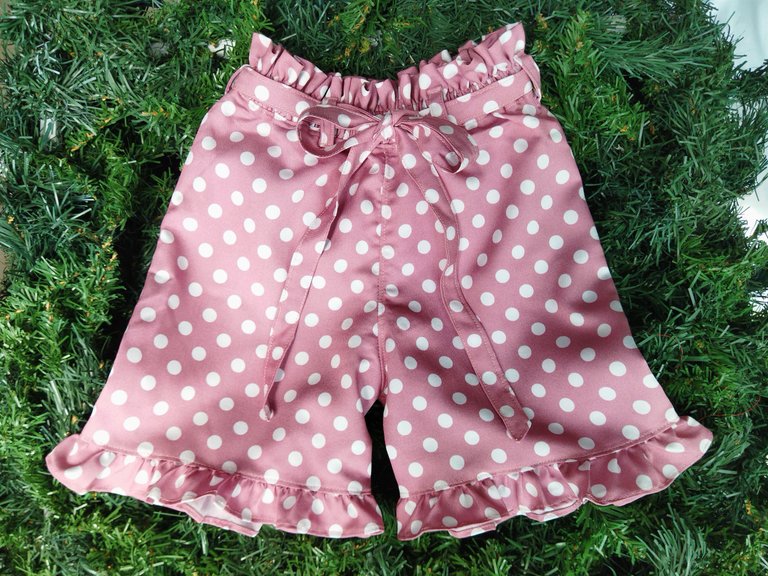
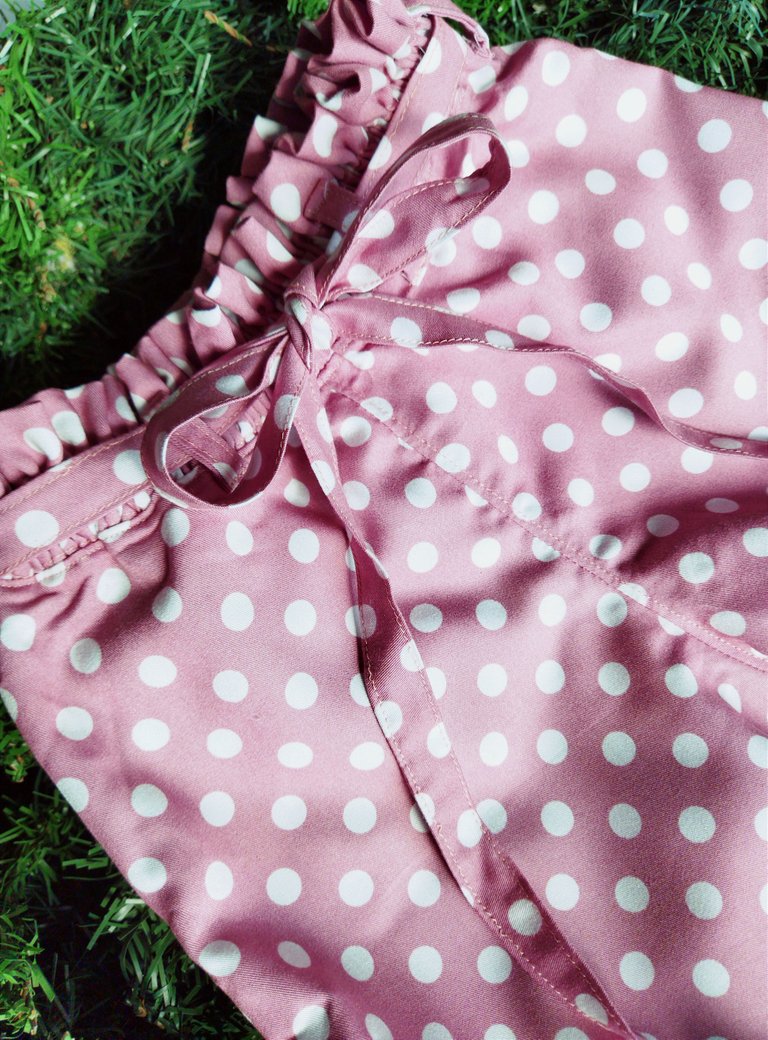
Y así quedó el resultado final de este hermoso short, a mí me encantó, Espero de corazón que les hay gustado este post y si has llegado hasta aquí mil gracias por leerme ❤️🥰 un fuerte abrazo, gracias por el apoyo y nos leemos luego.
And so was the final result of this beautiful short, I loved it, I sincerely hope you liked this post and if you have come this far thank you for reading me ❤️🥰 a big hug, thanks for the support and see you later.
All images are my property / Todas las imágenes son de mi propiedad
Camera: Xiaomi Redmi 9T.
Translation: Deepl.com
