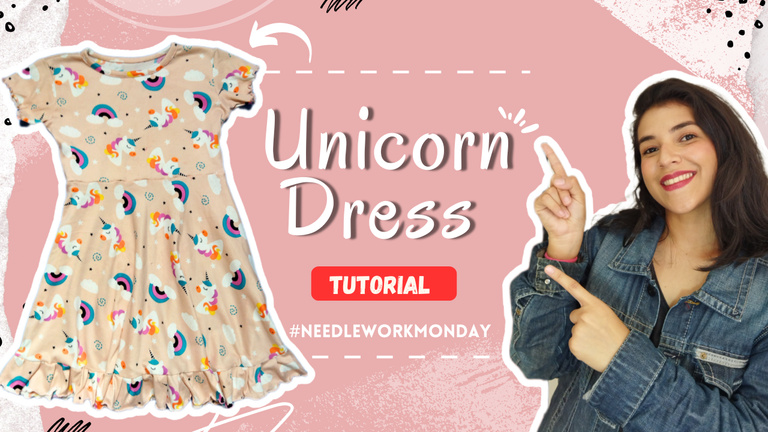
Saludos queridos amantes de la costura y las agujas, espero se encuentren de maravilla y estén teniendo una excelente comienzo de semana. Tiempo sin pasar por aquí y es que no le he dado mucho movimiento al pedal 🤣 he estado haciendo otras cosas y no me queda tiempo para coser, no me gusta coser apresurada o obligada, espero que la creatividad fluya y todo me queda mejor, además cuando estoy motivada para hacer algo no me doy por vencida hasta que lo termine, este proyecto que les voy a mostrar tiene ya unas cuantas semanas de que lo hice, se lo hice a mi pequeña antes de irse de vacaciones a Cumaná pero no había tenido chance de tomar las fotos finales, pero ya aquí está el resultado, sin mas habladuría acompañame a ver el proceso.
Greetings dear lovers of sewing and needles, I hope you are feeling wonderful and are having a great start of the week. It's been a while since I've been here and I haven't given much movement to the pedal 🤣 I've been doing other things and I have no time to sew, I don't like to sew in a hurry or forced, I hope that creativity flows and everything looks better, also when I'm motivated to do something I don't give up until I finish it, this project I'm going to show you has already a few weeks since I did it, I made it for my little girl before going on vacation to Cumaná but I had not had a chance to take the final photos, but here is the result, without more talk, come with me to see the process.
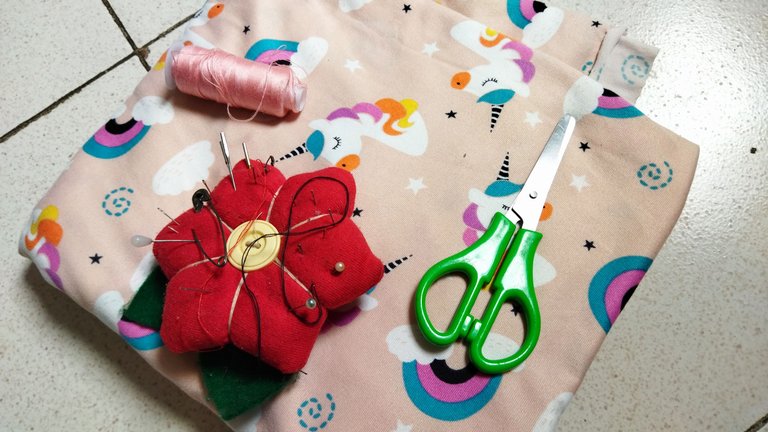
Para realizar este mono escolar utilice:
- Tela de microdurazno
- Hilo a tono
- Tijera
- Cinta métrica
- Alfileres
To make this school jumpsuit use:
- Microdurazno fabric
- Matching thread
- Scissors
- Tape measure
- Pins
Paso a paso || Step to step
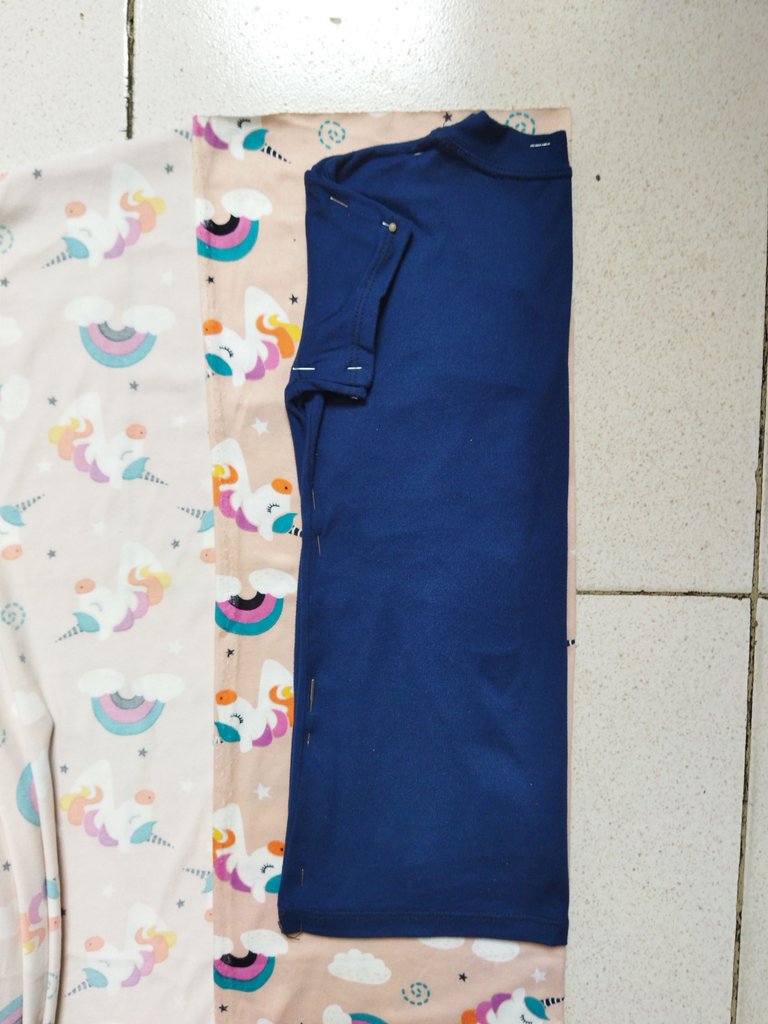
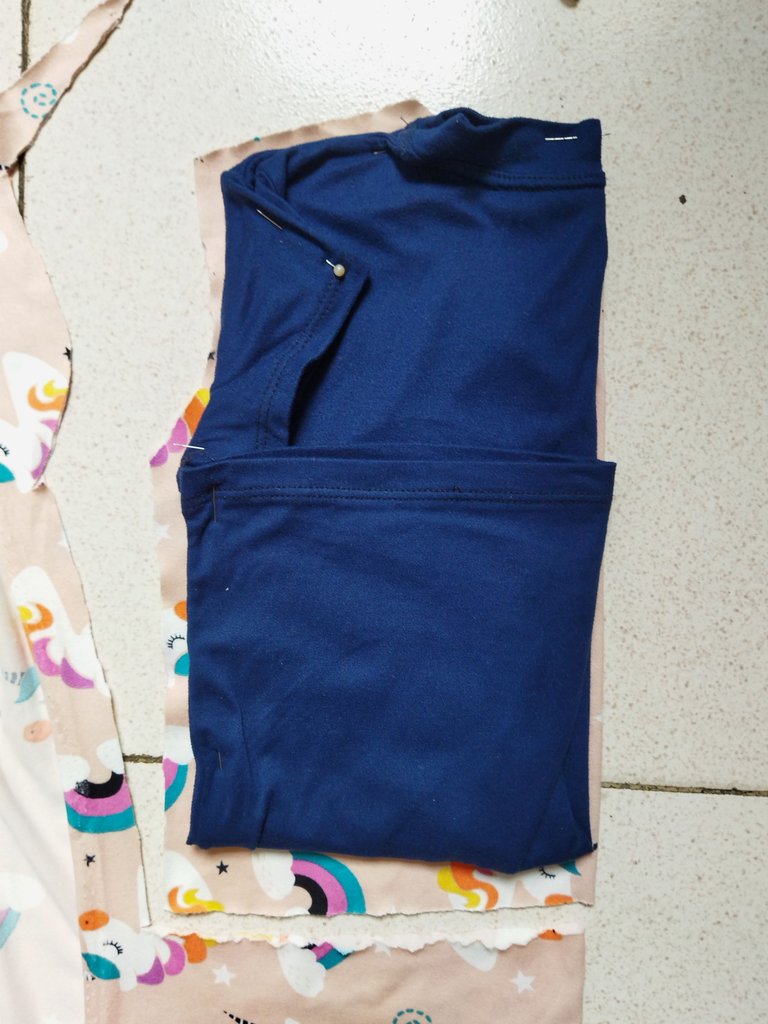
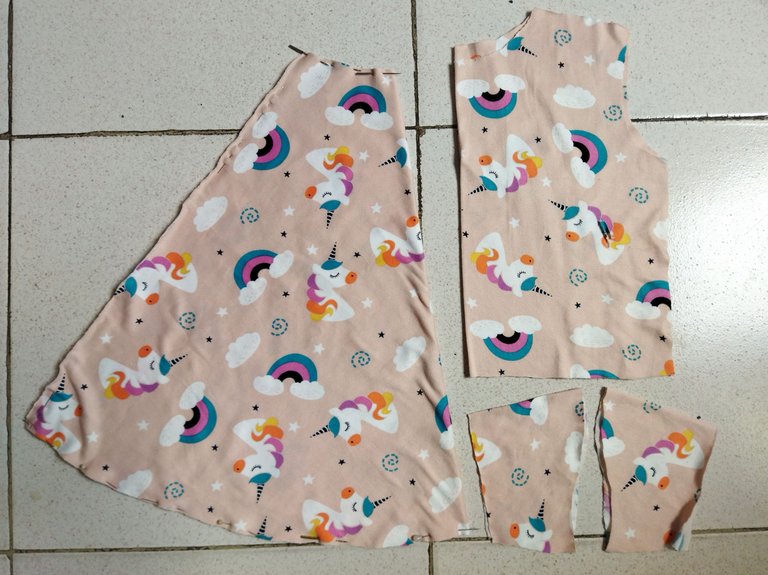
Comenzamos cortando las piezas, para la parte superior del vestido usé una camisa como patrón, corté la pieza trasera y la delantera recordando que el cuello en la pieza delantera es más baja que el trasero, para cortar la pieza de la falda utilice la técnica de corte circular y por último las mangas que también las corté sacando el molde de la camisa patrón.
We started cutting the pieces, for the upper part of the dress I used a shirt as a pattern, I cut the back piece and the front piece remembering that the neck in the front piece is lower than the back, to cut the skirt piece I used the circular cutting technique and finally the sleeves that I also cut by taking the mold from the pattern shirt.
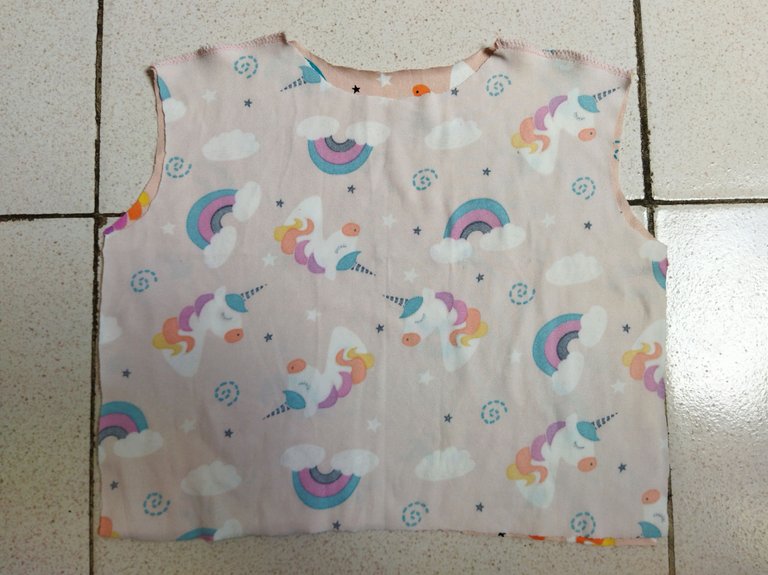
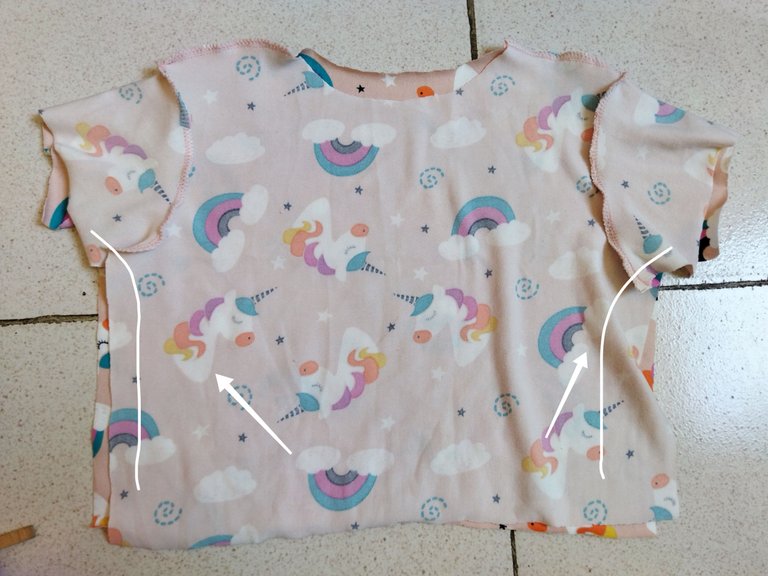
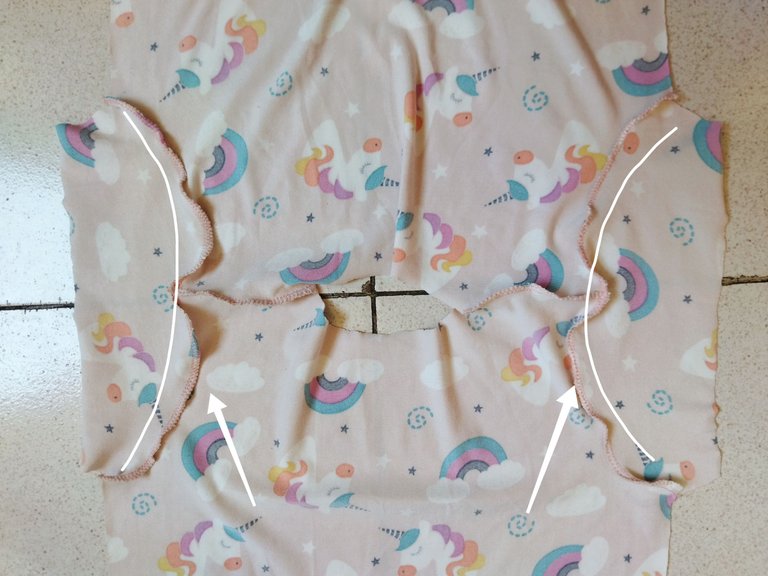
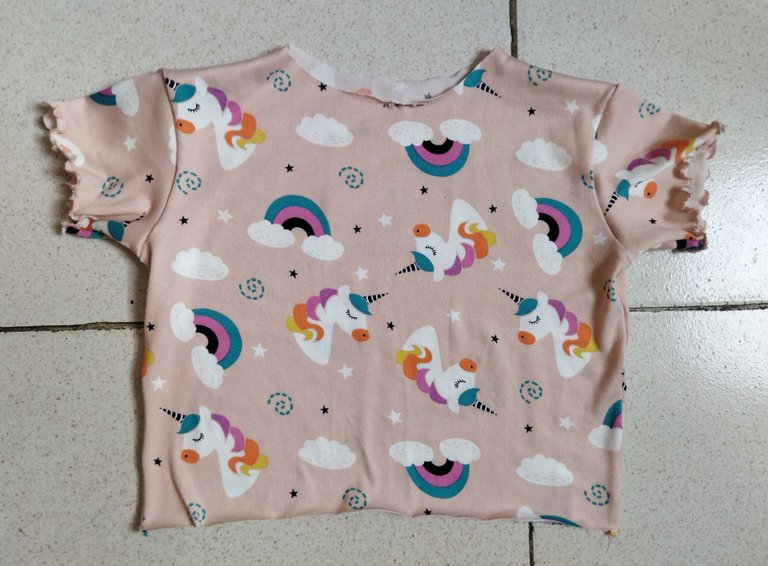
Comencé cosiendo los hombros de la blusa para luego coser las mangas a la sisa de la blusa, como siempre uso costura recta y luego zigzag para rematar las orillas, proseguí cosiendo los costados de la blusa para cerrar la dos piezas y luego cosí las orillas de las mangas con un decorado de faralao esto lo hago con costura en zigzag pero la más pequeña y voy estirando la tela, así se va haciendo el efecto.
I started sewing the shoulders of the blouse and then sewed the sleeves to the armhole of the blouse, as always I use straight stitching and then zigzag to finish the edges, I continued sewing the sides of the blouse to close the two pieces and then sewed the edges of the sleeves with a faralao decoration, I do this with zigzag stitching but the smaller one and I stretch the fabric, this way the effect is done.
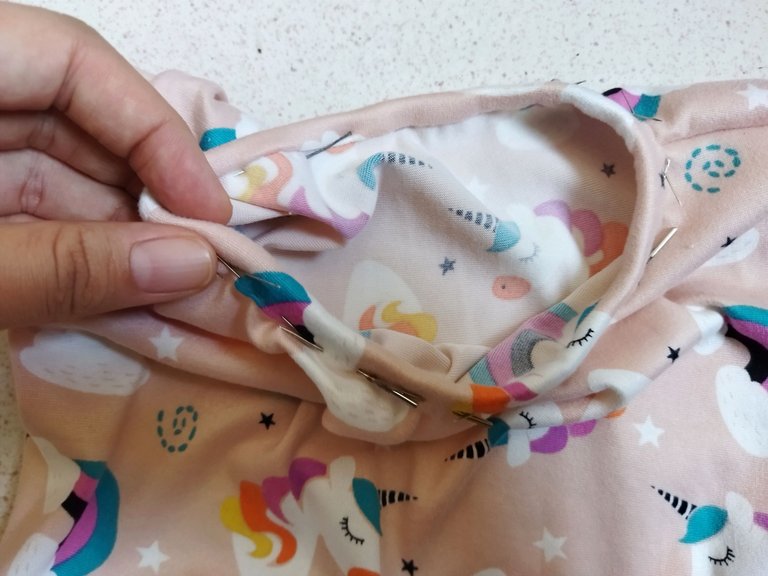
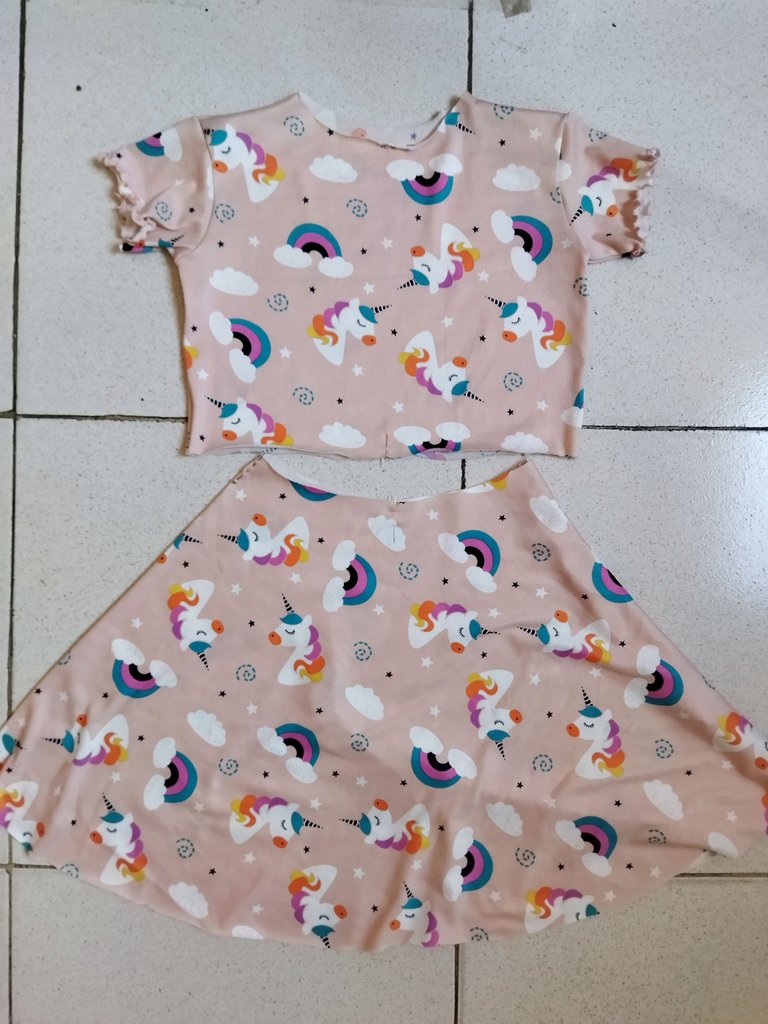
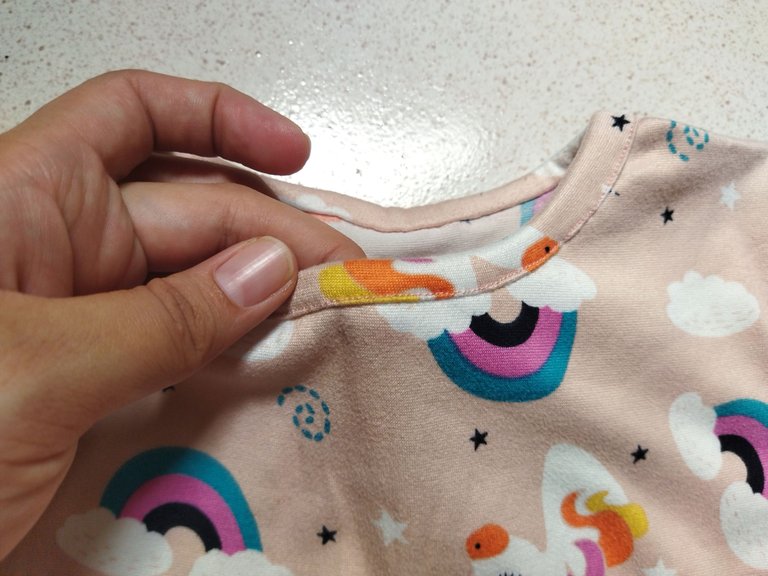
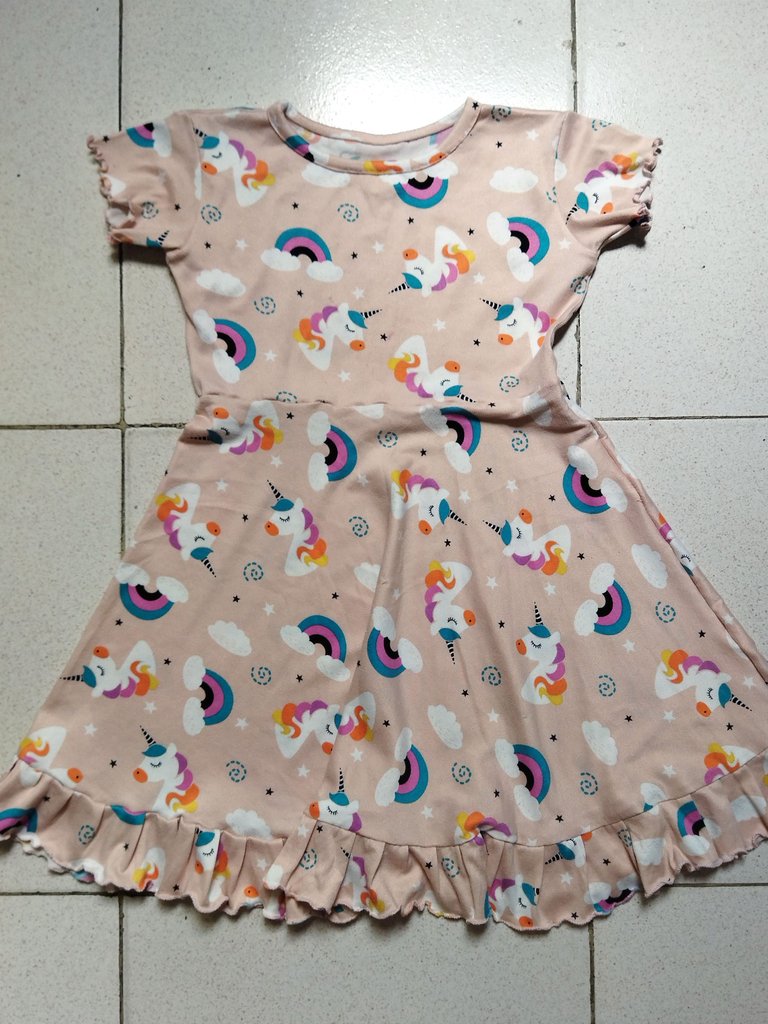
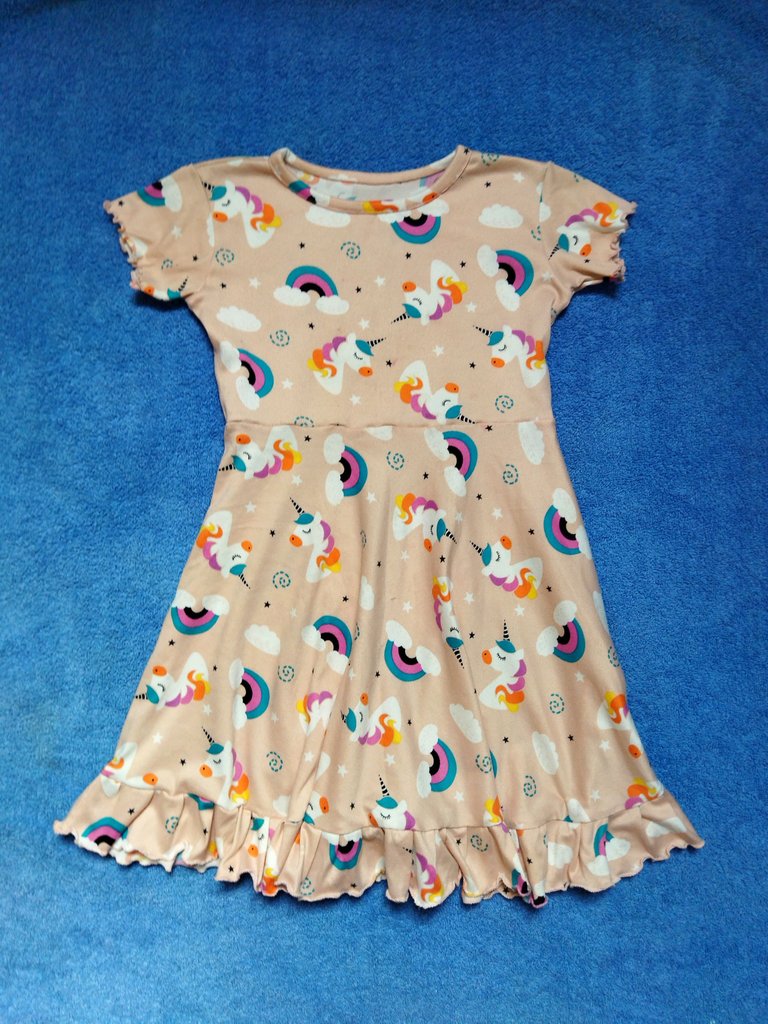
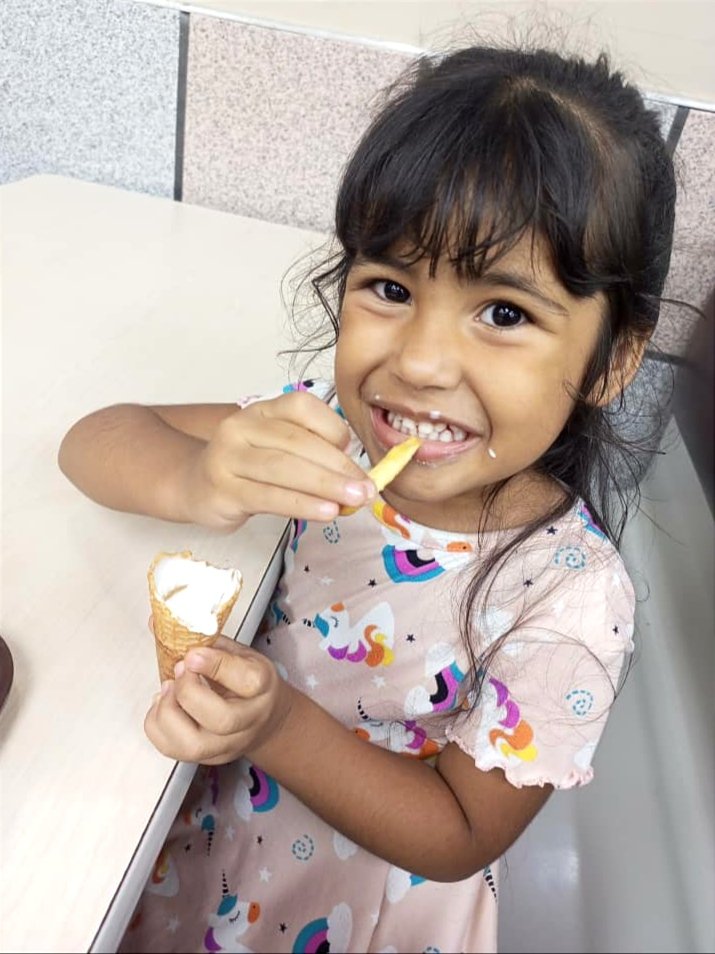
Para coser el cuello usé una tira de 4 cm de ancho para hacer el bies, cosí ayudándome con alfileres para que la tela no se moviera, por último cosí la parte superior, la blusa a la falda de corte circular y por último agregué un detalle de faralao en la orilla de la falda, pero sí te quieres saltar este paso solo coses la orilla haciendo una bobladillo y listo. Amigos así quedaría el resultado final de este vestido para niñas, mi pequeña estuvo encantada con este regalo y estuvo viendo todo el proceso, aquí les dejo una foto de ella usándolo 😊 gracias por leerme, ¡Hasta luego!
To sew the neck I used a 4 cm wide strip to make the bias binding, I sewed helping me with pins so that the fabric does not move, finally I sewed the top, the blouse to the circular cut skirt and finally I added a faralao detail on the edge of the skirt, but if you want to skip this step just sew the edge making a hem and ready. Friends, this is the final result of this dress for girls, my little girl was delighted with this gift and was watching the whole process, here is a picture of her wearing it 😊 thanks for reading me, see you later!
¡Gracias por leerme, hasta luego!
Thank you for reading me, see you later !


Camera: Xiaomi Redmi 9T. | Separadores: Aquí | Edition: CANVA | Translation: Deepl.com


