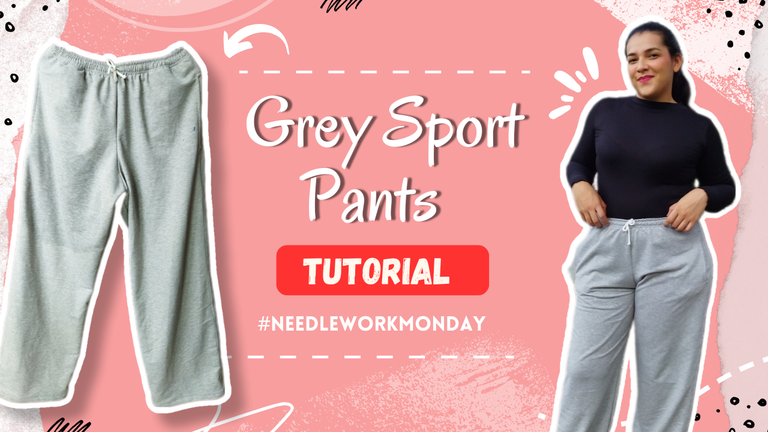
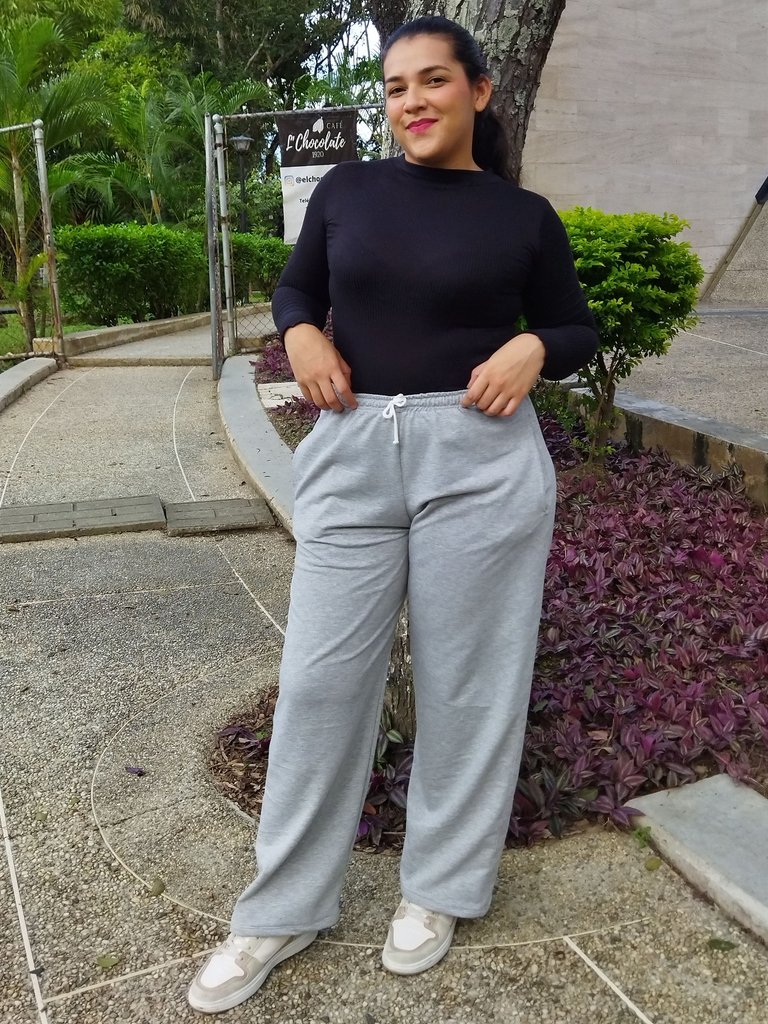
Saludos queridos amantes de la costura, espero se encuentren de maravilla y estén teniendo una excelente comienzo de semana, feliz lunes de agujas para todos. Hoy les traigo un proyecto que me tiene muy contenta y es que hace tiempo ví este tipo de pantalones tipo mono a una creadora de contenido en Youtube y lo amé, quería uno para mí así que me puse manos a la obra, la tela que usé fué Terry Spun la misma que uso para hacer los suéter pero en esta ocasión en color gris, está tela es perfecta para este tipo de pantalones ya que es bastante gruesa pero no genera tanto calor es ideal, fácilmente este pantalón se puede usar para hacer deporte como para vestir casual que fué lo que hice cuando lo usé 🙌 espero que este tutorial les guste tanto como a mí me gustó hacerlo, sin mas habladuría acompañame a ver el proceso.
Greetings dear sewing lovers, I hope you are feeling wonderful and are having a great start of the week, happy needle Monday to all. Today I bring you a project that has me very happy and is that some time ago I saw this type of pants type monkey to a content creator on Youtube and I loved it, I wanted one for me so I got down to work, the fabric I used was Terry Spun the same that I use to make sweaters but this time in gray, this fabric is perfect for this type of pants as it is quite thick but does not generate so much heat is ideal, easily this pants can be used for sports and casual wear which was what I did when I used it 🙌 I hope you like this tutorial as much as I liked to do it, without more talk, come with me to see the process.
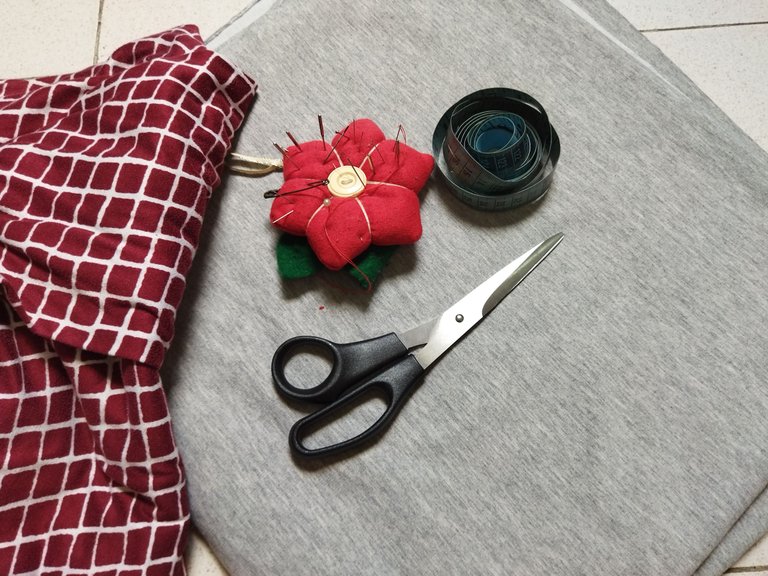
Para realizar este proyecto utilicé:
- Tela Terry Spun
- Hilo a tono
- Elástica con cordón
- Tijera
- Cinta métrica
- Alfileres
To make this project I used:
- Terry Spun fabric
- Matching thread
- Elastic with drawstring
- Scissors
- Tape measure
- Pins
Paso a paso || Step to step
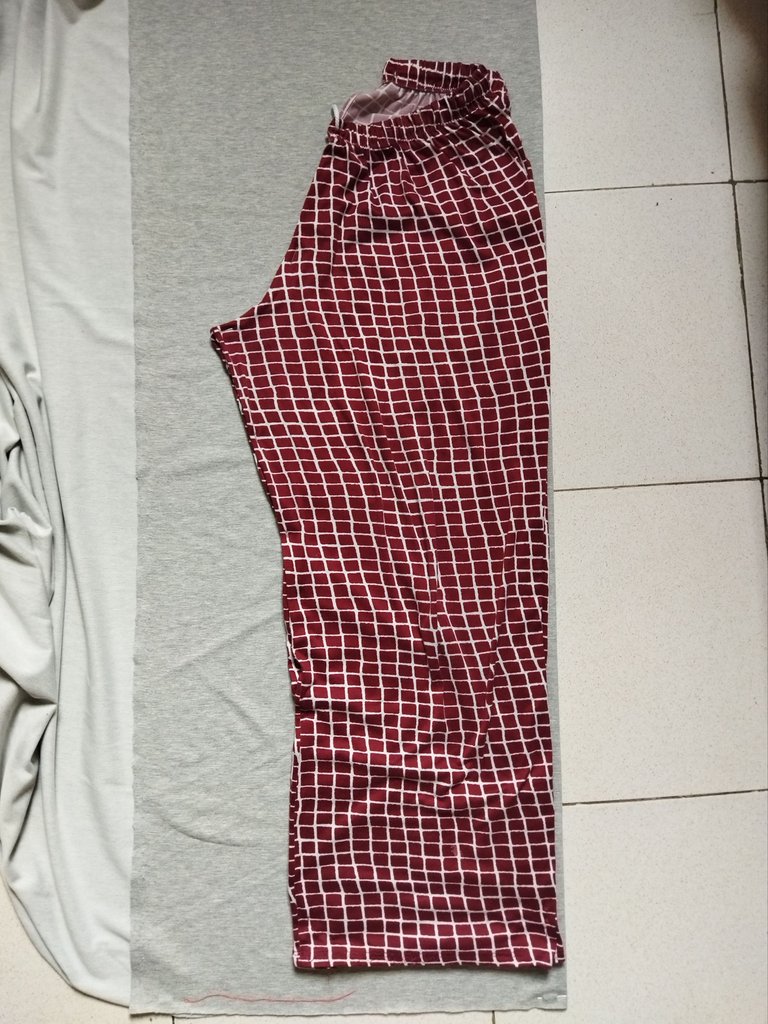
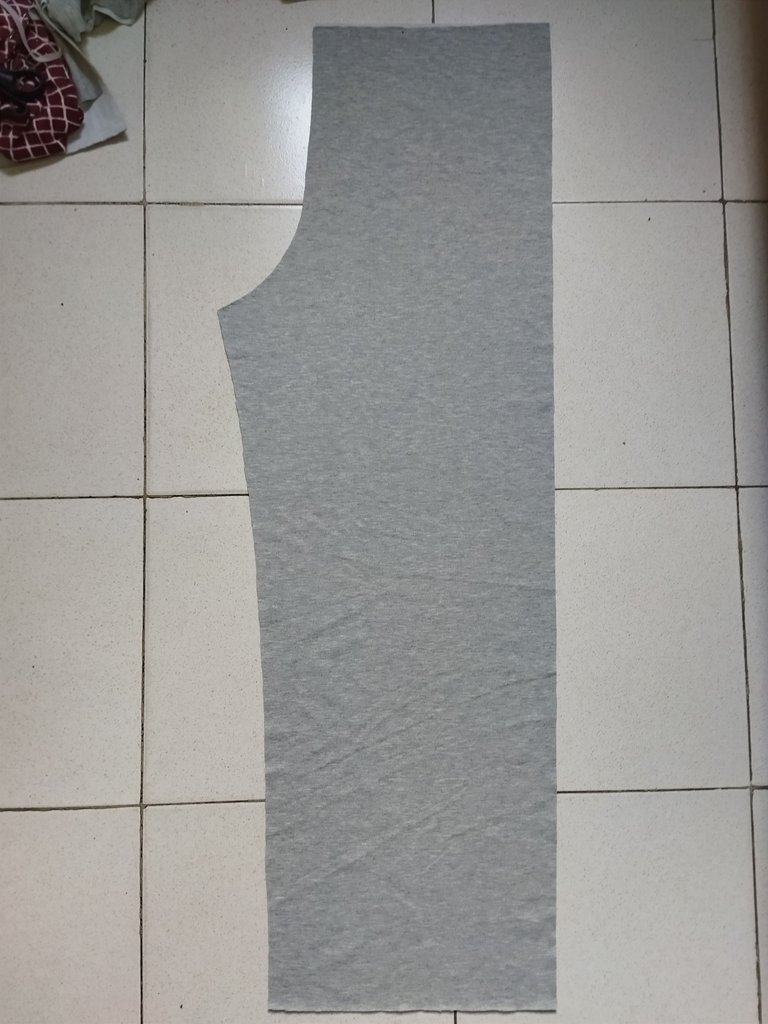
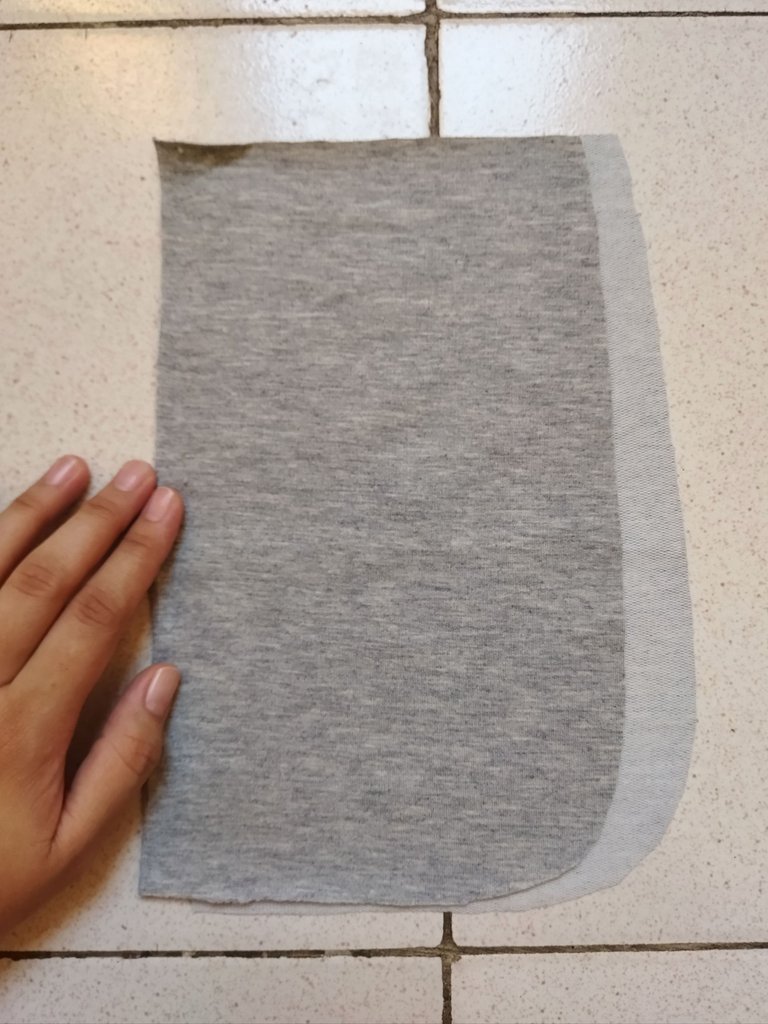
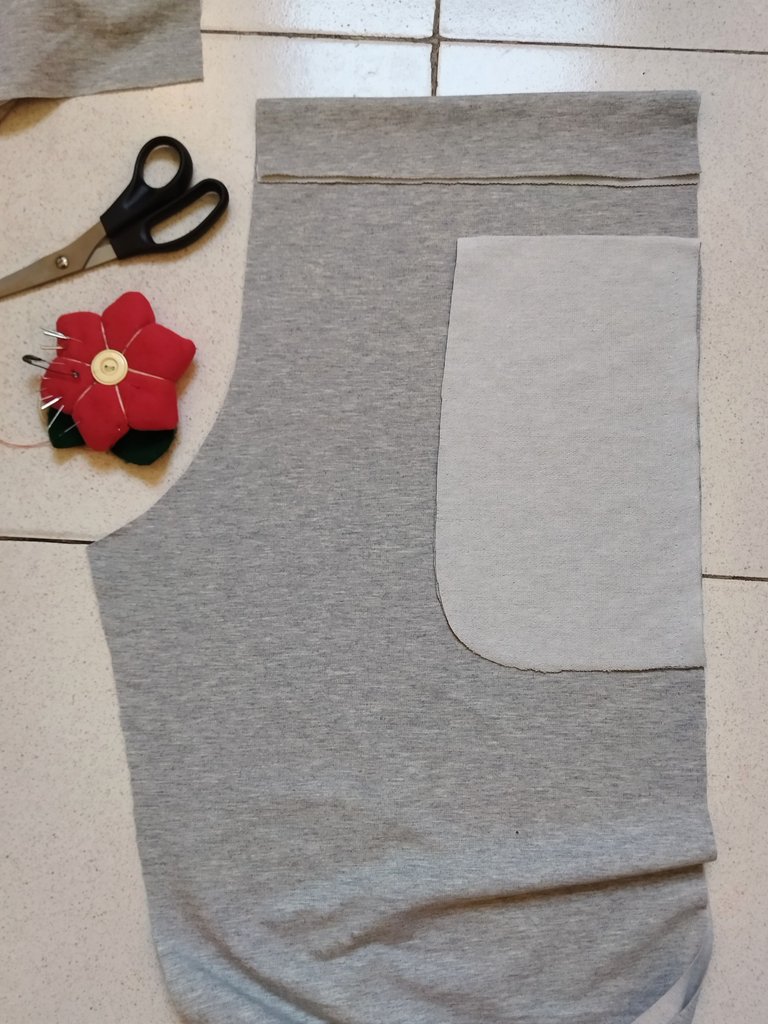
Comencé cortando las piezas para el pantalón, en esta oportunidad me guíe con un palazzo que tengo y saqué dos piezas con el tiro trasero y delantero pero las corté en los costados para tener así 4 piezas en total es por que este pantalón llevará bolsillos, los bolsillos son muy fácil de cortar vamos a necesitar 4 piezas para los bolsillos.
I started cutting the pieces for the pants, this time I used a palazzo that I have and I cut two pieces with the back and the front but I cut them on the sides to have 4 pieces in total because this pants will have pockets, the pockets are very easy to cut, we will need 4 pieces for the pockets.
 |  |  |
|---|
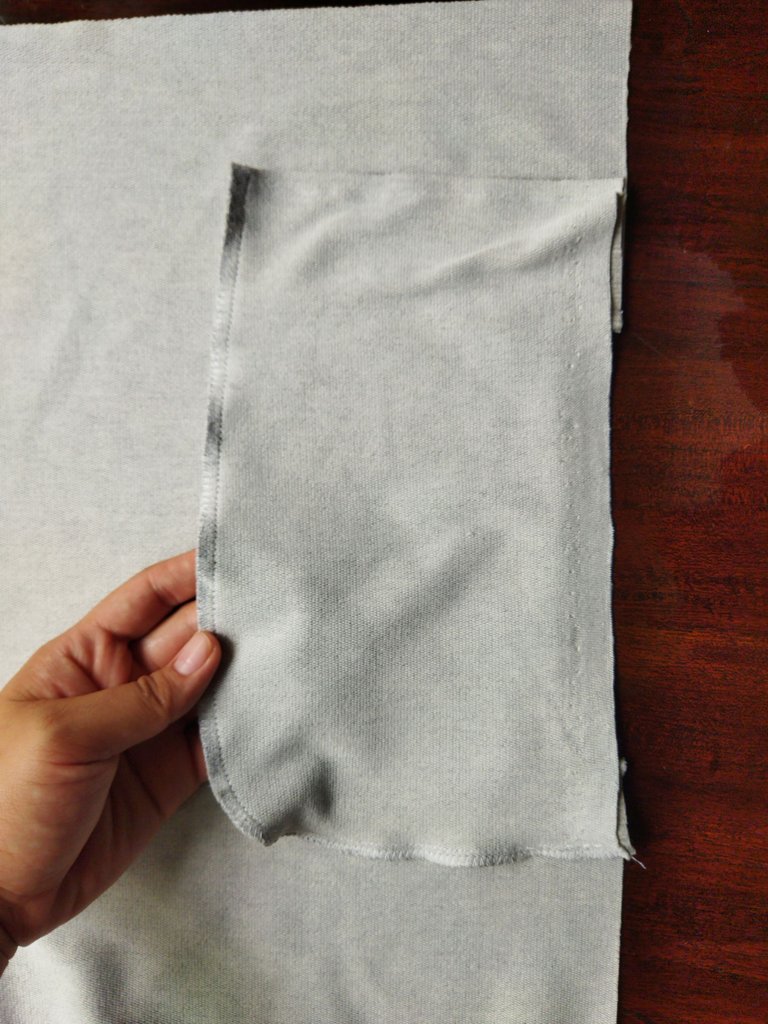
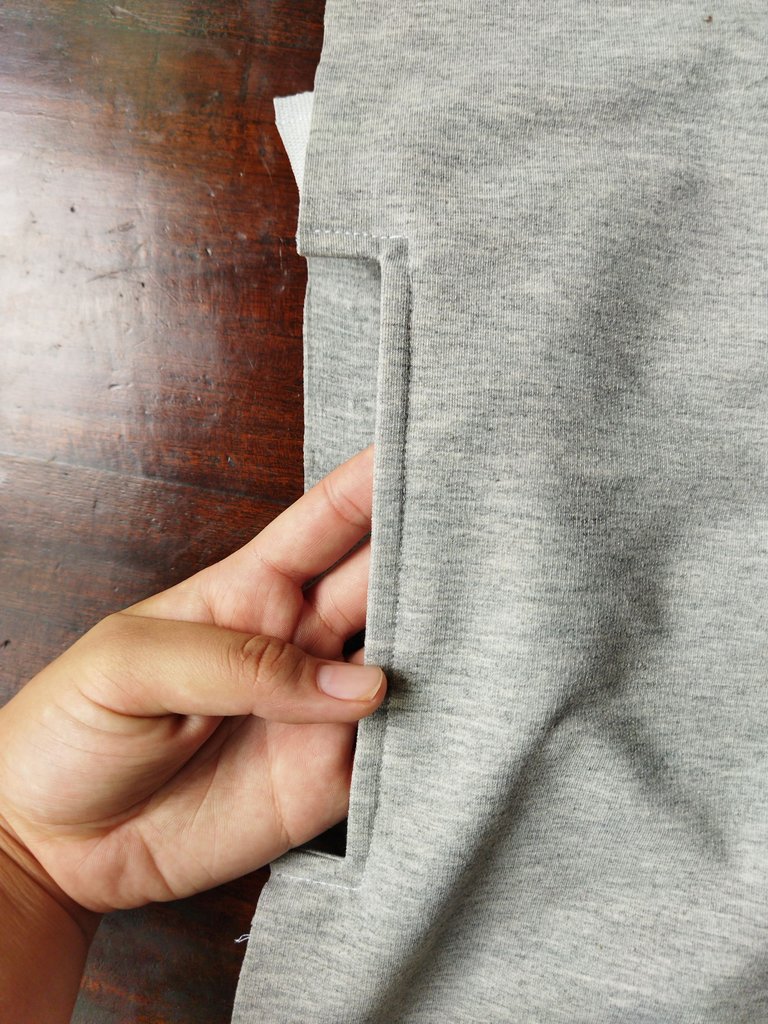
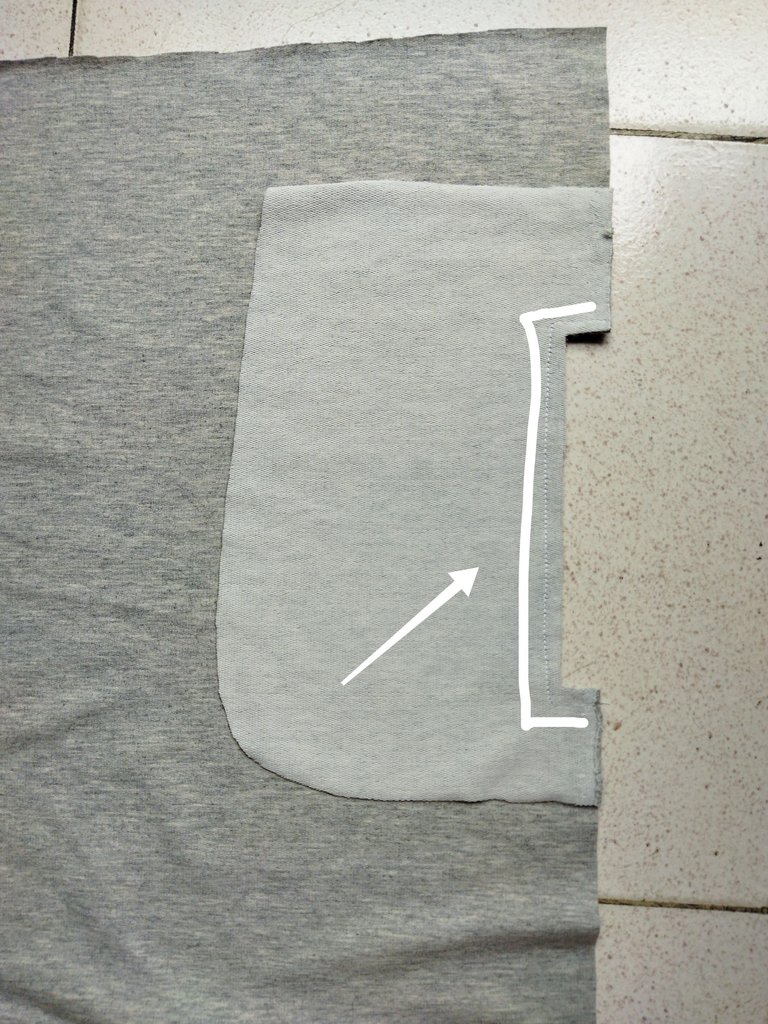
Comencé cosiendo los bolsillos, este modelo de bolsillo es con abertura cuadrada, básicamente lo que tenemos que hacer es cortar uno o dos centímetros del bolsillo y la pieza del delantera del pantalón para darle forma cuadrada, vamos a coser derecho con derecho de la tela y después llevamos la pieza del bolsillo hacía atrás para luego coser la orilla con costura recta, posteriormente colocamos la otra pieza del bolsillo y cerramos los bordes, la pieza trasera no debe llevar este corte pendientes con eso.
I started sewing the pockets, this pocket model is with square opening, basically what we have to do is to cut one or two centimeters of the pocket and the front piece of the pants to give it a square shape, we will sew right to right of the fabric and then we take the pocket piece to the back and then sew the edge with a straight seam, then we place the other piece of the pocket and close the edges, the back piece should not have this cut pending with that.
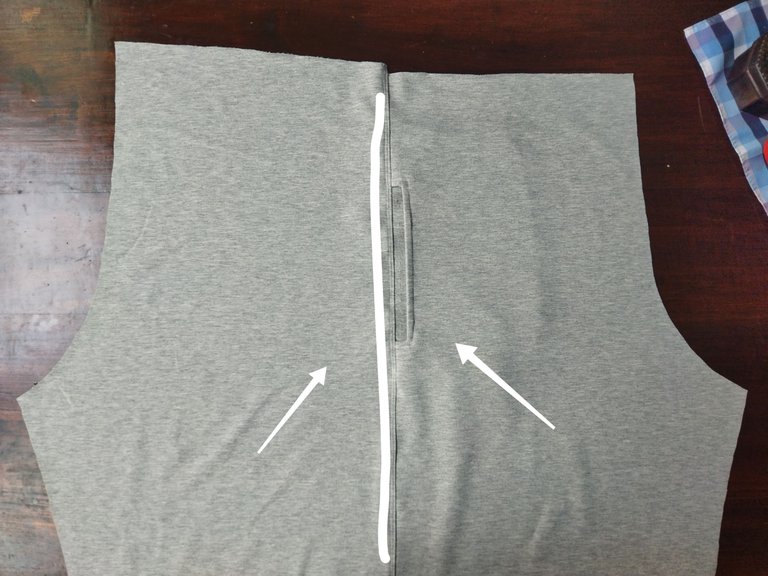
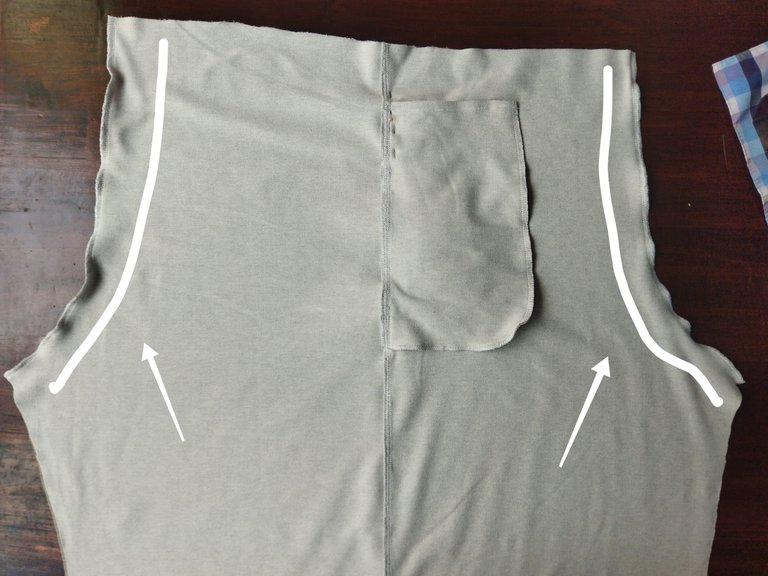
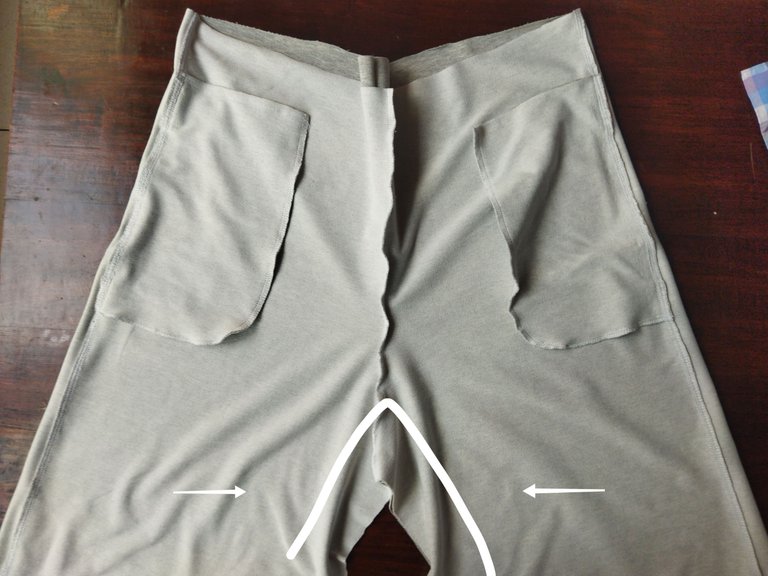
Cosemos los laterales de las piernas del pantalón, piezas trasera con delantero y así tendríamos dos piezas juntas, ahora cosemos por los tiros del pantalón y luego cosemos la entrepierna, todo con costura recta y luego zigzag para un mejor acabado.
We sew the sides of the pants legs, back pieces with the front and thus we would have two pieces together, now we sew along the trouser legs and then we sew the crotch, all with a straight seam and then zigzag for a better finish.
 |  |  |
|---|
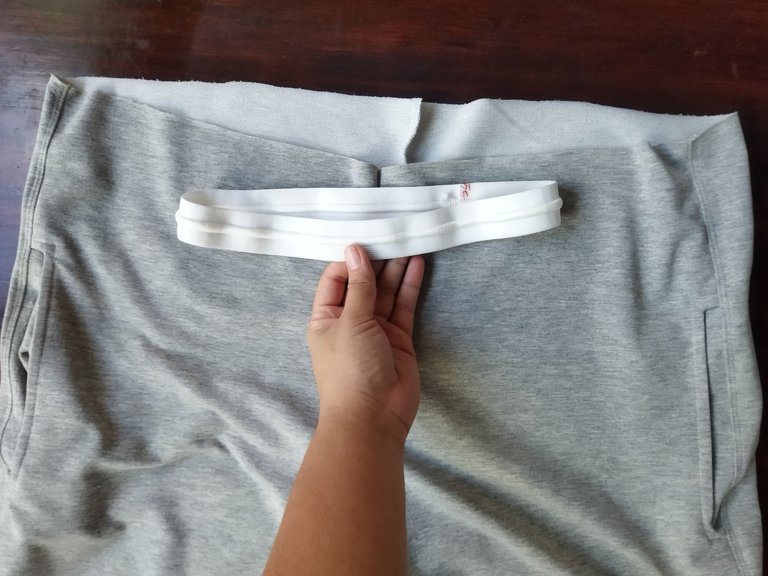
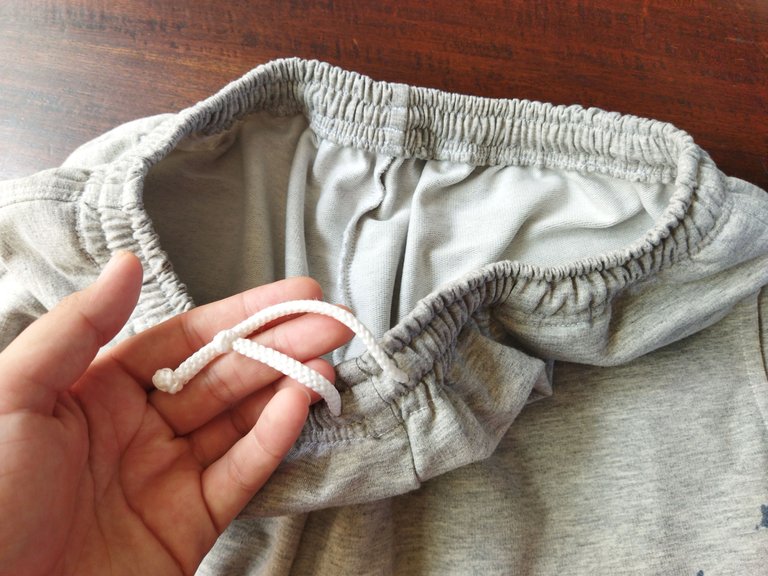
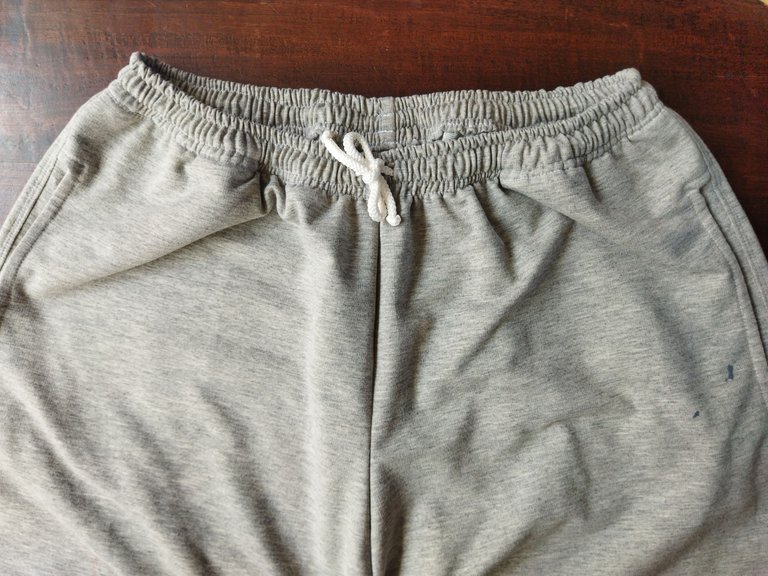
Solo nos quedaría coser la pretina, para esto usé una elástica gruesa de las que tienen cordón incorporado y cosí con costura en zigzag a la orilla para luego voltear hacía dentro y coser varias veces para hacer un acabado más bonito y se viera arrugado. ¿qué tal les pareció este nuevo trabajo? Los leo en los comentarios 😊 a mí me encantó muchísimo como quedó, mil gracias por leerme, ¡Hasta luego!
The only thing left to do was to sew the waistband, for this I used a thick elastic with a built-in cord and sewed with a zigzag stitch to the edge and then turned inside out and sewed several times to make a nicer finish and to make it look wrinkled. how did you like this new work? I'll read you in the comments 😊 I really loved the way it turned out, thank you very much for reading, see you later!
¡Gracias por leerme, hasta luego!
Thank you for reading me, see you later !


Camera: Xiaomi Redmi 9T. | Separadores: Aquí | Edition: CANVA | Translation: Deepl.com