.jpg) Un placer saludarles, me complace nuevamente estar compartiendo con todos ustedes en esta hermosa comunidad, hoy les traigo un hermoso cojin estrella, hecho con retazo de tela, veamos los pasos a seguir a continuación.
Un placer saludarles, me complace nuevamente estar compartiendo con todos ustedes en esta hermosa comunidad, hoy les traigo un hermoso cojin estrella, hecho con retazo de tela, veamos los pasos a seguir a continuación.
A pleasure to greet you, I am pleased again to be sharing with all of you in this beautiful community, today I bring you a beautiful star cushion, made with scraps of fabric, let's see the steps below.

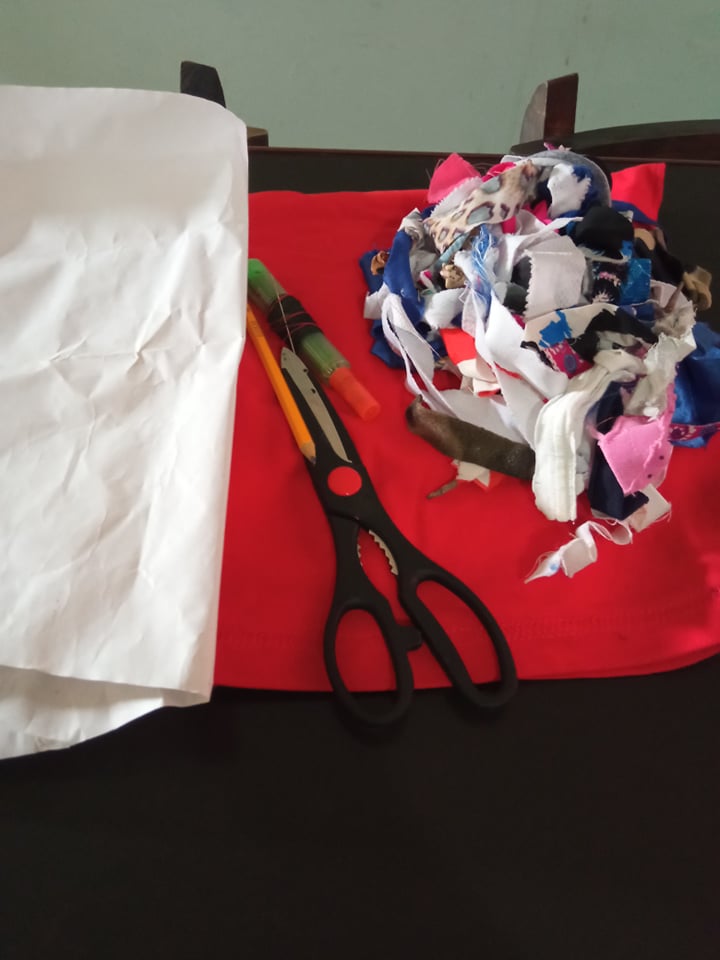
- Los materiales a utilizar son:
- Retazo de tela.
- Tijera.
- Hilo y aguja de coser.
- Papel bond.
- Lápiz.
- Marcador.
- Relleno o retazos de tela pequeños.
- The materials to be used are:
- Piece of fabric.
- Scissors.
- Thread and sewing needle.
- Bond paper.
- Pencil.
- marker
- Stuffing or small fabric scraps.
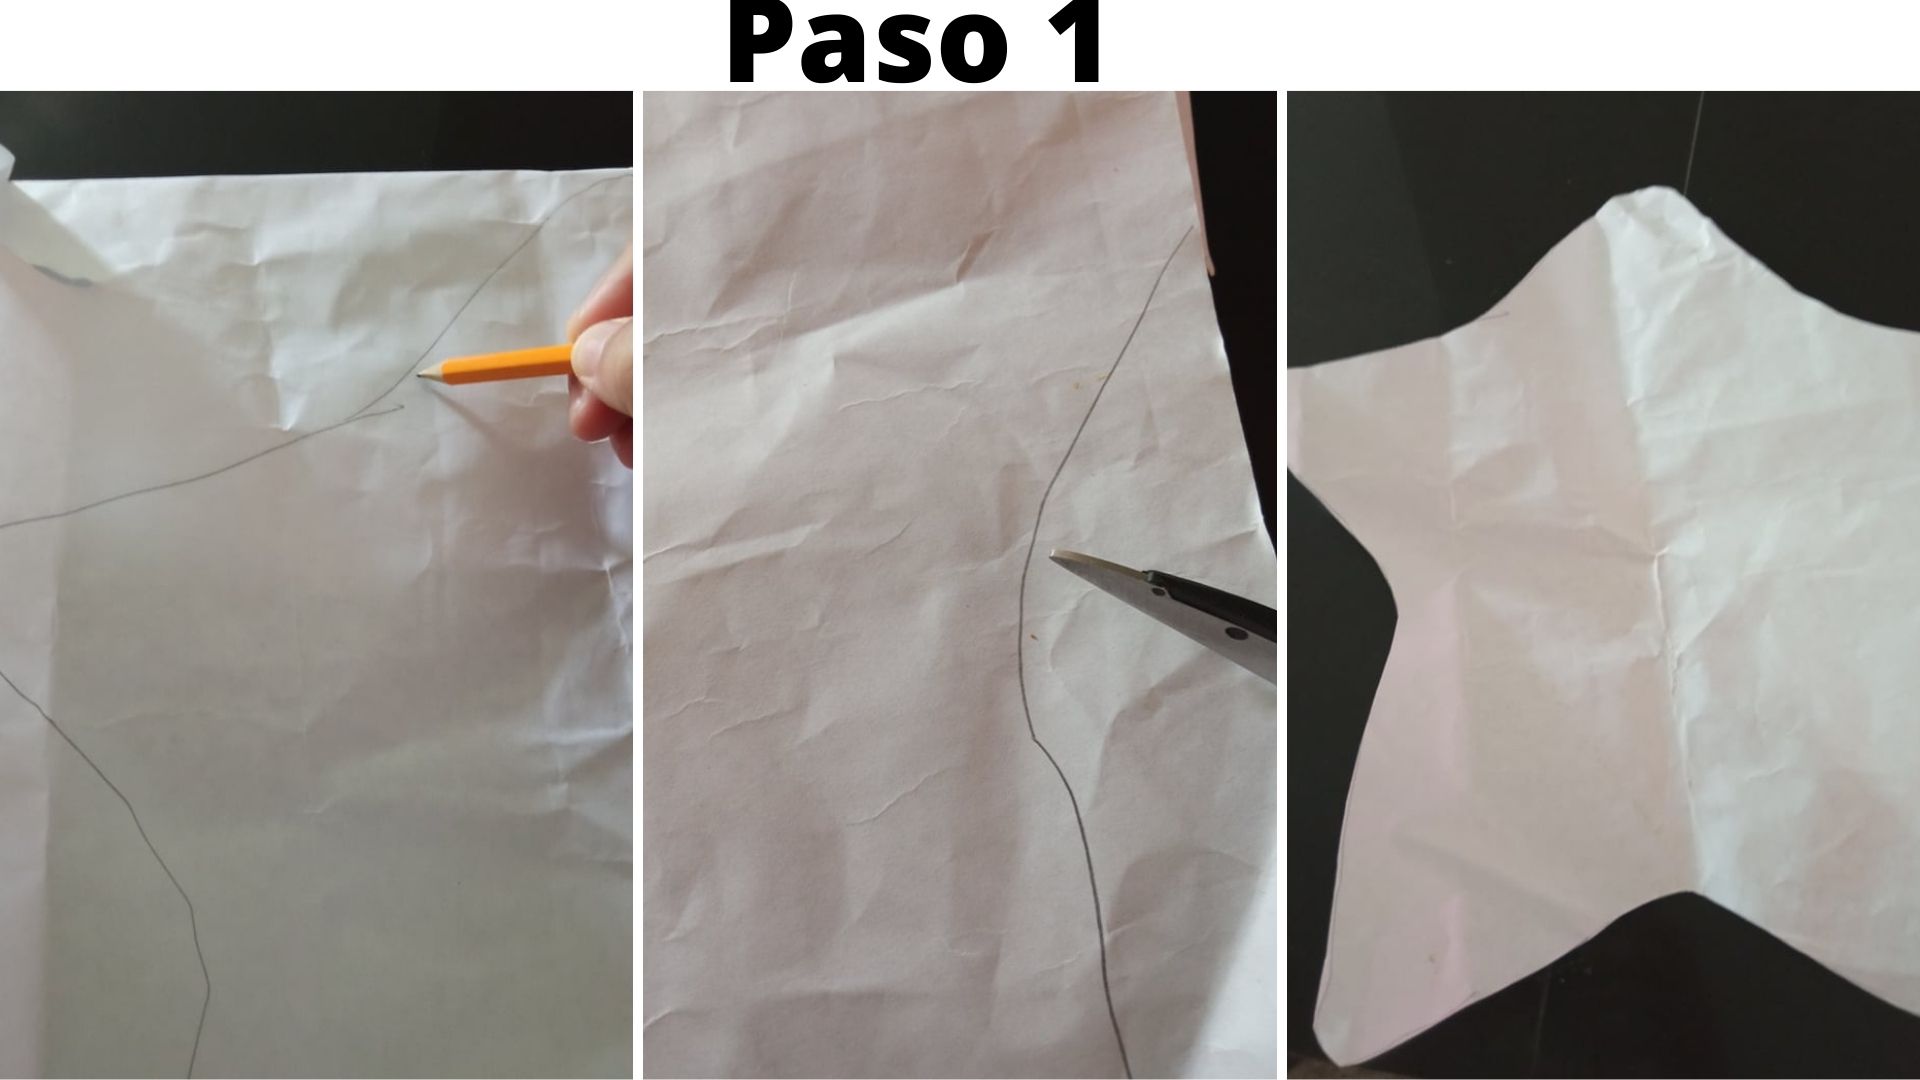
- Paso 1: Primeramente hacemos el patrón de la estrella en el papel bond, una vez dibujado procedemos a recortarlo hasta obtener la figura deseada.
- Step 1: First we make the pattern of the star on the bond paper, once drawn we proceed to cut it until we obtain the desired figure.
.jpg)
- Paso 2: Una vez que ya tenemos el patrón de la estrella, lo colocamos sobre la tela y con el marcador marcamos hasta obtener la forma en la tela, luego recortamos hasta sacar 2 partes iguales, seguidamente las colocamos derecho con derecho.
- Step 2: Once we have the pattern of the star, we place it on the fabric and with the marker we mark until we get the shape on the fabric, then we cut out 2 equal parts, then we place them right side by right side.
.jpg)
- Paso 3: Luego que ya tenemos las piezas derecho con derecho, procedemos a coserla por toda la orilla, dejando una pequeña abertura en cualquier extremo, luego de tener cosida la estrella, la volteamos del lado derecho.
- Step 3: After we have the pieces right side together, we proceed to sew it all along the edge, leaving a small opening at either end, after having sewn the star, we turn it right side out.
.jpg)
- Paso 4: Luego por la abertura que dejamos sin coser, comenzamos a introducir el relleno, una vez colocado todo el relleno procedemos a coser dicha abertura.
- Step 4: Then through the opening that we left unsewn, we begin to introduce the stuffing, once all the stuffing is in place we proceed to sew the opening.
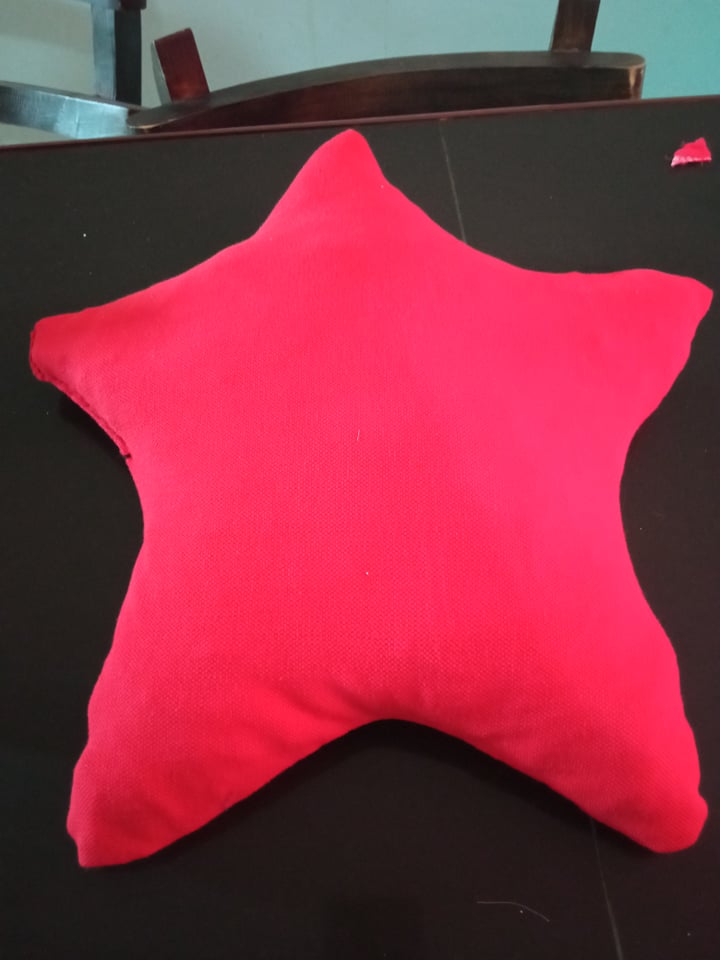
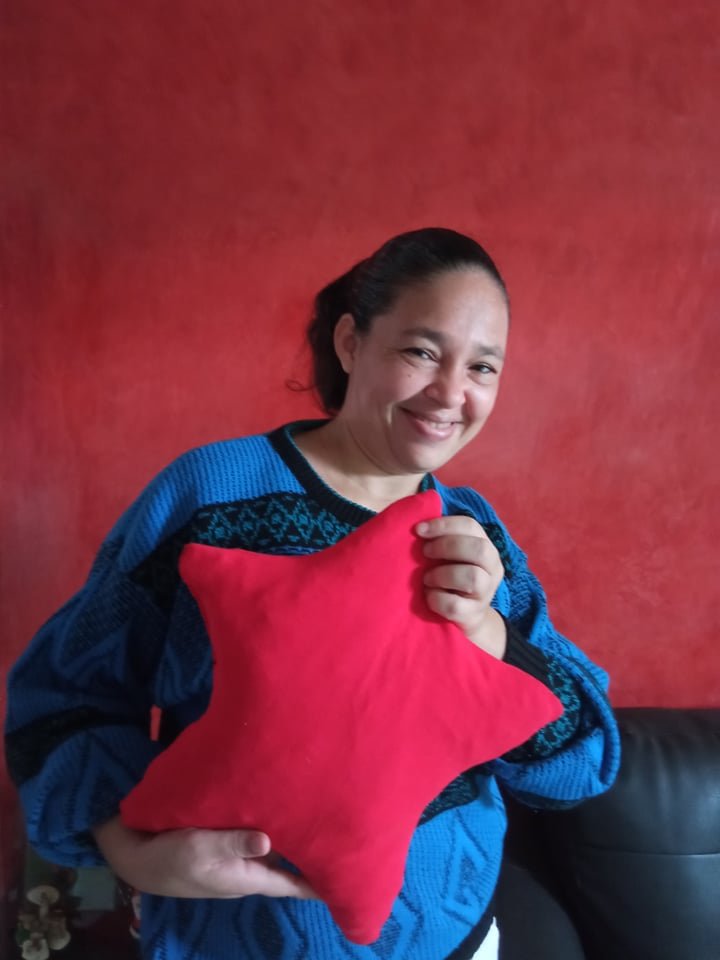
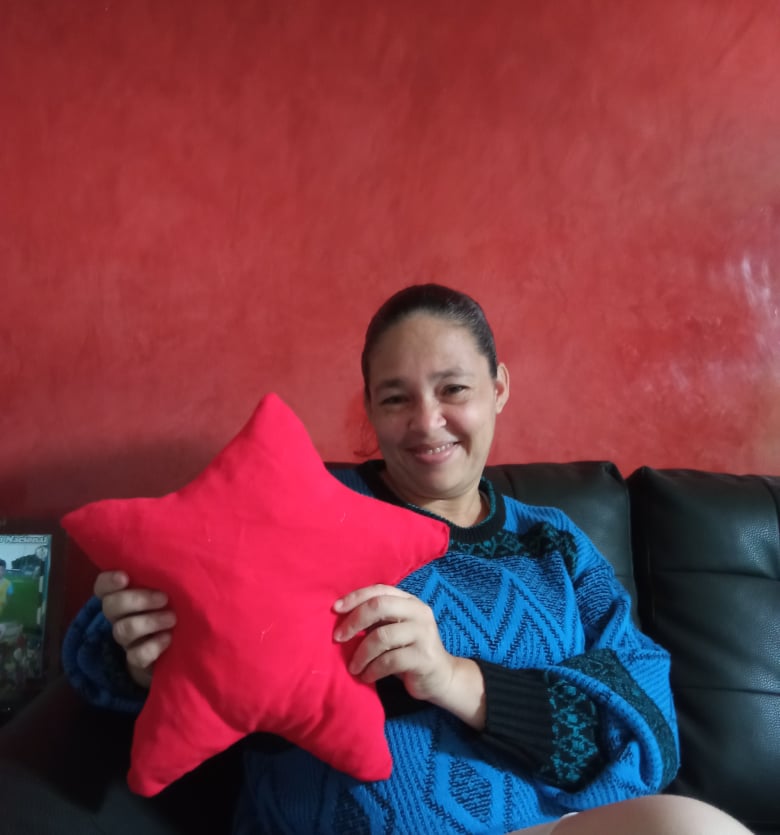
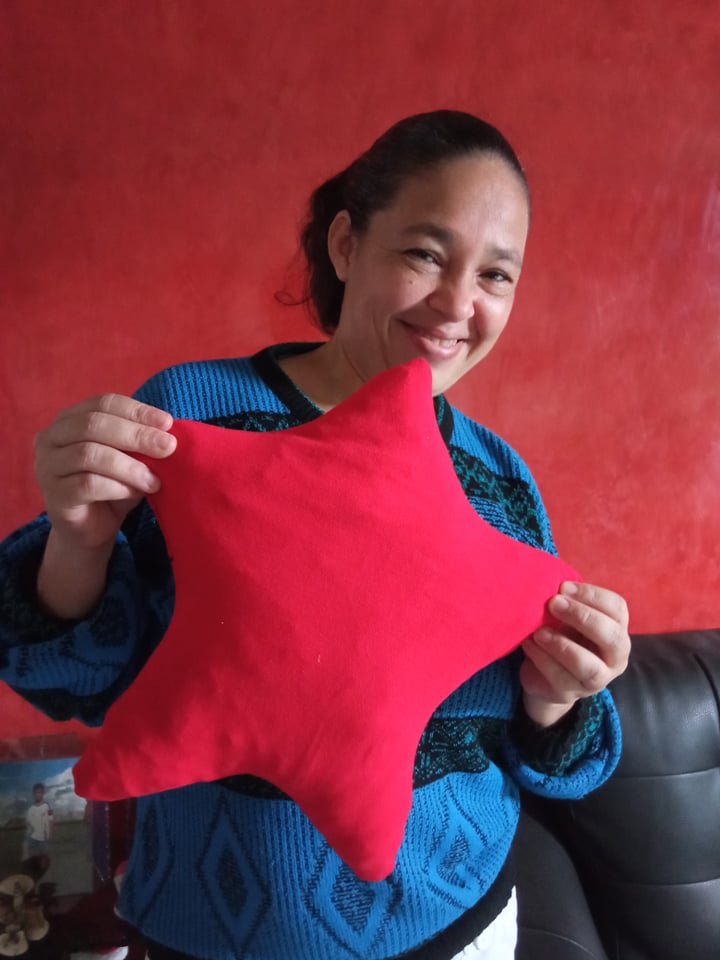
Aqui tenemos nuestro resultado final.
Here we have our final result.
 Todas las fotos son de mi autoría, y editadas desde canva.
All photos are of my authorship, and edited from canva.
Todas las fotos son de mi autoría, y editadas desde canva.
All photos are of my authorship, and edited from canva.
