Hello Hello✨
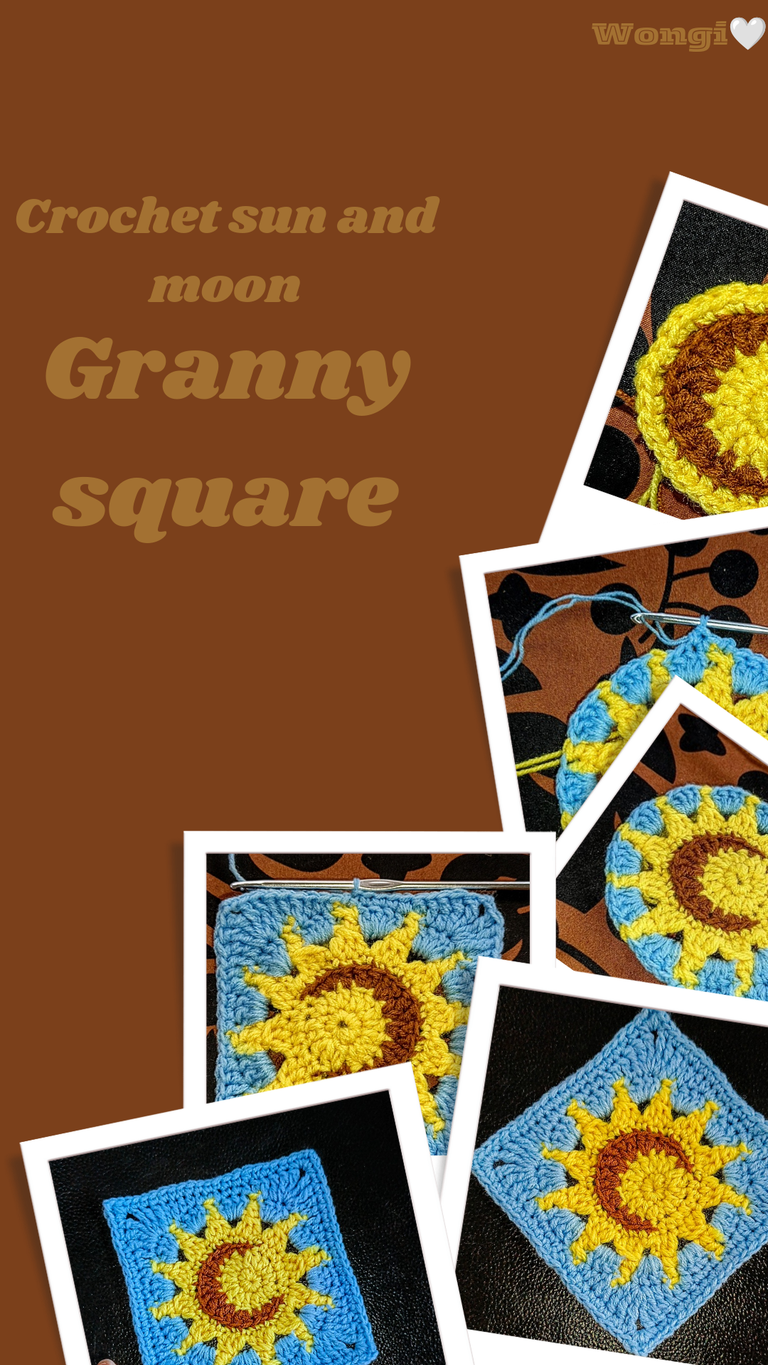
As a naturalist and an intermittent stargazer, I've grown to love the cosmic bodies. Ranging from the stars in the night to the clouds on a sunny day, all of it is usually so beautiful. With the ability to create even a glimpse of these cosmic bodies using yarn, I seized the opportunity.
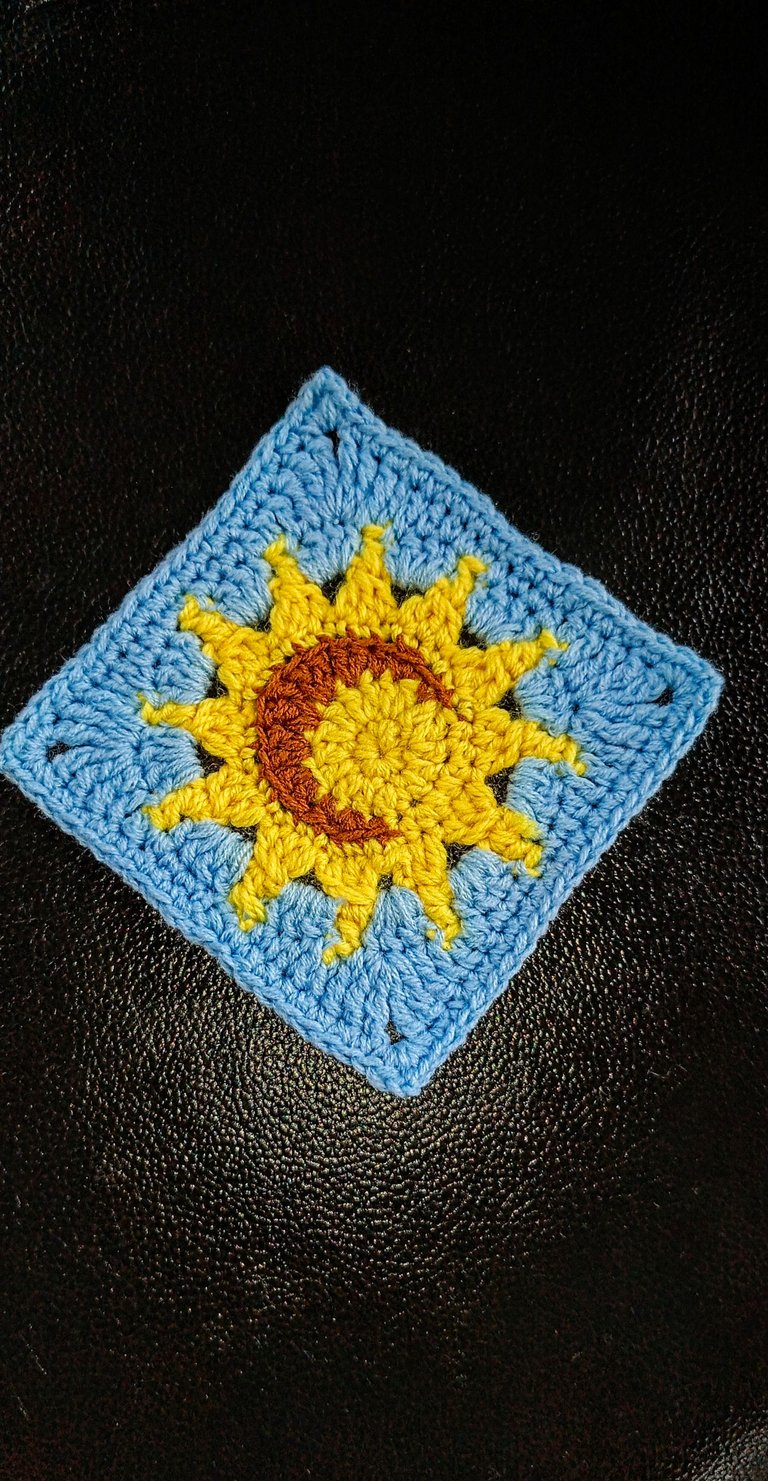
A lovely Monday it is and today, I'll be showing you how to make a crochet sun and crescent moon granny square. This granny square can be used for many crochet projects and the interesting part is that it doesn't require so much resources and if done steadfastly, it wouldn't take so much of a person's time too.
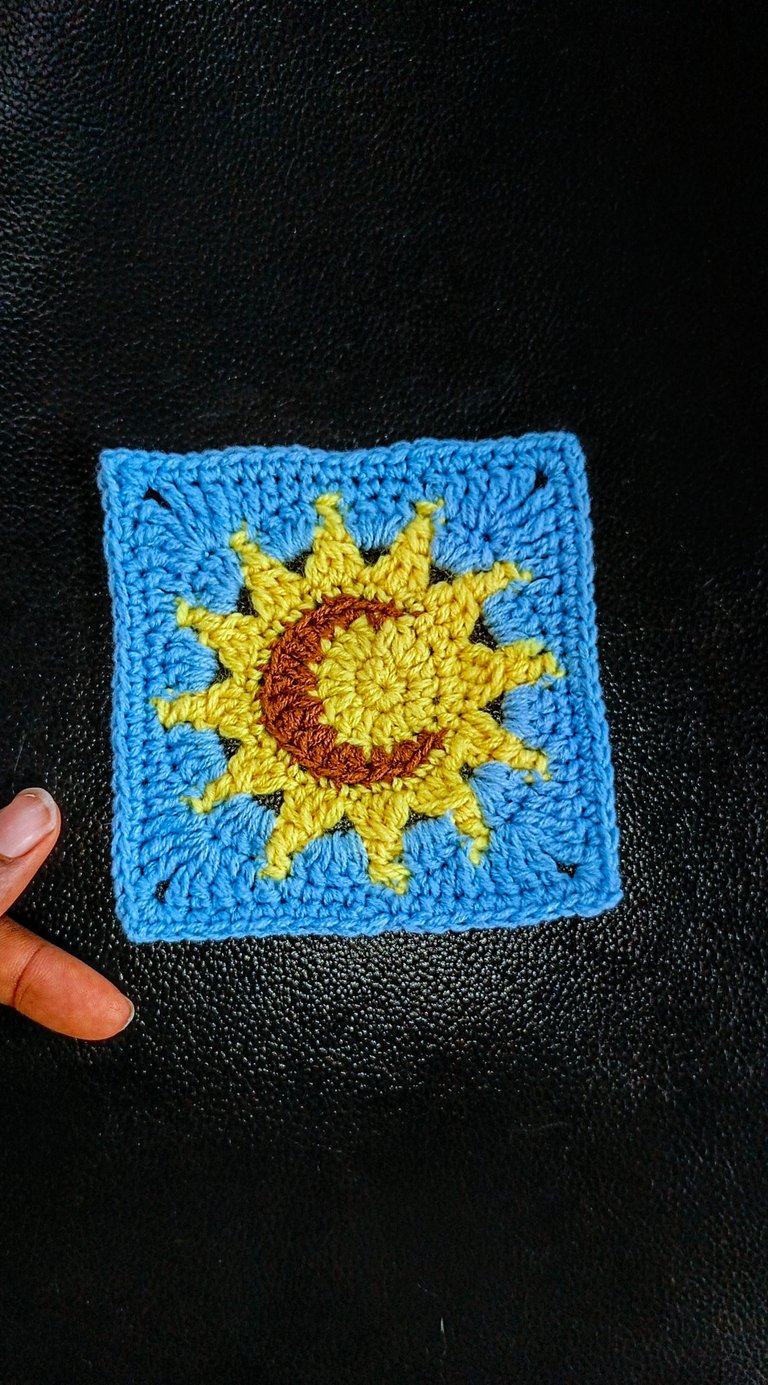
The motivation to make this granny square came after I saw a lovely looking crochet halter corset while surfing the net. The corset was made with a regular granny square pattern and I thought to myself; if I'll ever recreate that corset, it has to be in a unique granny square pattern. Hence the sun and crescent moon granny square pattern.
Materials Needed
- Crochet yarn
- 4.0mm crochet hook
- Darning needle
- A pair of scissors
Procedure
To make this lovely looking crochet granny square, one must start with a magic ring and chain one. Magic rings can seem like a task to many people. If you aren't conversant with the art of making a magic ring you can make a chain of five, slip stitch into the beginning chain and you would create a circle.
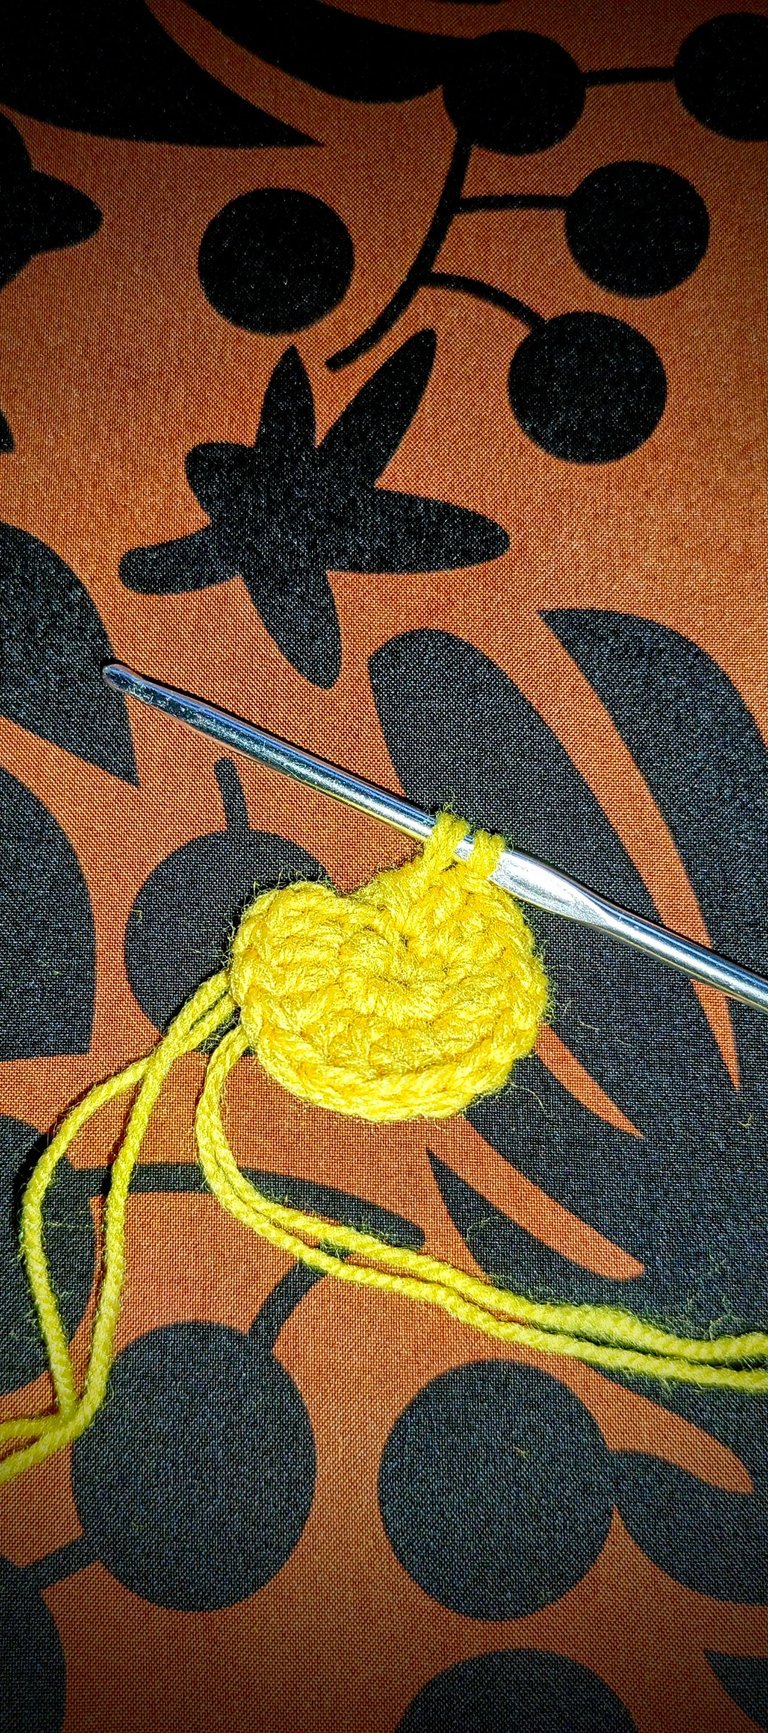
Into the magic ring, make eight single crochet stitches and then go ahead to close up and tighten the magic ring. Once it is tightened, make a slip stitch into the very first single crochet stitch and that marks the end of the first row.
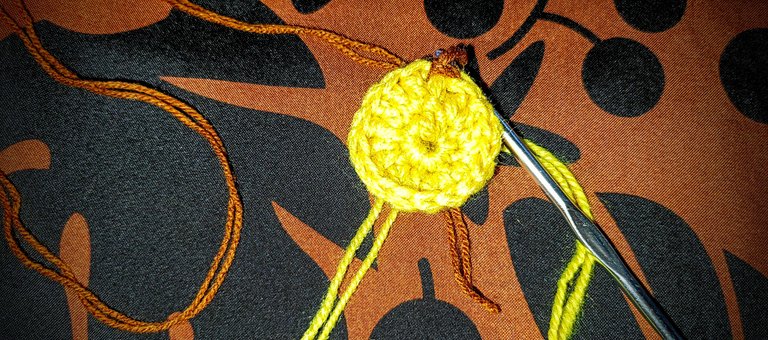
For the second row, make two double crochet stitches into every stitch in the first row. After the last double crochet stitch, make a slip stitch and this marks the end of the second row. Here, you should have a total of sixteen stitches.
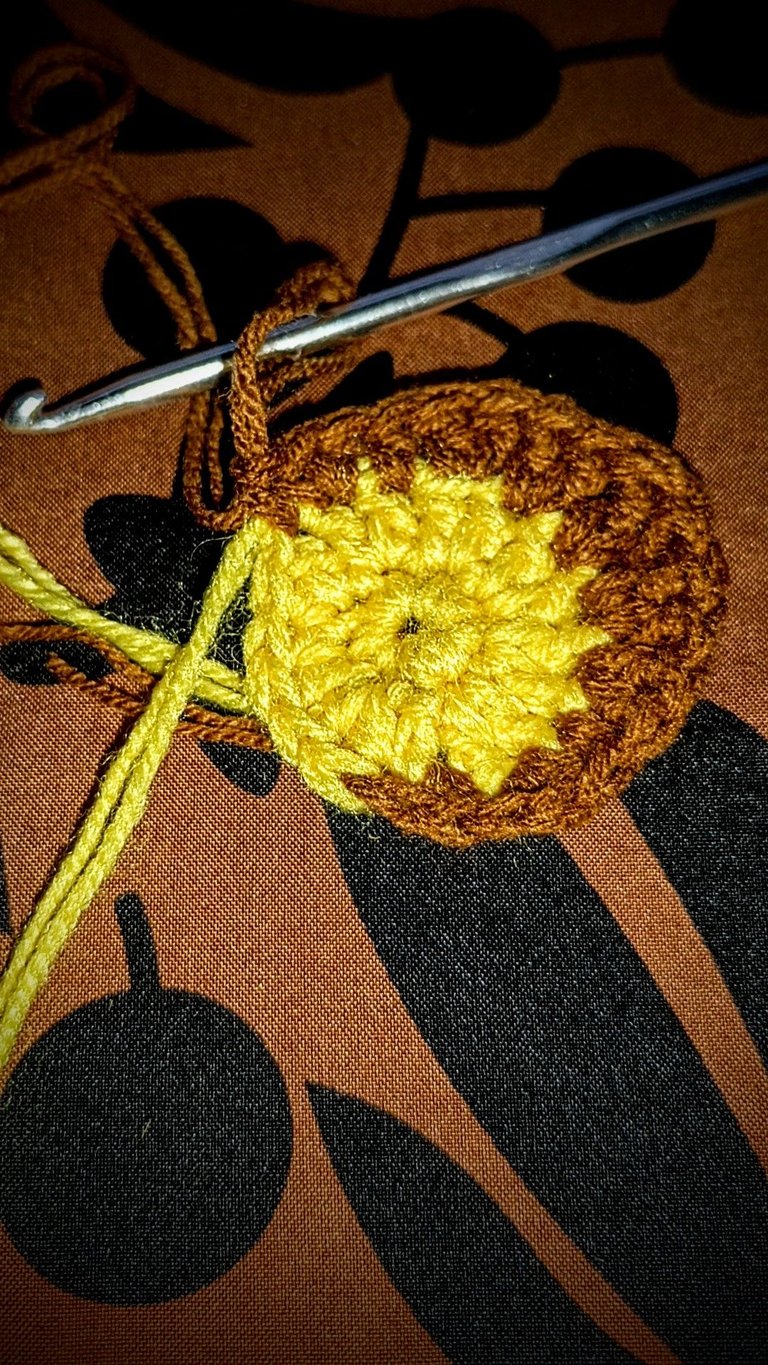
Attach the yarn you would use for your crescent moon here and into the same space make a single crochet stitch. Do not forget to carry your initial yarn alongside the newly attached yarn to prevent reattaching it later. Next make one single crochet stitch and one half double crochet stitch into the next stitch. Follow that with one half double crochet stitch in the next stitch, two double crochet stitches each in the subsequent two stitches, two treble crochet stitches in the next stitch, two double crochet stitches again into the next two subsequent stitches, one half double crochet stitch and one single crochet stitch in the next space then conclude with a slip stitch.
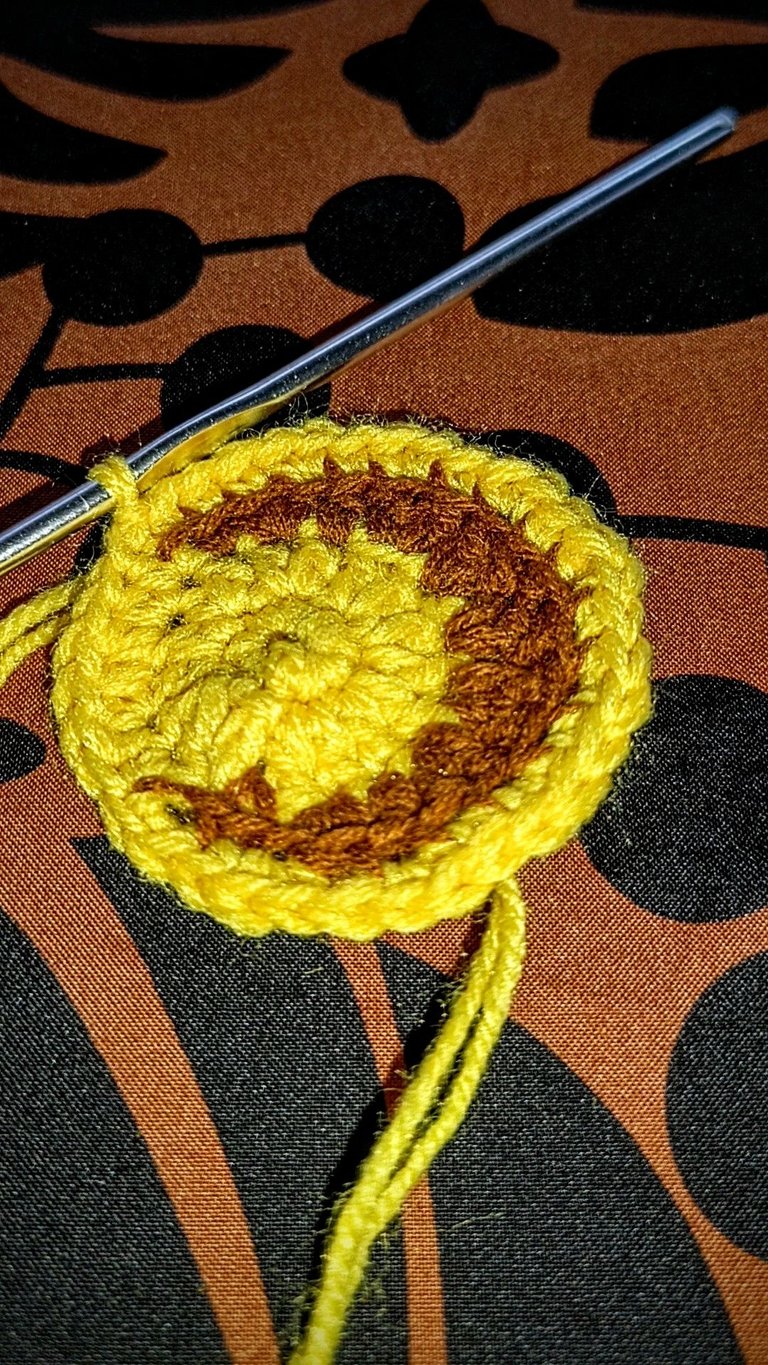
Pick up your previous yarn and cut off the yarn used for the crescent moon. You should have a total of twenty stitches here, including the two slip stitches.
Next, chain one and make one half double crochet stitch into the same space. Two half double crochet stitches into the next space, and one half double crochet stitch into the next space. Repeat this pattern two times and once you reach the other end of the crescent moon, make two single crochet stitches into the back loop only of the slip stitch, then make two single crochet stitches into the next stitch. Repeat the one and two single crochet stitches into each space, alternatively but into the back loop only. This is to ensure the moon stands out. Make one single crochet stitch into the last three spaces and slip stitch.
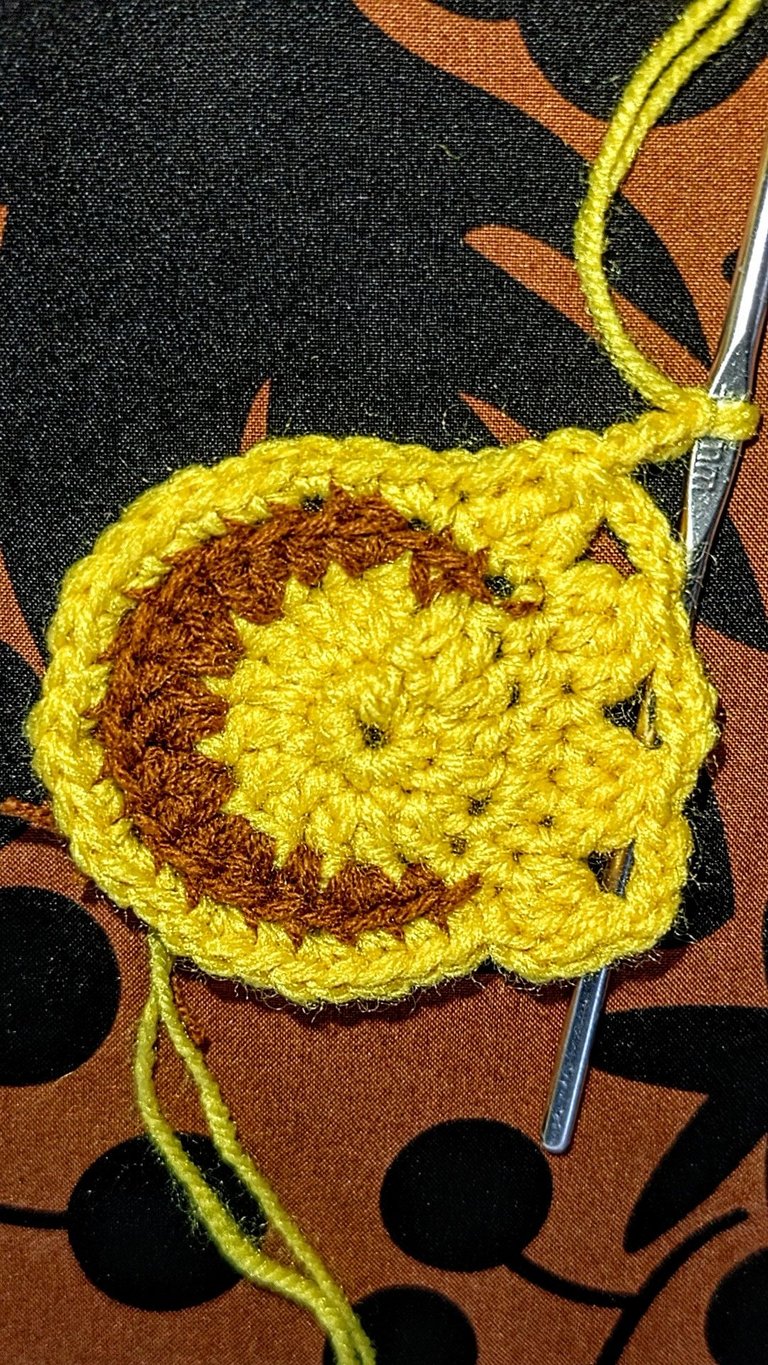
For the next two, chain two and make two double crochet stitches(two together)into the next two spaces, chain four and into the next three spaces, make three double crochet stay together. Continue making the three together with chain fours in between till you go round the row. You should have twelve spaces at the end of this row. Cut off your yarn here.
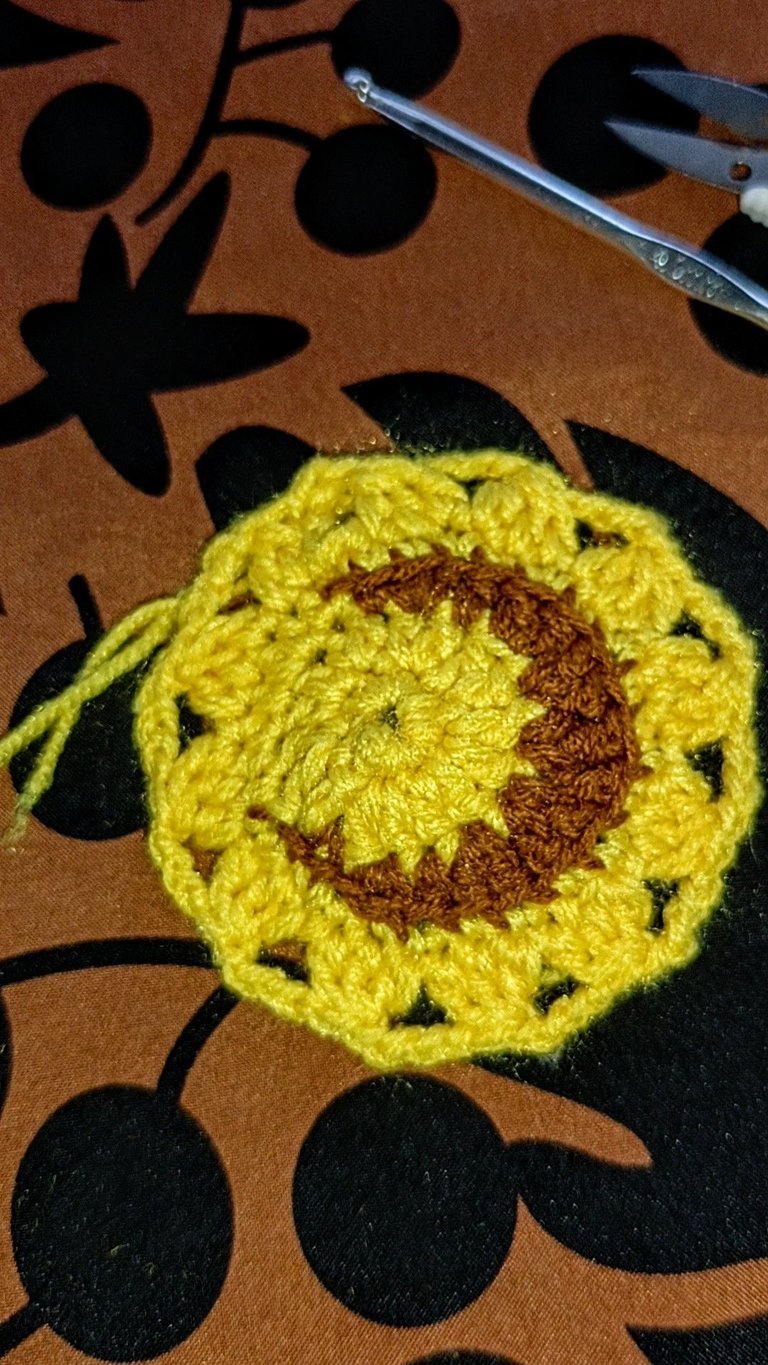
With the same yarn, make a slip knot and insert into the eleventh stitch and make a double crochet but complete the double crochet stitch by attaching a new yarn with a different colour. Into the next space, make four double crochet stitches and at the end of every fourth double crochet stitch, switch the yarn colours, make one single crochet stitch and then switch the colour again. This is to create the tip of the sun. Continue this till you reach the end of the row.
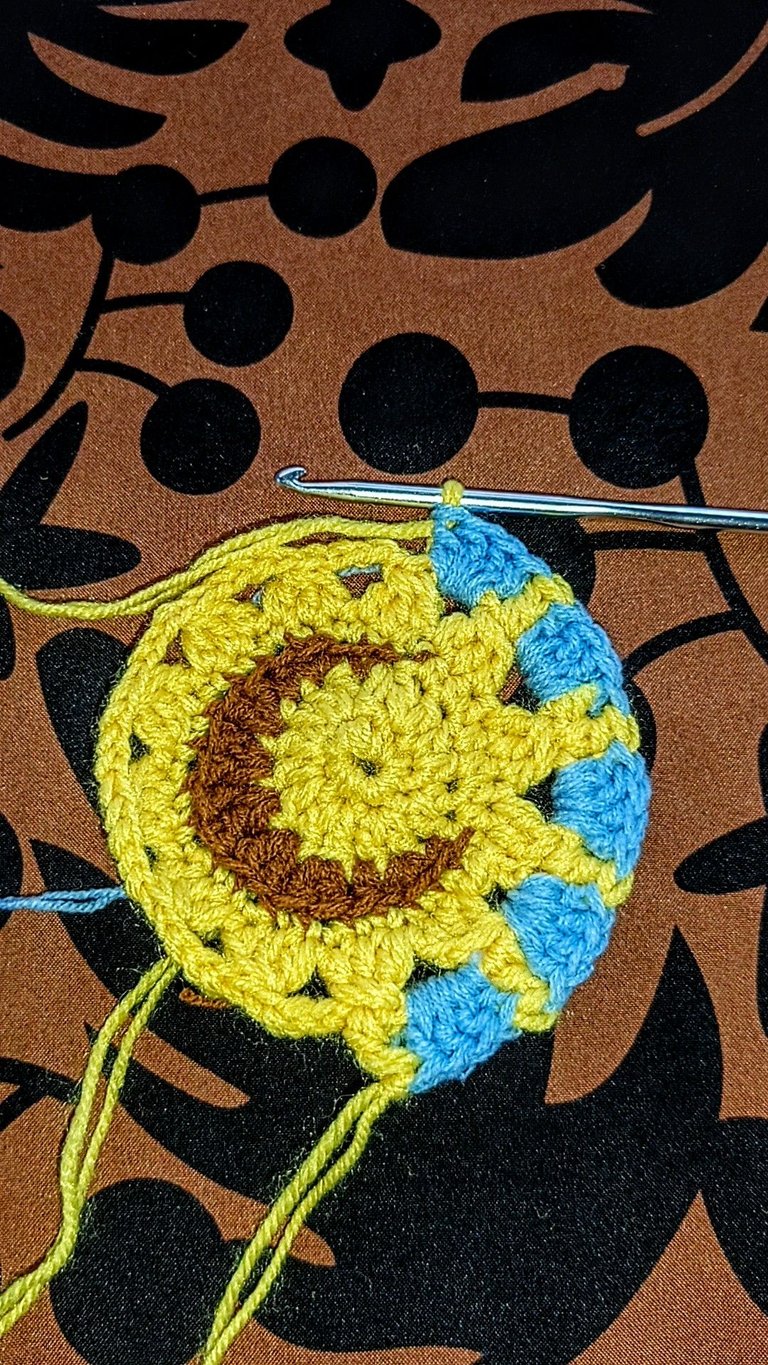
For the next row, we begin making the corners of the granny square. Chain one and slip stitch into the same stitch. Make one single crochet into the next two stitches, one half double crochet stitch into the next space, one double crochet into the next two spaces, one treble crochet stitch into the next space, two treble crochet stitches, chain two and two treble crochet stitches again into the next space, one treble crochet stitch into the next space, one double crochet into the next two spaces, one half double crochet stitch into the next space and one single crochet stitch into the next six spaces. This leads to the next corner where the same pattern would be repeated.
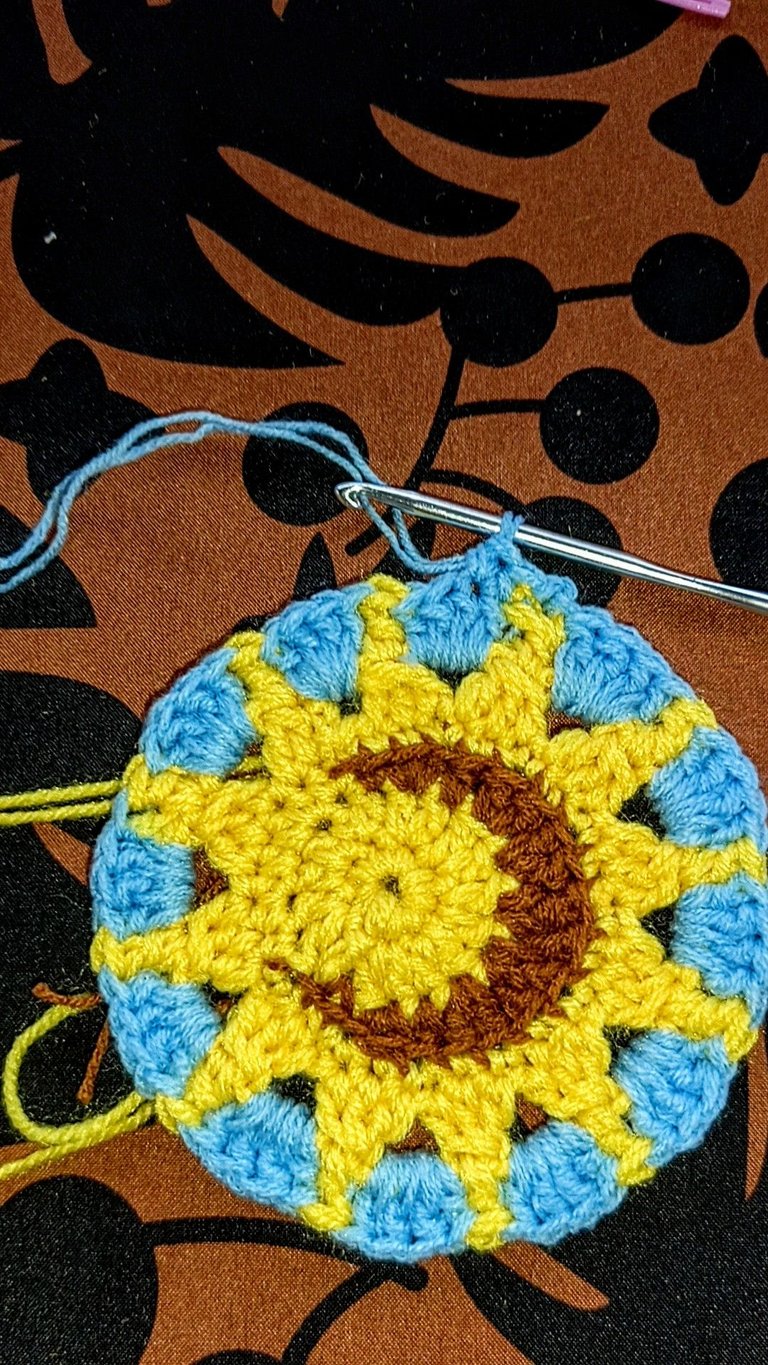
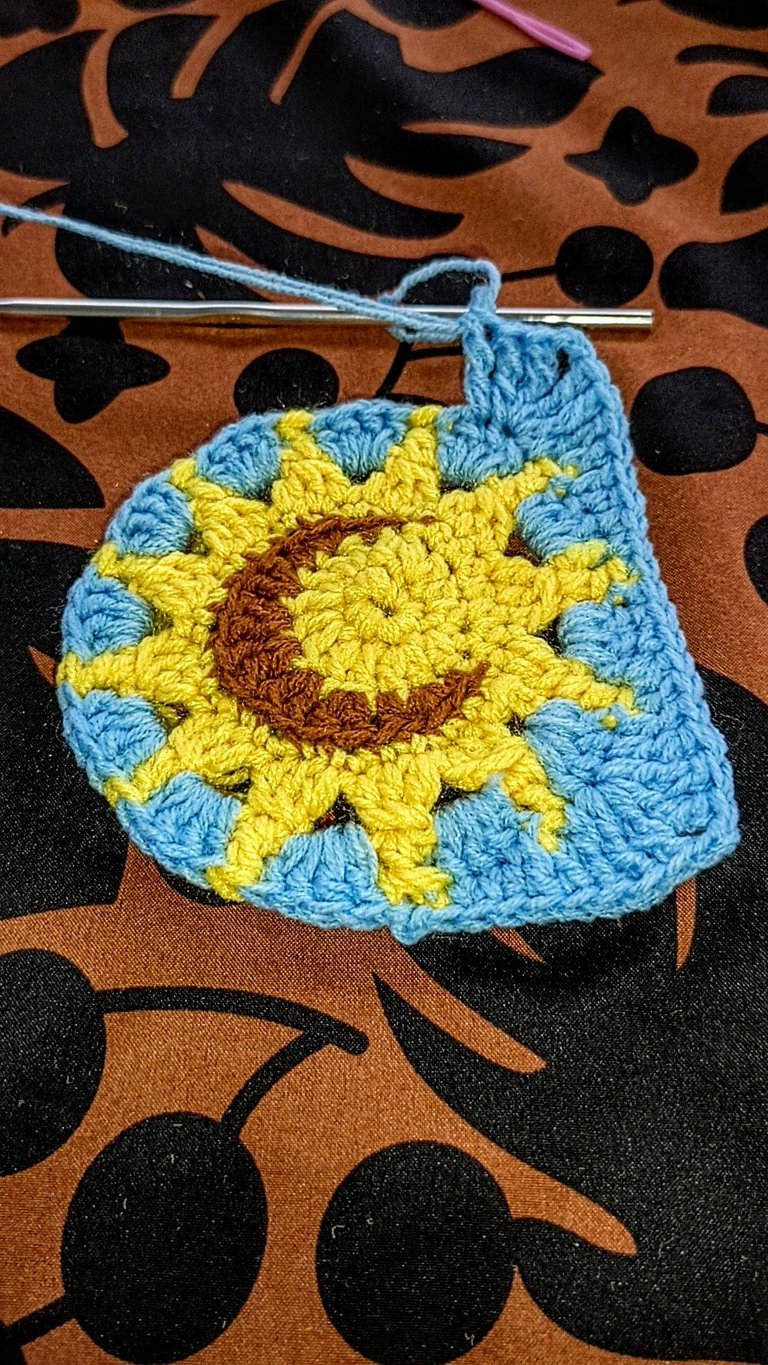
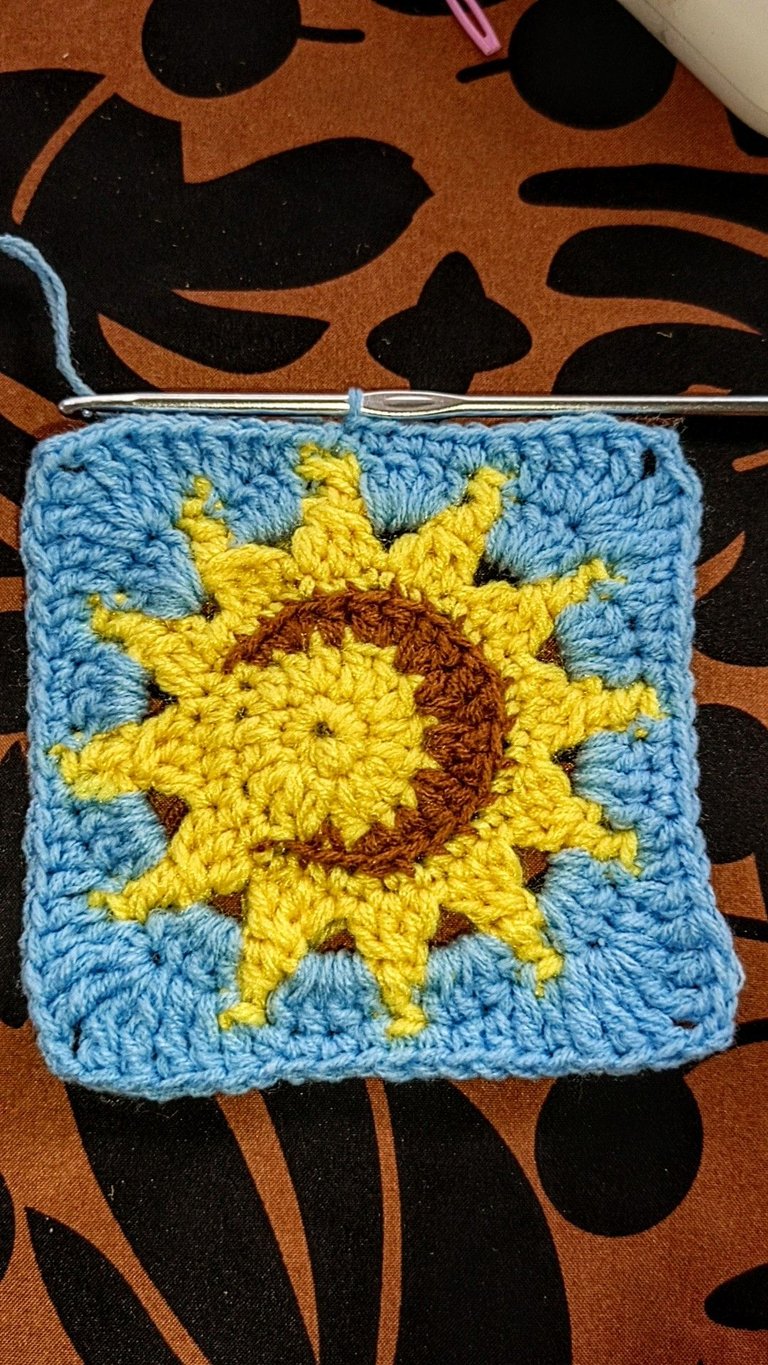
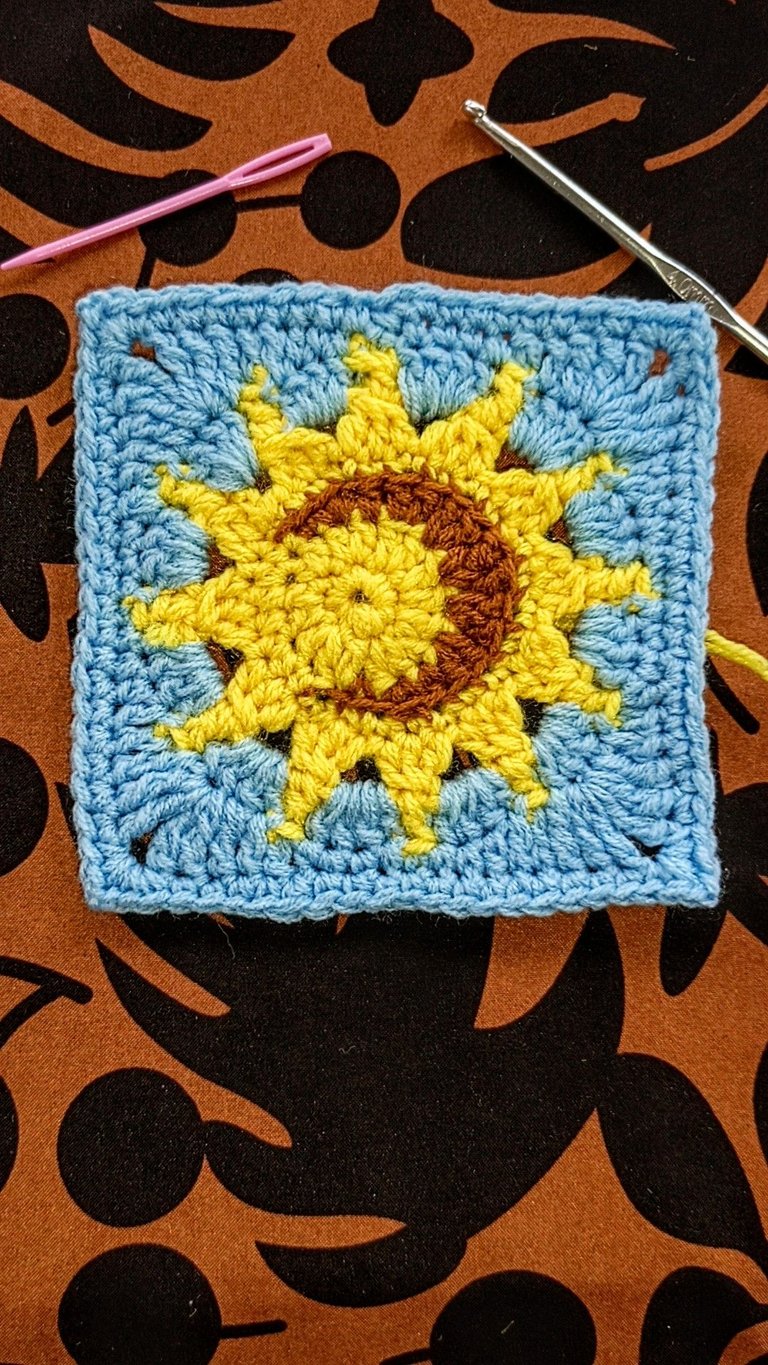
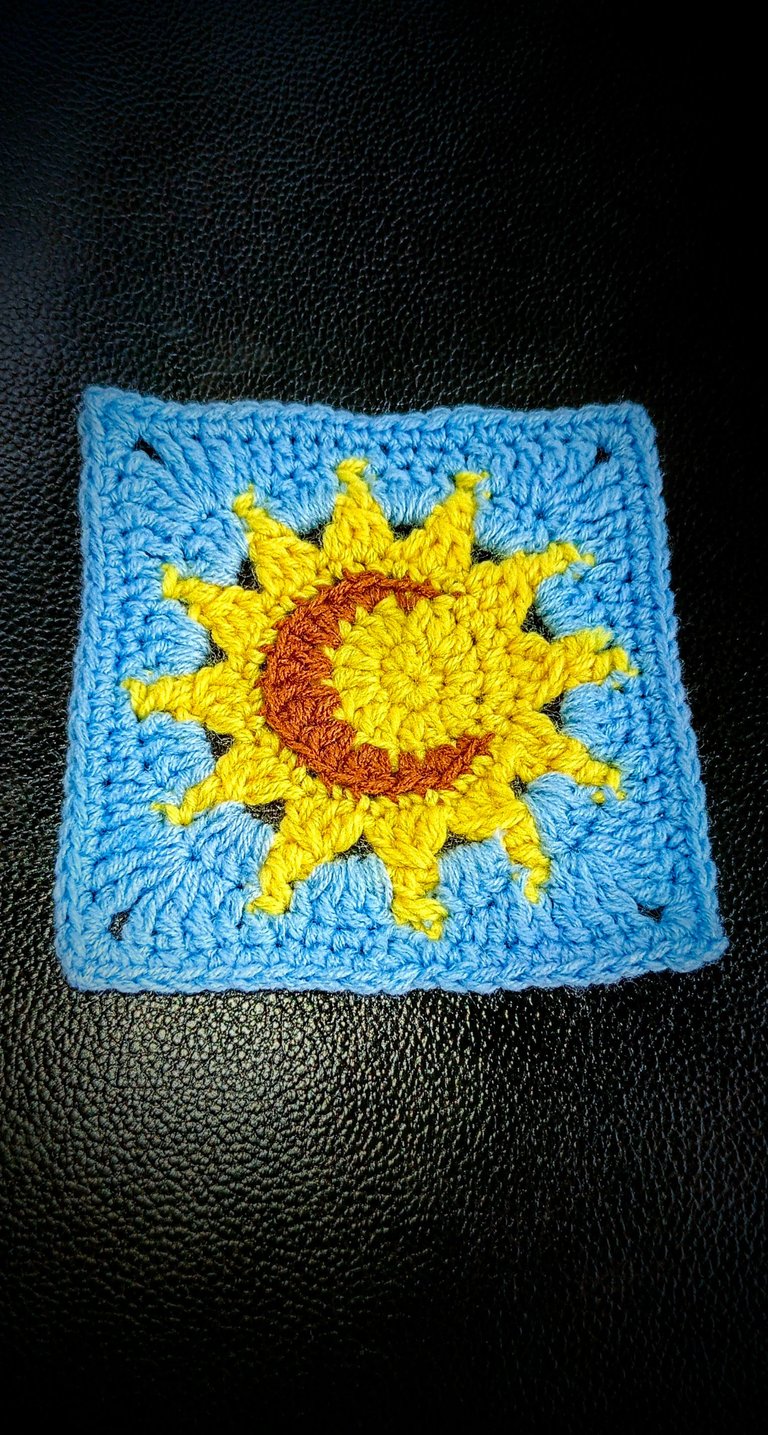
At the end of the row, chain one, make single crochet stitches all round and into every corner make two single crochet stitches, chain two and make another two single crochet stitches. Finally, make a slip stitch and cut off your yarn. This marks the end of the granny square.
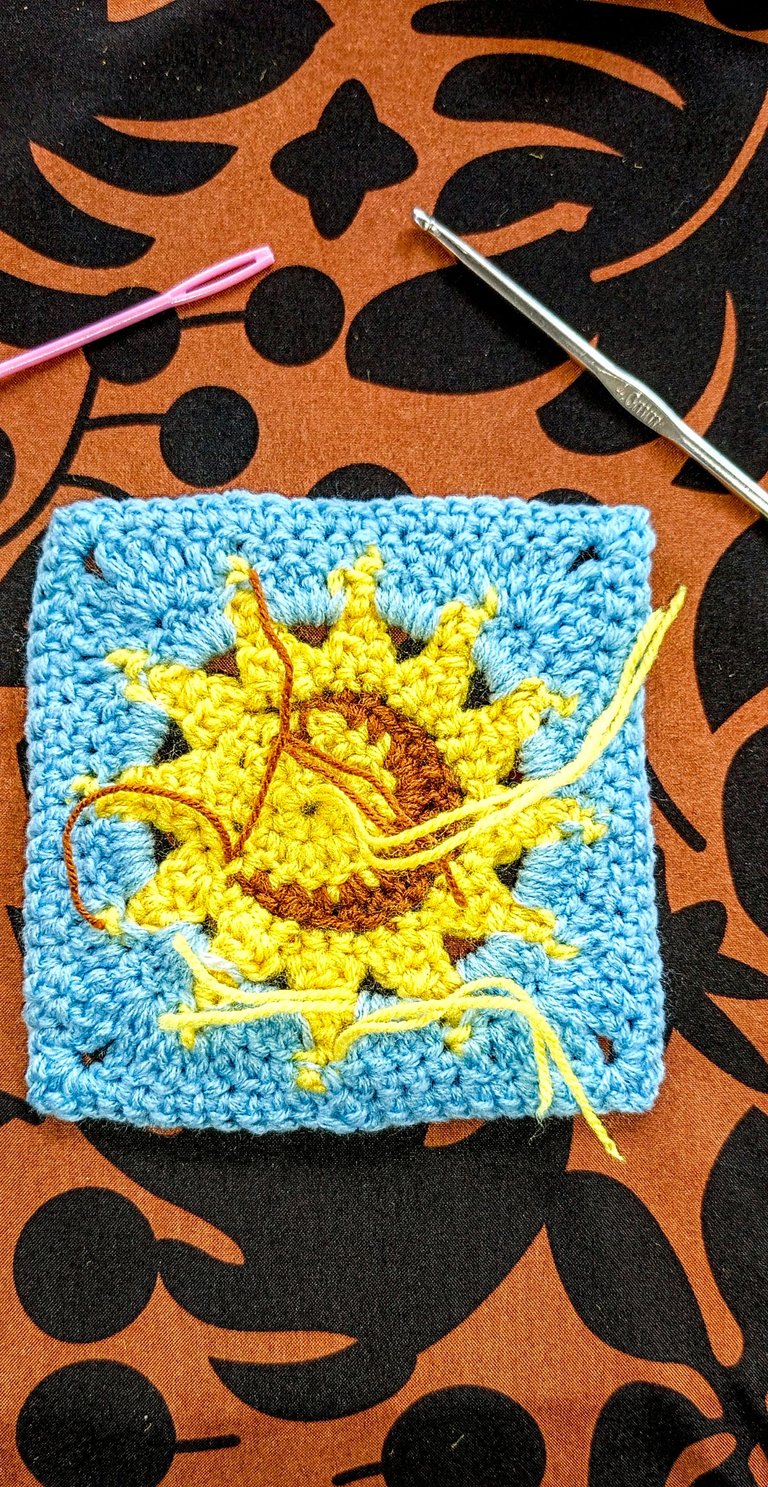
The front looked really good but the back didn't look so good. With that, I sewed in my loose ends, cut off the excess yarn and I was pretty much done with my granny square.
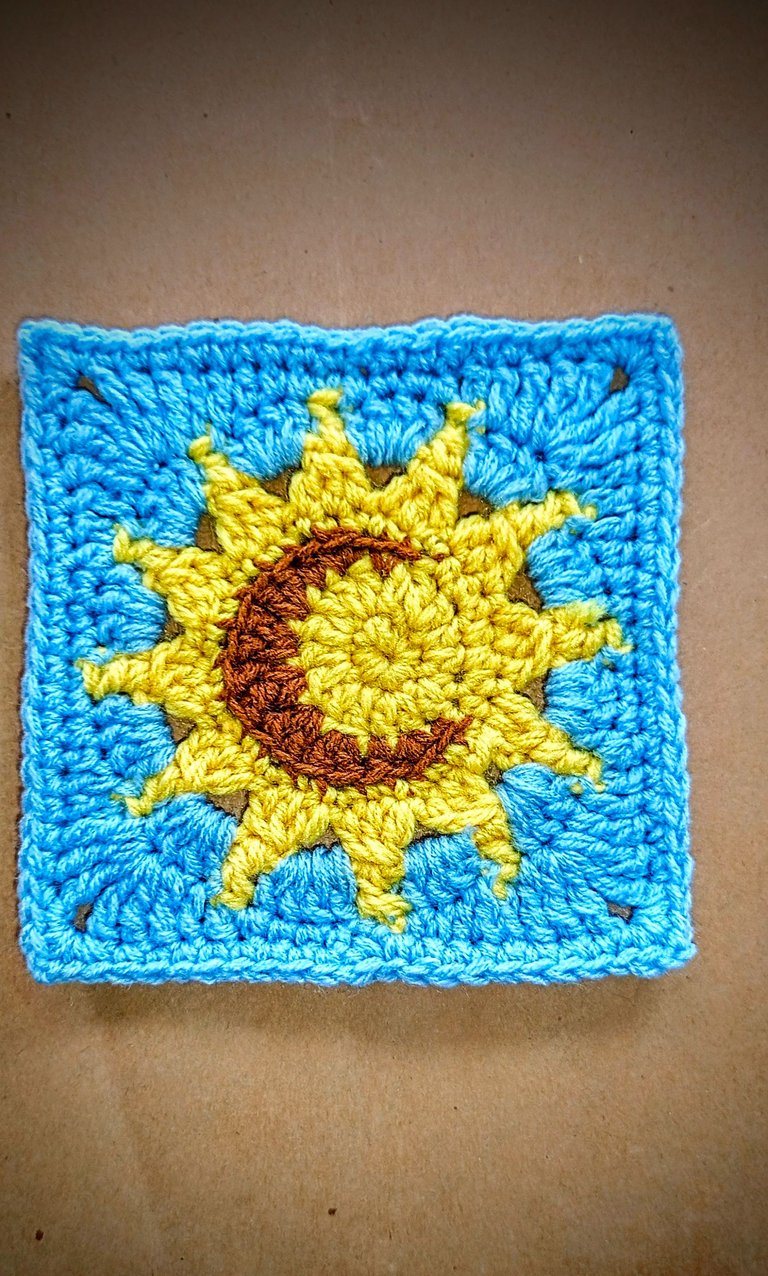
This particular granny square requires a lot of twisting and turning, calculative attachments and a whole lot of patience but all these are nothing compared to the joy the final p brings.
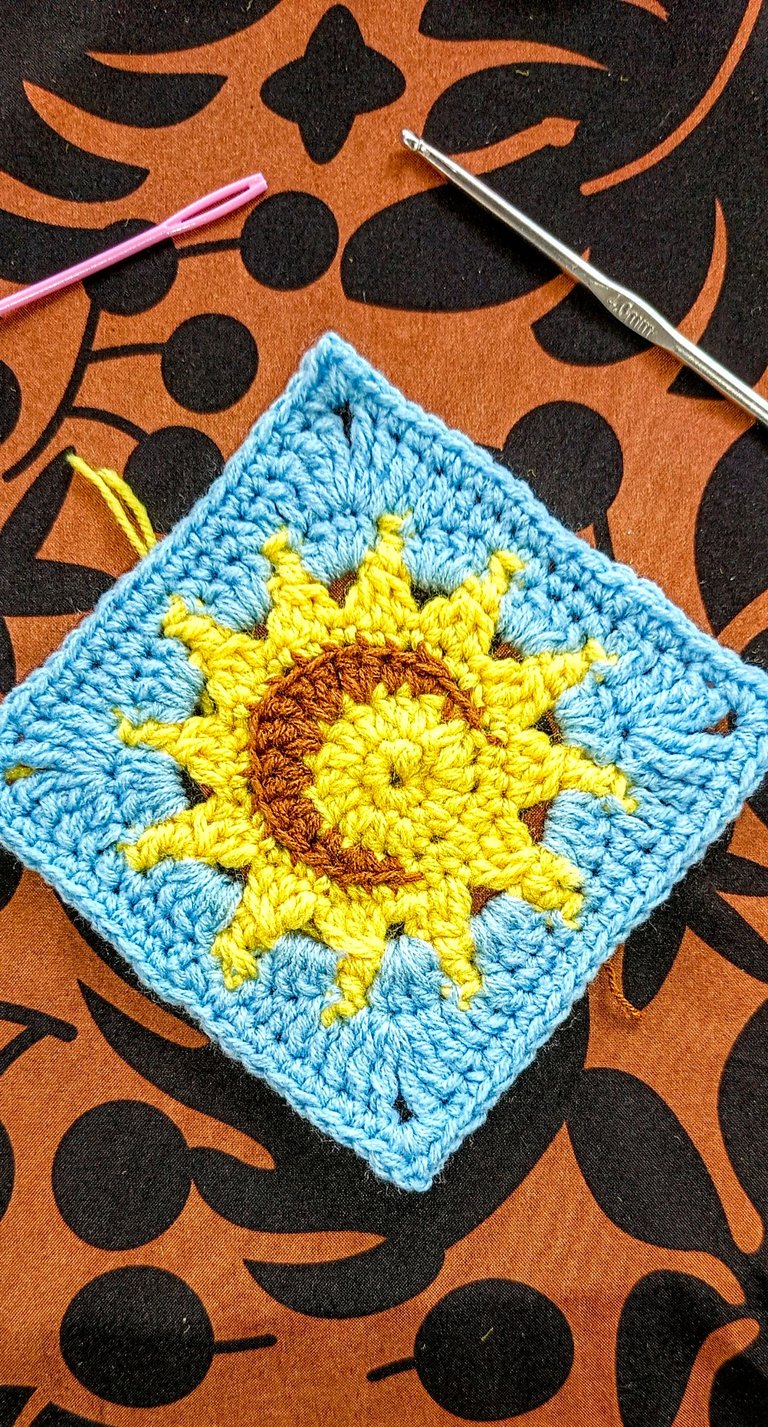
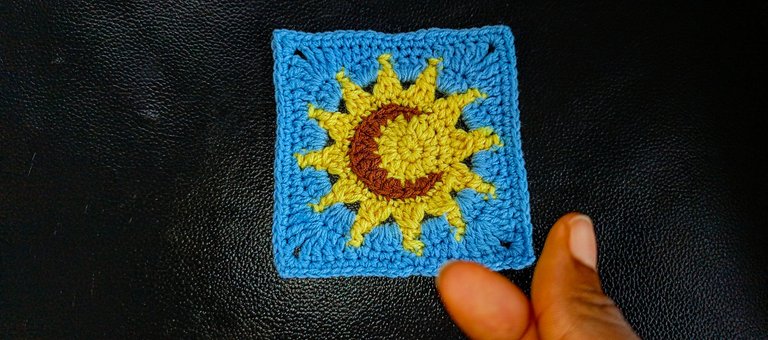
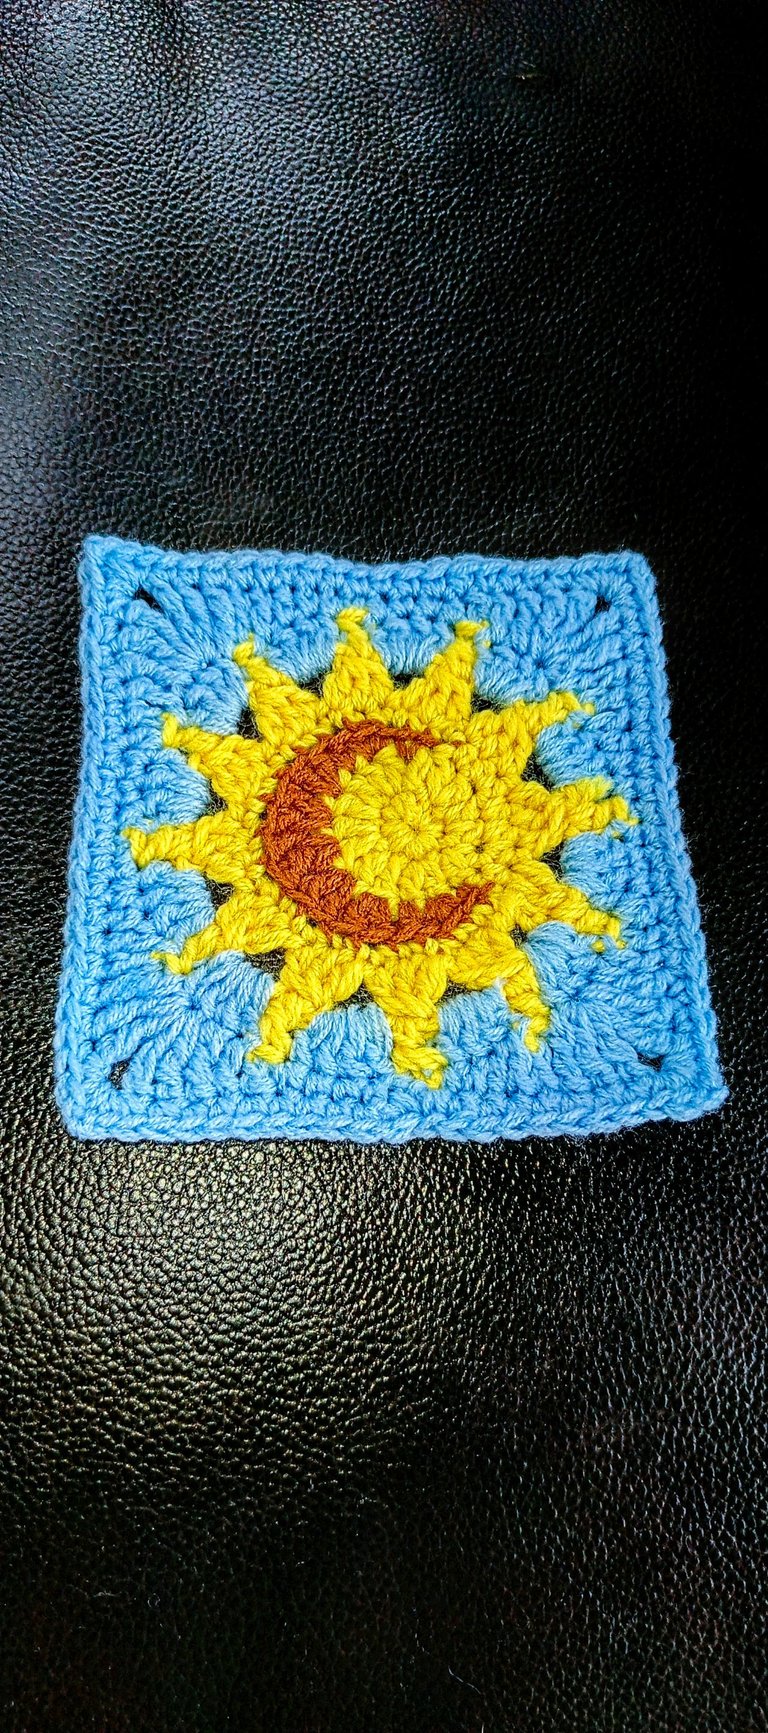
What are your thoughts about this granny square? Would you like to make a bigger crochet project with this pattern?
All images used belong to me and were taken with my mobile device except stated otherwise.
Liebe🤍


