Hello Needlework Lovers✨
Some time last year, I officially got myself a crocheting kit that contained all the necessary things a crocheter would need and if you're wondering what I used before I got the kit; it was basically me and my only 4.5mm crochet hook (which was a gift) against the world.
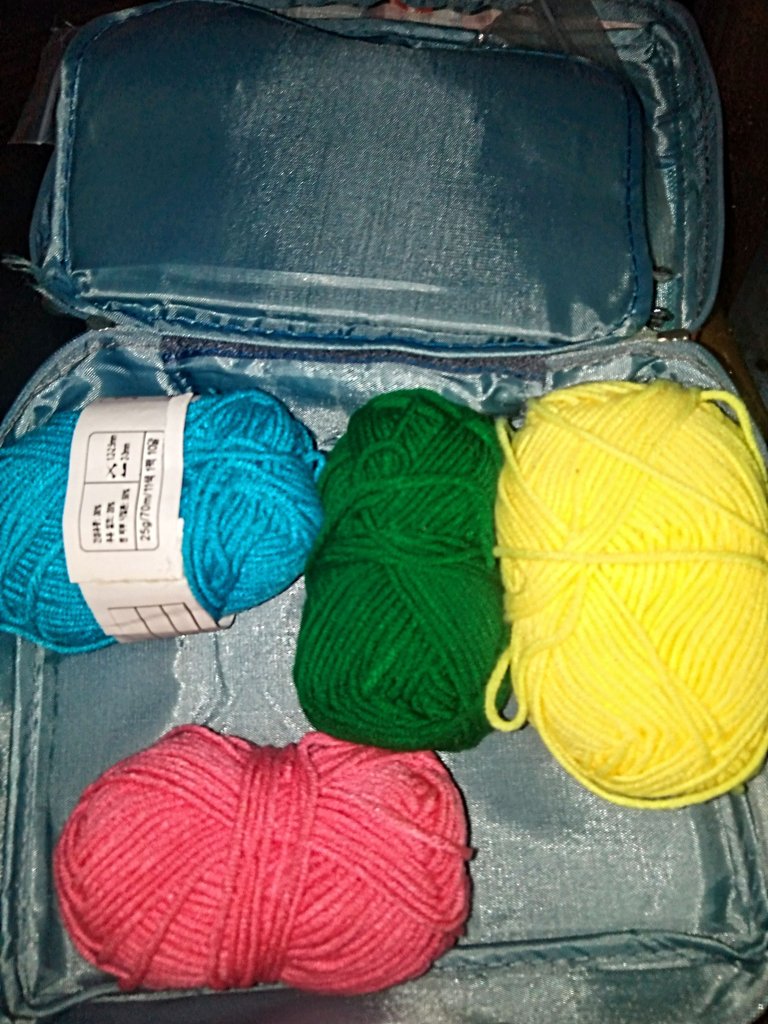
The highlight of the crochet kit for me were the yarns. The crochet kit contained a few milk cotton yarns of different colours. Soon after, I was faced with the decision of what to make with the yarns. If they came in one colour, my job would have been easier but no, they didn't. As such, I had to choose wisely because the project I was going to be making needed to be beautiful with multi-colours.
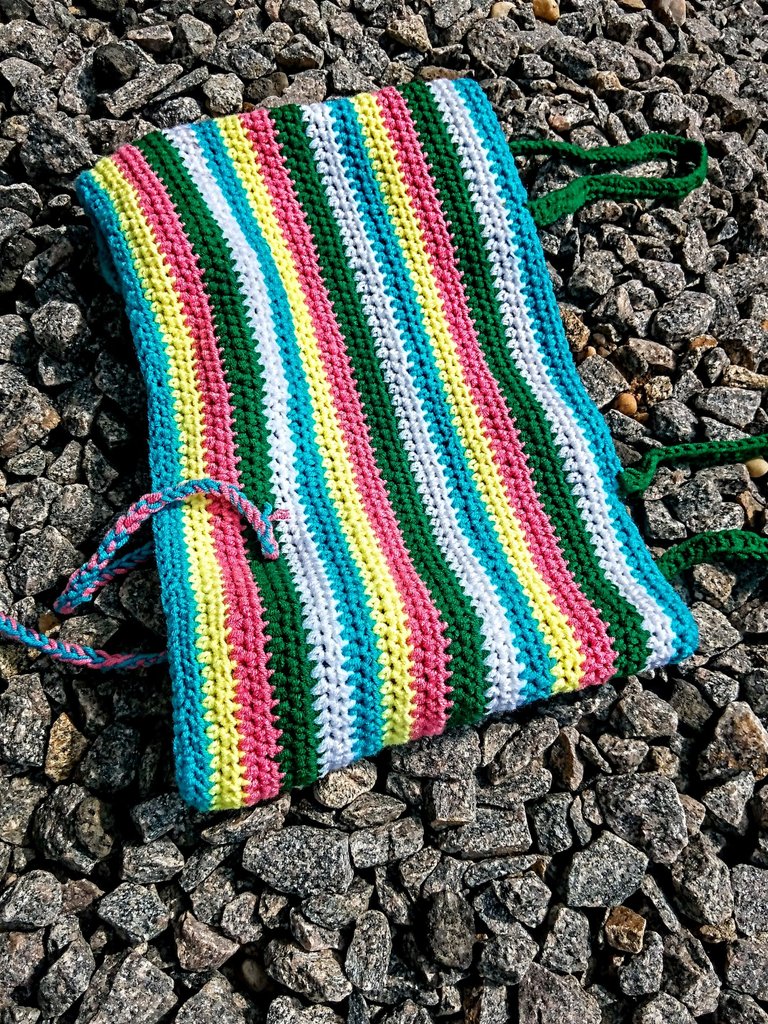
Finally, after over eight months of ignoring these babies, I finally decided to make a halter top with them. I wonder why I did not think of this any sooner.
Materials Used.
- 4.0mm hook
- Yarn
- Measuring tape
- Stitch markers
- Darning needle
Procedure
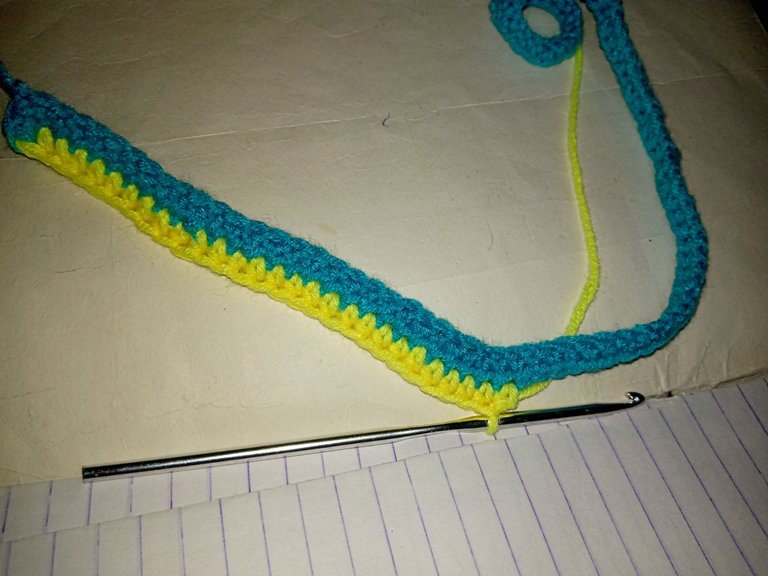
For this crochet top, I worked horizontally in contrast to the regular vertical direction. I started by making chains long enough to reach my scapula(Triangular bone at the back).
After making the chains, I made four extra chains which served as the turning chains. With my turning chains intact, I turned my work and began a row of half double crochet stitches.
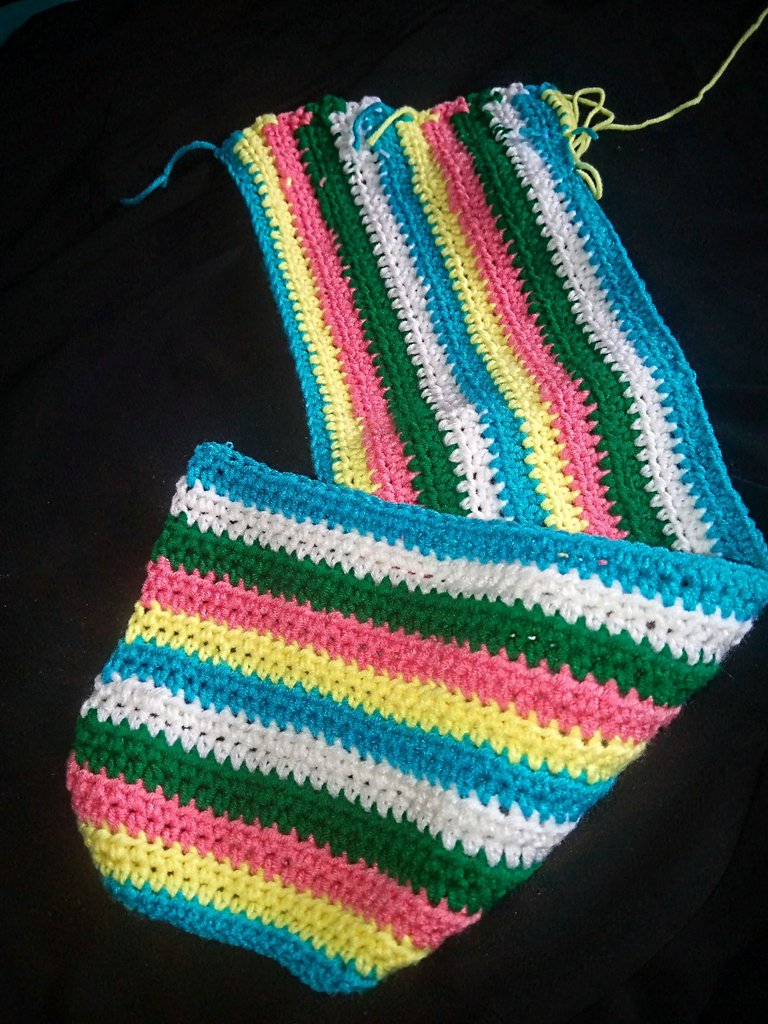
Once I reached the end of the row, I changed the yarn to another colour and basically continued the same pattern.
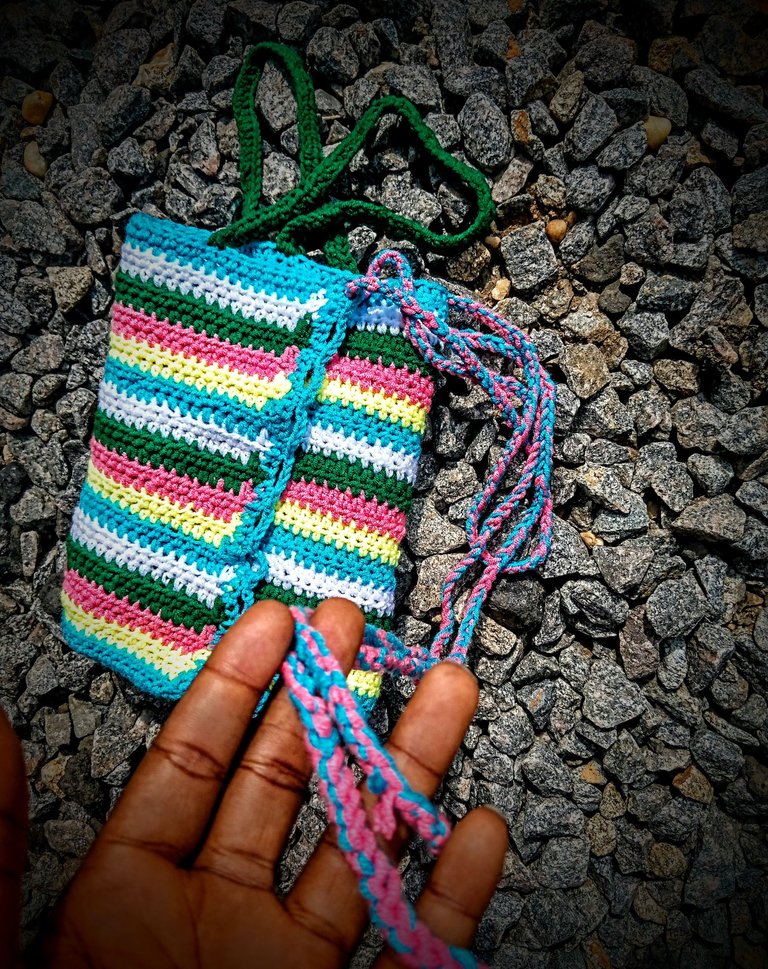
The yarn colour changes were made after every two rows. I came to a realisation that changing colours after two rows was more realistic and I wasn't bound to get fatigued easily.
Once my tape measured 11 inches, I stopped adding more rows. This is because I didn't want the top to be too long, judging from the fact that it was going to be a halter top.
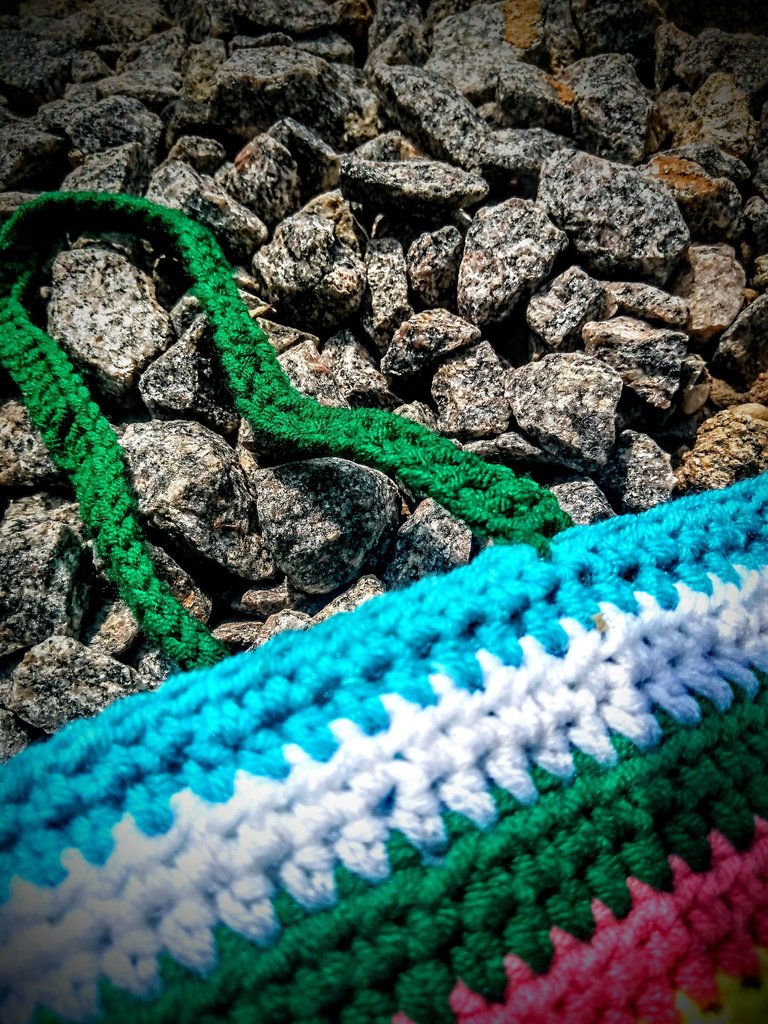
Soon after, I made two rows of half double crochet stitches , which served the hand of the halter top
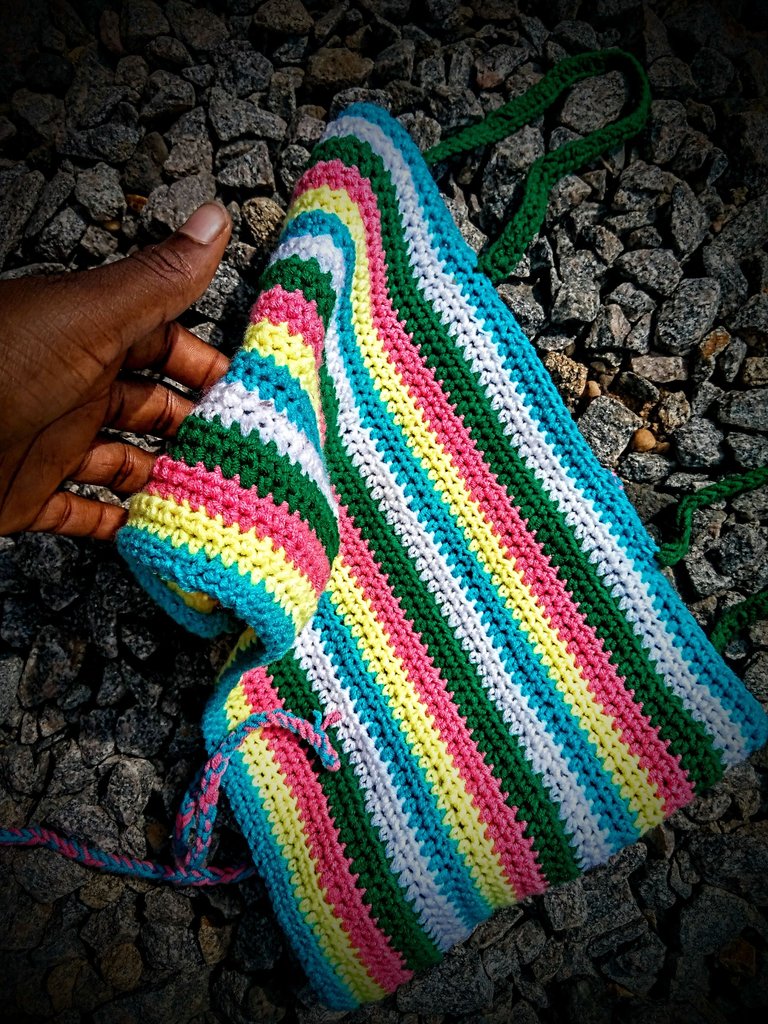
To give the top a smooth finish, I went round the edges of the top with single crochet stitches.
The next step was to make loops for the rope. This was done by chaining four, skipping three stitches and then inserting into the fourth stitch. I repeated this pattern till I got to the end.
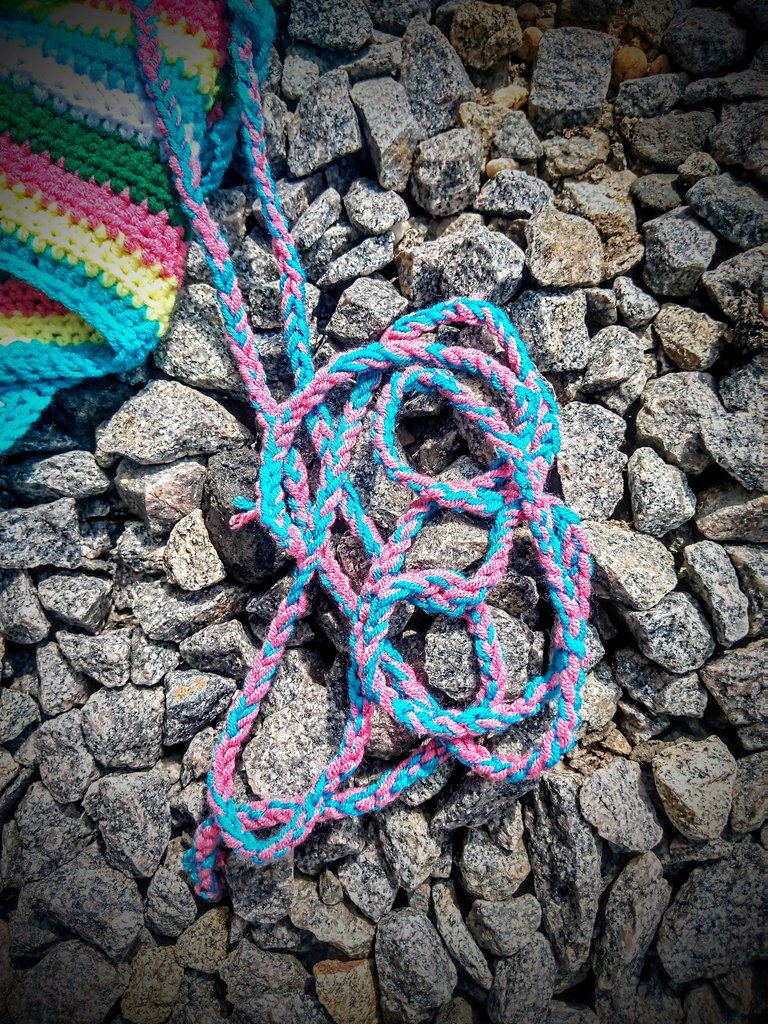
After making the loops, it was time to make the rope. I wanted this rope to be as colourful as possible so I opted to use two colours for a start: blue and pink. As expected, blue and pink compliment themselves beautifully.
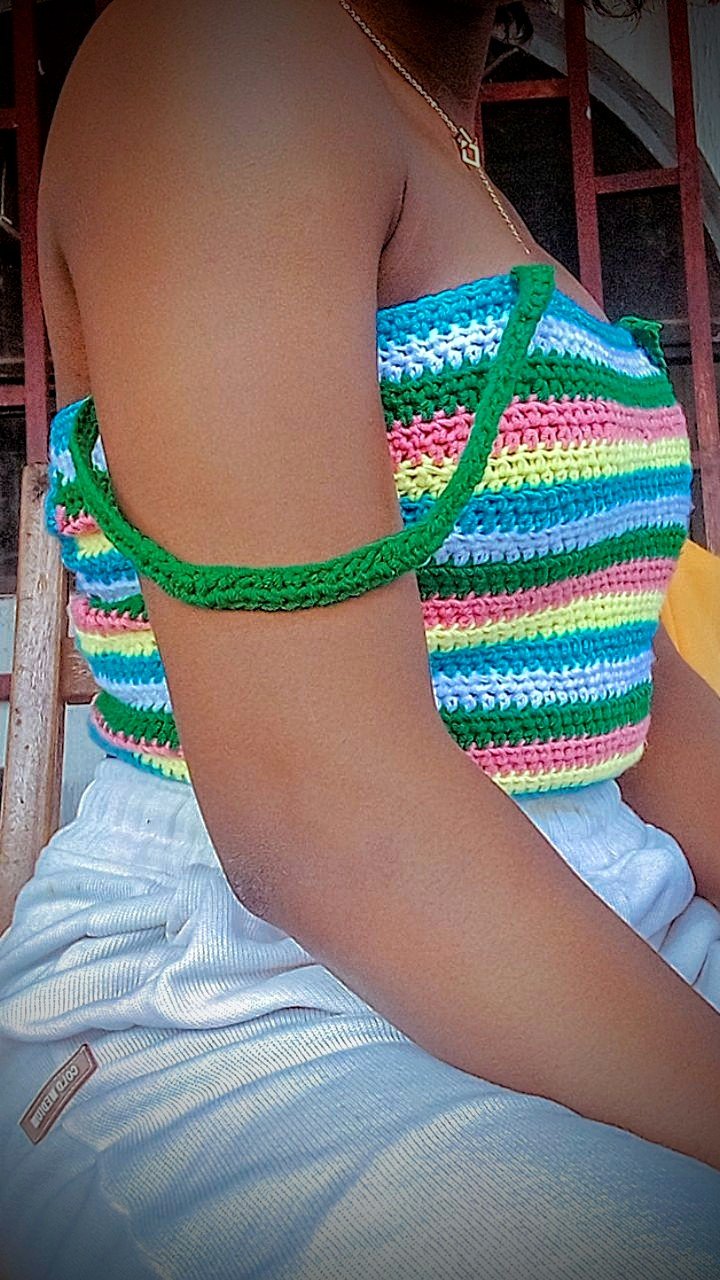
After making a rope long enough to hold the halter top in place, the final thing I did was sew in the loose ends.
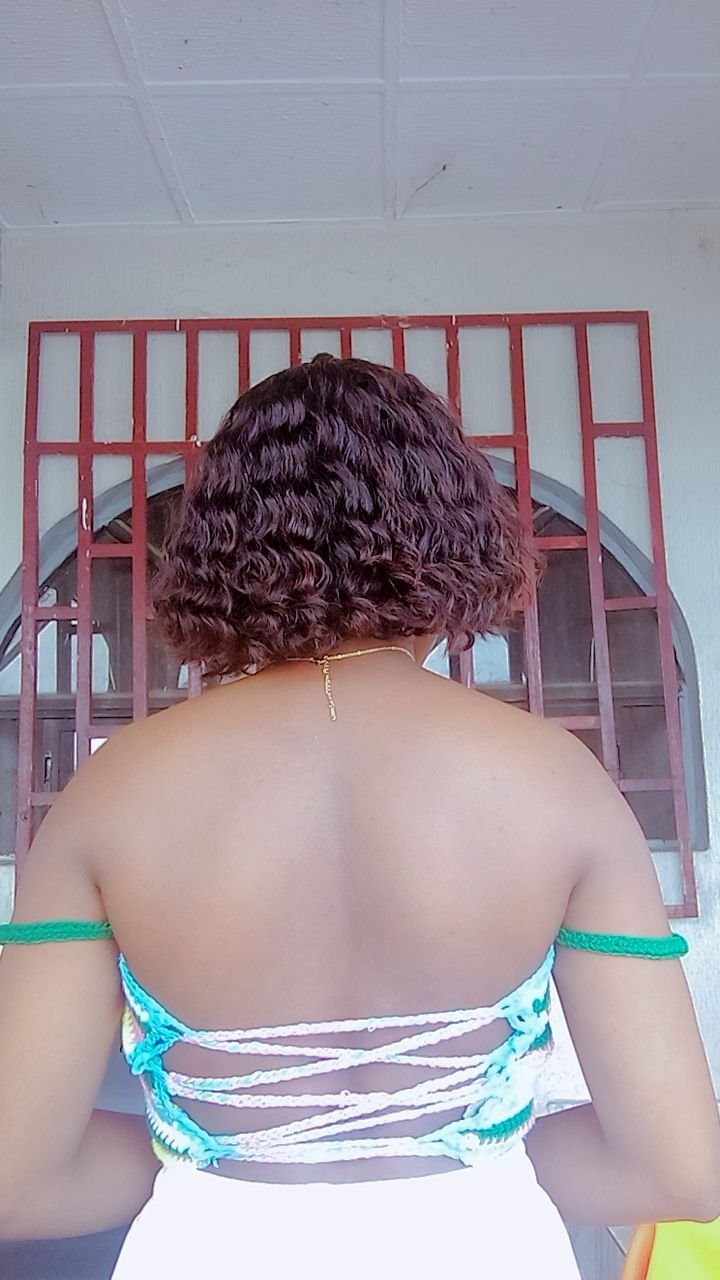
After this, the halter top was ready to be worn in all of its colourful glory. I like that it's made of outstanding colours; some more outstanding than the others.
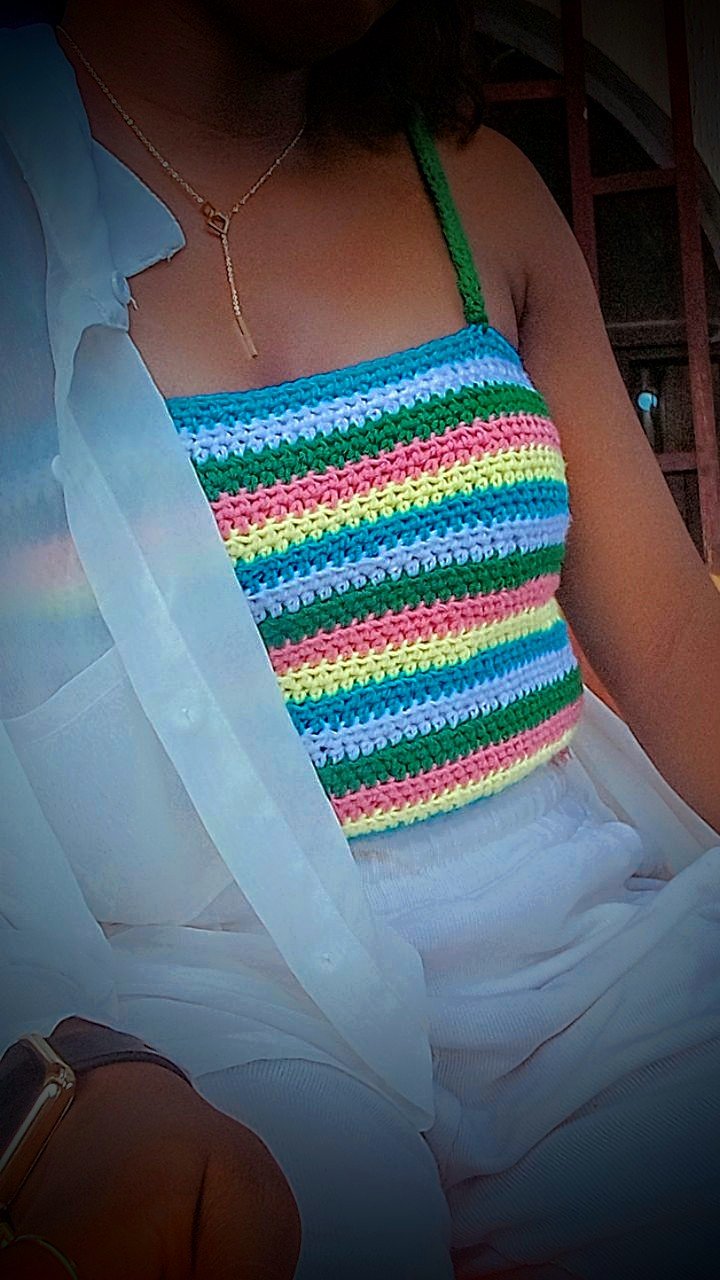
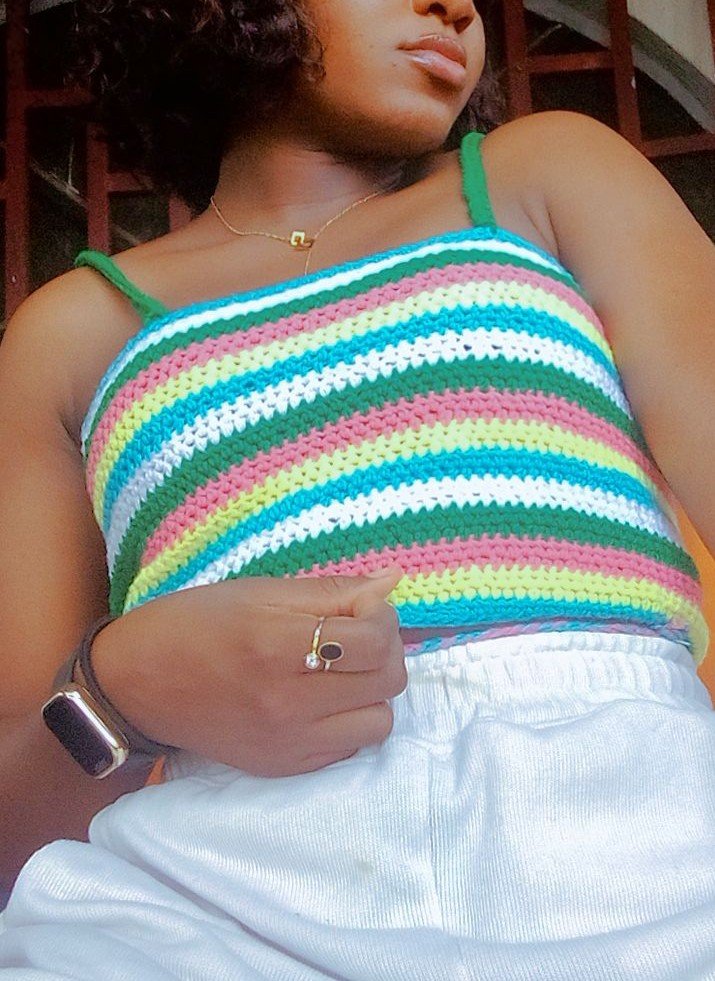
This halter top would come in really handy on beach days or during minor outings. Also, it looked really lovely when I styled it with the somewhat transparent white top I have had for years; finally, the transparent top has a purpose:)
!
What do you think of the top? And where would you wear it to?
All images used belong to me and were taken with my mobile device except stated otherwise
Love🤍
