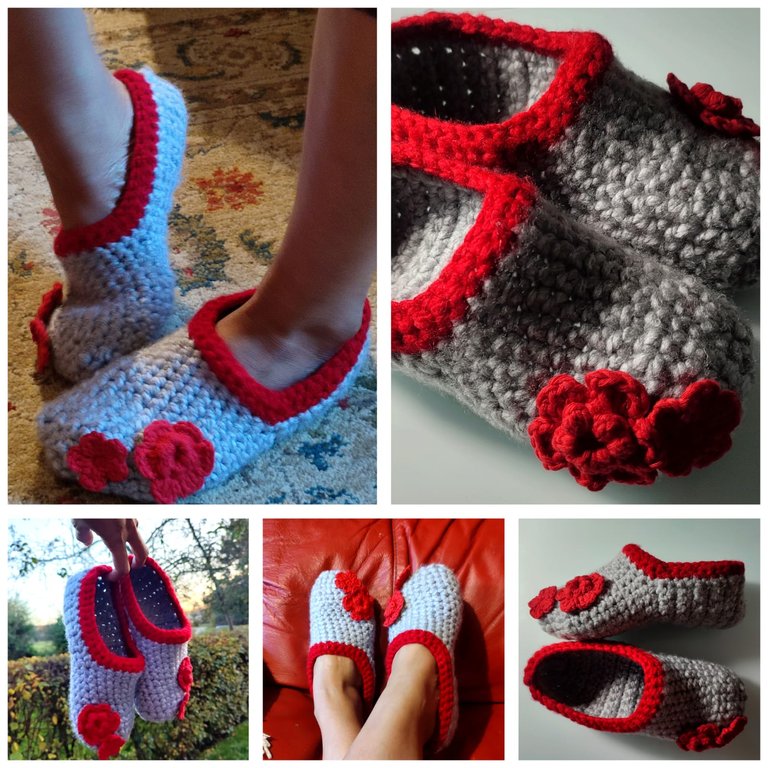
With the cold weather setting in over the next few days, I wanted something to keep my feet warm and cozy. I had some thick, soft, fluffy yarn lying around and thought it would be perfect for a pair of indoor slippers! I haven’t tried this before, but my mum, on a video call from the other side of the world, gave me a few tips and inspired me to give it a go!
So let’s have fun and make it!
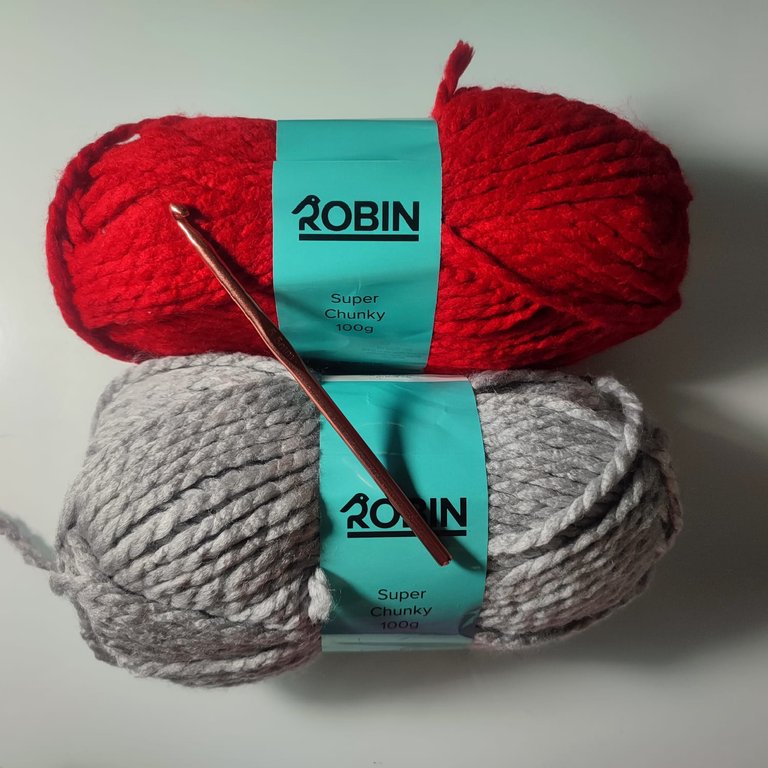
Materials:
Worsted weight yarn (about 150-200 yards, depending on the size)
Crochet hook (5.5mm / I-9 or whatever size gets you a nice dense stitch)
Yarn needle for weaving in ends
Scissors
Abbreviations:
ch: chain
sc: single crochet
hdc: half double crochet
sl st: slip stitch
st(s): stitch(es)
R: row or round
Pattern Instructions:
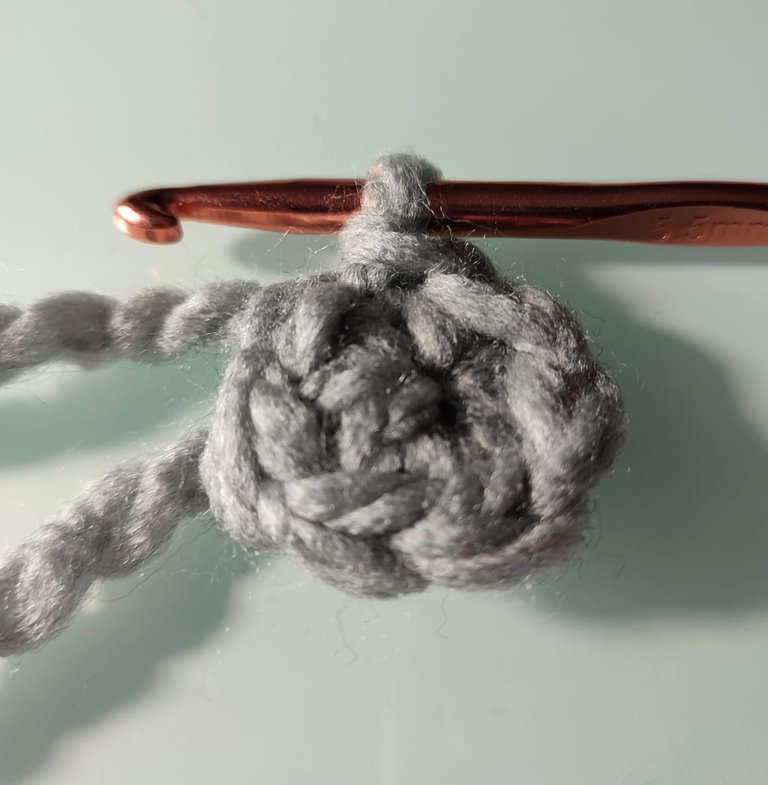
Step 1: Toe Section (Working in Rounds)
Round 1: Start with a magic ring, ch 1, and make 6 sc into the ring. Join with a sl st to the first sc. (6 sts)
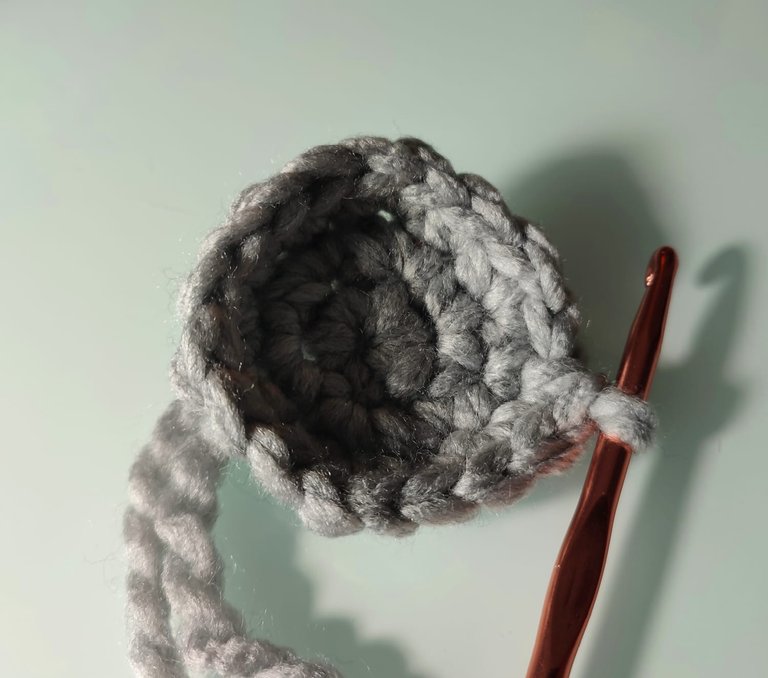
Round 2: Ch 1, 2 sc in each st around. Join with sl st. (12 sts)
Round 3: Ch 1, (sc in next st, 2 sc in next st) around. Join with sl st. (18 sts
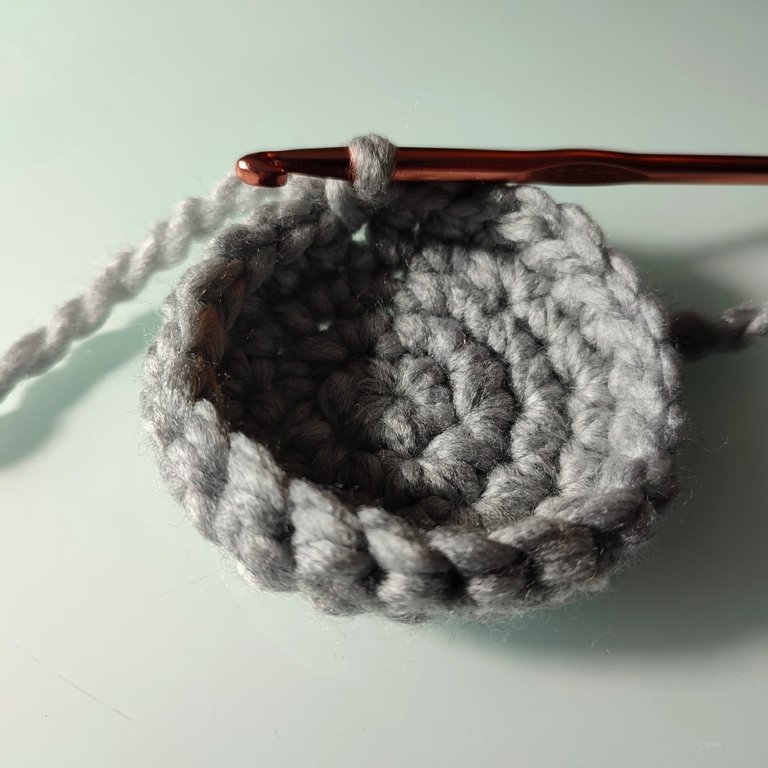
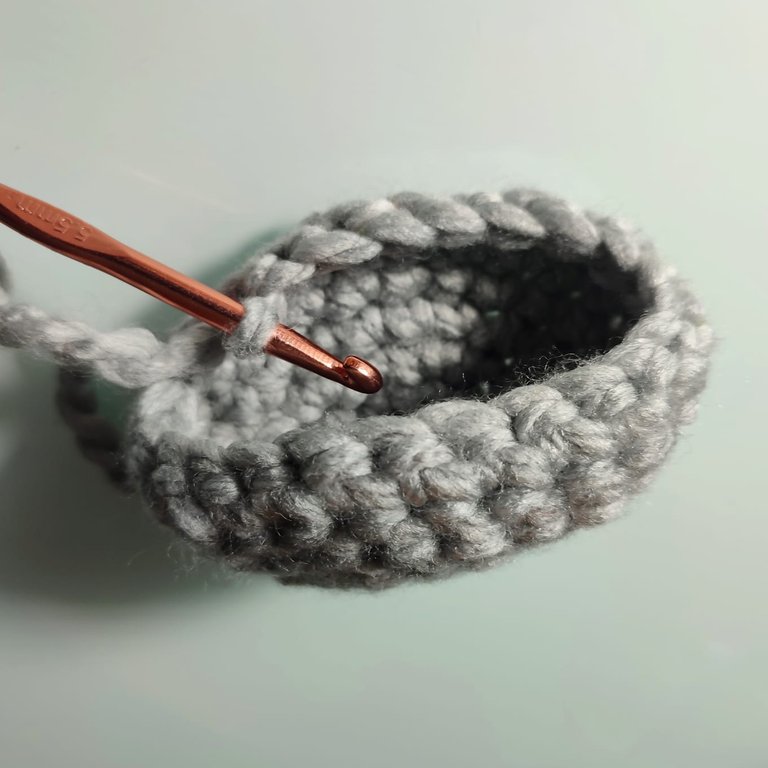
Round 4: Ch 1, (sc in next 2 sts, 2 sc in next st) around. Join with sl st. (24 sts)
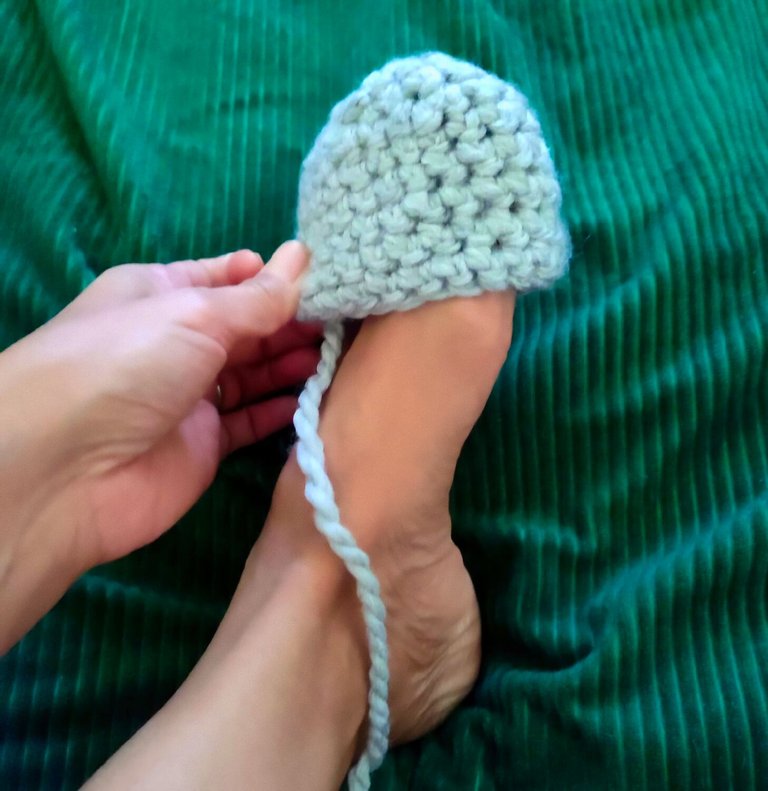
Continue increasing in this manner if you need a larger toe width. Stop once the toe section covers the width of the ball of your foot.
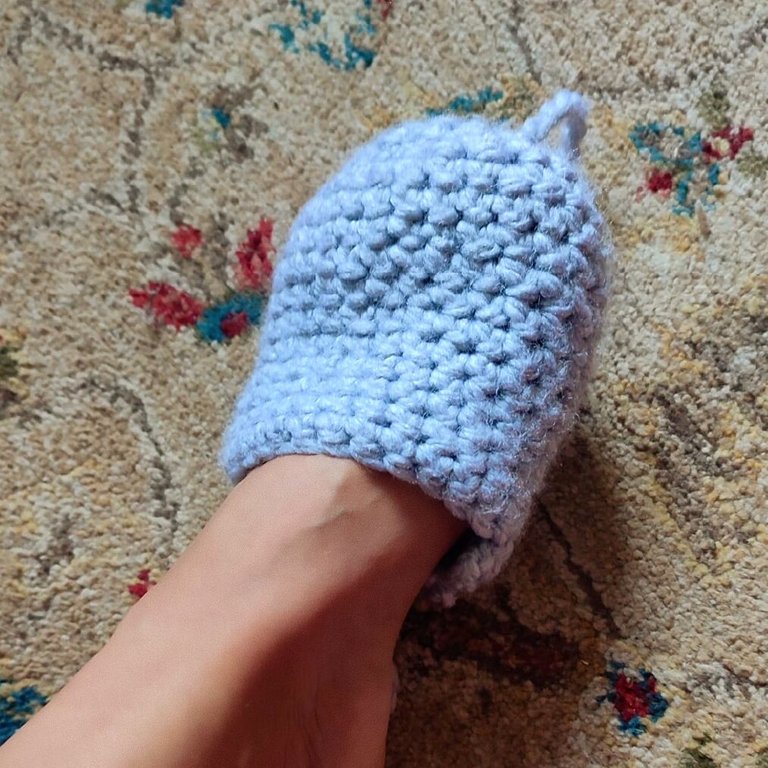
Step 2: Foot Section (Working in Rounds)
Once you have the desired width for the toe, ch 1 and work 1 sc in each st around (no increases). Continue working rounds of sc until the slipper reaches the arch of your foot.
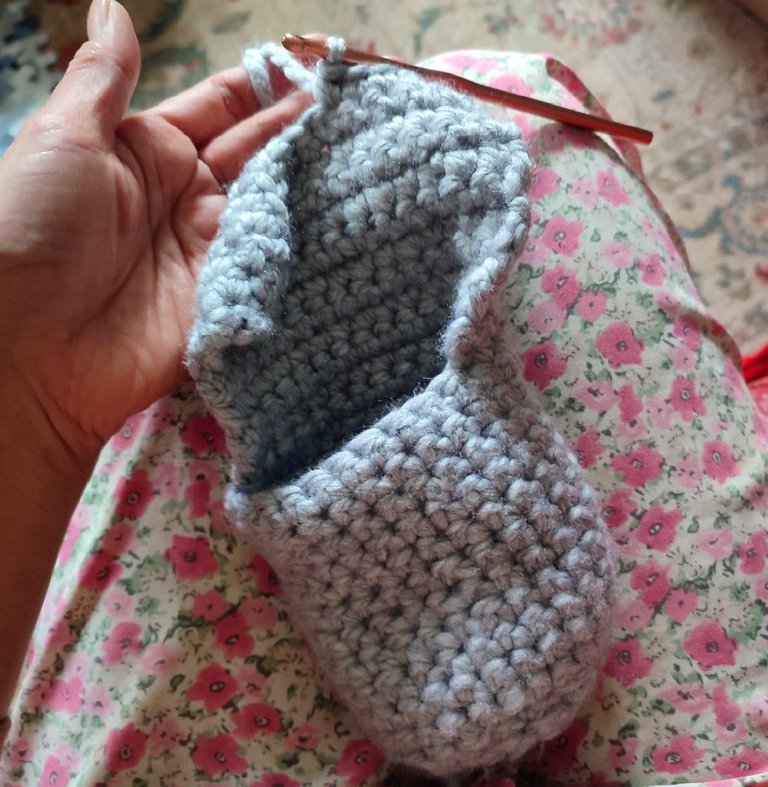
Step 3: Heel Section (Working in Rows)
Once you reach the arch, start working in rows instead of rounds to form the heel.
Row 1: Ch 1, sc in the first half of the stitches (about 12 sts if you started with 24 sts in the last round), then turn.
Rows 2-8: Repeat Row 1, making sure to turn at the end of each row. Adjust the number of rows based on your foot length.
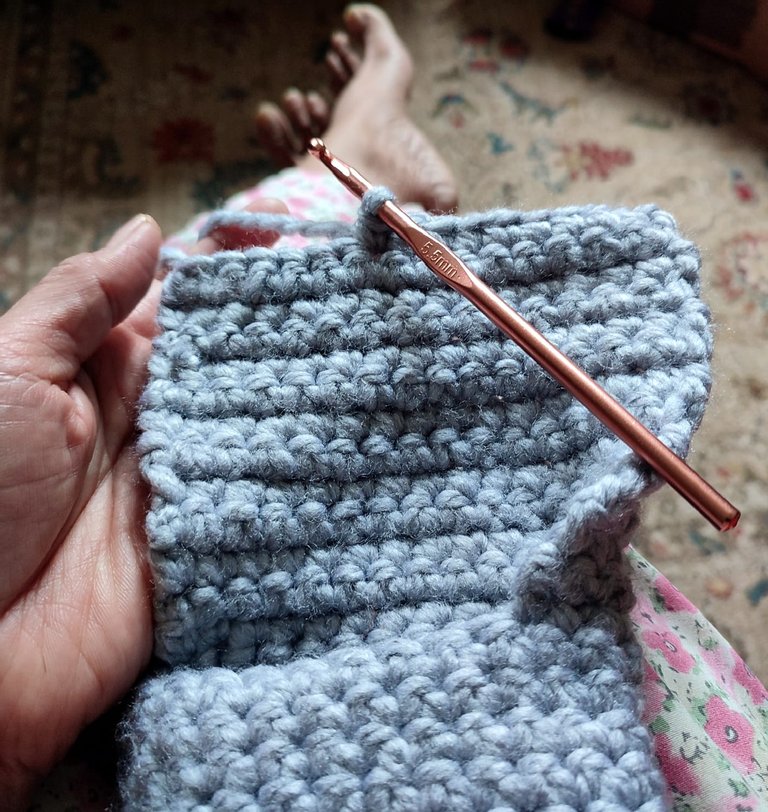
The number of rows in this section may vary depending on your foot size, so keep trying the slipper on as you work.
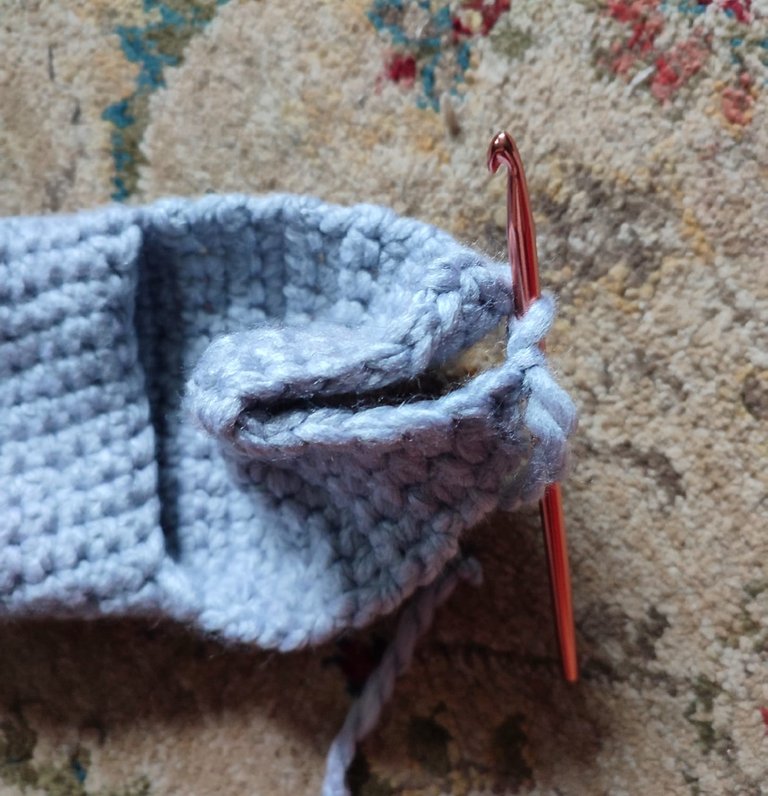
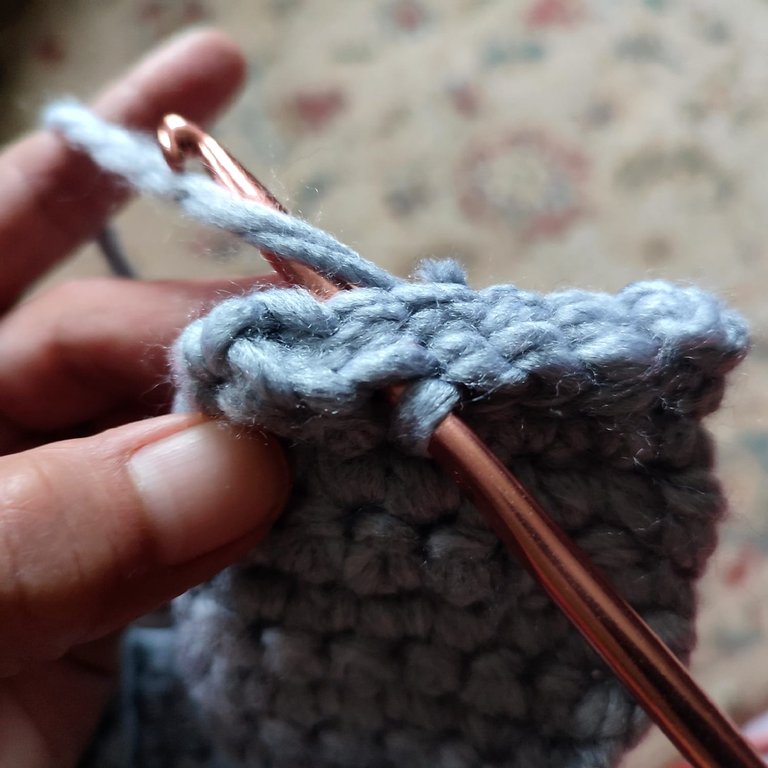
Step 4: Seaming the Heel
After you reach the back of your heel, fold the slipper in half and seam up the back using a slip stitch or yarn needle to sew through both layers.
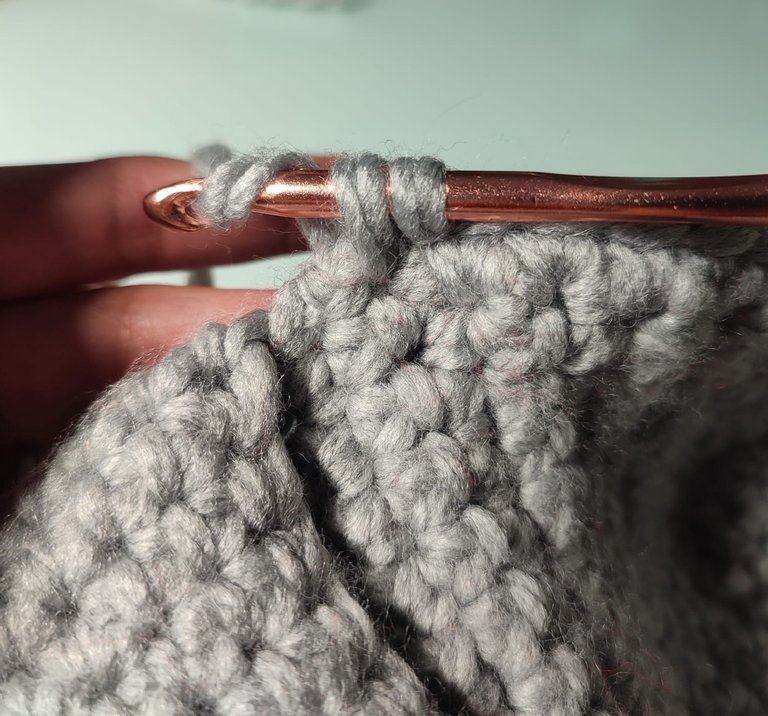
Continue Single crocheting all around the edges and do a couple of decreases on the hill area. This reinforces the edges and helps for a snug fit.
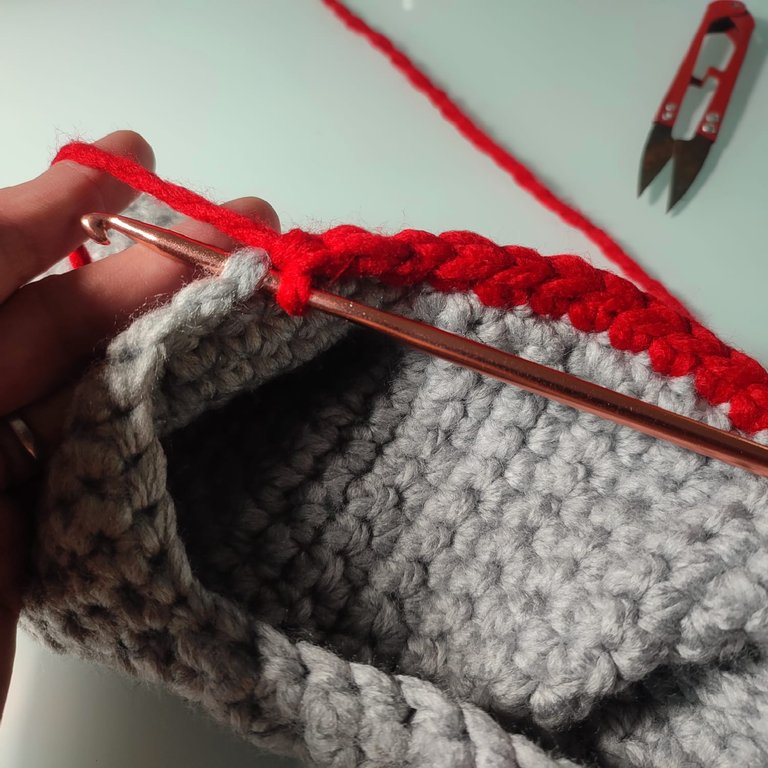
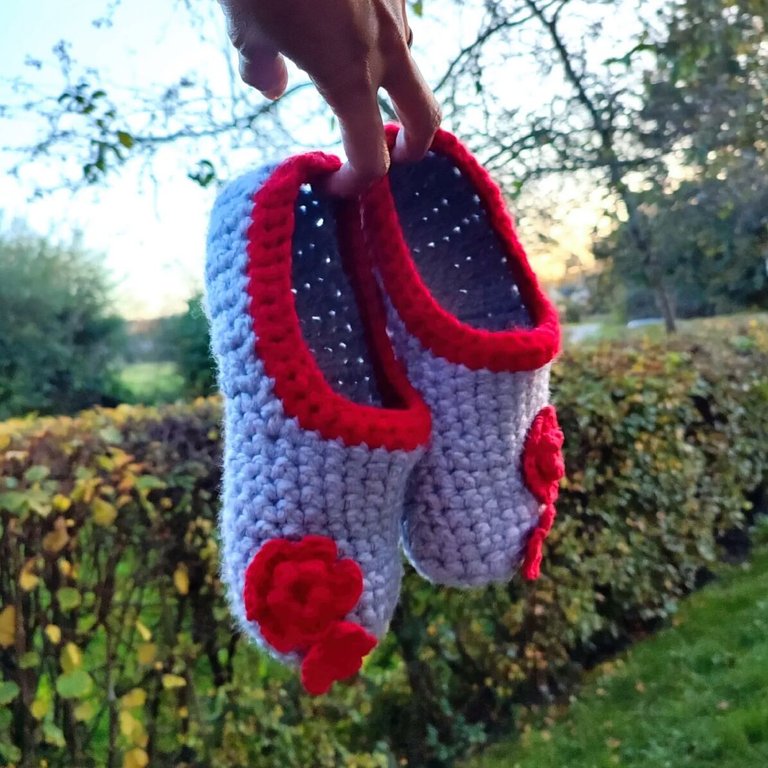
I added a red edge for a nice pop of colour.
Attach yarn to the top edge of the slipper and work single crochet for a couple of rounds, tightening the stitches.
Feel free to experiment with different stitches here for texture.
Adjust for size by adding or removing rounds/stitches in the foot and heel sections.
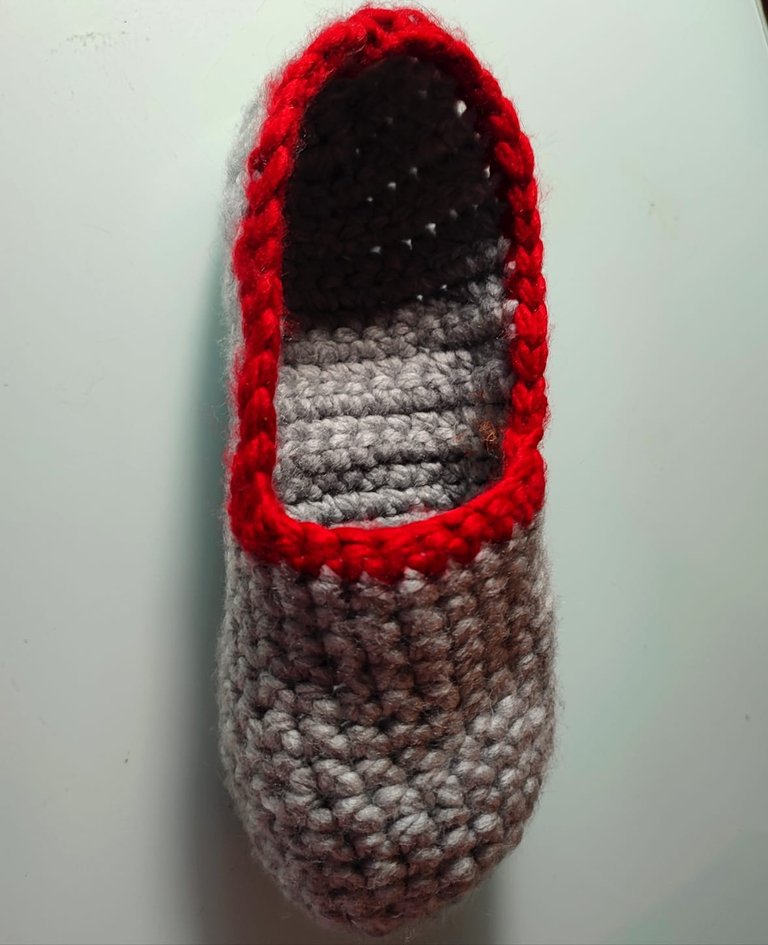
One done!
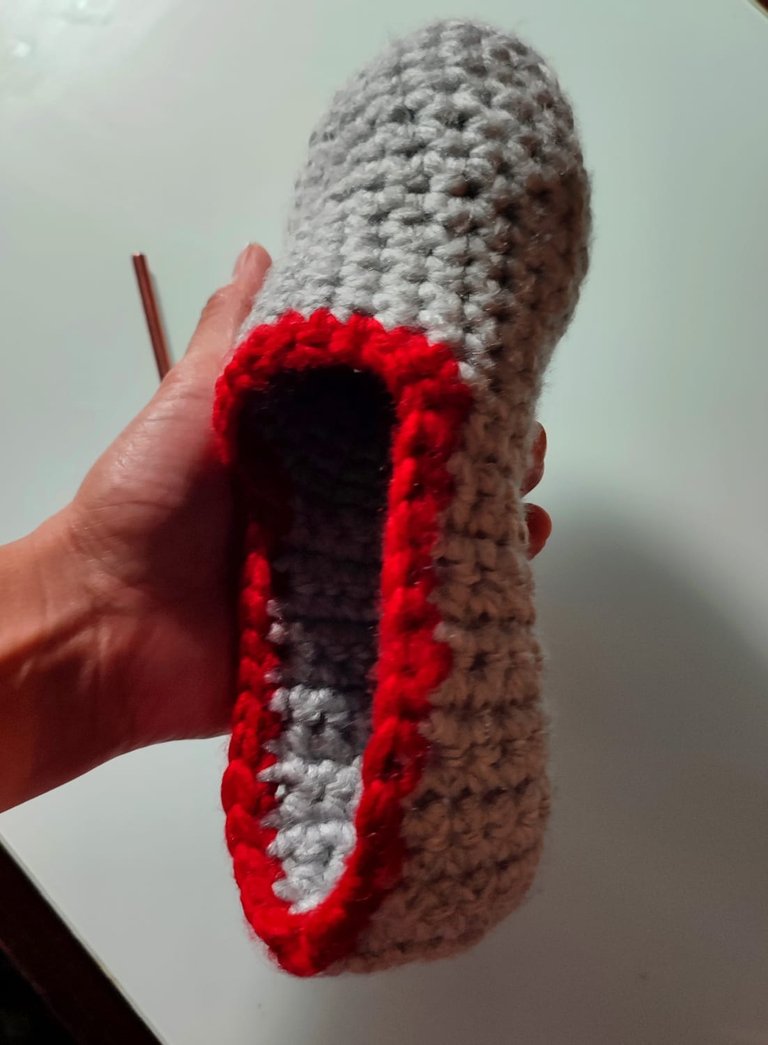
Work on the other one the same way you did the first.
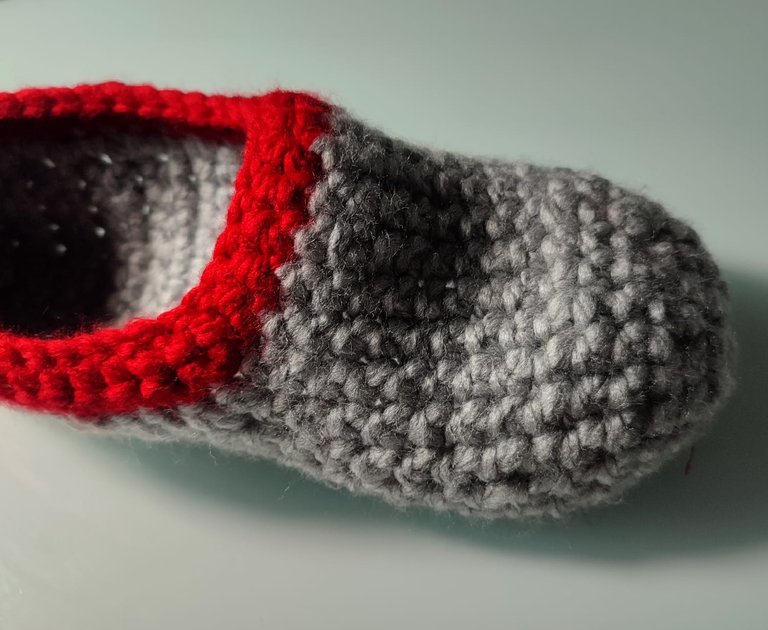
The thick and soft material made it look comfy but not too flimsy.
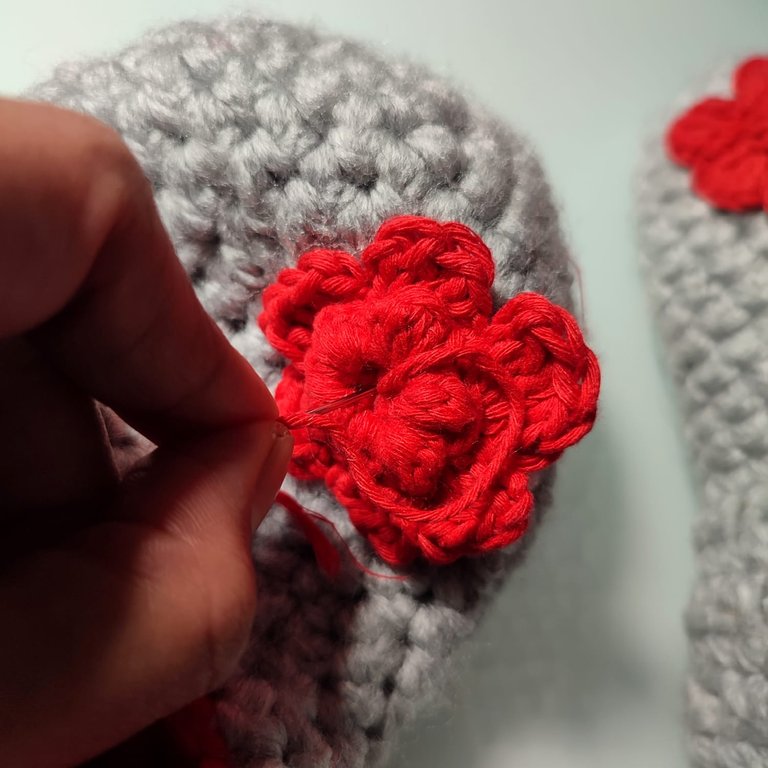
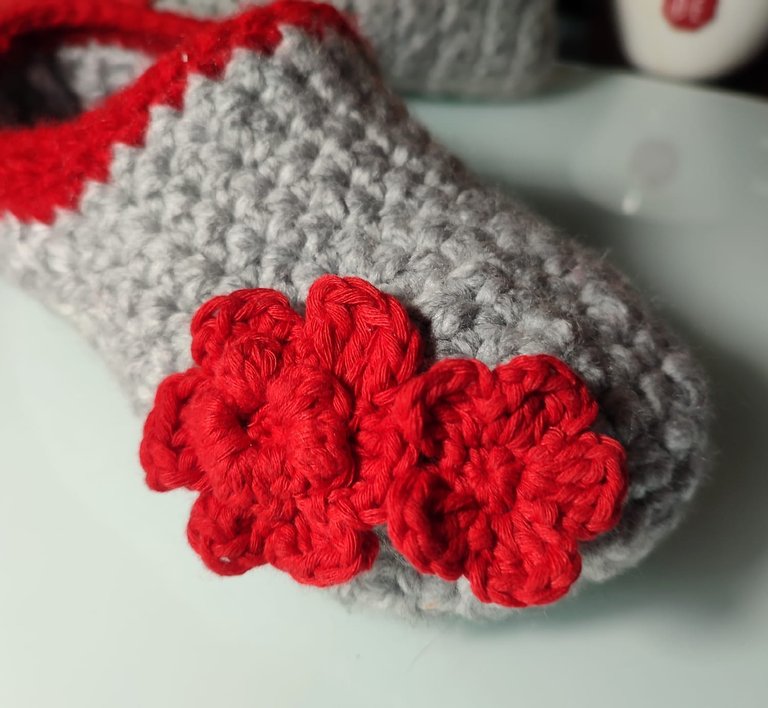
I finished with a flower design on top for a bit of flair.
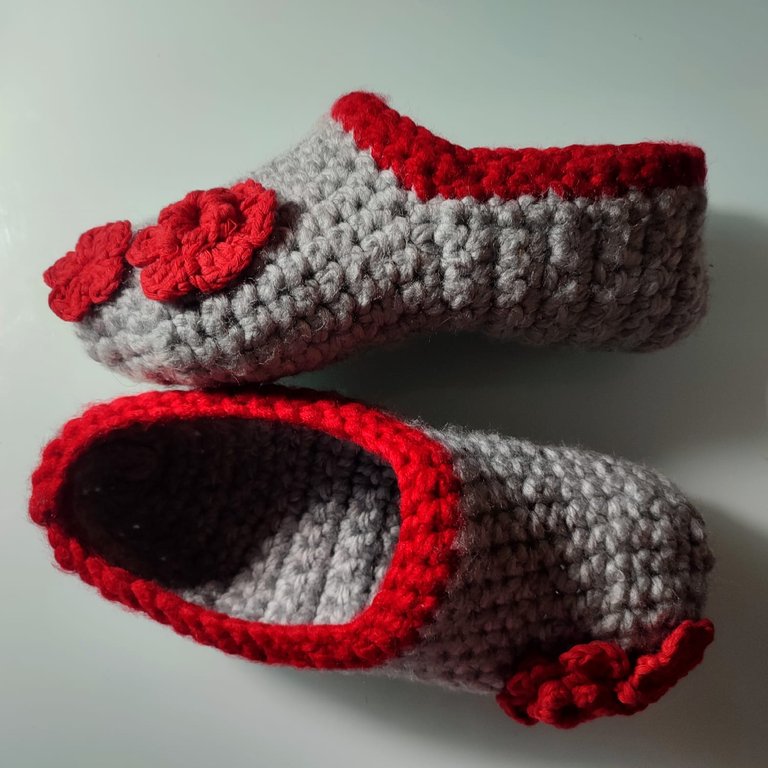
All done!
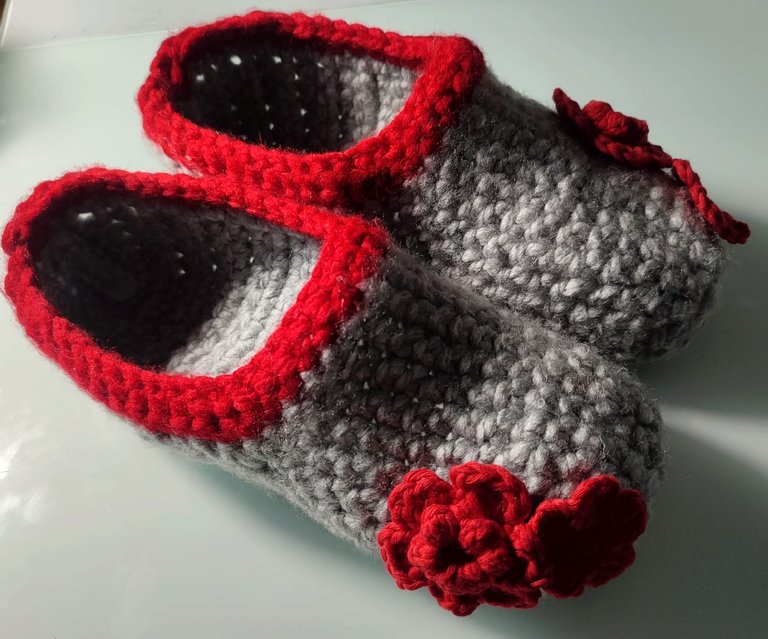
Handmade indoor slippers.
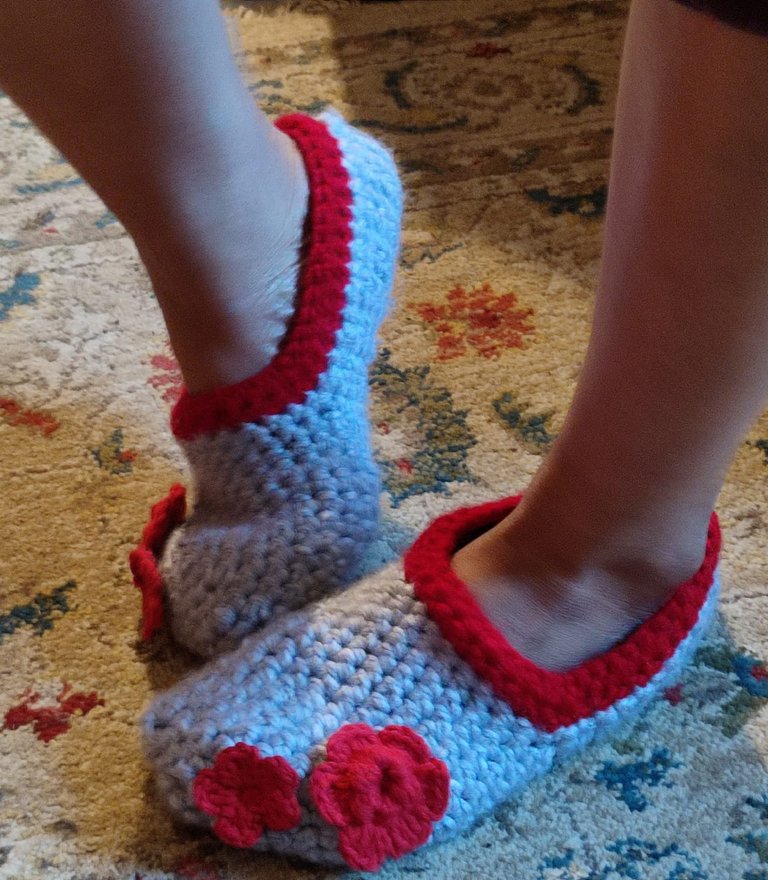
Very comfy!
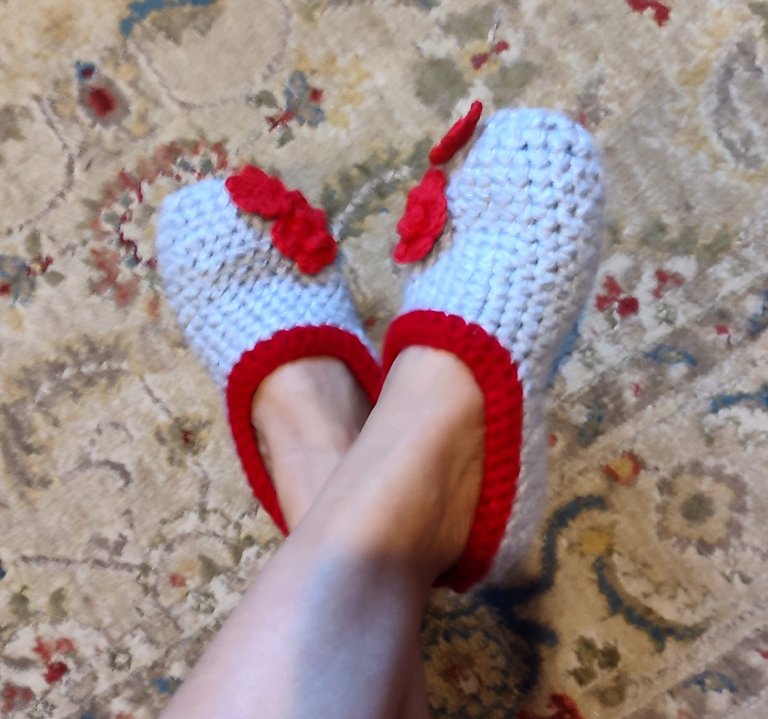
It keeps my feet warm!
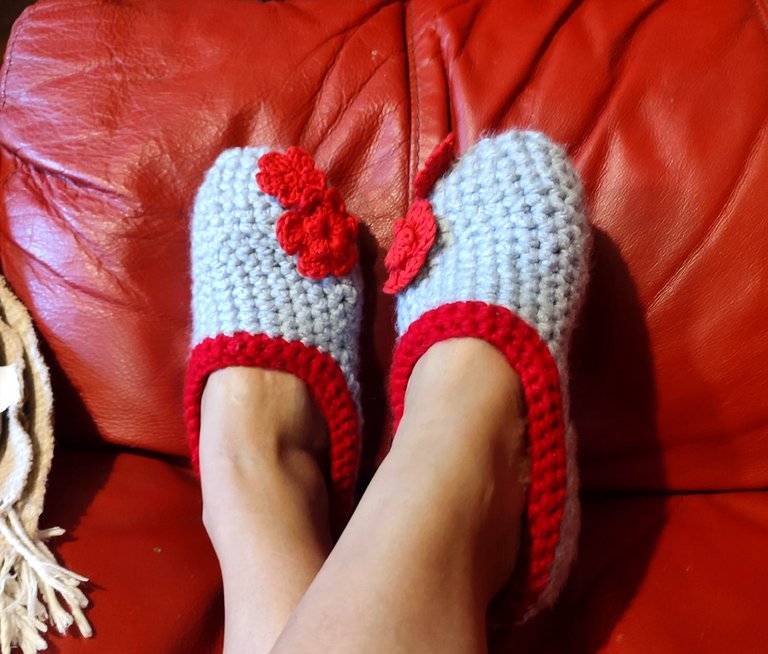
They fit like a glove! It’s amazing what you can do when you just go for it. Crocheting always surprises me—I look at something and think, “I could never make that,” but then I try, and somehow, it all comes together!
Wishing everyone a lovely Monday of needlework!
Mariah 😊❤️

