Hello dear friends of this beautiful community, I hope you are having a good start of the week.
Today I bring you a very simple tutorial on how to make a crop top to use the day you prefer. This idea came up thanks to a friend who sent me a screenshot of a girl who was wearing a red crop top and a wide jean, what he told me was "look, it's literally you, wtfff" and this girl looks a lot like me (physically) after this he told me to try to make a replica crop top, and of course I did it jskjdkd.
Hola queridos amigo de esta hermosa comunidad, espero que estén teniendo un buen inicio de semana.
Hoy les traigo un tutorial muy simple de como hacer un crop top para utilizar el día que usted prefiera. Esta idea surgió gracias a un amigo que me mando captura de una chica que tenía como vestimenta un crop top rojo y un jean ancho, lo que él me dijo fue "mira, eres literalmente tu, wtfff" y es que esta chica se parece mucho a mi (físicamente) luego de esto el me comento que intentara hacer una réplica del crop top, y por supuesto que lo hice jskjdkd.

The first thing I did was to investigate how to do it, for this step my friend helped me, he sent me the link to a tutorial that I searched on youtube, but to be honest it was not the same crop top, it was similar so what I did was to guide me.
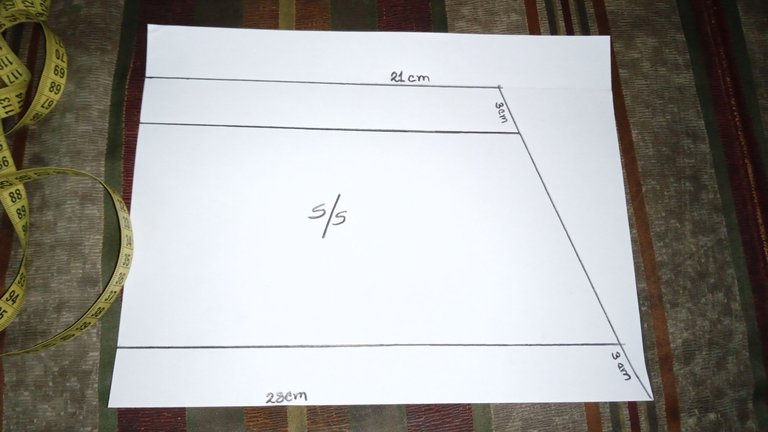
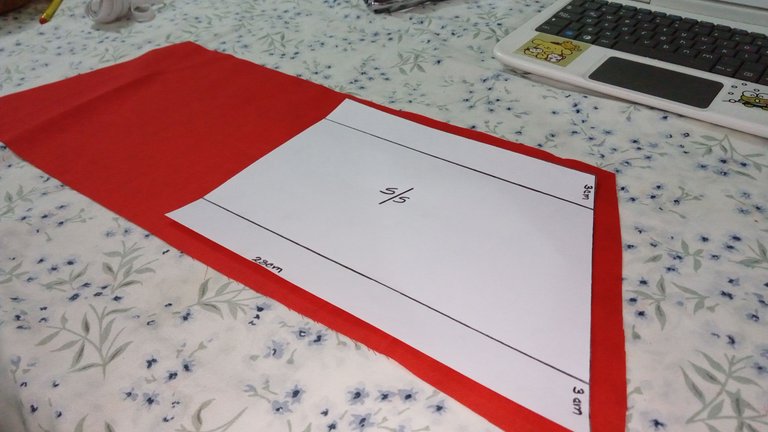
After I had an idea of how to do it I started making the pattern I would use for this crop top, this pattern I am making is size S but if you want a pattern for size M or L just have to increase two centimeters on each side, knowing this we can start. On a sheet of paper we mark 28 cm wide and 21 cm high then we join each point and proceed to mark 3 cm both below and above and ready you have your pattern size S.
Lo primero que hice fue investigar cómo hacerlo, para este paso me ayudo mi amigo, el me mando el link de un tutorial que busco en youtube, pero para ser sincera no era el mismo crop top, era similar así que lo que hice fue guiarme.
Luego de ya tener una idea de como hacerlo empecé haciendo el patrón que utilizaría para este crop top, este patrón que estoy realizando es talla S pero si quieren un patrón para talla M o L solo tienen que aumentar dos centímetro a cada uno de los lados, ya sabiendo esto podemos comenzar. En una hoja marcamos 28 cm de ancho y 21 cm de alto luego unimos cada punto y procedemos ha marcar 3 cm tanto abajo como arriba y listo tienes tu patrón talla S.
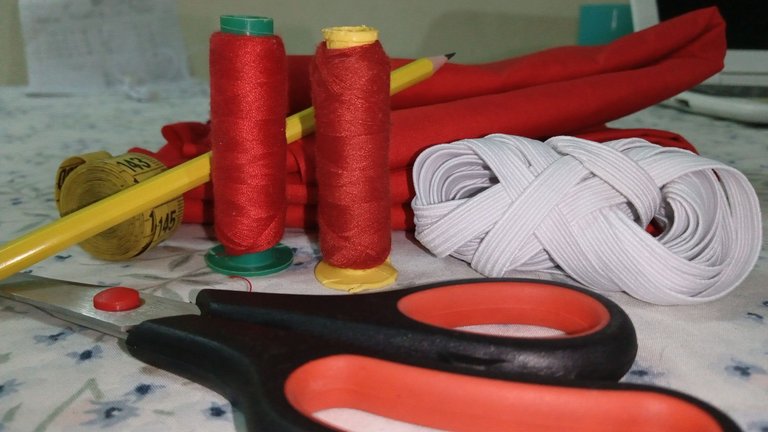
Having the pattern we can start with the materials we will use:
- Fabric (any type)
- Elastic (thin)
- Thread of the same color as the fabric
- Tape measure
- A pencil or fabric chalk
- Scissors
Ya teniendo el patrón podemos comenzar con los materiales que utilizaremos:
- Tela (cualquier tipo)
- Elástica (delgada)
- Hilo del mismo color que la tela
- Cinta métrica
- Un lápiz o tiza para tela
- Tijeras
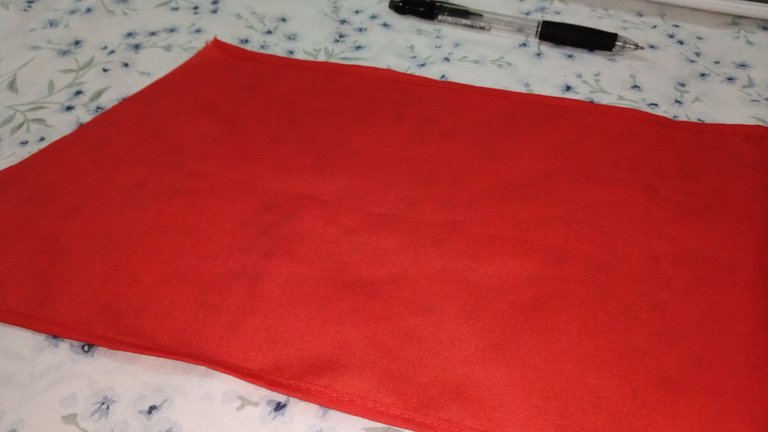
To start we fold our fabric in two so that we get two pieces in one, then we proceed to place our pattern on top of our fabric, with an object that weighs we place it on top of the pattern and cut (you can also put pins) remembering to always leave the centimeter of seam.
Para empezar doblamos nuestra tela en dos cosa de que nos salgan dos piezas en una, luego de esto procedemos a colocar nuestro patrón arriba de nuestra tela, con un objeto que pese lo colocamos arriba del patrón y cortamos (también le puede poner alfileres) recordando dejar siempre el centímetro de costura.
 |  |  |
|---|
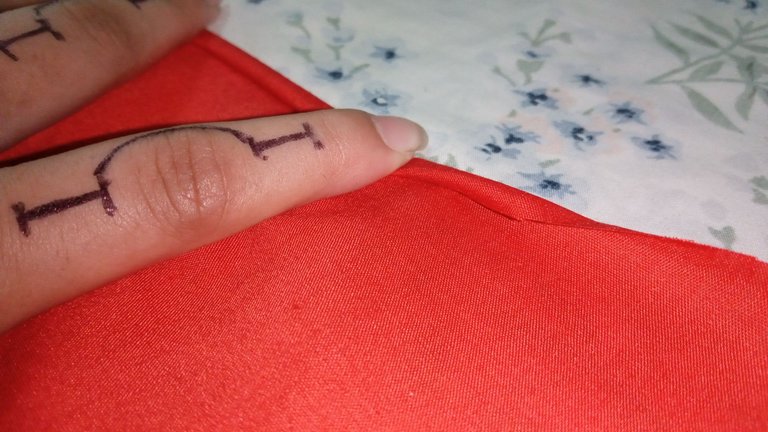
Then we fold the top and bottom edges and make a hem so that it does not fray, we proceed to sew with a straight seam all around the edge (top and bottom).
Luego doblamos los borde de arriba y abajo y hacemos un dobladillo para que no se nos deshilache, procedemos a coser con una costura recta todo el borde (arriba y abajo).
 |  |
|---|
 |  |
|---|
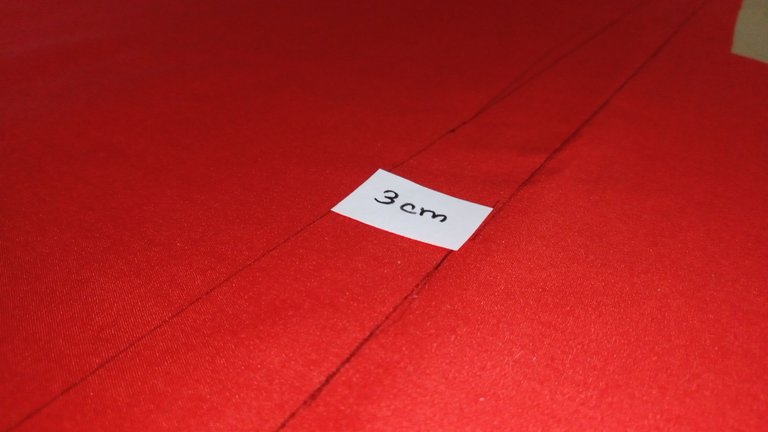
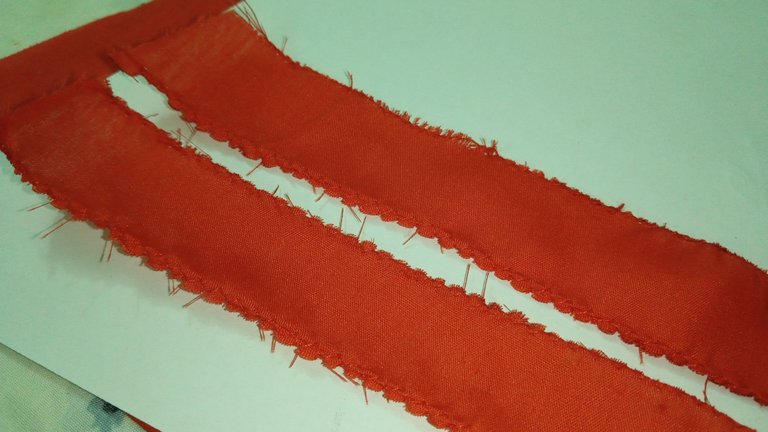
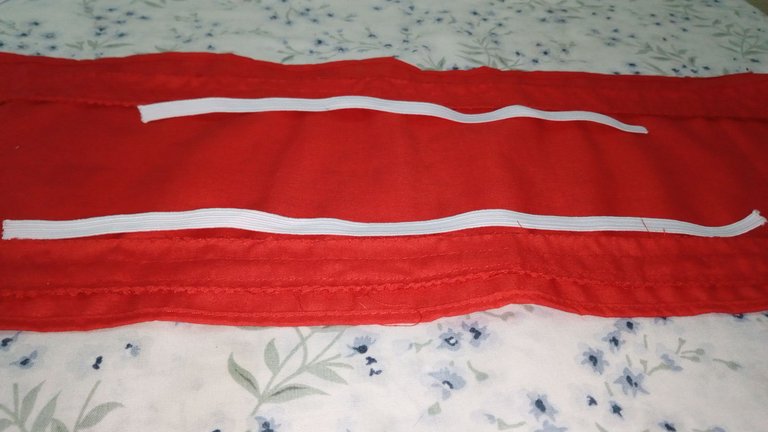
Already having this step ready, we cut a long strip of 3 cm wide (this will be the support of our elastic) we proceed to measure the same 3 centimeters of the paper in our fabric both above and below and then we place our strip one centimeter above those 3 centimeters, already having that reference we proceed to zic zac the two strips.
Ya teniendo este paso listo, cortamos una tira larga de 3 cm de ancho (esta sera el soporte de nuestra elástica) procedemos a medir los mismo 3 centímetros del papel en nuestra tela tanto arriba como abajo y luego colocamos nuestra tira un centímetro más arriba de esos 3 centímetros, ya teniendo esa referencia procedemos a pasarle zic zac a las dos tiras.
 |  |
|---|
 |  |
|---|
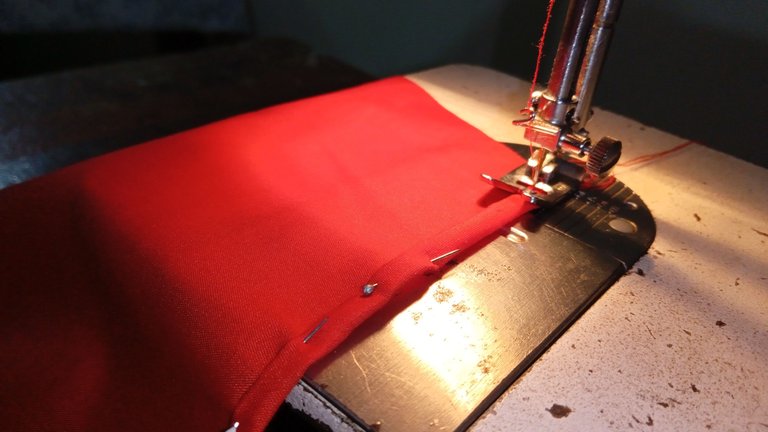
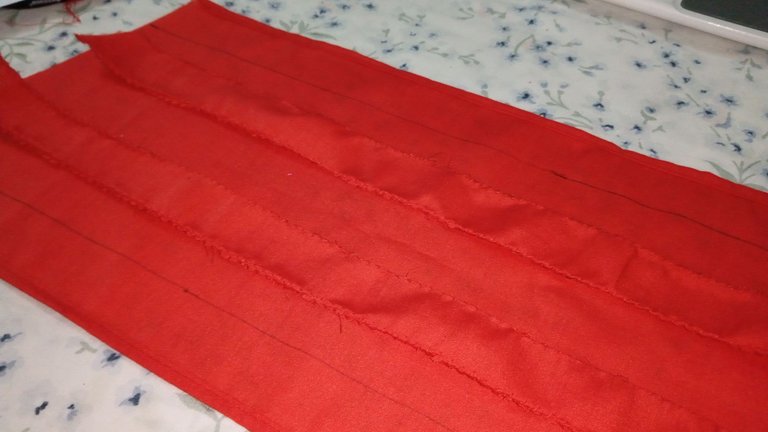
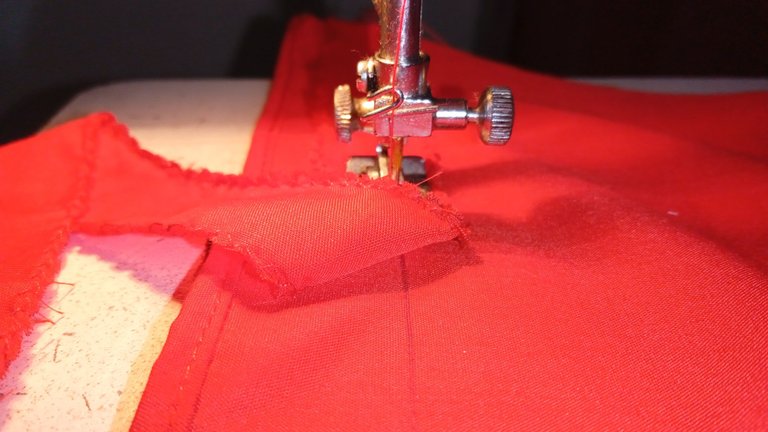
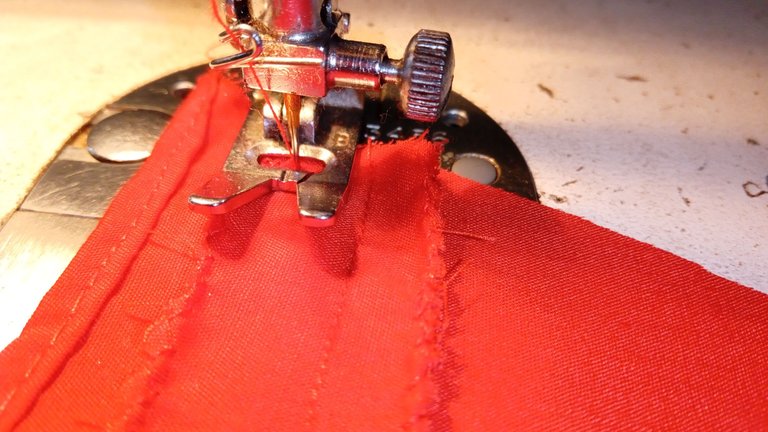
Then we start sewing one centimeter away from the 3 we marked as shown in the pictures below, after sewing the first line we sew another line (straight) further down type one next to the other, we must have a space where our elastic will pass through.
Luego comenzamos cosiendo a un centímetro de los 3 que marcamos tal y como se muestran en las fotos de abajo, luego de coser la primera línea cosemos otra línea (recta) mas abajo tipo una al lado de la otra, nos tiene que quedar un espacio por donde pasará nuestra elástica.
 |  |
|---|
 |  |
|---|
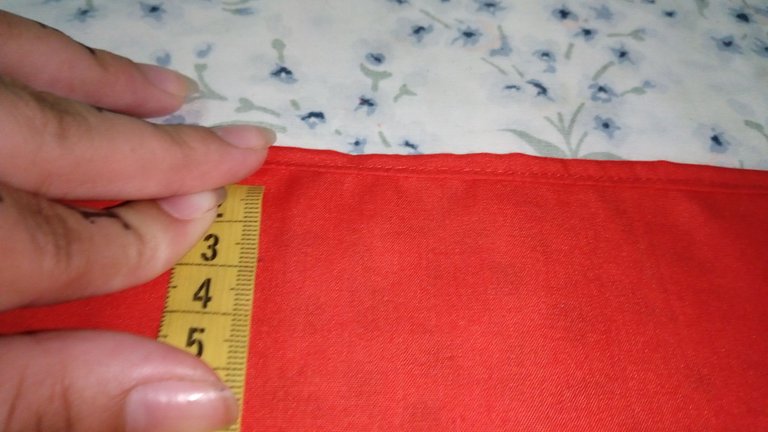
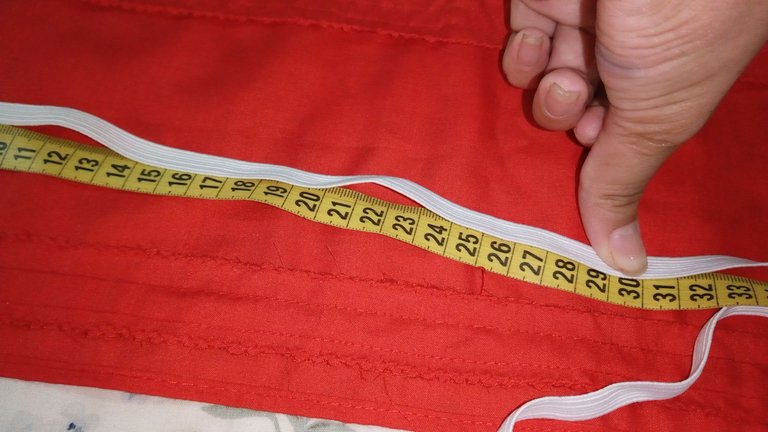
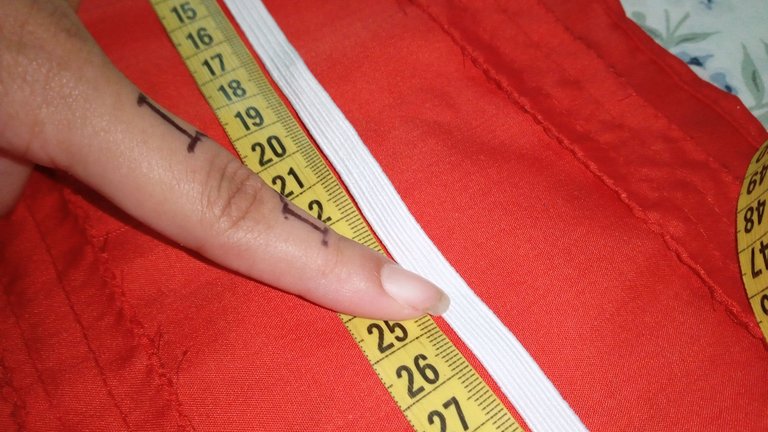
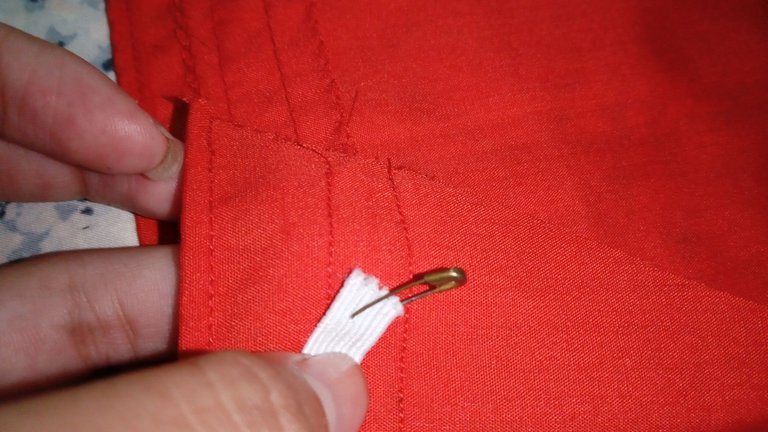
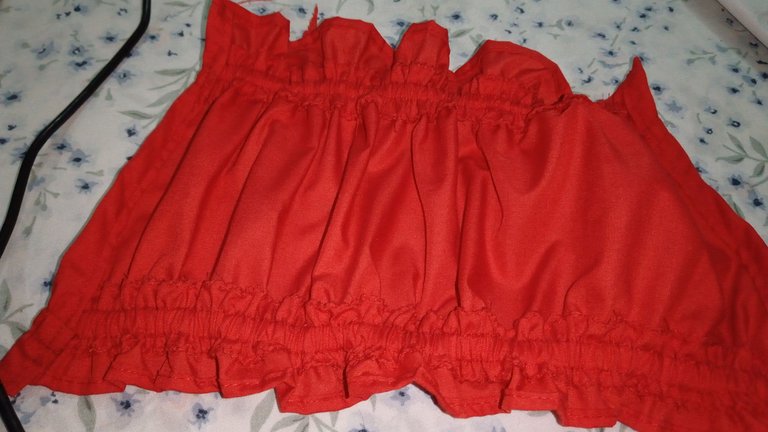
For the next step we will measure the bottom elastic which would be 30 cm and the top elastic which would be 25 cm (in case you are making a crop top size M or L just add two cm each time you increase your size) we proceed to pass the elastic through the space we left both above and below (remember to secure with pins so that the elastic does not come out).
Para el paso siguiente mediremos el elástico de abajo que serían 30 cm y el arriba que serian 25 cm (en caso de que estés haciendo un crop top talla M o L solo agrega dos cm cada que aumentes de talla) procedemos a pasar la elástica por el espacio que dejamos tanto arriba como abajo (recuerden asegurar con alfileres para que no se les salga la elástica).
 |  |
|---|
 |  |
|---|
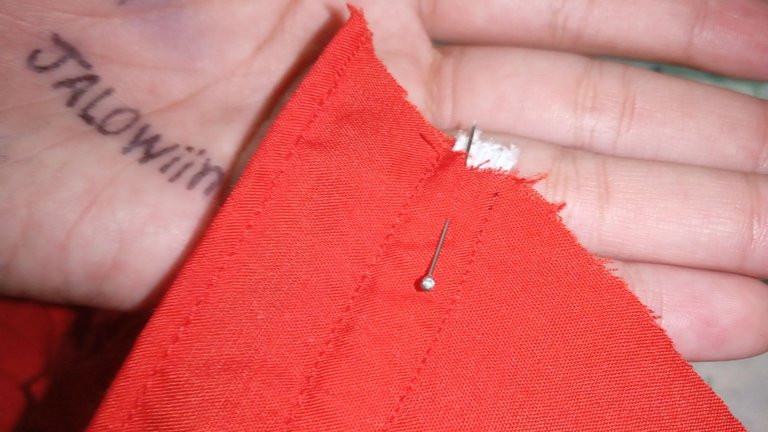
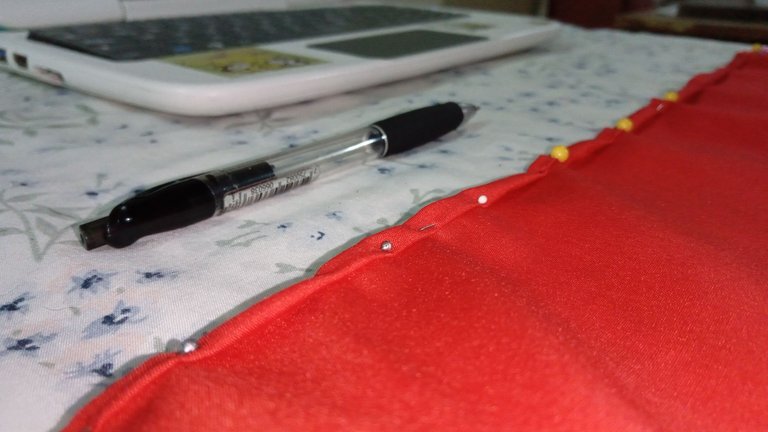
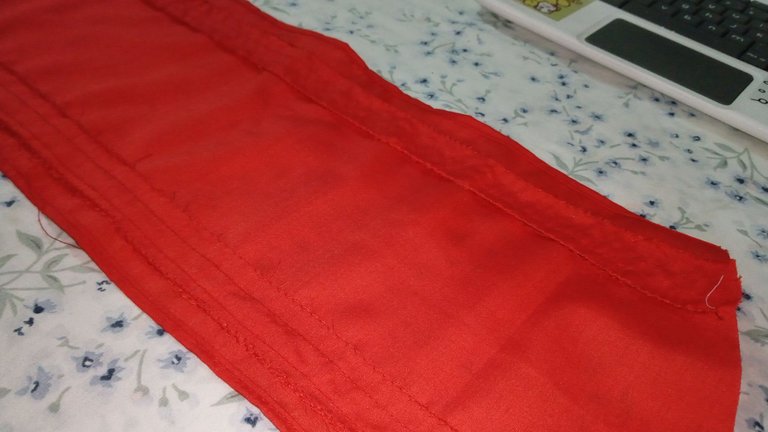
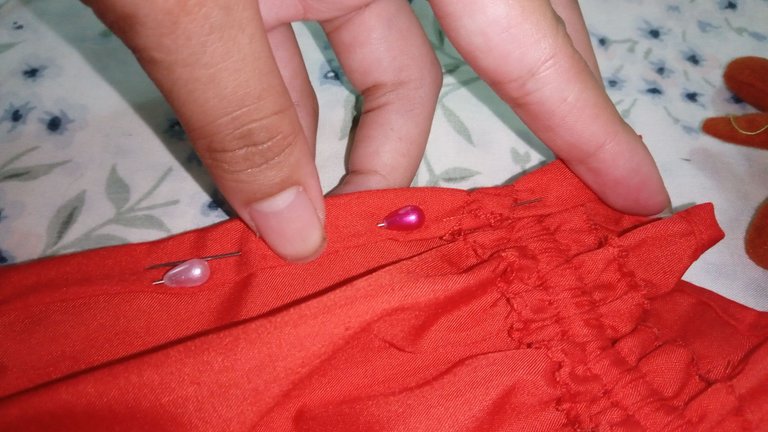
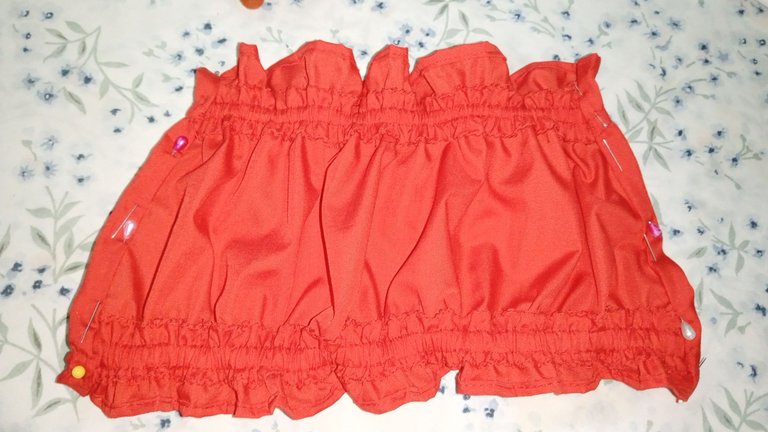
After passing our elastic and having sewn (finishing at the end of each elastic) we proceed to hem each side of our crop top (you can use pins).
Luego de pasar nuestra elástica y haber cosido (remate en el final de cada elástica) procedemos hacerle un dobladillo a cada lado de nuestro crop top (se pueden ayudar de alfileres)
 |  |
|---|
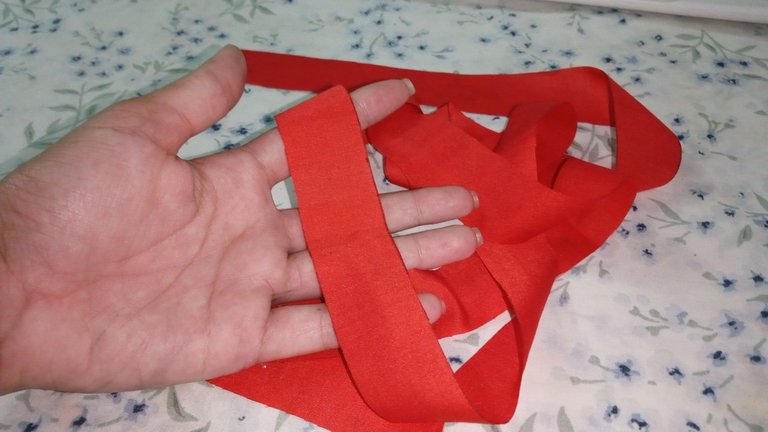
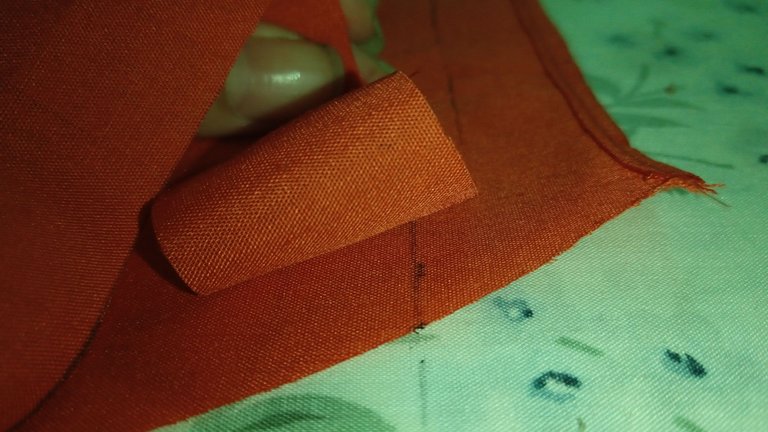
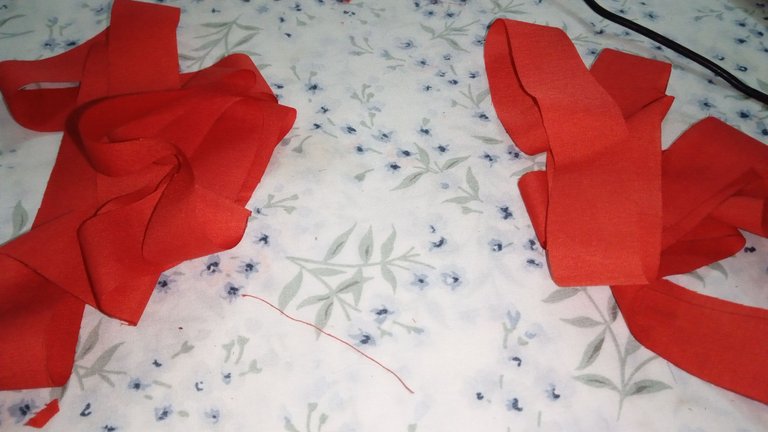
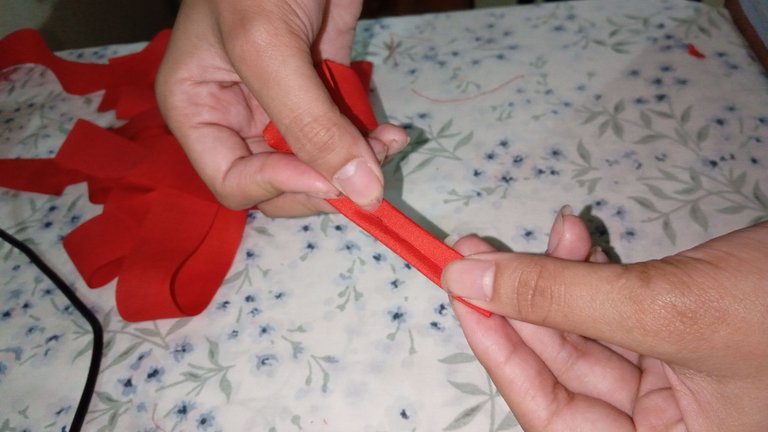
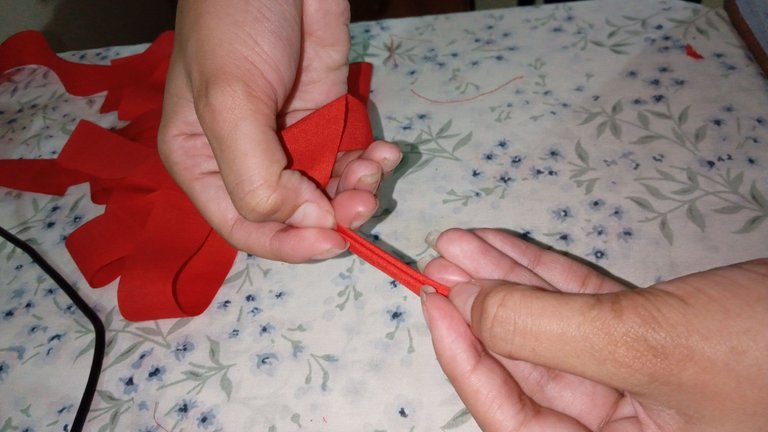
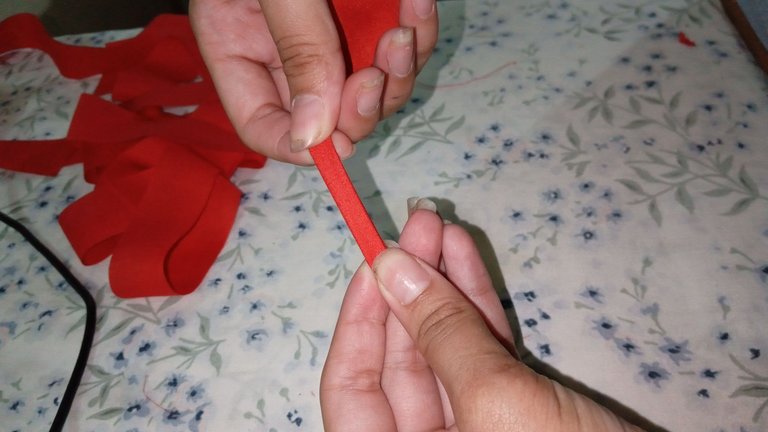
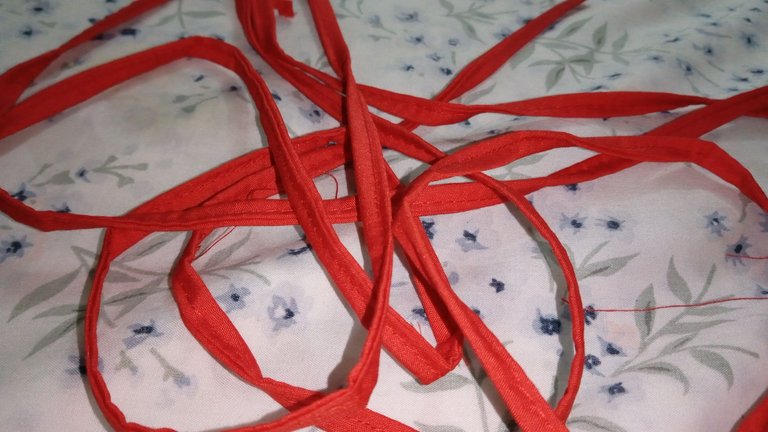
To finish our crop top we cut some strips of 3 cm wide each with 1.40 cm high (these will be our support) after cutting them we proceed to make a hem as shown in the photos (I did it by hand but you can help yourselves with pins).
Para culminar nuestro crop top cortamos unas tiras de 3 cm de ancho cada una con 1.40 cm de alto (estas serán nuestro soporte) al haberlas cortado procedemos hacer un dobladillo tal y como se muestra en las fotos (yo lo hice a pulso pero ustedes se pueden ayudar de alfileres).
 |  |
|---|
 |  |
|---|
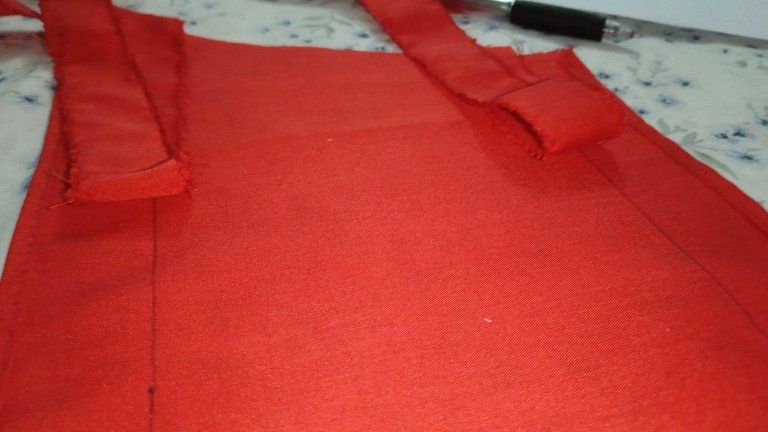
Once this step is done we proceed to sew each strip in its place, at the bottom of each side we place the 10 cm strips, one on the left and the other on the right (below) and the other two that are long, one on the left and the other on the right (above).
Ya teniendo este paso realizado procedemos a coser cada tira en su lugar, abajo de cada lado colocamos las tiras de 10 cm tipo una en la izquierda y la otra en la derecha (abajo) y las otras dos que son largas lo mismo, una en la izquierda y otra en la derecha (arriba).
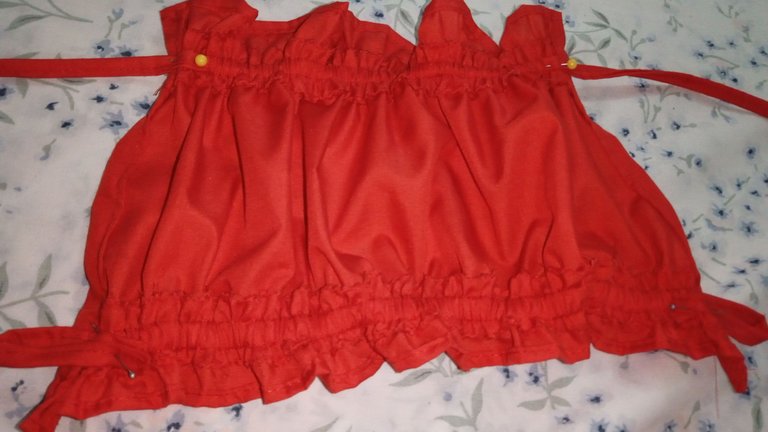
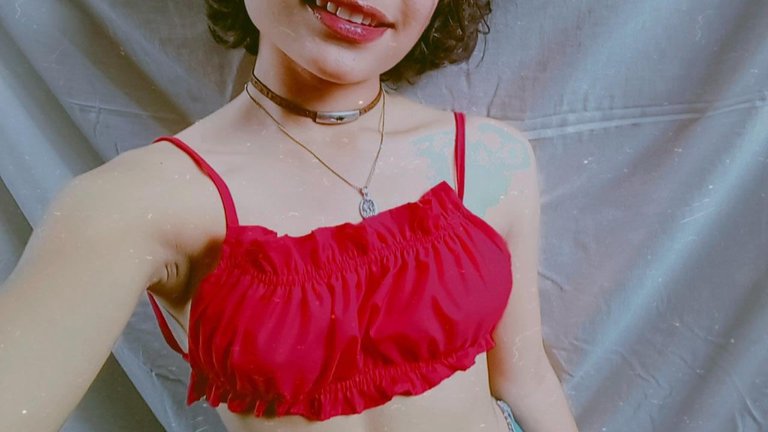
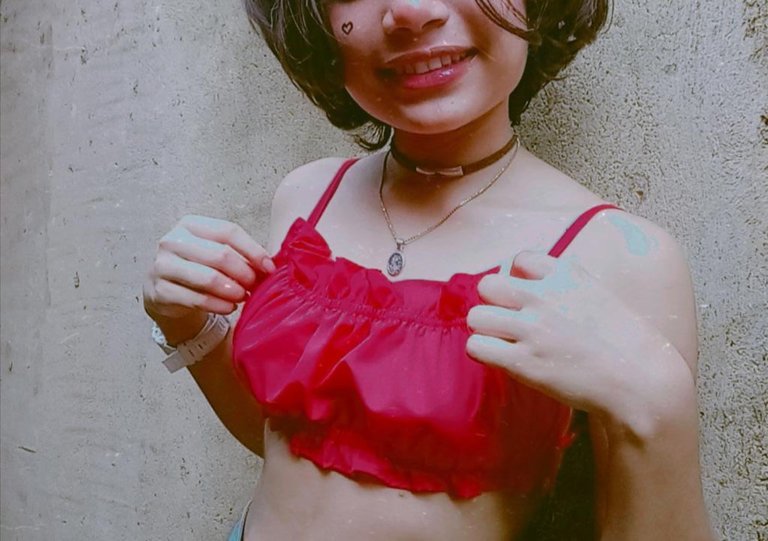
ready we have a quick and simple crop top, that if we know how to combine it could save us an outing jsksjks, for example, with a corset without cups or with a jacket, I personally like it more with a jacket or something that covers my back because I do not feel comfortable, but you can use it the way you prefer.
listo tenemos un rápido y simple crop top, que si sabemos combinar nos podría salvar una salida jsksjks, por ejemplo, con un corset sin copas o con una chaqueta, a mi en lo personal me gusta más con chaqueta o algo que me tape la parte de la espalda ya que no me siento cómoda, pero usted lo puede utilizar de la manera que prefiera.
 |  |
|---|
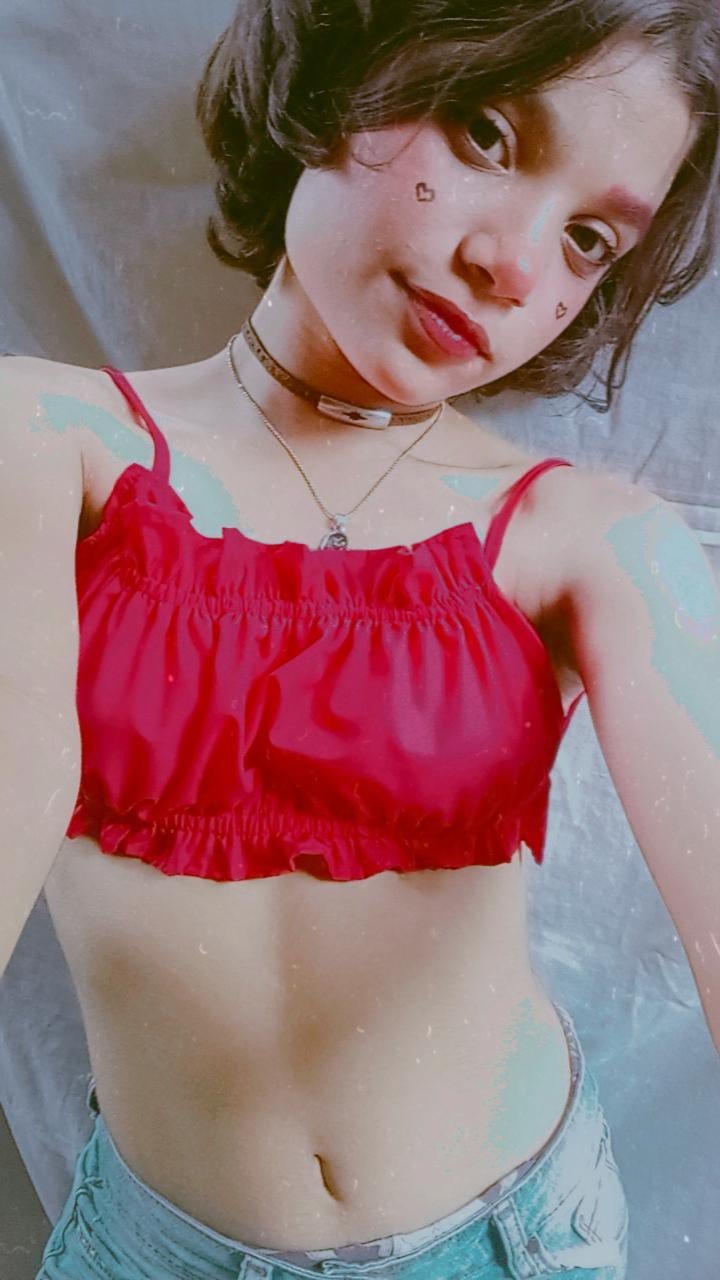
We ended up finding out that I am identical to the girl that my friend showed me jsksjsjk. Without anything else to say I wish you a nice evening filled with lots of joy and happiness bye bye.
Terminamos comprobando que soy idéntica a la chama que mi amigo me mostró jsksjsjk. Sin mas nada que decir les deseo una linda noche llena de mucha alegría y felicidad chauuu.
✨🍀Credits🍀✨
Pictures taken from my Alcatel 1V phone.
The banner was edited with PicsArt.
Fotografías sacadas desde mi teléfono Alcatel 1V
El banner fue editado con PicsArt.